Why is my aloe plant drooping?
Recognize why an aloe plant is drooping and discover how revive it


Stunningly sculptural, aloe plants can occasionally droop. This expert guide tells you why this happens and how to rectify it.
Aloe plant care isn't hard; they pretty easy-going and quick to grow, but can leave you baffled when they suddenly droop.
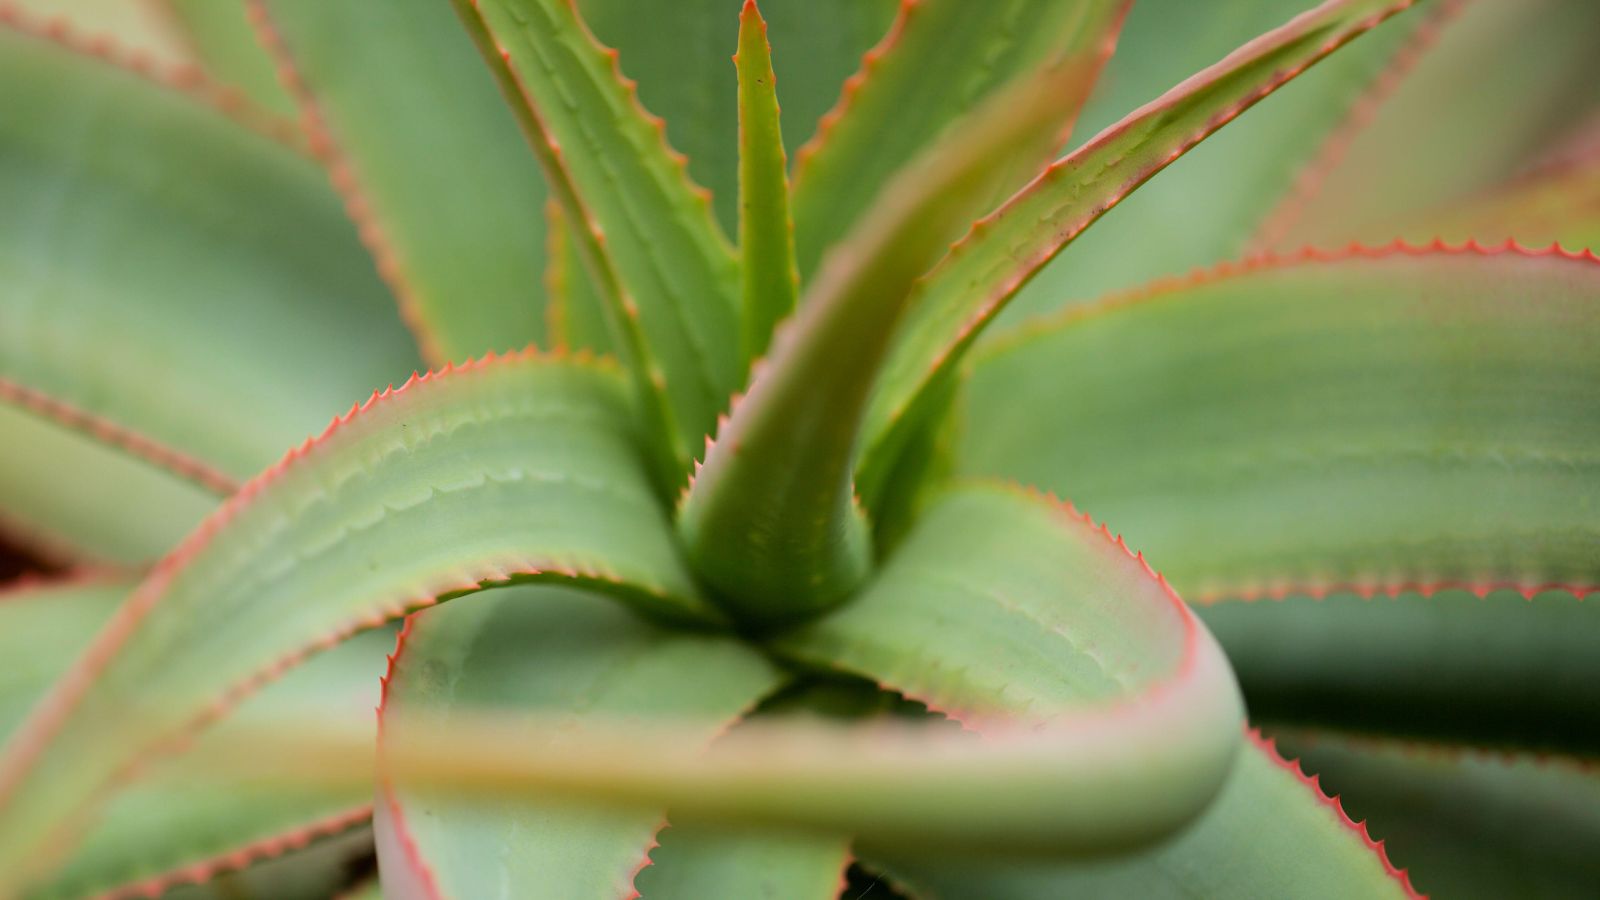
The smooth, fleshy leaves with their serrated edges, which naturally grow upwards, splaying out slightly, can sometimes take a distinctly downward turn.
This is often a sign that the plant is undergoing stress of some kind, so it’s well worth understanding why this can happen. Below, we explain how.
Why is my aloe plant drooping?
Knowing why an aloe plant is drooping is similar to caring for succulents of all types. These are why yours is suffering, and what to do.
Aloe plants droop due to temperature shock
Aloes originate from hot arid regions including Africa, Madagascar and the Arabian Peninsula so it should be no surprise that they are perfectly happy in our well heated homes. Problems arise when they are suddenly moved from a constantly warm or hot environment to a much cooler spot or are subjected to a cold blast of air. The plant’s response is to go into shock and as a result, the leaves droop.
‘Aloe plants don’t like extreme temperatures, and they like quick changes even less,’ says Brody Hall of The Indoor Nursery. ‘They are generally most comfortable in air temperatures between 60℉ and 80℉ (15℃ – 26.6℃). Temperatures that are too hot, or too much sun or humidity can affect your aloe for the worse, stressing the plant and causing the leaves to wilt.’
The best way to prevent this from happening is to keep the plant well away from open windows, air conditioning units or drafty entryways. If you do have to move its location, do it gradually taking time to acclimatize the aloe to its new spot.
Aloe plants droop due to too much or too little light
While they are not fussy plants, aloes are real creatures of habit and dislike sudden changes. This applies to light levels as well as their surrounding temperature. Brody continues, ‘Aloe plants like at least six hours of light per day, so placing them in a room that gets lots of daytime light is best to be sure they get enough sunlight. If an aloe is in a room with too little light, the leaves will grow long and spindly as the plant directs energy to finding a source of more light. Super thin leaves will be prone to drooping.’
Instead, choose a bright windowsill or shelf, that is free of drafts and receives some but not constant amounts of strong sunlight.
Aloe plants droop due to poor drainage
Knowing a little about the background of these plants is key to keeping them healthy indoors, as Matts Jopson at Mountain Crest Gardens explains: ‘To cultivate any plant, it helps to mimic the natural environment from which it came. Wild succulents tend to grow in sandy, gravelly soil. Many even thrive in small, rocky crevices or cliffsides. Their native, gritty soils get saturated by heavy rains but dry out rapidly.’
When it comes potting up your plant make sure you use a gritty compost especially for succulents. This will ensure the aloe can get the nutrients it needs without retaining excess water which can cause the plant to drown.
Choosing a container with ample drainage is also hugely important. Matts continues: ‘You can drill your own holes in non-draining pots, but a layer of rocks at the bottom does not add drainage. In fact, it creates large pockets in which water collects and breeds bacteria. The best succulent soil in the world can't prevent rot in a non-draining container if you aren't careful with watering.’
Over and under-watering are key to stopping an aloe plant from drooping. It's worth checking how often to water an aloe plant, but also keep an eye out for other signs of distress, such as your aloe plant turning brown.
Aloe plant droops due to pot bound roots
These attractive plants are pretty quick to grow, so there will come a time when the roots can no longer grow within the pot. One sign of this is droopy leaves due to stress. Checking whether this is the case couldn’t be easier. Simply tip the plant out of the pot and take a close look at the root system. If they are tightly curled and looking for any excuse to break out of the confines, then it’s time to repot aloe.
Carefully tip the plant from its container, and replant, using fresh specialist compost in a slightly larger pot. Take care not to damage the roots and make sure the new pot has suitable drainage holes.
Aloe plant drooping due to pests and diseases
Wilting leaves on an aloe plant can signify that it is suffering from pests or diseases. Culprits such as gall mites, spider mites and fungus gnats can all cause problems that can disfigure the plant or even kill it altogether. Take a close look at the soil, the roots and areas where the leaves meet to see if any of these tiny insects can be spotted. Signs such as pin prick holes, fine webs or even wart like marks on the leaves are also a big giveaway that pests are present and a cause of drooping foliage.
If you suspect pests have taken up residence in your aloe, remove the plant from its pot and loosen and take away any compost and dispose with the garbage. Rinse the plant – roots and all – with a neem oil based insecticide.
Fungal diseases are another cause of drooping leaves, and this is often caused by overwatering. Allowing the compost to dry out completely between watering is vital for aloe, as they store water in their fleshy leaves, and they are prone to root rot.
If a fungal disease such as rust or basal stem rot sets in, the best course of action is to cut away the infected stem or leaves. Applying a fungicide to the remaining parts should eliminate any residual disease and allow the plant to recover.
How do you revive a drooping aloe?
To revive a drooping aloe, check you are neither over- or under-watering it; ensure the light levels are neither too bright nor too dark; ensure the heat in the space is consistent, neither too hot nor drafty and cold; and make sure the plant isn't root-bound. Lastly, check the plant for diseases, such as fungal infection.
Sign up to the Homes & Gardens newsletter
Design expertise in your inbox – from inspiring decorating ideas and beautiful celebrity homes to practical gardening advice and shopping round-ups.

Journalist Jill Morgan has spent over 20 years writing and editing gardening, interior and property features. Titles she has worked on include The English Home, House Beautiful, Ideal Home, Houzz and Modern Gardens and she writes regularly for H&G as a Contributing Editor. Whilst she is a dab hand at renovation projects and DIY, she is happiest when out digging in the garden or planning a new border.
-
 Do cleaning products expire? Professional cleaners warn time could make them ‘less effective, and in some cases, irritating to use’
For the best results, it pays to stay on top of the timeline of your cleaning products
By Chiana Dickson Published
-
 7 of the best tomatoes for growing in pots - expert growers pick their top varieties ideal for large harvests from containers
You can enjoy bumper homegrown harvests in small spaces
By Drew Swainston Published