Why I wanted a wormery for compost – and how it's transformed my veg patch
Despite the first batch of worms dying, it's been a success. This is what I've learnt


Gardeners know that when they dig into their vegetable beds and garden borders, and unearth lots of wriggling worms, then the soil is healthy, aerated, and ready for planting. So it make sense to harness the soil-conditioning superpowers of these wonder-wrigglers to make compost.
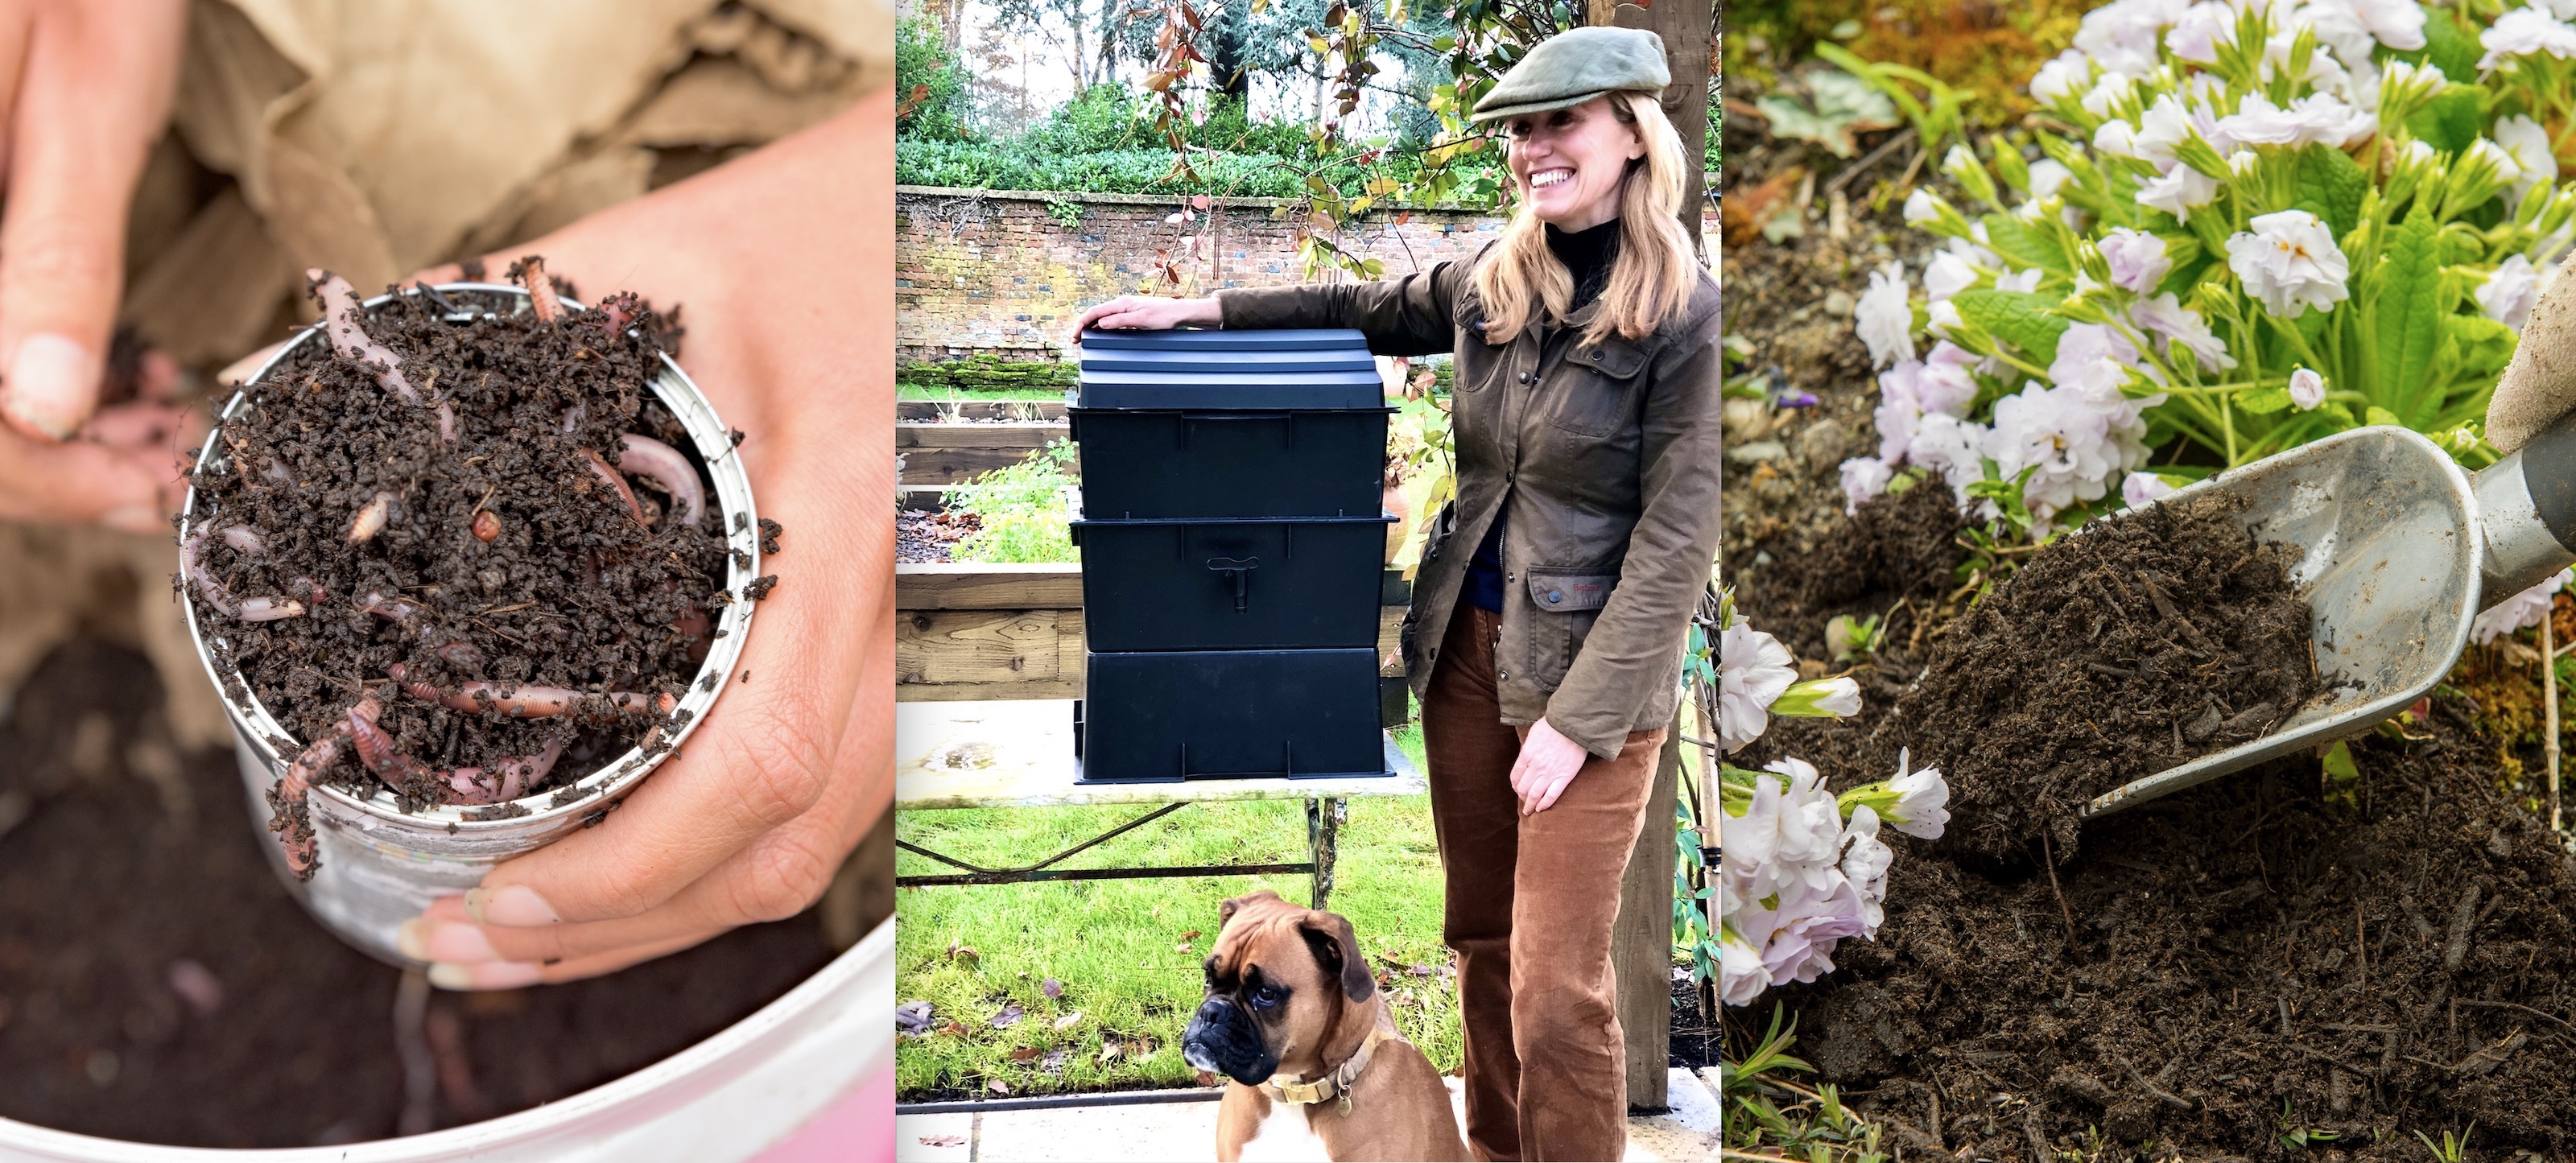
Using a wormery for composting does just that, providing a home for them where they can feed on kitchen food scraps and peelings and, in turn, produce a nutrient-rich compost from their own waste.
It's a sustainable ecosystem that I, an Irish chef and food writer, have introduced into my sustainable smallstead. Here, I share the results…
Why I wanted a wormery

When we first moved into Broadspear and began our backyard smallstead, I wanted to know how to make compost, so I started looking at all the different ways to start a composting system.
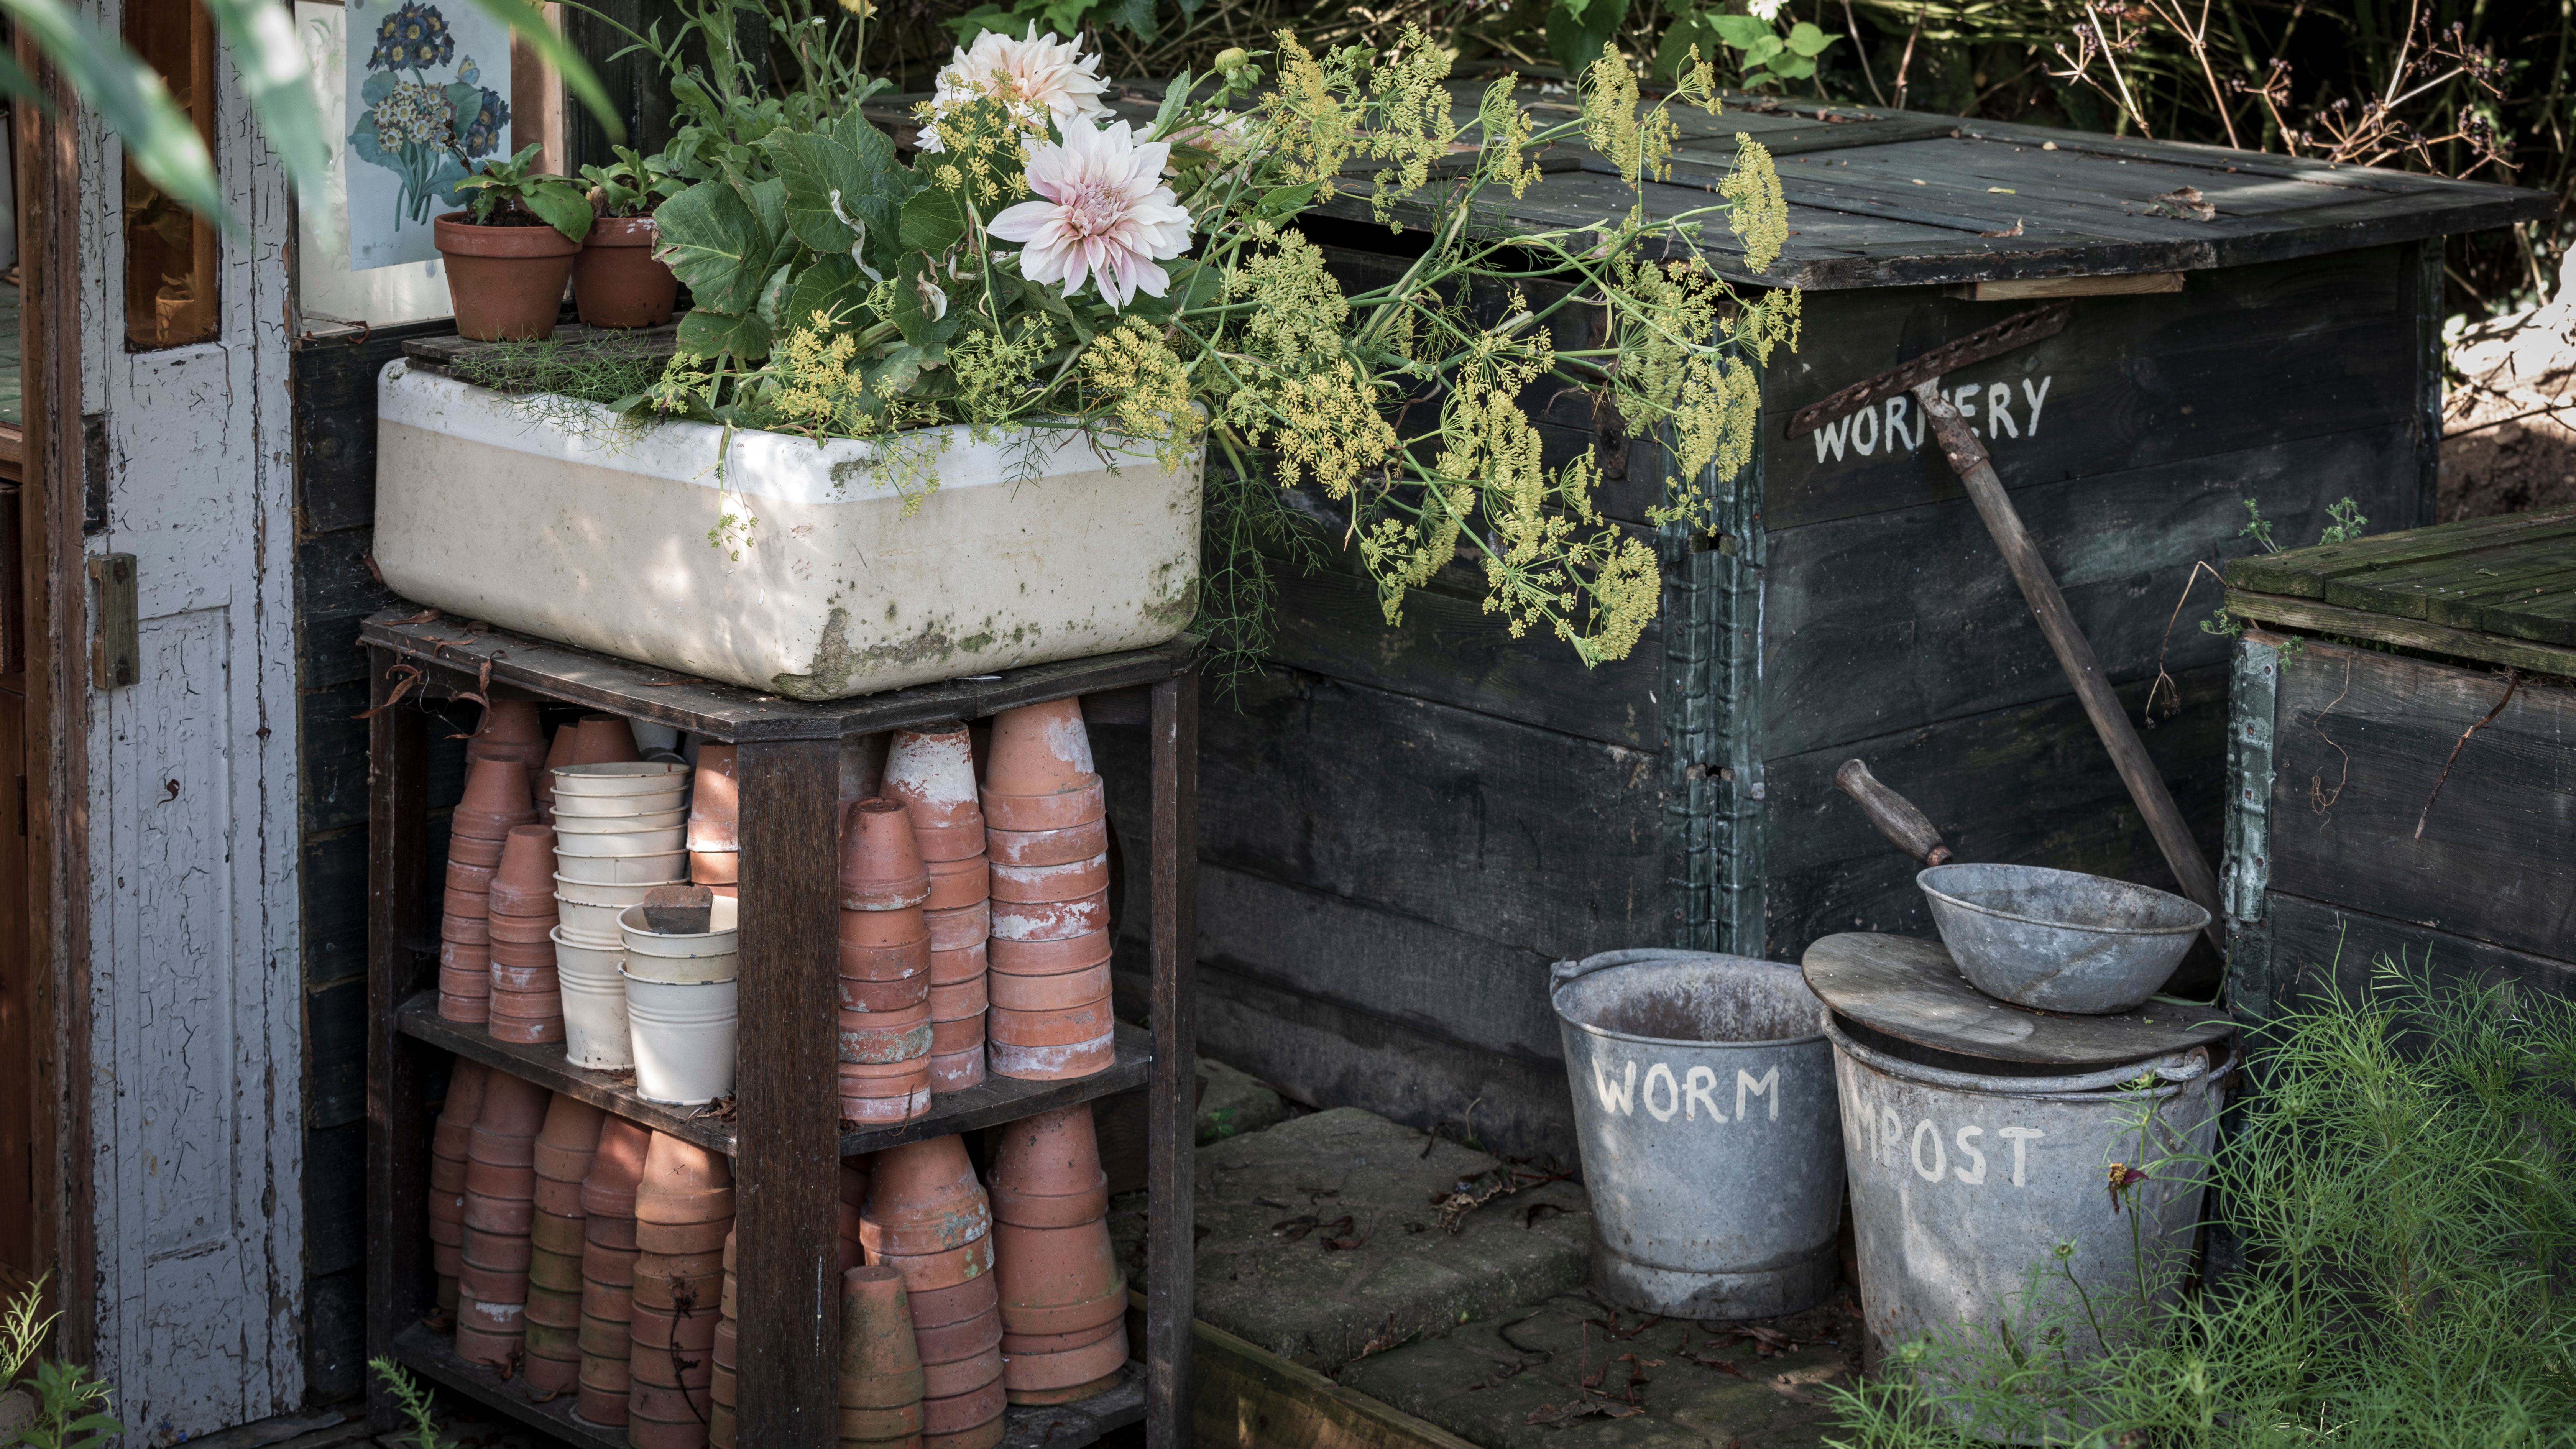
I set up a regular everyday waste composter, a large leaf composter (which is made from pallets) and also two wormeries. I had never even seen a wormery in use before, but I was so intrigued with the idea of living things mulching away on leftover bits from my kitchen.
If you haven’t heard of a wormery, it is basically a box made up of at least two or three trays with holes in them, which contain composting worms that eat waste from the kitchen. The upper tray is where you keep the composting worms, and where you place your waste. The worms eat their way through the waste and poo out the most fantastic rich soil. The tray underneath is where all the liquid goes.
Setting up my wormery

Our wormeries, from a company called Wormcity, are made from recycled plastic and they came with 500g of live worms per bin – that’s approximately 1,500-2,000 worms depending on their size!
I can't deny, the day they arrived I did get a bit squeamish about all the worms – hundreds of them wriggling away – but they are completely harmless. It was pretty easy to piece the bins together; they just need a layering of newspaper and you're off.
A wormery is relatively easy to maintain, even though I have to admit the first batch of worms did not survive – so learn from my mistakes! You need to place the wormeries in a non-windy spot that doesn’t have direct sunlight. They don’t like being too cold or too hot.
Another lesson I learned is that they eat slowly. Each worm will eat about double their own size, so just start off small and then increase the waste as you go along, until you work out how much they can get through.
Worm 'tea' & rich compost

It takes about two months for the worms to start producing compost, but then all composting takes time. Patience is definitely a virtue when you’re trying to operate in tune with nature.
You can feed the worms lots of things, from coffee to green waste and bread, but some foods should be avoided. It is a small bin, so it doesn’t take up too much space, which is great if you don’t have a big garden but want to live more sustainably.
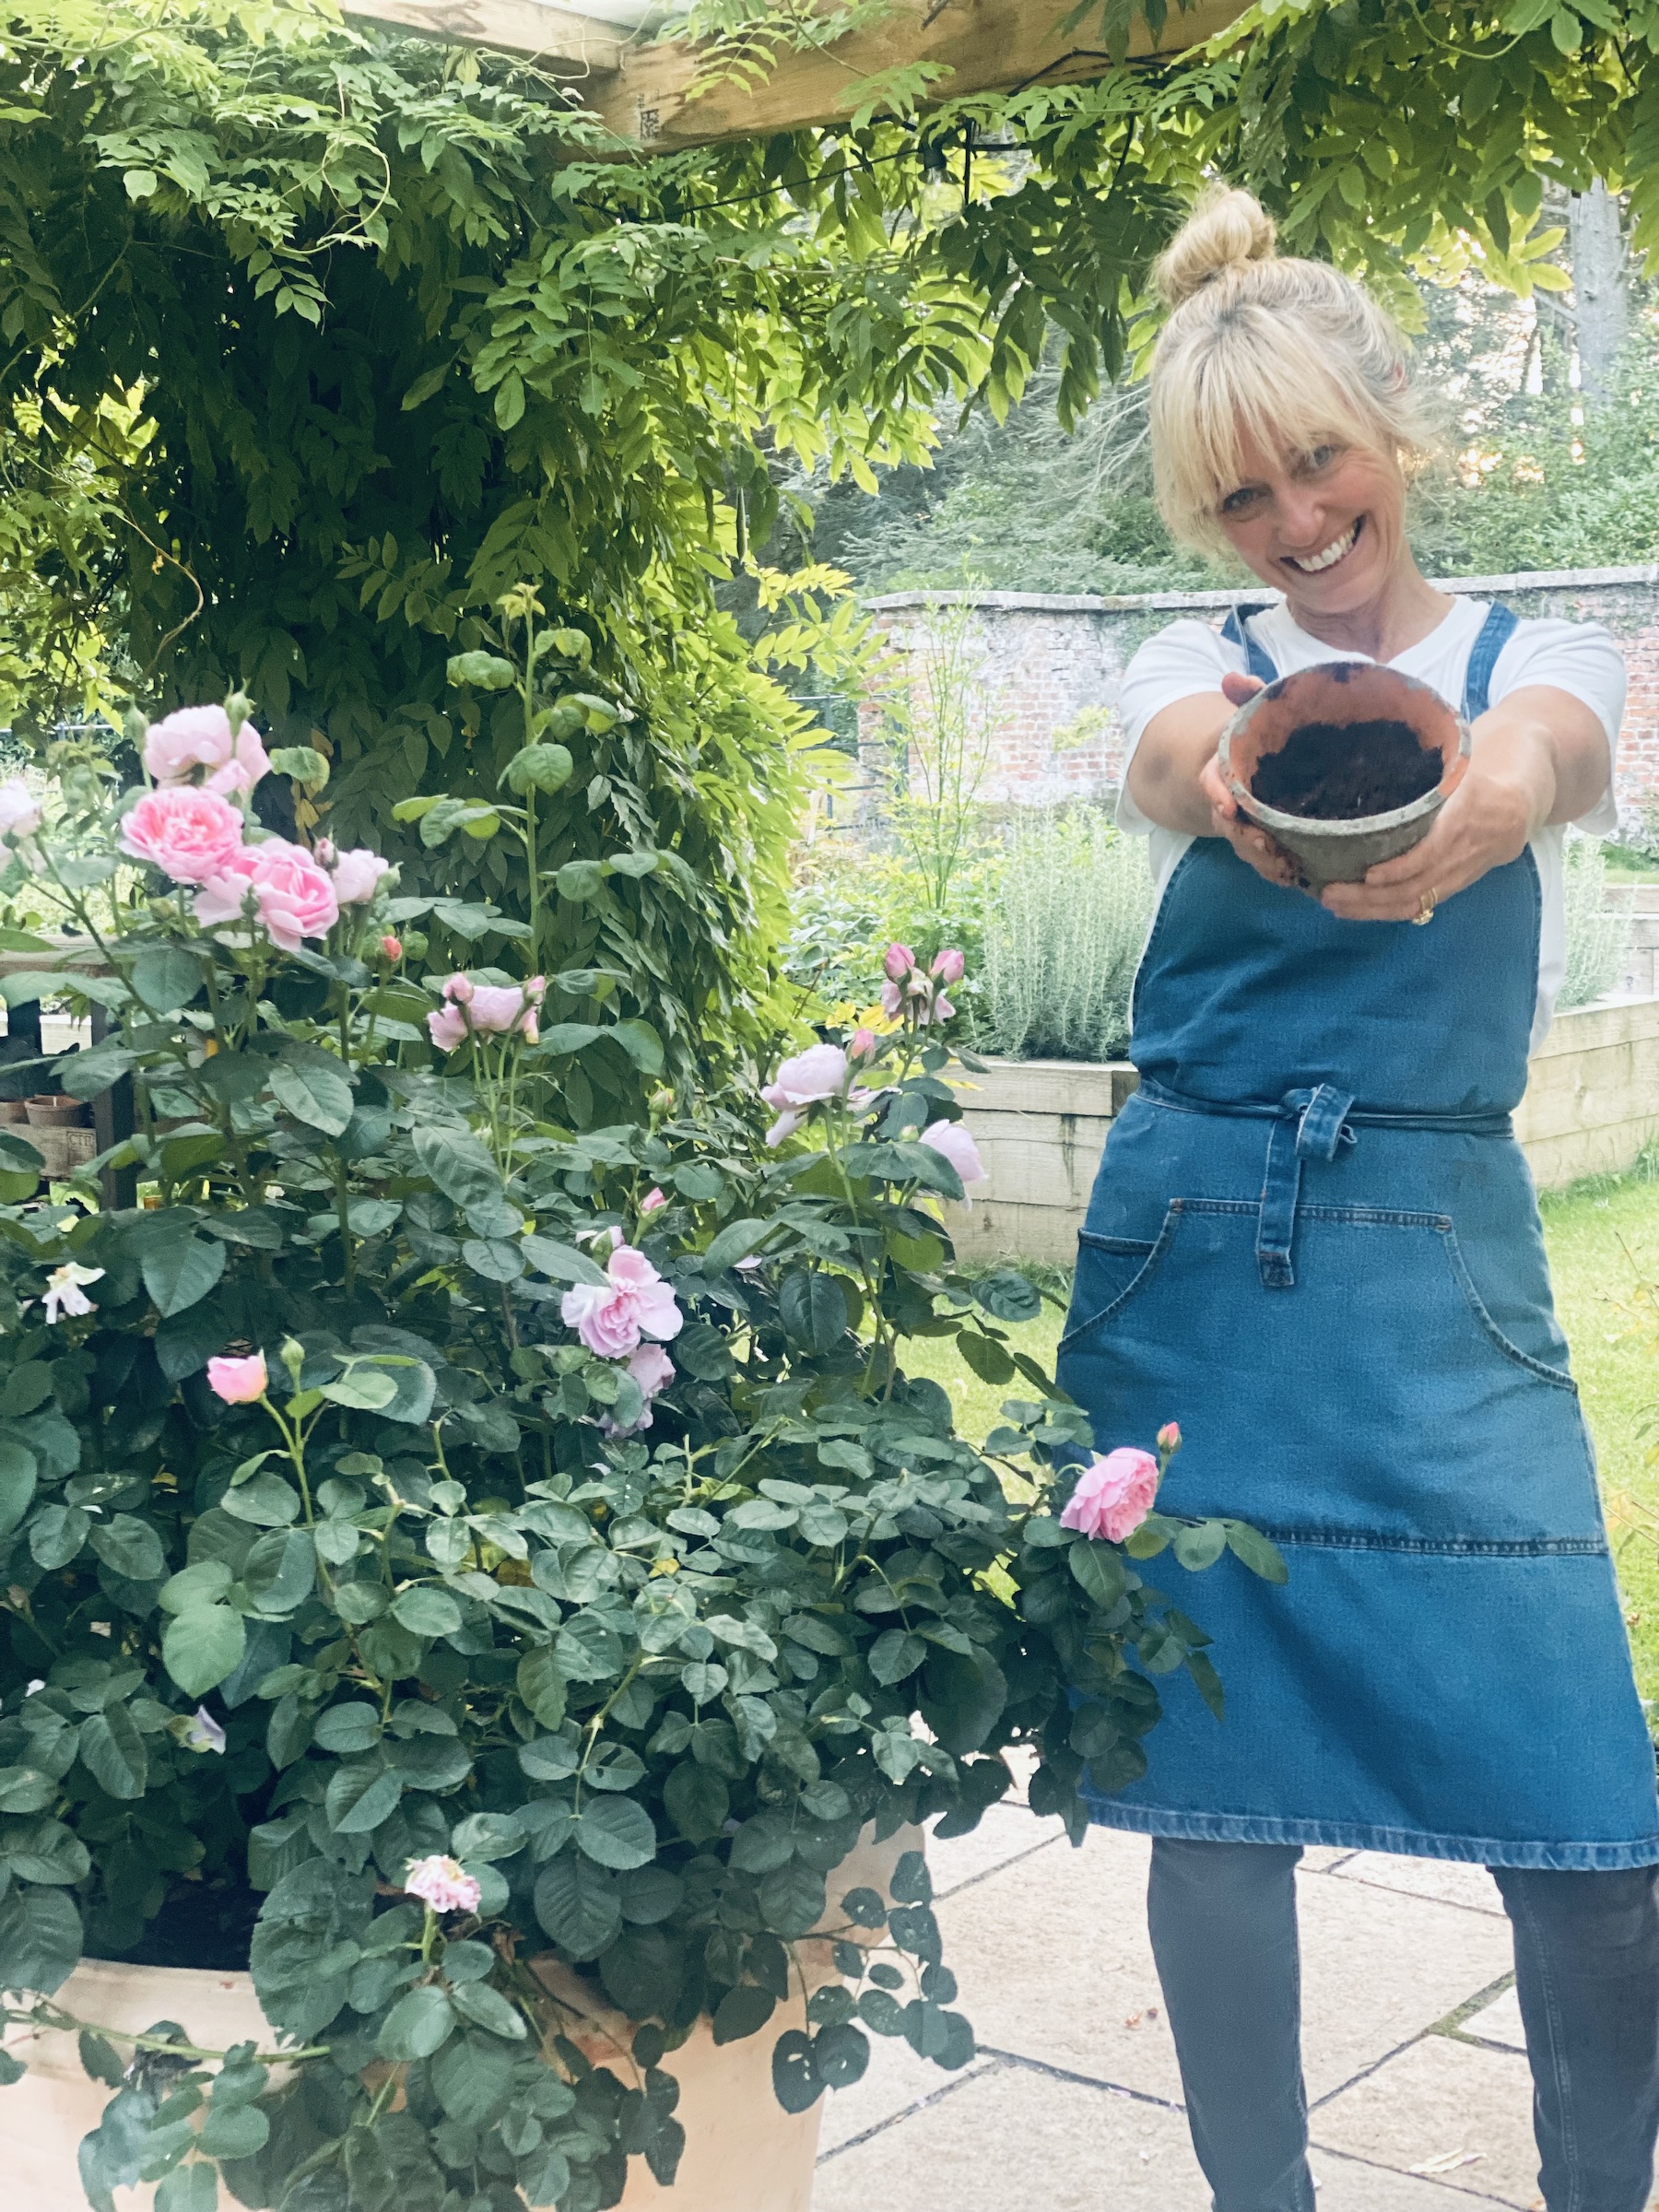
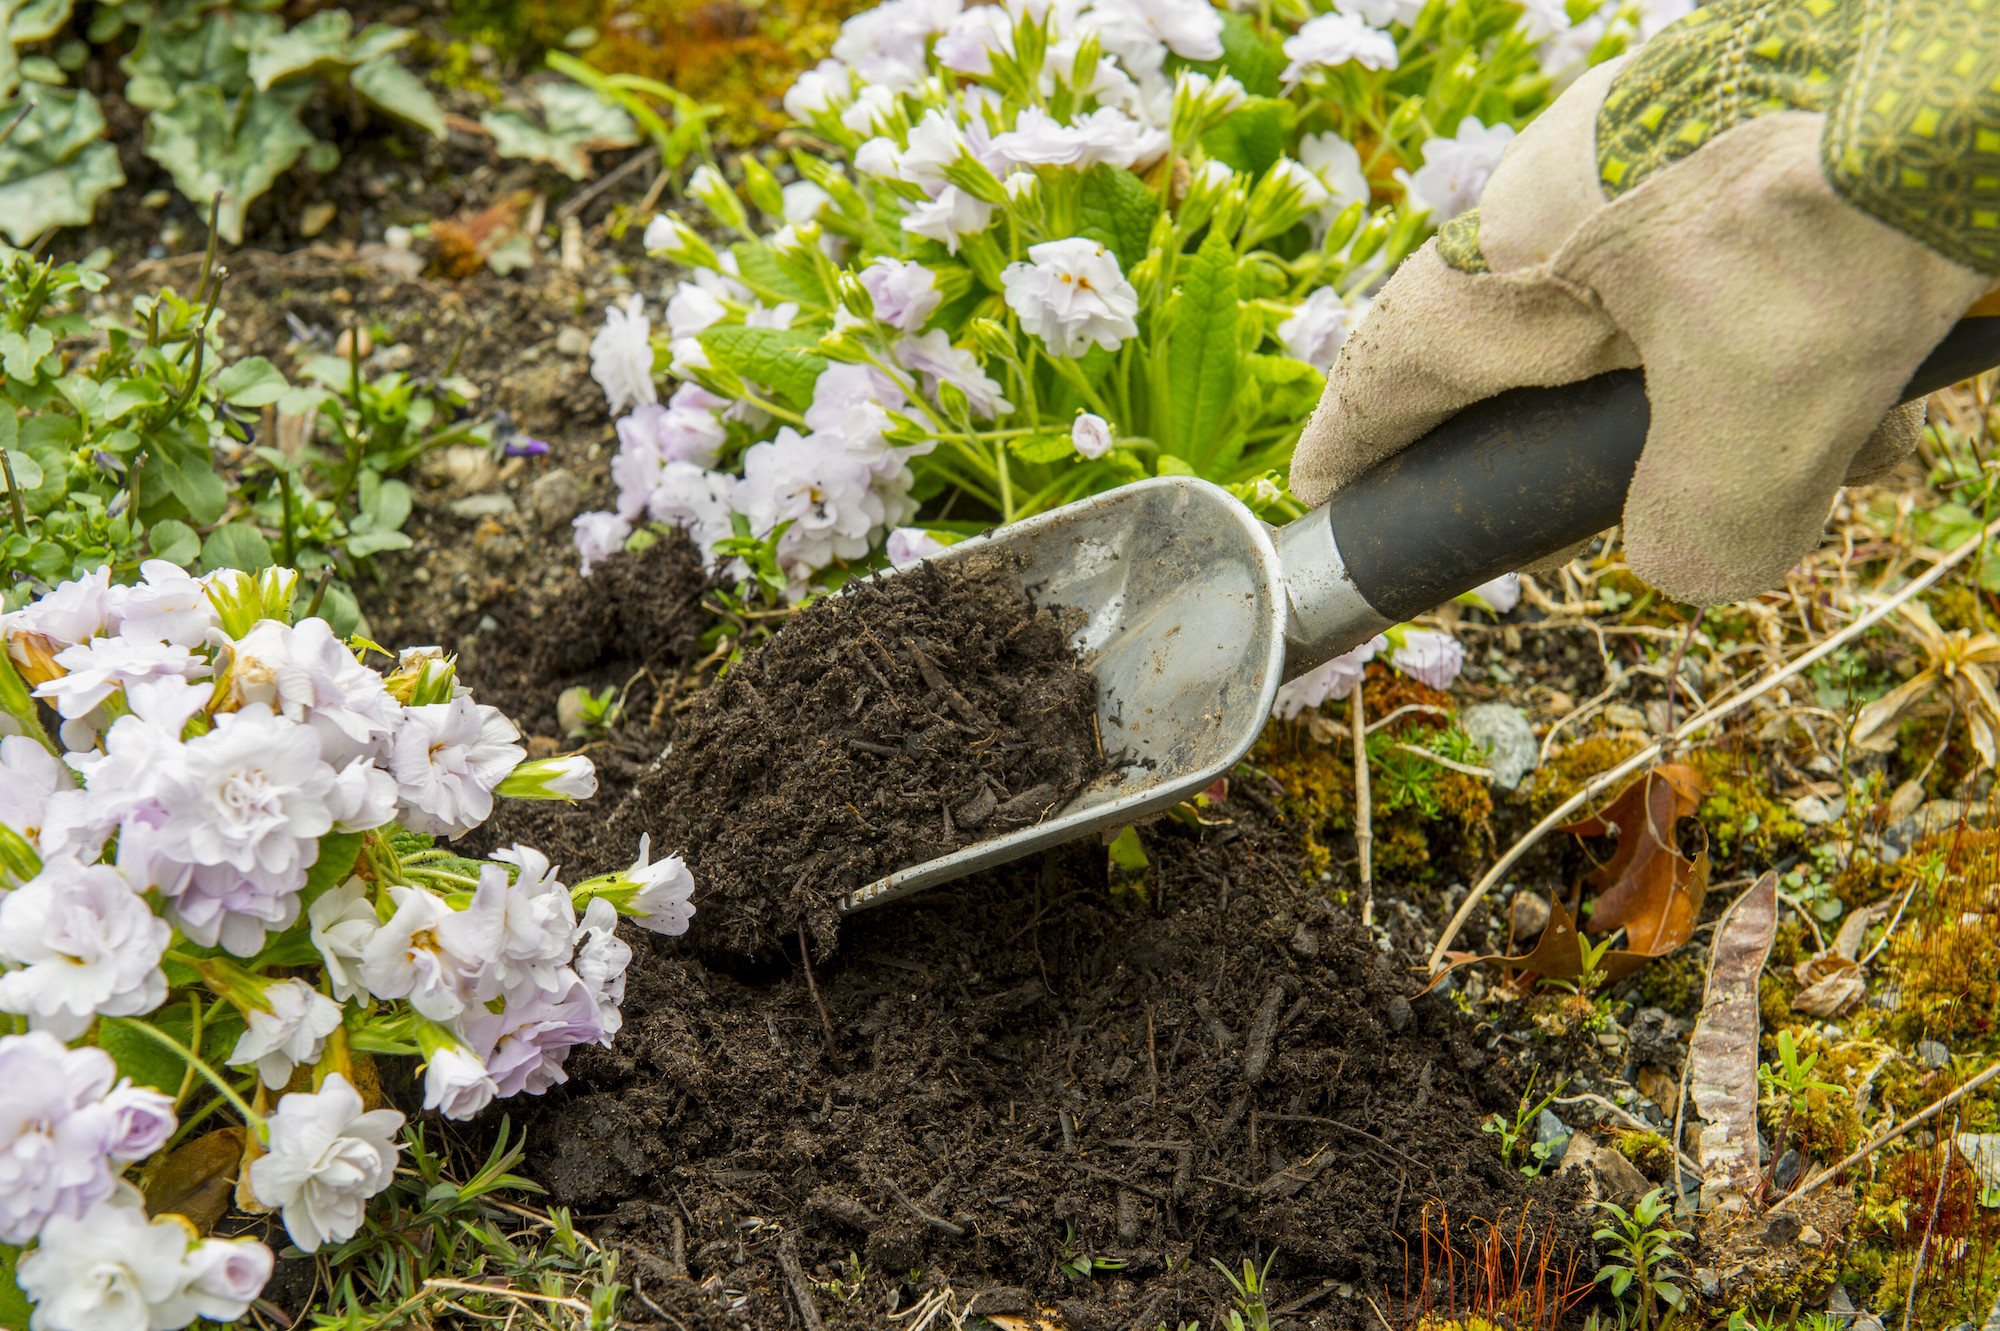
The wormery compost is brilliant for the vegetable garden, it is very rich, so you don’t need to add huge amounts. We tend to mix it in with our other compost as an enricher. With the liquid ‘worm tea’ I dilute it with water, about one part worm tea to 10 parts water. This makes a brilliant plant feed – my tomatoes seem to love it! If you’re not squeamish – and even if you are – get yourself a wormery to make super-rich compost for extra delicious vegetables in your garden.
Sign up to the Homes & Gardens newsletter
Design expertise in your inbox – from inspiring decorating ideas and beautiful celebrity homes to practical gardening advice and shopping round-ups.
Chef, TV presenter and award-winning cookbook author Clodagh McKenna lives at Broadspear. She has been lovingly bringing the property back to life with her partner Harry for the past two years.
-
 I tried this one easy dishwasher trick and made the annoying need for manual drying a thing of the past
If you hate those little pools of water left on your cups and crockery, this towel trick is for you
By Punteha van Terheyden
-
 Renovation Aloha's Tristyn and Kamohai Kalama share the front color you need to sell your home – they explain, 'it's one of the areas you can go a little bolder'
In Homes & Gardens' exclusive interview with the Kalamas, they explain the renovations to make to the front of your home for property value
By Sophie Edwards