When to harvest gourds to make attractive ornaments
Our expert advice for picking gourds to avoid rots and softness
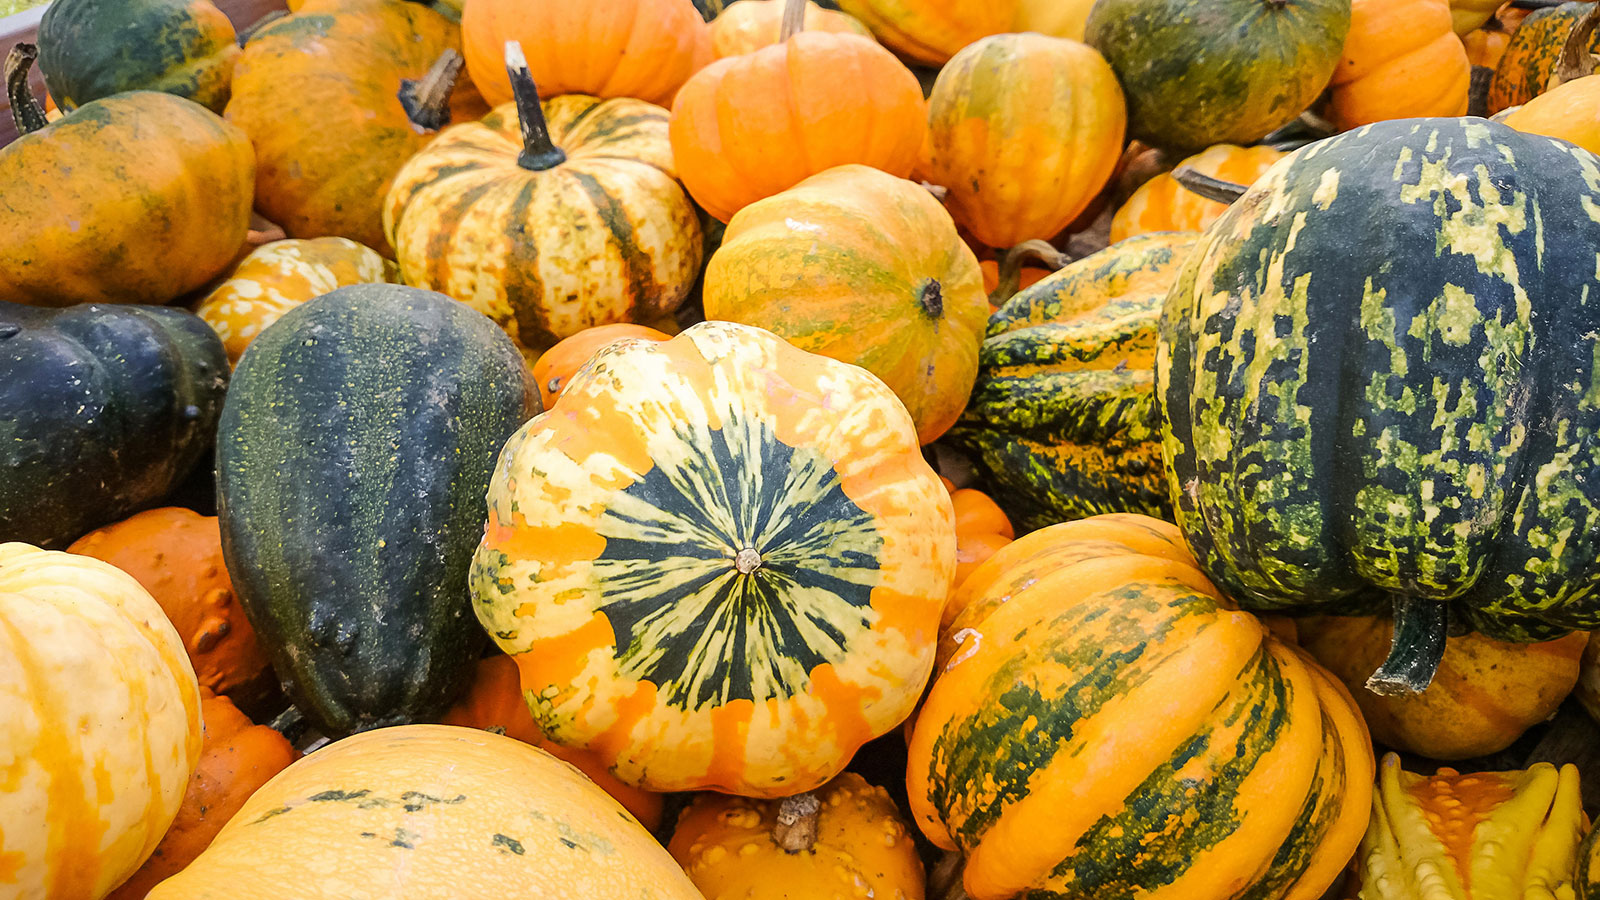
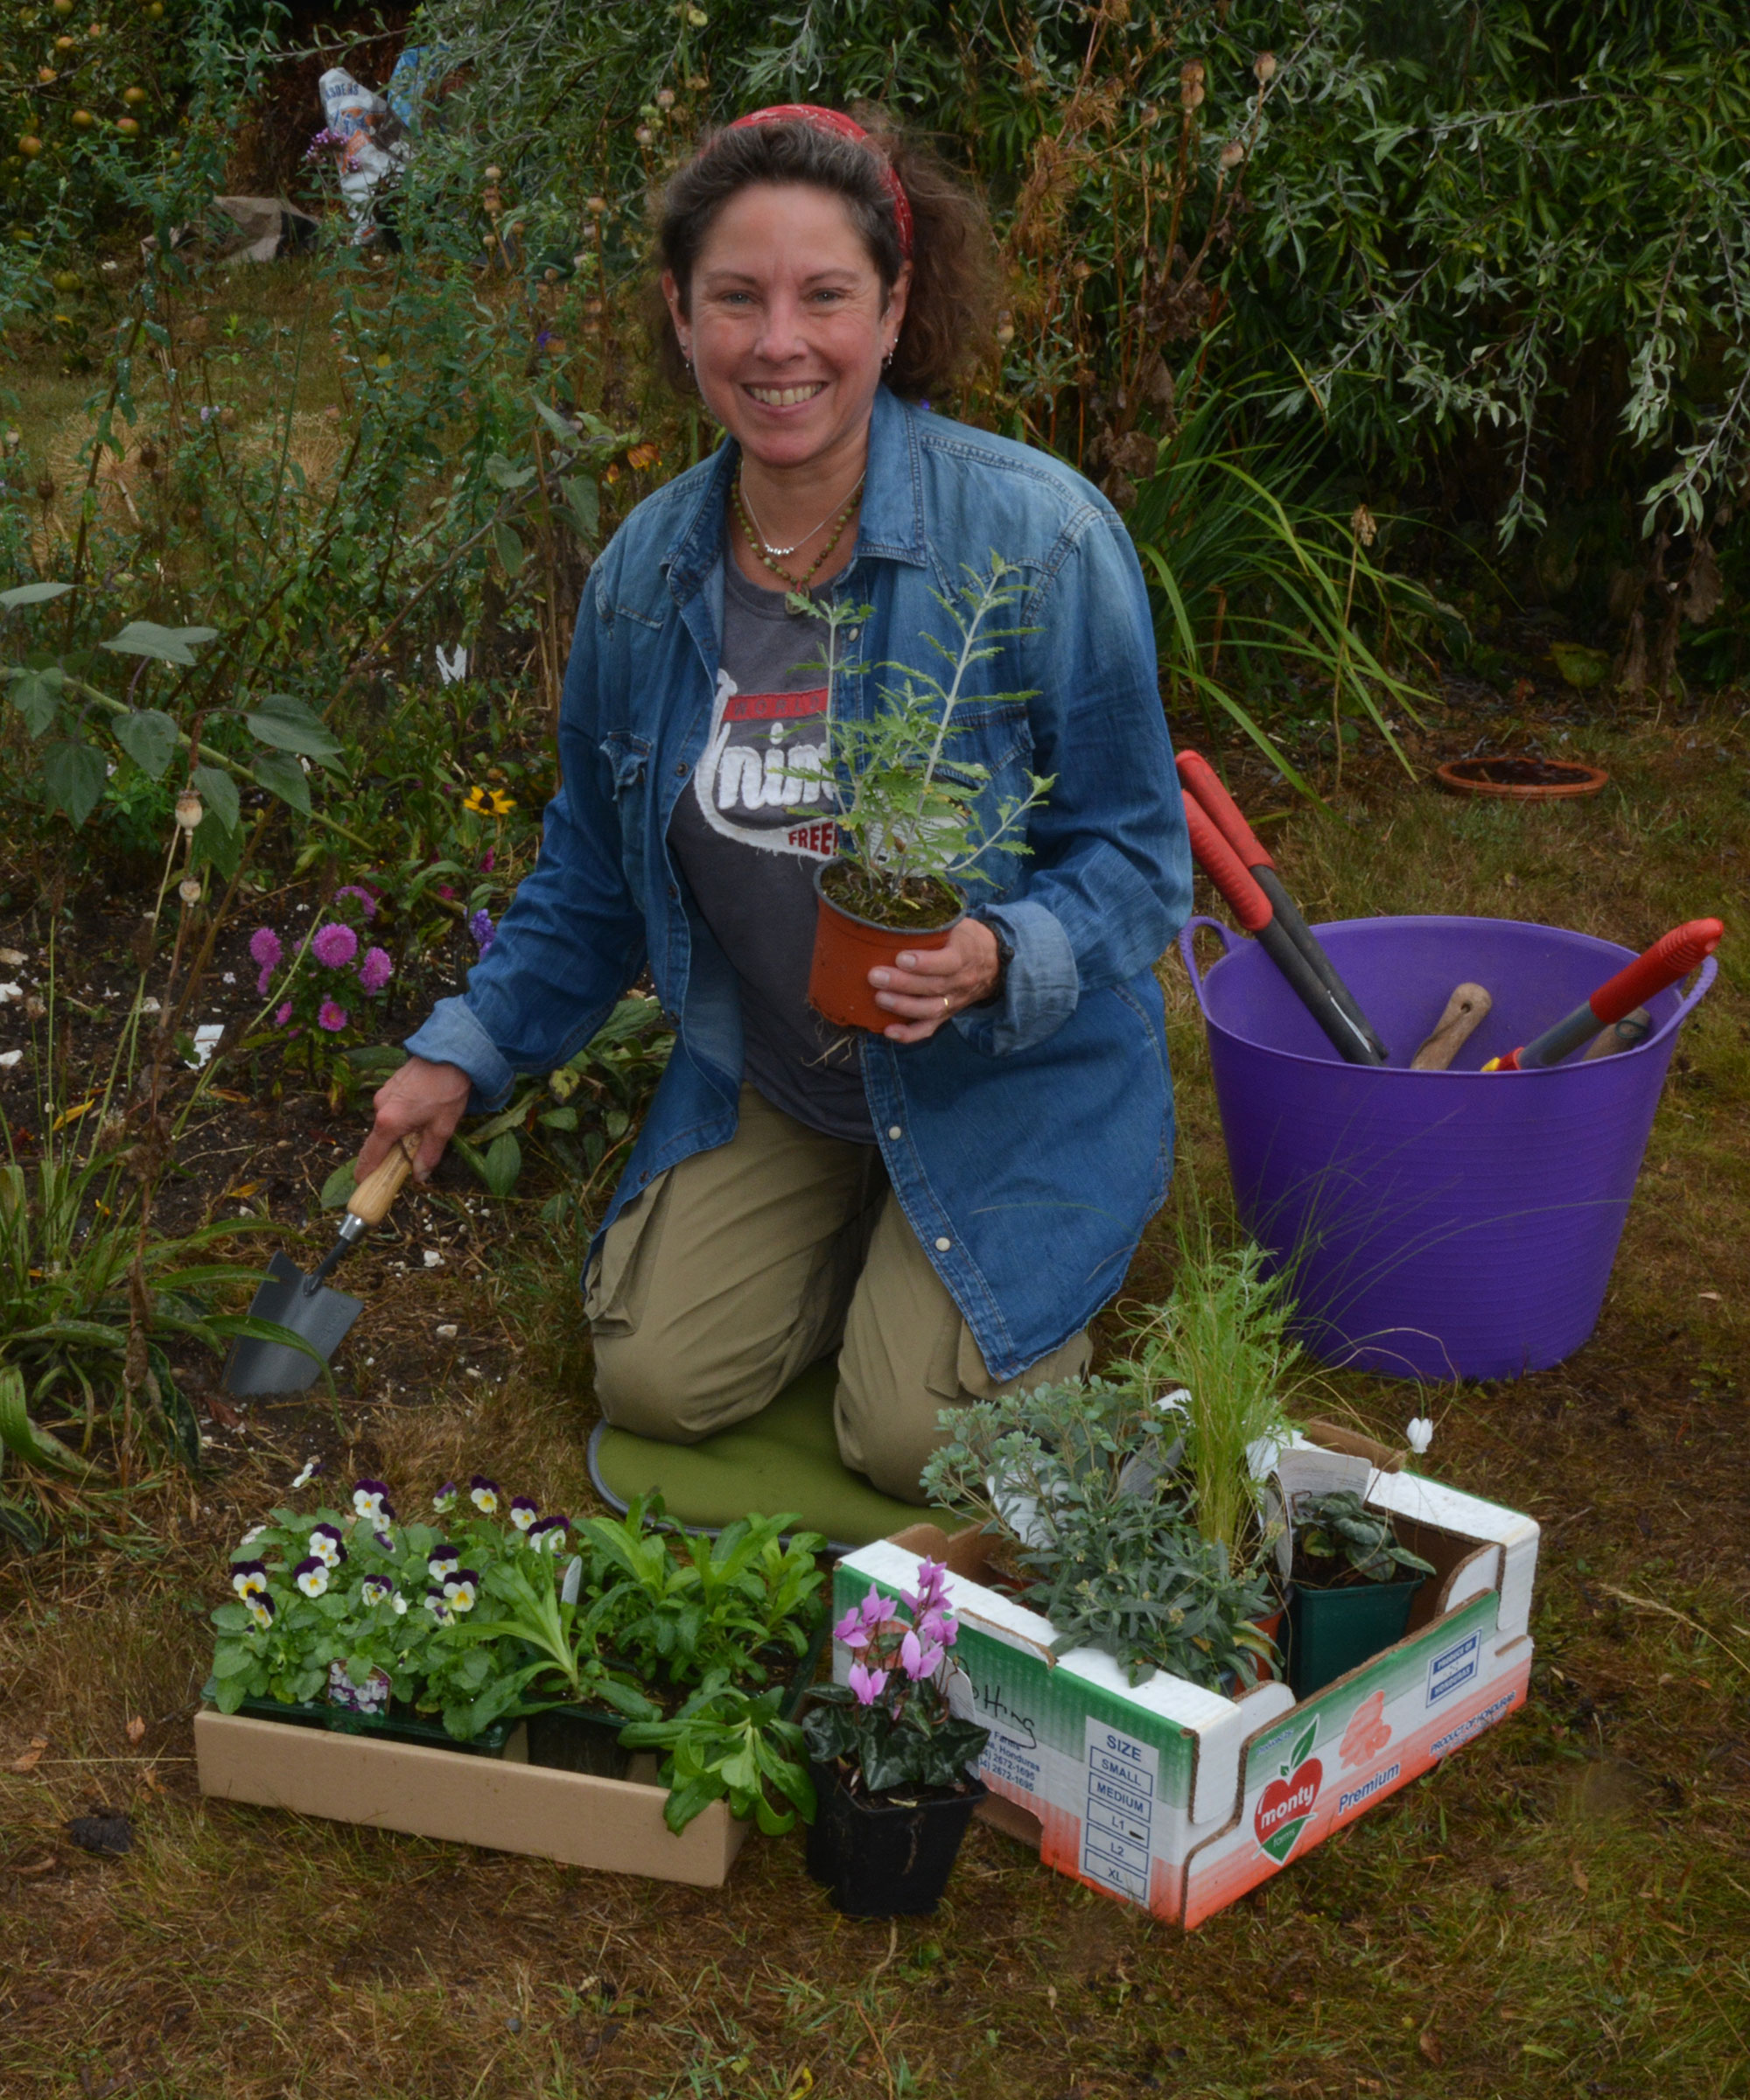
Gourds are one of the most interesting and easy vegetables to grow in your yard.
They are one of the oldest-known crops to be cultivated and have been used since prehistoric times as water containers, storage utensils and musical instruments.
Gourds are a quirky addition to your vegetable garden ideas. They grow on climbing or sprawling vines, and when picked, dried and painted, are popular as quirky ornaments around the home, especially at Hallowe'en and in the fall.
When to harvest gourds
In the colder US hardiness zones where the temperature drops below zero in winter, gardening lore has it that gourds should be harvested after the first frosts.
If you live in warmer areas that are frost-free, they should be picked when the stalk that attaches them to the vine has shriveled, and the fruit itself has ripened and hardened.
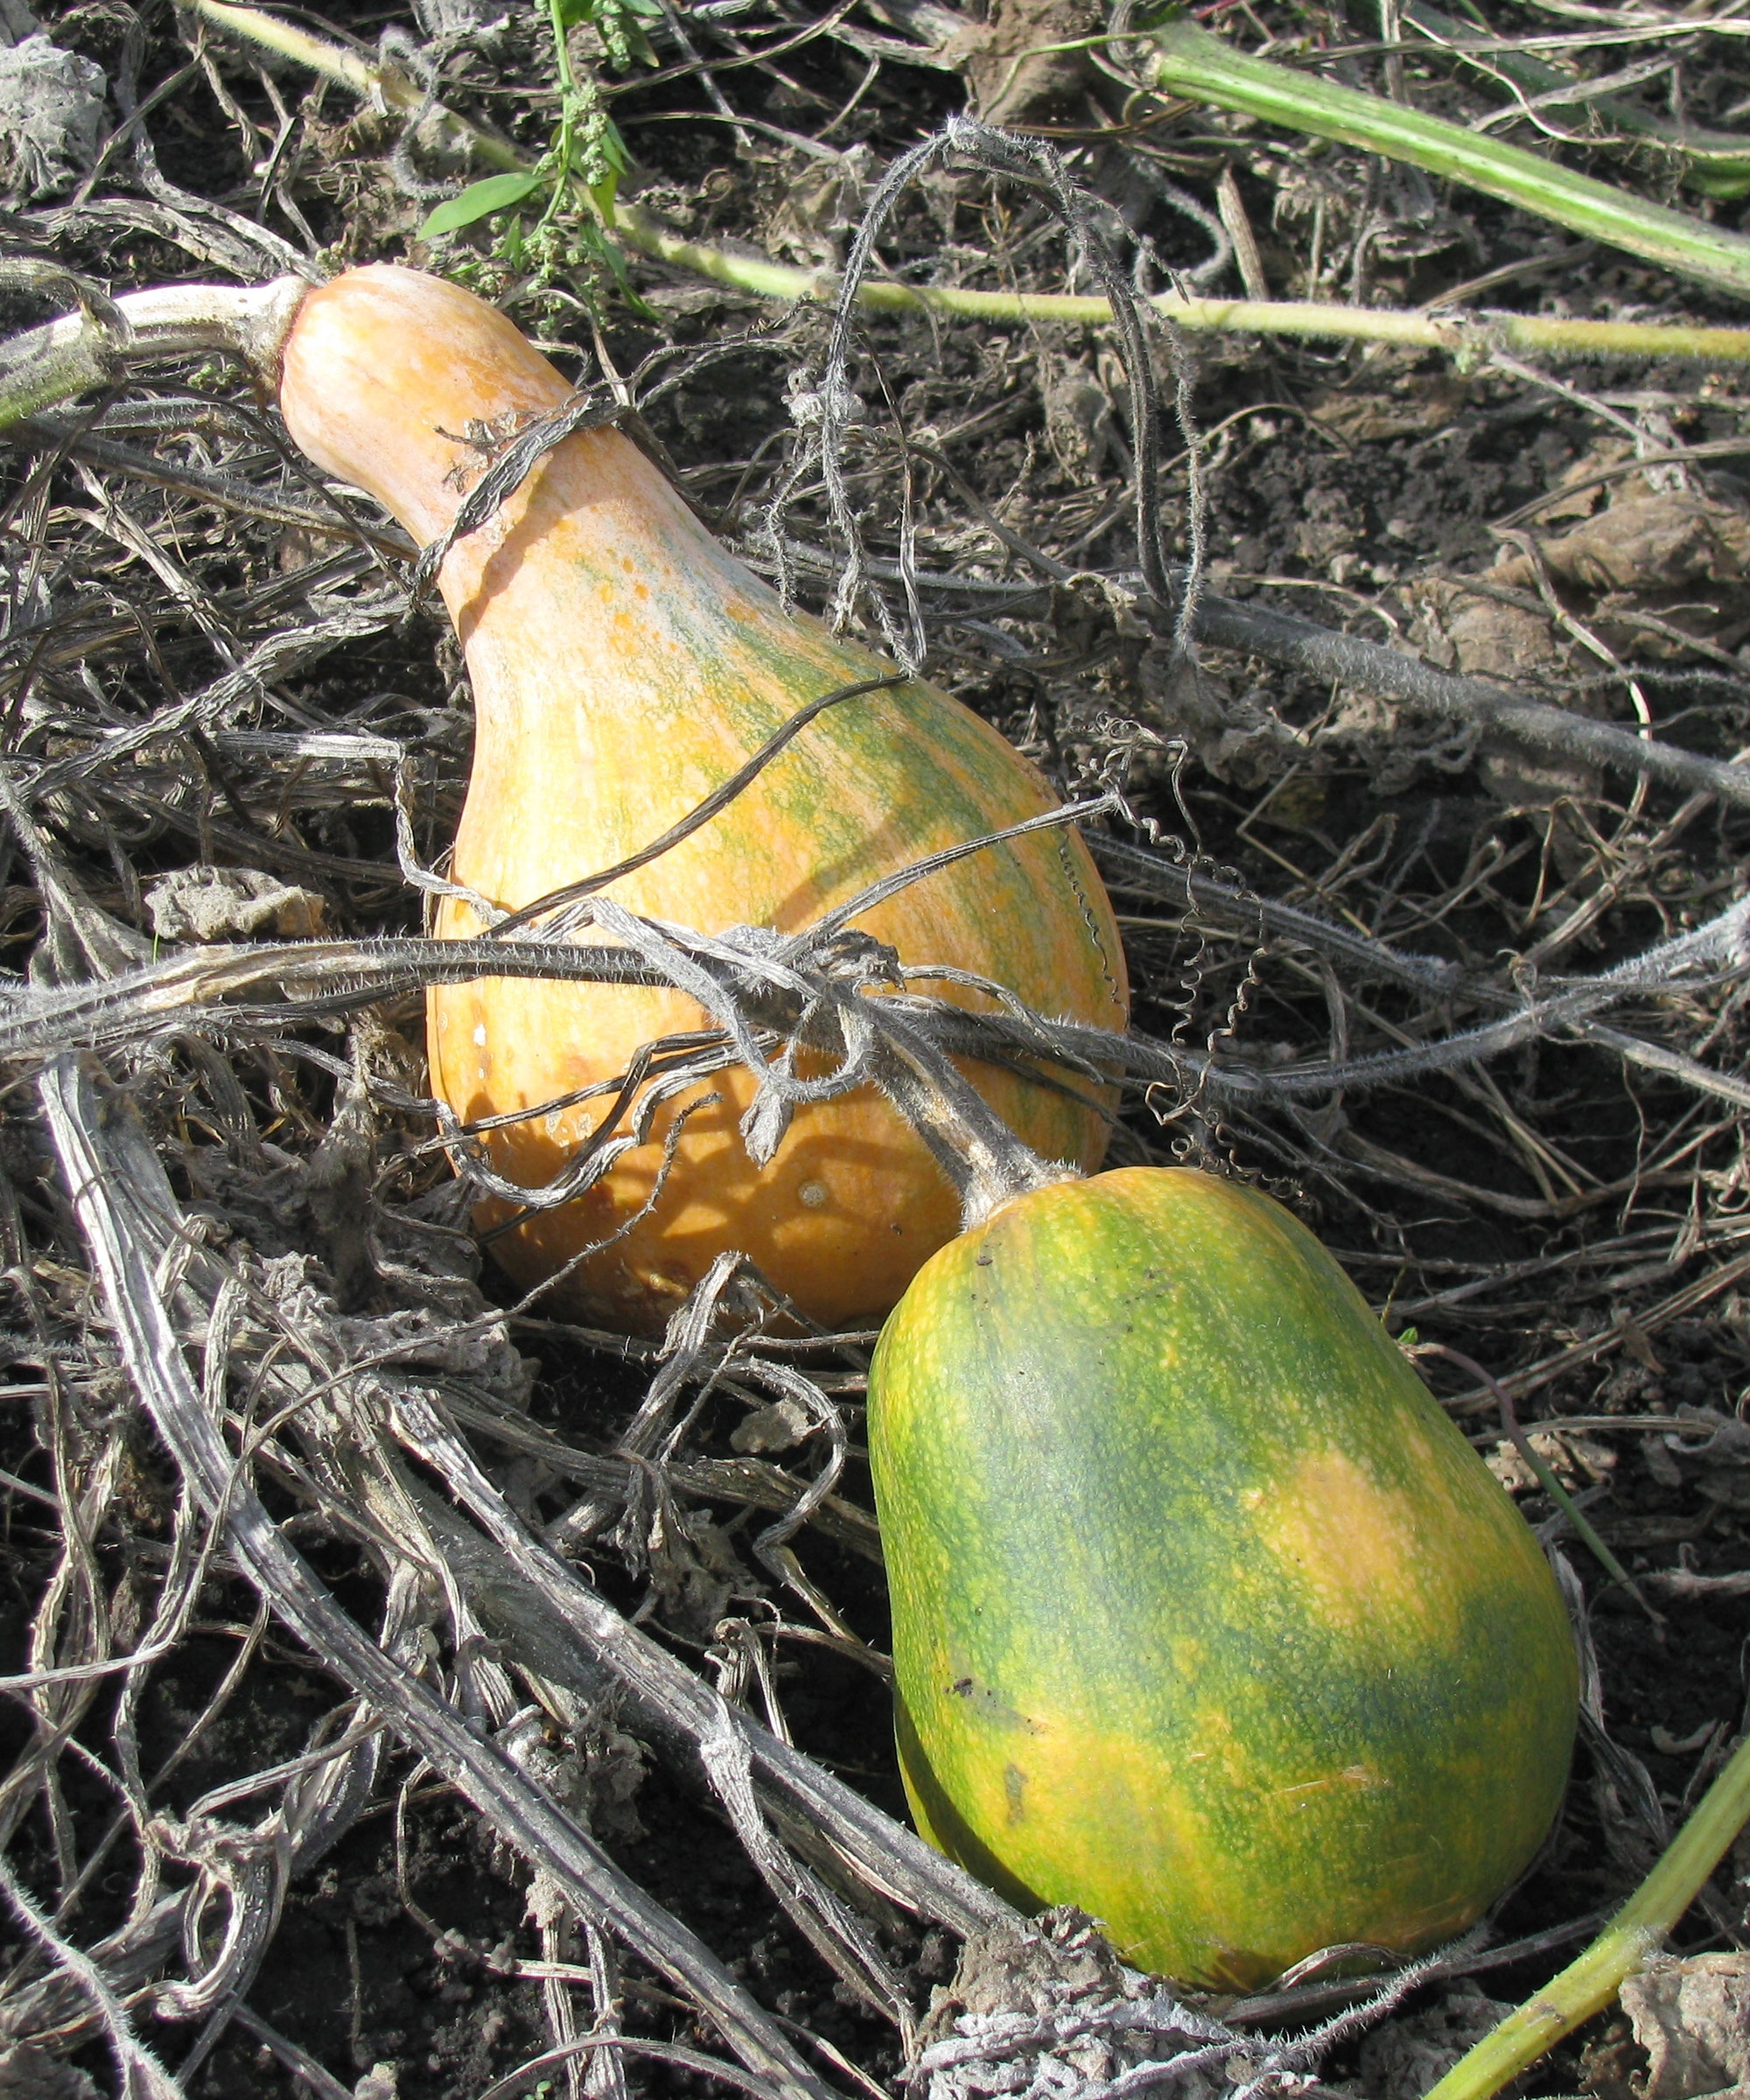
Gourds are ready to pick when their stems have dried and shrivelled
What are gourds?
Gourds are members of the Cucurbit family, which includes pumpkins, squash and zucchini.
There are hundreds of varieties, but most can be divided into two groups: Lagenaria, which are thin-skinned and used as pots, bottles, or painted Hallowe'en decorations, and cucurbits which have thicker skins and are edible.
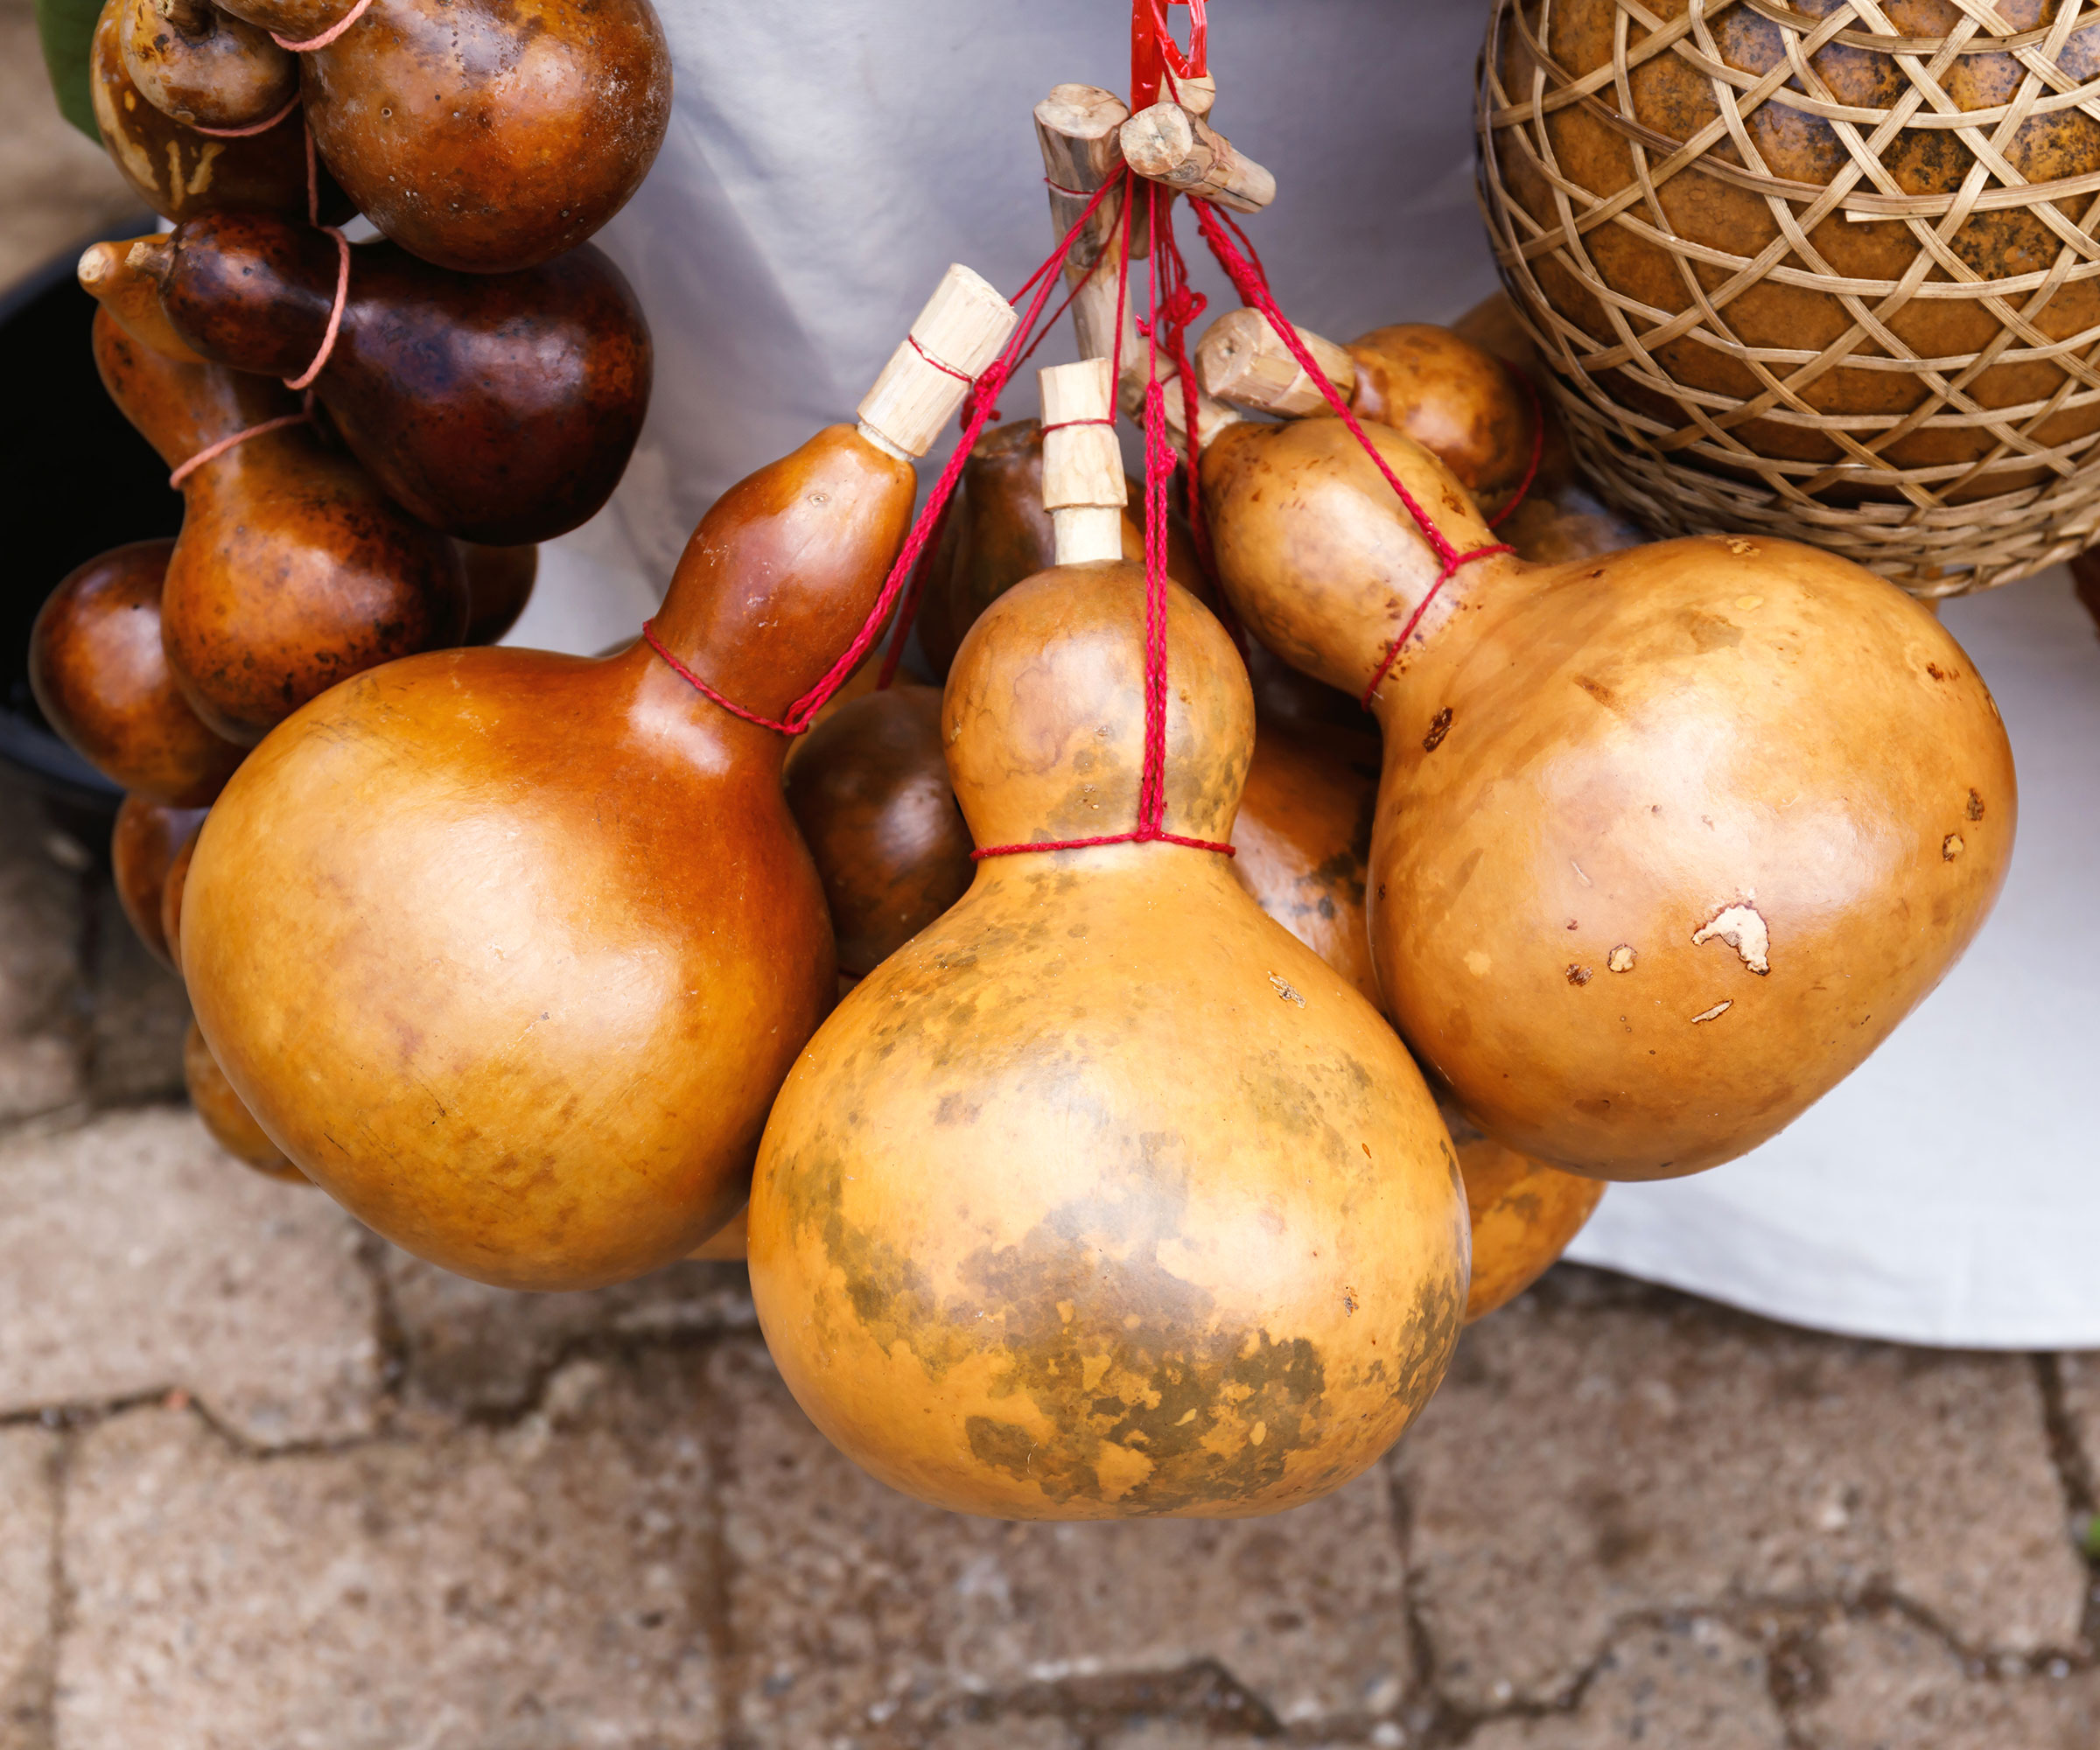
In many countries dried thick-skinned gourds are used as containers and utensils
How to harvest gourds
Harvesting your gourds varies depending on the size of the fruits.
Smaller varieties can be cut from the vines when they have ripened to their final color and their skins are hard to cut with a knife.
Larger gourds are harvested when their stems have turned brown and shriveled, which in colder areas will be shortly before or just after the first frost.
Always cut gourds as close to the vine as possible, leaving long stalks on the fruits to reduce the chance of rotting.
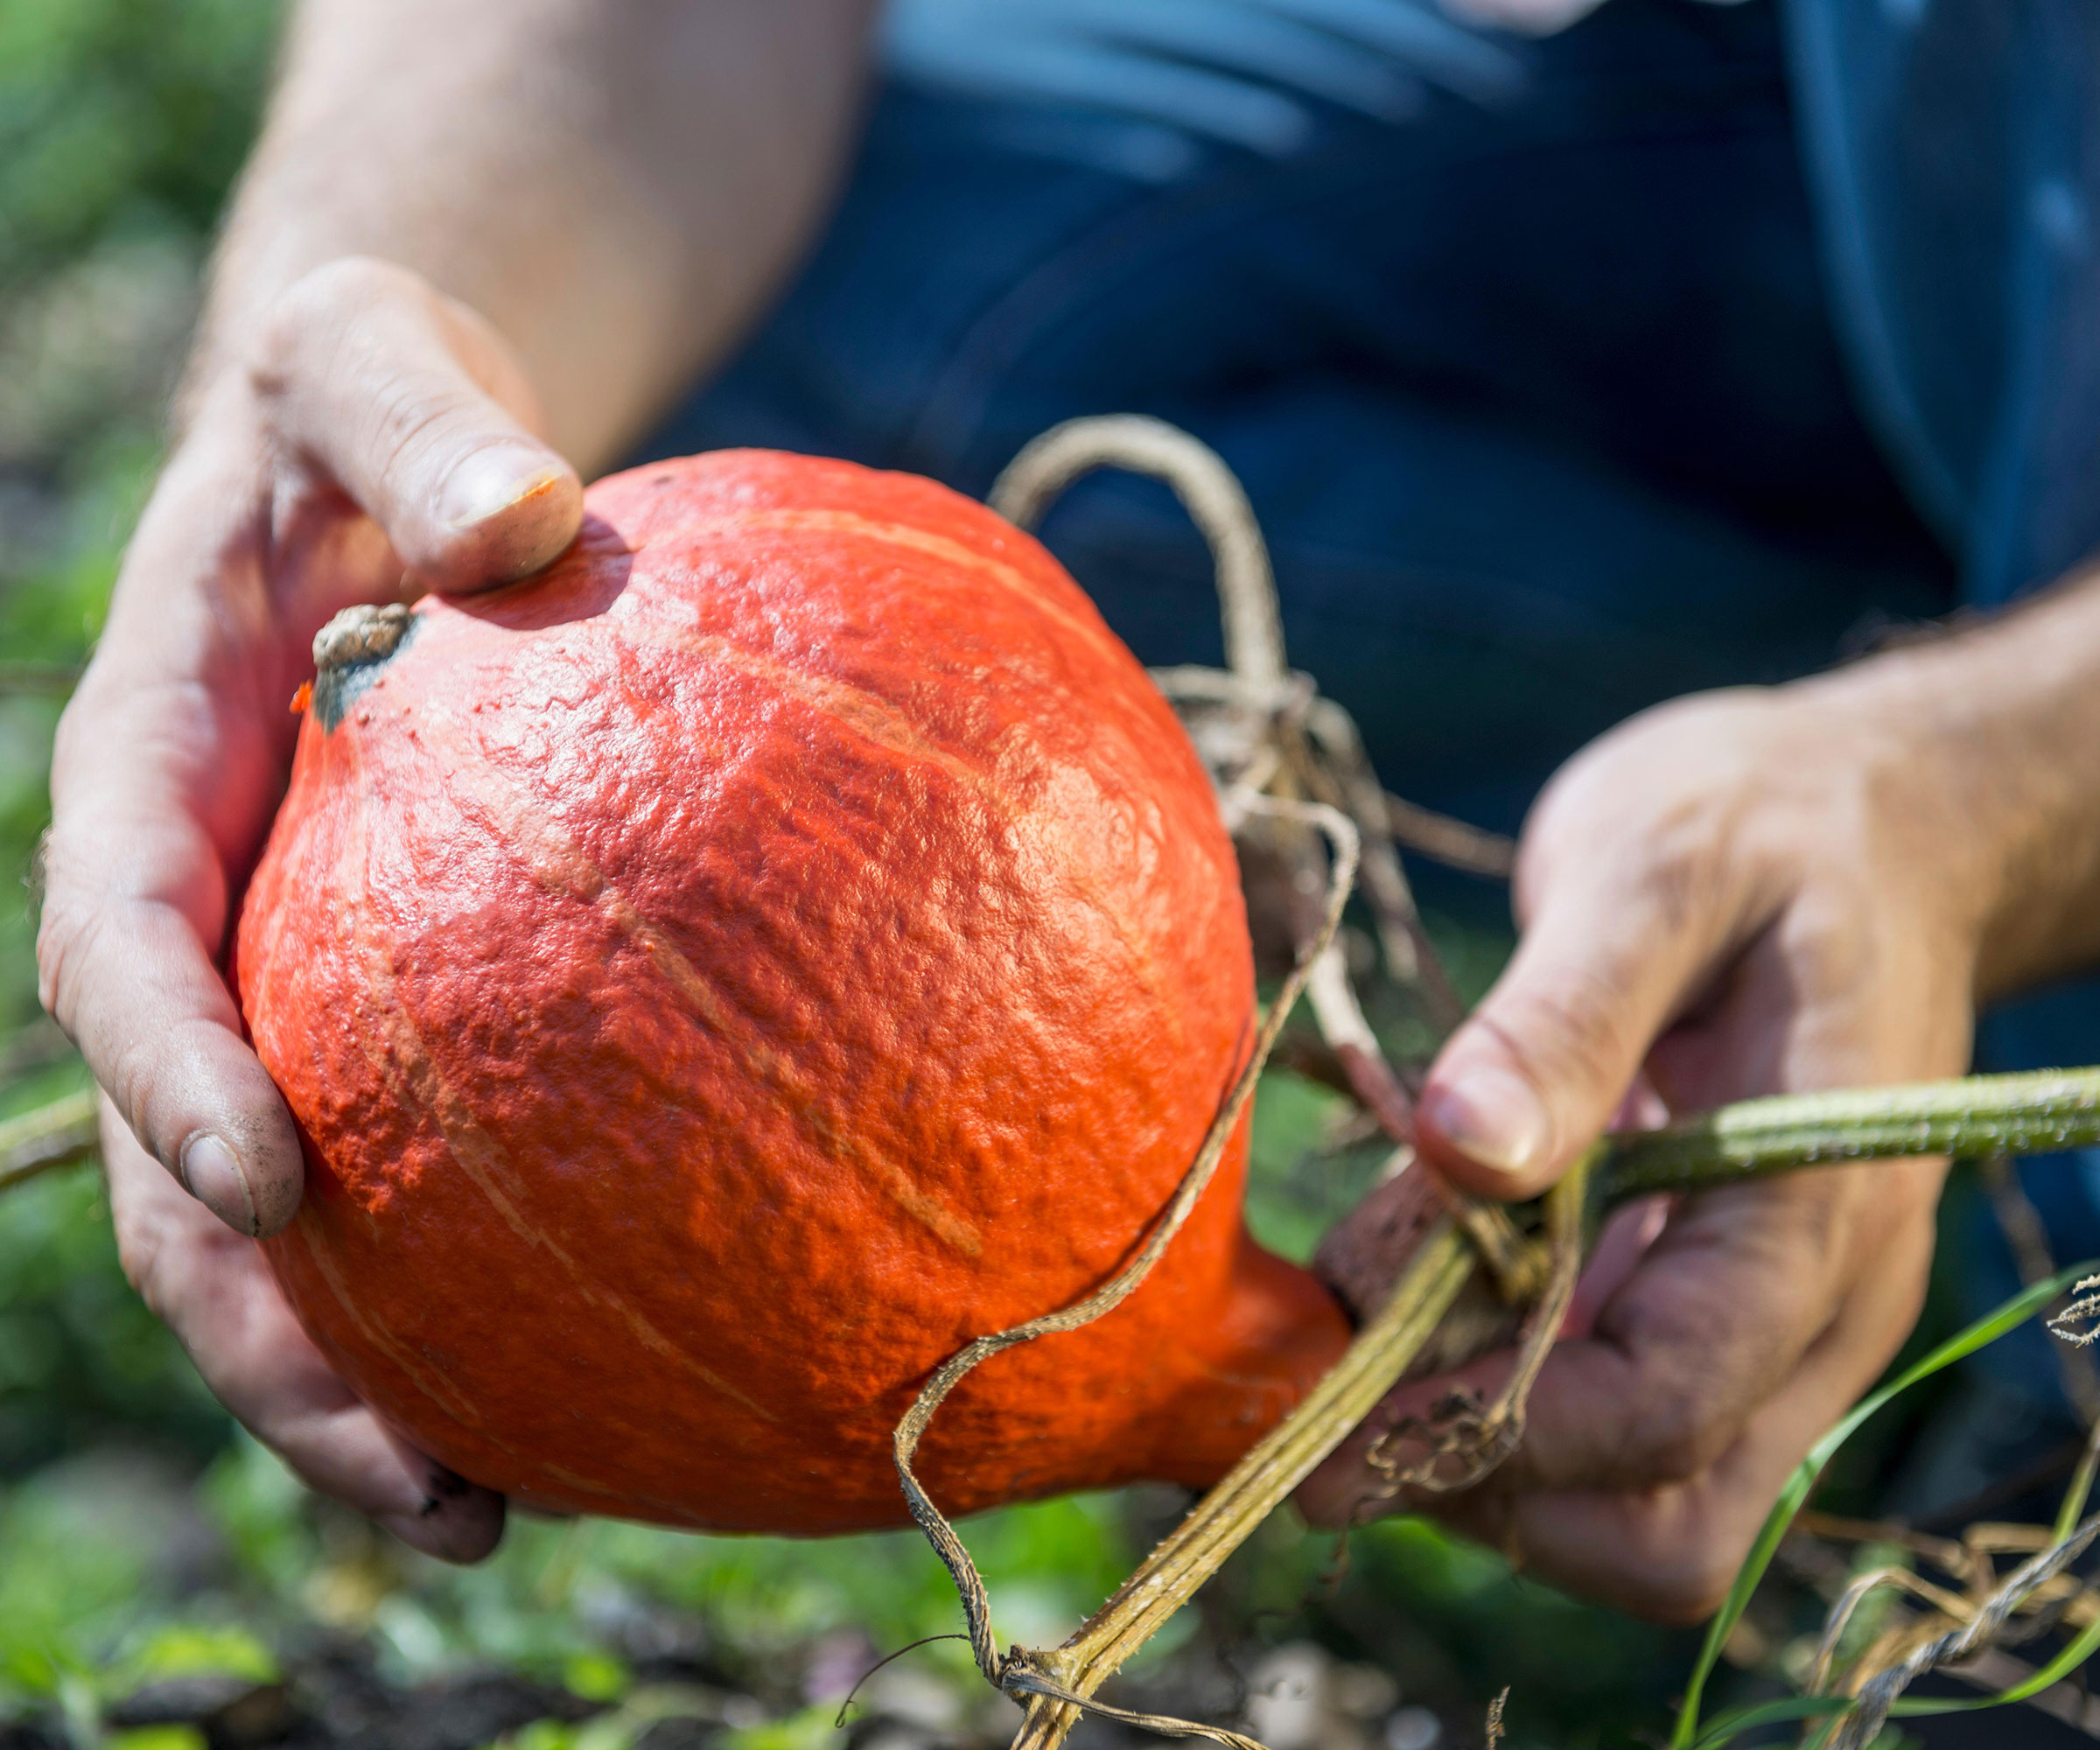
Harvest gourds when their skin has hardened and the stem attaching them to the vine has shrivelled
How to dry gourds
Once they are harvested your gourds need to be placed somewhere to cure and dry.
Start by washing them in warm, soapy water to remove any soil from the skin. Let them air dry naturally, then preserve with vinegar to help toughen the skin.
Place the gourds on a wire rack somewhere dark and well-ventilated to finish drying and leave them for a week or so. They may change color slightly but don’t worry.
To dry the inside of the fruit, place them in a garage or basement with good air circulation and leave them there for up to six months.
You can speed up the internal drying process by carefully piercing their skin with a nail or thin drill bit, then standing the gourd on paper to catch the leaked residue.
Make sure your drying gourds are not touching, and rotate them every week so they dry equally.
Discard any that start to rot as they can contaminate the whole batch.
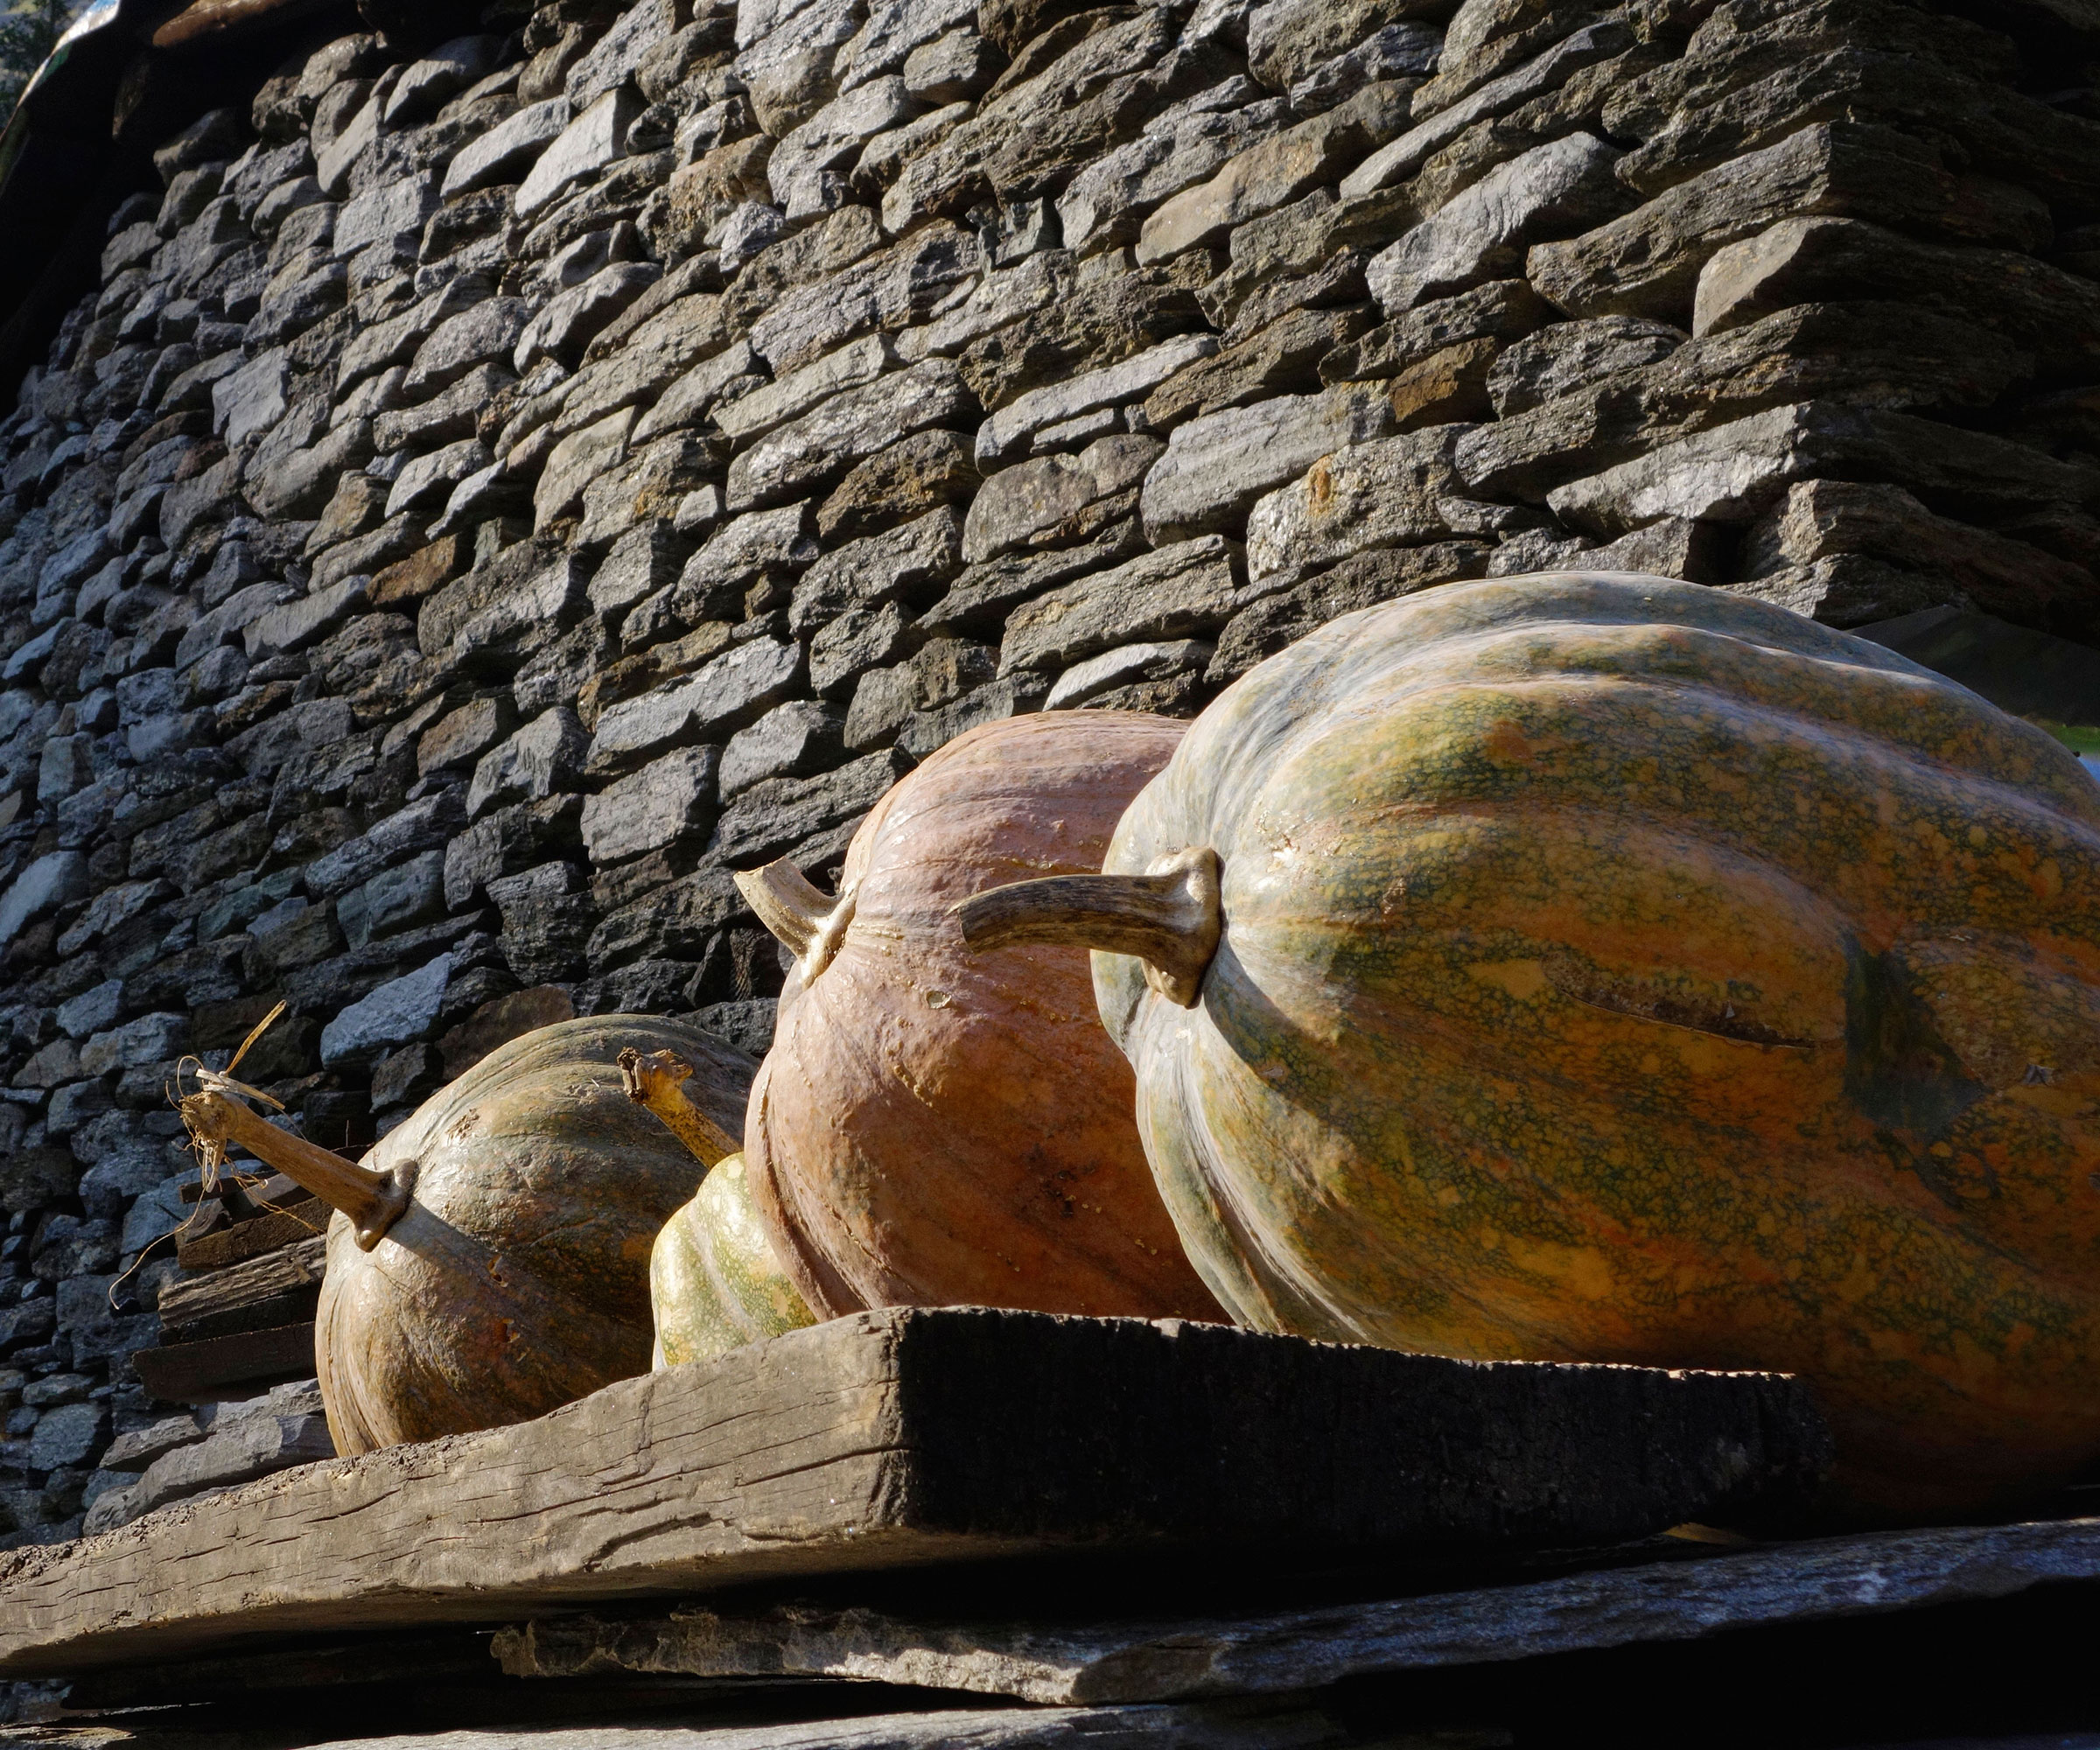
Cure, or dry, gourds somewhere dry with good ventilation
When is my gourd dried?
Your gourd will have dried completely when the skin is hard, the fruit feels lighter than it did at the start of the drying process and the dry seeds inside rattle when you shake it.
Wipe it with diluted bleach to remove any surface mold, let it dry then add a coat of varnish or paint and use it as a decoration.
Do not display gourds in damp rooms such as bathrooms, or outside, as they will start to rot.

Once your gourd has dried you can varnish or paint it
How to grow gourds
Gourds are grown from seed, either sown directly one inch deep into mounds of soil when the frosts have finished or started off undercover by seeds individually in three-inch containers like these Nucandle biodegradable pots on Amazon filled with seed potting soil, such as Miracle-Gro Seed Starting Potting Mix, available on Amazon.
Soaking the seeds for a couple of hours before planting can help germination, and if you seal the pots in plastic bags and place them somewhere light and warm the seedlings should appear in 7-21 days.
Once planted in the yard, gourds need full sun and soil that is kept damp, but not sodden, so you may need to water every 2-3 days. A high-potassium fertilizer like this Materaid Tomato Fertilizer on Amazon applied once flower buds start to form will help the development of flowers and fruit.
You may need to hand pollinate the flowers using a small, soft paintbrush to move pollen from the male flowers to the female ones, which have small growths at their base.
Gourds are slow to grow and can take 10-15 weeks to reach maturity, plus extra weeks to ripen on the vine.
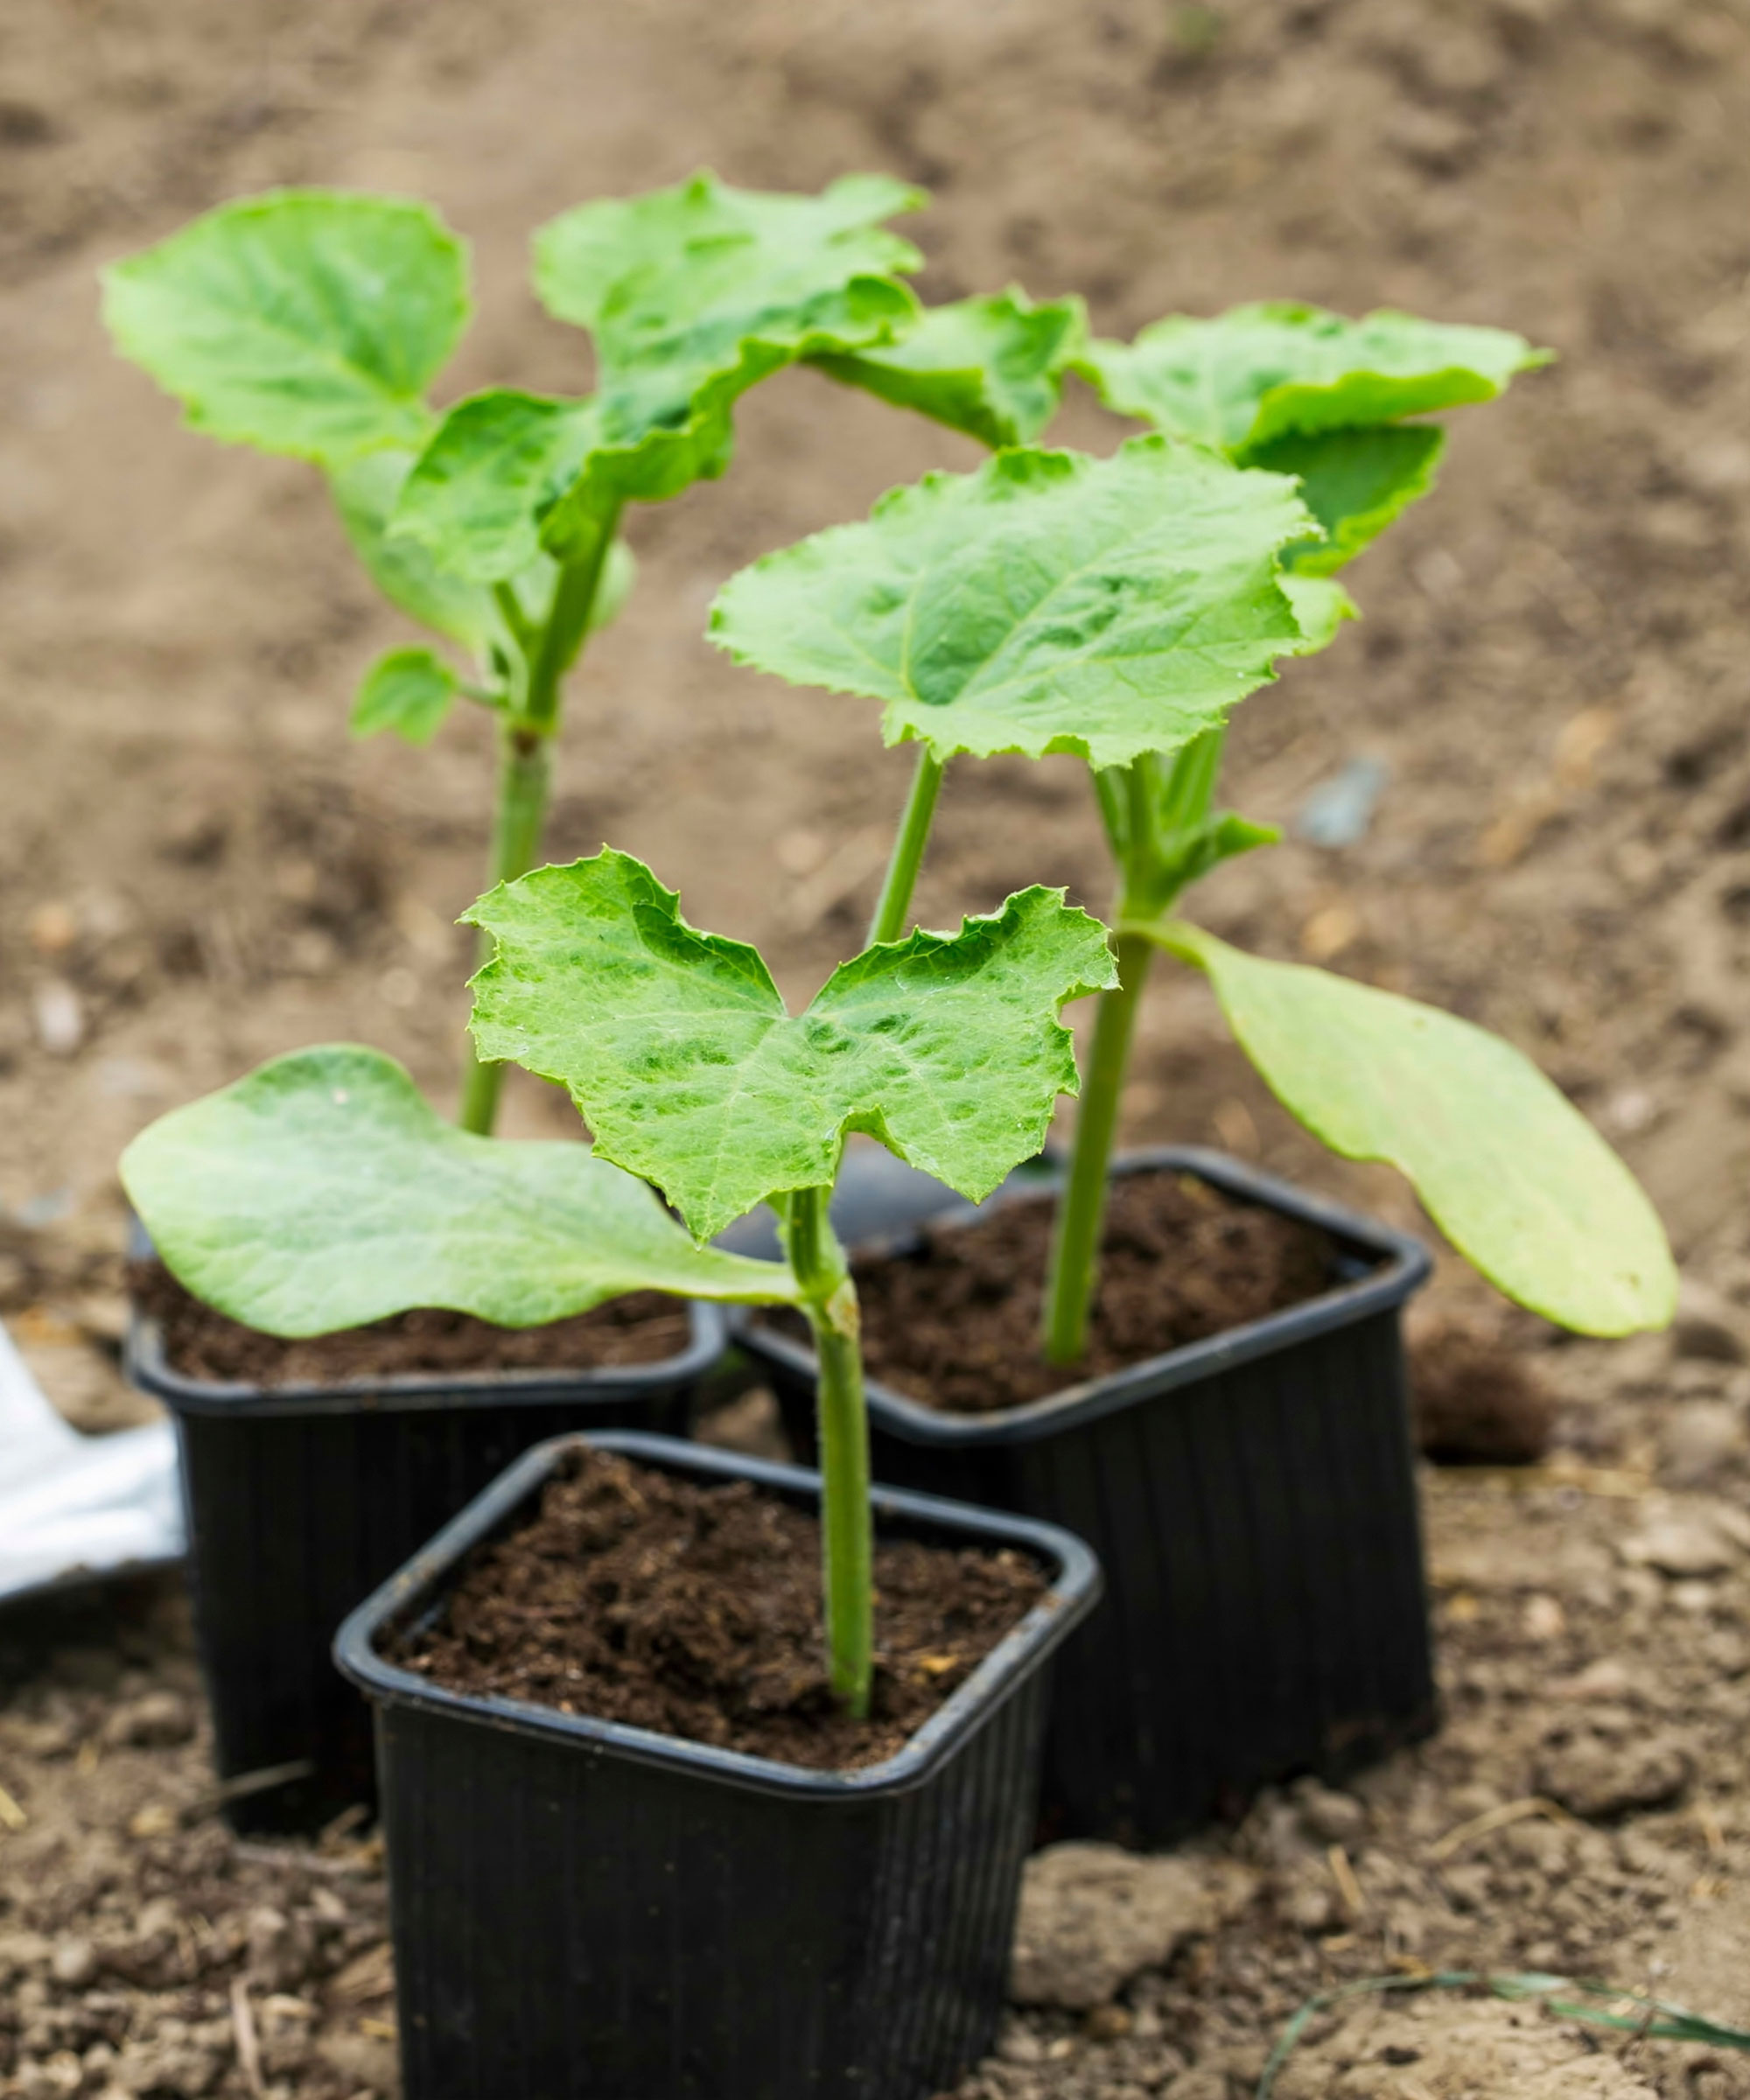
In colder areas start gourd plants in pots undercover
Can I eat gourds?
Although gourds come from the same family as edible squashes they are not as palatable and taste quite bitter, and have little nutritional benefit.
If you want to eat them, do so when they are young and the flesh is still soft and succulent.
For extra gourd fun, try growing your own luffa from seed for bath-time!
Luffa cylindrica is a long, slim member of the gourd family and it can be grown the same way as any other cucurbit.
Once your Luffa vine has started to produce fruits, keep the largest 3-4 and remove the others so the plant concentrates all its energy on the remaining ones.
When your luffas harden and turn brown, they are ready to harvest. Then peel off the outer skin, revealing the gently abrasive skeleton inside.
Rinse out your luffas to dislodge the seeds (keep these to sow next year), let them air dry then store them somewhere cool and dry until you are ready to use them as loofahs in the bath or washing the dishes.
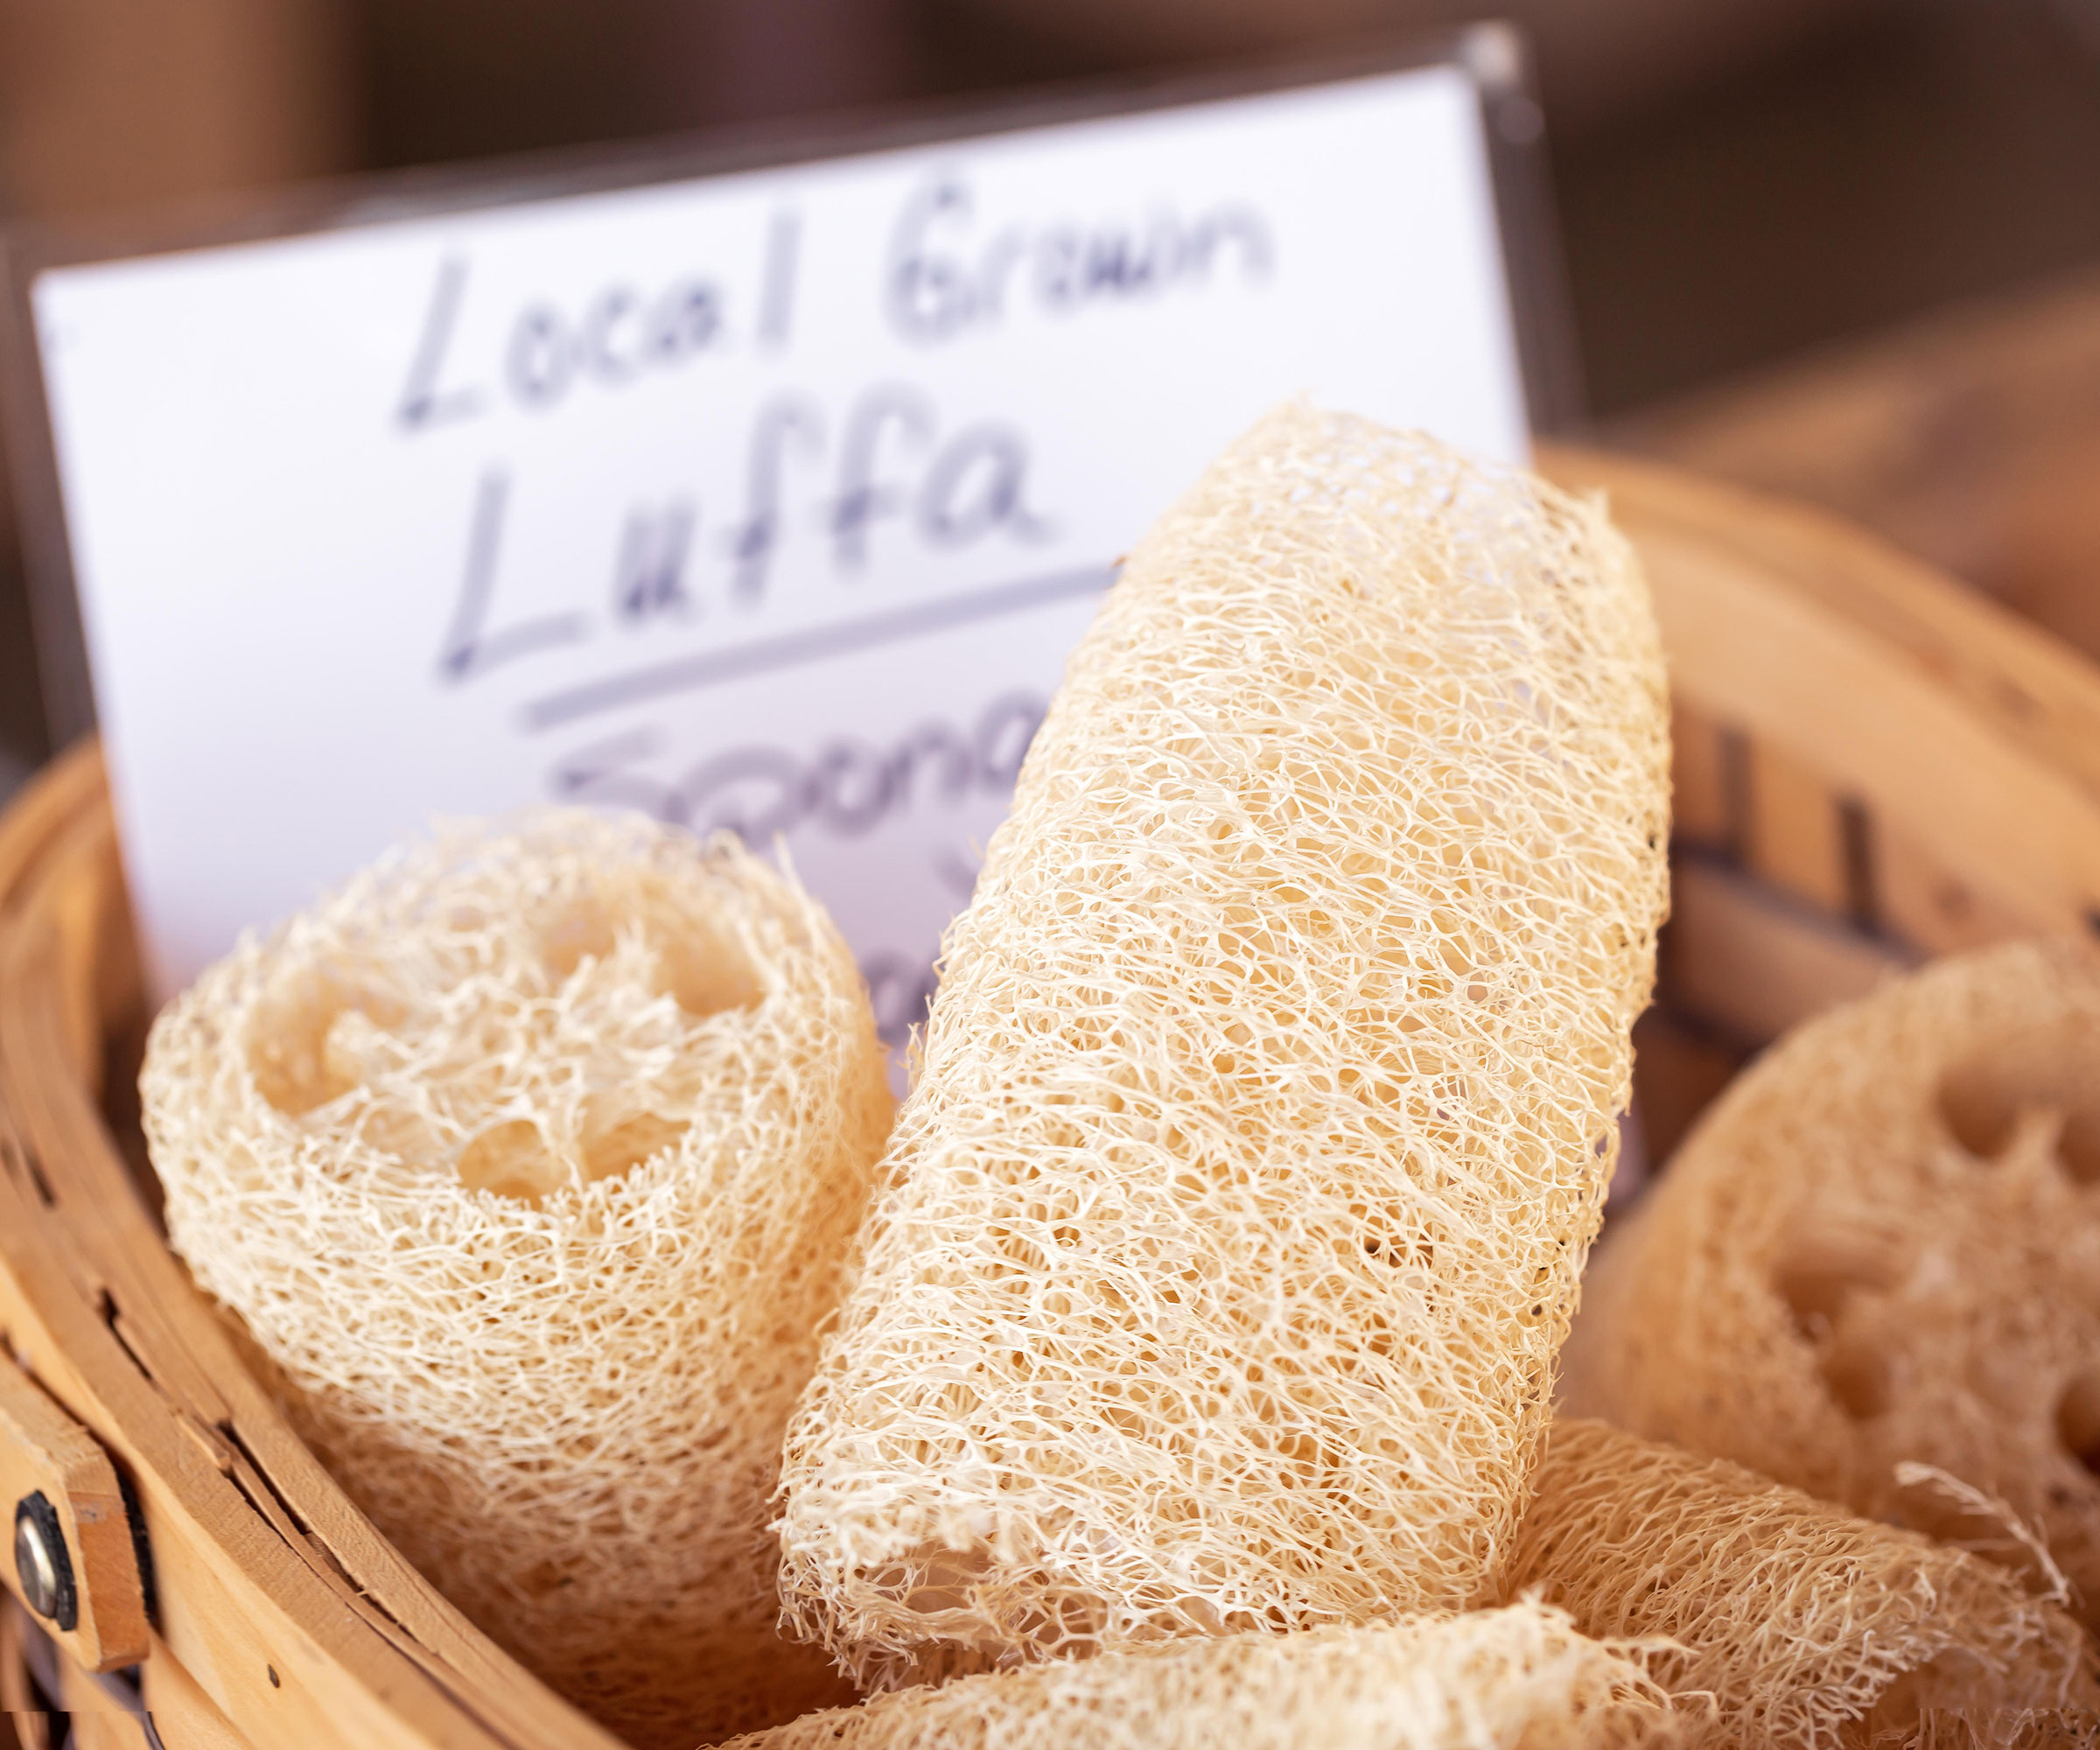
The gourd Luffa cylindrica can be used as loofahs for bathing and scrubbing the dishes
Sign up to the Homes & Gardens newsletter
Design expertise in your inbox – from inspiring decorating ideas and beautiful celebrity homes to practical gardening advice and shopping round-ups.

Ruth is a Contributing Editor for Homes & Gardens, and formerly Gardening Editor of Amateur Gardening magazine. She is horticulturally trained, with a qualification from the Royal Horticultural Society. Her work for Amateur Gardening, the world's oldest weekly gardening publication, involved matching gardening tasks with each season, covering everything from sowing and planting, to pruning, taking cuttings, dealing with pests and diseases and keeping houseplants healthy. She is an expert in ornamental plants and edible crops, and everything she writes about and photographs is in her own garden, that has been a work in progress since her family moved there in 2012.
-
 Nectar vs Layla – which mattress brand is best on test?
I've set the Nectar Premier Hybrid Mattress and the Layla Hybrid Mattress head to head to help you work out which mattress meets your needs
By Emilia Hitching Published
-
 Barack and Michelle Obama's neutral accent chair is the perfect living room focal point – you can recreate their serene style in any-sized home
This designer-approved essential fits into every modern living room – it's beautiful enough to stand alone, while pairing well with your favorite cushion
By Megan Slack Published