
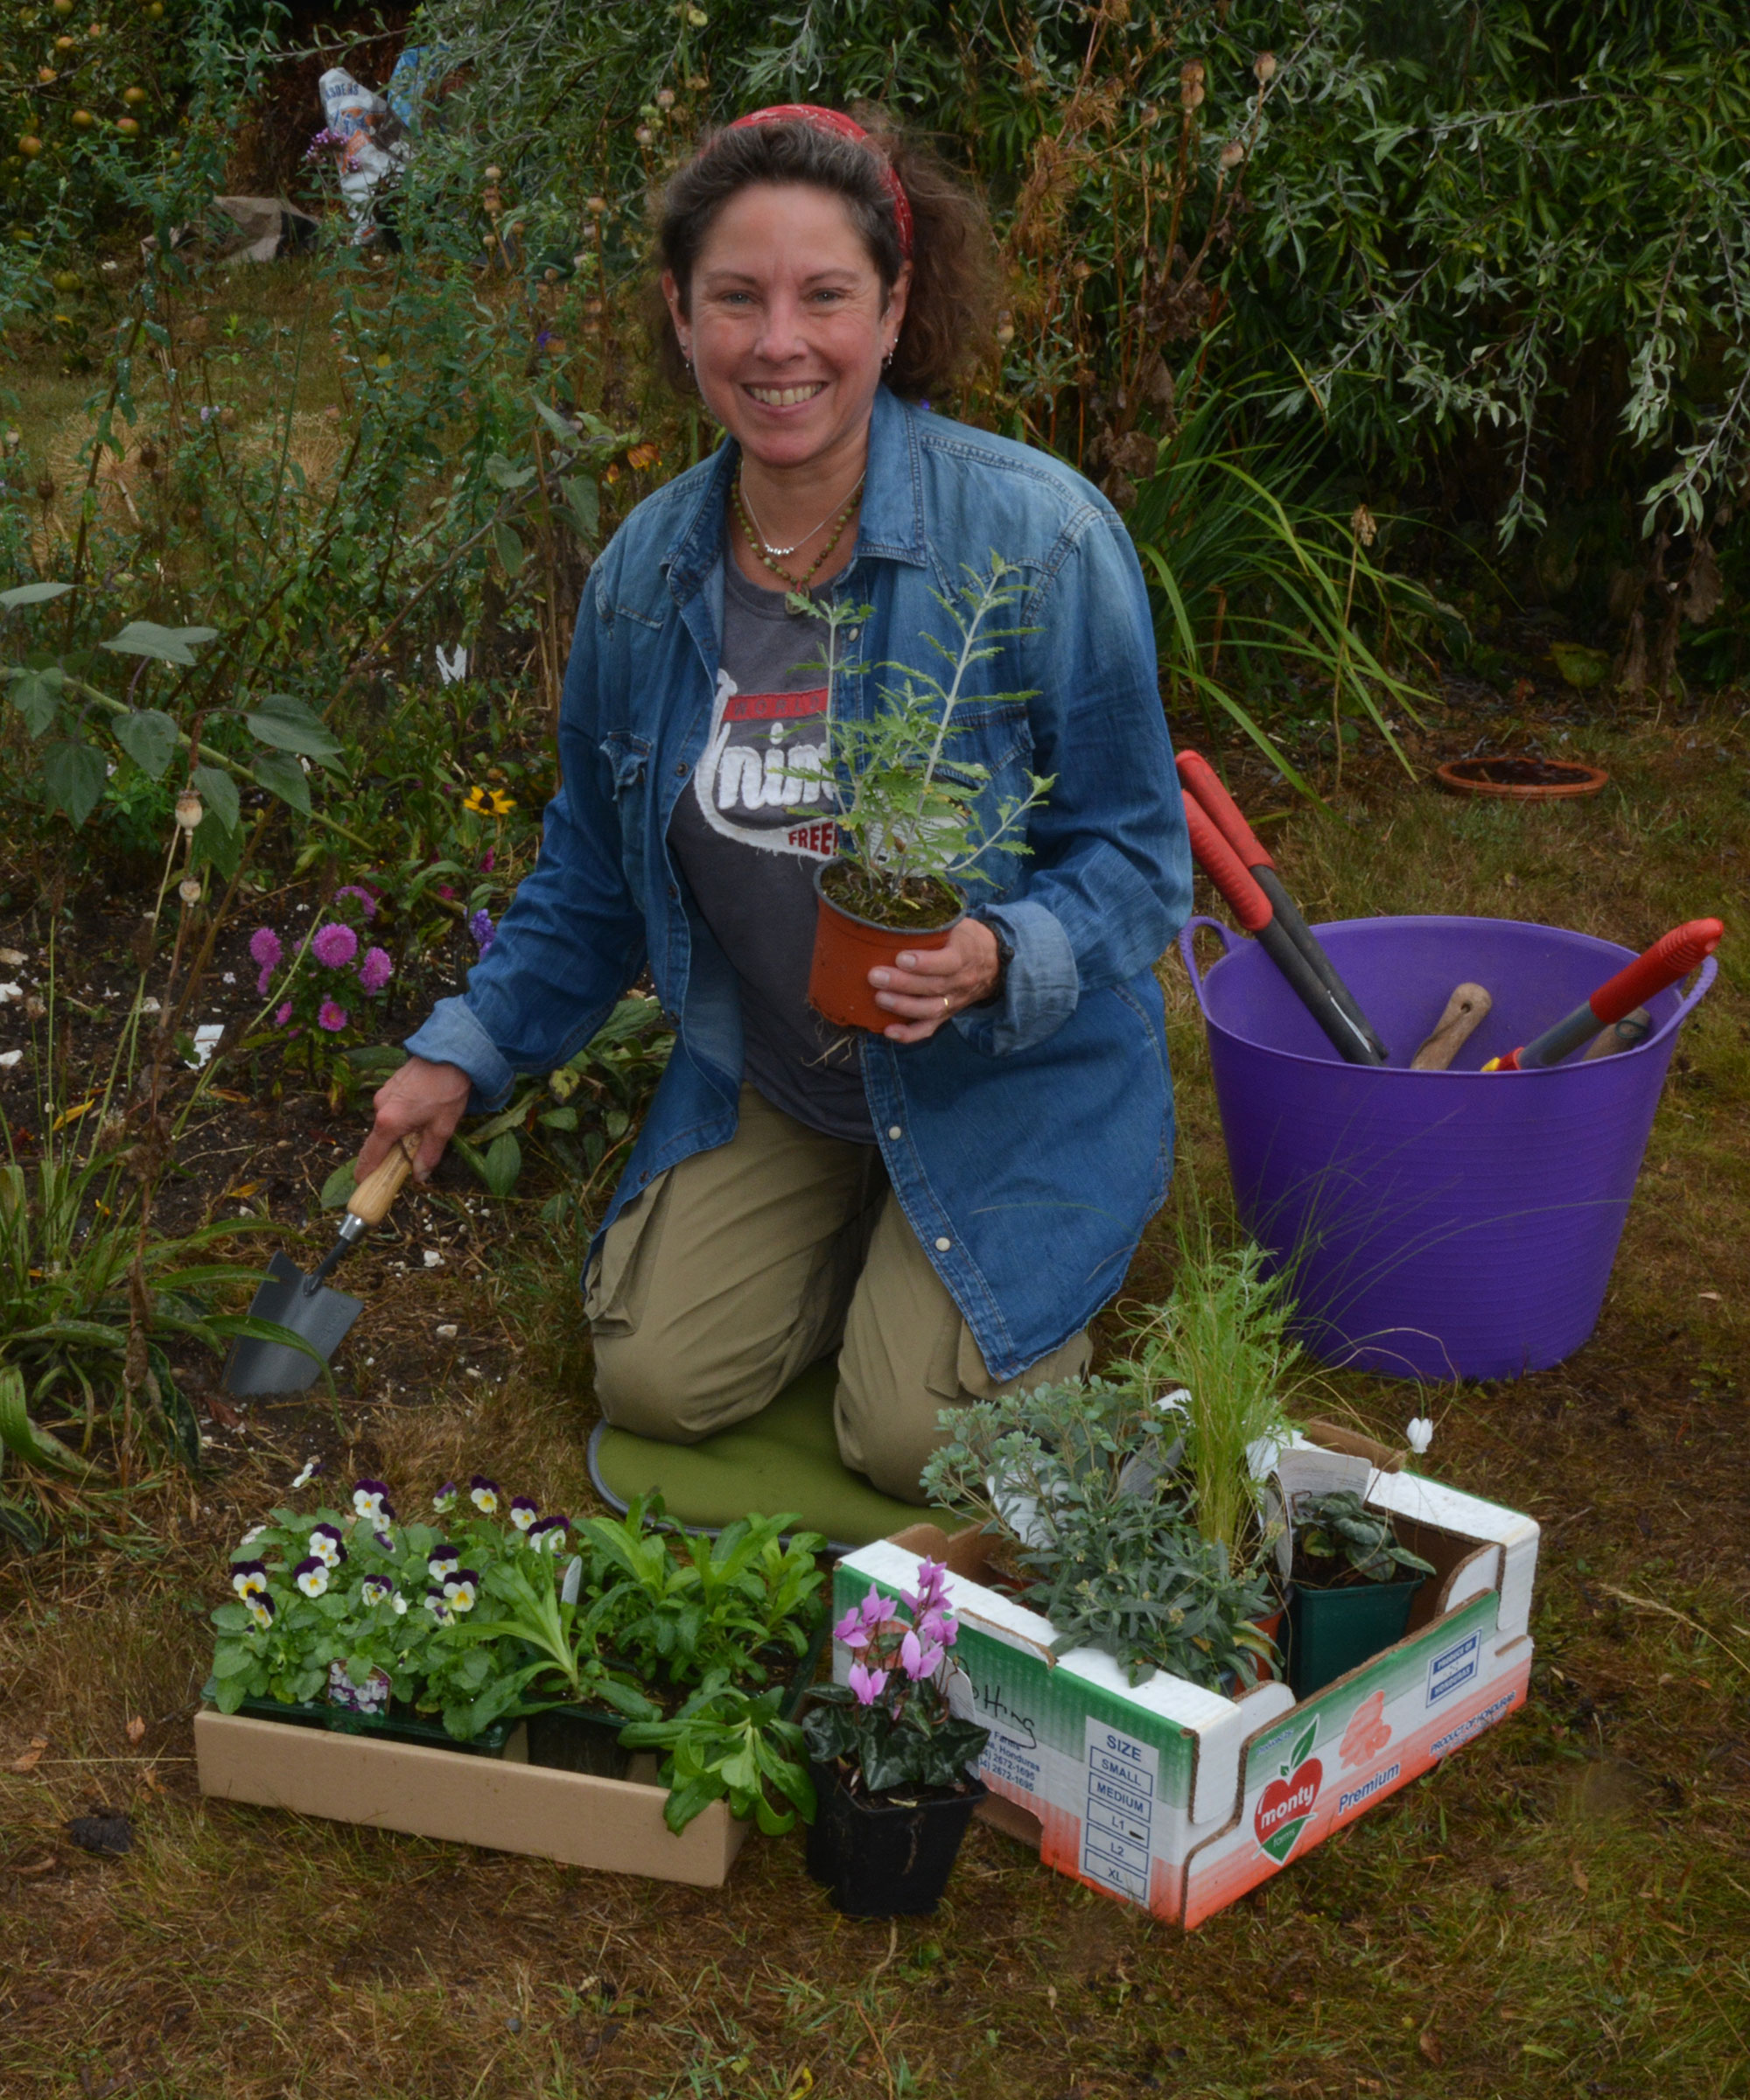
Pinching out plants, or often simply referred to as 'pinching', is one of those horticultural terms that can be confusing to new gardeners.
As children, growing up we are taught not to pinch other people, because it hurts and is unkind. But used in a gardening sense, it has very different connotations.
It is, in fact, a very simple task that us gardeners quite enjoy, as we know it will lead to better plants and more flowers in your flower bed in the months to follow. Here, I explain exactly what pinching out means, and how to do it.

The pinched tip of a plant with new shoots emerging
What is pinching out?
Pinching out is one of the quickest and easiest of all the pruning techniques.
It is done when the plant is young and just starting to grow well. The object is to remove the growing tip so the plant is encouraged to send out new side shoots.
The more side shoots the plant produces, the more flowers and crops they are able to produce.
What plants are pinched out?

Chilli and tomato plants respond well to pinching out and produce generous crops
Pinching out is used on many herbaceous (soft stemmed) plants grown for the flower bed and vegetable garden.
It is not used for woody plants such as trees, climbers and shrubs, which are pruned according to their variety.
I pinch out as many plants as I can. In the veg plot I use it on chilli, cucumber and tomato plants, as well as in the herb garden.
In my flower garden I pinch out many of the young plants I have grown from seed or cuttings and I find it especially useful for cosmos, pelargonium and chrysanthemum plants.
I also pinch out dahlias when I pot on sprouting tubers in late spring.
How to pinch out plants

Pinching out involves removing the plant's single growing tip down to a healthy pair of leaf buds
Many people are a bit unnerved by the thought of pinching out plants, but once you know how to do it, you’ll never look back and will forevermore have yards full of healthy, bushy plants.
When you look at your plants you will see a central growing tip at the top of the stem.
Below this, there will be a pair of leaves or shoots on the central stem. Use your fingers to pinch the stem of the single growing tip down to this point.
If the plant has grown very tall and spindly, you may need to pinch down to the second or third leaf pair, as seen in the picture of pinching out a chrysanthemum, above.
A few days afterwards you should see two new shoots appearing at the new growing tip of the plant which will grow and produce twice as many flowers or fruit as the single lead tip you pinched out.
When should I pinch out plants?

Pinch out the flower tips of herbs such as basil to keep their leaves tender and tasty
Plants are usually pinched when they are young to encourage them to develop a more bushy growing habit.
They can also be pinched out when they are more mature and starting to produce flower buds.
Pinching at this point will stop them blooming and setting seed so they continue to put all their energy into growing strongly.
It is a useful trick to use when growing herbs such as basil to keep their leaves tender and tasty, as they can become tough and more harsh-tasting once they start to flower.
Using pinched out shoots
Healthy pinched out shoots can be added to the compost heap, but there are some that can be 'recycled' in the garden - and even in the kitchen!
Using broad bean (fava bean) plant tops

The soft tips of fava beans can be used as a spring vegetable
If you are growing fava beans, the plants' soft tips can become a tasty treat.
When the first pods start to form towards the base of your plants, pinch out the soft growing tips at the top of the plant.
These can be steamed or used in stir fries as a seasonal green, and they taste delicious.
Removing them encourages the bean plant to plough all its energy into the developing beans, improving your harvest.
Use pinchings as softwood cuttings

Using the pinched tips of chrysanthemums as softwood cuttings
In early May, I pinched out the tops of my chrysanthemum plants to create more side stems for flower buds.
The pinchings were around 2in long so I decided to use them as softwood cuttings - you can also use this method to propagate pelargoniums.
By avoiding the most common cuttings mistakes, you should be able to grow more plants successfully and for free.
FAQs
Is it only the tops of plants that are pinched out?
No, we also pinch out tomato shoots that grow at the ‘shoulder’ where the fruiting branches join the plant stem.
We get rid of these so the plant channels its energy into flowering the fruiting.
The pinched shoots can be used as softwood cuttings, as with the chrysanthemum pinching above.
Should I pinch out flower buds?
When pinching out the top shoots you will very often remove a bud, but don’t worry because the action will create more flowering opportunities for your plants.
You should deliberately remove flower buds from overwintering summer bedding plants, such as pelargoniums, if they start to produce them early in the year.
If you leave the buds in place the plant will put all its energy into flowering rather than strong growth.
Many people worry about pinching correctly, but once you know how to do it, it is an easy task that will benefit your plants.

-
 I’m an HVAC technician, and this is when I turn my AC on each year – plus 5 checks I always do beforehand
Save yourself an AC hassle by running my checks and turning it on before big heat hits
-
 This simple marble hack elevates my budget-friendly wooden kitchen countertops and prevents the dreaded water damage for way less than you’d think
This design trick looks expensive, solves a problem, and was the easiest decision I made during my kitchen reno

