11 things pizza chefs always do – advice from professional chefs for better homemade pizza
It's surprisingly hard to get homemade pizza right - here's how the pros get perfect results every time

- 1. Know your dough hydration
- 2. Mix your dough mechanically
- 3. Let your dough rest
- 4. Use your hands, not a rolling pin
- 5. Semolina or polenta on the peel
- 6. Cook meat and mushroom toppings in advance
- 7. Don't overdo the toppings
- 8. Keep the oven hot
- 9. Try a pizza stone - but be patient
- 10. Try a pizza steel
- 11. Keep the crust thick
There's nothing like homemade pizza. It's one of the most fun recipes to cook at home, especially with kids. It's an easy process, tastes great, and you can customize it in ways you'd never be able to in a restaurant.
However, the first pizza recipe you make at home is often a total mess. Even with the best pizza oven, if you don't know what you're doing what seems like a simple meal can quickly turn a kitchen into chaos. Think pizza sticking to the stone, cheese burned to a crisp, or dough that's barely cooked.
That's why I spoke to pizza chefs about the things they always do when making pizza - whether in their restaurant kitchens or in the comfort of their own homes. These 11 tips are the perfect way to step up your pizza game.
1. Know your dough hydration
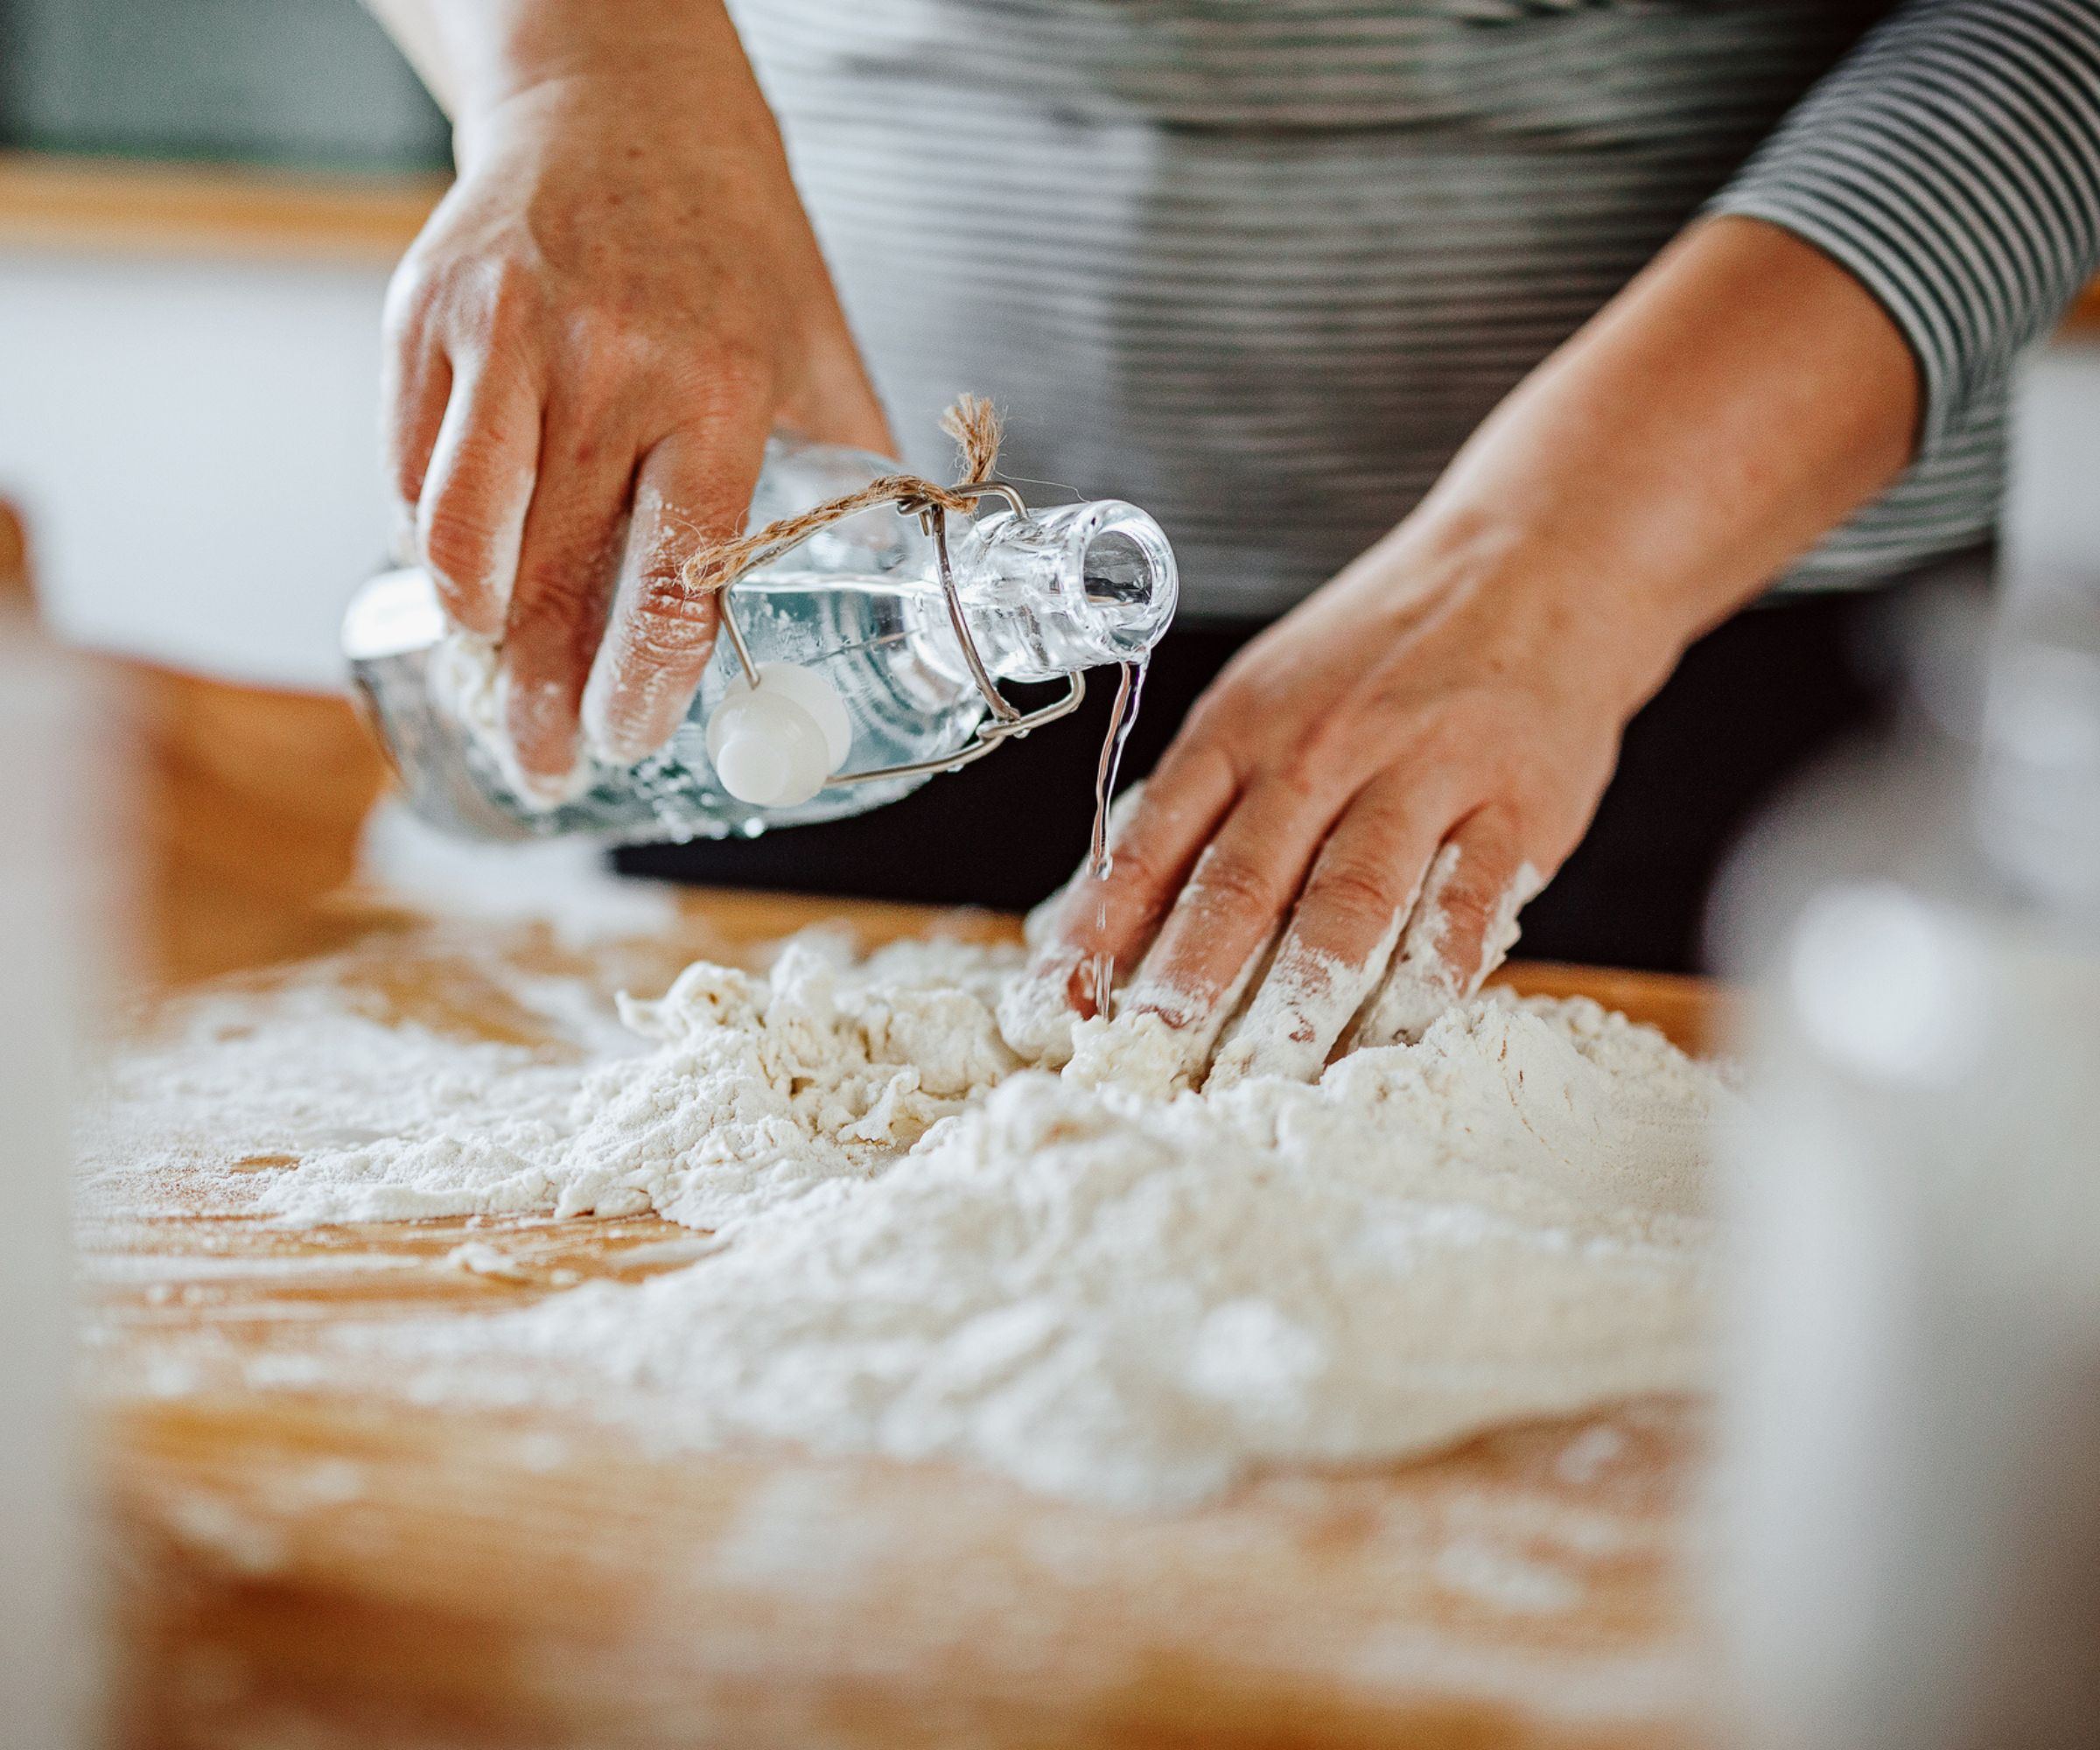
Firstly, when you're preparing your dough, keep the dough hydration in mind. Dough hydration is the water ratio in your bread dough.
New York pizzaiolo Frank Kabatas says 'If you’re looking to make a New York-style pizza, you can use one and a half to two cups of flour, five grams of yeast, about one-half to three-quarter cups of water, a few teaspoons of salt, and one to three tablespoons of olive oil.'
However, the amount of water involved can change depending on the style of pizza - this is the dough hydration. Frank adds that 'Depending on the type of pizza you’re looking to make, the proportions of these ingredients differ. For example, a New York-style pie has a dough with 65% hydration, and a Neapolitan-style pie has around 85% hydration, which means that more water is being used in the dough.'
Pizza expert Gregorio Fierro adds that the temperature of your water is crucial, too. Gregorio advises that you keep your water temperature low. 'Work with cold water. The dough will get enough heat during the mixing process, You really don’t want the dough leaving your mixer much hotter than 75 or 76°F, so you want your water to be cold enough so that the heat generated by mixing will not push the dough too high.'
Design expertise in your inbox – from inspiring decorating ideas and beautiful celebrity homes to practical gardening advice and shopping round-ups.

Frank Kabatas is Owner and Operator of East Village Pizza, the popular New York pizzeria where tradition meets innovation. With a career spanning three decades in the pizza industry, Frank continues to use his experience and expertise to hone his craft of pizza-making

Gregorio is a highly qualified, internationally-recognized instructor to the Pizza industry. He owns and operates a consultancy business based out of Philadelphia, Pennsylvania, but he travels the entire world, instructing and consulting pizzerias and Italian restaurants. He is also a judge at all the major national international pizza competitions, including Pizza Expo in Las Vegas.
2. Mix your dough mechanically
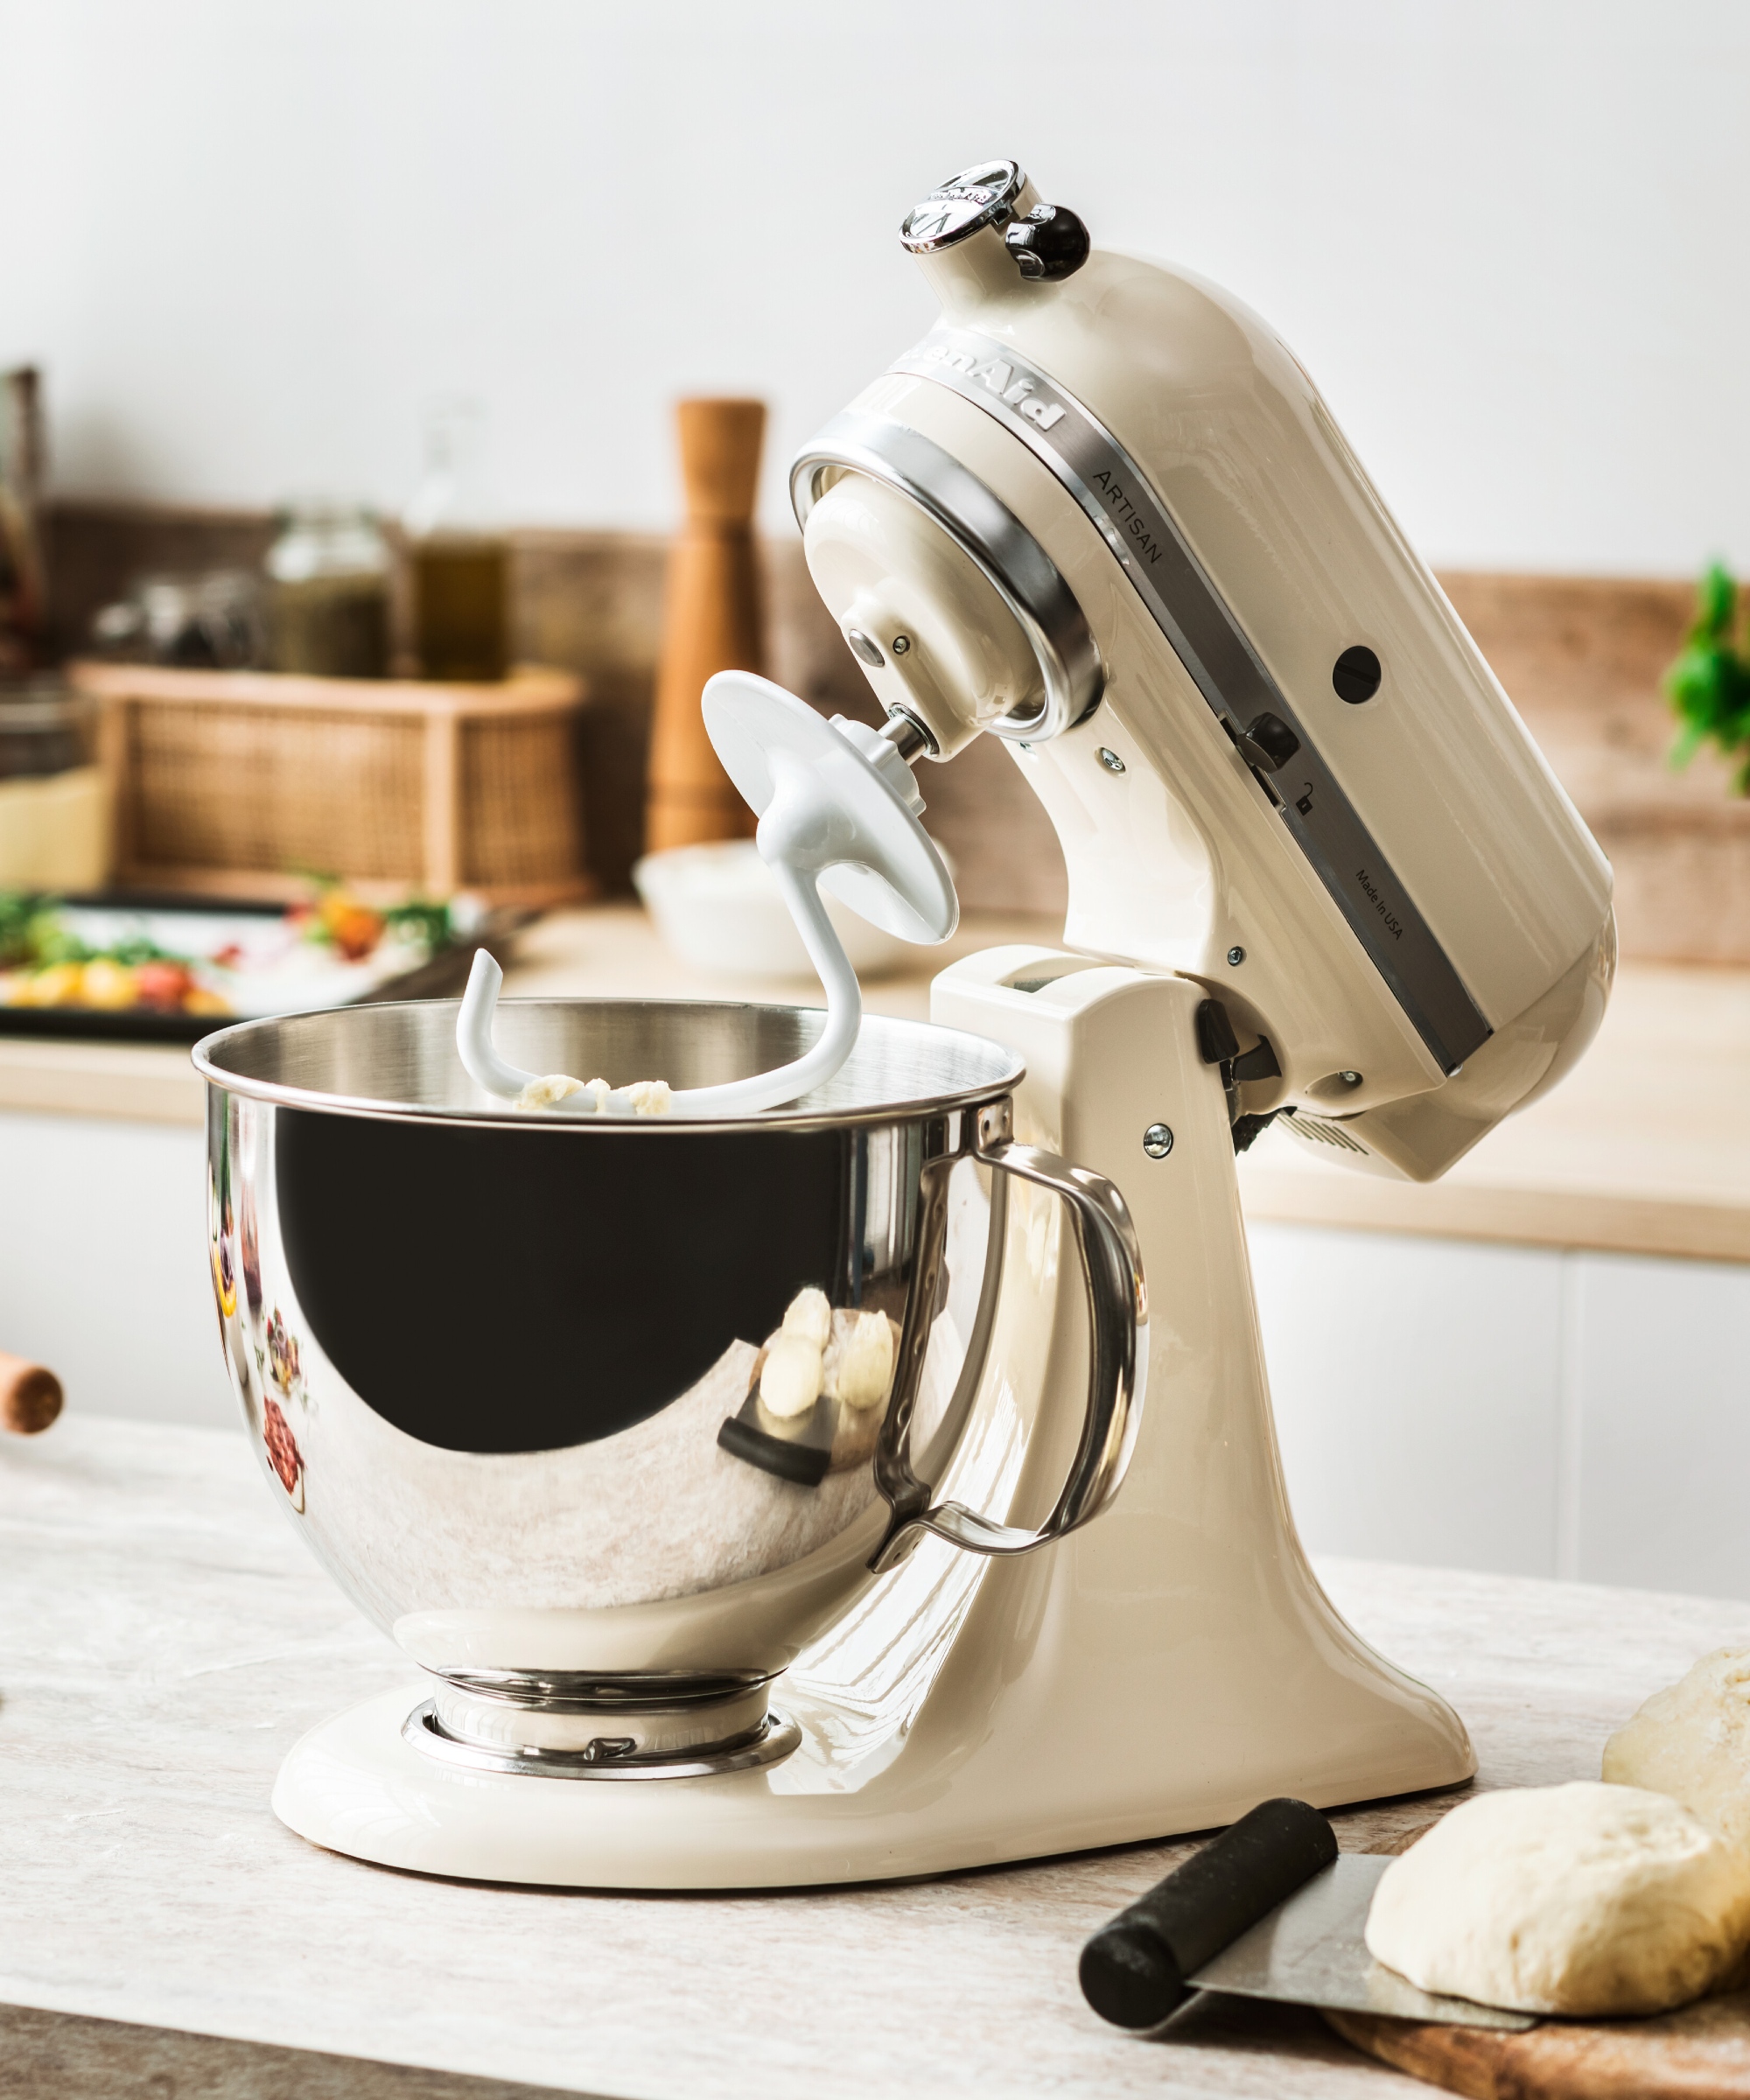
If you can, it's best to mix the dough with a stand mixer than by hand. Pizza chef Jeremy Betlach says 'A home chef should either mix the dough by hand, which can be tedious, or use a stand mixer like a KitchenAid.' At the time of writing, our tests of the best stand mixers put the KitchenAid Artisan at the top, but the Cuisinart Precision, available at Amazon is cheaper actually slightly better for bread dough.
There are a couple of reasons to use a stand mixer. Gregorio Fierro says 'Mechanical mixing is essential in order to build gluten. Under mixed dough will not perform well.' You get much more thorough, effective kneading with a stand mixer, making for a more elastic dough that's easier to work with and tastes better.
On top of that, a stand mixer frees you up for other parts of the process, such as slicing and cooking toppings before they go on the pizza.

Jeremy is an experienced restaurateur with a rich history of owning and operating successful franchises in the Denver area. He has also served as the Operations Director for the locally renowned Anthony's Pizza and Pasta International Franchise system.
3. Let your dough rest
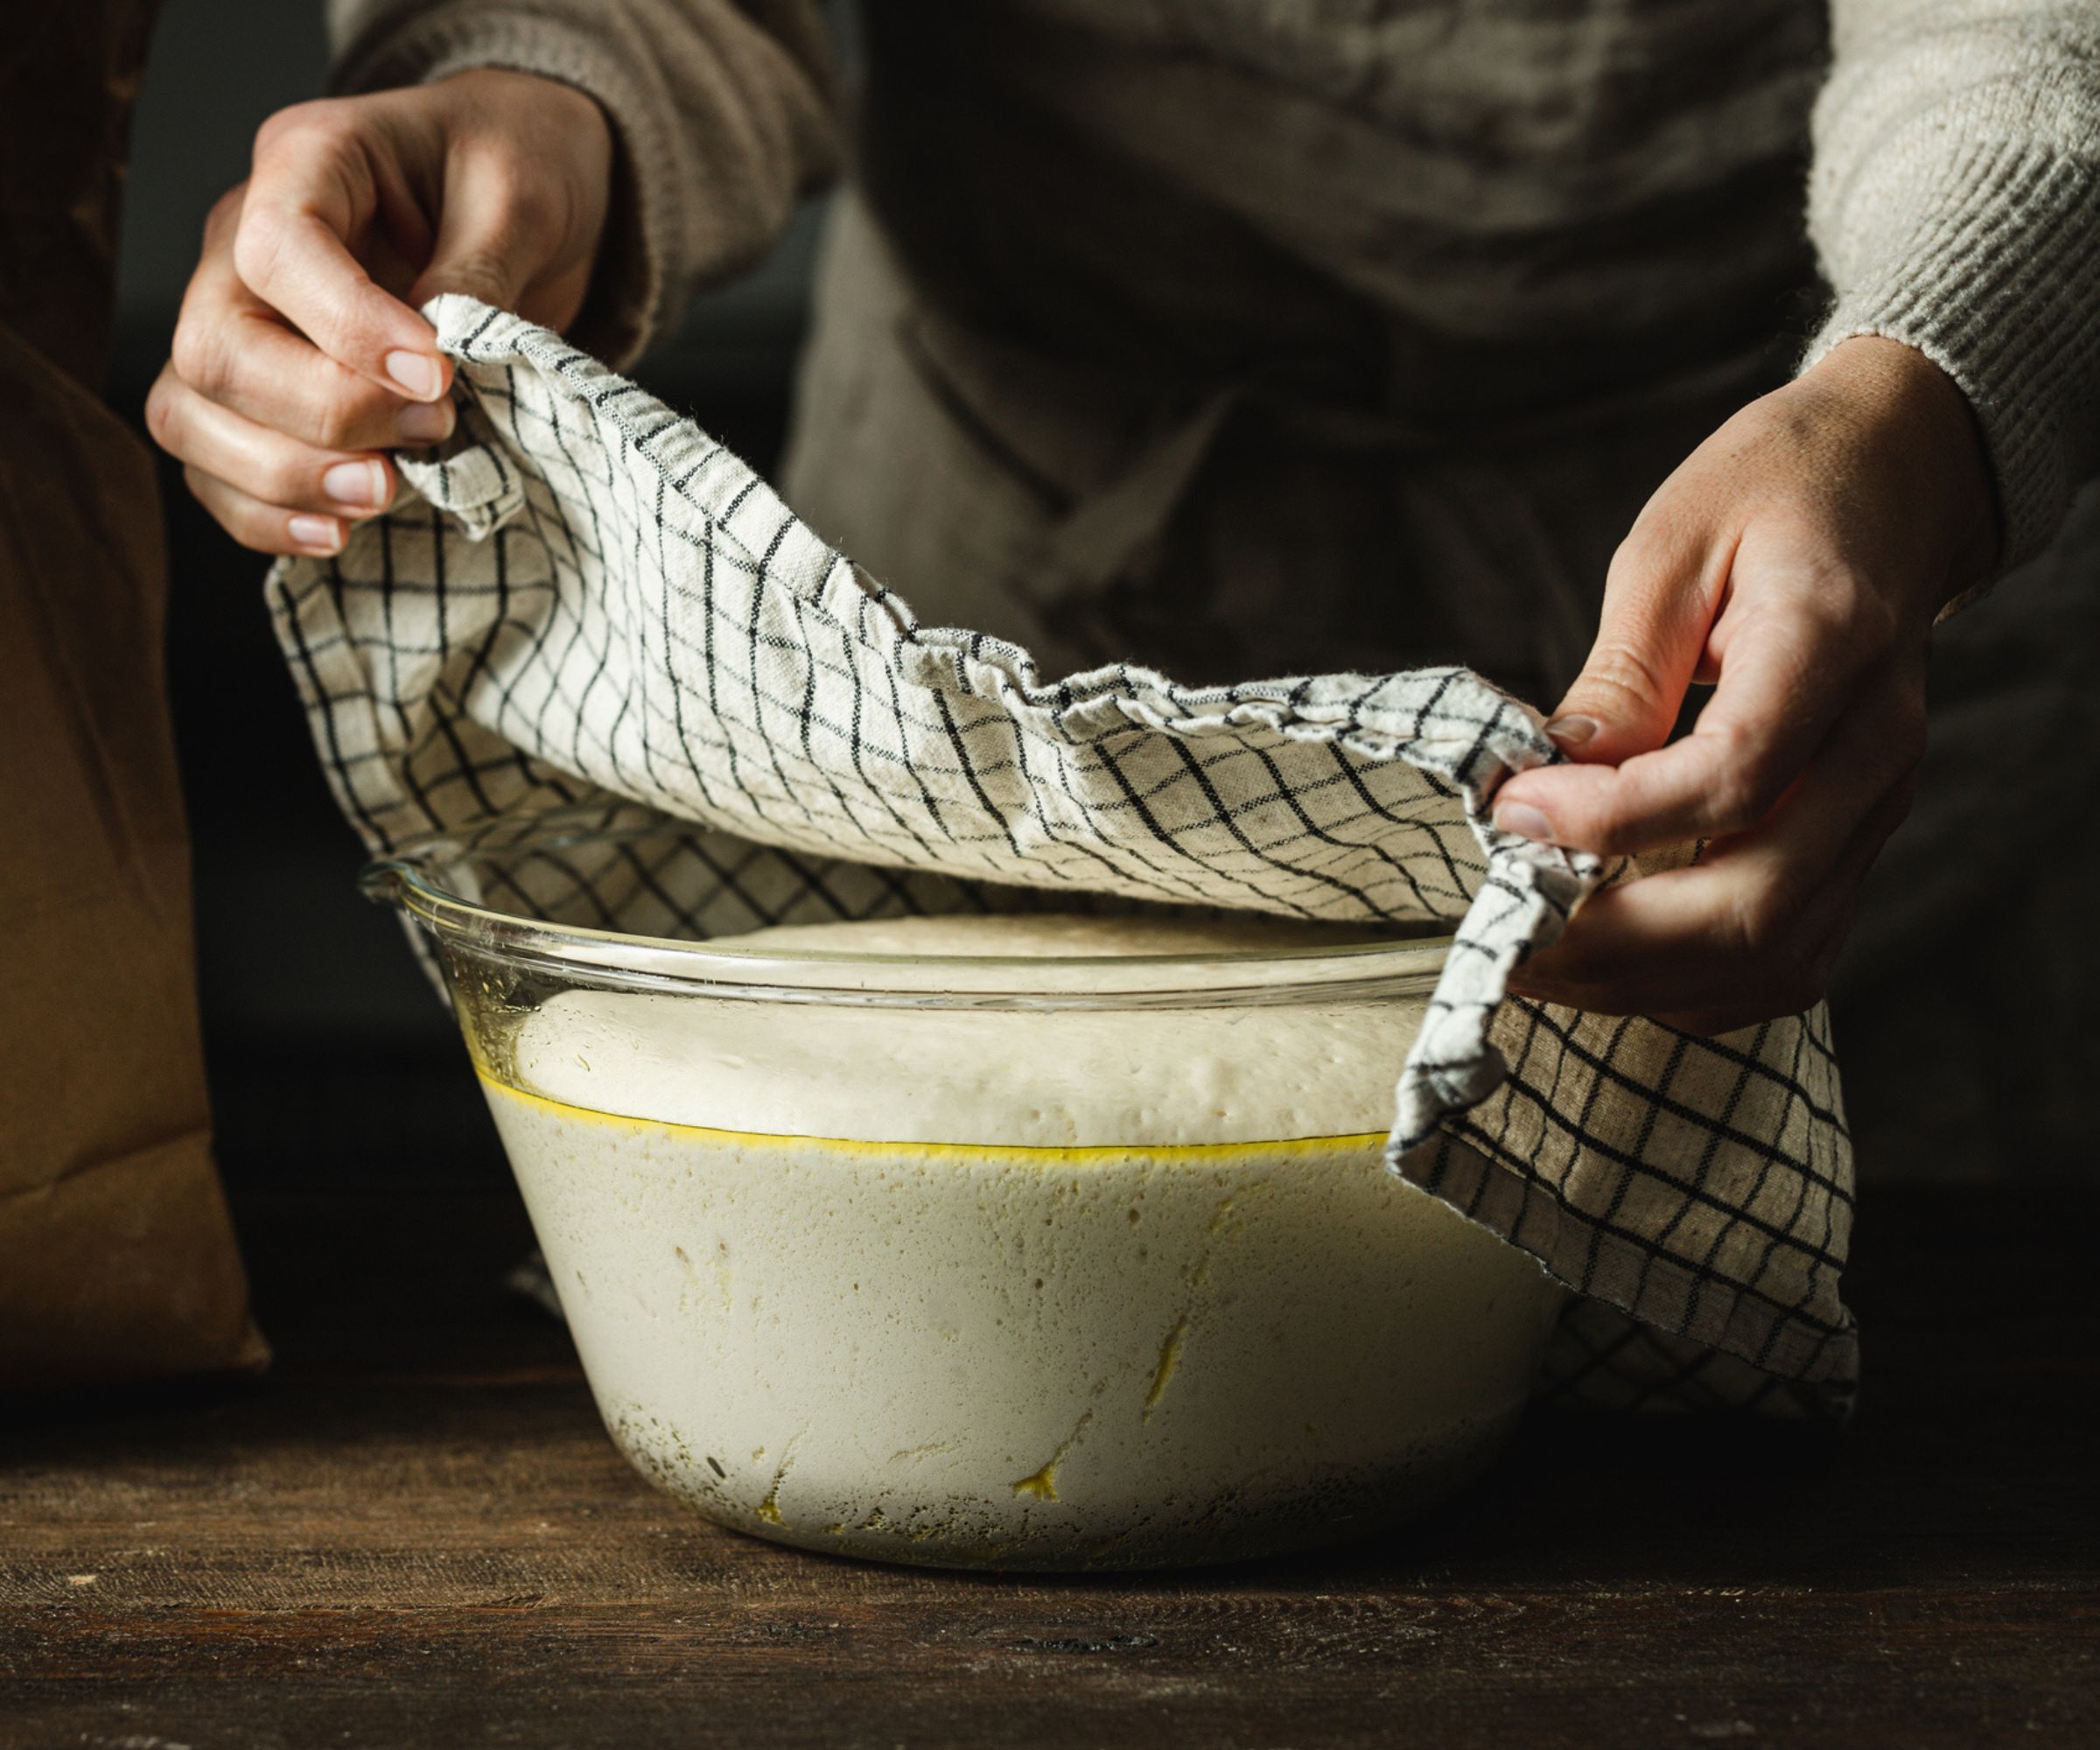
One of the simplest ways to improve your homemade pizza is to let the dough rest. Pizza expert Eidref Laxa says, 'time is an ingredient and is the key to developing good flavor during fermentation.'
How long is up to you. The professionals let their dough rest for a very long time. Jeremy Betlach says, 'Good dough takes time. At Anthony’s Pizza & Pasta, we use large mixers to prepare an entire batch of dough and allow it to proof for at least 24 hours.'
Oakland pizza chef Sayed Seyar goes even further. 'At Pizza Ponte, we are committed to our 56-hour dough fermentation process. This ensures that the dough will crisp up perfectly on the outside while keeping a soft, chewy texture on the inside.'
However, you don't need to wait so long. The night before is great, a couple of hours is fine, and even if there's a short rest your pizza should still be fine. Sayed says, 'We always recommend letting your dough rest for at least 10 - 15 minutes before adding your toppings so the gluten relaxes, making it easier to stretch and shape the dough without it shrinking back.'

Sayed Seyar is the co-owner of Pizza Ponte, an Oakland-based pizzeria known for its inspiring by-the-slice menu. Located on a tree-lined strip of Telegraph Avenue, the Sayed’s family-owned pizza shop quickly became a neighborhood favorite after he and his brothers assumed ownership in 2022.
Eidref is a mobile pizza caterer and podcaster, running What's Good Dough, a podcast about pizza and the pizza industry.
4. Use your hands, not a rolling pin
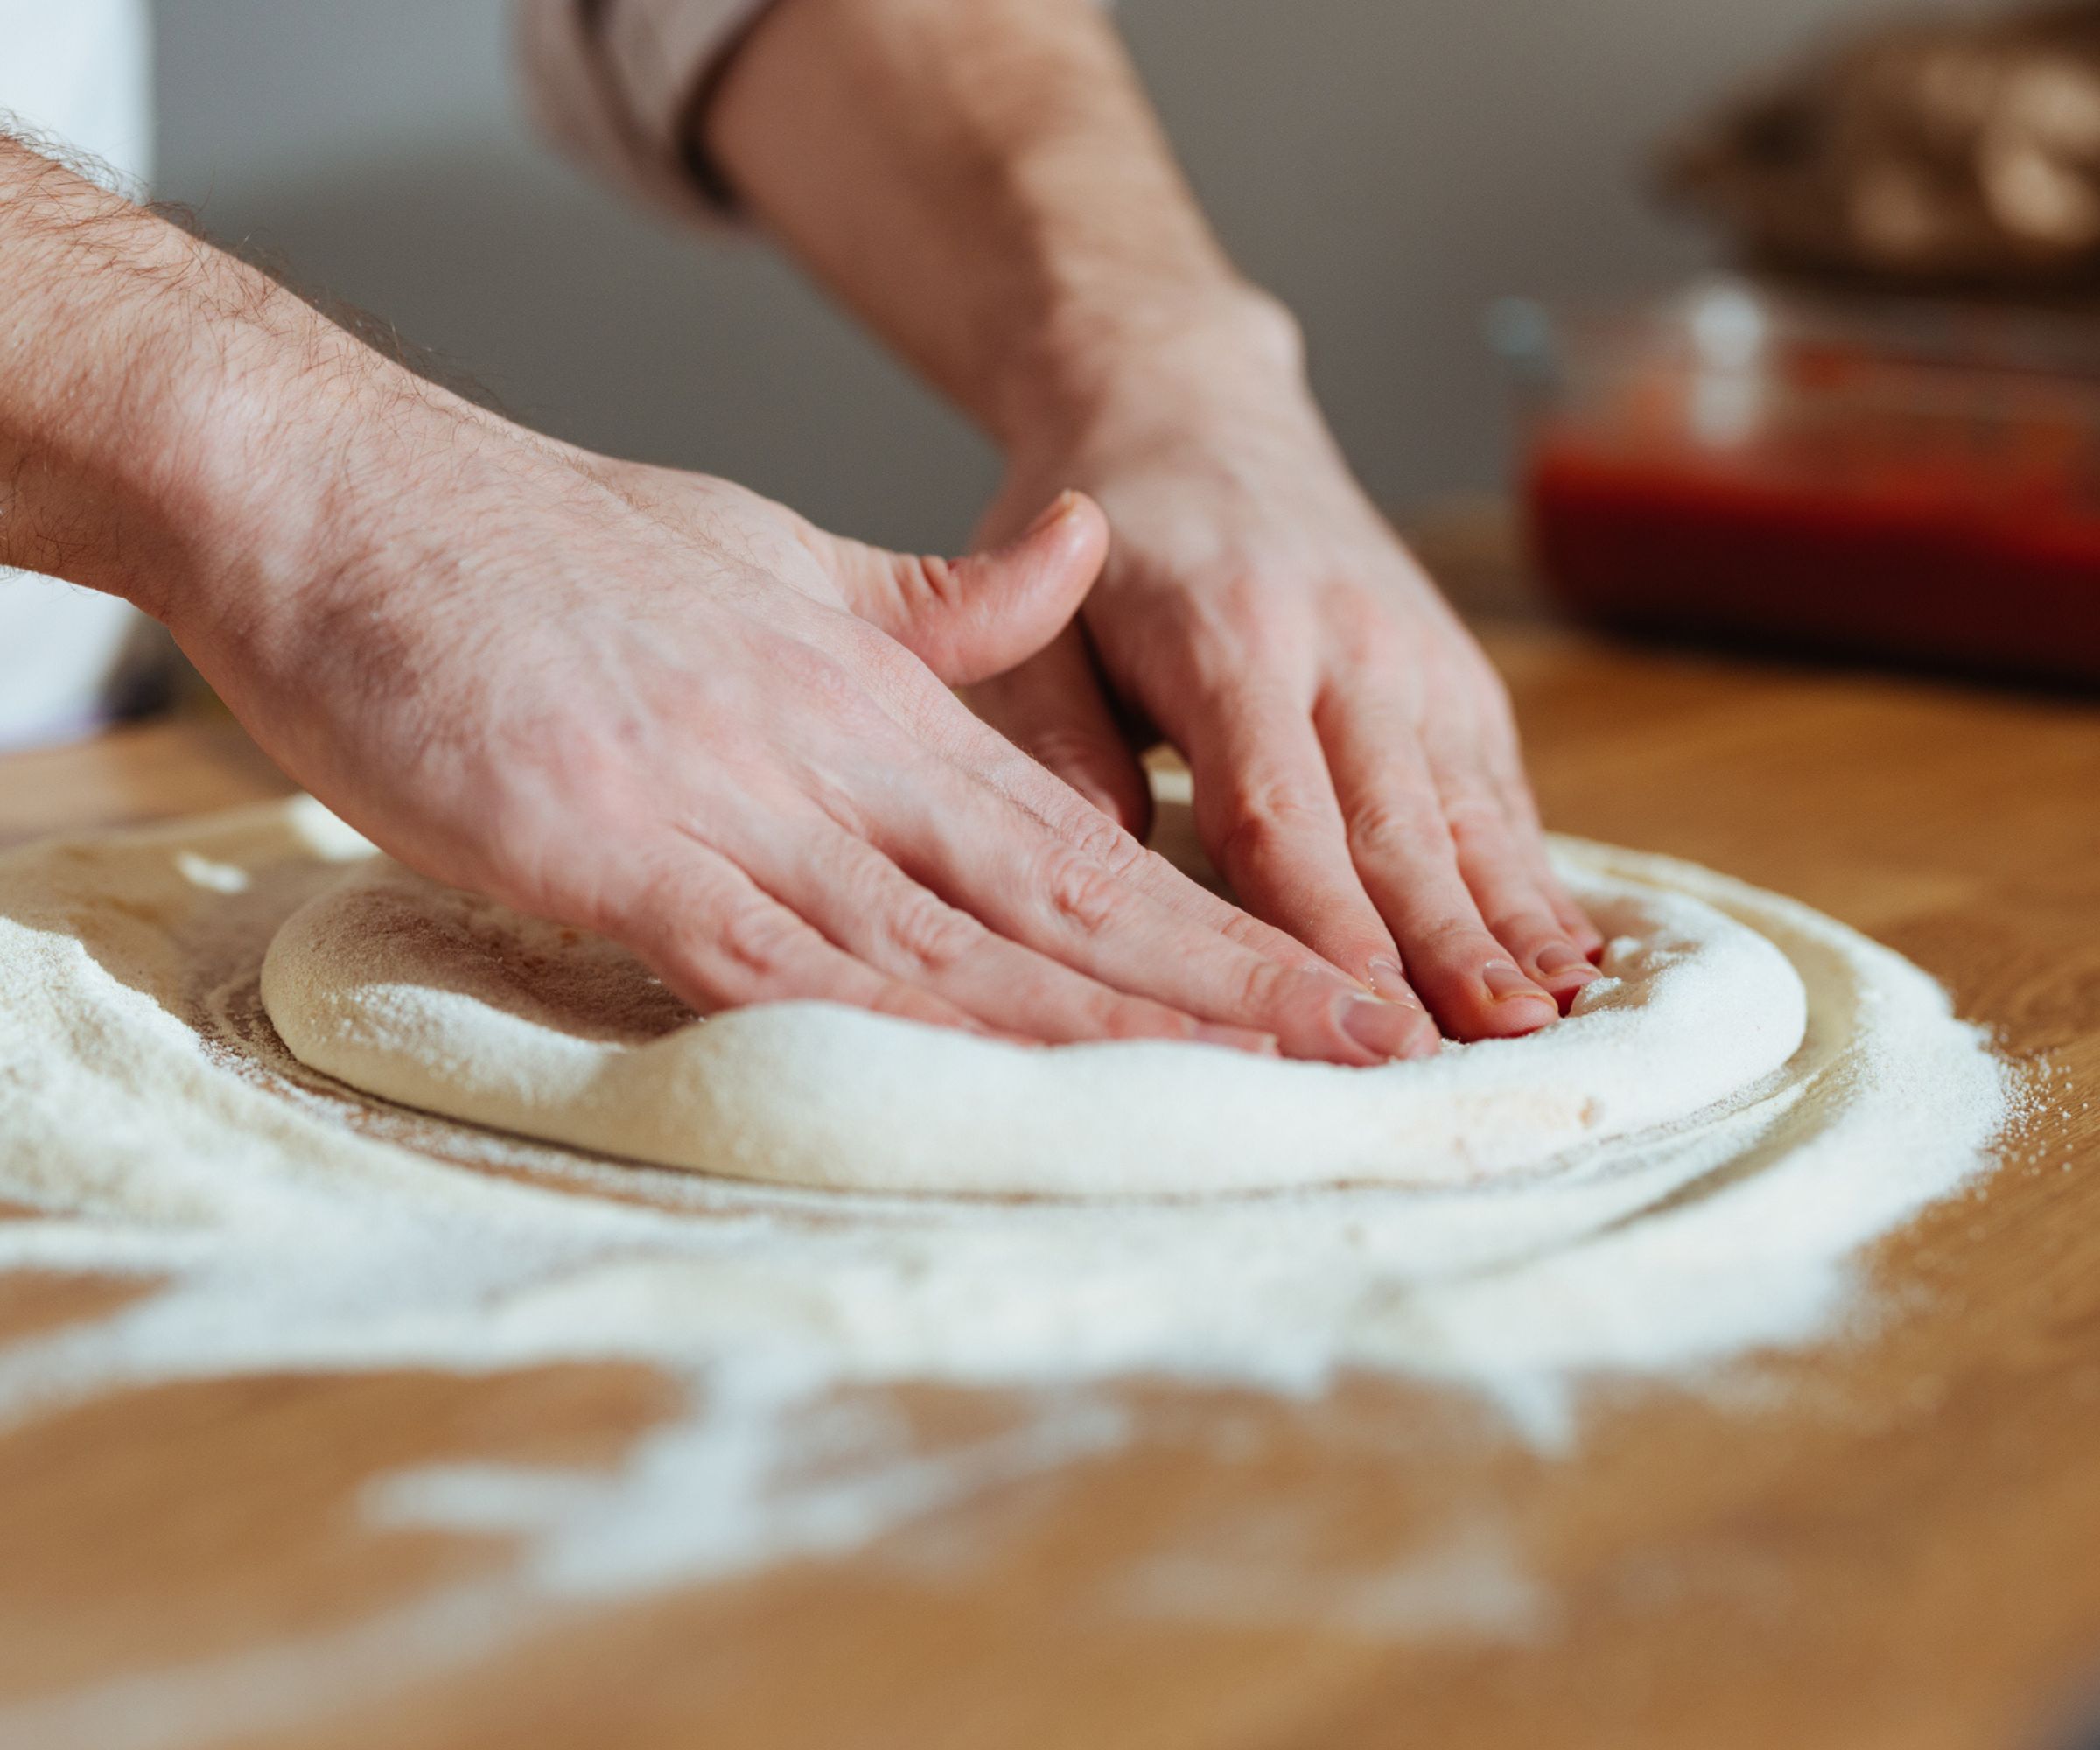
While mixing is best done by a machine, you should stretch out the pizza by hand. It takes more time, but it improves the flavor, especially if you want the puffy, bubbly crust of a true Neapolitan.
Sayed Seyar says, 'We do not recommend using a rolling pin as it can deflate the air bubbles. Instead, stretch it by hand to maintain its airy structure.'
5. Semolina or polenta on the peel
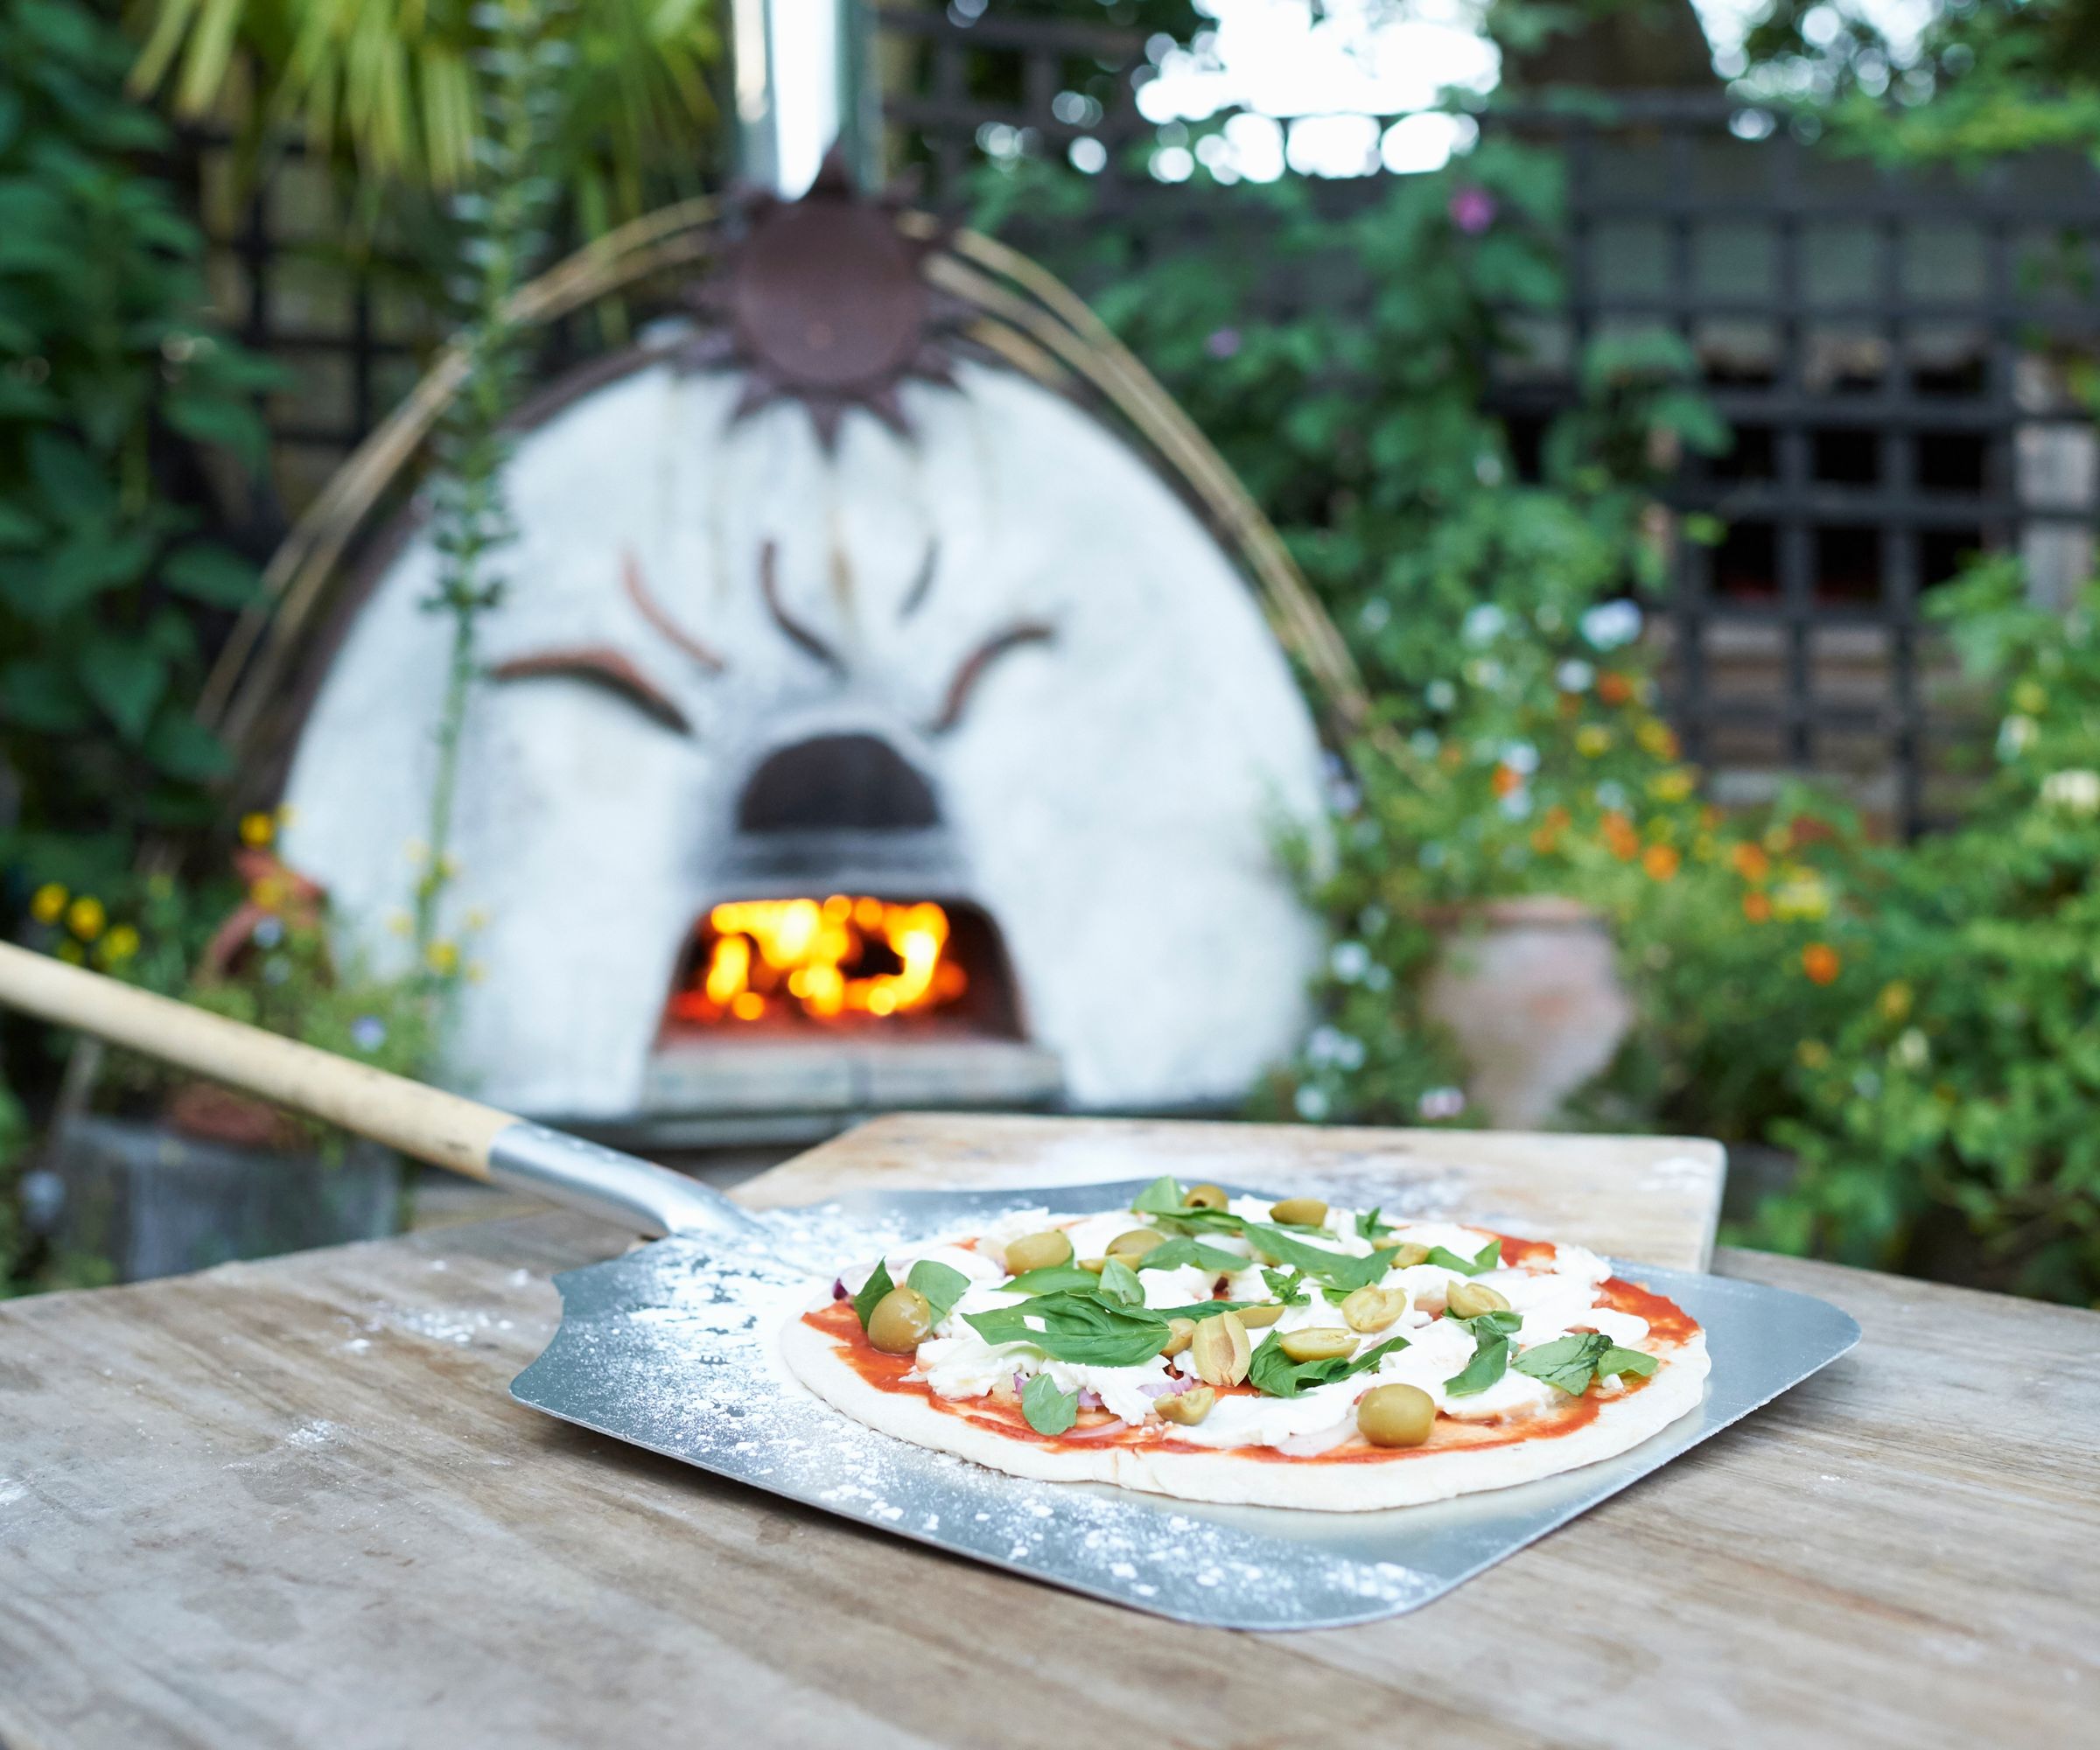
Whatever you do, make sure to put semolina, polenta, or flour on your pizza peel to make sure your pizza doesn't stick.
Pizza expert Hengam Stanfield says, 'I prefer using a blend of semolina and flour on my pizza peel. The semolina acts like tiny ball bearings, allowing the dough to slide off easily onto the stone.'
Chef Eidref Laxa agrees, telling me 'Semolina is a game-changer. Aside from helping the dough come off of the peel smoothly into your oven, it makes the pizza super crispy during the bake.'
Other chefs have slightly different recommendations. Gregorio Fierro says, 'The ideal medium for working with dough is neither semolina nor flour, You want to try and get your hands on fancy durum. Durum is basically just semolina ground to a finer texture.'
However, don't go rushing to the deli to bulk-buy semolina. Jeremy Betlach says, 'Semolina is a great option but can also be difficult for some people because of the gritty texture.'
Instead, Sayed Seyar says, 'We actually use regular, all-purpose flour when cooking our pizzas. All-purpose flour creates a softer dough with a chewier flavor, while still preventing the dough from sticking to the oven '
However, don't overdo it. Frank Kabatas says, 'It’s important to note that you shouldn't use too much flour during this process, otherwise it can leave an excess amount on the pizza after it’s finished cooking.' If you add too much, it can even be a fire hazard - flour or semolina left on a pizza stone can ignite.

Hengam Stanfield is a restaurateur, electrical engineer, and systems specialist, and co-founder of restaurant chain Mattenga's Pizzeria in San Antonio, TX.
6. Cook meat and mushroom toppings in advance
It's also a good idea to cook some toppings in advance - particularly meat and mushrooms.
Hengam says, 'I recommend cooking meat toppings before adding them to the pizza. At our pizzeria, we roast chicken breast and cook ground beef in-house, ensuring that these meats are fully cooked before the pizza hits the oven.' Thankfully, you don't need to do this with all meats. Hengam says, 'Cured meats like pepperoni are already pre-cooked.'
It;s also a good idea to cook watery ingredients like mushrooms beforehand. Eidref says 'I love roasting mushrooms in Corto olive oil with salt and pepper before baking them in a high-temperature oven. Mushrooms are so good at soaking in flavor but they also release water when baking. That moisture throws off the balance of the pizza which is why it is beneficial to pre-cook them.'
However, you don't need to cook everything in advance. Hengam says, 'I personally don’t cook vegetable toppings ahead of time before adding them to the pizza. This helps the veggies retain their texture and enhances their flavor as they roast directly on the pizza in the oven. Pre-cooking them would only expose them to more heat, causing them to lose both texture and color.'
7. Don't overdo the toppings
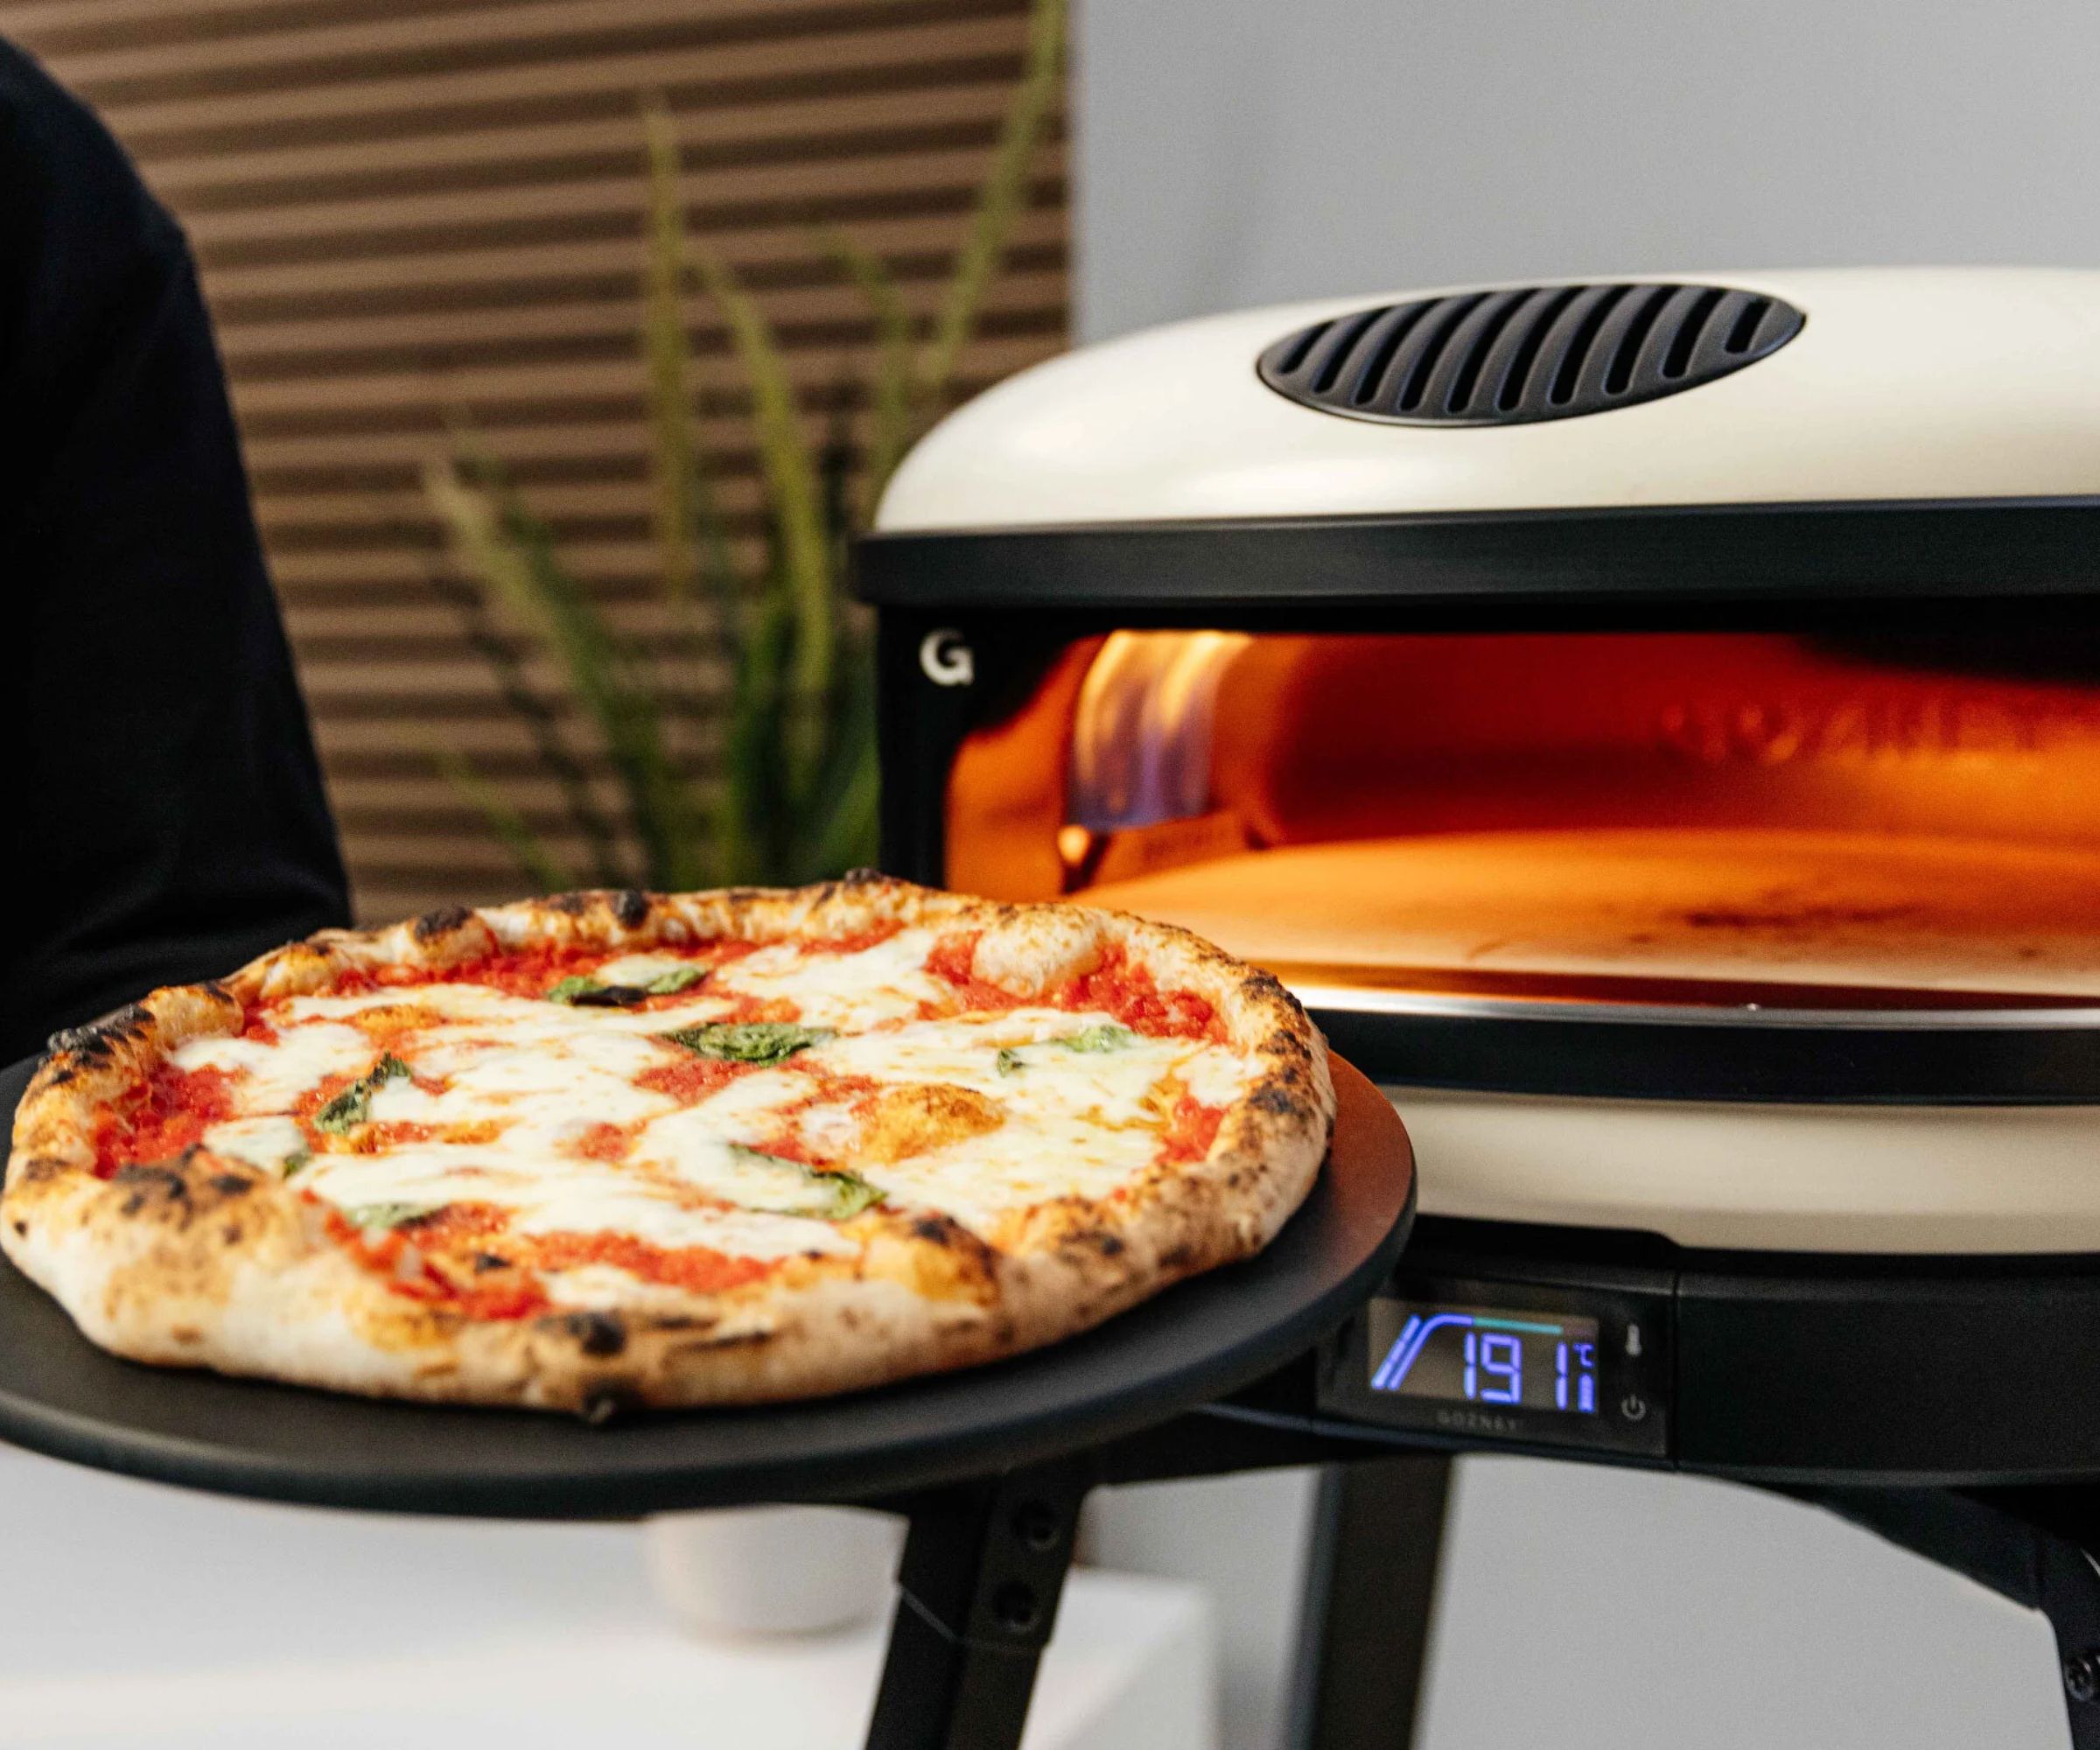
While we're on toppings, be careful not to overdo them. When cooing at home, it's tempting to experiment, loading up your pizza with generous amounts of toppings you'd never see in a restaurant. But while it seems delicious at the time, it could be making your pizza worse.
Sayed Seyar says, 'A common mistake I see all the time is adding too many toppings to your pizza. This can make the pizza soggy and difficult to cook evenly. Keep it simple for the best results.'
8. Keep the oven hot
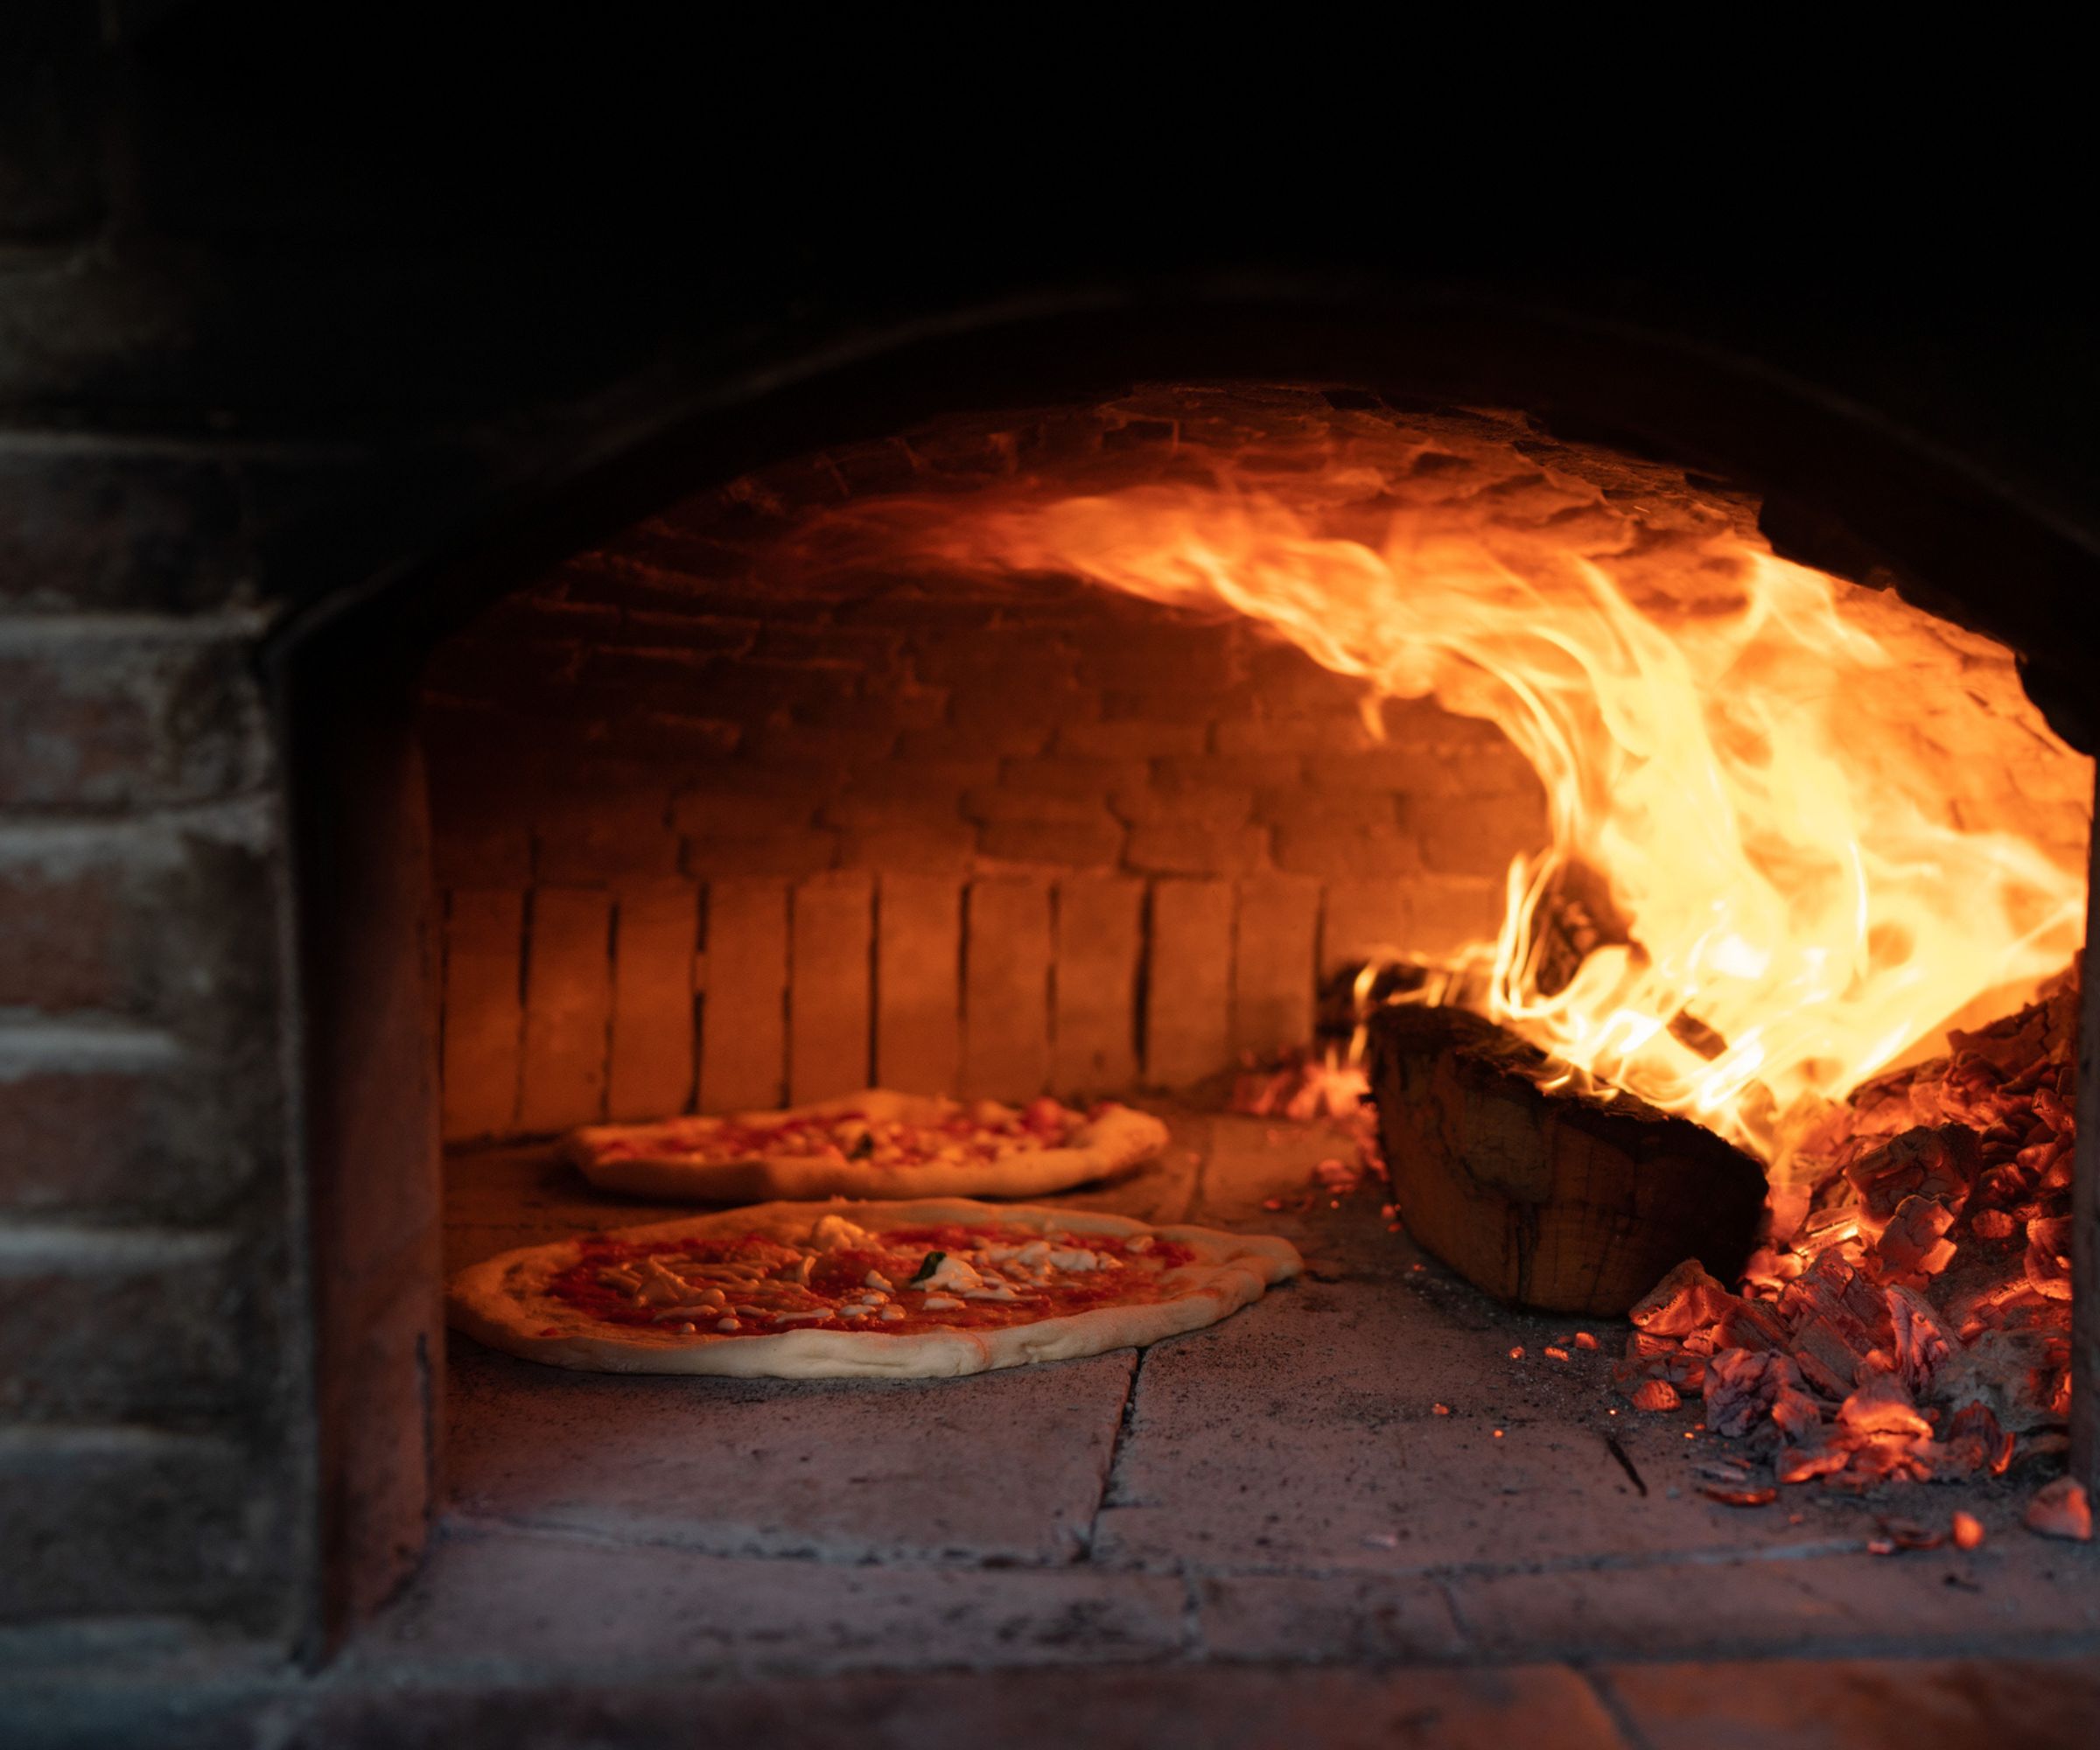
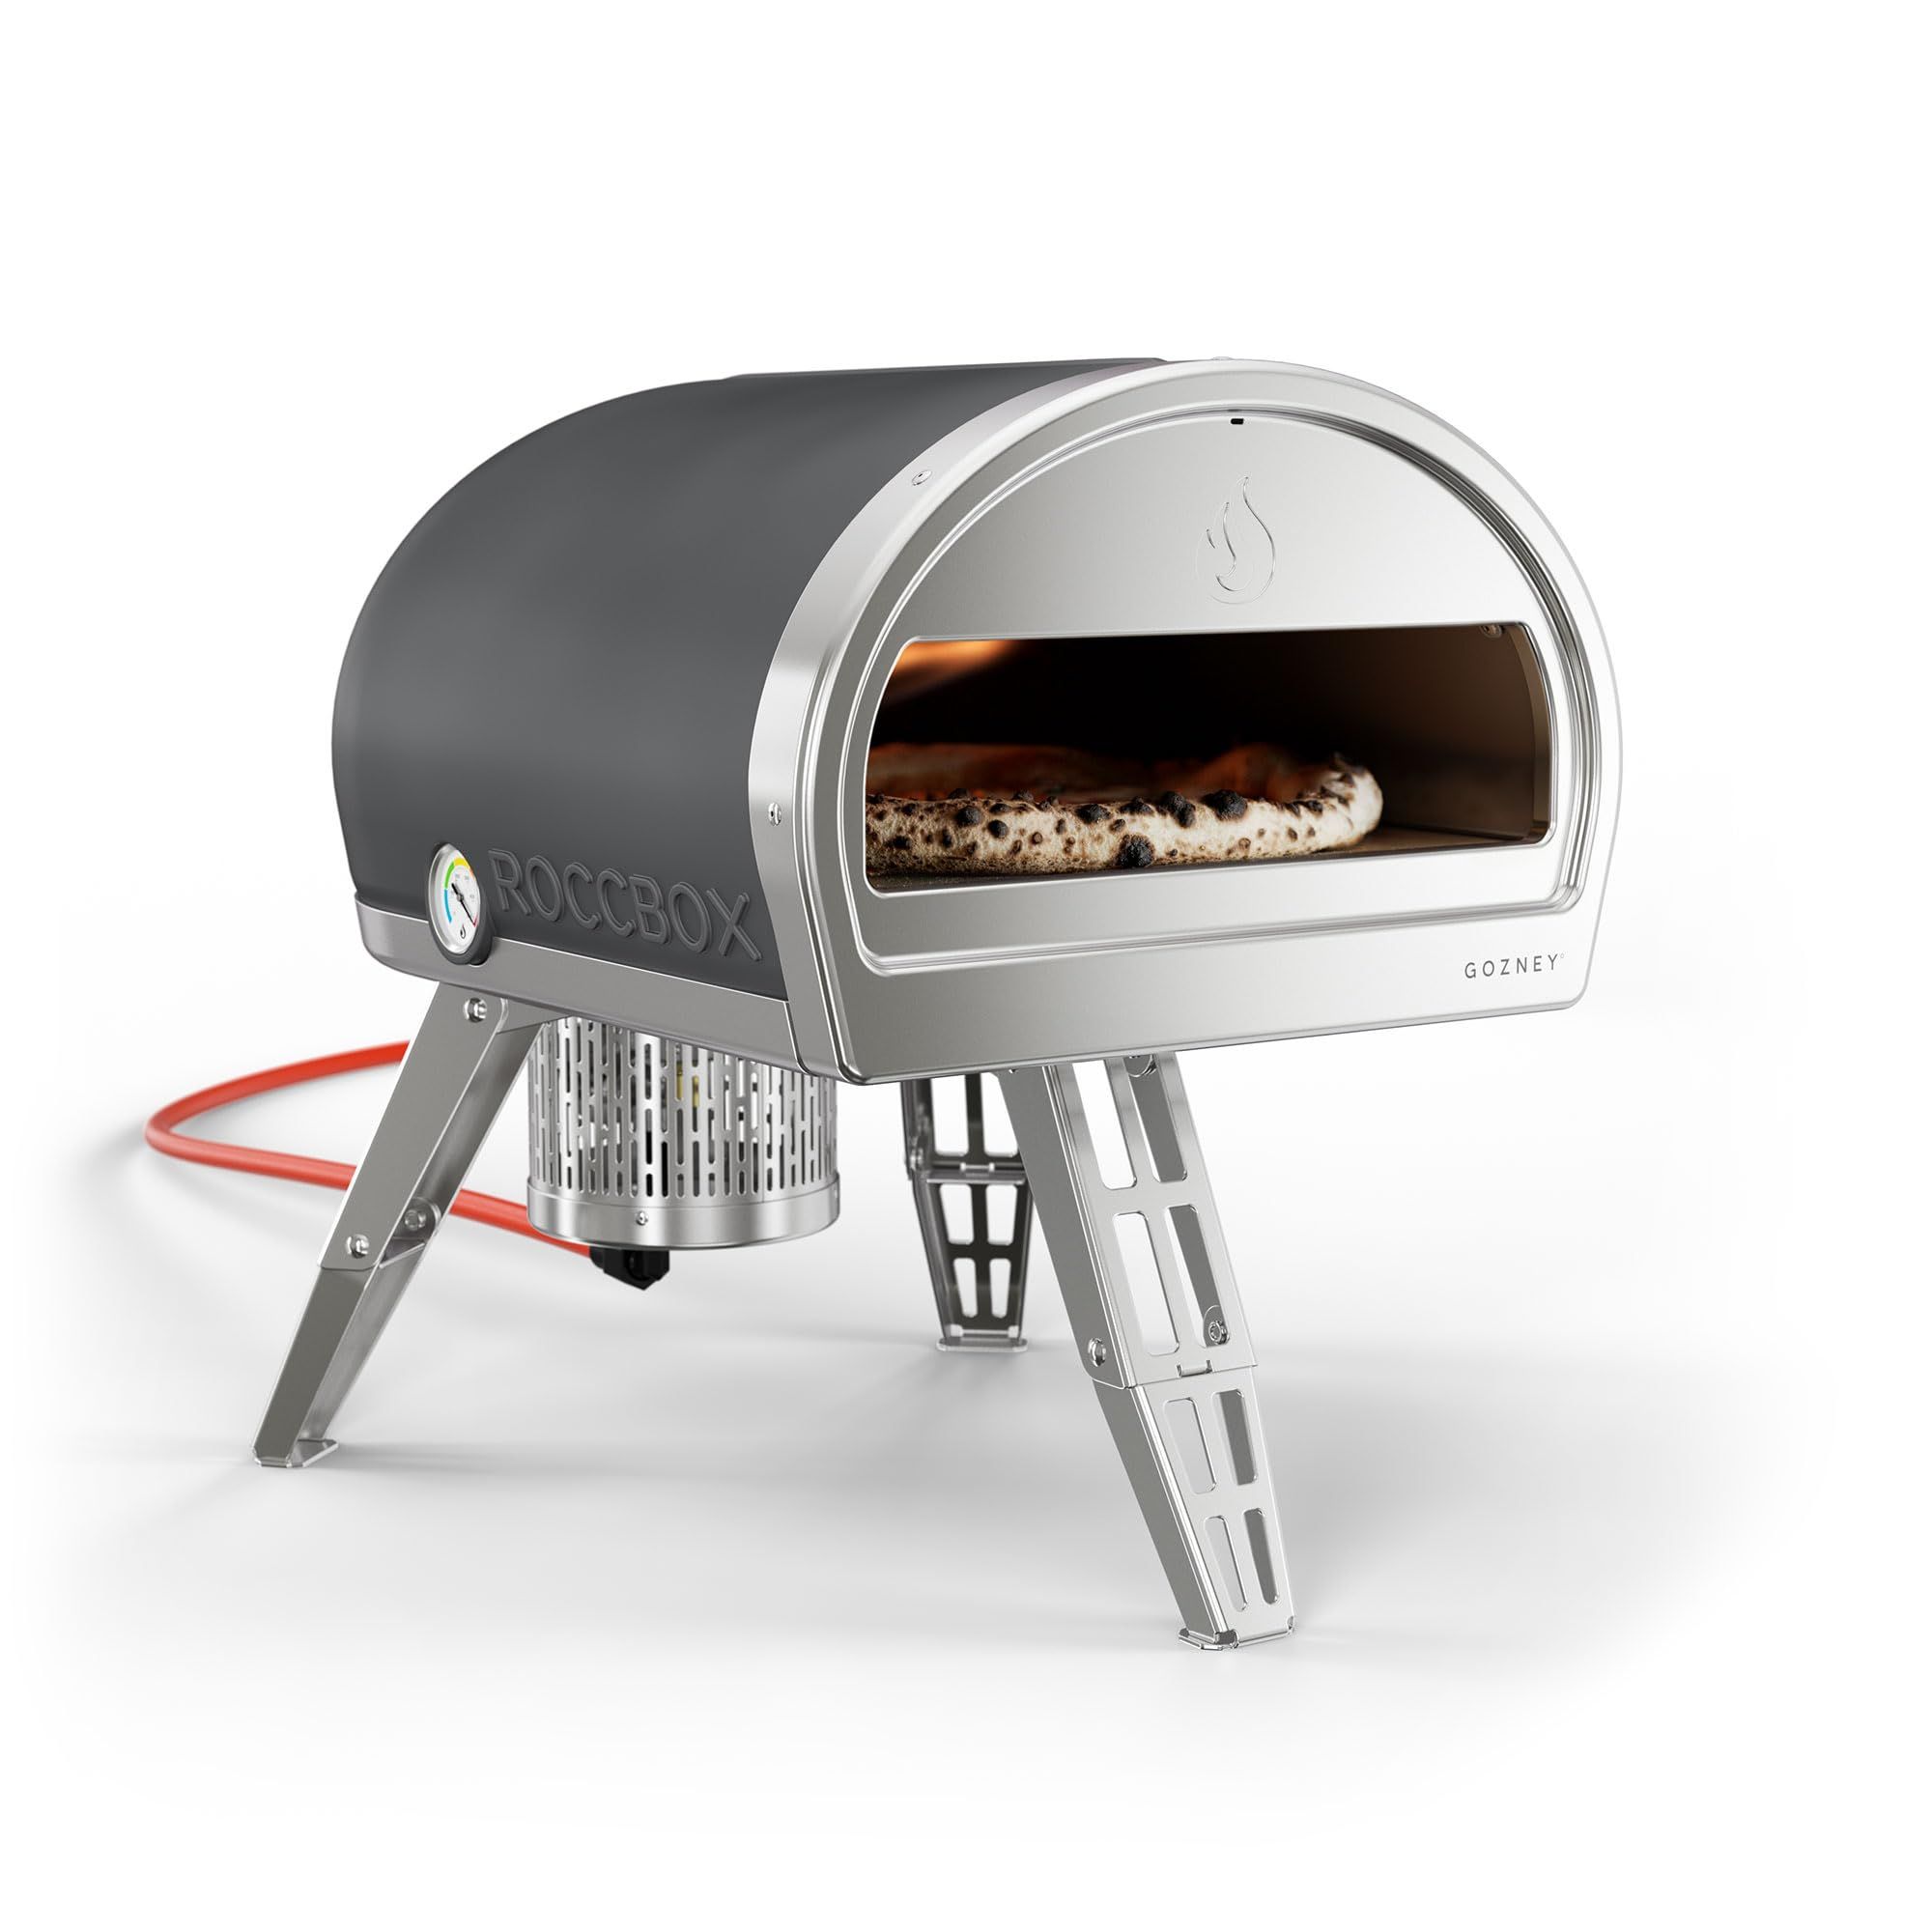
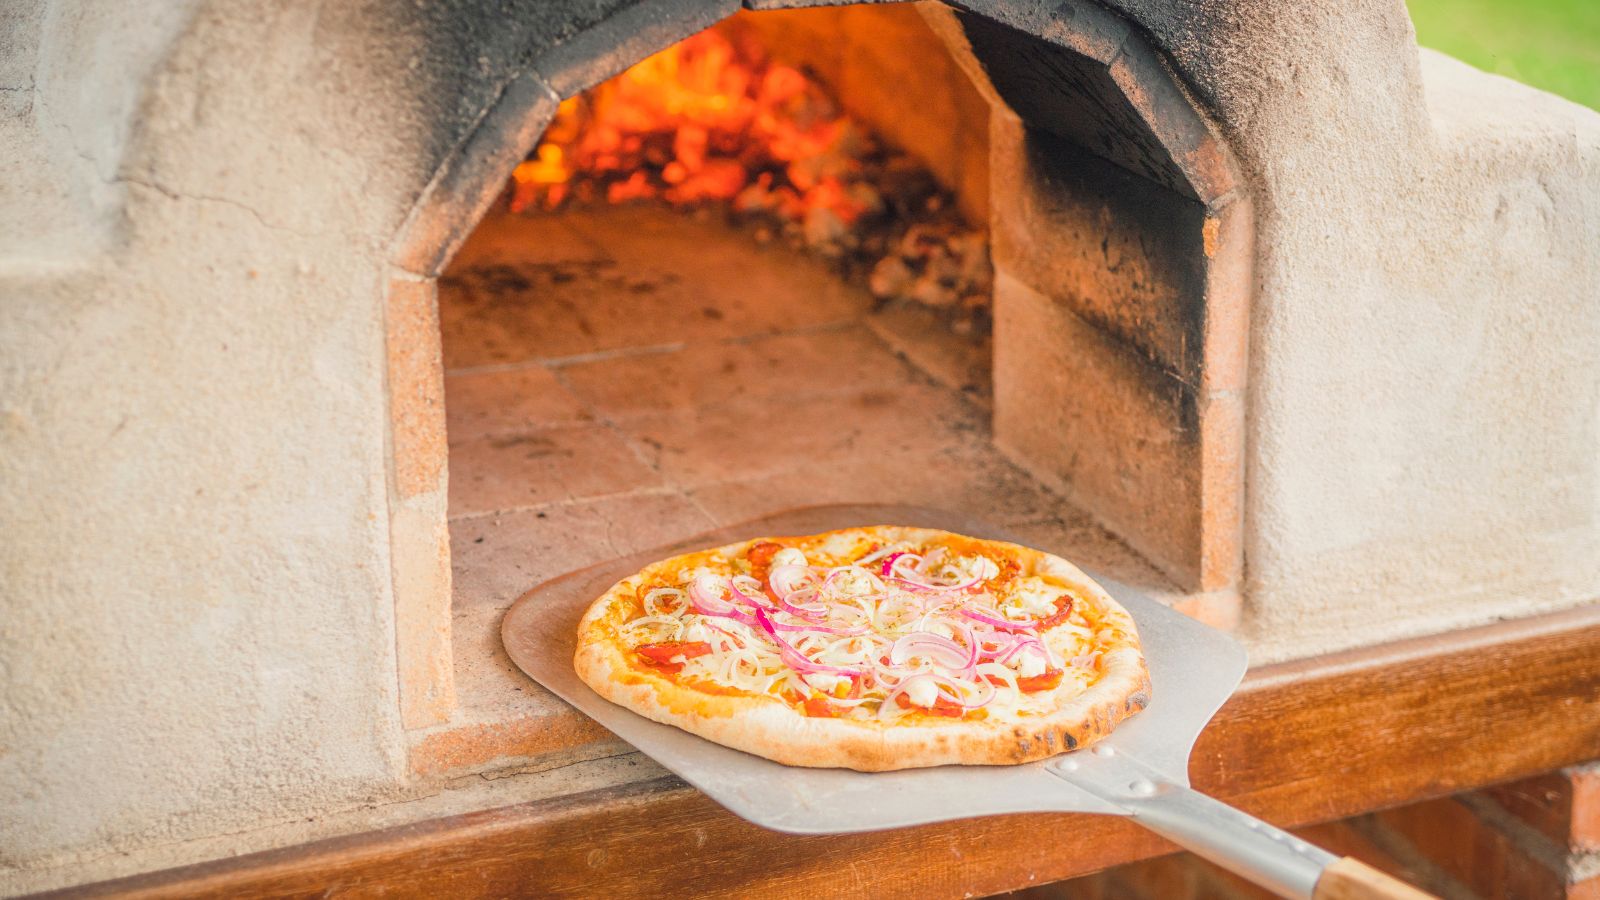
Pizza needs a piping-hot oven. Domestic pizza ovens like those from Gozney and Ooni can reach blistering temperatures. If the conditions are right, domestic pizza ovens can sometimes be higher than 1000°F, just like a traditional brick oven. This high temperature is what crisps up the crust, and makes these ovens cook so quickly.
However, these temperatures are impossible in a kitchen oven, so all of the chefs I spoke to recommend setting the oven temperature as high as possible. Hengham Stanfield says, 'For home ovens, I recommend setting it as hot as it can go, typically around 500-550°F (260-290°C). You want that high heat to mimic the conditions of a professional pizza oven. Baking pizza at 450 to 500°F for 7 to 10 minutes is usually enough; just check the bottom of the pizza to ensure it’s as crispy as you like it.'
However, if you have a domestic pizza oven, you can play with the temperature a little. Sayed Sayar says, 'a frequent error people make when cooking pizza is not adjusting the cooking temperature to the dough's hydration level. High-hydration doughs, like those used for Neapolitan-style pizzas, need to be baked at very high temperatures to ensure rapid moisture evaporation, resulting in a crisp exterior and properly cooked interior. On the other hand, low-hydration doughs should be baked at lower temperatures to avoid burning the crust while still allowing the inside to cook thoroughly.'
Frank Kabatas gave an example. 'For reference, a Neapolitan-style pizza requires a hotter oven temperature, around 800 degrees Fahrenheit, since it has a faster cooking time of just a few minutes. On the other hand, a New York-style pizza needs to be cooked at around 450 to 500 degrees Fahrenheit, and requires a longer cooking time.'

One of our favorite tested ovens, this inexpensive appliance is perfect for smoky, traditional Neapolitan pizzas.
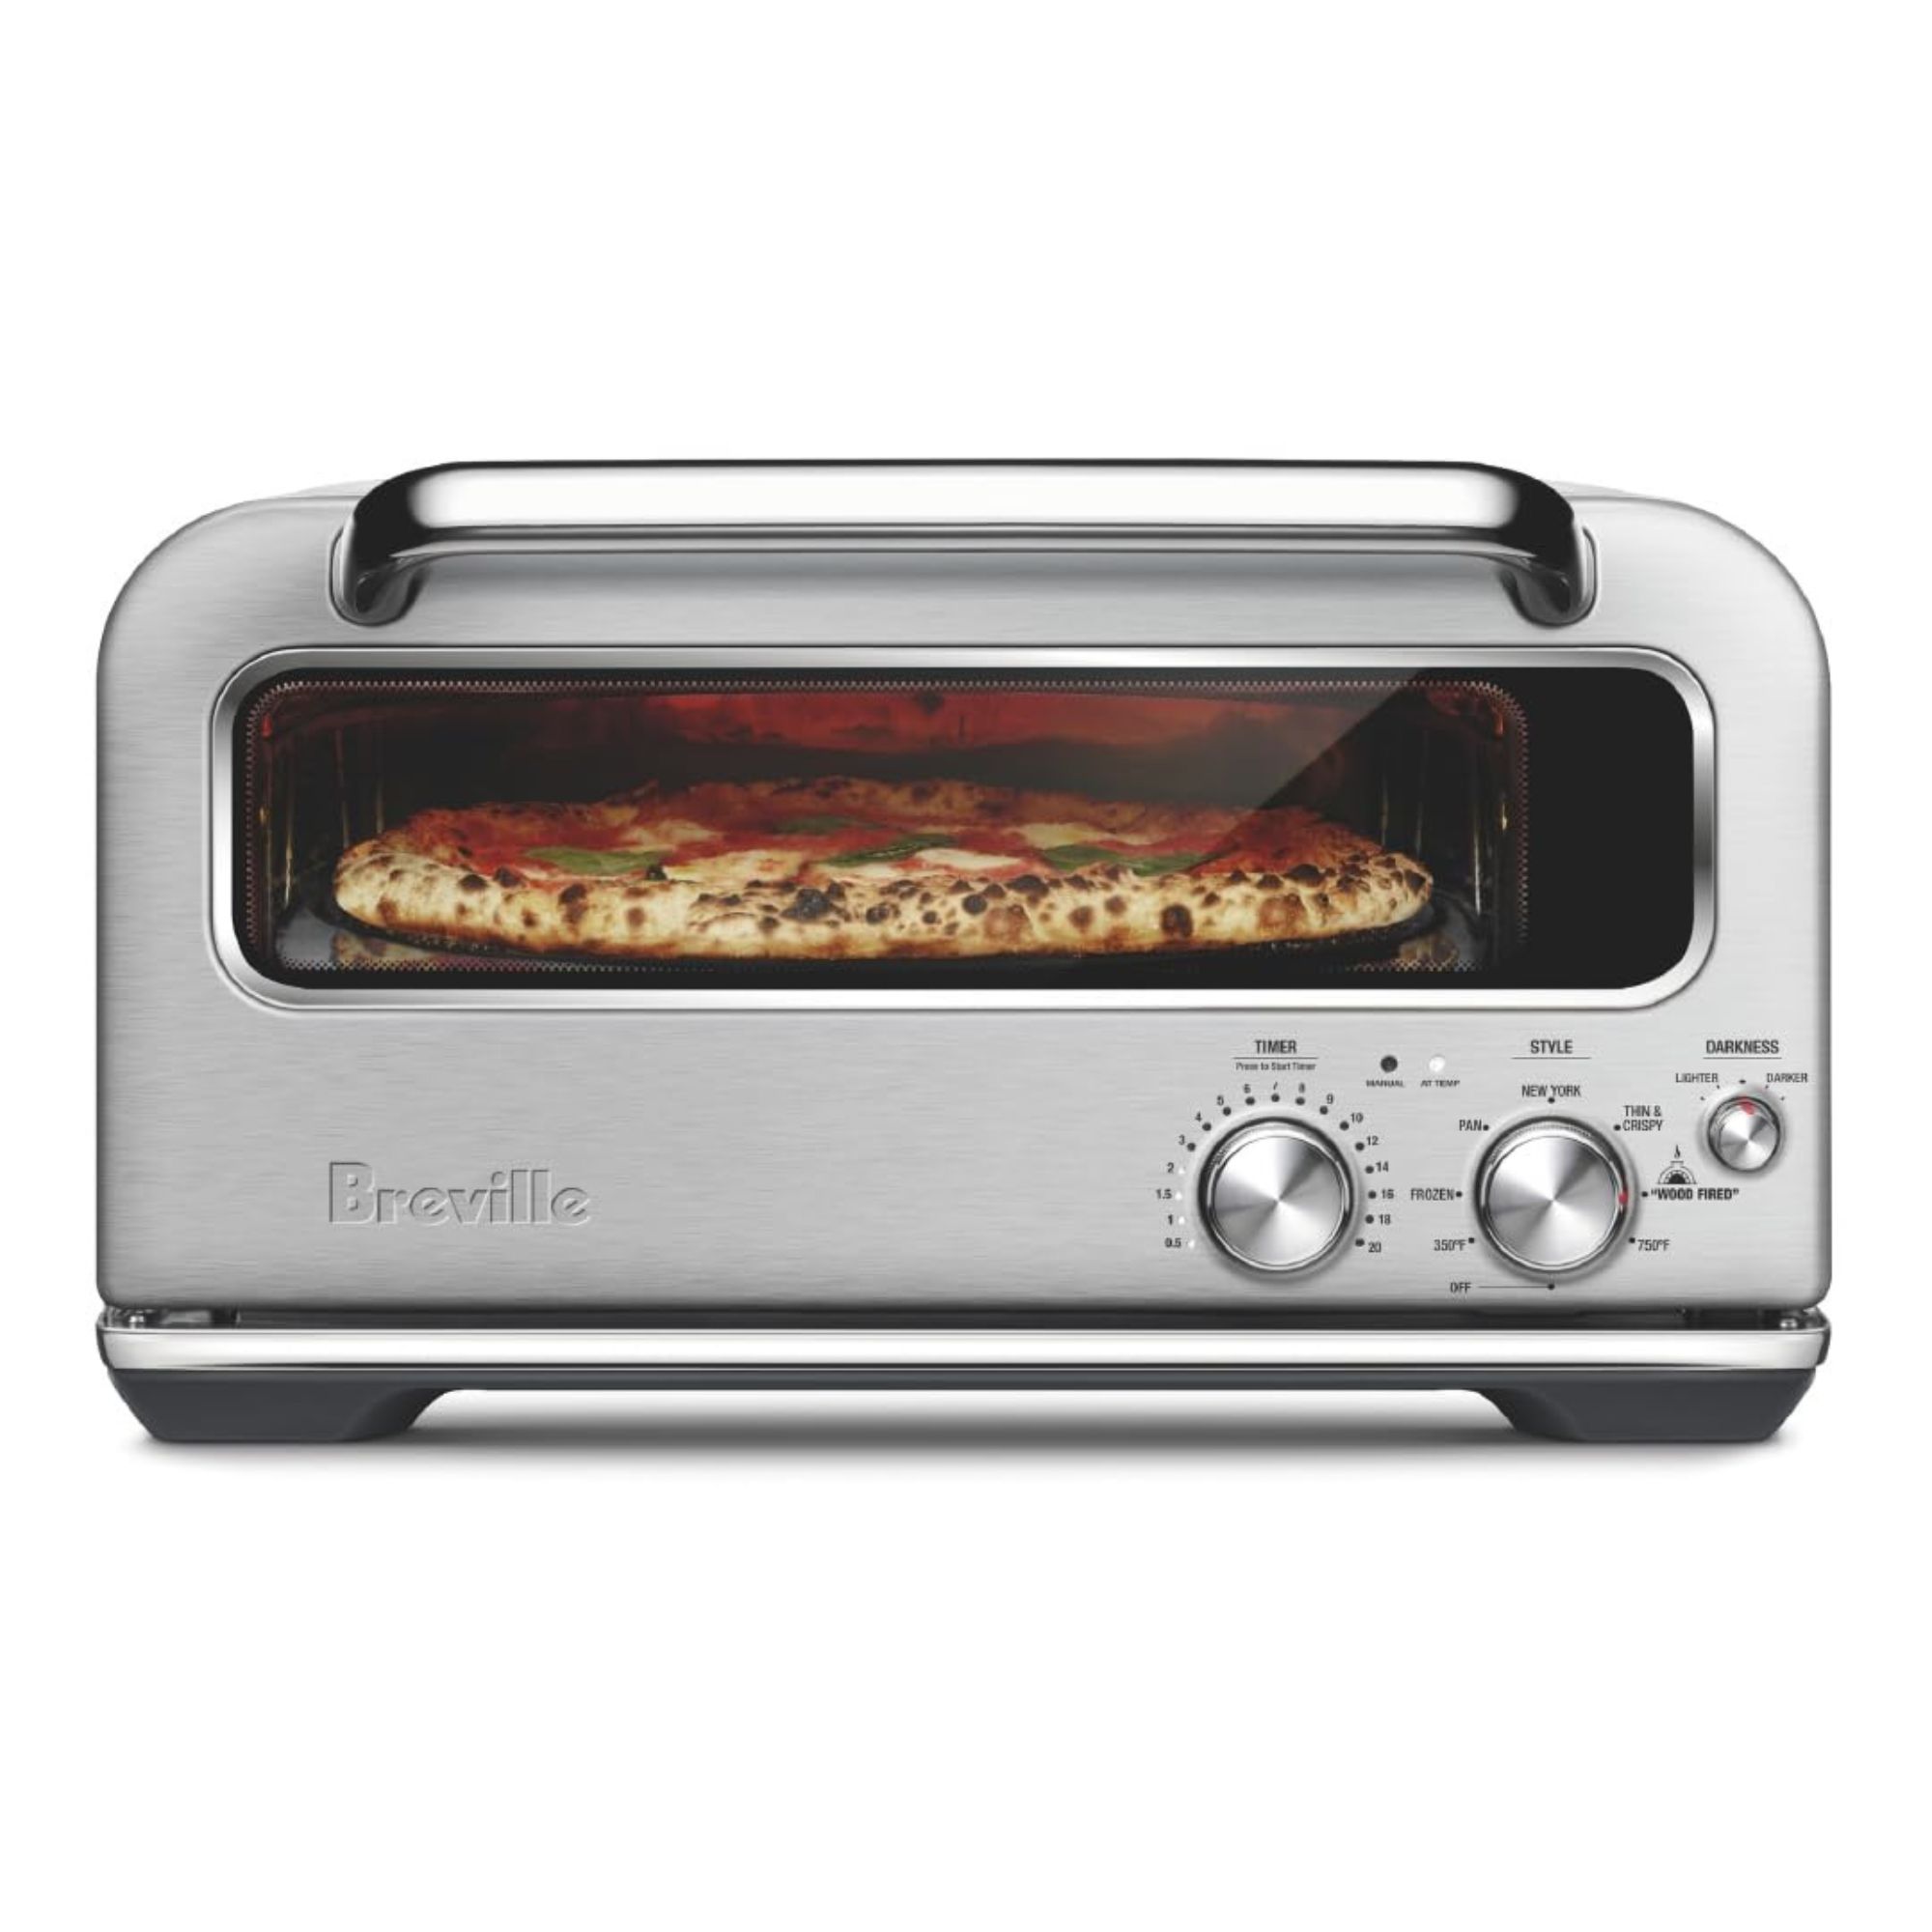
If you want to step up your pizza game but don't have room outdoors for a pizza oven, this indoor pizza oven has dedicated settings to help you master different styles of pizza.
9. Try a pizza stone - but be patient
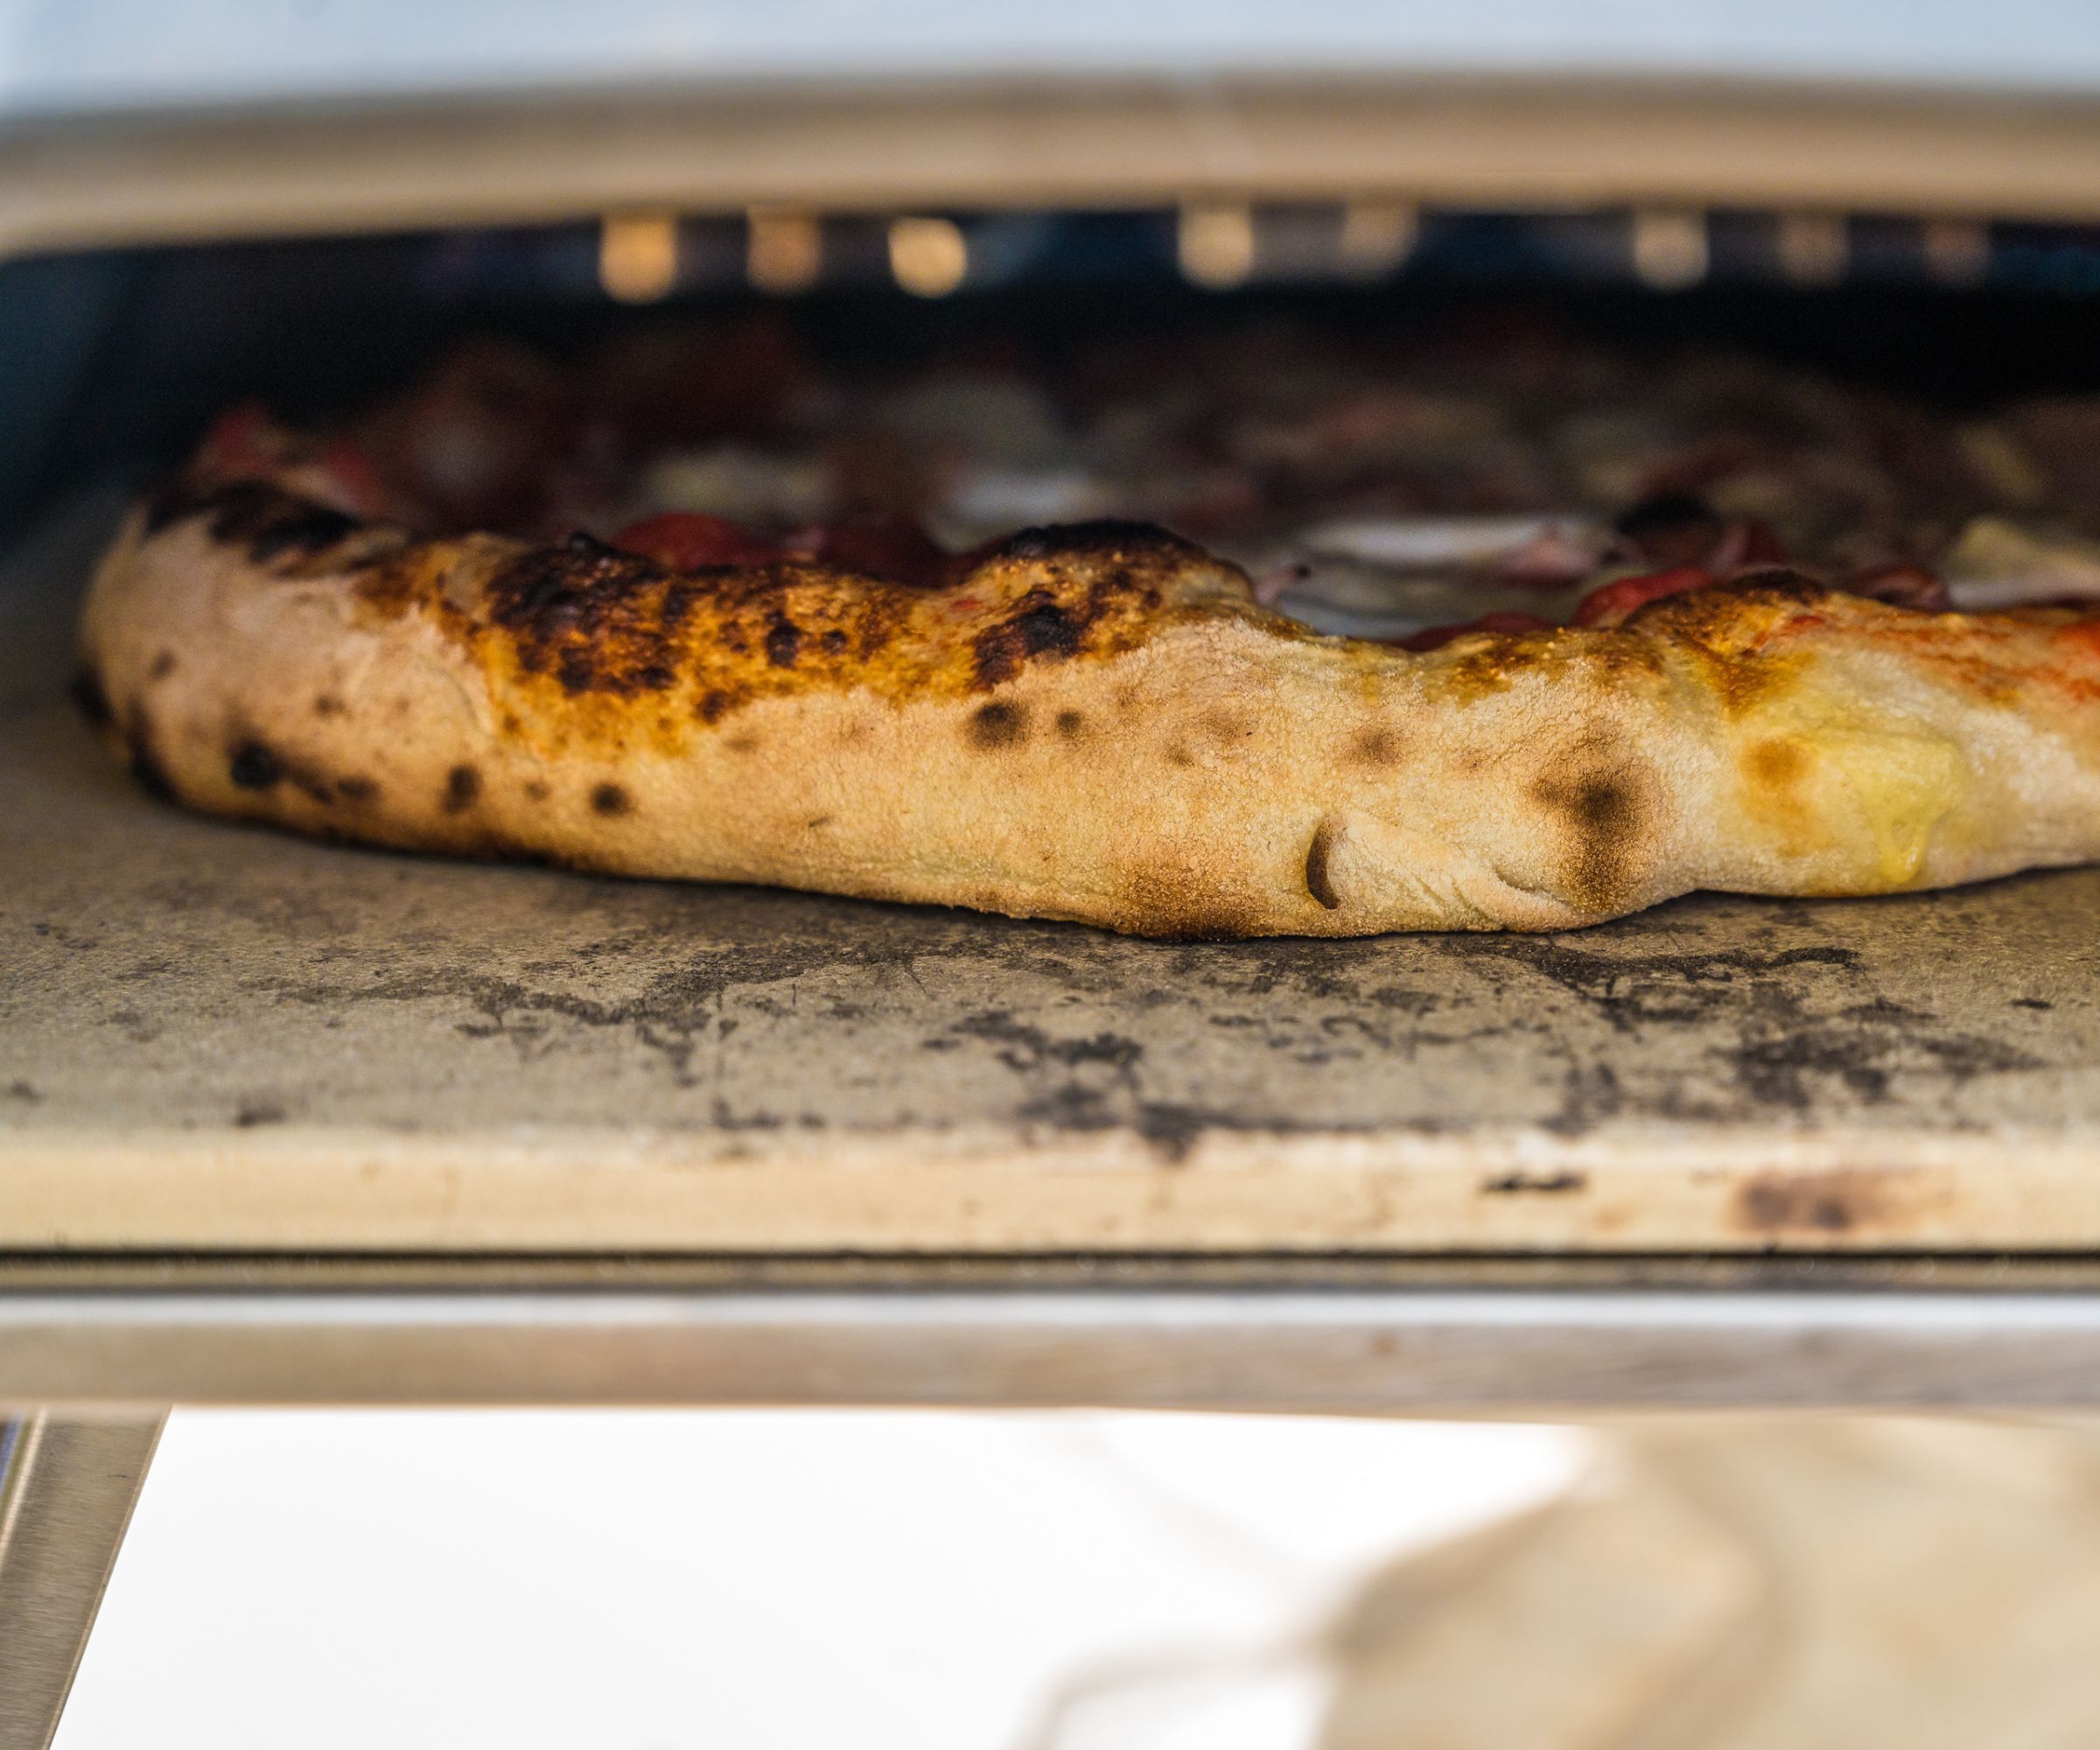
If you don't have an outdoor pizza oven, you can mimic the effect by using an oven pizza stone like this NordicWare pizza stone at Amazon. It's exactly the same material as pizza stones in domestic ovens, and while it won't get as hot as a kitchen oven, it does a similar job.
However, if you use one of these in your oven just remember to take your time. Hengam Stanfield says, 'Your pizza stone needs time to get thoroughly heated. I’d recommend preheating the stone for at least 45 minutes to 1 hour before placing your pizza on it. This ensures that your crust gets the right amount of crispness on the bottom.
Sayed Sayar agrees, telling me 'It takes about 30 to 45 minutes for a pizza stone to reach the right temperature in a preheated oven. Patience is key. You want to ensure your stone is fully heated for optimal pizza baking.'
10. Try a pizza steel
Lots of experts also swear by pizza steels, like this pizza steel at Amazon. Eidref Laxa says, 'If you ask me, ditch the stone and get a baking steel. It will result in a beautifully cooked and crispy pizza, plus it gets way hotter than a stone resulting in the ability to cook multiple pizzas.'
Hengam Stanfield agrees. 'If you don’t have a pizza stone and want a simpler alternative, I highly recommend using aluminum pizza screens. They cost around $8 to $15, come in sizes like 10, 14, or 16 inches (perfect for most home ovens), and are dishwasher-safe. Simply place your pizza on the screen and put it in the oven - it’s easy to handle, cleanup is quick, and pizza screens are widely used in many pizzerias.'
On top of being dishwasher-safe, there's no risk of thermal shock with pizza steels. They won't crack if placed into a hot oven, so you don't need the 40-minute wait you need for a pizza stone.
11. Keep the crust thick
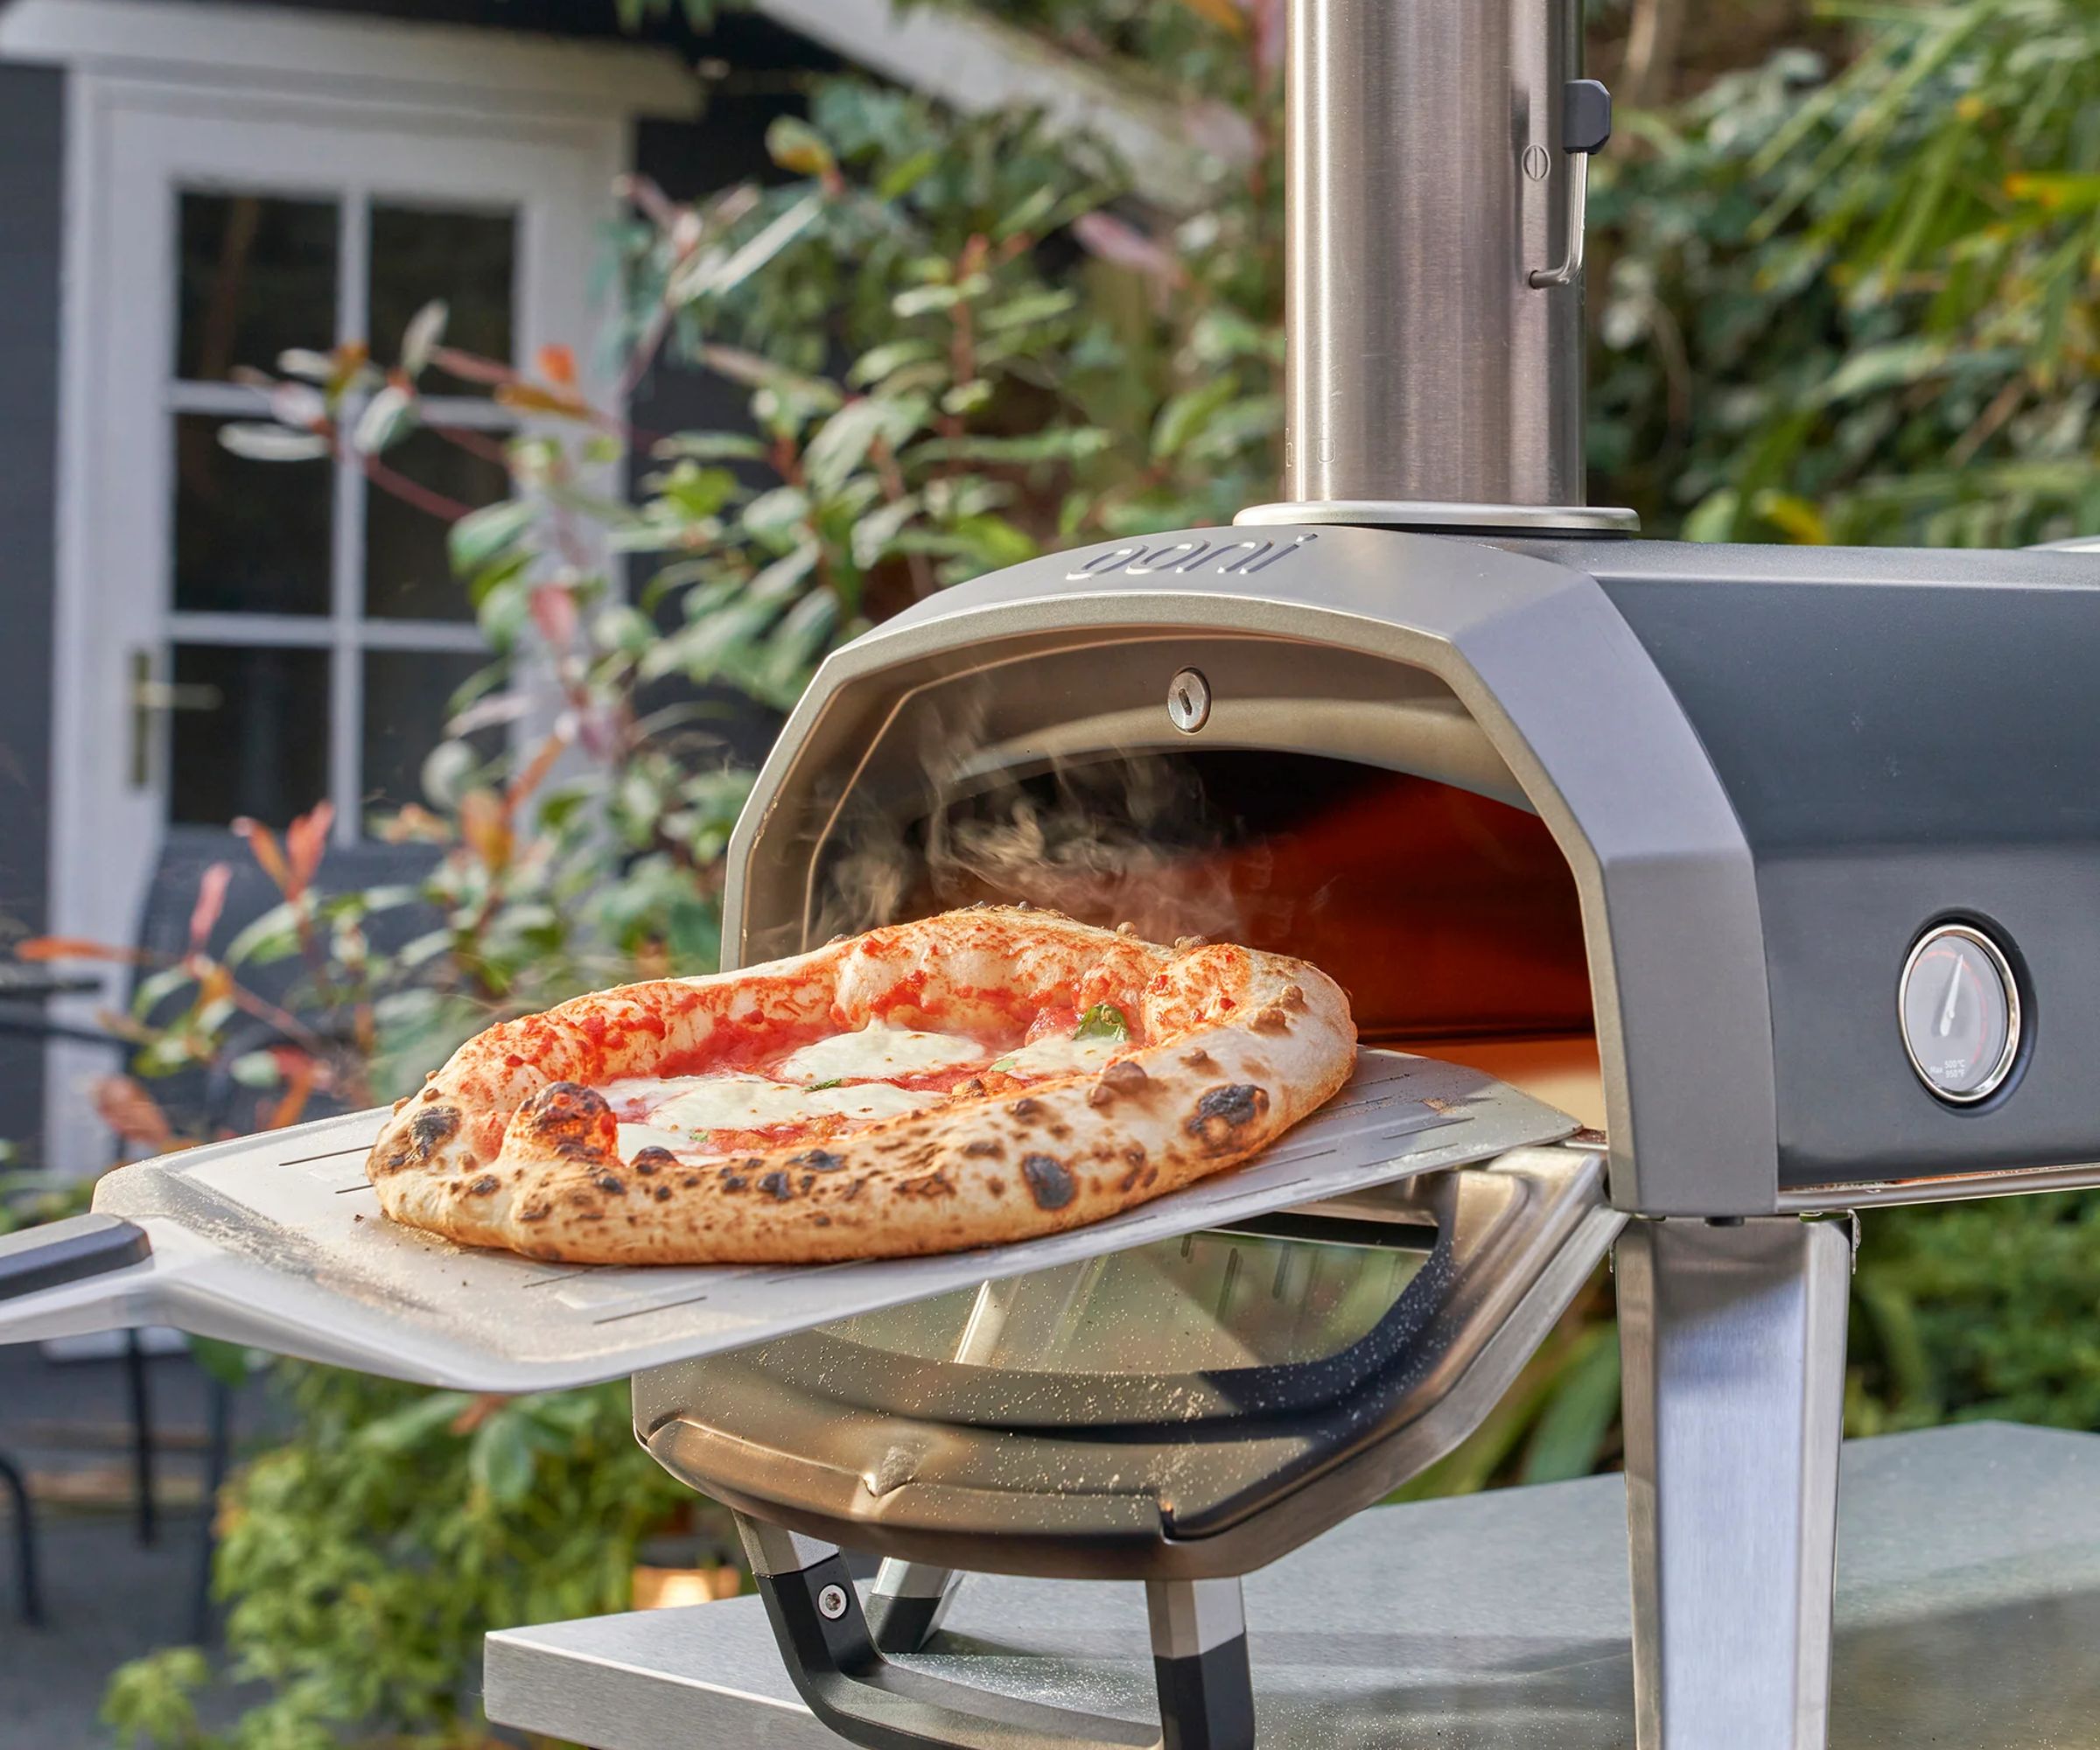
Because a kitchen oven is cooler than a domestic pizza oven or professional pizza oven, the crust won't crisp up the same way. In a hot 900°F+ oven, the crust instantly crisps, lifting away from the pizza stone, which ensures that your pizza doesn't stick to the surface. This means that you can get away with a very thin crust because the surface moisture on the base of the pizza instantly evaporates.
That isn't the case with a kitchen pizza. The temperature of the oven is half that of a dedicated pizza oven, so a thin crust won't instantly crisp up, making it more likely that the pizza will stick to the stone and be ruined.
Instead, Hengam Stanfield recommends, 'At home, I suggest rolling out your dough to about 1/8 to 1/4 inch thick, depending on how you like it. If you prefer a New York-style pizza, go for thinner; if you like a more Neapolitan style, keep it a bit thicker so it has that beautiful puff and chew.'
If all of these steps seem a little overwhelming, it's worth considering if you should bother with a pizza oven. These get so hot that they overcome a lot of the difficulties with cooking pizza at home - but they're very expensive.

As a gardens and lifestyle contributor, Alex makes sure readers find the right information to help them make the best purchase. Alex got his start in reviewing at the iconic Good Housekeeping Institute, testing a wide range of household products and appliances. He then moved to BBC Gardeners’ World Magazine, assessing gardening tools, machinery, and wildlife products.
