Seed harvesting and collecting mistakes – 6 common pitfalls to avoid
Expert advice for avoiding seed harvesting mistakes, to ensure your hand-raised plants will thrive next year
Harvesting seeds for sowing the following year is a simple and fun activity that can save you a lot of money when it comes to expanding your plant collection.
Watching your favourite flowers and vegetables flourish year after year from seeds collected in your own yard gives an immense sense of satisfaction, and in my experience it gives us a closer connection to the growing process. As long as you avoid the most common seed storage mistakes, you can grow a vast array of flowers, fruit and vegetables from plants grown this season.
Although collecting seeds from your favourite plants is relatively easy, there are several common pitfalls to avoid during the process. Here we look at the six of the most common seed harvesting mistakes and show you how to avoid them.
1. Harvesting seeds at the wrong time
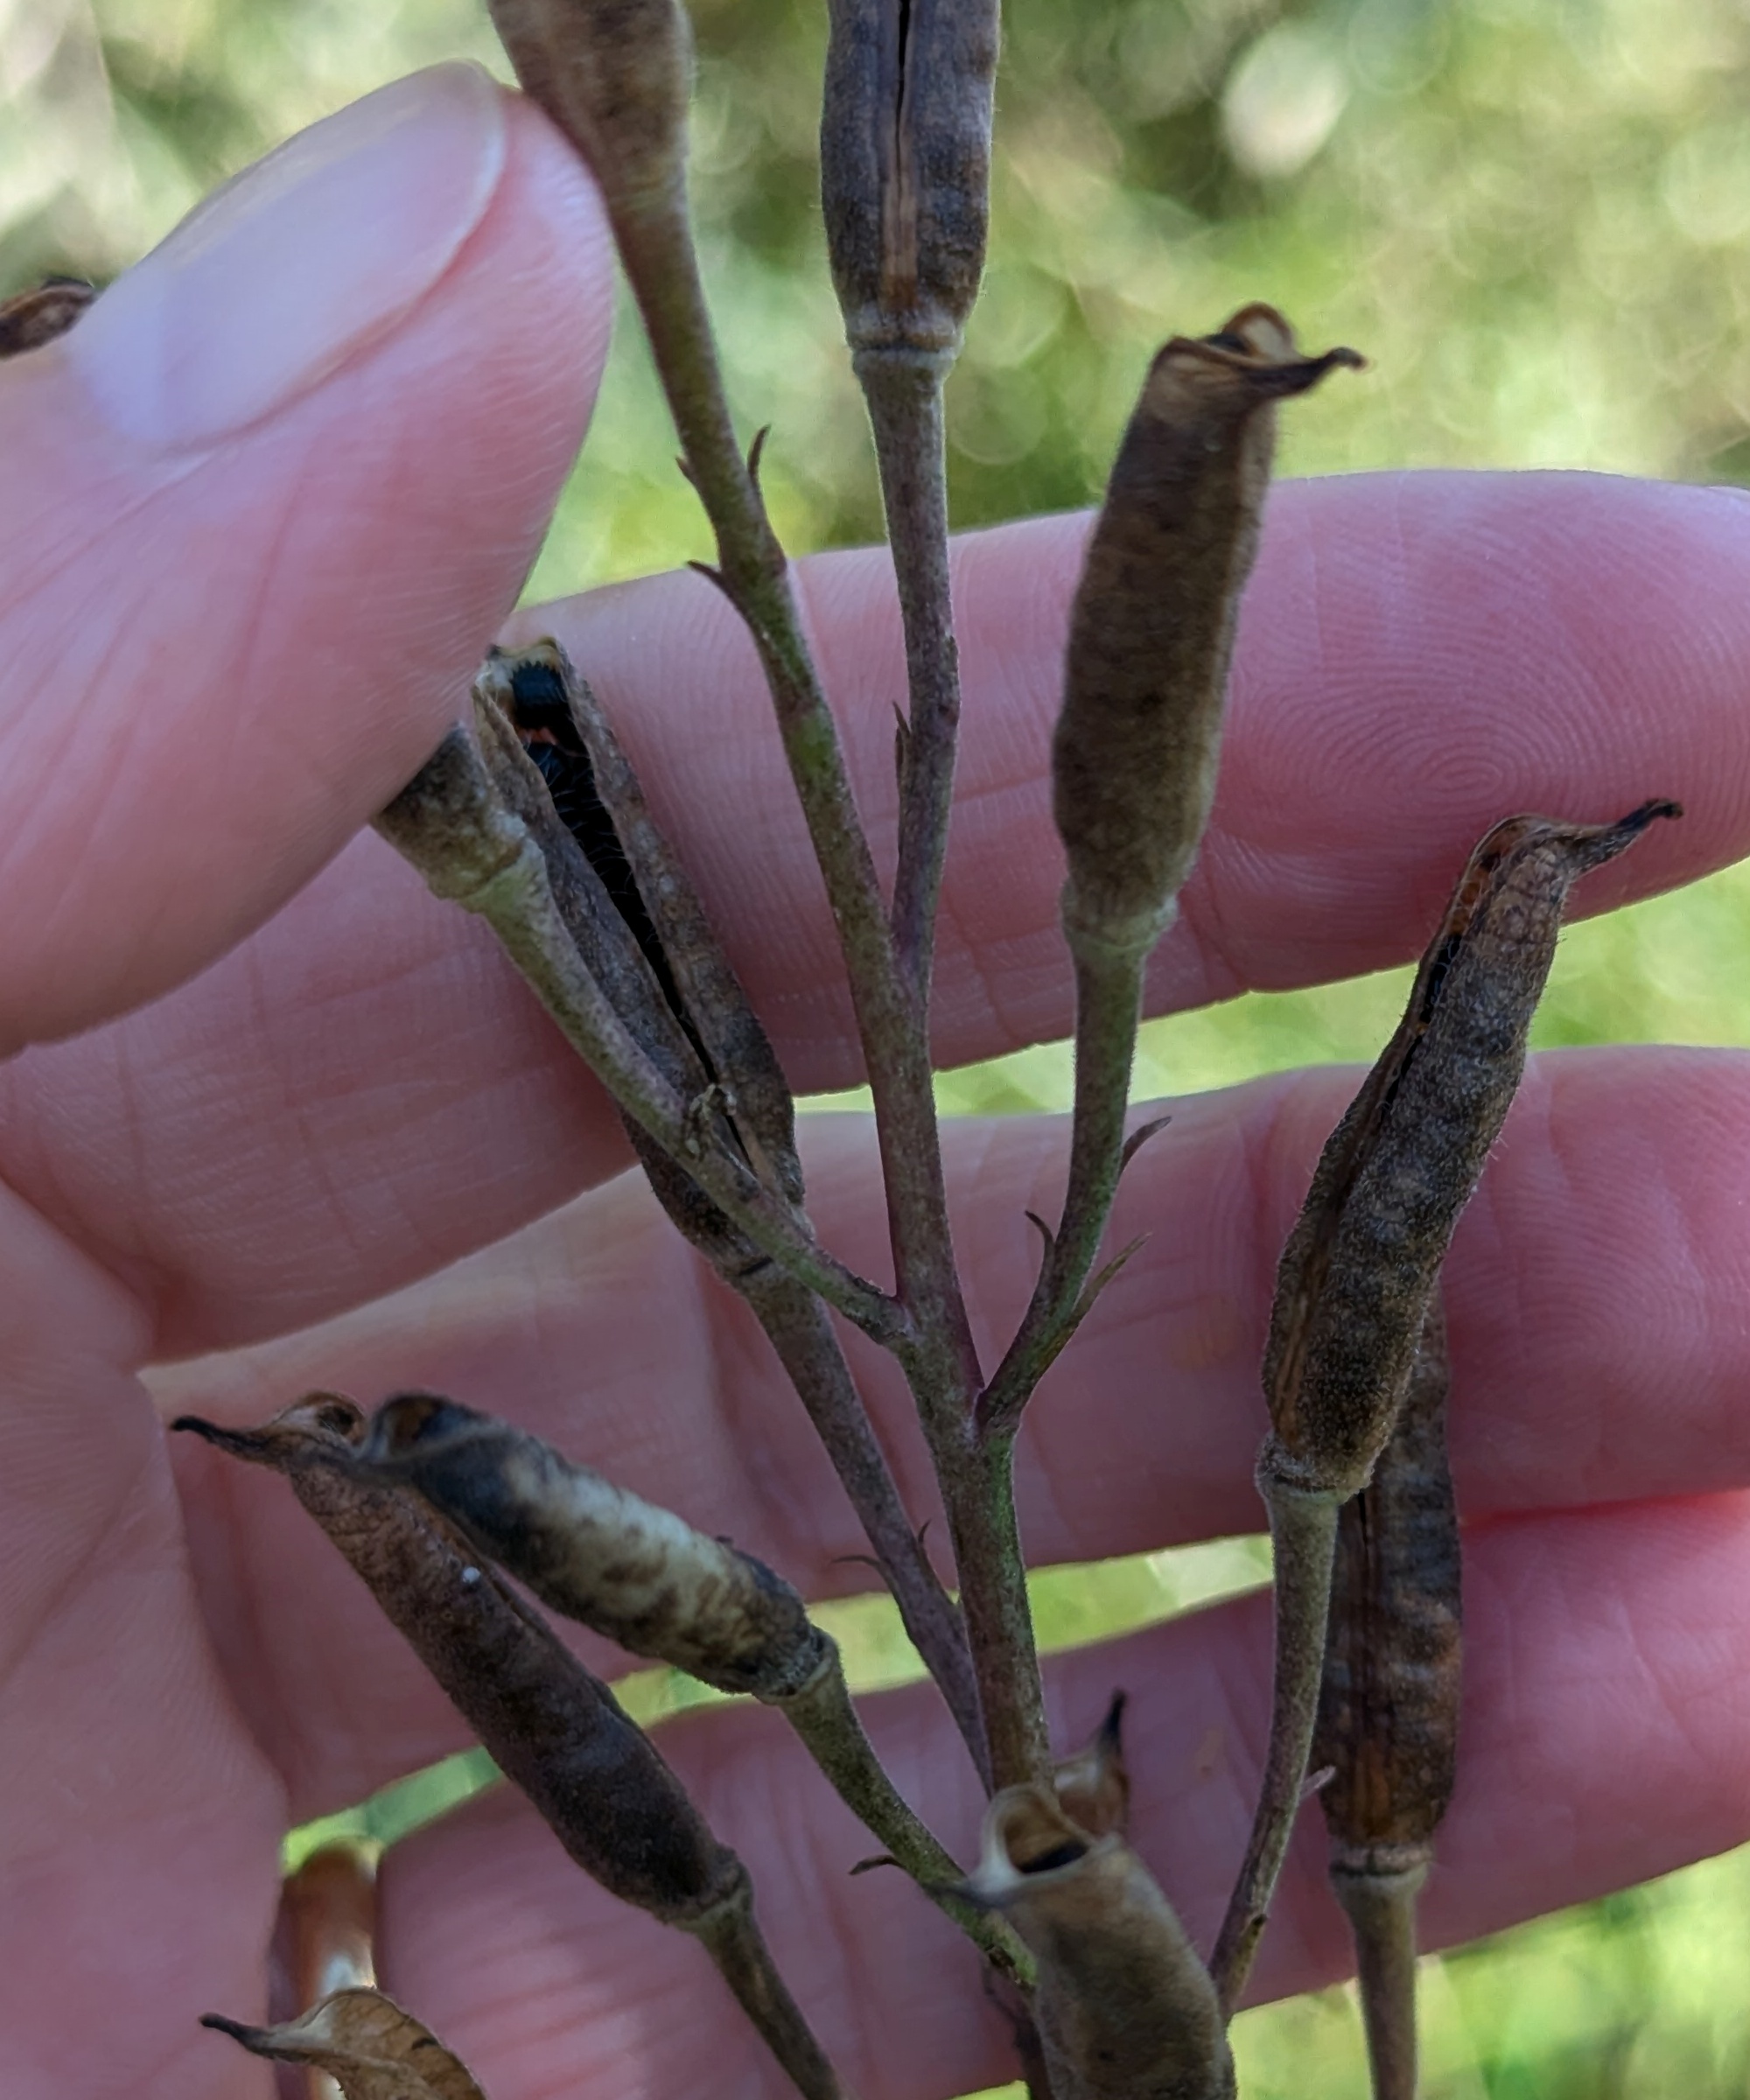
These larkspur seed pods are ripe and ready to harvest - some have already started to split open
There is no point in harvesting seeds if they are not ready as they won’t continue to ripen after collecting and are more likely to go mouldy in storage.
Ripeness occurs for different plants at different times, depending on the hardiness zone where you live. You can tell when the seeds are ready to collect because the plant's pods or seed heads will change from flexible and green to brittle and a darker shade of purple or brown. The seeds will have dried inside and you will hear them rattle when you shake the pod.
When you harvest seeds from edible plants, such as pumpkin seeds, watermelon seeds and tomato seeds, give the fruit or veg time to over-ripen on the plant before harvesting. If this isn't an option, stand them in a dry, sunny spot for a few days after picking.
2. Choosing poor-quality seeds
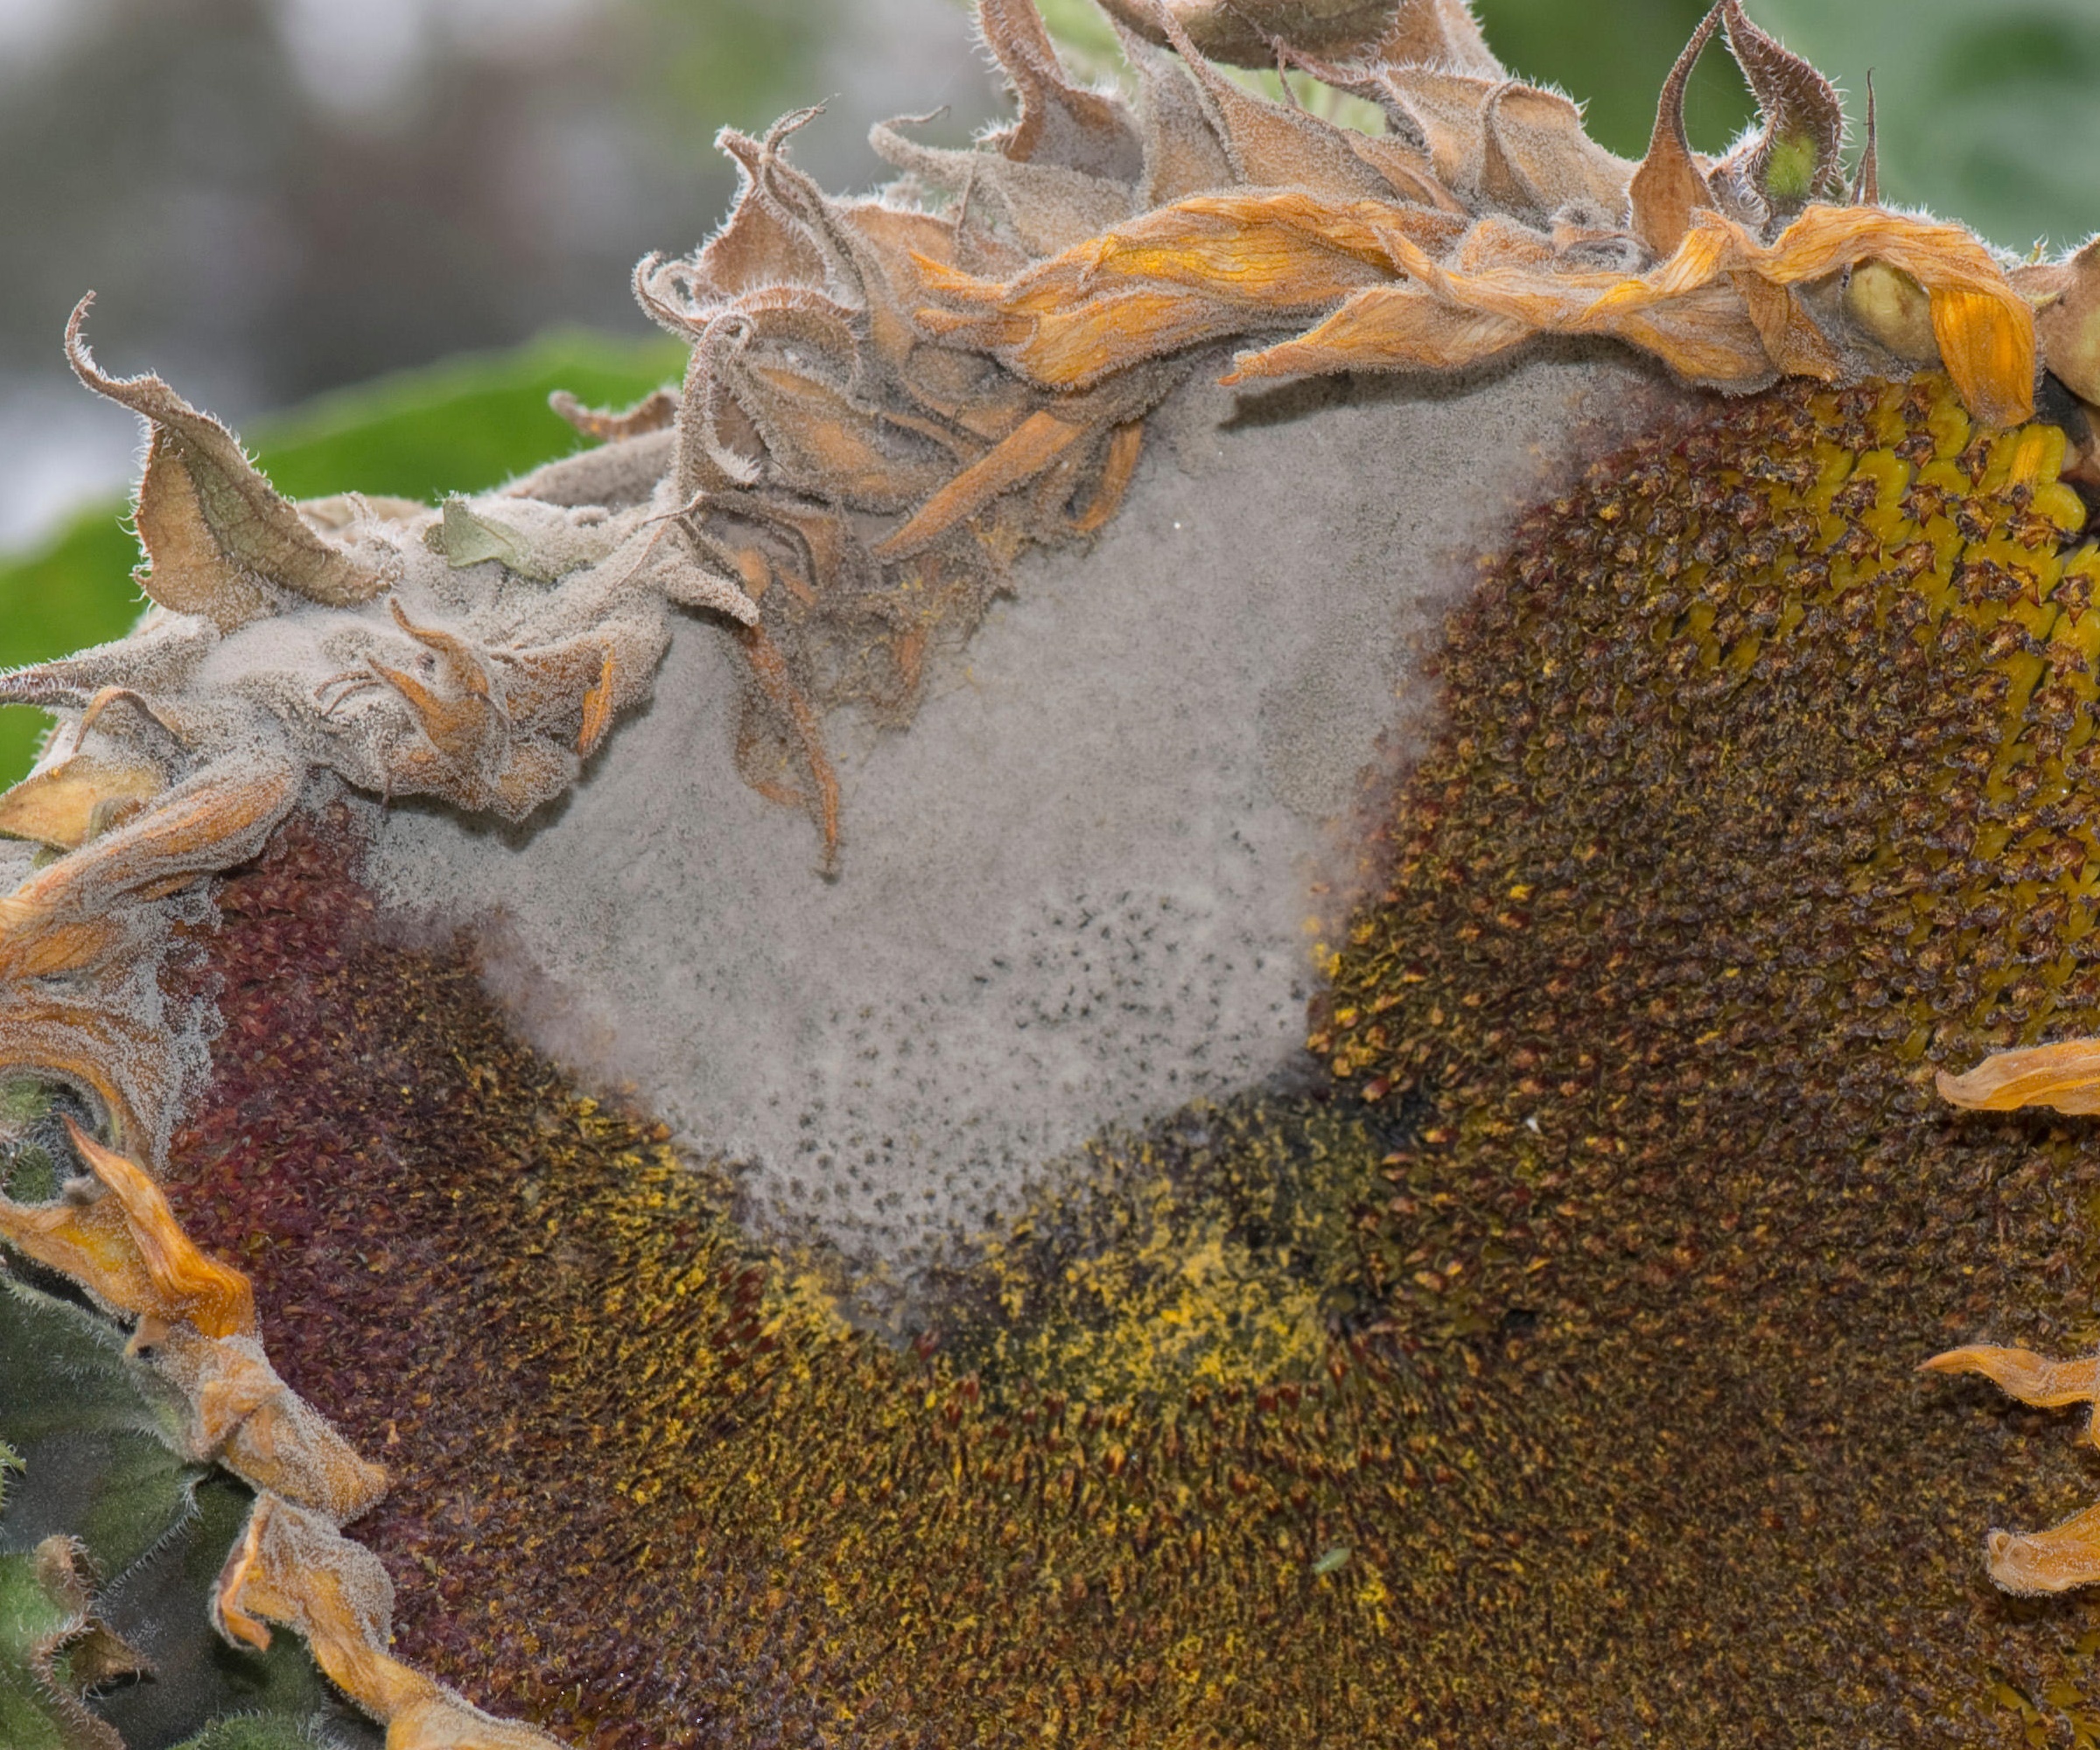
Never collect seeds from diseased plants, such as this sunflower that has botrytis grey mould
Always select seeds from plants that are robust and show no signs of disease such as mould or powdery mildew. Seeds from plants that have grown strongly and flowered or cropped well will produce a better result.
There is also the risk that seeds from diseased plants may carry problems forward and spread disease through the garden.
Always remember to completely clear away and dispose of diseased plant material and never to add it to the compost heap, as fungal spores will live on in the warmth it generates and go on to contaminate the whole yard.
3. Storing dirty seeds
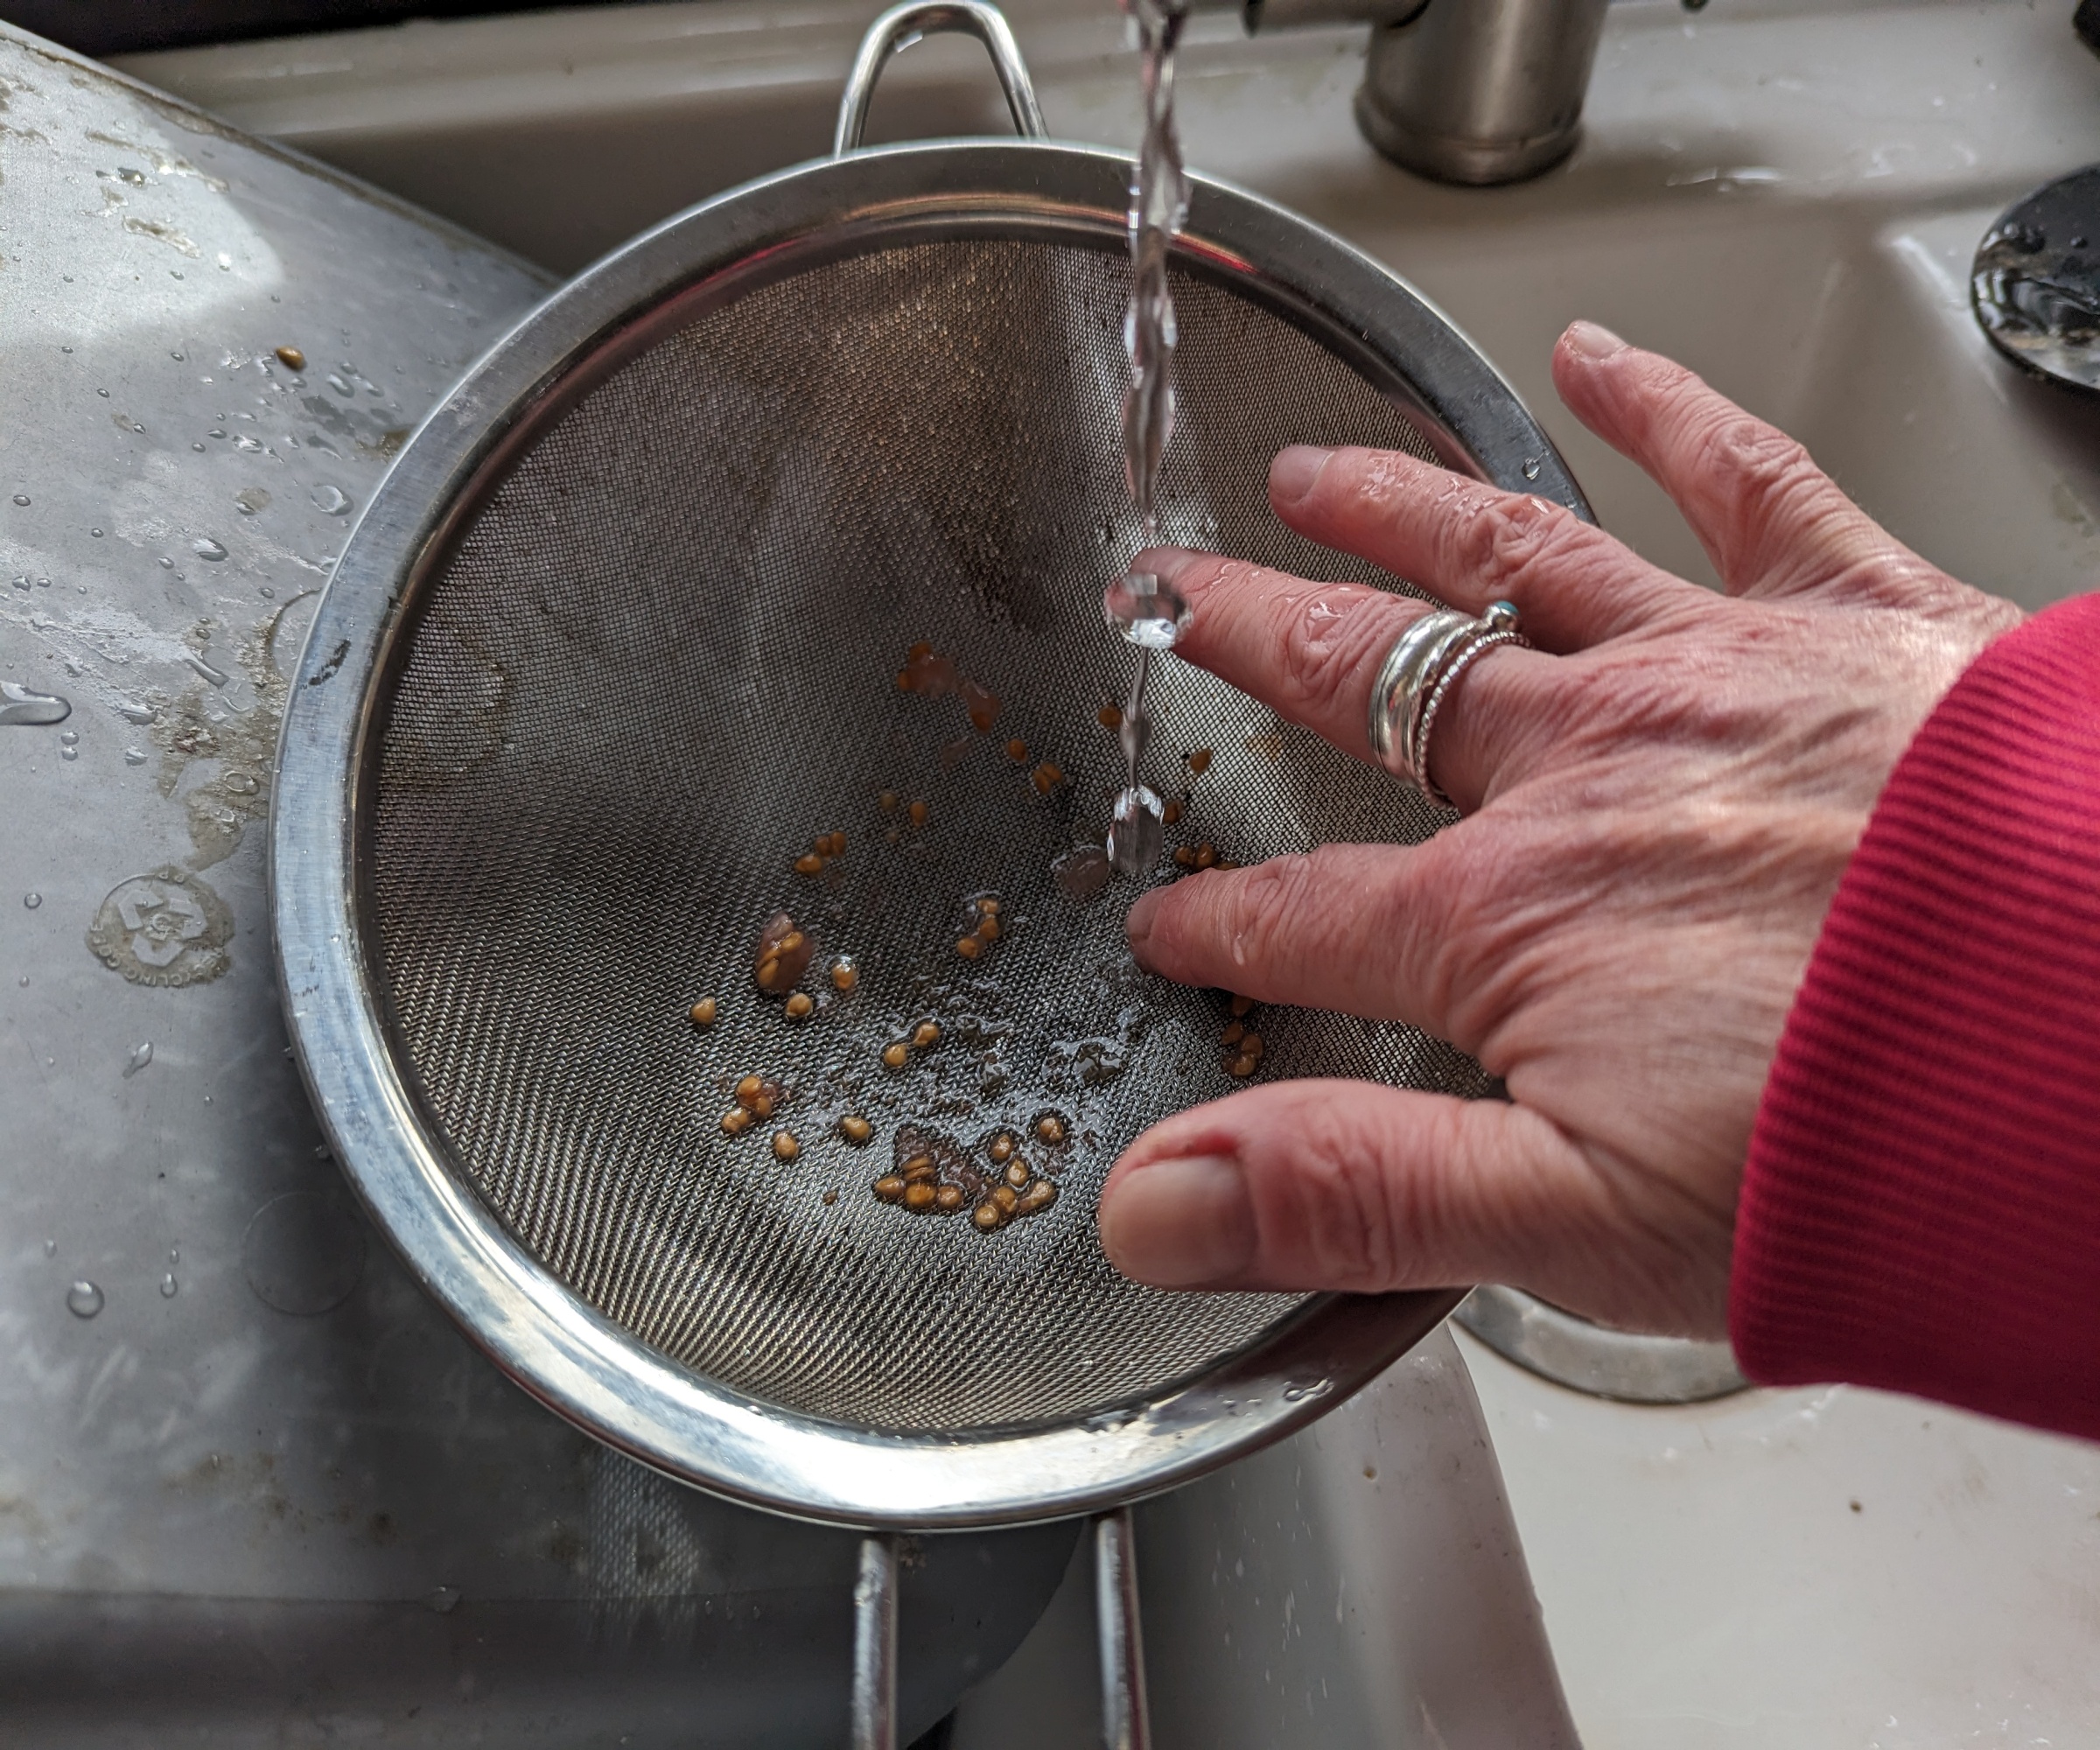
Fruit and vegetable seeds often have pulp attached, which needs rinsing off before the seeds are dried and stored
Before storing your seeds, always remove the debris that comes with them. This is known as ‘chaff’ and it is usually lighter in weight than the seeds.
There are several ways of doing this. If you have collected seeds straight from the pod or seed head, make a sharp crease in the middle of a piece of paper or thin card and carefully tip the seeds and chaff into the crease, then angle it so the seeds and chaff trickle slowly into a waiting envelope or pot. As the seeds are heavier, they will fall out first, leaving the unwanted residue behind.
Wet seeds from tomatoes, zucchini or squash should be left in a small pot of water for a few days.
This will cause mold to form on the pulp surrounding the seeds, which you then need to wash off (I put the seeds in a sieve and rinse them under a faucet) before leaving the seeds to dry thoroughly before packaging and labelling.
4. Storing damp seeds
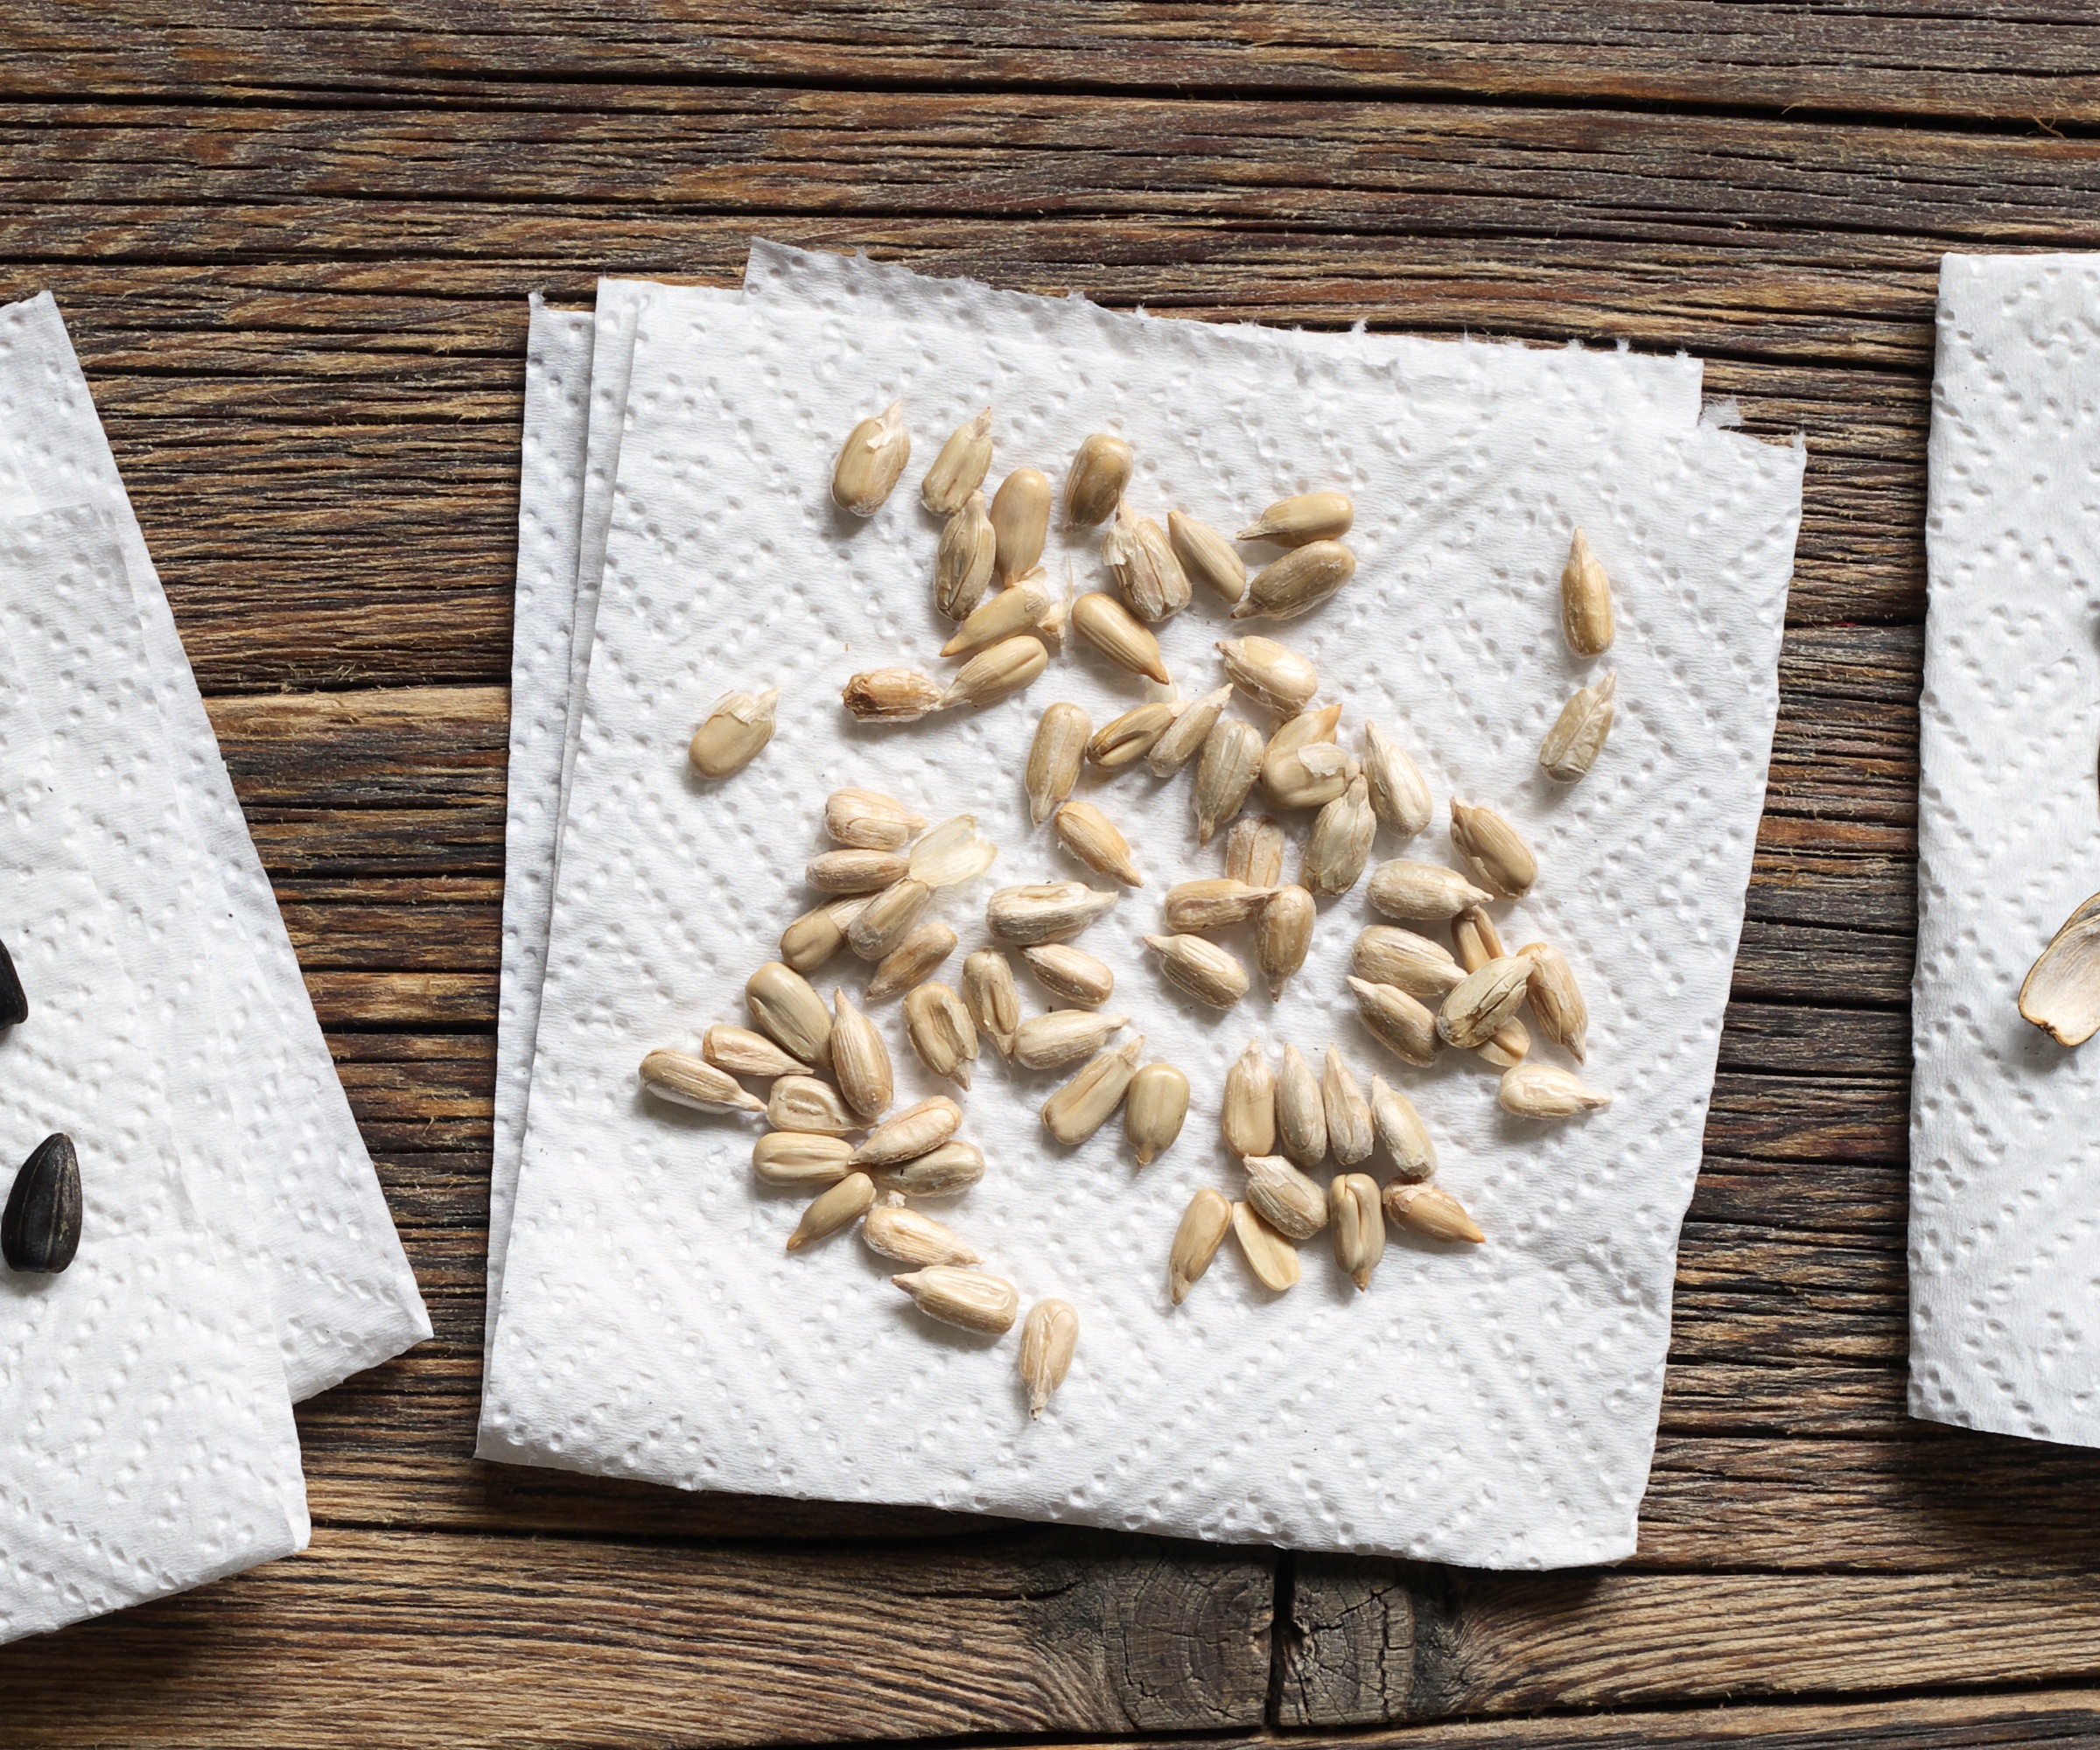
Always make sure seeds are properly dried before storing otherwise they will turn mouldy
Always make sure your seeds are completely dry before storing them so they don’t go moldy.
After harvesting and cleaning, spread them out in a single layer on paper towels and place them somewhere warm and sunny for a few days.
5. Poor seed storage
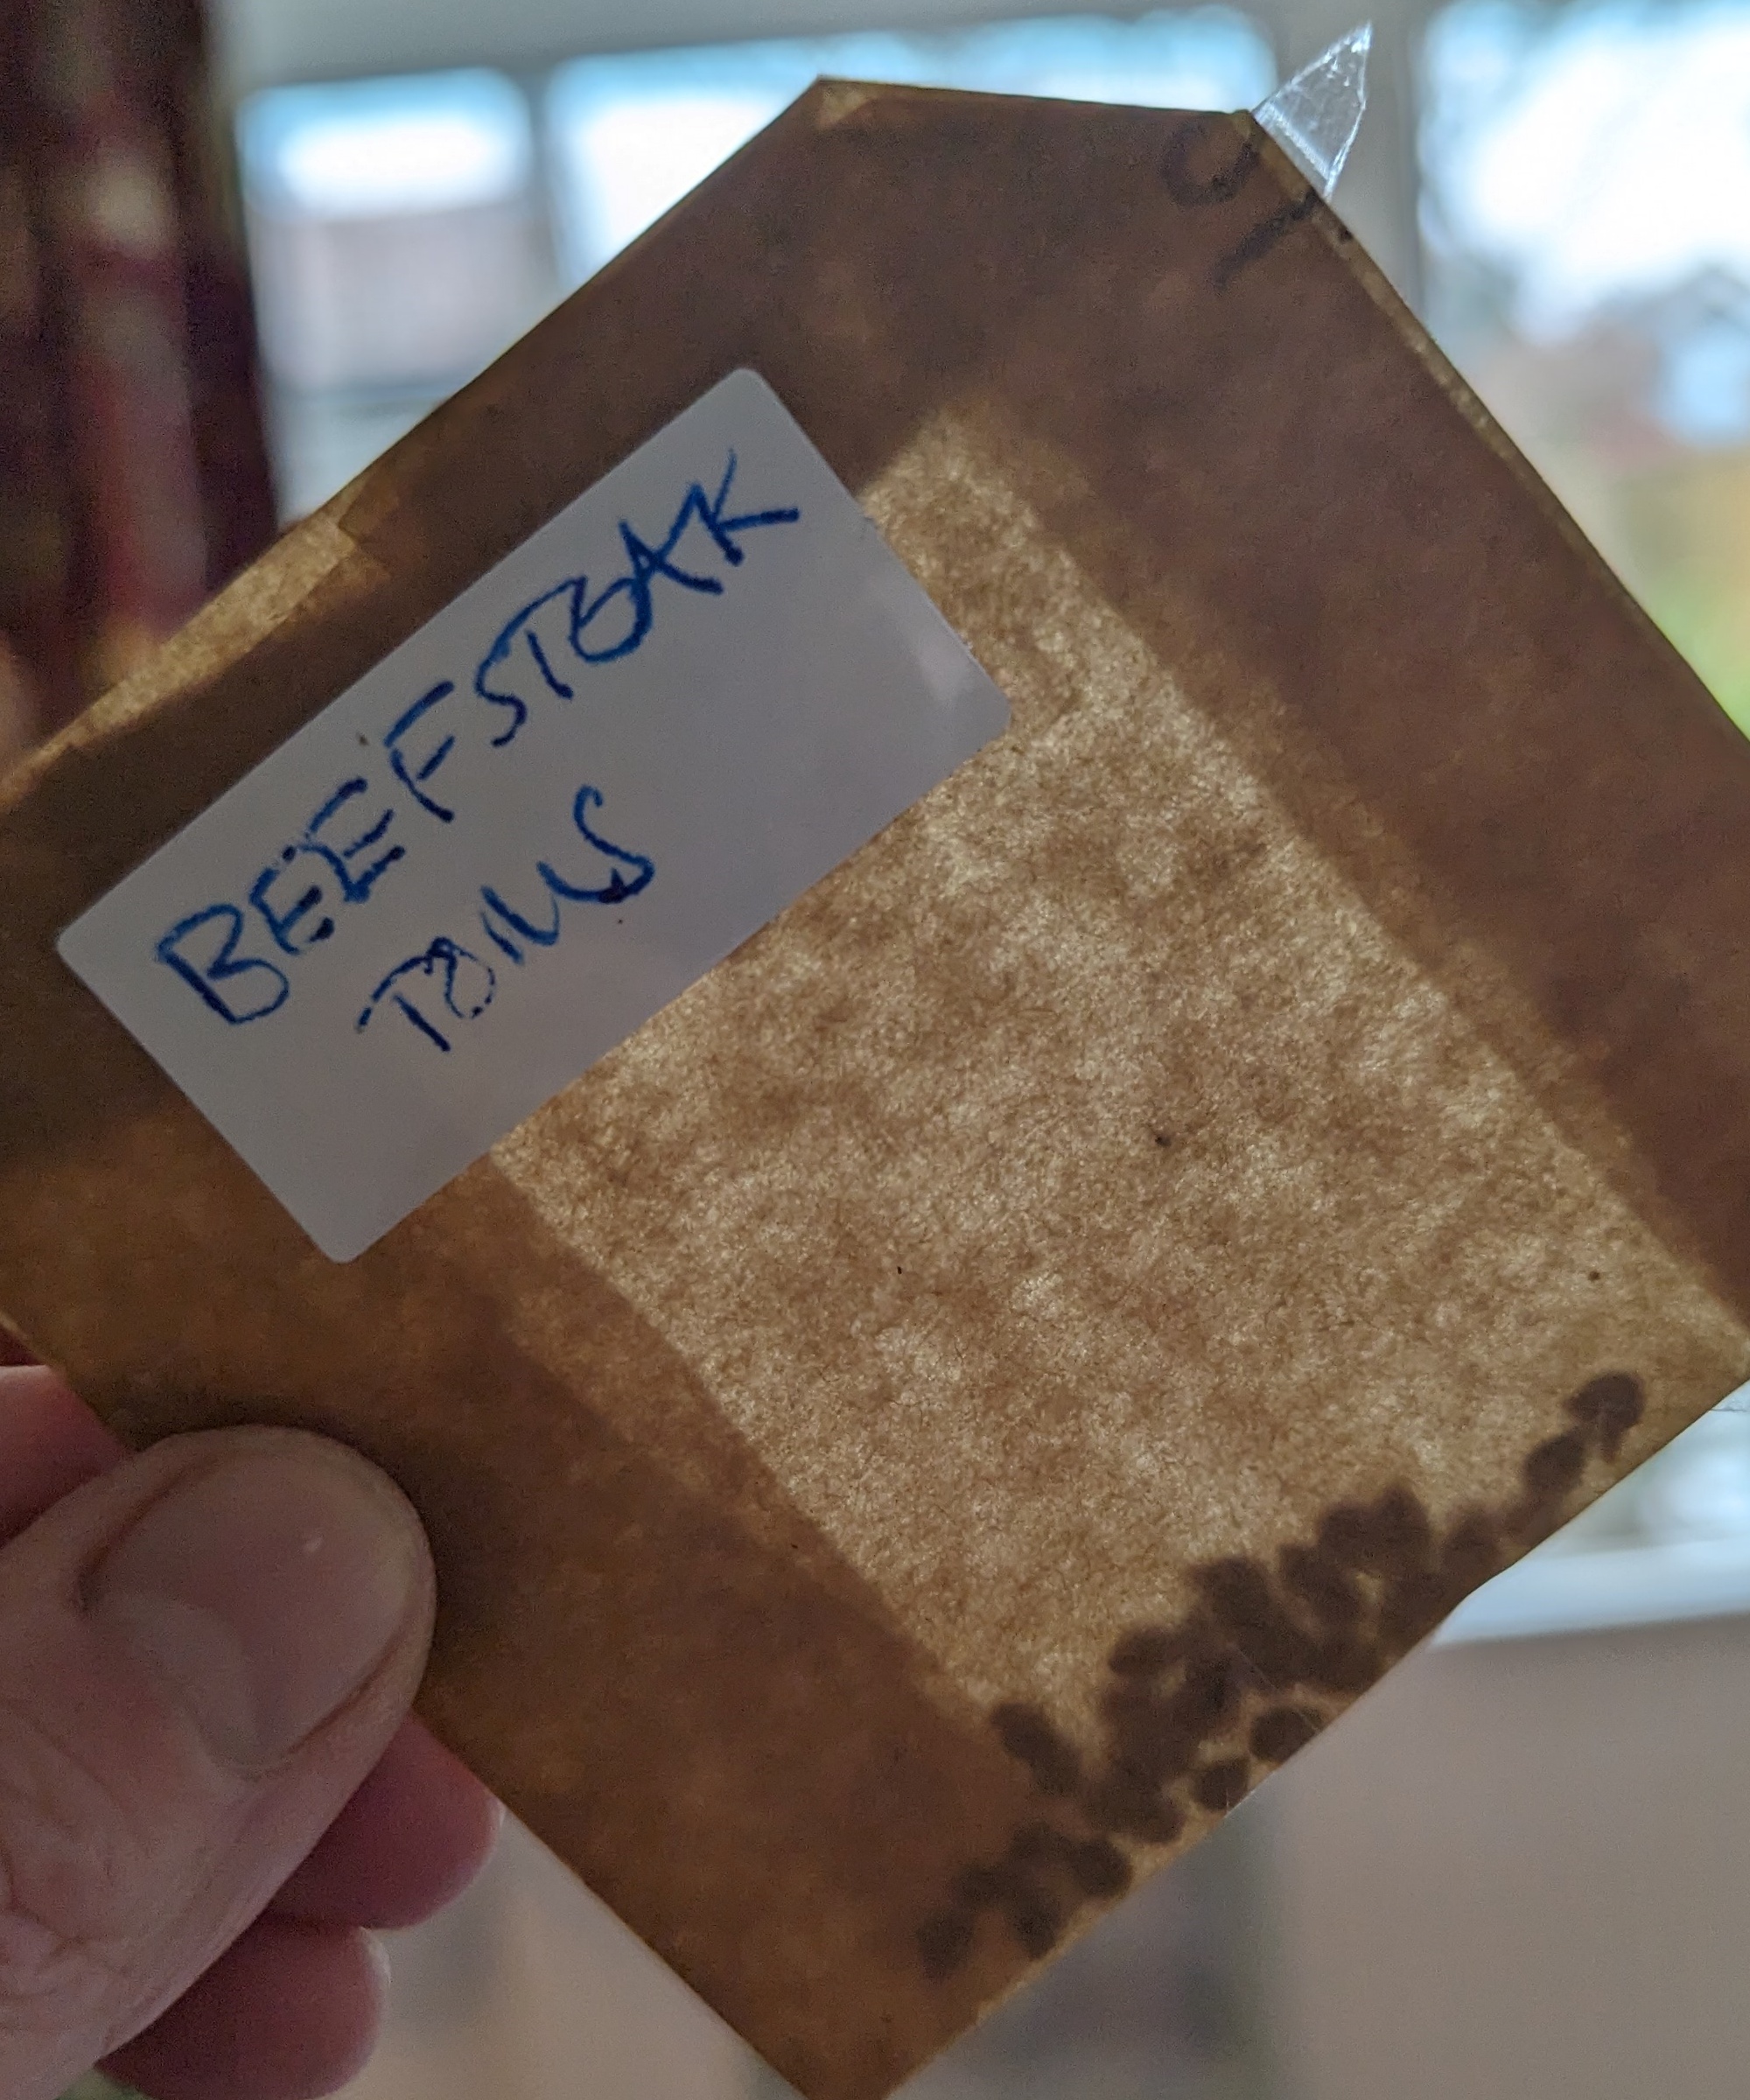
Always store seeds in a labelled container or envelope somewhere cool, dark, dry and safe
Keep your harvested seeds somewhere dark, cool and dry. Humidity is their worst enemy because it will encourage rotting and molds to form.
Ideal containers are labelled glass jars or clean paper envelopes, such as these cute seed storage packets from Amazon, that can be put away in a waterproof tin or drawer, and are inaccessible to seed-eating pests such as mice. There are plenty of nifty ways to repurpose items for seed storage.
Some seeds are poisonous, so make sure they are stored away from children and pets.
6. Not checking seed viability
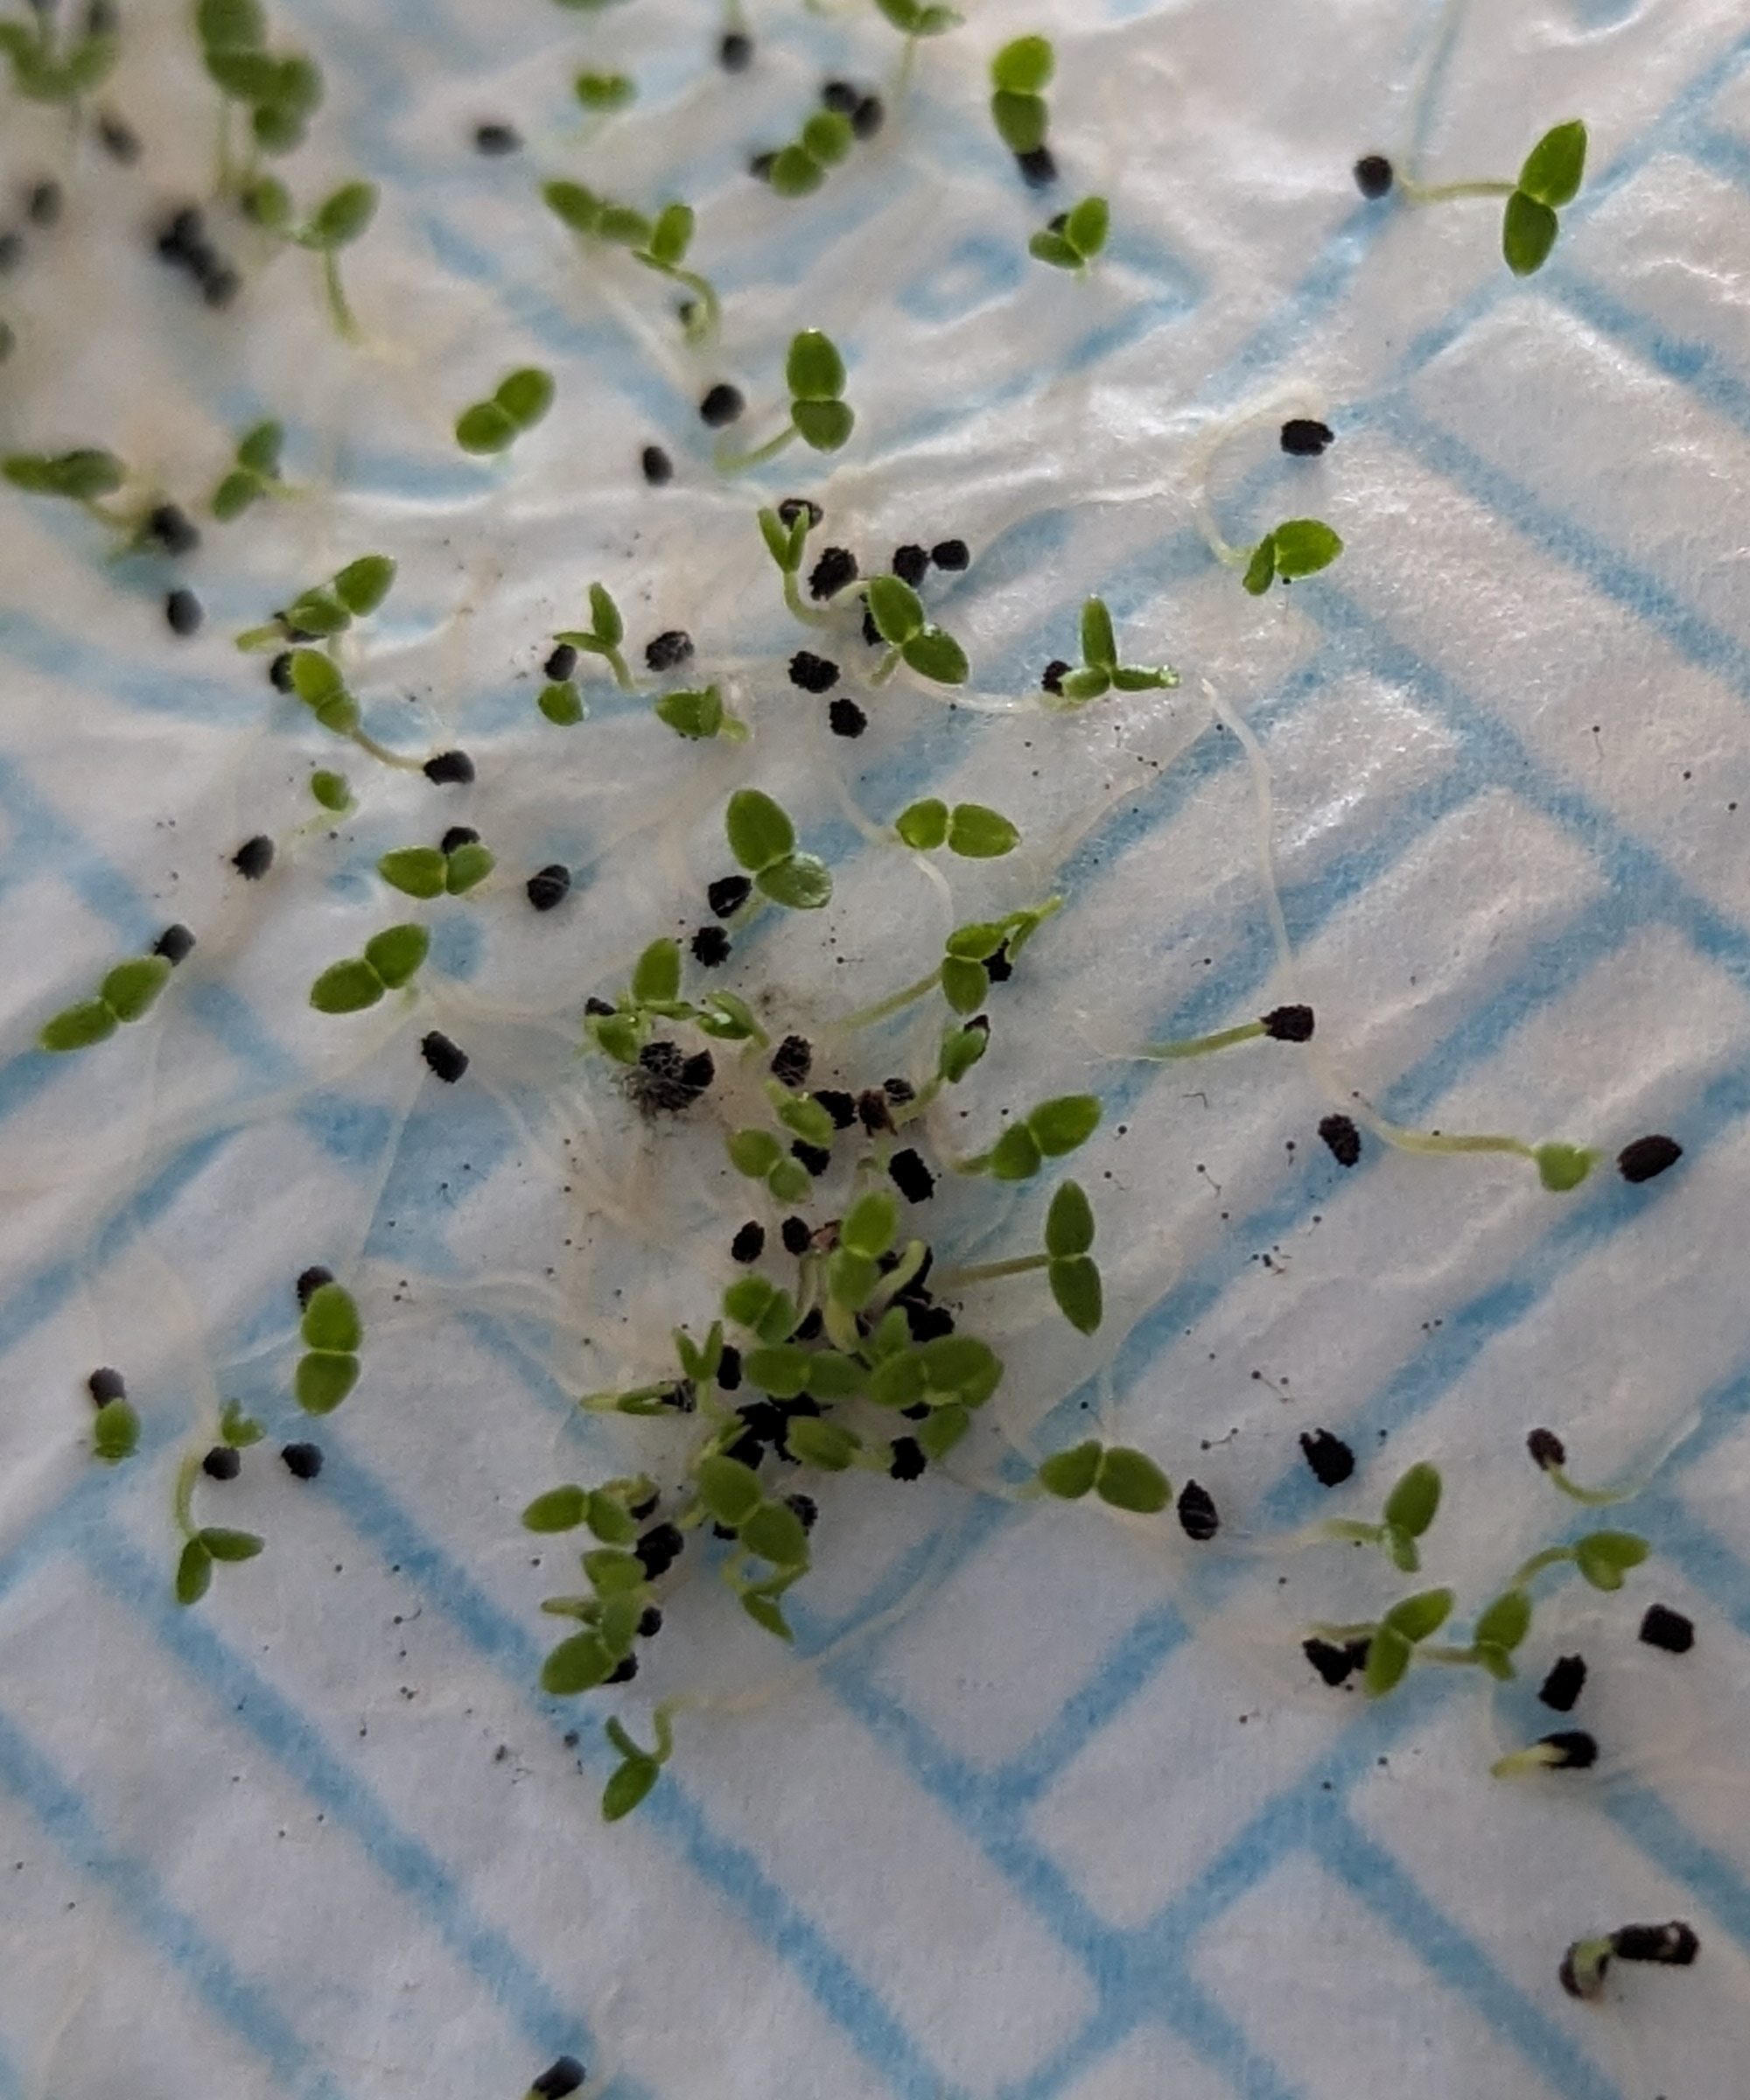
Gardening is often described as ‘an inexact science’, and seeds can fail even after the most diligent harvesting and careful storage.
To avoid disappointment after sowing, test the viability of your seeds before you sow.
Large seeds, such as peas, beans and those from sweet peas and morning glory, can be dropped into a pot of water. Those that sink are viable and will germinate, while those that float should be discarded.
With smaller seeds, sprinkle a few from a saved pack onto a piece of damp kitchen paper, seal this in a transparent plastic bag and set it somewhere light and warm for a few days. If they sprout they are whole and the rest of the seeds can be safely sown, but if nothing happens they should be thrown away.
FAQs
How long can seeds be saved for?
Different varieties of seed can be stored and remain viable (able to germinate) for different lengths of time. In general, the better your seeds are stored the longer they will last, but some varieties such as nasturtium can last for up to seven years, while others, such as delphinium and larkspur, may only last for three years.
Of the most popular plants to grow, tomato seeds can stay viable for 3-7 years, eggplant seeds 4-7 years, squash and gourds 3-6 years, cilantro seeds (coriander) 1-4 years, coneflower seeds four years and bee balm (Monarda) four years.
Do saved seeds come ‘true’ to the original plant
Not necessarily. Cross-pollination can cause the seeds of any plant to produce flowers that are very different to the original. This is especially common in hellebores and aquilegias.
Depending on your outlook, this can either be extremely annoying or exciting, especially if you enjoy creating new hybrids. To create replicas of favourite perennials you should propagate via cuttings or dividing.
Are F1 seeds worth saving?
You may have grown seeds that say F1 on the packet and are wondering what this means. F1 seeds are created by growers who interbreed two stable types of the same plant that have desirable qualities, such as bountiful cropping or flowering, hardiness or disease resistance, to create a new 'super variety'.
However, many F1 seeds are either sterile or won’t come true to type, so there is little point in saving them for future use - even though the original F1 seeds are usually more expensive to buy. F1 seeds are not the same as heirloom seeds, which are seeds from old varieties that have stood the test of time. They have been handed down through the generations and are grown for their robustness and tastiness and are definitely worth saving.
Seed saving is a fun activity for a balmy fall day, but don't forget to leave some seedheads and their contents standing to provide food and fuel for garden birds and wildlife before the colder winter months.
Sign up to the Homes & Gardens newsletter
Design expertise in your inbox – from inspiring decorating ideas and beautiful celebrity homes to practical gardening advice and shopping round-ups.

Ruth is a Contributing Editor for Homes & Gardens, and formerly Gardening Editor of Amateur Gardening magazine. She is horticulturally trained, with a qualification from the Royal Horticultural Society. Her work for Amateur Gardening, the world's oldest weekly gardening publication, involved matching gardening tasks with each season, covering everything from sowing and planting, to pruning, taking cuttings, dealing with pests and diseases and keeping houseplants healthy. She is an expert in ornamental plants and edible crops, and everything she writes about and photographs is in her own garden, that has been a work in progress since her family moved there in 2012.
-
 Ina Garten's storage pantry is an insightful window into all of the best cookware used by the chef – and it's easy to recreate on your kitchen shelves from $48
The beautiful dishware in The Barefoot Contessa's Hamptons pantry showcases the tools she uses most often to cook – this is exactly how you replicate it
By Sophie Edwards Published
-
 Extend the lifespan of your appliance with 5 simple but crucial washing machine maintenance tips
From cleaning the filters to keeping the door open, experts reveal the washer tips they swear by
By Andy van Terheyden Published