How to winterize a deck – experts reveal 7 tips, and a common winterizing mistake you should never make
It's easy to winterize a deck, but most people make this simple mistake


Decks are the perfect place for hosting, but they need a lot of upkeep to ensure they stay safe and looking their best.
Learning how to winterize your deck can save you a lot of work in spring. With a properly winterized deck, you'll be ready to entertain as soon as the sun returns.
I spoke to two decking experts about how to winterize a deck, and they gave me seven great tips – plus something you should never do.
1. Remove all your furniture
If you can, the first step is to remove all of the furniture, planters, and cooking appliances off your deck. It makes it much easier to work on the whole surface, and it also helps to protect the deck in wet conditions.
Decking expert Scott Paul explains that 'If able, remove your furniture from the deck during the winter. Furniture that can't be removed should be covered or elevated to prevent moisture from getting trapped within the material.'
Another decking expert, Stuart Dimery, agrees and adds that 'It is recommended to store your non-essential furniture and planter pots to help reduce trip hazards that might become obscured in heavy snow and extend the life of the furniture.'

Scott has worked in pressure washing and exterior wood since 1993. He has founded and runs several pressure washing and exterior wood protection businesses, including his most recent, DeckStainHelp.Com.
Stuart is Senior Product Manager, specialising in Building Products Distribution, Oldcastle APG, a company which makes decking and other materials for outdoor flooring and buildings.
2. Trim trees and bushes

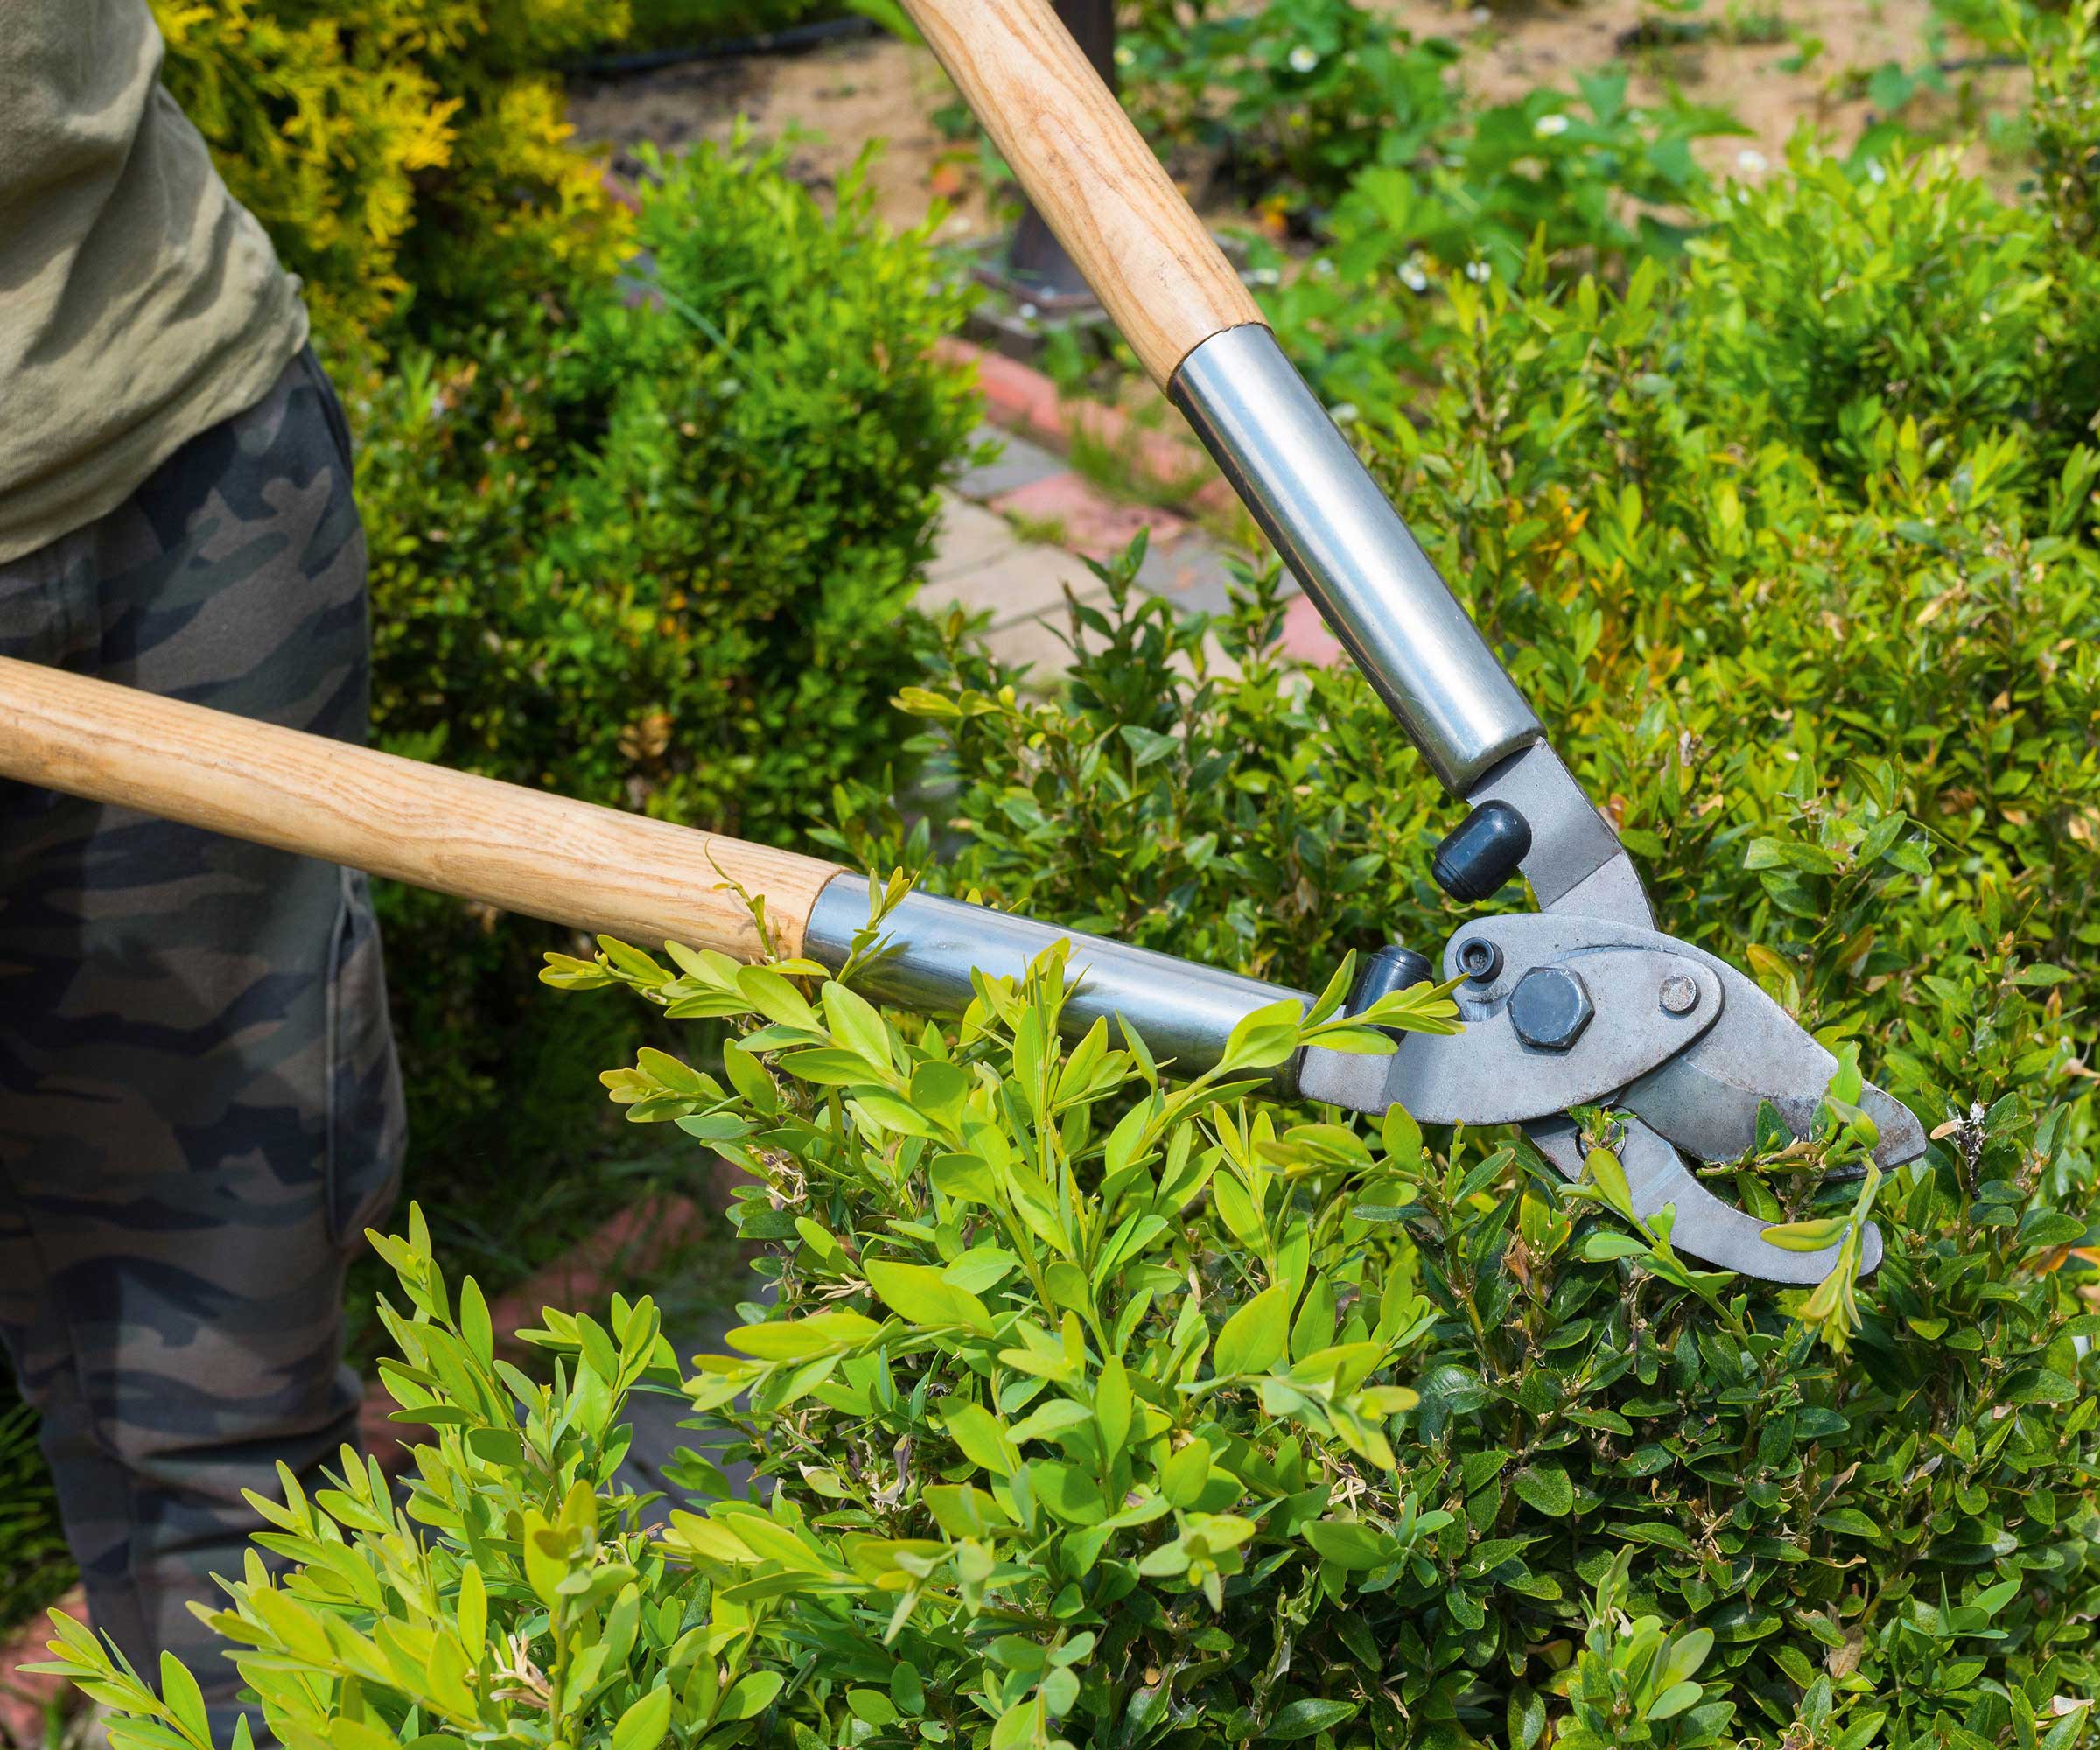
With everything removed from the deck, neaten any trees and bushes around the deck. Scott Paul says 'Trim trees and bushes in the deck's immediate area to reduce the amount of debris that accumulates.' It's obvious once you know to do it, but this clever tip means fewer leaves and branches will be knocked onto your deck in winter storms.
Design expertise in your inbox – from inspiring decorating ideas and beautiful celebrity homes to practical gardening advice and shopping round-ups.
3. Sweep up any debris

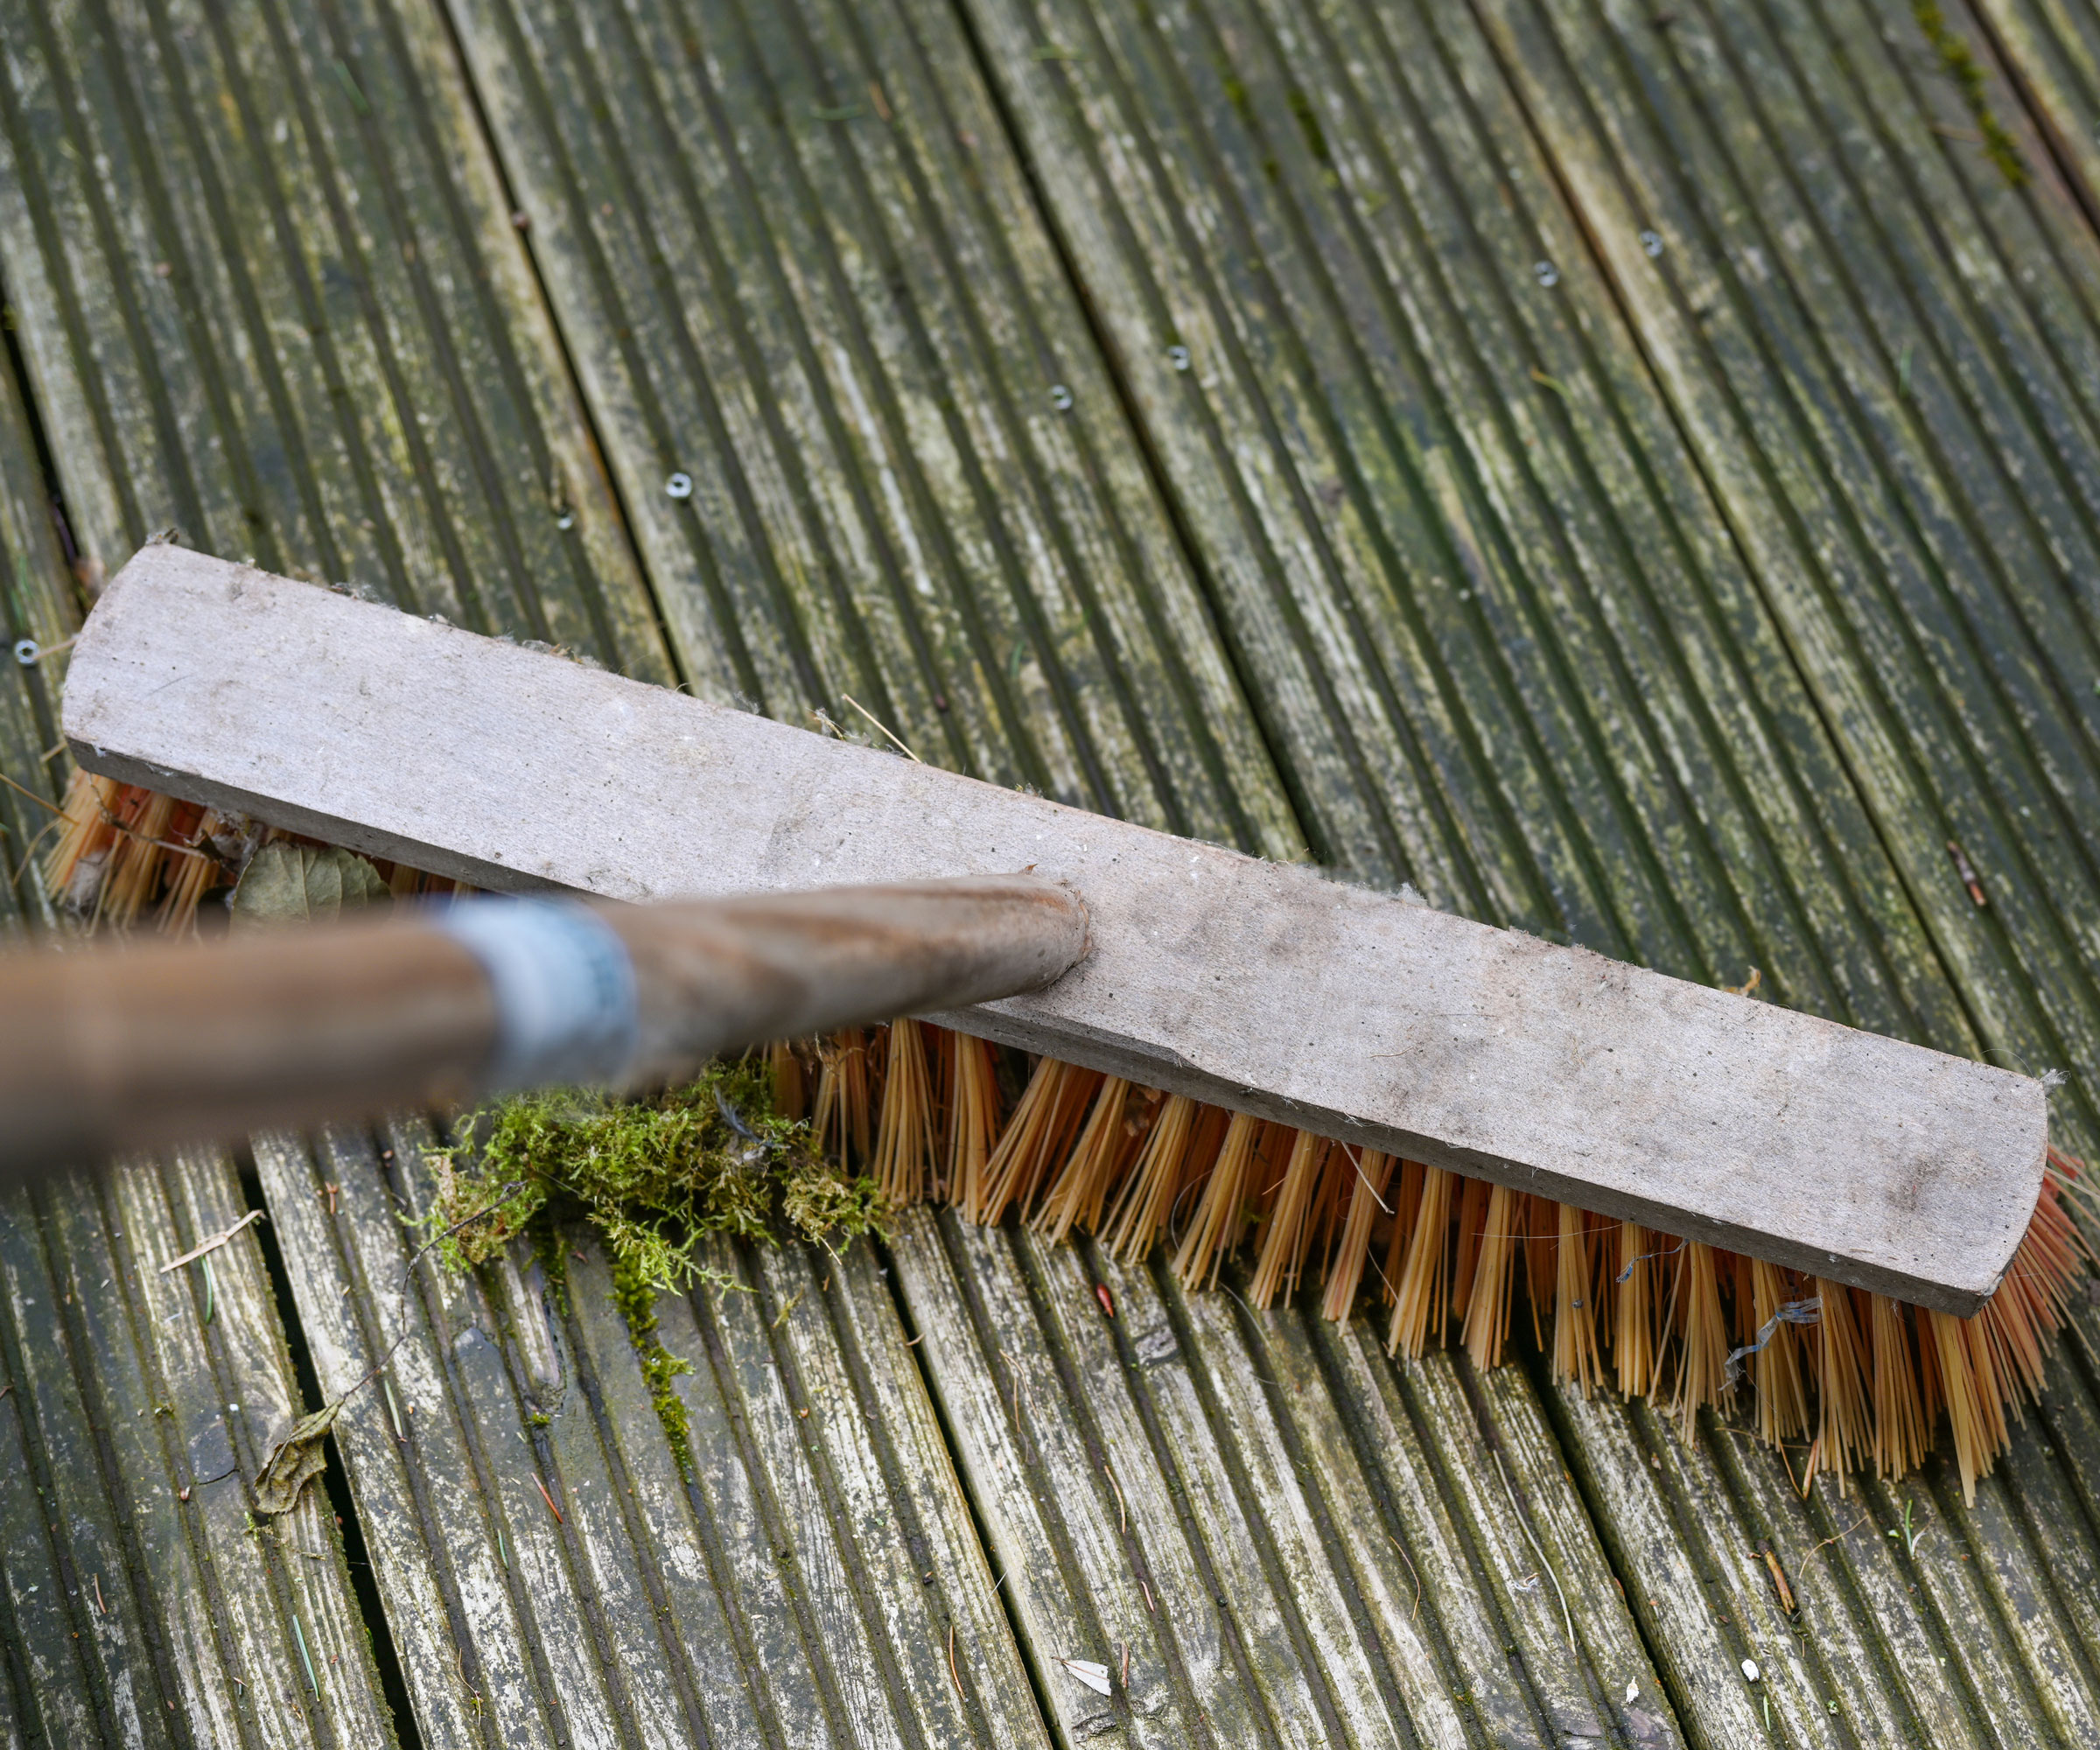
Clipping back trees and hedges will cover the deck with branches and stems, so it's the perfect time to sweep the whole surface. If you don't keep the surface clean, it can lead to stains.
Stuart Dimary explains that 'Removing built-up organic debris such as leaves is important to protect your deck from tannin spots and maintain the safety of your deck. Tannin spots are brown or tan discolorations that can occur when your deck interacts with moisture and the natural compounds in certain plants. Clearing away organic material will save you additional cleaning steps once spring arrives.'
Deck expert Scott Paul agrees and says that 'Sweeping your deck is essential to remove debris that has piled up throughout the fall, alongside preventing moisture buildup.'
4. Pressure wash - but only in the worst cases

In some cases, sweeping might not be enough. If your deck is stained with leaf slime, moss, or algae, you might need to break out a pressure washer. However, you need to be careful. While you can use a pressure washer on a deck, high power can easily chip the soft wood.
Stuart Dimery says 'Check the guidelines from the decking manufacturer about the use of pressure washers. If used improperly, these can damage surfaces, including brick and concrete.
Pressure washing a deck is typically not necessary before winterizing. However, if you have a significant amount of organic material build-up, it is beneficial to clean that off with water and brushes before winterizing the deck.
5. Repair the boards

With the deck clear of furniture and garden waste, it's time to do some upkeep on the boards. Scott Paul says that winterizing the deck is the perfect time to 'Identify and repair loose boards and remove nails that are sticking out.'
He adds that this is also a good time to check the drainage on your deck. Cleaning the deck usually means using a little water, and that's the perfect opportunity to see if water pools in puddles on your deck or drains off into the yard.
If you have puddles, you may need to reset the boards or replace them. Scott explains that this is crucial in winter. He says 'Make sure there is a way for excess moisture to drain and prevent ice build-up.' Otherwise, ice will form on the deck and it will become a slip hazard.
6. Seal the wood

The most important step is to seal your deck. Scott says that 'Sealing your deck before winter is recommended if you haven't done it within the last 3-4 months. A proper sealant will ensure that the wood is protected from moisture damage caused by the incoming winter weather.'
These sealants are easy to find at most hardware stores, and they're simple to apply. It can be a lot of work, but it's not complicated. All you need to do is sand the deck and then stain the deck by brushing the sealant over the surface of the wood, following the grain as you paint.
7. Clear the snow when it falls

After the deck is sealed, it's ready for winter - but keeping it protected throughout the cold months needs a little upkeep.
Stuart Dimary says 'Be sure to clear away snow before it starts piling up. Light snowfall should be removed with a stiff plastic or nylon-bristled push broom. For heavier snow accumulation, use a plastic shovel and work parallel with the boards to avoid catching the edge of the deck board.'
It's important to use plastic tools because they can shift snow without damaging the deck underneath. Stuart explains that 'These approaches help prevent accidental scratches or gouges commonly caused by metal shovels or other sharp tools.' These are easy to find in any hardware store - Walmart has plenty of inexpensive plastic snow shovels.
8. Avoid grit
But above all, don't grit your deck. It seems like an obvious solution to a snowy or icy deck, but grit can damage the wood.
Stuart Dimery says 'Note that rock salt is abrasive and can damage the deck walking surface as well as corrode deck fasteners and hardware. Adding abrasive material to composite or wood decking can damage the walking surface and is not recommended.'
Instead, Stuart recommends adding an ice melt. 'Depending on where you live, you may want to apply clear ice melt formulas before a snow event to help address slip hazards and prevent accidental stains on your deck. Remove excess solution with a push broom as needed.
Be sure to select an ice melt that is safe for use on concrete and flagstone, as well as safe for children and pets. Best practice is to test solutions ahead of time in a small inconspicuous area.' It's easy to buy ice melt - for example, this ice melt on Amazon is safe for pets and won't scratch your deck.
Winterizing your deck is only half the job. Even outside of rainy winter weather, it's important to protect your deck from slipperiness. This is easy - all you need is some anti-slip tape or non-slip outdoor rugs.

As a gardens and lifestyle contributor, Alex makes sure readers find the right information to help them make the best purchase. Alex got his start in reviewing at the iconic Good Housekeeping Institute, testing a wide range of household products and appliances. He then moved to BBC Gardeners’ World Magazine, assessing gardening tools, machinery, and wildlife products.