How to transplant a shrub so it thrives in its new location
Our expert tips will teach you when and how to move a shrub safely and without killing it
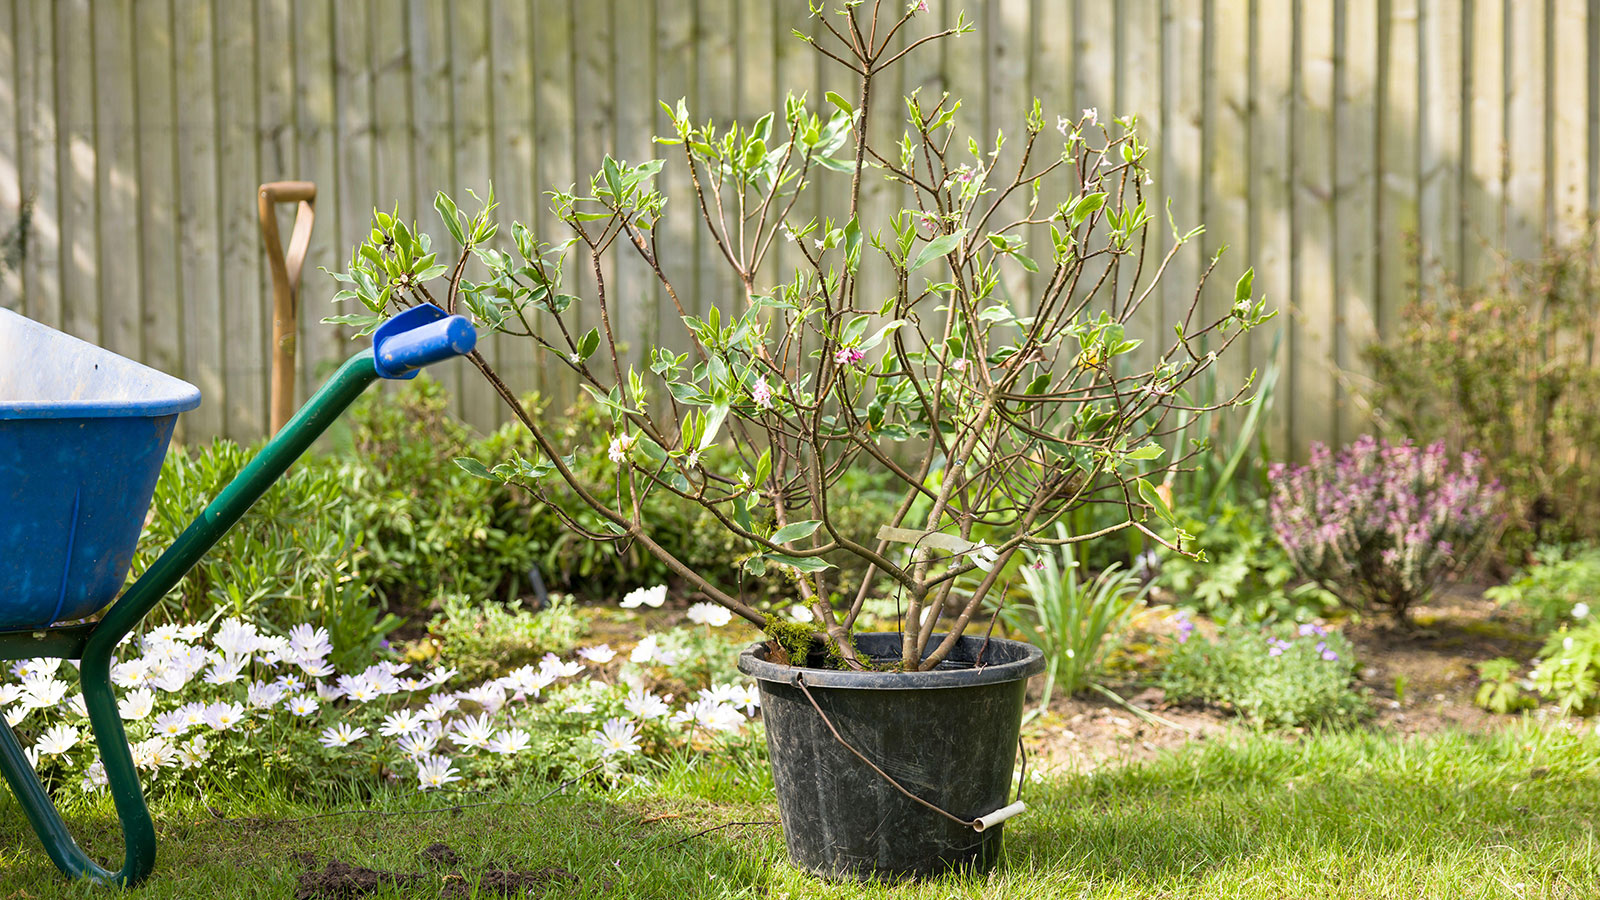
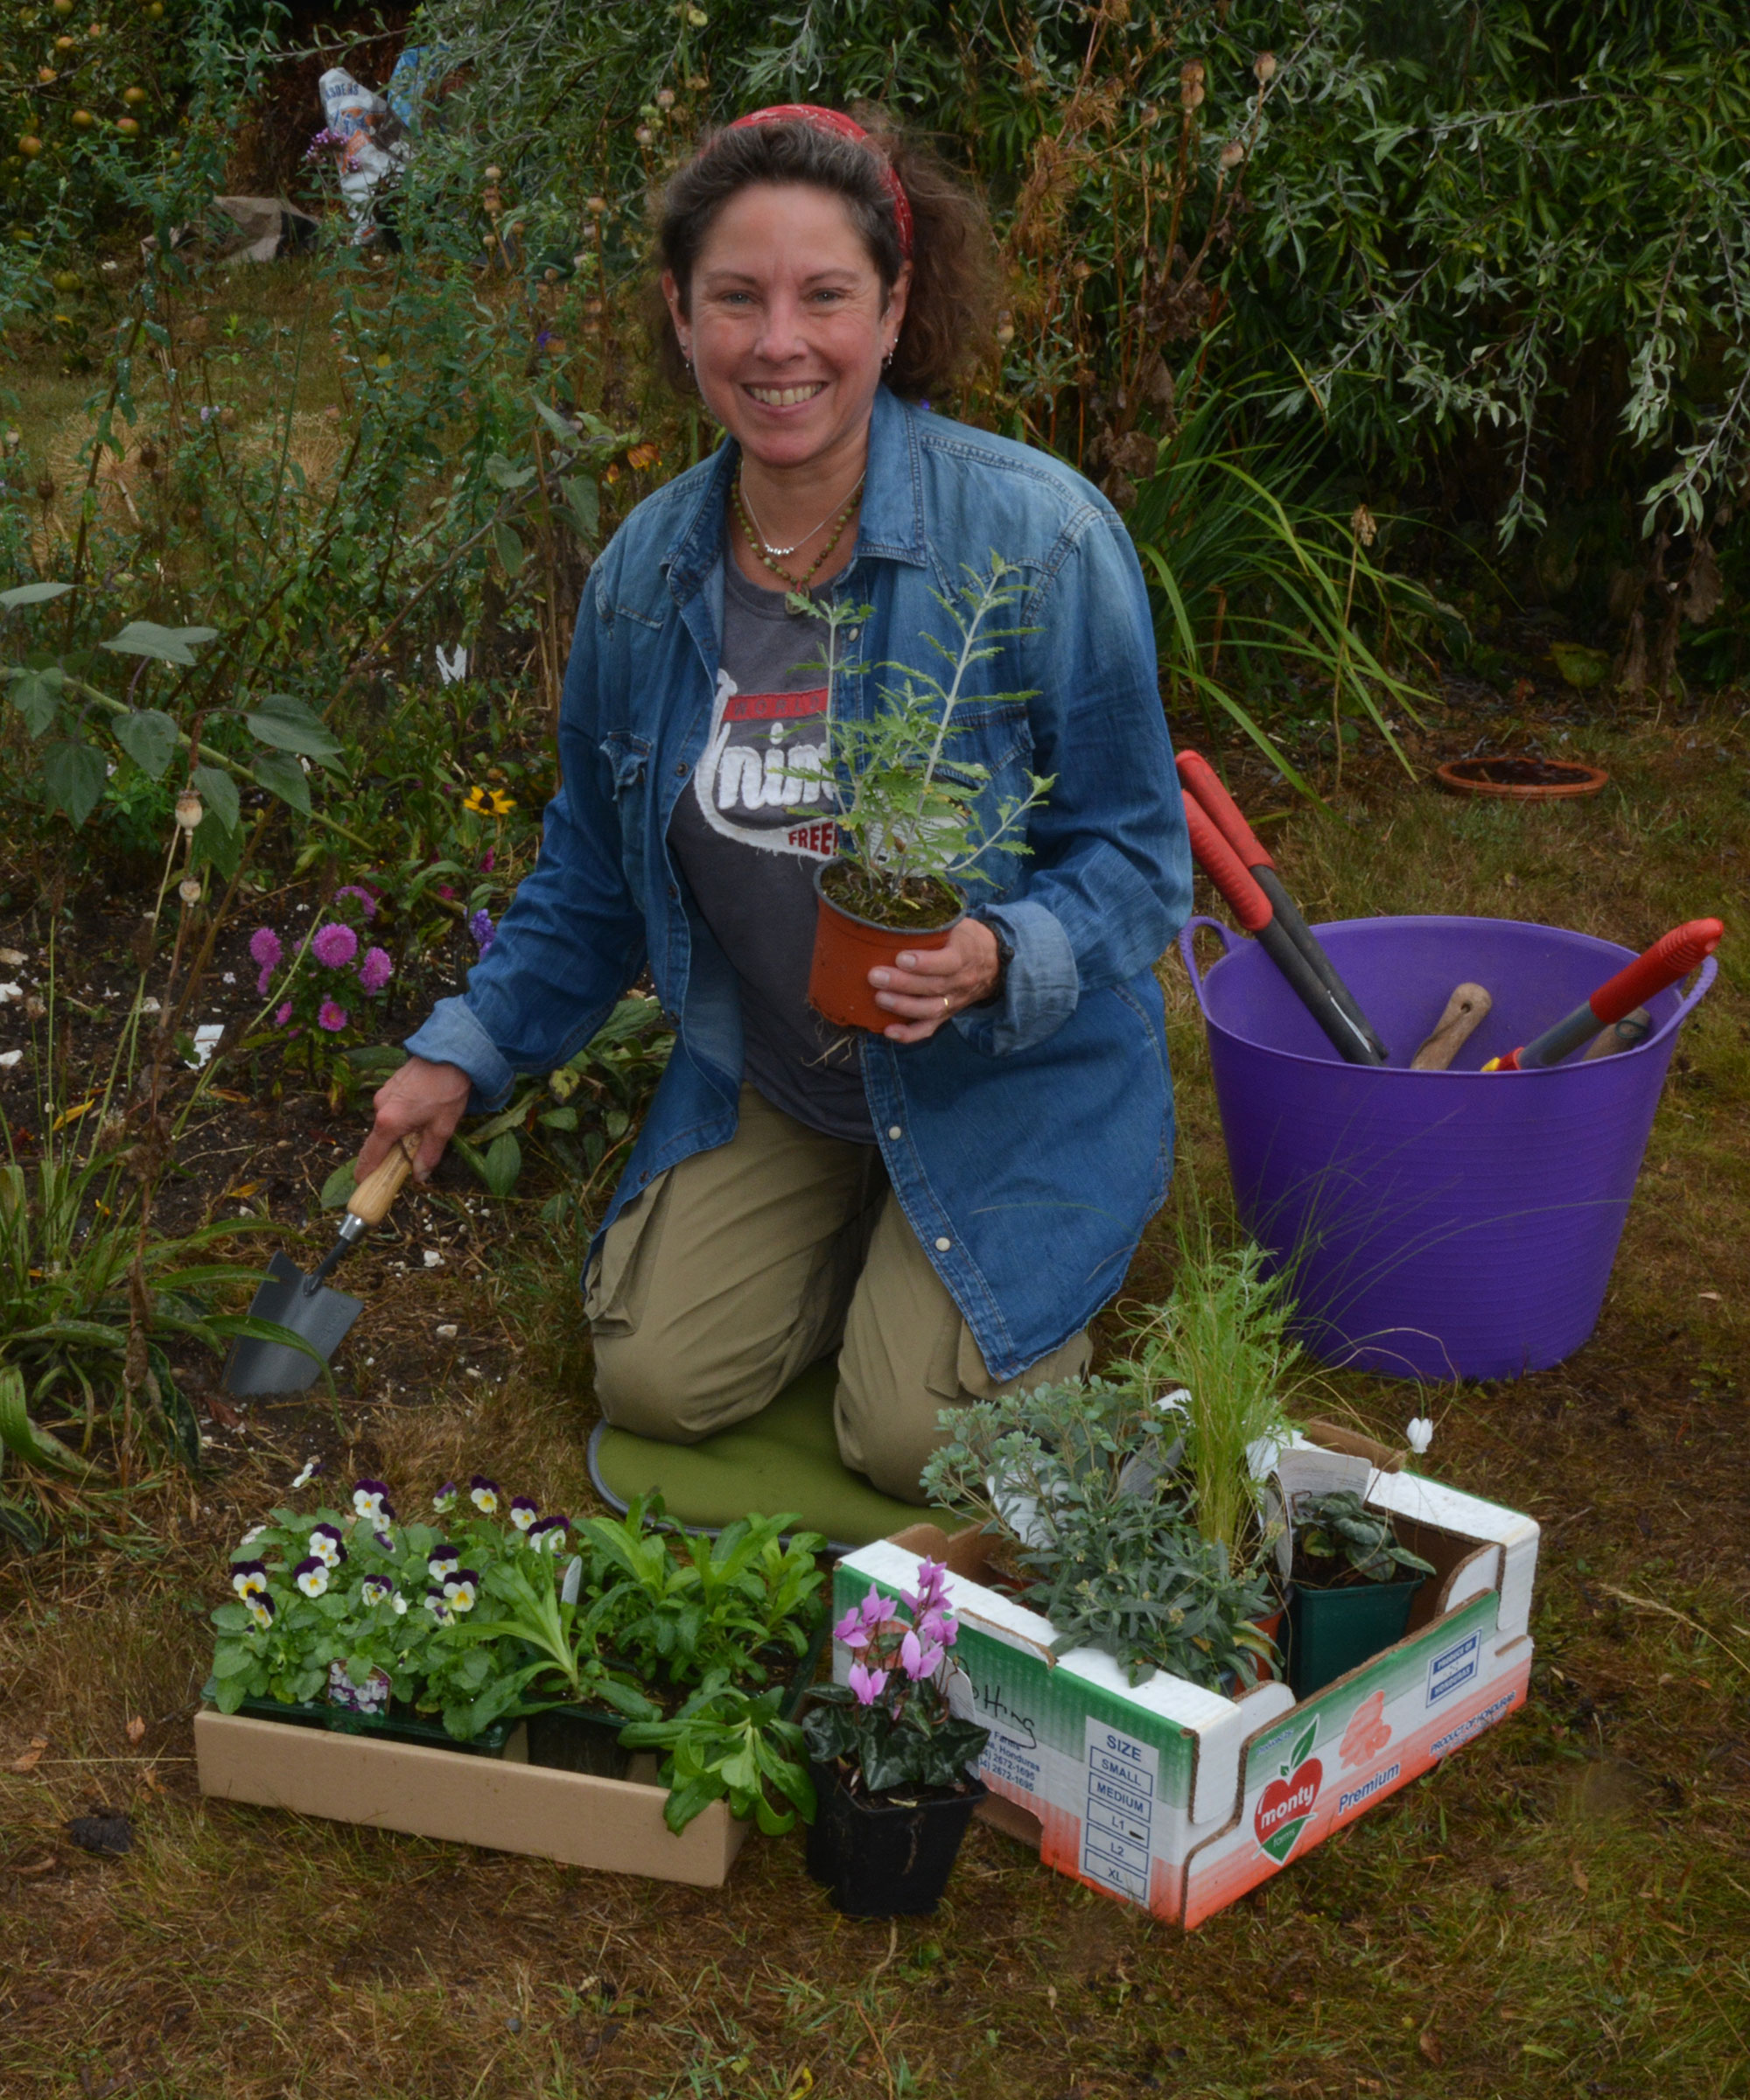
Figuring out how to transplant a shrub is one of those tasks that sounds tricky when in fact there is nothing to be afraid of, as long as you do it at the right time of year and complete the job relatively quickly.
Transplanting shrubs is one of the most transformative things you can do to your yard, altering its character and shape beyond recognition. It is a job for the colder months between fall and spring, when shrubs and trees are dormant and less likely to be damaged by relocation.
I have moved several deciduous and evergreen shrubs from places I thought they would suit (but didn’t) to other areas where they fit right in and look perfect. Not only does it change that area of your yard, it gives you scope to plant something else in the shrub's previous spot.
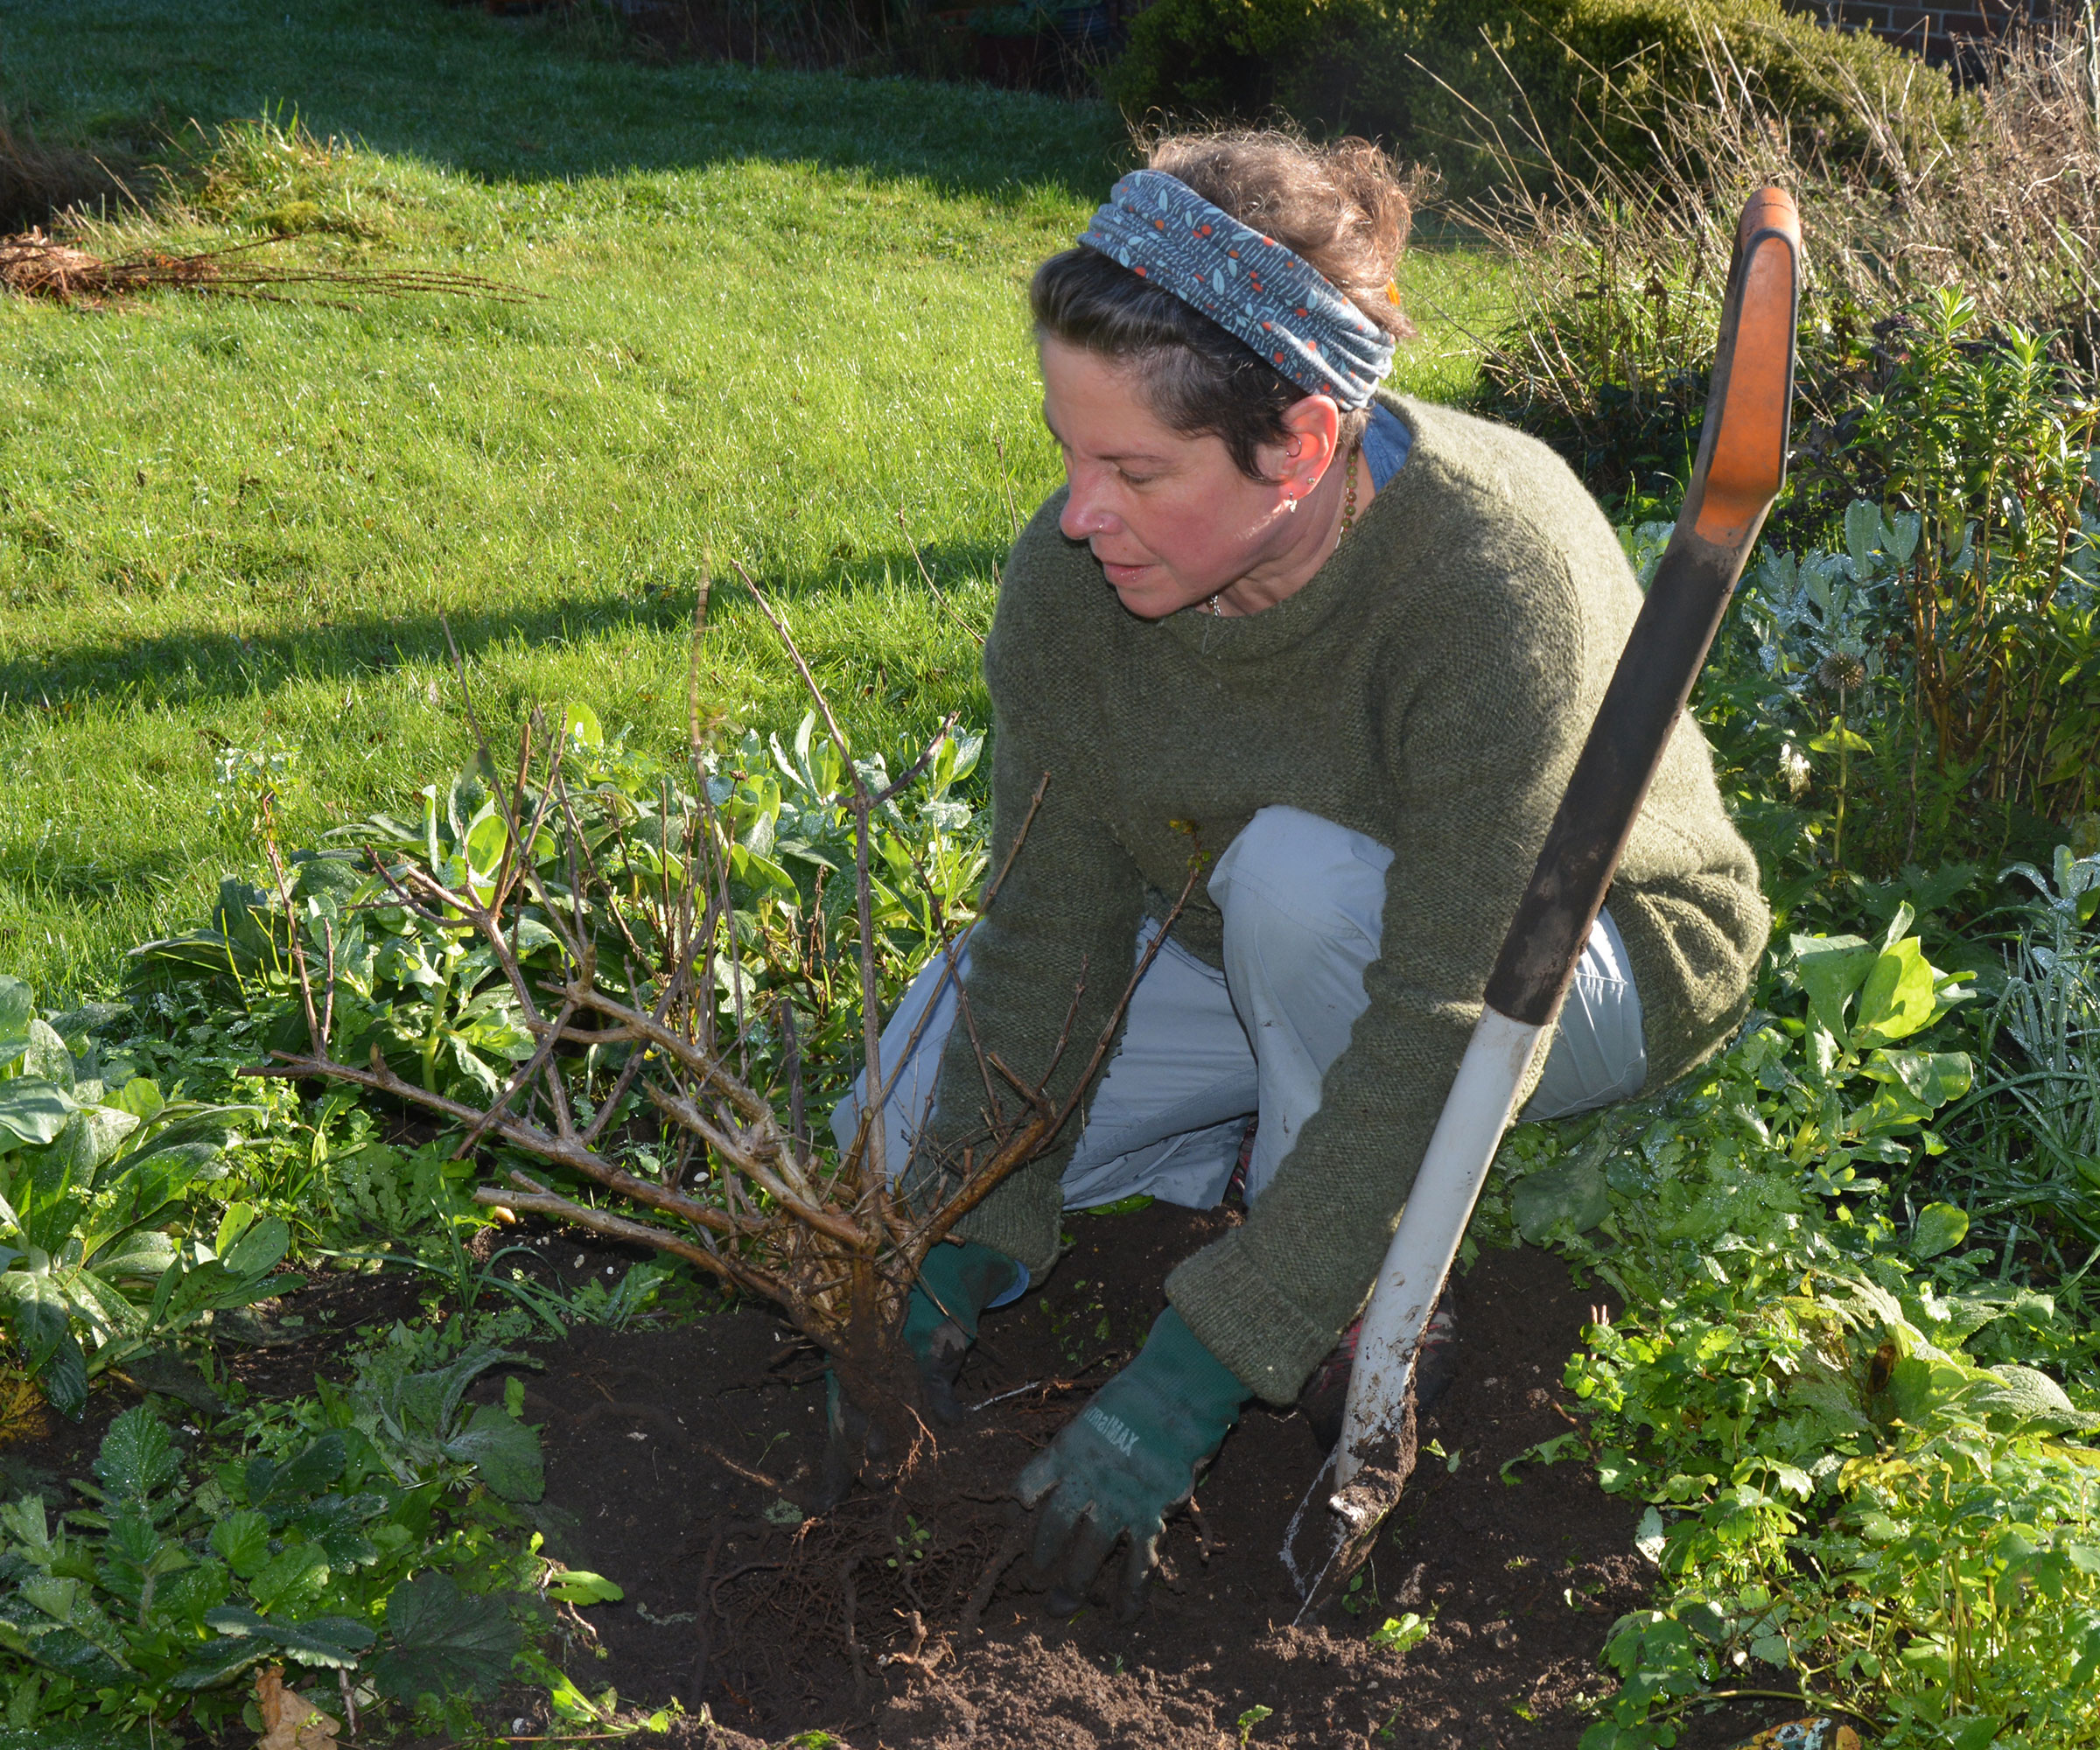

Ruth is horticulturally trained and has qualifications from the Royal Horticultural Society. She spends her days writing about and photographing key gardening jobs, and is always looking for ways to improve her own garden. Over the years, she has relocated a number of shrubs to ensure they are in the best possible spot to help them thrive.
The best time to transplant shrubs
I recommend moving deciduous shrubs in the months between late fall and early spring when they have lost their leaves and are basically ‘asleep’. Their sap has withdrawn deep into their trunks and they are inactive.
You are less likely to damage them when they are in this state and when they return to growth as the temperatures rise in spring, their roots will be ready to take up all the nutrients in their new soil (and the compost – ideally homemade compost – and fertilizers you added when replanting them) giving them the best start to the new growing season. A good fertilizer to use when moving and planting shrubs is this all-purpose tree and shrub fertilizer from Amazon.
Evergreen shrubs should be moved in early to mid fall when they are semi-dormant and the soil still has some warmth and is dampened by seasonal rainfall, which helps their roots re-establish quickly before the onset of winter. Alternatively, relocate them in early to mid spring when the soil is starting to warm up.
Never move shrubs of any variety when the soil is waterlogged or frozen and ideally, make the move on a still, cloudy day because sunshine and wind can quickly dry out exposed roots when they are in transit, making it harder for the shrub to re-establish in its new home.
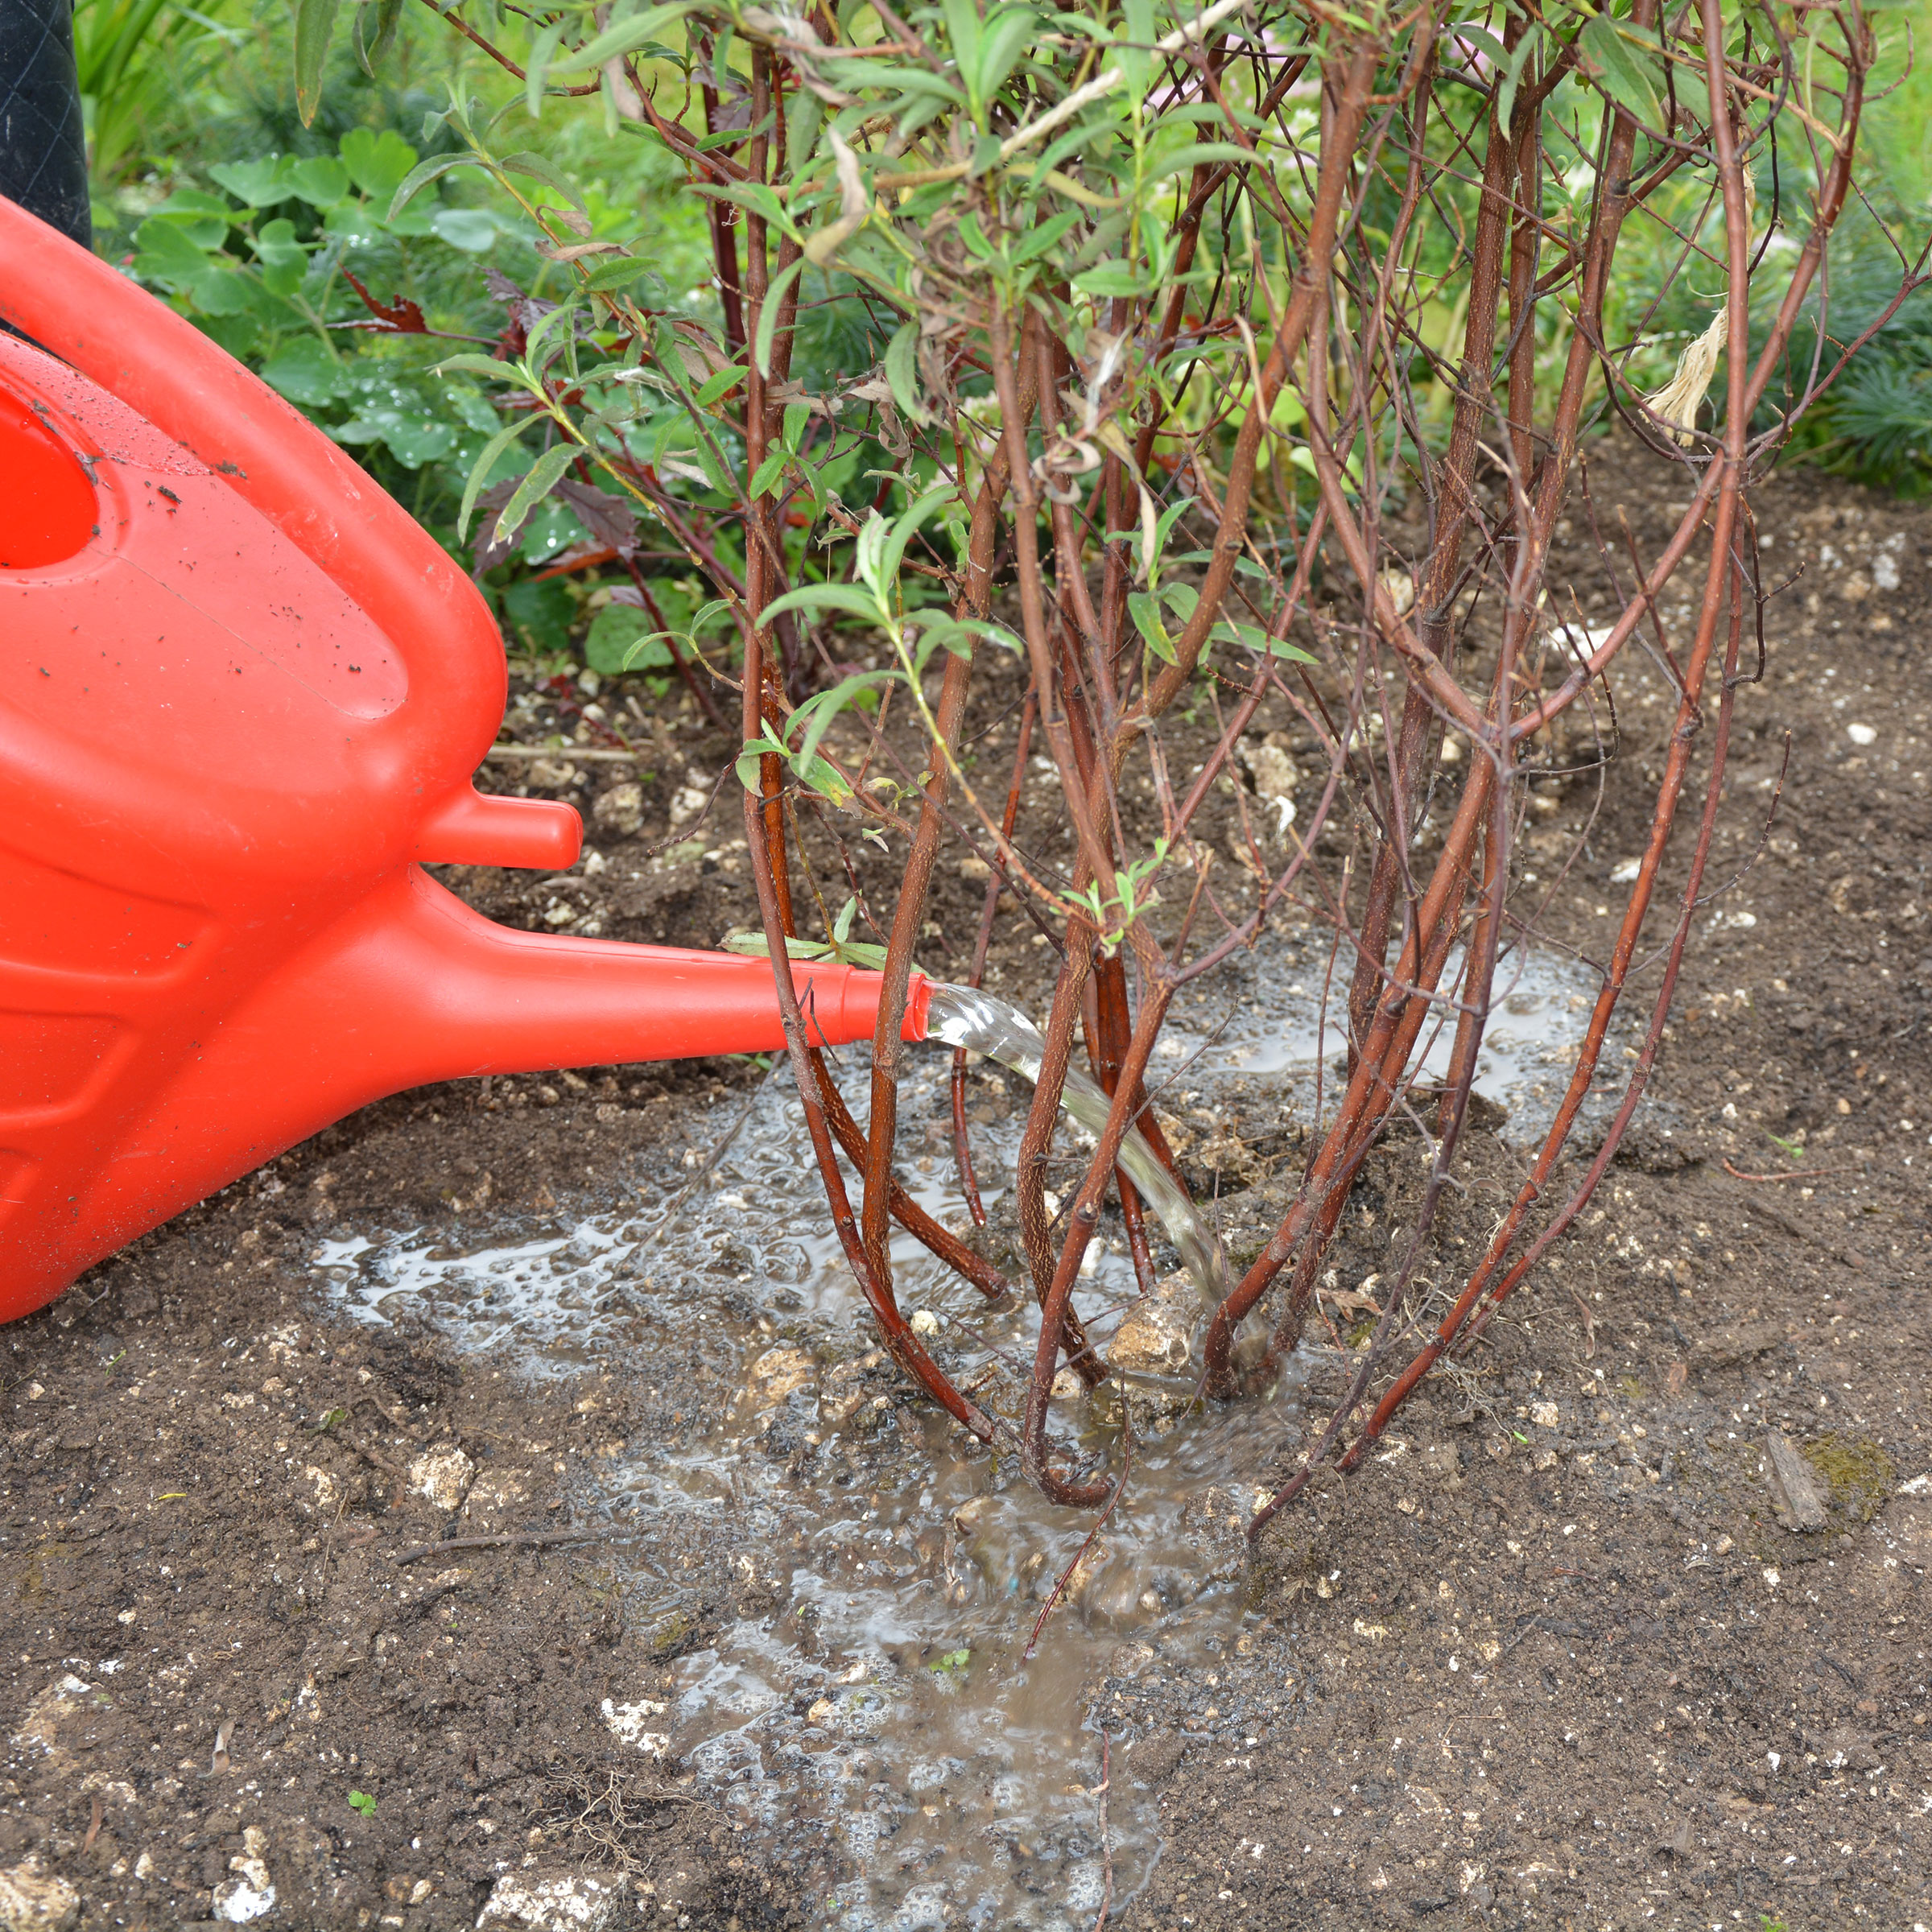
Make sure the soil around your newly moved shrub is kept damp but not saturated
How to transplant a shrub in 6 easy steps
You will need:
- A spade
- Pruners
- Yard twine
- Tarpaulin, plastic sheet or burlap fabric, such as this one from Amazon
- Fertilizer
- Mycorrhizal fungi – try this concentrated one from Amazon
- Bone meal, like this organic version from Amazon
- Water
1. Choose an appropriate site
Start by deciding where you want to move your shrub to, making sure the new site is suitable. For example, if it likes a sunny south-facing plot, don’t move it to a shady spot.
Similarly, if your plant is more of a shrub for shade and favours damper soil, don't plant it in dry soil that bears the brunt of the day's sunshine.
Also make sure that the new site has enough space for the shrub to realise its true potential and grow properly and healthily. Make sure it won’t shade out other plants growing there, especially if it is a fast-growing shrub.

Make sure you move your shrub to somewhere with enough room and the right soil for it to thrive
2. Prune and tie up your shrub
If you are moving a deciduous shrub in fall and winter, it will be dormant so you can give it a spring prune to shorten long stems and make it easier to move.
Use pruners or loppers to remove dead, dying and damaged growth back to healthy wood, and also remove thin twigs that are growing inwards as they clutter the tree and make it look untidy.
The aim when pruning is to create an open goblet shape that looks visually appealing and lets maximum light and air in to the flowers and fruit, keeping the plant healthy.
Another handy tip is to use twine to tie in any longer branches to make them more compact and less likely to flick out and cause scratches and other injuries.
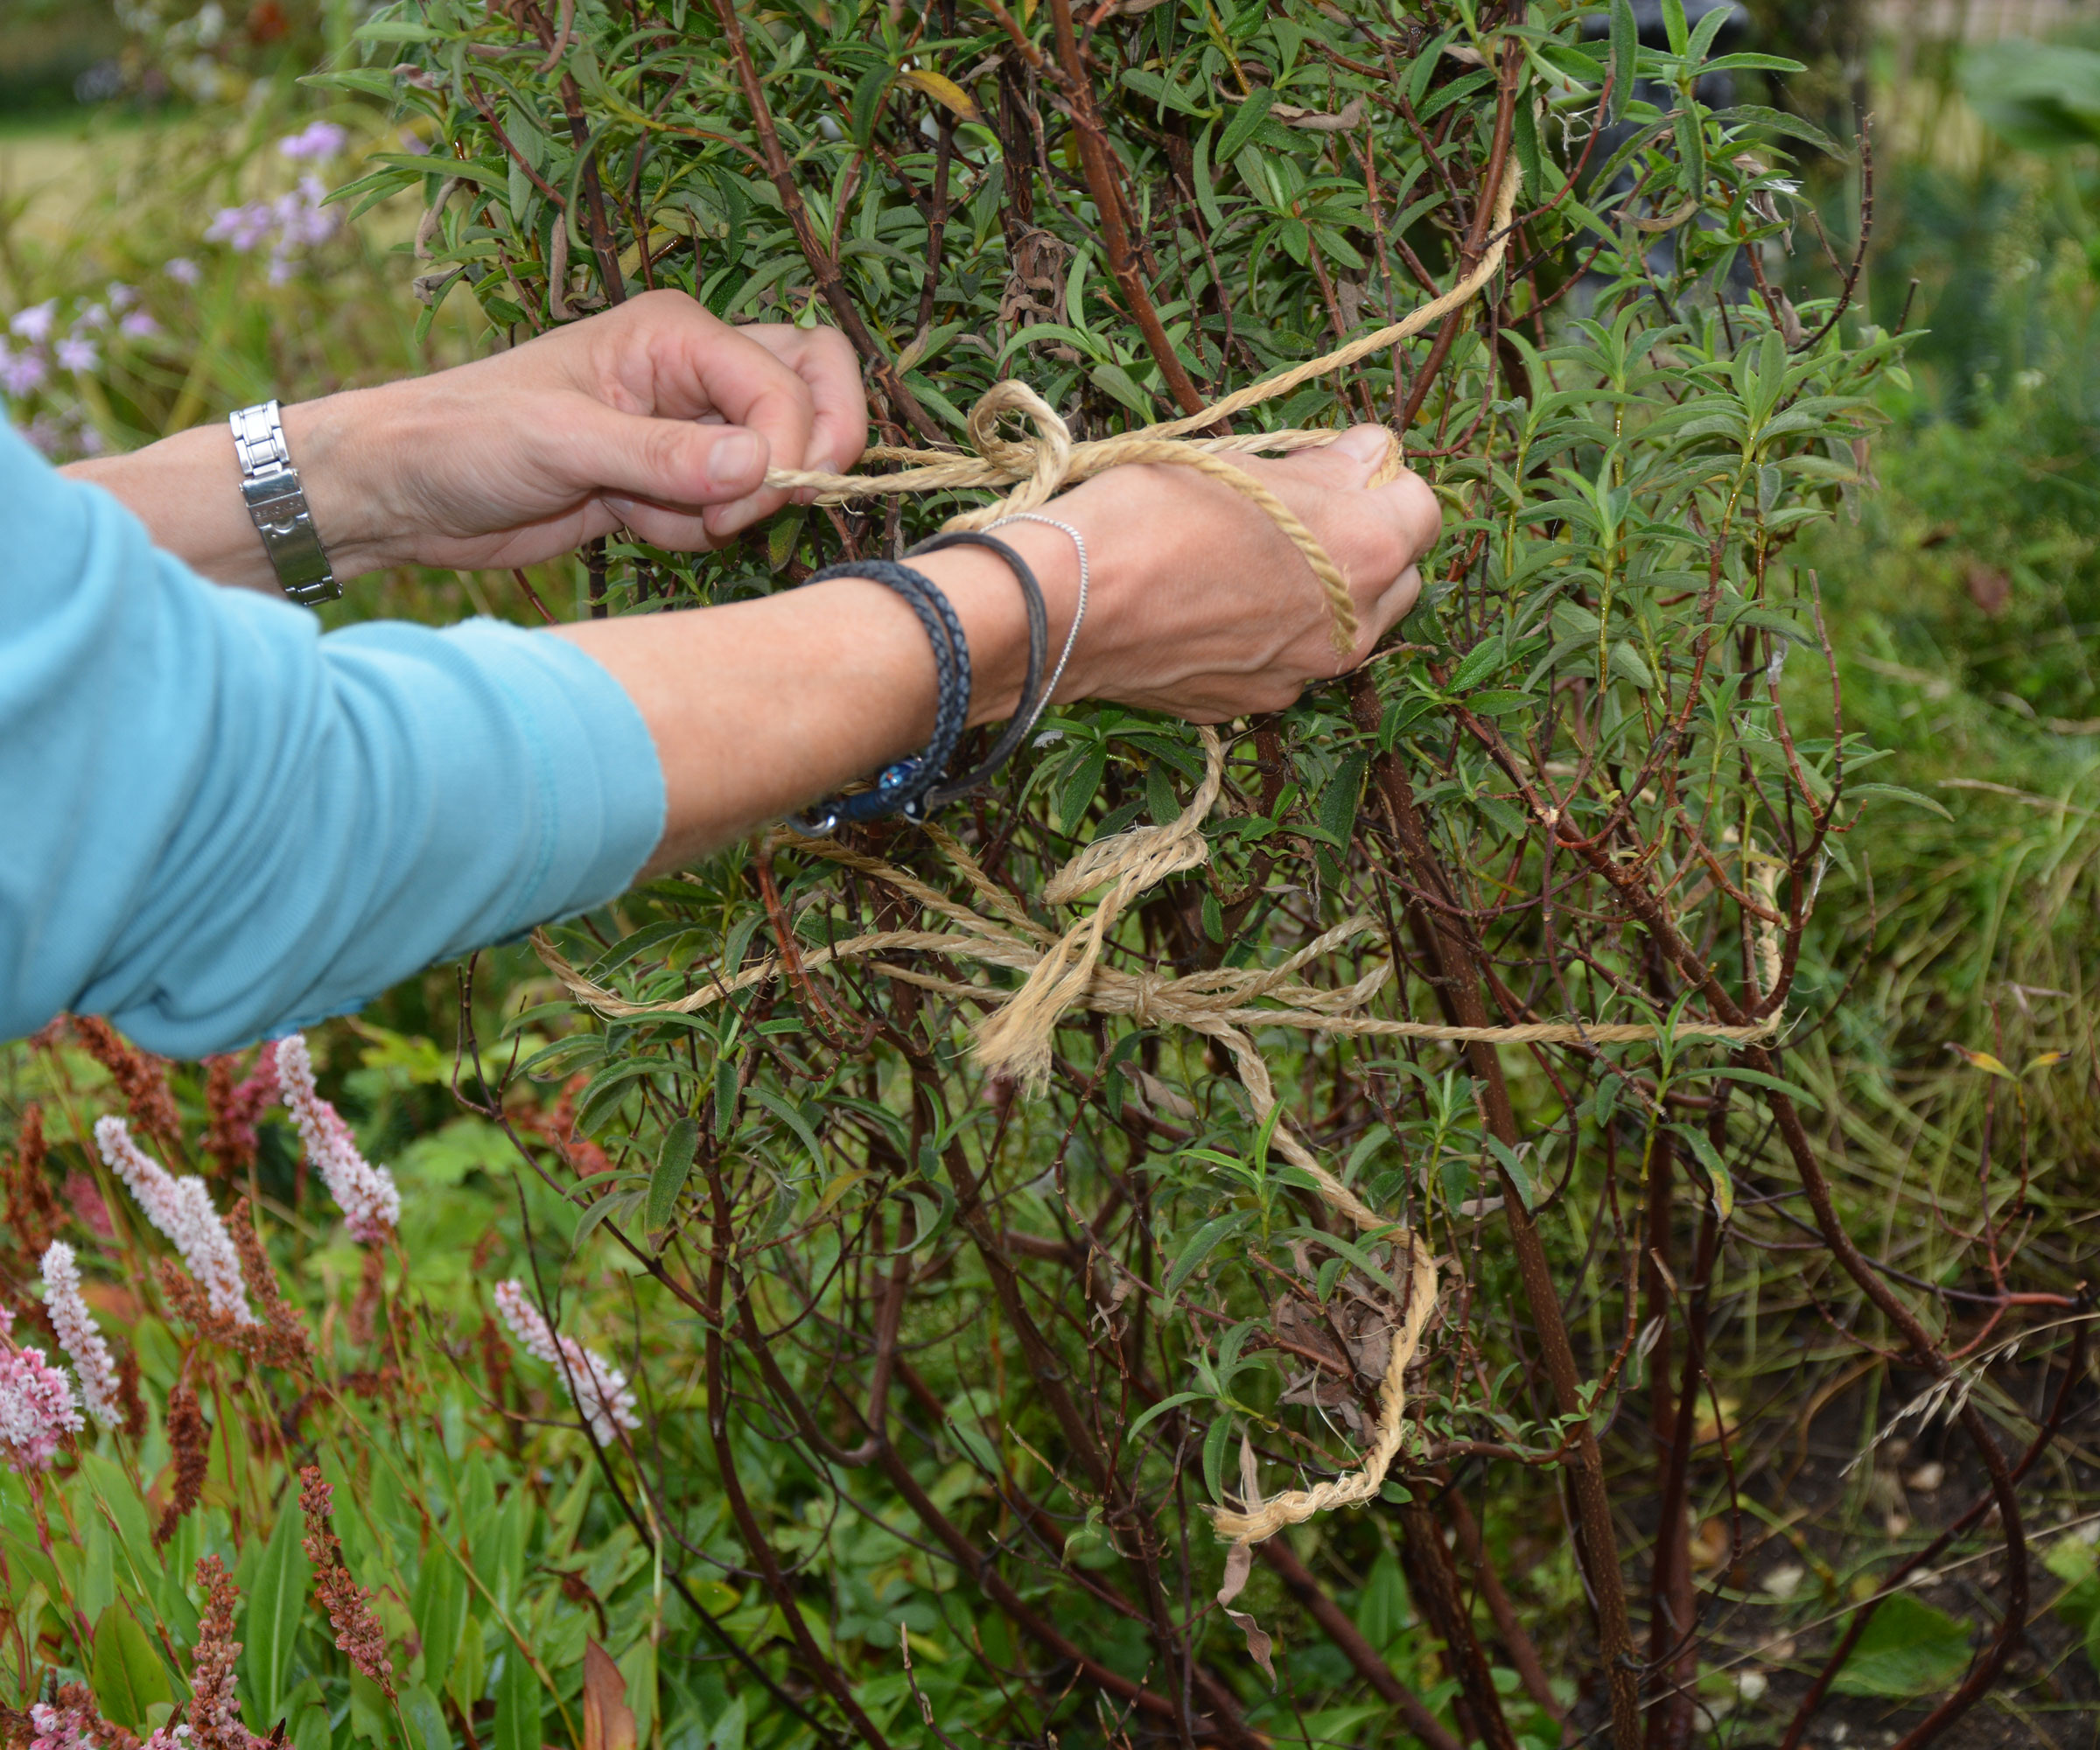
Using garden twine to tie back the branches of a shrub so it is easier to move
3. Dig the new hole for your shrub
Before you start digging the hole for your new shrub, look at how far the branches extend from the trunk. This will give you a rough guide to how far the roots stretch and help you gauge how big a hole you need to excavate. Shrubs need to be balanced to stay upright in all weathers so their roots grow in parallel to their top growth.
If you garden on heavy clay soil types, planting holes can sometimes form waterproof 'buckets' with solid sides that hold on to water and don't allow the plant's roots to quest outwards. You can help prevent this from happening by scouring the sides and bottom of the new planting hole with a garden fork to loosen the soil and make it easier for the roots to escape.
Add some bone meal and well-rotted homemade compost or manure to the new hole. You may also wish to add some mycorrhizal fungi to help your shrub re-establish. These beneficial fungal threads exchange sugars in the plants for nutrients and water in the soil, helping root and plant development.
4. Dig around the shrub and loosen the roots
Start digging around the shrub just wider than you think the roots will extend. Rock your spade to loosen the roots, before carefully lifting the whole plant, asking another person to help if needs be.
Don’t worry if any of the thin feeder roots break or are snapped, or even if you have to cut some of the roots to free the shrub, as it will send out more when it is replanted.
Just make sure you clean garden tools properly and that your pruners and loppers are sharp. It means you can cut the roots efficiently with a clean cut to reduce the risk of damaging the roots or spreading disease.
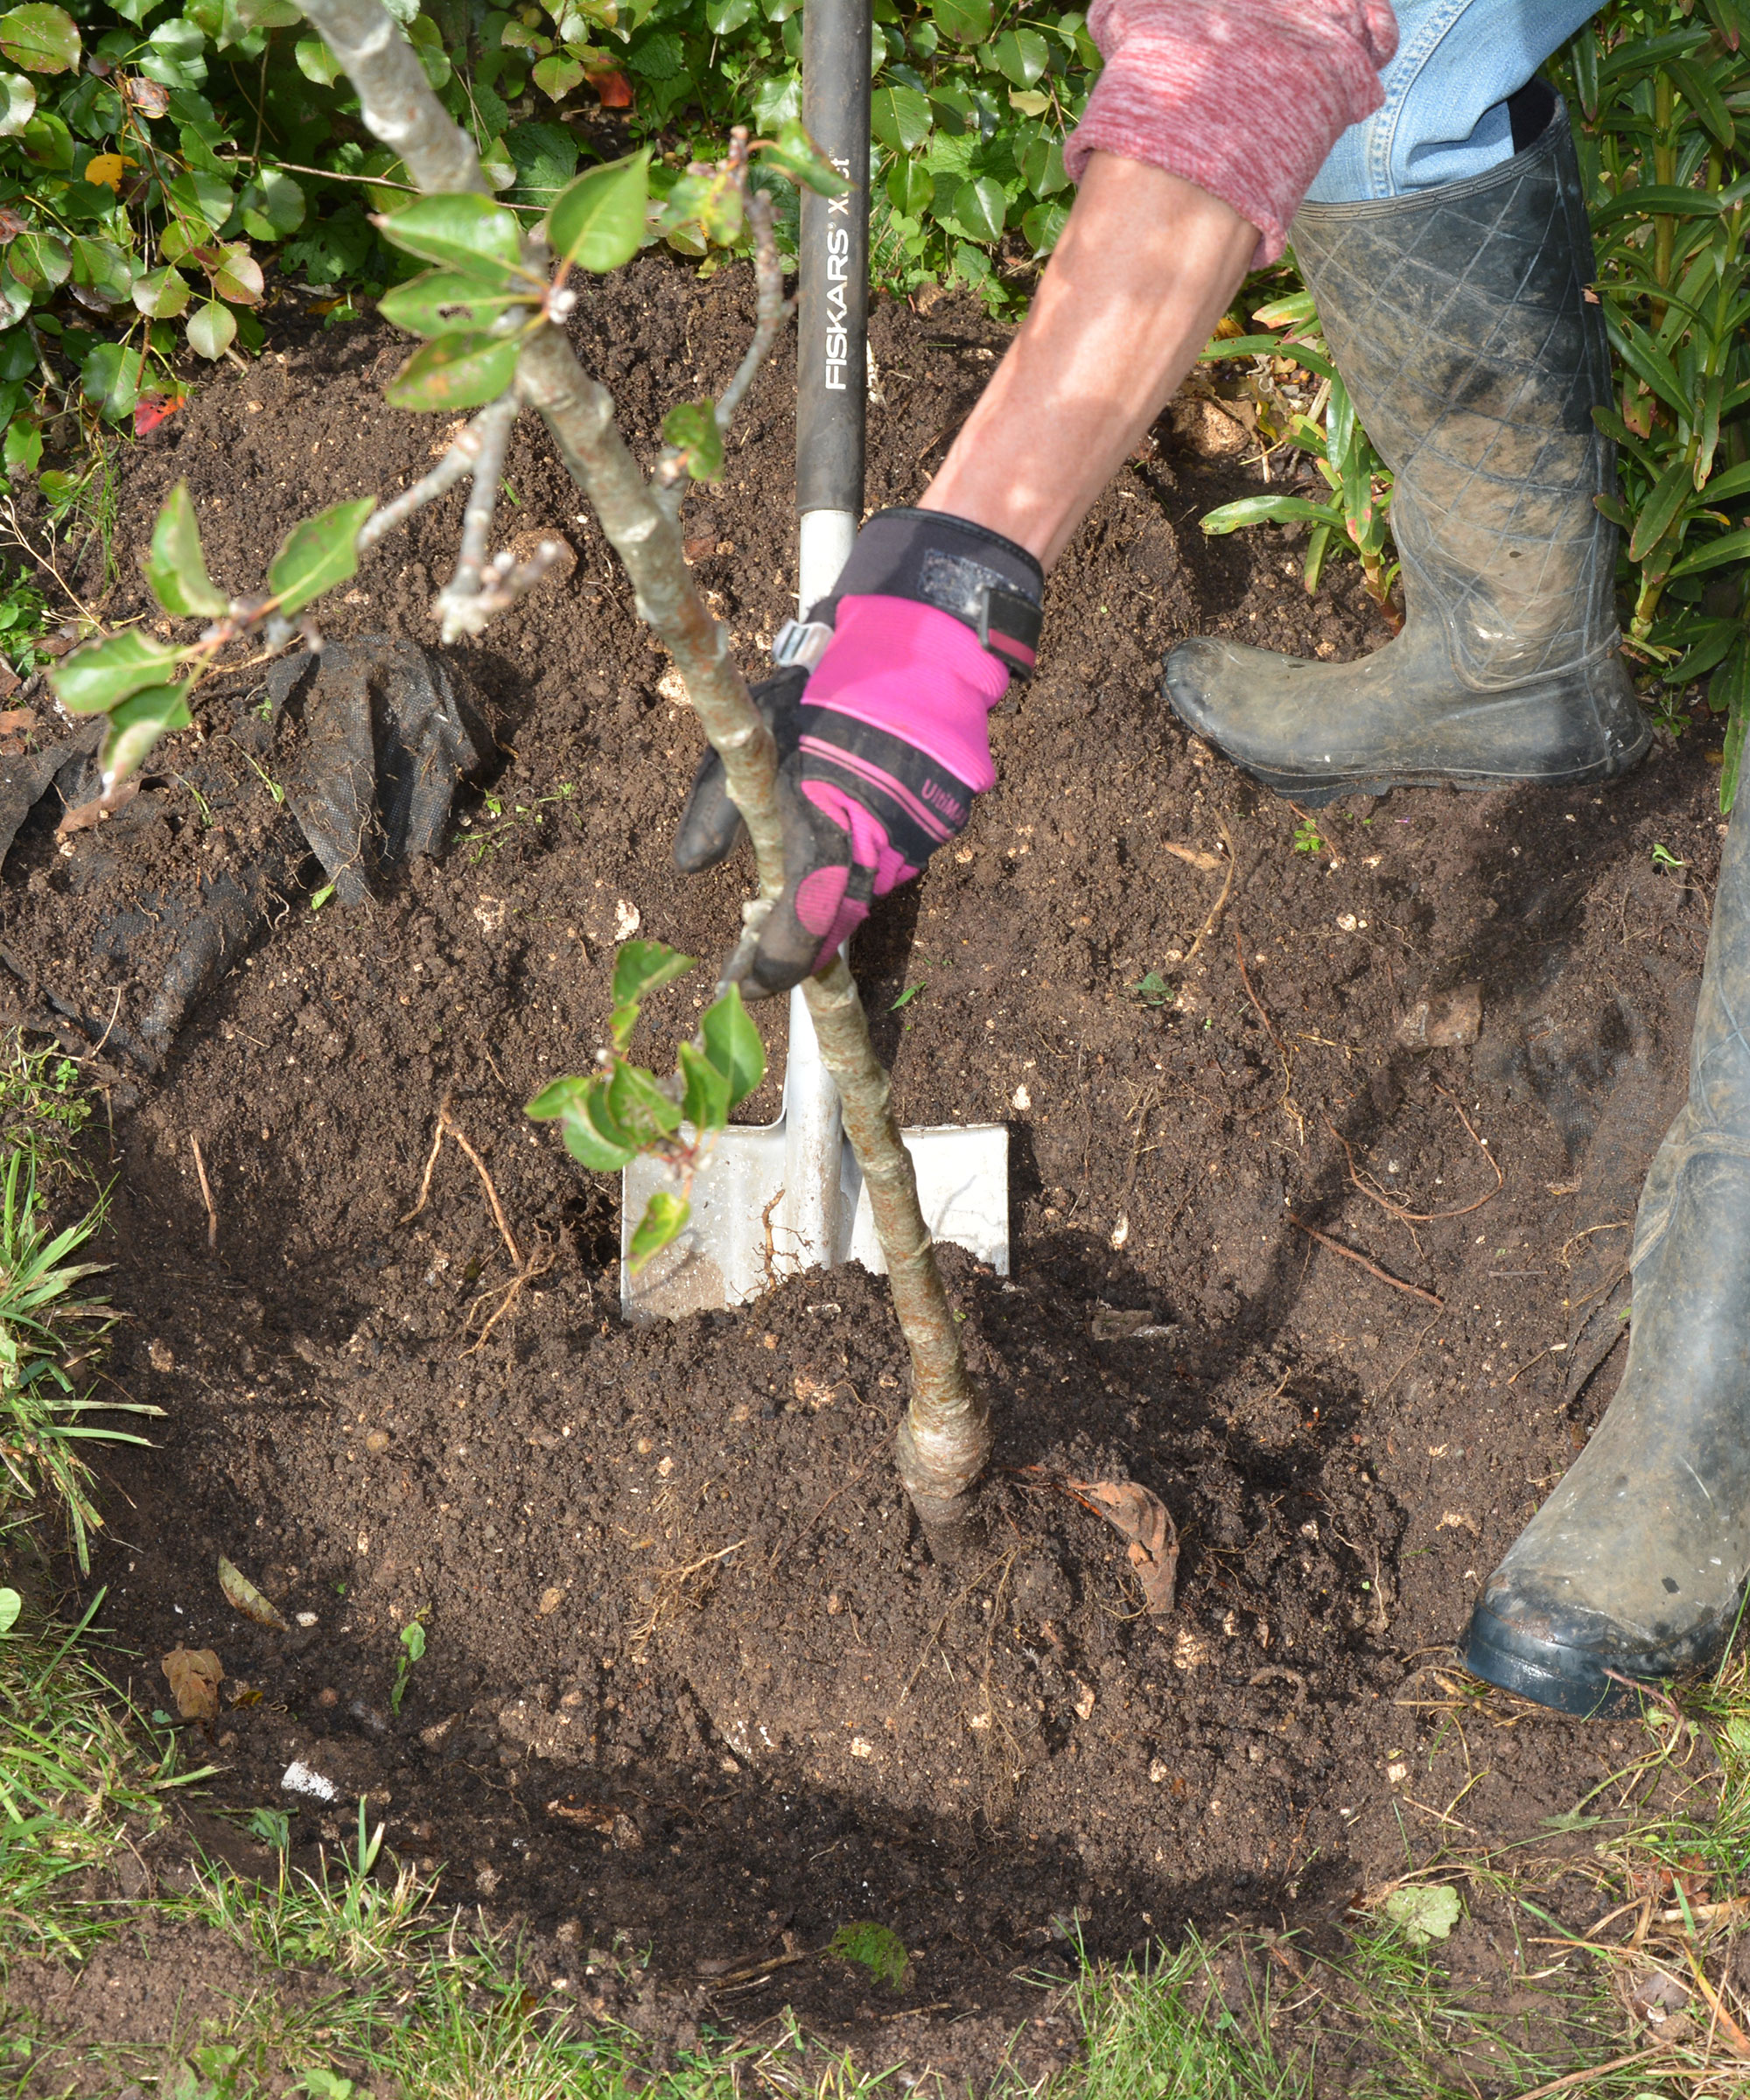
Carefully dig around the shrub and loosen the roots before lifting it from the soil
5. Replant the shrub
You don’t want the roots to dry out when the shrub is being transported to its new home so wrap the rootball in a tarpaulin, old plastic bags or burlap sacking and replant it as soon as possible.
Make sure the hole is wide and deep enough to accommodate all the roots comfortably, and set the shrub in it at the same depth it was growing before.
You can gauge the correct depth by the soil ‘tide mark’ on the trunk. If there is a graft where the top growth was attached to the rootstock, this should be sitting just on or above the surface of the soil.
The easiest way to get it right is to lay a cane across the hole next to the trunk, adding or taking away soil from the hole until the depth is right.
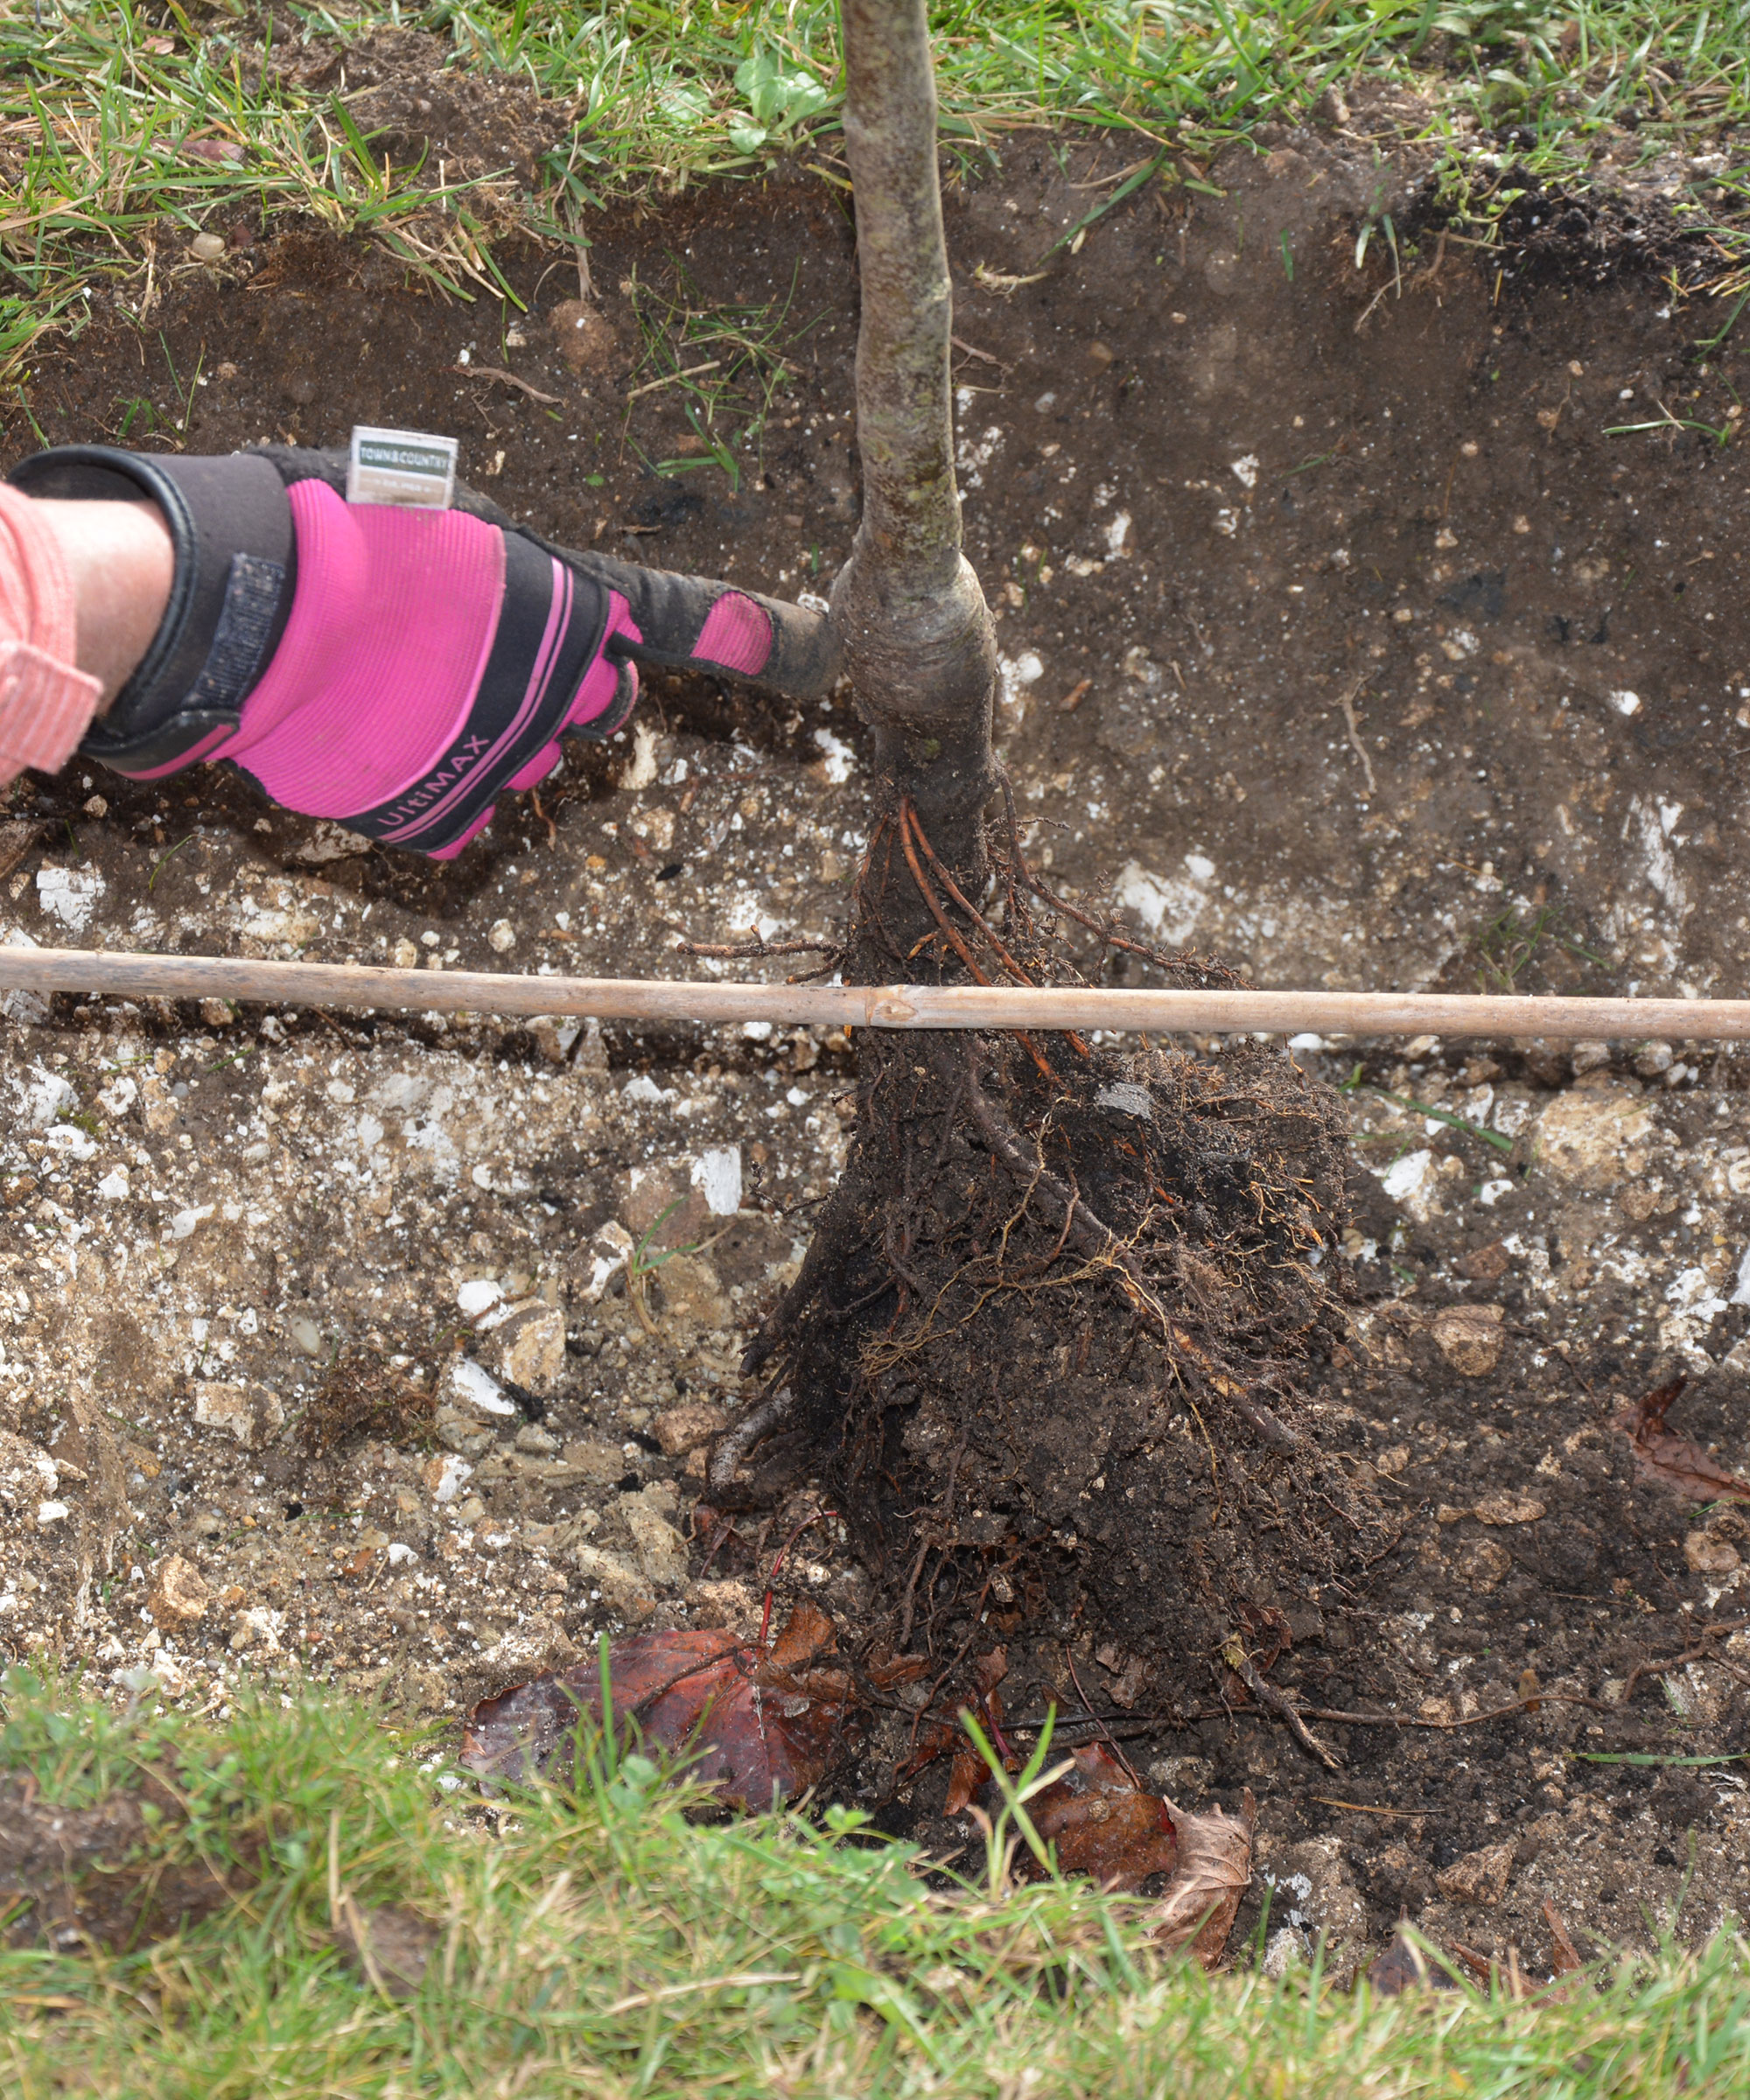
Using a cane to gauge the correct planting depth of a grafted shrub
6. Infilling, firming the soil and watering
Once the shrub is in its hole at the right depth, start infilling around and over the roots with excavated soil mixed with well-rotted homemade compost or manure.
Tread it down as you go to firm the soil and help support the shrub. Once the hole is completely filled and the soil and compost mix is level with the surface of the surrounding land, water the root area generously so the moisture soaks right down to the roots and helps settle the soil.
Mulching over the root area will retain moisture in the soil, but make sure it doesn’t come into contact with the trunk because it can soften and weaken the bark. Mulch will also insulate the roots in winter and early spring and also helps to block and get rid of weeds.
You may also wish to place coconut fiber matting or coir ring mats (both available from Amazon) around the root area to stop weeds colonizing the soil and stealing moisture and food from the roots as they re-establish.
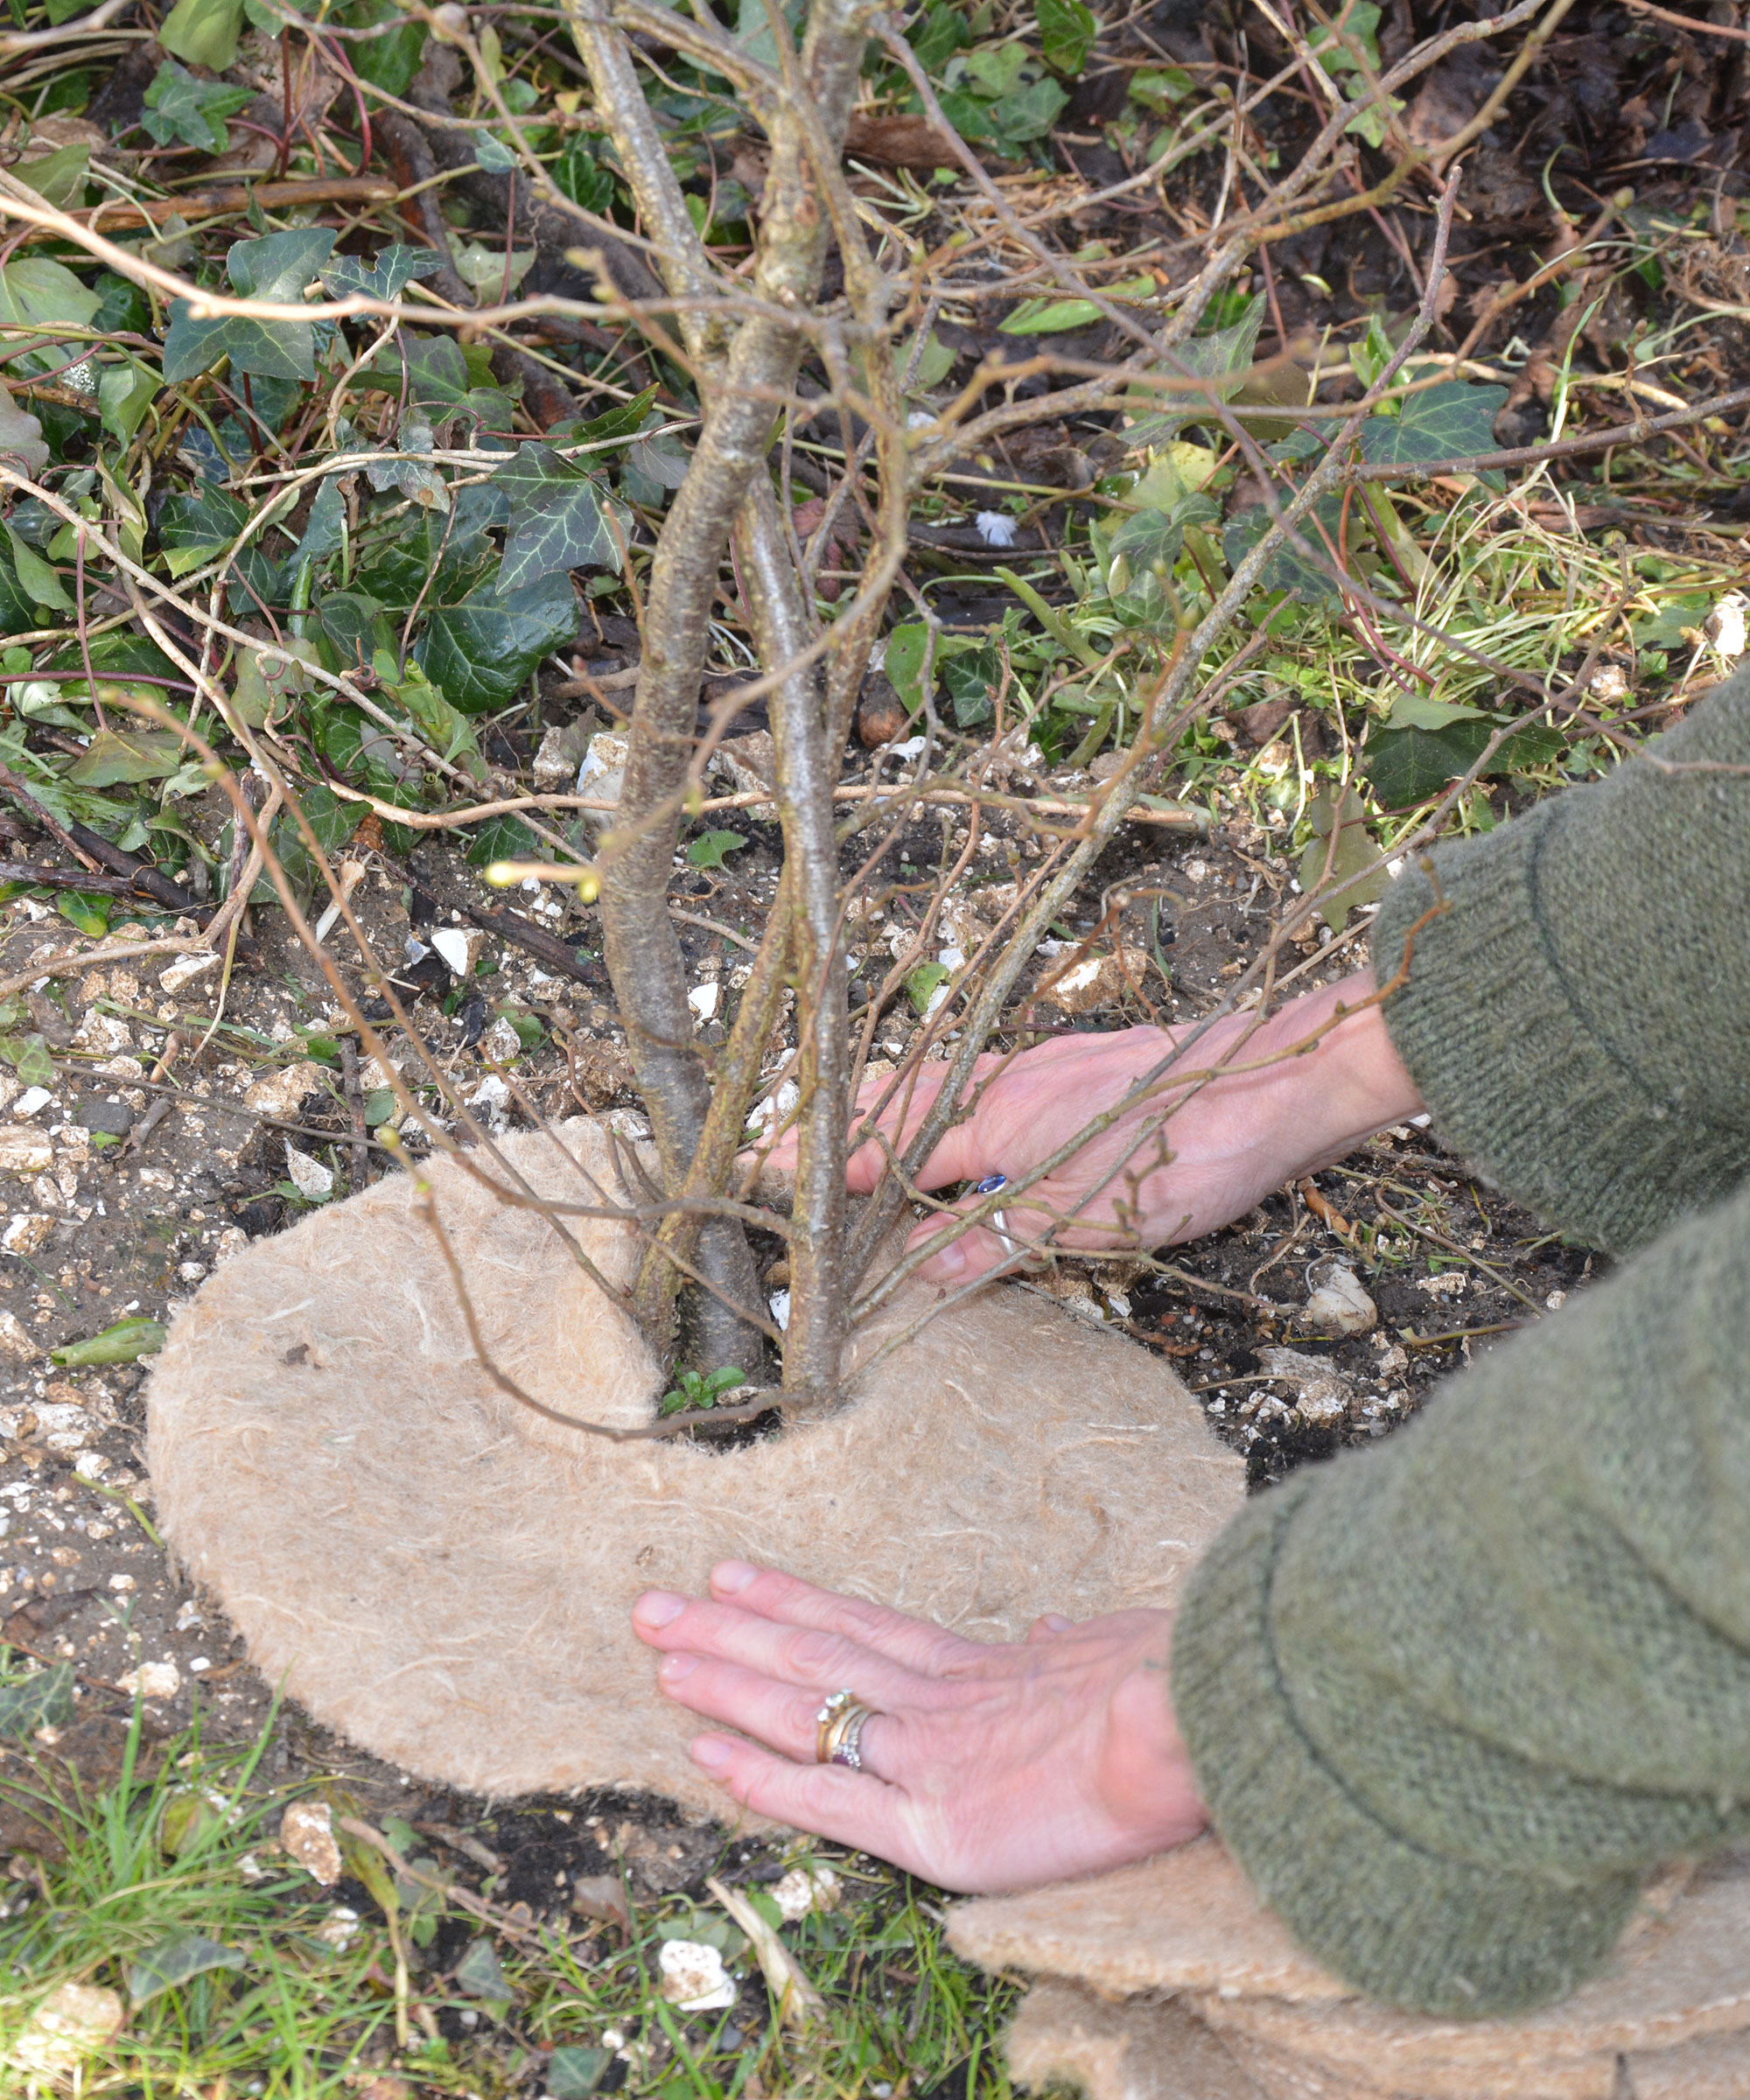
Placing a protective mulch mat around a newly moved shrub
How long does it take a shrub to recover from transplant shock?
Shrubs that have been moved may experience some level of 'transplant shock' but this should not last too long or be severe if you look after them while they re-establish.
Once your shrub is in its new spot, water your plant regularly while taking care not to overwater as this will drown the roots.
It will take some time to get established in its new home so don’t give it a hard prune the following fall, just remove a few shoots if necessary, and if it is a fruiting plant remove the fruitlets as they develop. This will mean the tree puts its energy towards its own growth and will reward you with better fruits later on.
Can you move mature shrubs?
Moving trees and shrubs should be done within five years of their original planting, otherwise they are less likely to take successfully.
Also, the older and more mature they are, the harder they will be to move due to their size and you may need to hire professional contractors to do the job for you.
Do you need to stake newly transplanted shrubs?
If the shrubs are low-growing and you have pruned them before relocation, then there should be no need to stake them. The exceptions are if they have been moved to a windy site and they are tall and leggy.
In this case, hammer a stake into the ground on the side of the prevailing wind, so the shrub is blown away from it, and secure the shrub to the stake with tree tie straps, such as these self-locking ones from Amazon, making sure they don't dig into the trunk bark and the shrub still has room to move and sway as this helps to strengthen the roots.
Sign up to the Homes & Gardens newsletter
Design expertise in your inbox – from inspiring decorating ideas and beautiful celebrity homes to practical gardening advice and shopping round-ups.

Ruth is a Contributing Editor for Homes & Gardens, and formerly Gardening Editor of Amateur Gardening magazine. She is horticulturally trained, with a qualification from the Royal Horticultural Society. Her work for Amateur Gardening, the world's oldest weekly gardening publication, involved matching gardening tasks with each season, covering everything from sowing and planting, to pruning, taking cuttings, dealing with pests and diseases and keeping houseplants healthy. She is an expert in ornamental plants and edible crops, and everything she writes about and photographs is in her own garden, that has been a work in progress since her family moved there in 2012.
-
 Martha Stewart's intelligent cabinets 'take every inch into consideration' – their 'visually light' style will solve your small kitchen storage problems
'Every kitchen can be beautiful and functional, no matter what the size': 9 years since sharing her clever storage, Martha's cabinets are just as beautiful
By Megan Slack Published
-
 This once-dated kitchen is now a timeless space with the coziest details – and its the classic color palette that's made it a chic, welcoming space
Warming colors and natural materials combine to create this enduringly classic kitchen scheme
By Molly Malsom Published