How to store tulip bulbs – and save them for next year
Discover the best way to look after your tulip bulbs to ensure stunning displays every spring
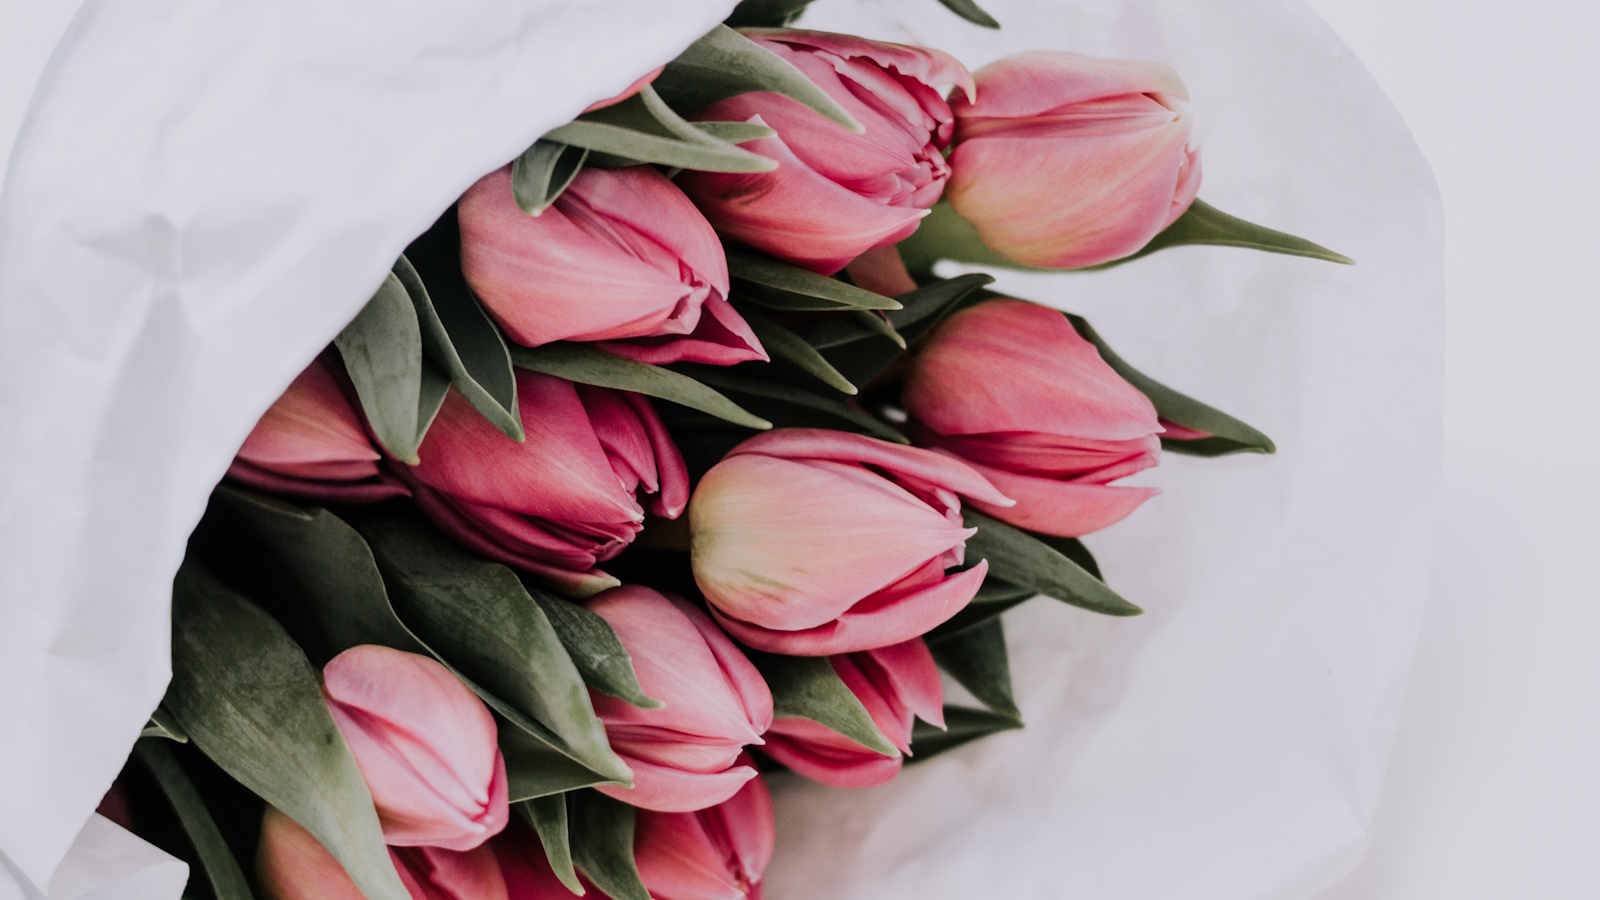

If you've enjoyed a glorious display from your spring flowers and are now wondering how to store tulip bulbs, never fear. We are here with all the advice.
Tulips are a stalwart of spring with their satin-like petals and glorious spectrum of shades. But, they can be a little fussier than others. While crocuses, daffodils, and all the woodland bulbs (such as anemones, snowdrops, and bluebells) can happily stay in the ground all year round, tulips generally won't respond so well to this low-maintenance approach. If they do flower again (and some simply won't), the show will be much less spectacular than in their first year.
One option is to buy fresh tulip bulbs each year, but if you're planting tulips all over your garden, the cost can quickly stack up. A cheaper alternative is to lift them out of the soil once they've finished blooming, then replant the following fall. It may mean extra effort, but the results will be worth it. We've got all the tips on how to store tulip bulbs below.
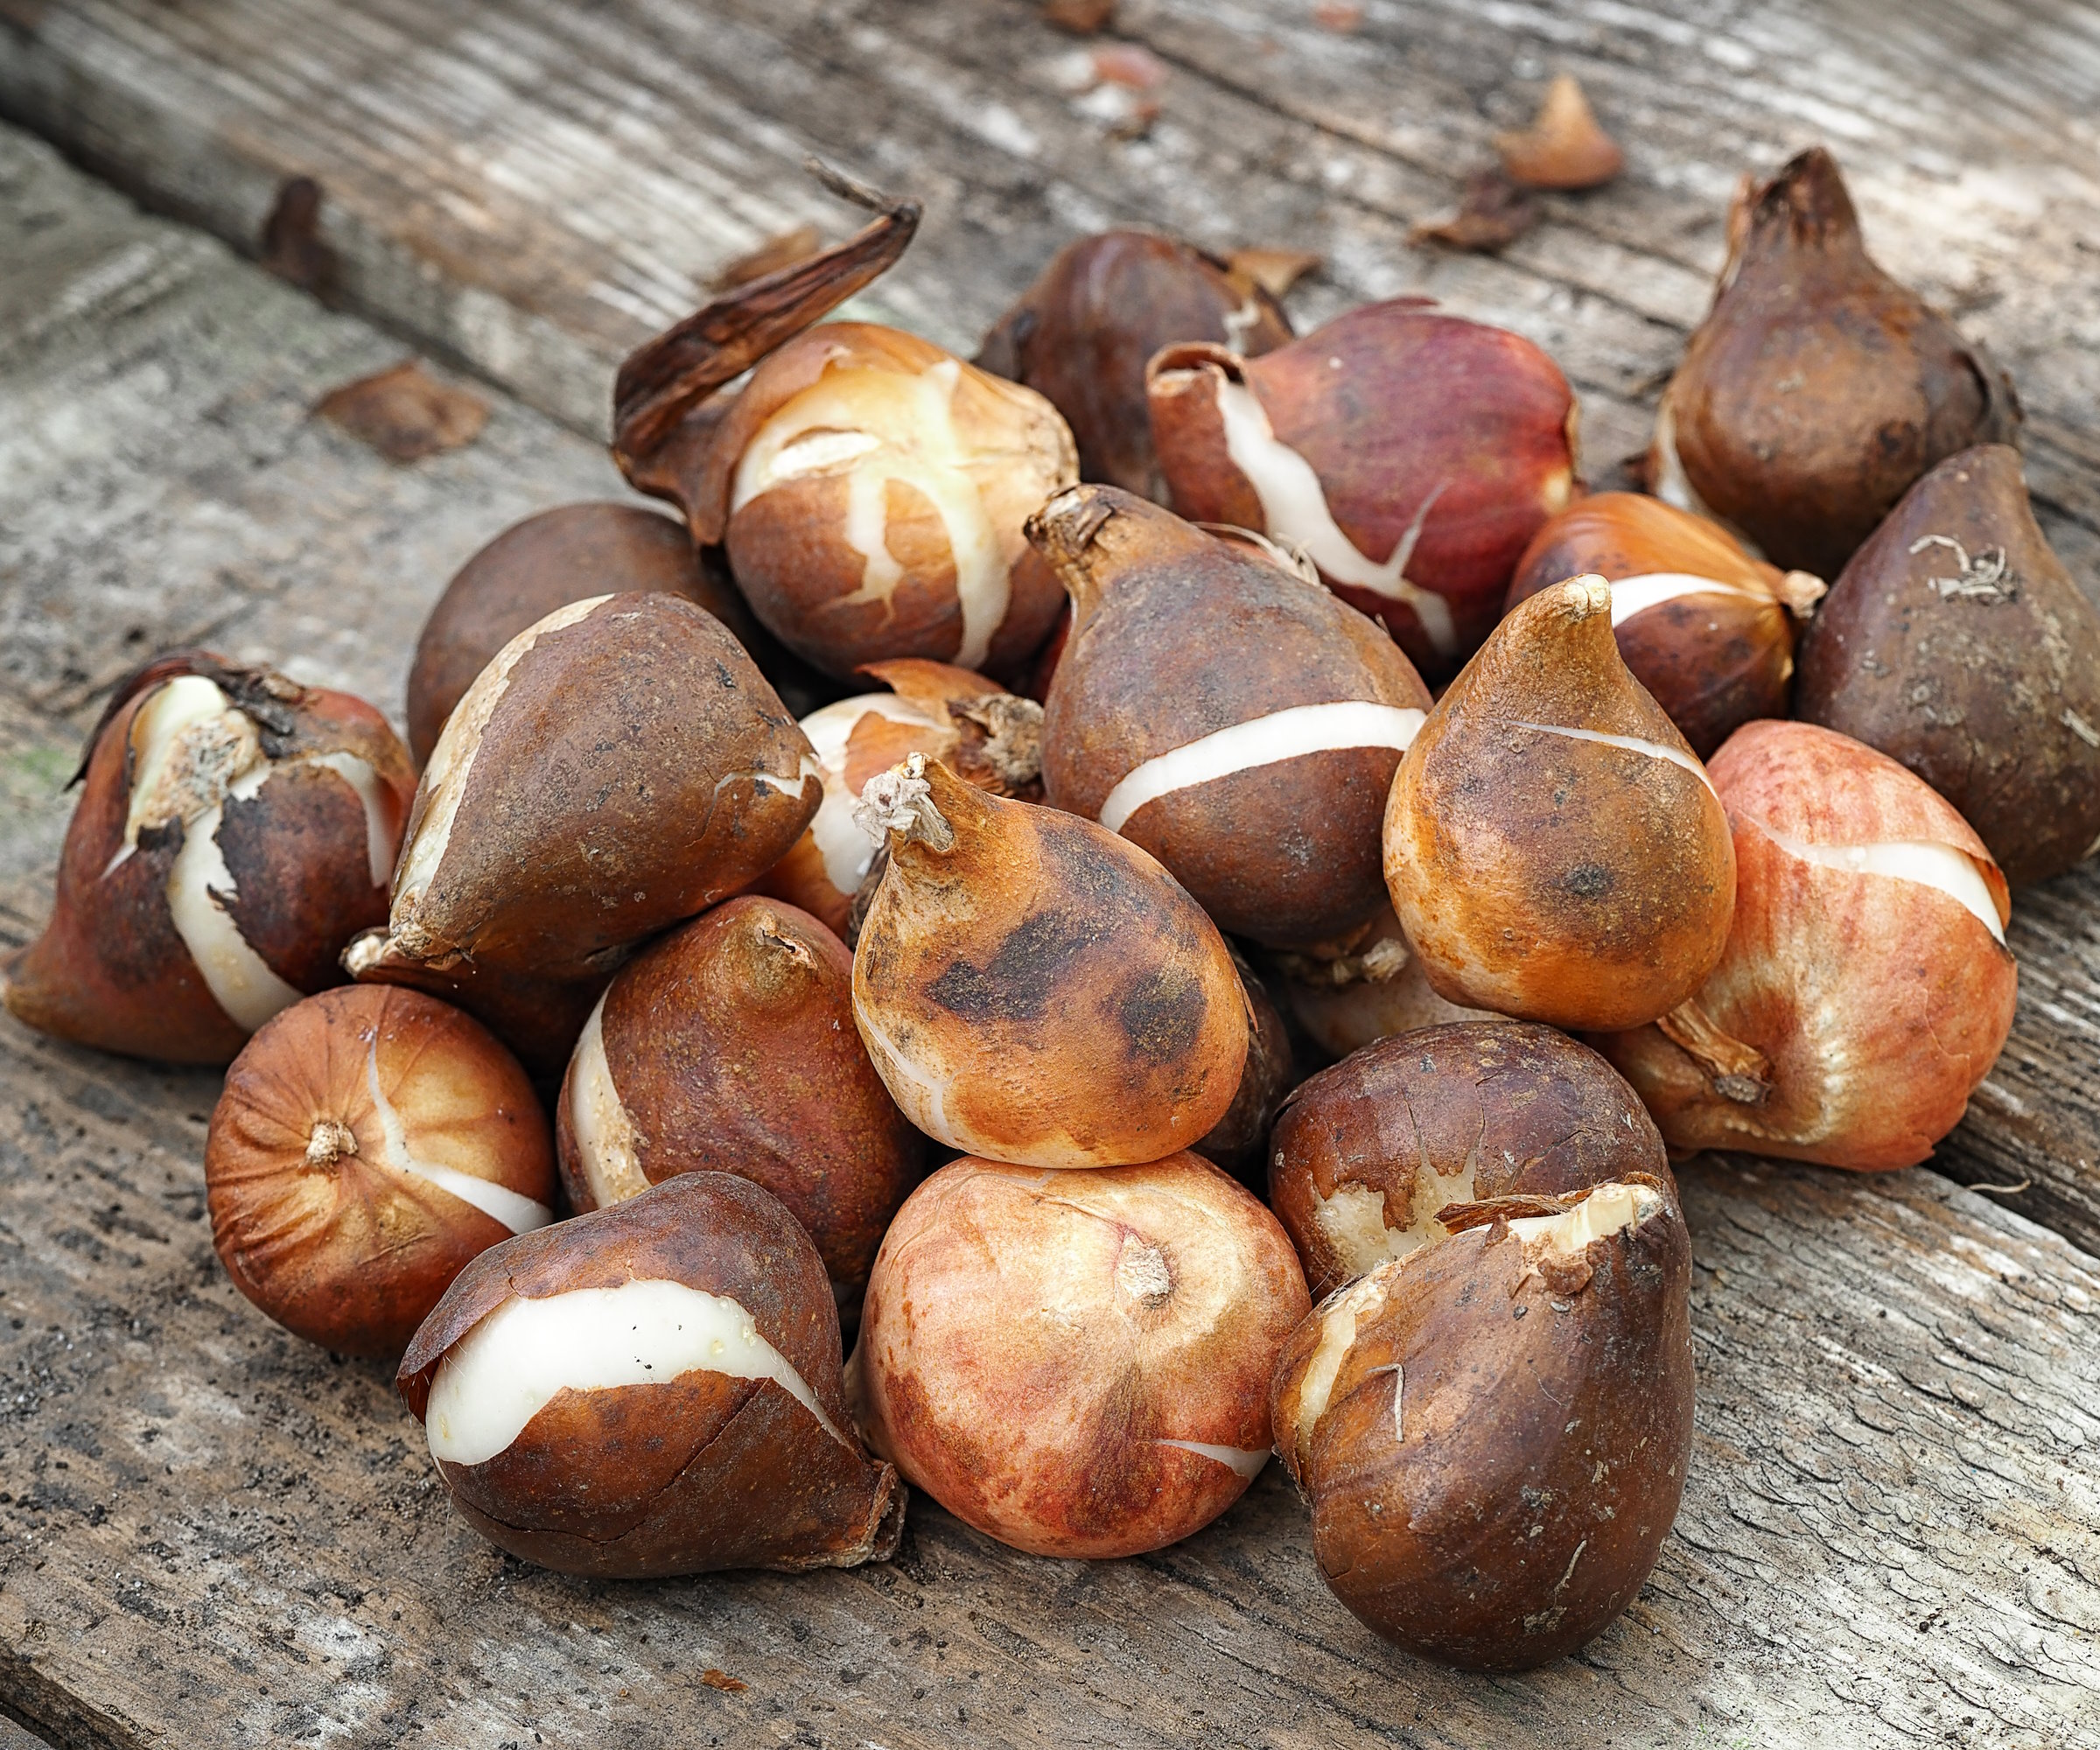
How to store tulip bulbs in 5 simple steps
Learning when to plant tulips is easy. But knowing how to save tulip bulbs by storing them needn't be tricky. All it takes is a few simple steps to prepare for a stunning springtime display every year.
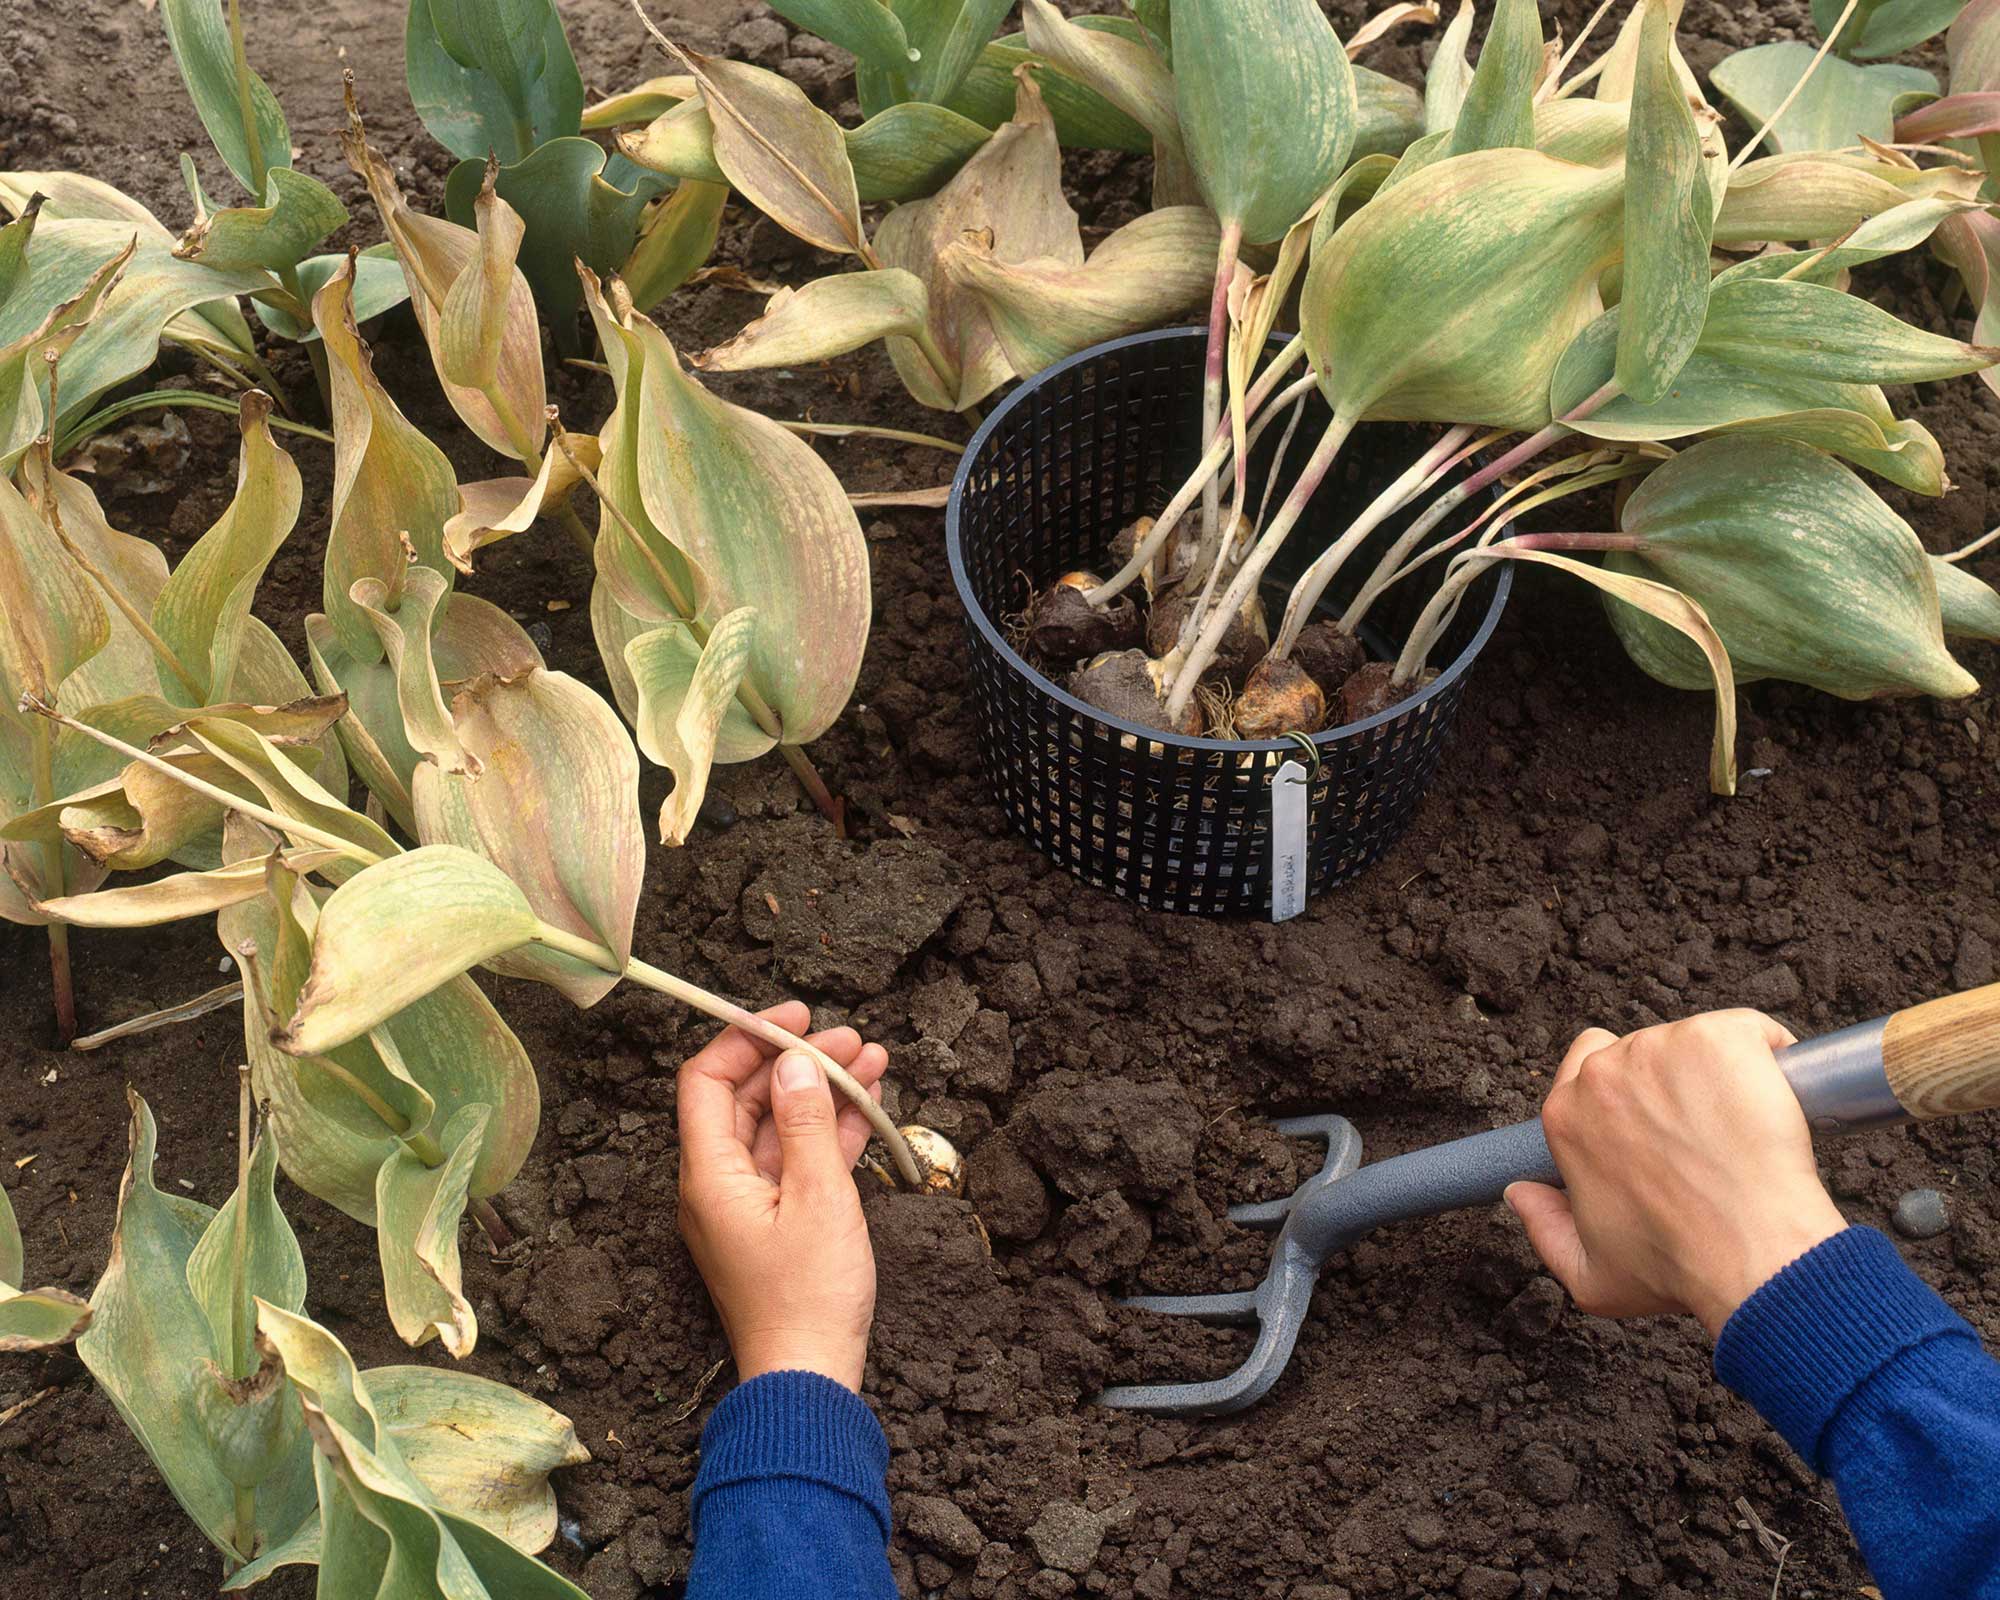
Dig up your tulip bulbs once the foliage has turned yellow
- Deadhead your tulips once the flowers have gone over (unless they are species tulips, which should be encouraged to spread their seeds for more blooms). Don't be tempted to cut down the foliage, though. Keeping it intact will allow it to feed nutrients back down into the bulb. Wait until the leaves wither and turn yellow, around six weeks after flowering. When this happens, it's time to lift them.
- Lift the bulbs carefully using a small handheld trowel or a garden fork, such as this model from Amazon, with the foliage still attached.
- Once lifted, brush off any soil and remove any diseased or damaged bulbs.
- 'You will need to store them somewhere dark and well-ventilated, in trays, a paper bag or a mesh bag, such as these from Amazon,' says Rachel Bull, Head of Gardens at H&G. 'The best thing you can do is keep them warm and dry, around 68˚F is ideal, but ensure a little air flow to avoid your bulbs rotting. I stored mine in an airing cupboard last year. If you are lucky enough to have one with a bit of extra space, it makes an ideal bulb storage solution. Check on them every now and then to ensure they are not rotting or looking withered.'
- When they've dried out and at planting time, separate the bulbs. The big bulb is your main flowerer for next year. Plant this as you would a new bulb, in the fall. Smaller bulblets, which develop off the main stem, can be potted up. We explain how to do this below.

Rachel is a gardening writer, flower grower and floral designer. Her journalism career began 15 years ago on Country Living magazine, sparking a love of container gardening and wild planting. After more than a decade writing for and editing a range of consumer, business and special interest titles, Rachel became editor of floral art magazine The Flower Arranger. She then trained and worked as a floral designer and stylist in London for six years, before joining the H&G team.
How to plant tulip bulblets or side bulbs
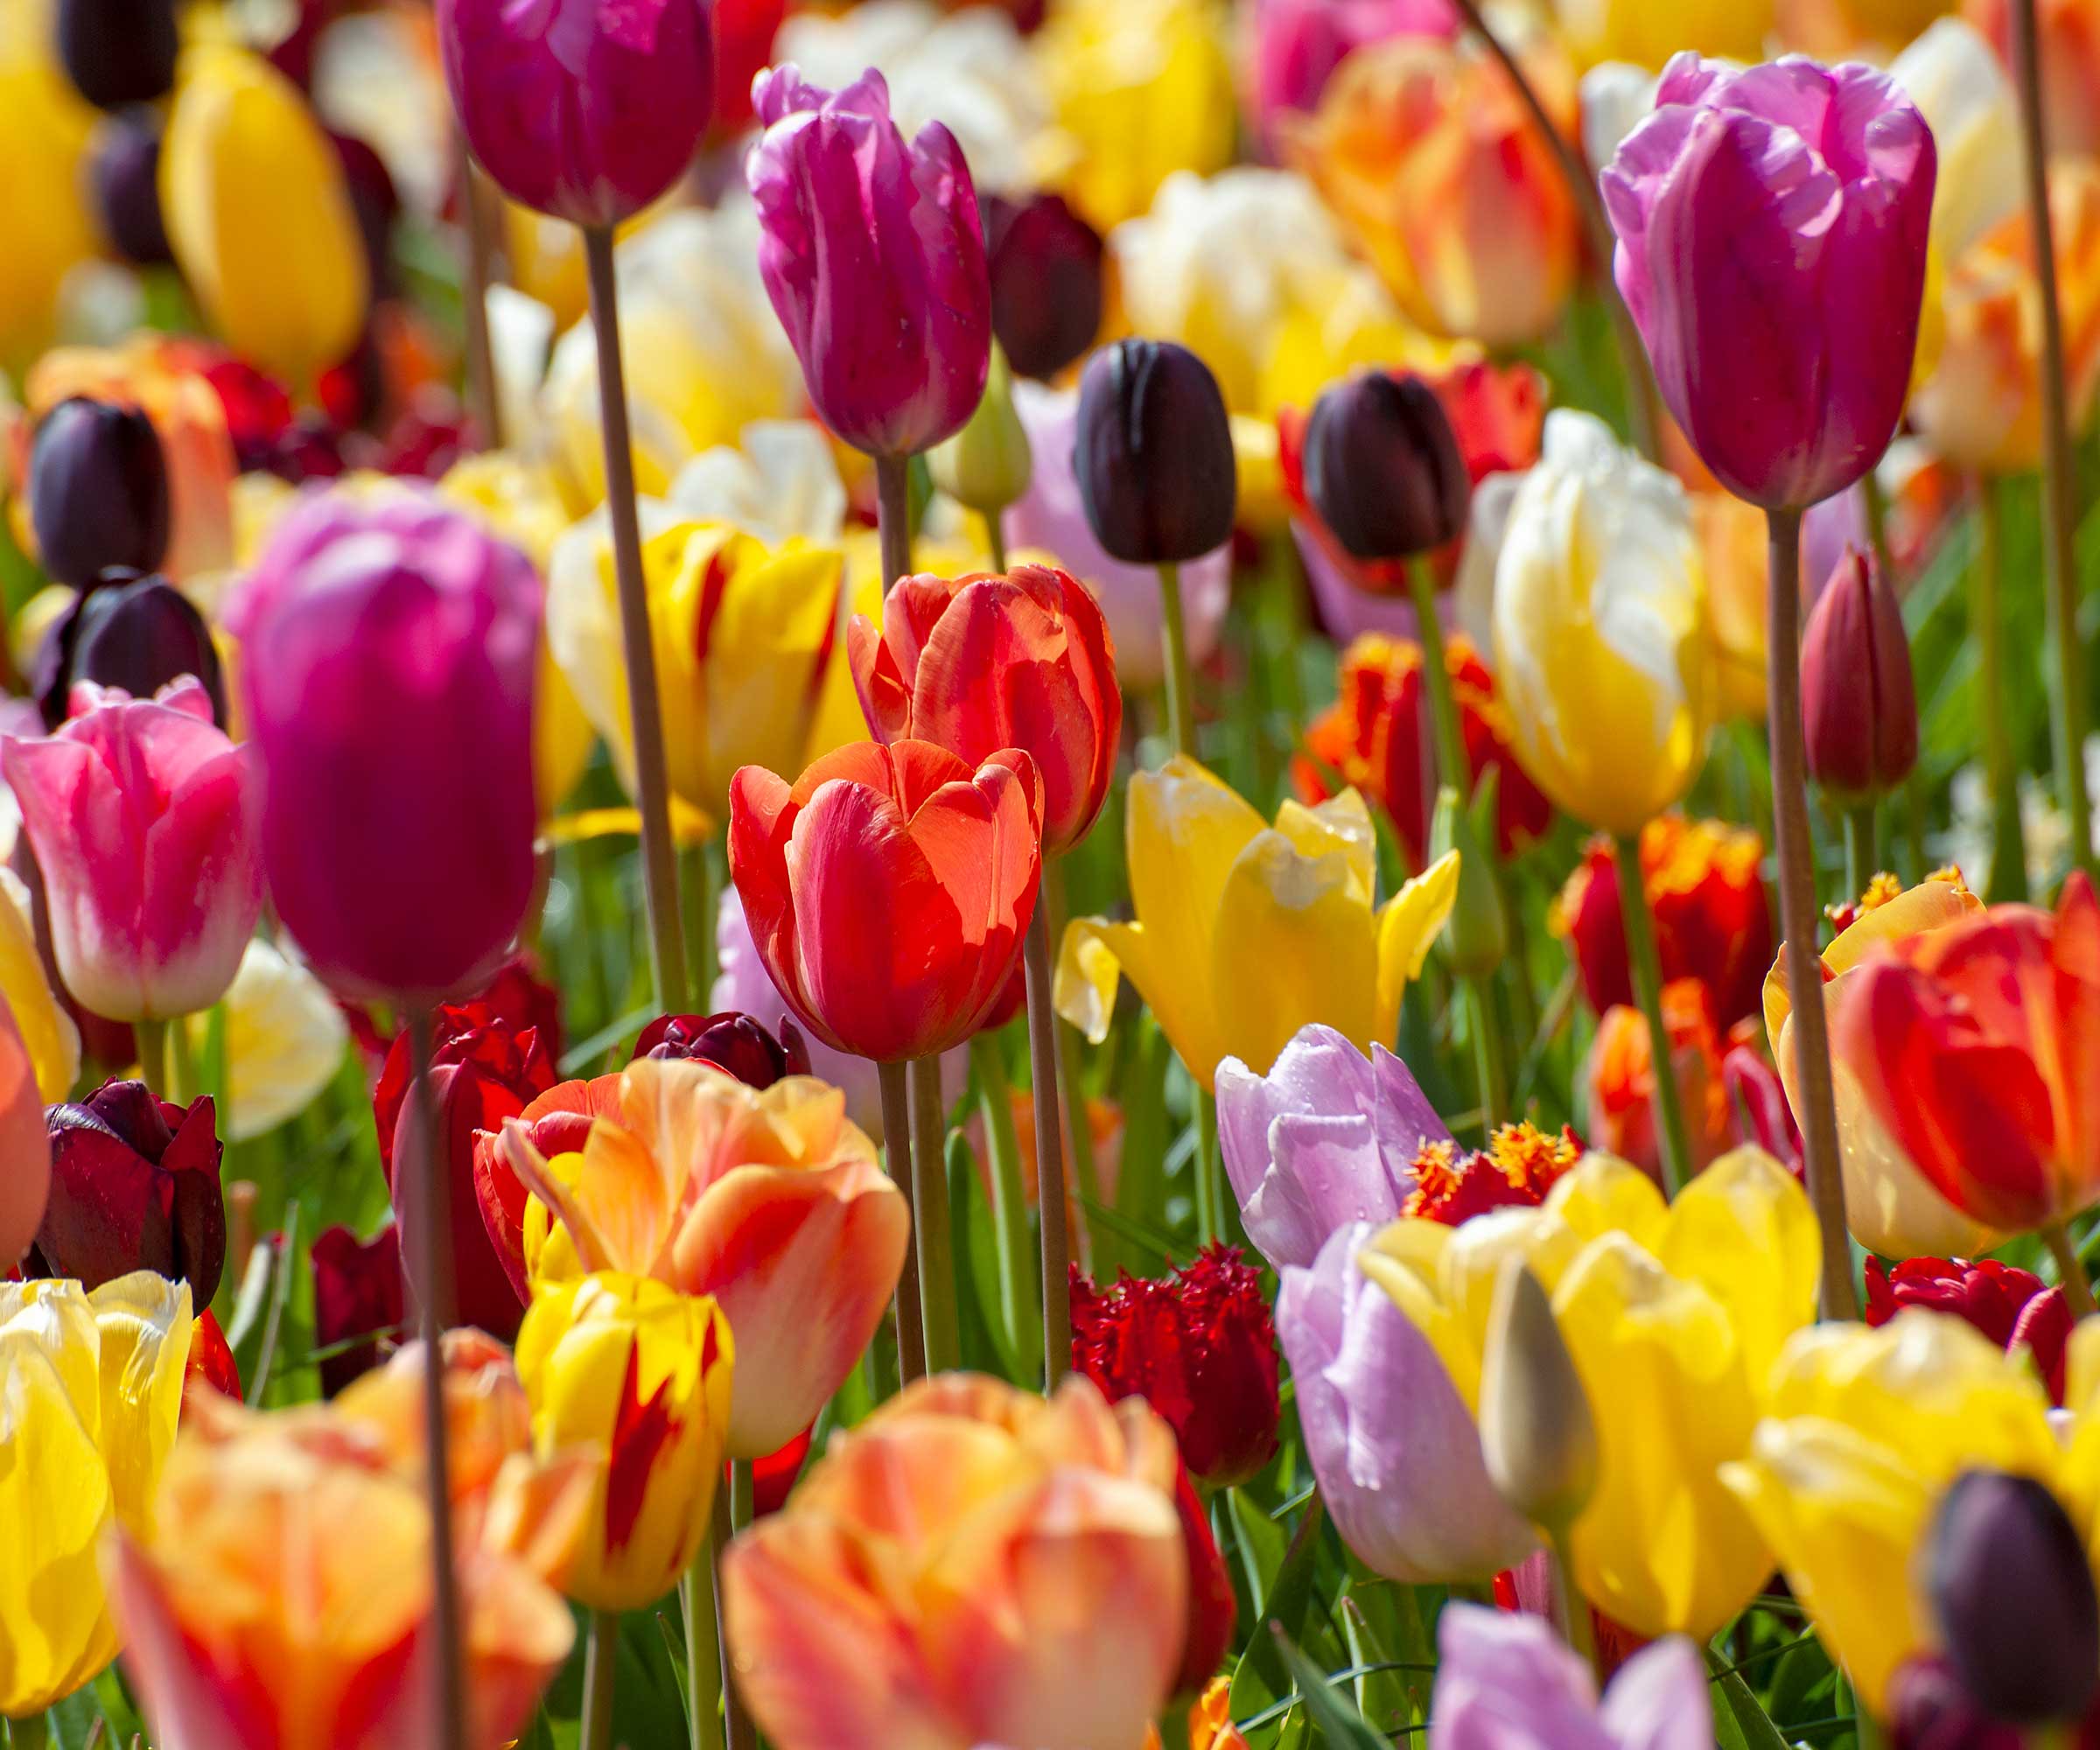
If you want to make the most of tulip bulblets, carefully remove and replant them in a tray of compost about 1in deep. Water them in and consign them to a sheltered, sunny part of the garden to develop strongly.
Initially, leaves will be thin and grass-like, but bulblets will increase in size. It takes time and patience, but in their second fall they can be transferred to a well-prepared flower bed to become large enough to flower the following spring.
How long can you store tulip bulbs for?
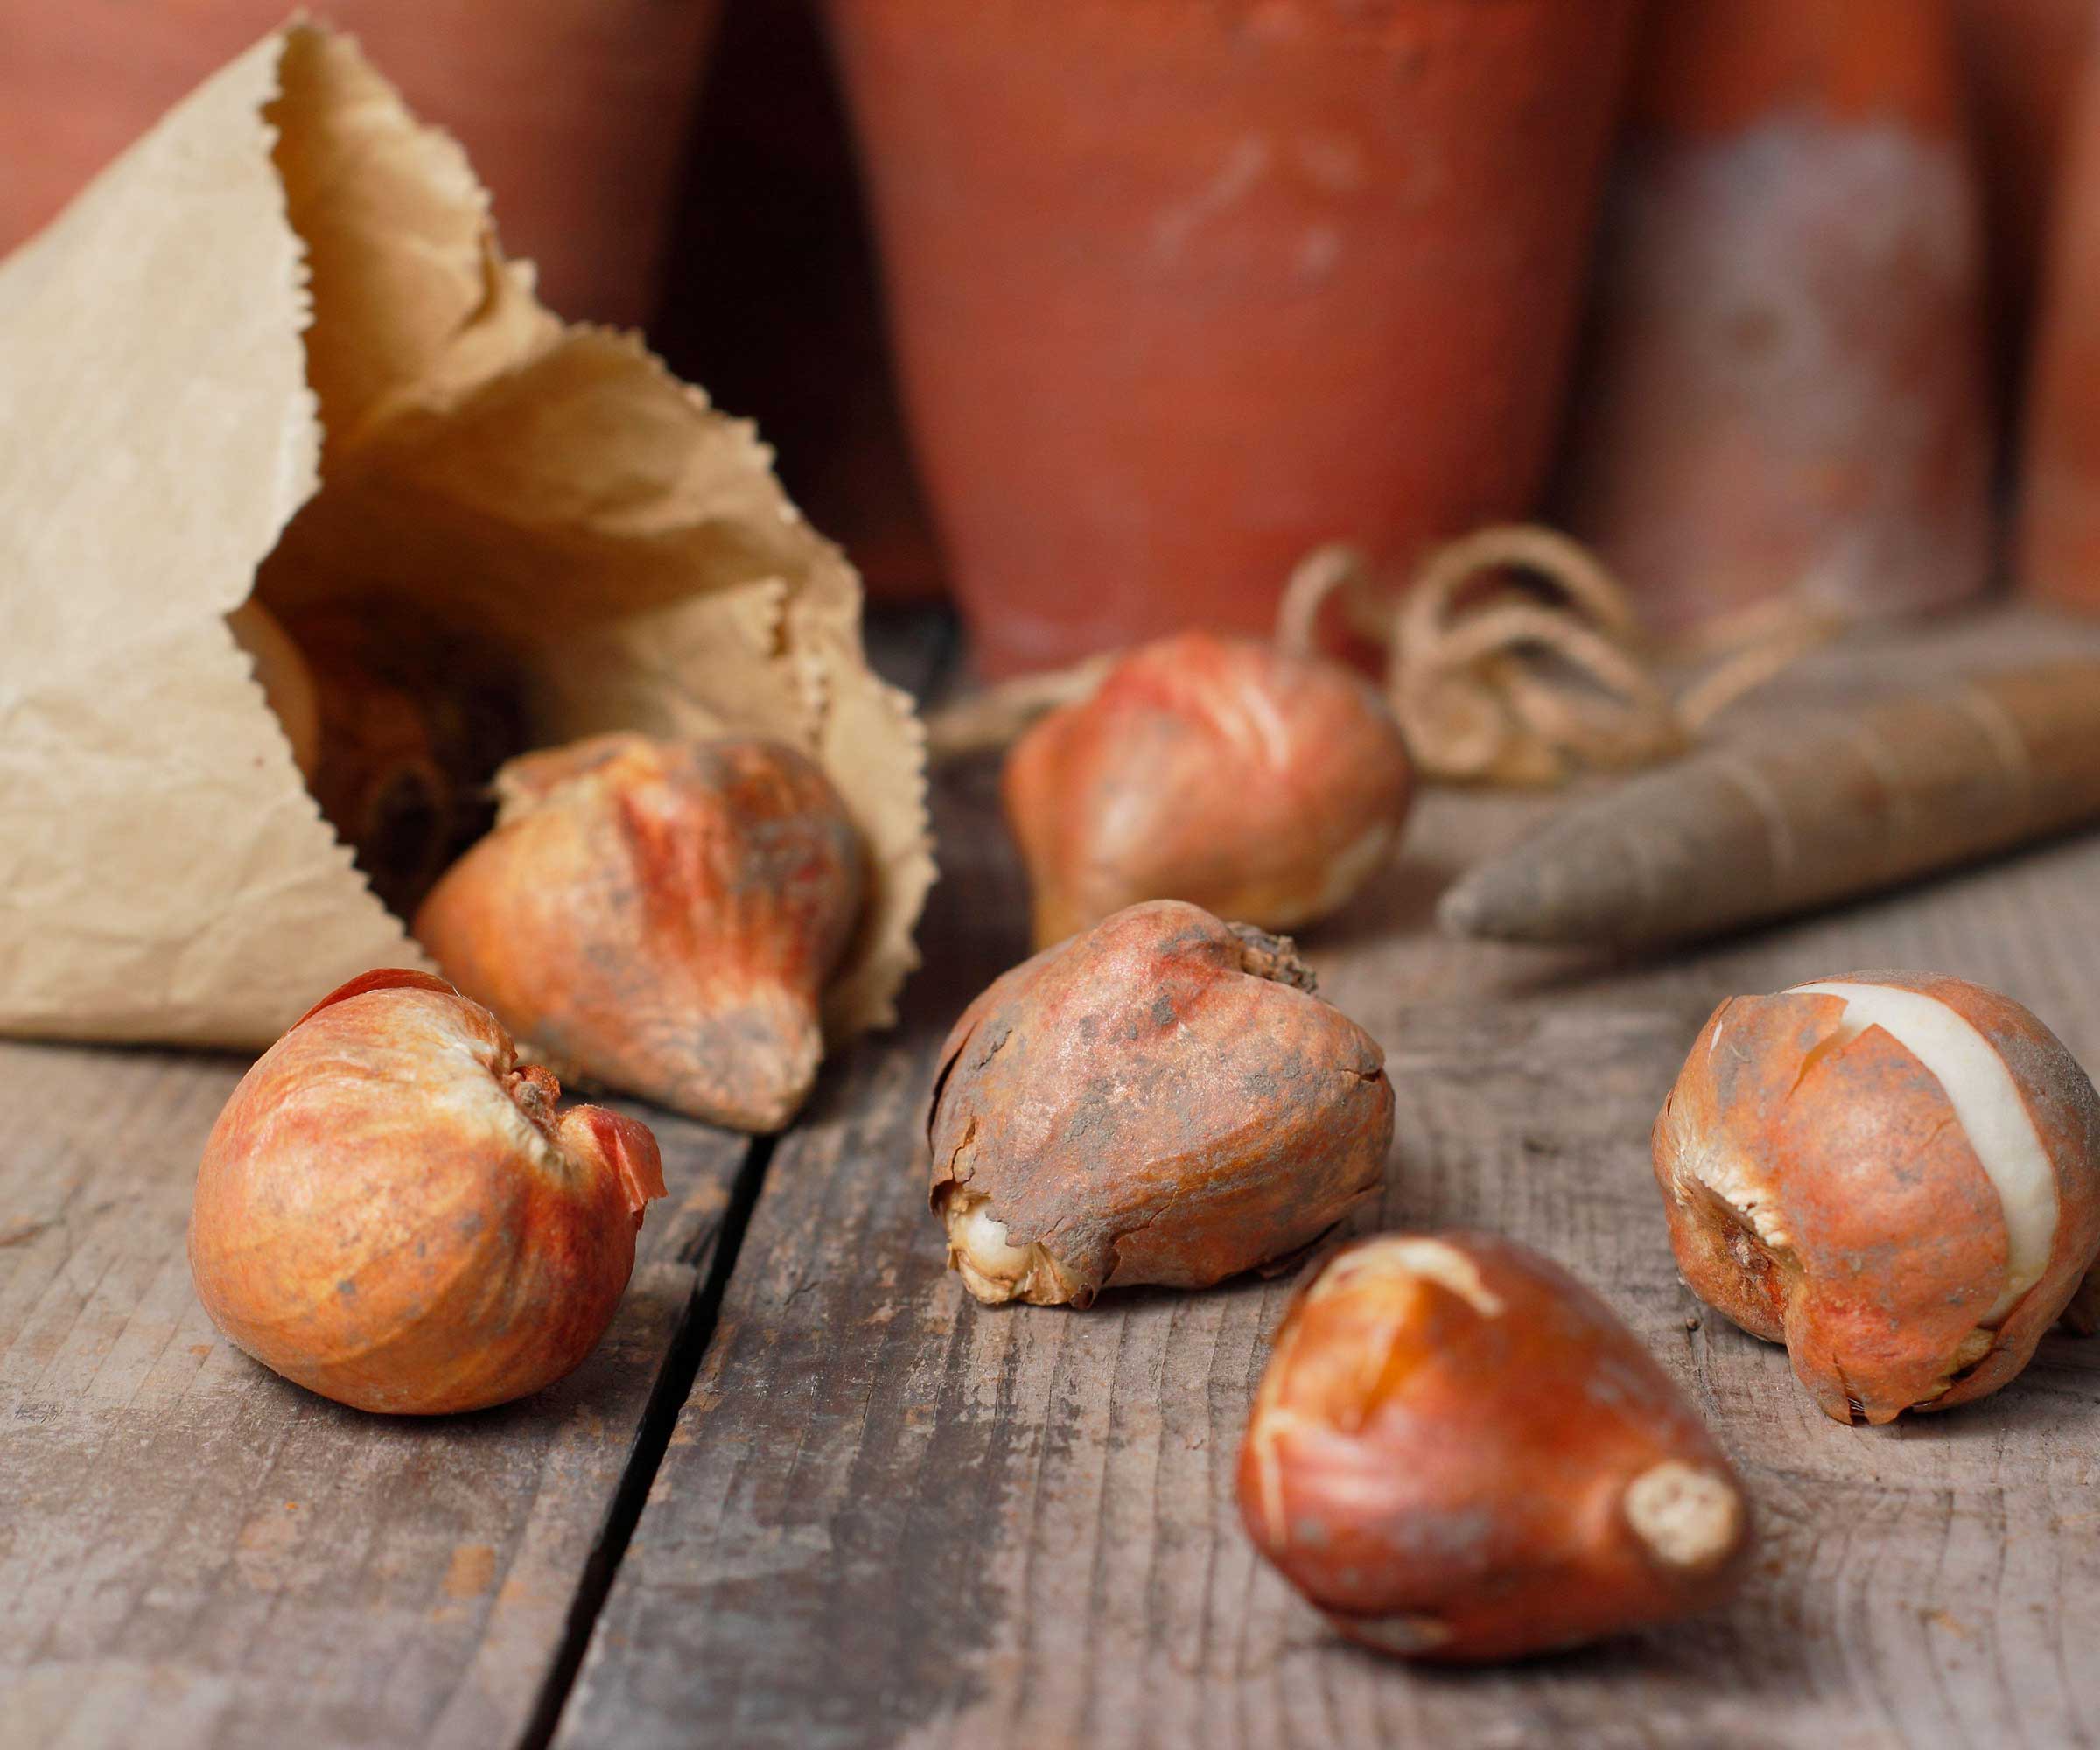
Tulip bulbs can be stored for up to 12 months out of the soil, as long as conditions are suitable. It's also worth noting that bulbs often come with a 'best before' date, so bear this in mind too.
Before planting, check that they are firm and plump to the touch – not withered and brittle or soft and squidgy. If it's either of the latter, then it's time to buy some replacements. If you're on the hunt for fresh bulbs, this bulk pack of tulip bulbs from Walmart is great value.
Can you leave tulip bulbs in pots?
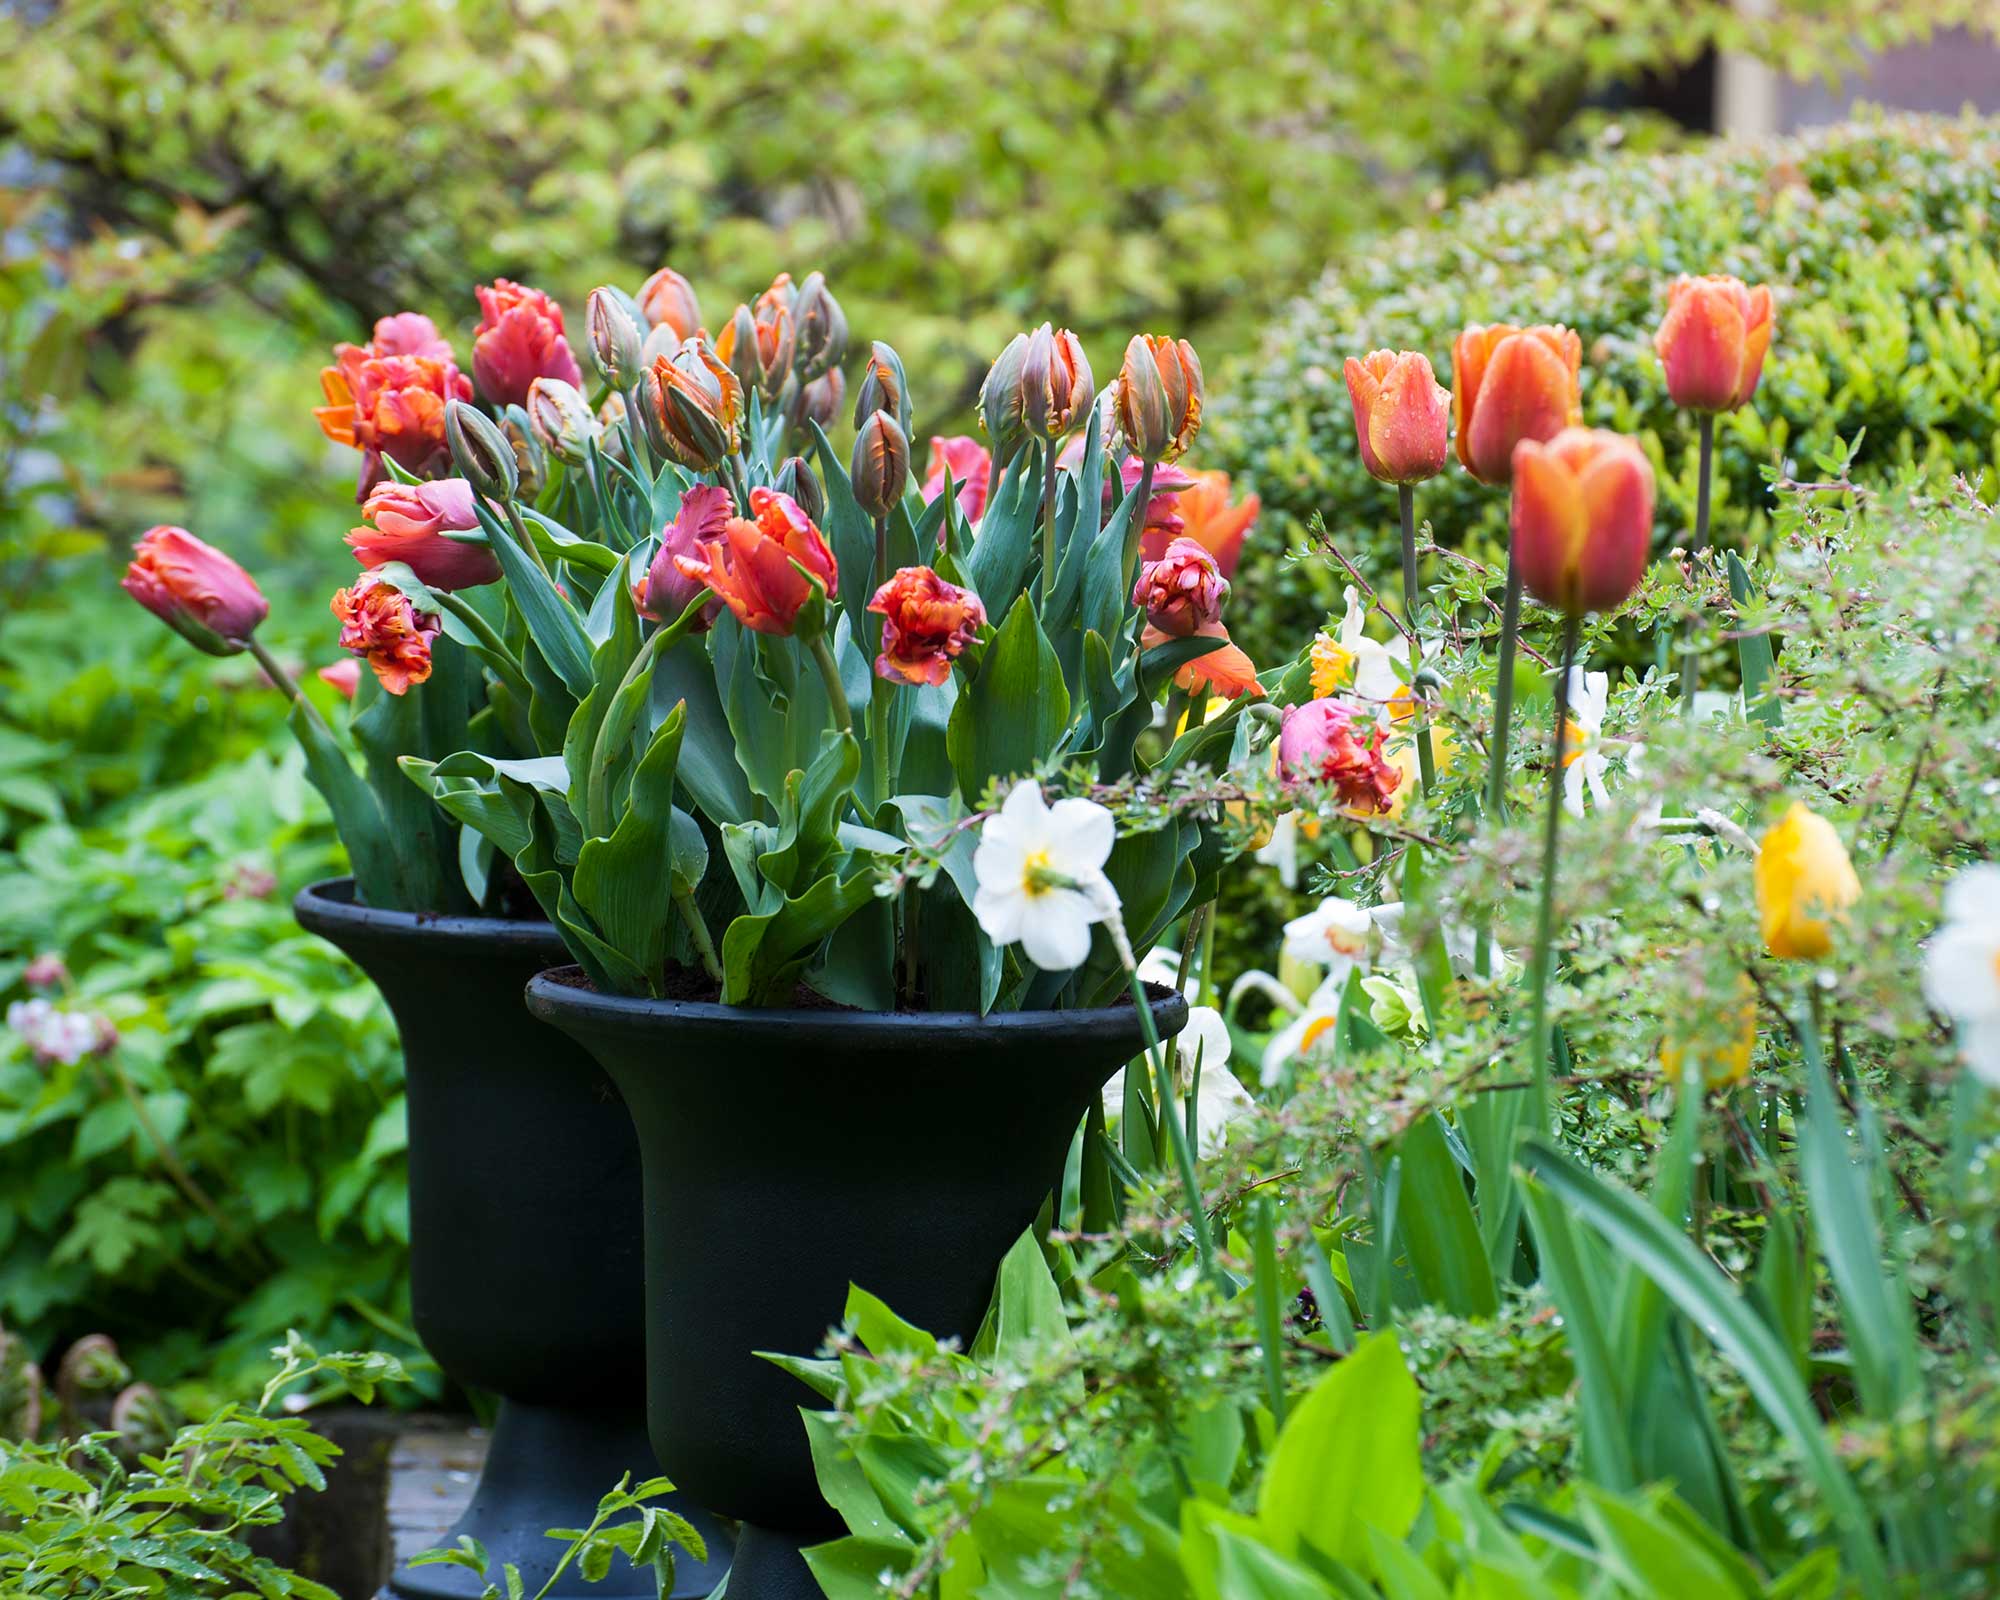
Tulips make a beautiful display in containers
From elaborate bulb lasagne ideas to simple window box displays, tulips are a brilliant addition to pots. But leaving them all year round is unlikely to result in a reoccurring show.
As they've had tougher growing conditions than bulbs grown straight in the ground, they are less likely to flower again. Many gardeners simply discard them once they've finished blooming, and buy new bulbs the following fall. However, there's no harm in trying your luck with lifting, storing, and replanting them for next year.
'As with many gardeners, I do tend to think of tulips as annuals. However, I will always lift and store any tulips planted in containers to see if I can get them to live on next year,' says Rachel Bull. 'I find it easier than when they are planted in the ground, as there is less digging to do, so it's worth it if you want to try for a second show the following year.'
FAQs
Can you leave tulip bulbs in the ground?
If digging up your tulip bulbs feels like a little too much work, there's no rule against leaving them be. But do be prepared for a less impressive show, which in most instances, is likely.
However, there are a few varieties of tulip that will generally re-flower even if left in the ground all year. Try dwarf species types such as Tulipa kaufmanniana, Tulipa fosteriana, and Tulipa greigii, and other ones that are suitable for naturalizing.
Do tulip bulbs naturalize?
Unlike snowdrops and daffodil bulbs, tulips aren't hugely renowned for their naturalizing abilities. But, some tulips are much better at it than others and are a lovely way to brighten up a lawn. These tend to be the Triumph and Darwin Hybrid types, as well as species tulips.
Help them on their way by planting them a little deeper than usual, ensuring growing conditions are good, leaving the foliage to die back naturally, and avoiding watering over them in summer.
After the first season, you can also try fertilizing the soil in autumn with a low-nitrogen feed. In spring, you can fertilize them again, this time with a high-nitrogen feed. You can learn more about fertilizing plants in our guide.
Making the most out of your flowers and plants is vital, to avoid large bills at the garden center the following year. If you love flowers in your yard, you might like to know how to keep zinnias blooming and what to do with hollyhocks after flowering, so they re-flower next year.
Sign up to the Homes & Gardens newsletter
Design expertise in your inbox – from inspiring decorating ideas and beautiful celebrity homes to practical gardening advice and shopping round-ups.

Holly started writing about gardening five years ago, and she is a regular contributor to Homes & Gardens. She has also written many gardening features for Woman & Home and Real Homes, too. She has previous experience as a professional gardener, where she helped to plant and maintain private gardens. Holly has also looked after allotment plots over the years and loves to grow her own flowers and veggies from seed. In her spare time, she enjoys visiting local gardens, botanical drawing, and tending to her ever-growing collection of houseplants.
-
 Zooey Deschanel and Jonathan Scott's breakfast nook is an innovative, effective use of kitchen space – it turns a 'dead area' into a cafe-style corner
Jonathan and Zooey have situated an eccentric yet elegant dining area in what may have been an otherwise underused corner
By Hannah Ziegler Published
-
 6 things you should never throw in the trash – and what to do for safe disposal instead
From batteries to space heaters, experts reveal what not to throw
By Andy van Terheyden Published