How to sow seeds indoors – 6 tried-and-tested steps for propagation success
We explore everything you need to know to expertly start seeds indoors and have healthy seedlings for your backyard
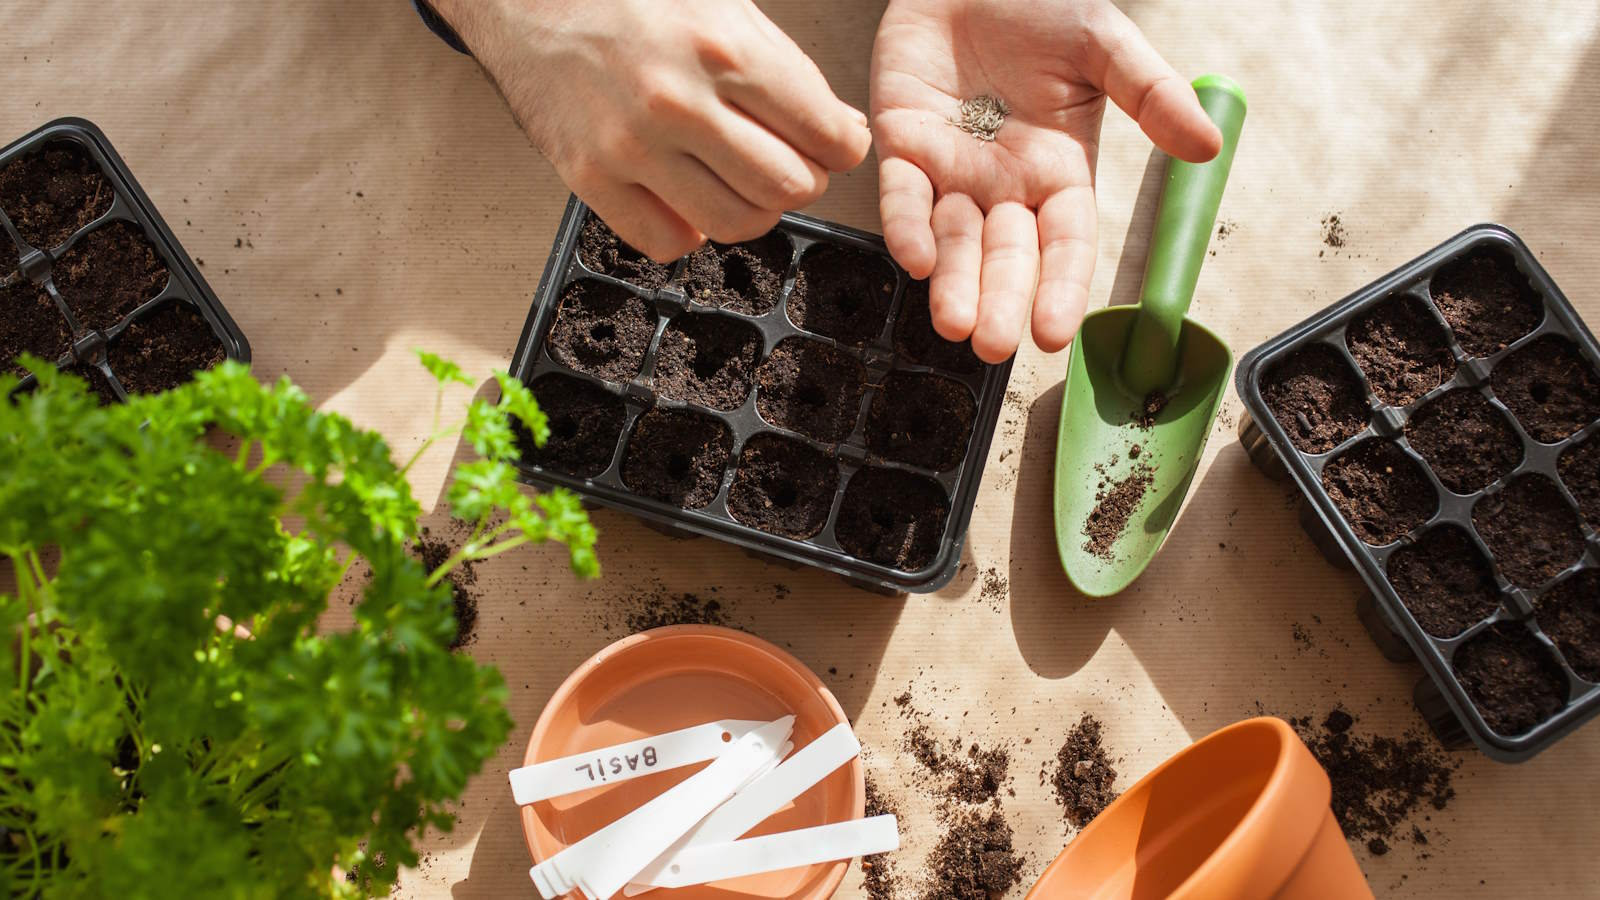
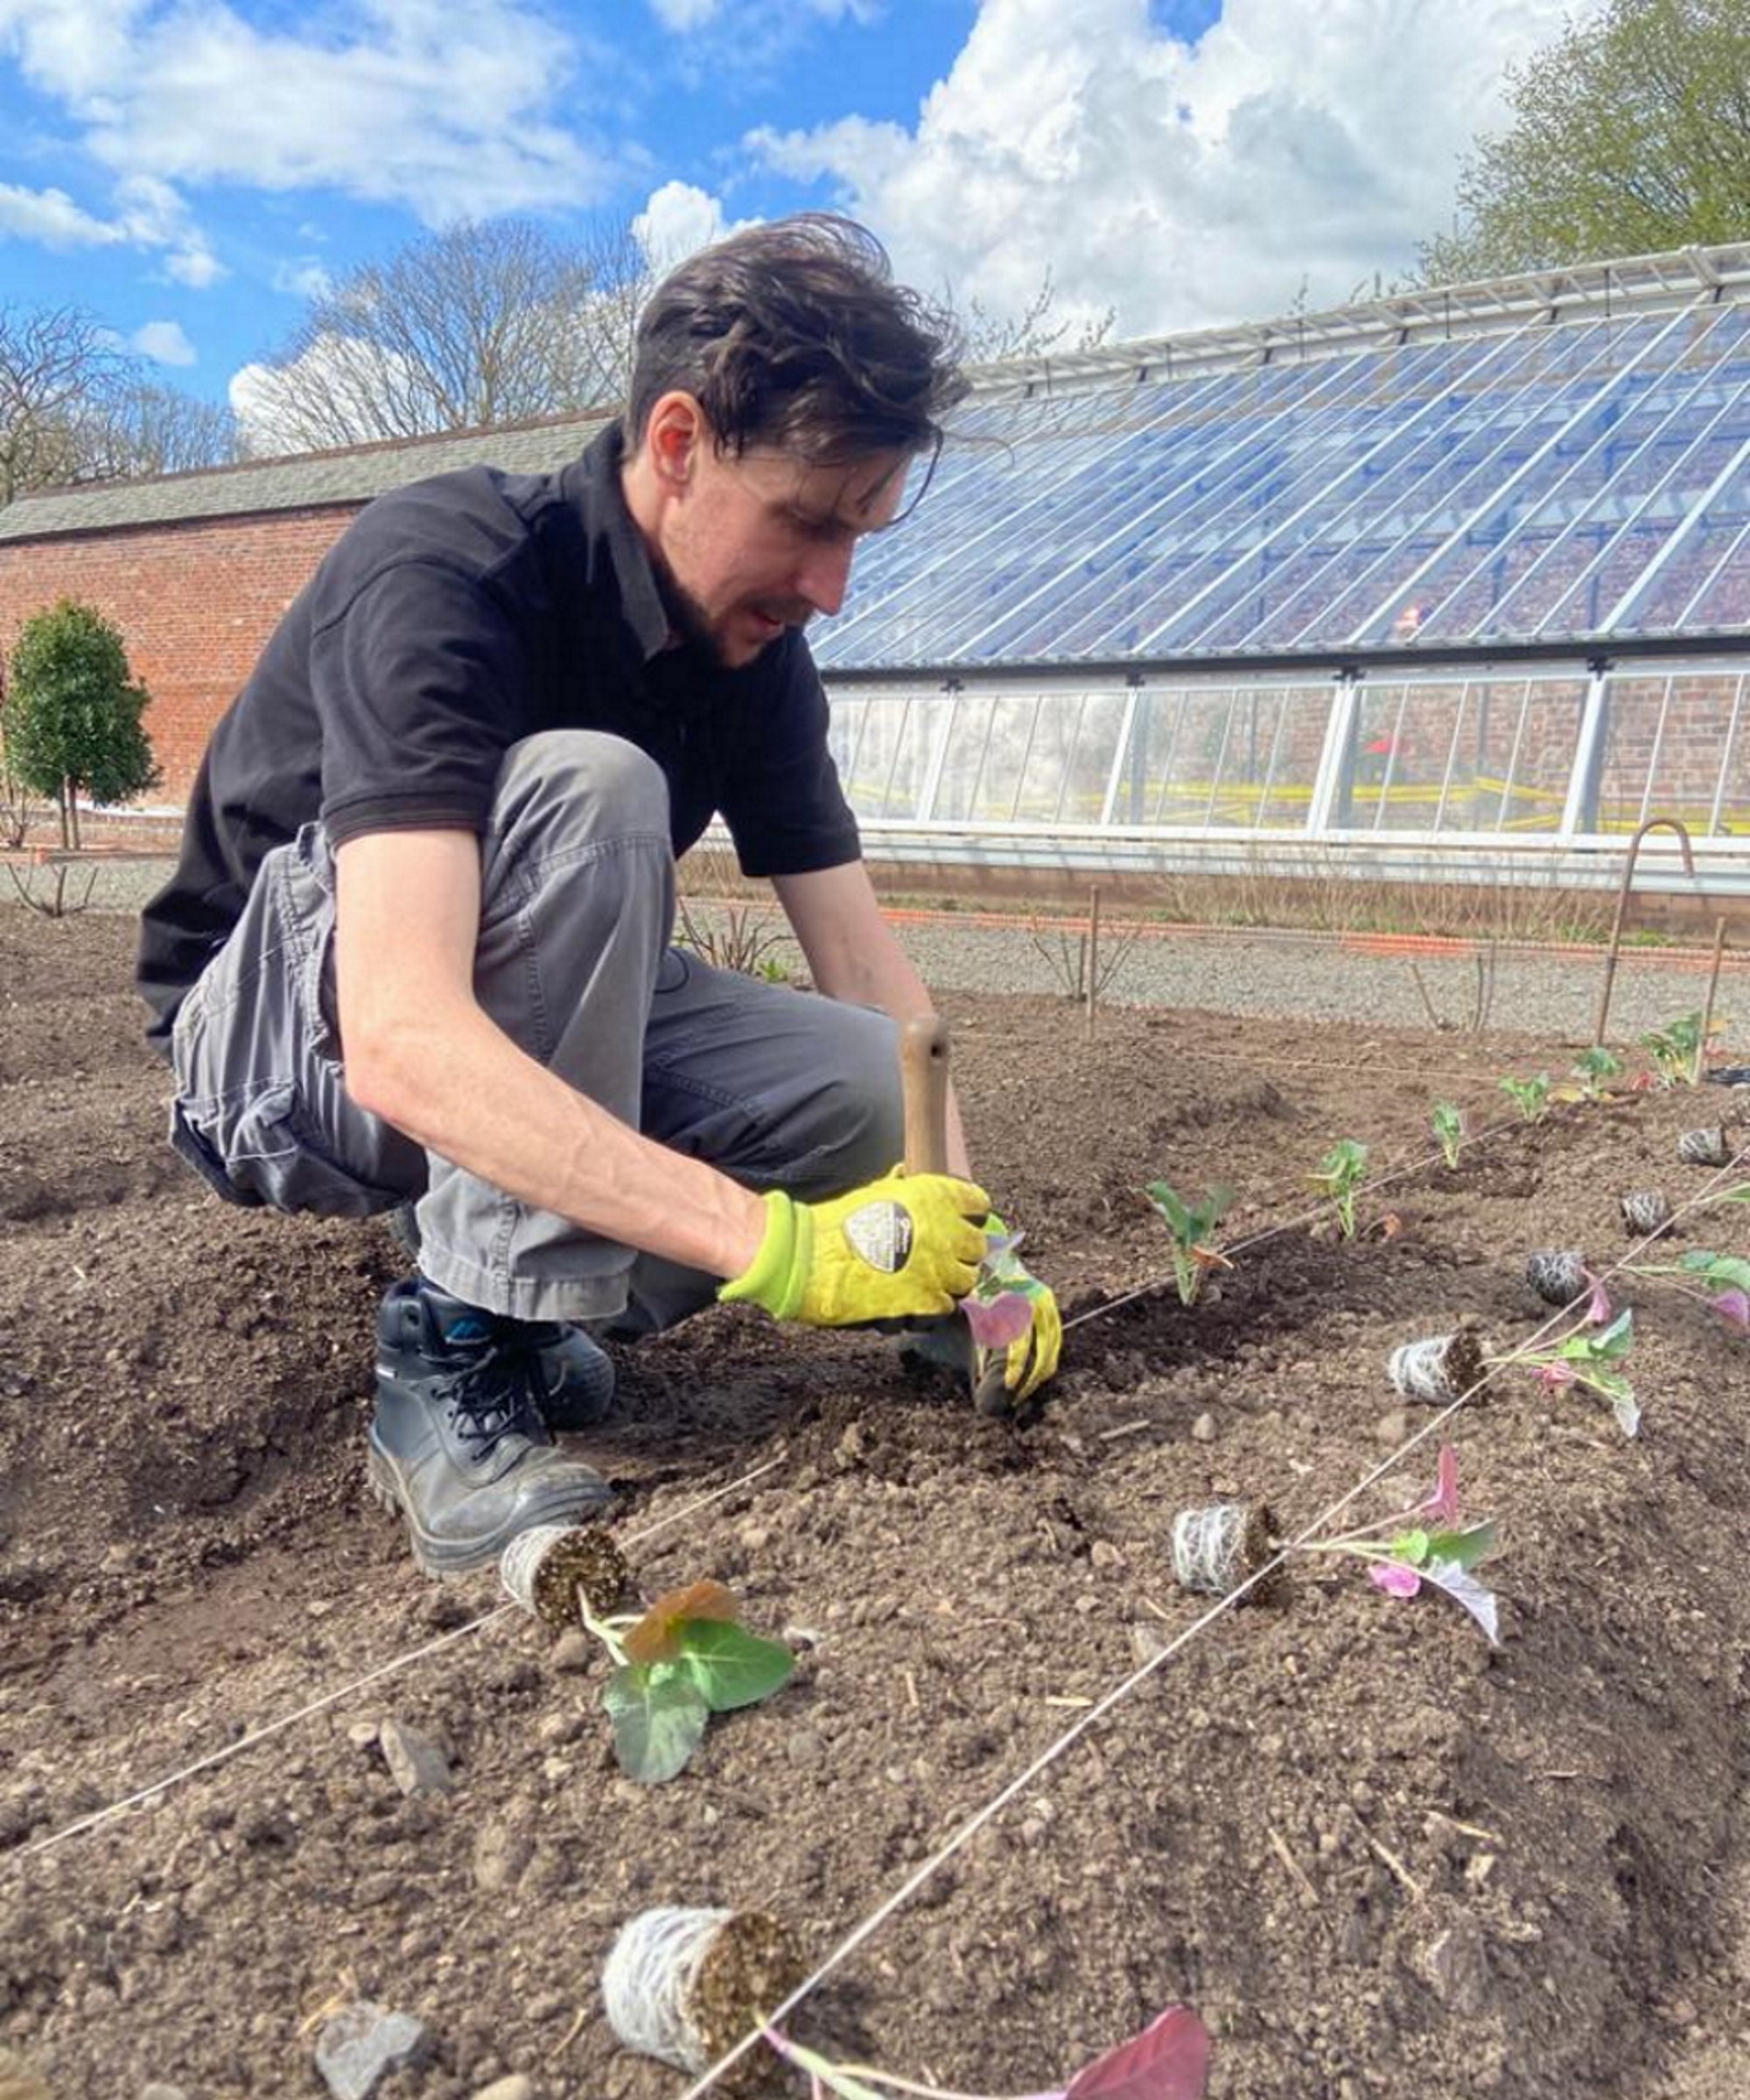
Sowing seeds, and growing your own plants from seed, is definitely one of the most enjoyable and rewarding tasks in gardening. As the temperatures start to rise in spring, so does the temptation to want to start sowing seeds.
Rather than waiting for the soil outside to warm up, sowing seeds indoors allows you to get ahead. You can germinate seeds of flowers, vegetables, and herbs in warm and protected environments. You’ll be rewarded with plants ready to go out into the backyard once the cold winter weather is behind you, meaning earlier flowers to enjoy and vegetables to harvest.
During my many years as a professional gardener, I organized and ran propagation regimes that saw large numbers of plants grown from seed every year. I grew plants for displays, flowers for cut flower gardens, and vegetables to fill kitchen gardens. So here are some important lessons I learnt about how to sow seeds indoors successfully to get happy and healthy plants.
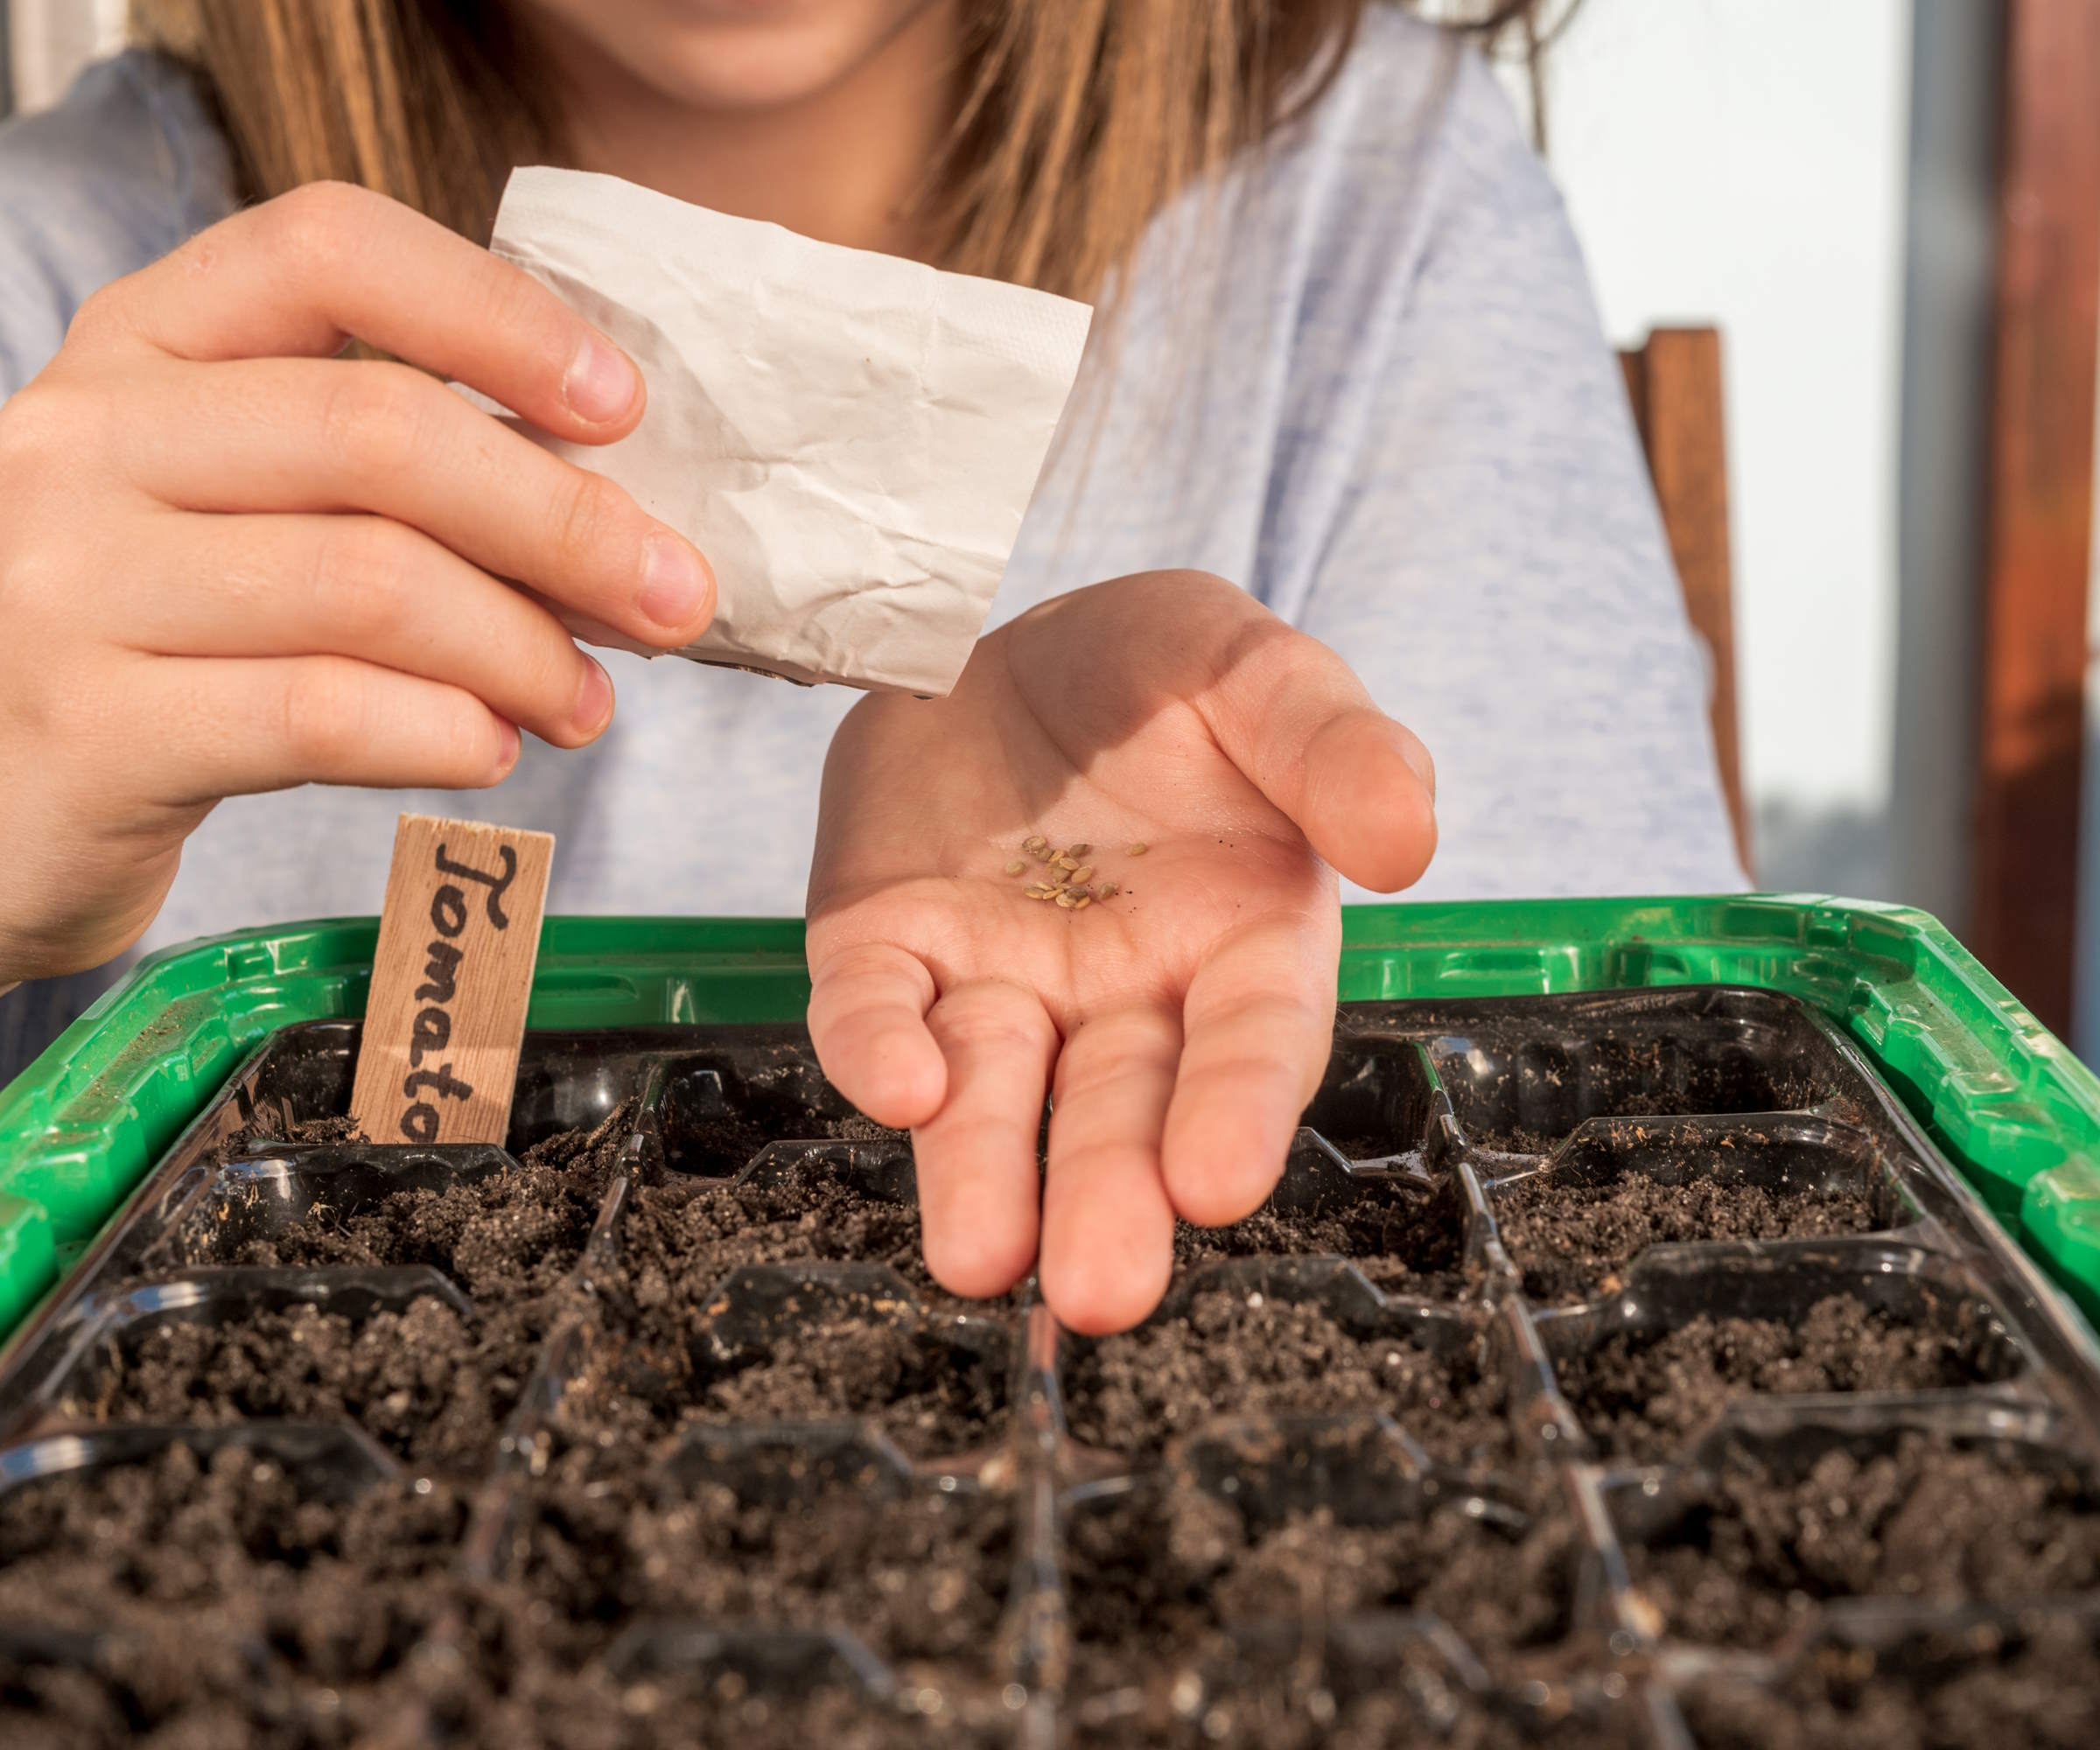
You can enjoy earlier harvests from sowing seeds indoors
When can I sow seeds indoors?
You can start sowing seeds indoors during winter, though the earlier you sow, the more equipment you will need to provide additional heat and light to avoid leggy seedlings. You can sow seeds indoors as early as January, but will need a heated propagator and LED grow lights for success.
When I was growing plants at work, I was fortunate to have a heated greenhouse and grow lights that meant I could do early sowings. Starting early was beneficial as there were many hundreds, if not thousands, of seeds sown and plants raised each year to go out into the gardens. A lot of home gardeners will hold off until February to start sowing – at the earliest –once the temperatures and light levels start to increase.
Essential kit for sowing seeds indoors
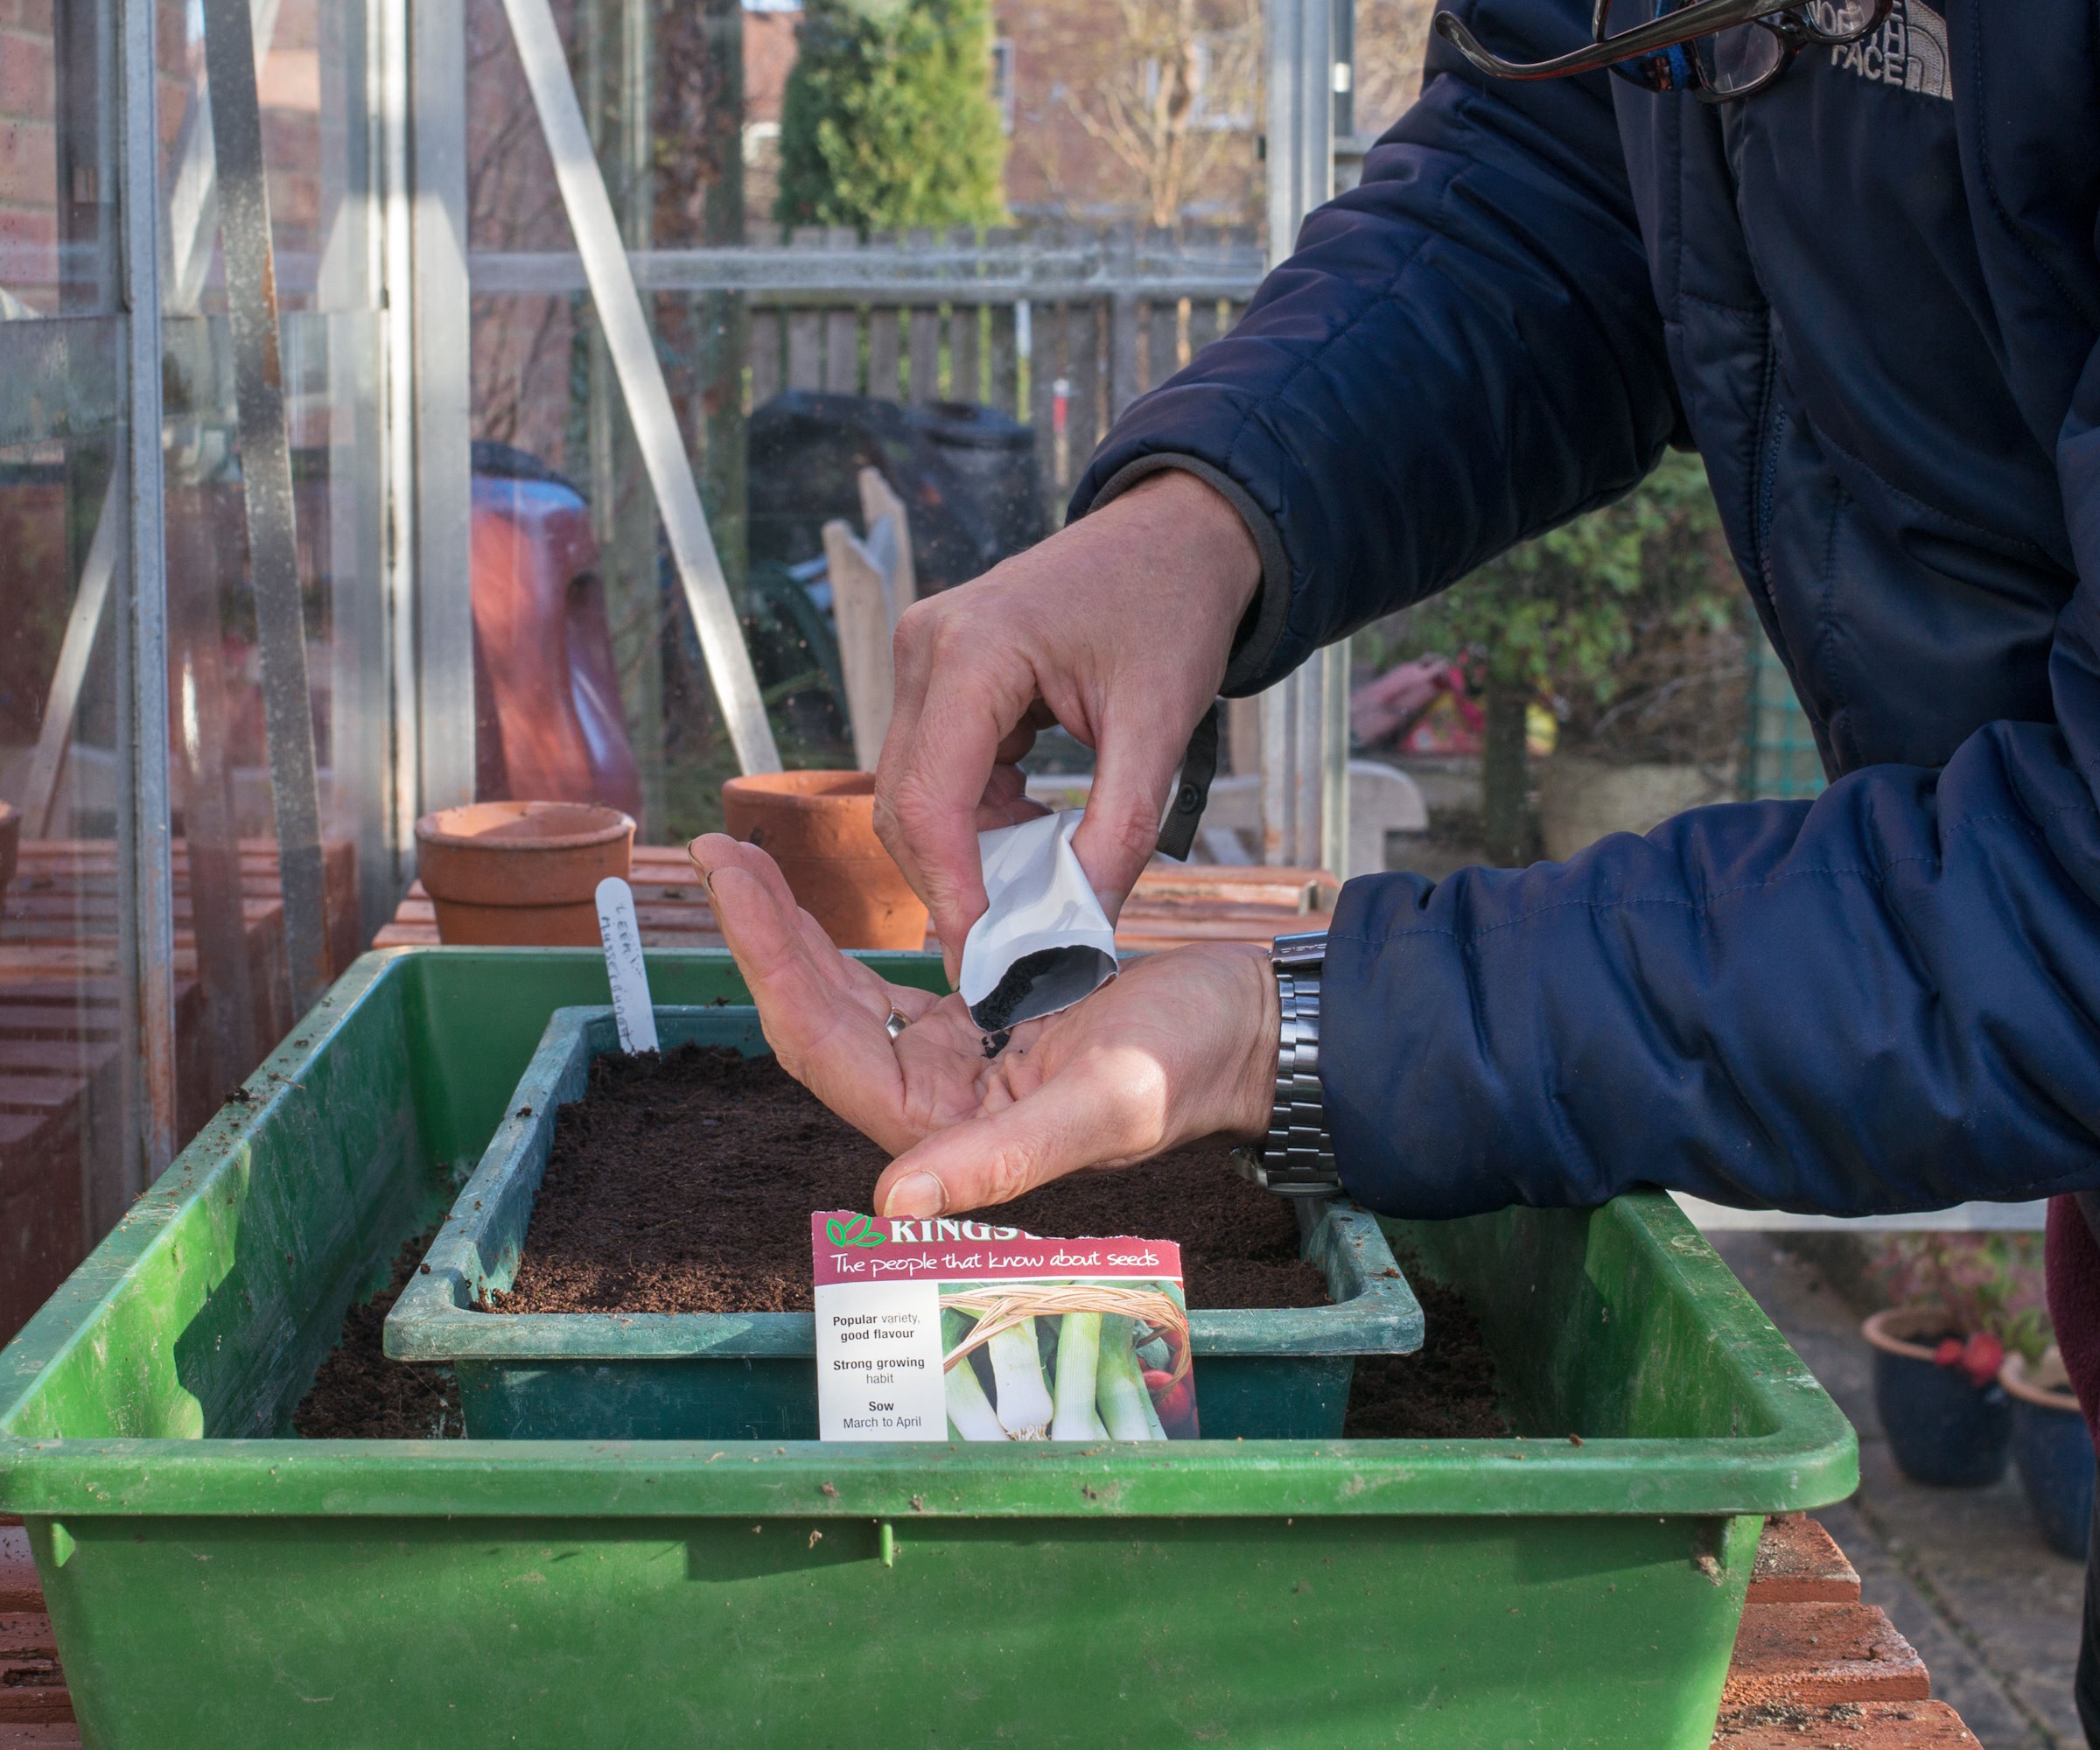
Sowing seeds indoors is a simple and enjoyable task
There is not a lot of kit required to be able to sow seeds indoors, you can have success with only a small amount of equipment. There are only a few essential items that you will need:
- Seed trays, module trays, or small pots to sow seeds into, and it is recommended to clean your pots before using them for propagation
- A quality potting soil to start your seeds in, such as a dedicated seed-starting mix, like this organic seed starting potting soil on Amazon
- Your chosen selection of seeds to sow
- Something to water your seeds with - it can be a tray to soak your seed trays in, a watering can with a fine rose, or a mister
- Labels - so you know what you sowed in the tray, and when
- A greenhouse or heated propagator - to provide warmth to aid with germination
On top of this there are some additional items that can be beneficial, but not absolutely essential. This includes:
- Humidity dome - a plastic lid to go on top of a seed tray or pot to help maintain moisture levels
- Heat mat - similar to a heated propagator, a heat mat can go underneath trays to provide constant warmth to help with germination
- Grow lights - to supplement the natural light levels and help develop healthy seedlings
- Vermiculite - a lightweight mineral material to either mix into your soil or cover seeds with
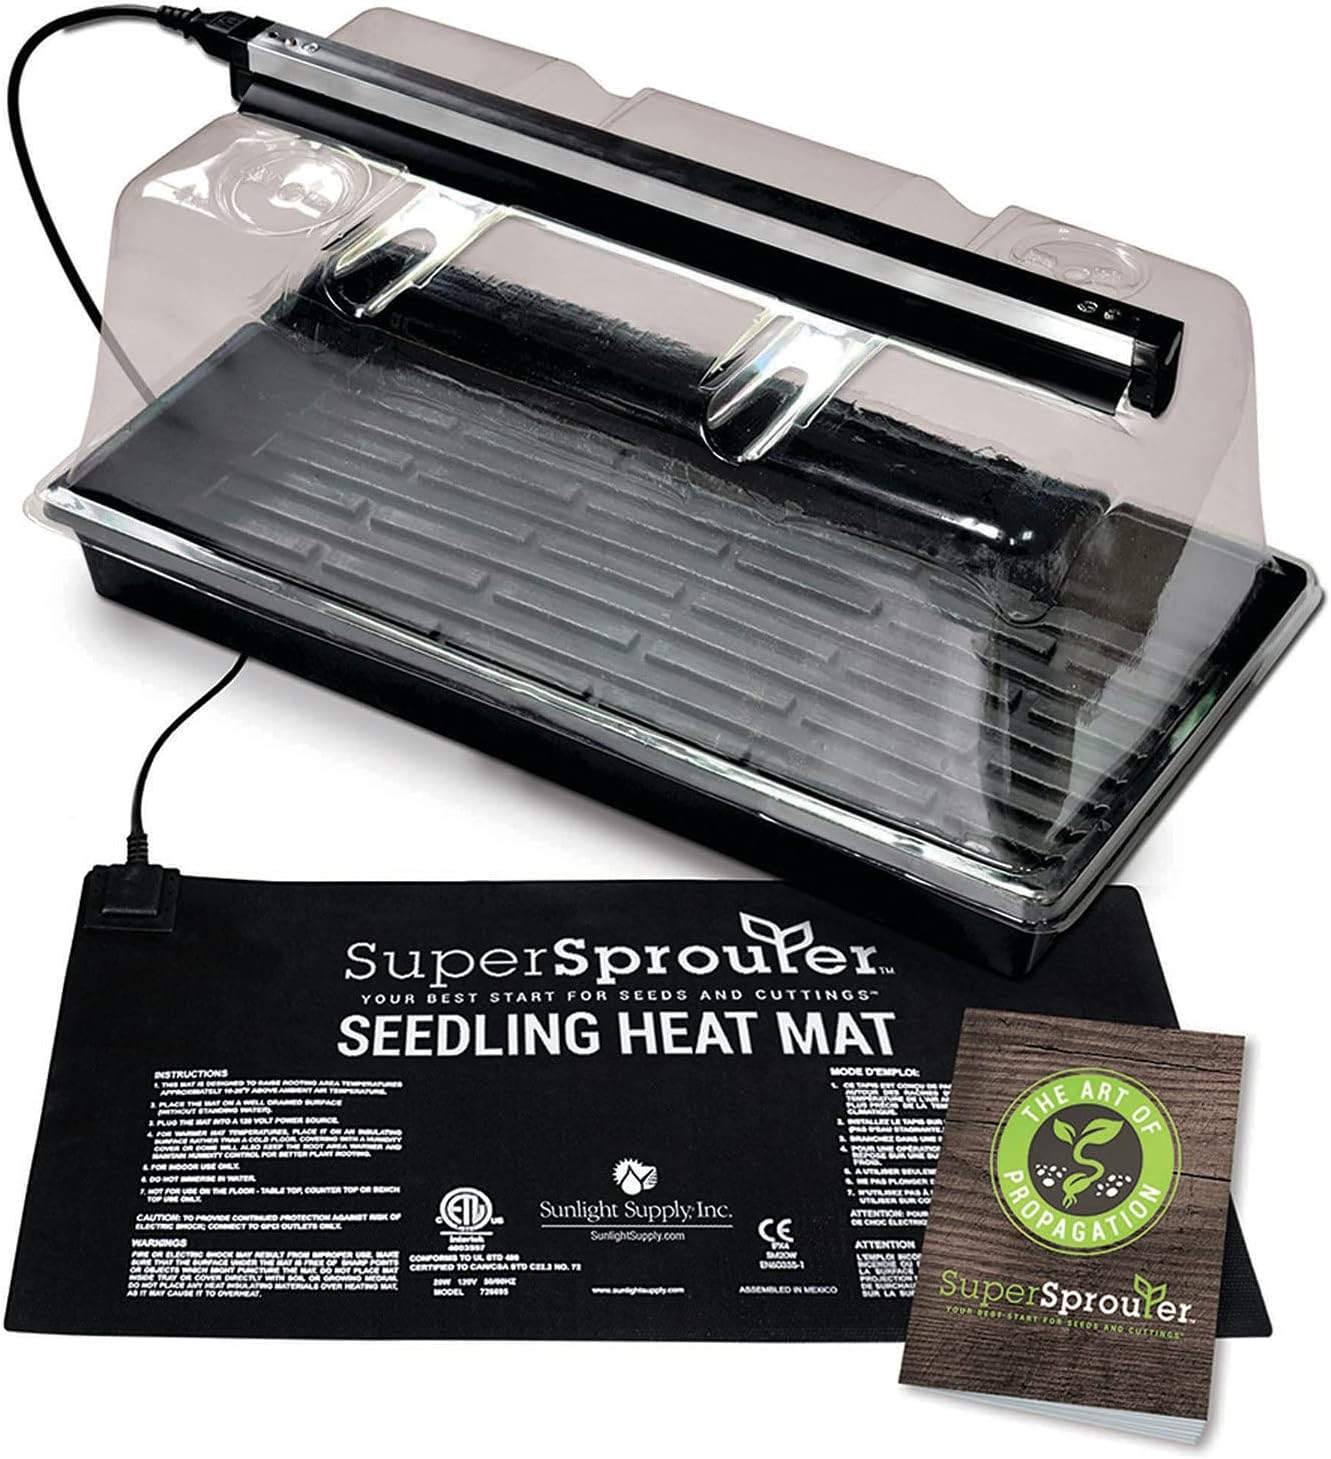
A complete home system for starting your seeds indoors, containing a vented humidity dome, fluorescent grow light, and heated mat, to provide a bright, warm, and protected environment for propagation
Trays vs modules vs pots – how to choose
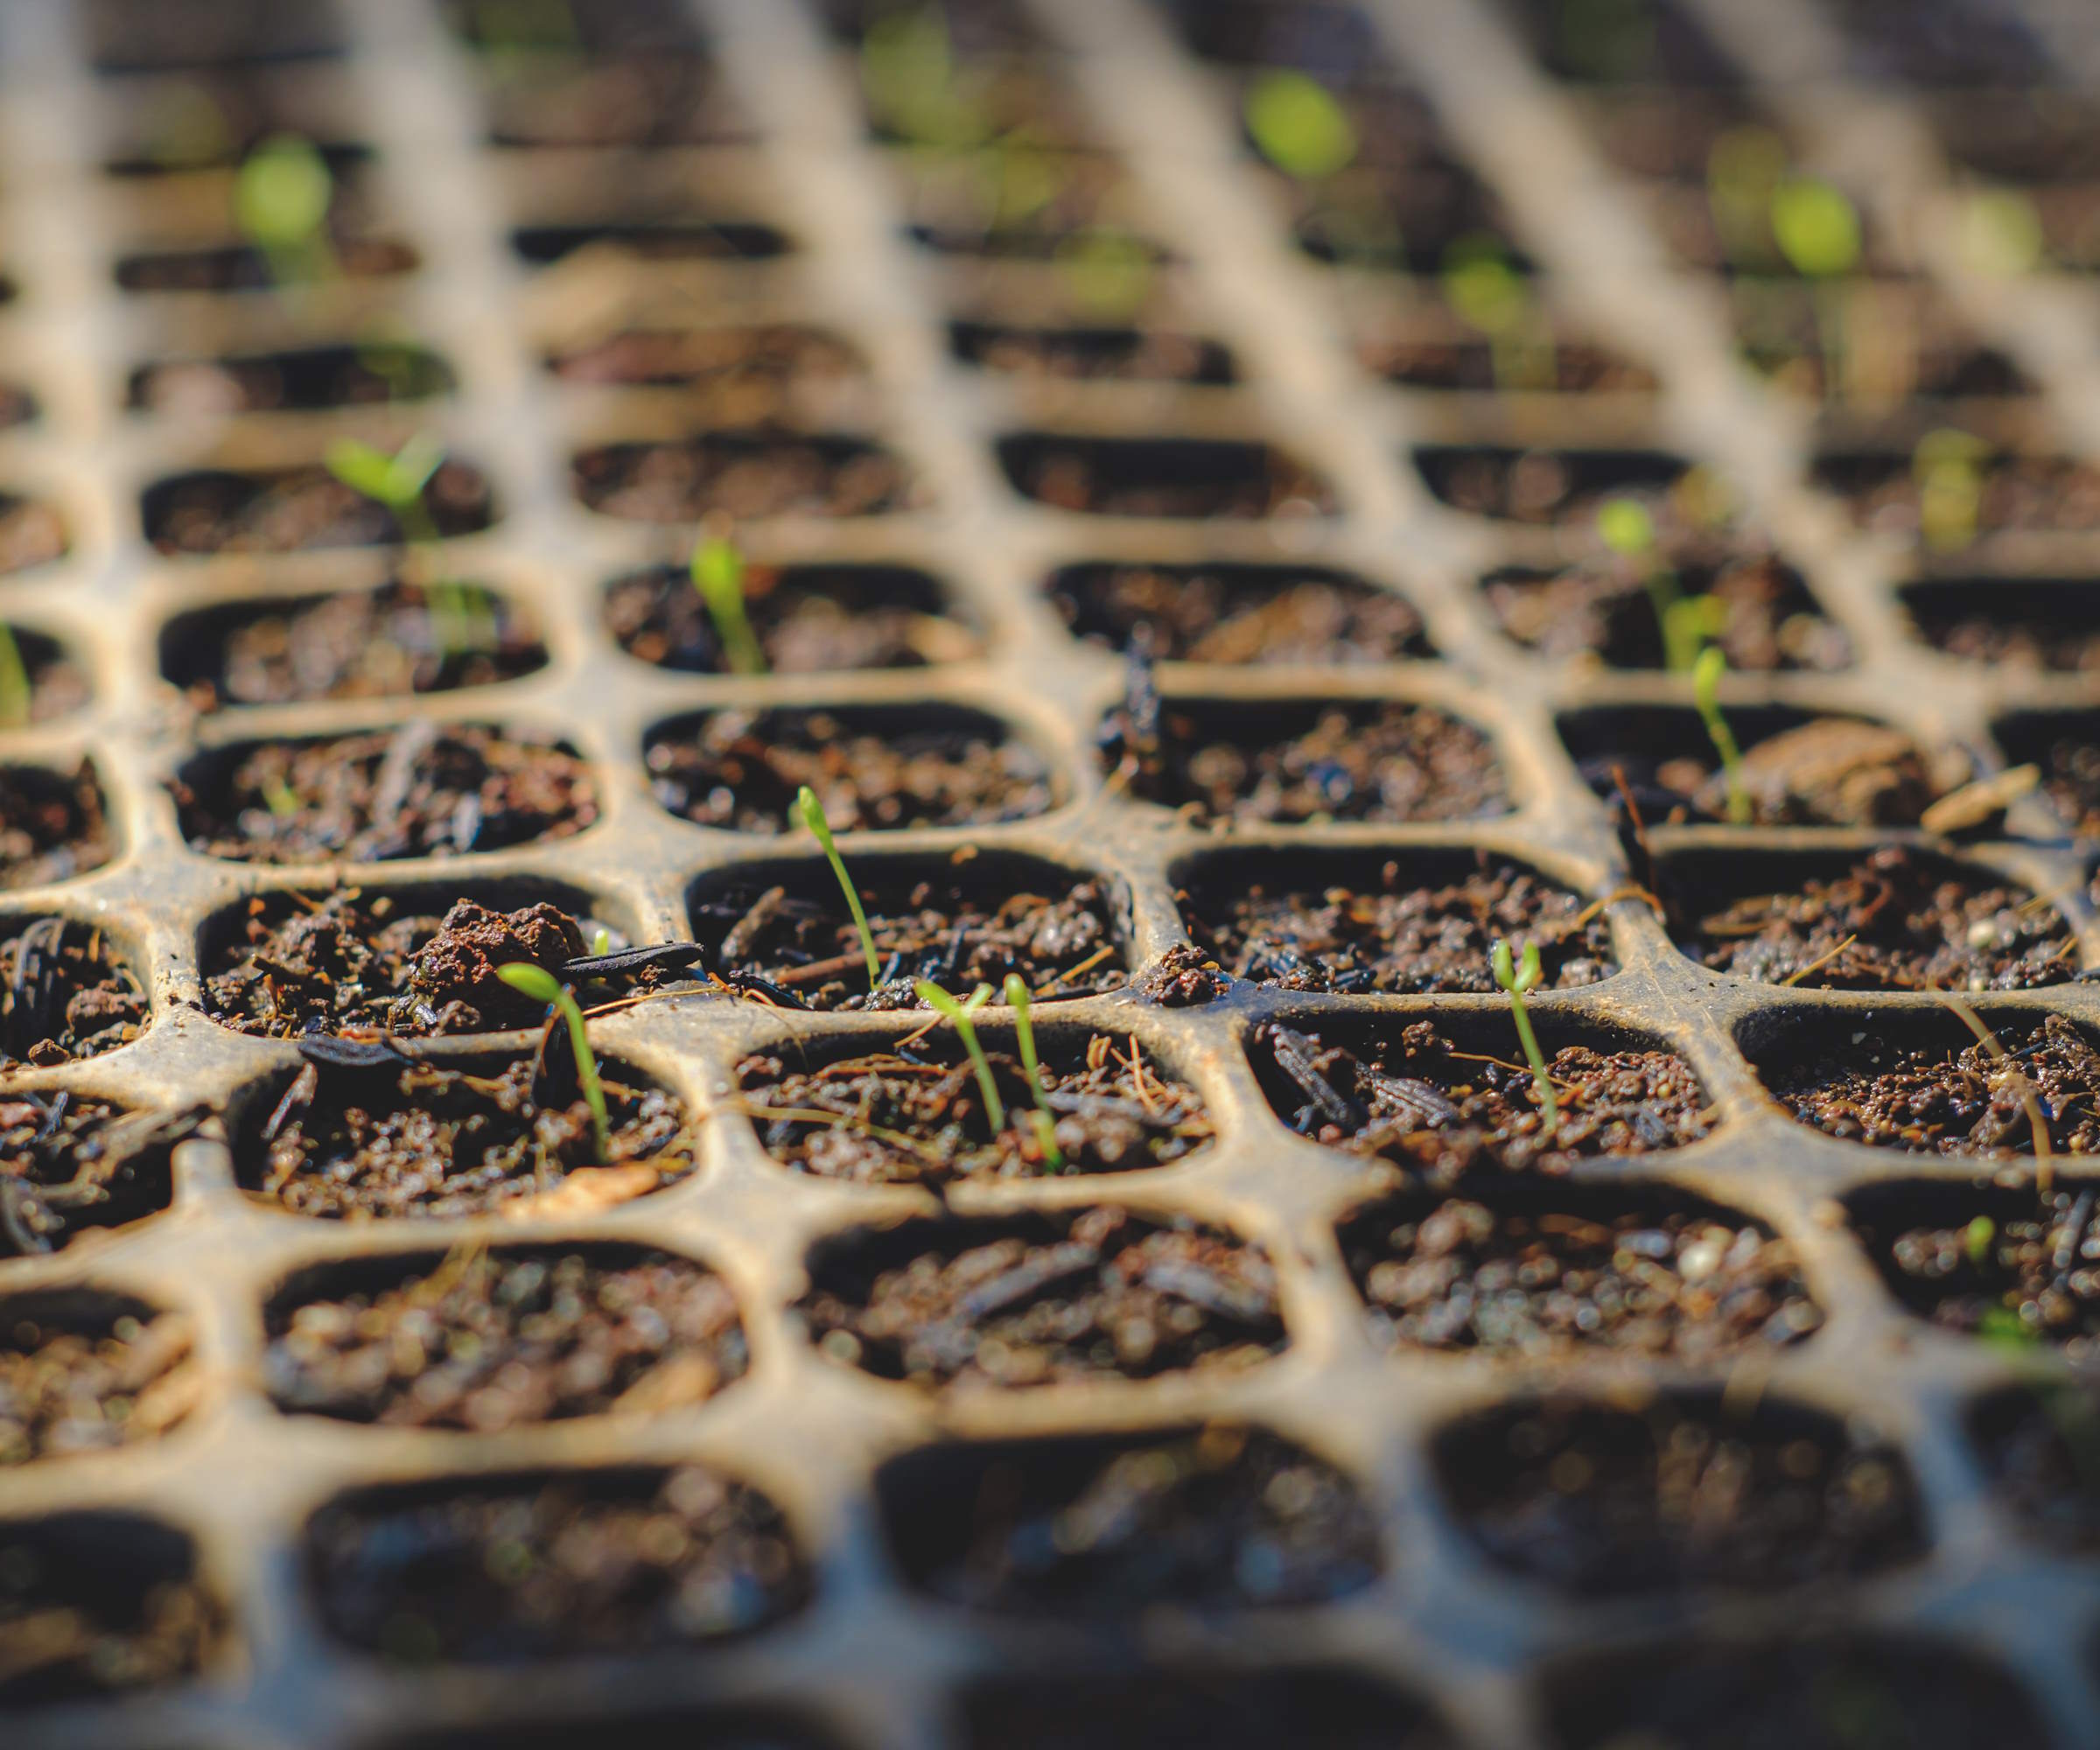
Module trays are a great choice for lots of vegetables
There are different types of trays or pots that can be used for sowing seeds indoors, namely seed trays, module trays, or small pots. We take a quick look at the pros and cons of each:
- Seed trays – made of firm plastic and suitable for sowing all types of flowers, vegetables, and herbs, seed trays have been a favorite for many years. They come in various sizes and can provide a consistent environment to grow lots of plants in one tray. A downside is that you do need to prick out and pot up the seedlings, which can mean lots of time and extra pots and compost down the line.
- Module trays – a tray that has lots of compartments to sow plants into. Module trays can come in many different sizes, both in terms of the width and depth of each cell - this makes them suitable for lots of different plants. One good example for windowsill propagation is these 12-cell trays complete with humidity domes, available at Amazon. The advantage to modules is not having to prick out and you can transplant seedlings directly from the tray into the garden. Using module trays does require you being well organized when it comes to timings, to avoid the plants getting rootbound in the cell, and vigilant as seedlings can quickly exhaust up all the moisture and nutrients in the module.
- Small pots – individual pots can be used for plants that have the largest seeds, including, for example, when growing pumpkins or fava beans for a vegetable garden. The pots allow lots of room for the seeds to germinate and grow, but do require more compost and more space than using trays.
You could even try to make a seed tray alternative from household items.
How to start growing seeds indoors – 6 steps to success
Once you have got your seeds and all the equipment you need, now comes the fun part of actually sowing the seeds. Simply follow the basic steps outlined below and you will be on the right road to success:
1. Prepare and fill your trays or pots
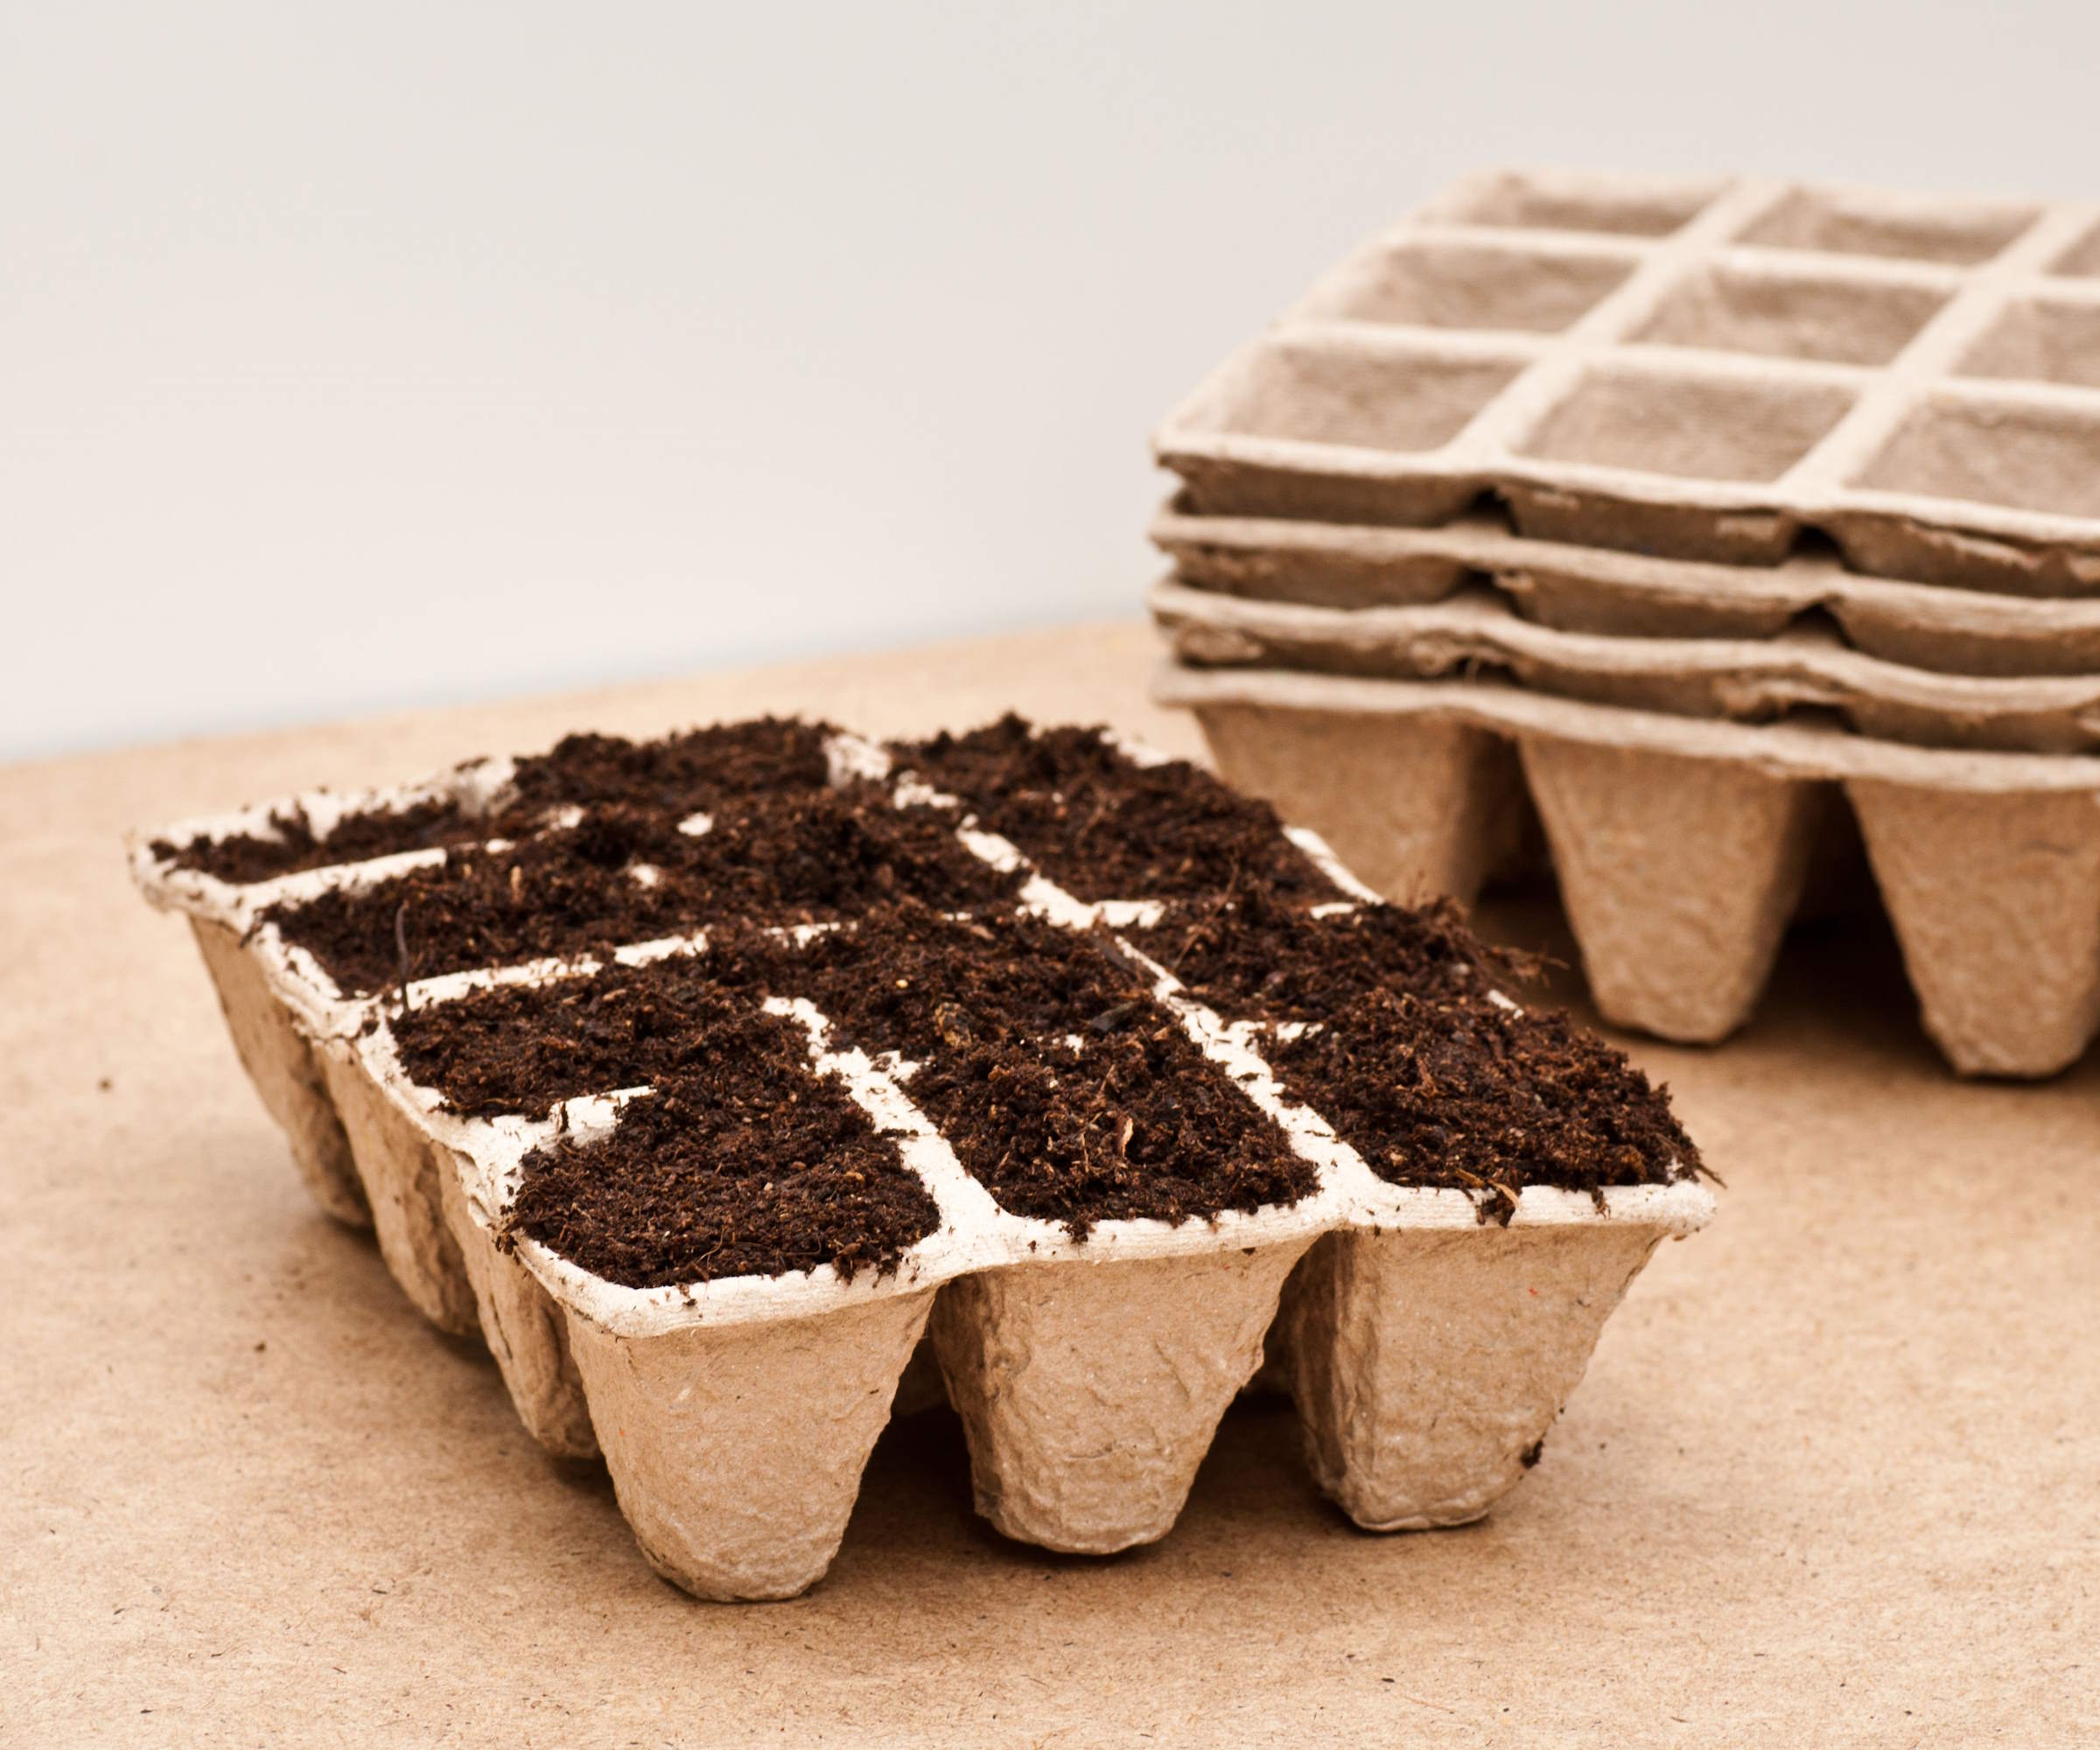
Trays for sowing seeds can come in biodegradable materials
Fill your tray or pot with your chosen growing medium. Loosely fill the vessel with the compost and tap it on the surface, so that you don’t have any air pockets in the soil. You can gently firm the soil, but refrain from heavily pressing down the compost, as that is a common seed sowing mistake that can create a dense soil. Do not fill the tray or pot all the way to top, as you do want to leave some space to cover the seeds if required. It is beneficial to moisten the soil gently prior to sowing and allow it to drain fully.
2. Check the packet
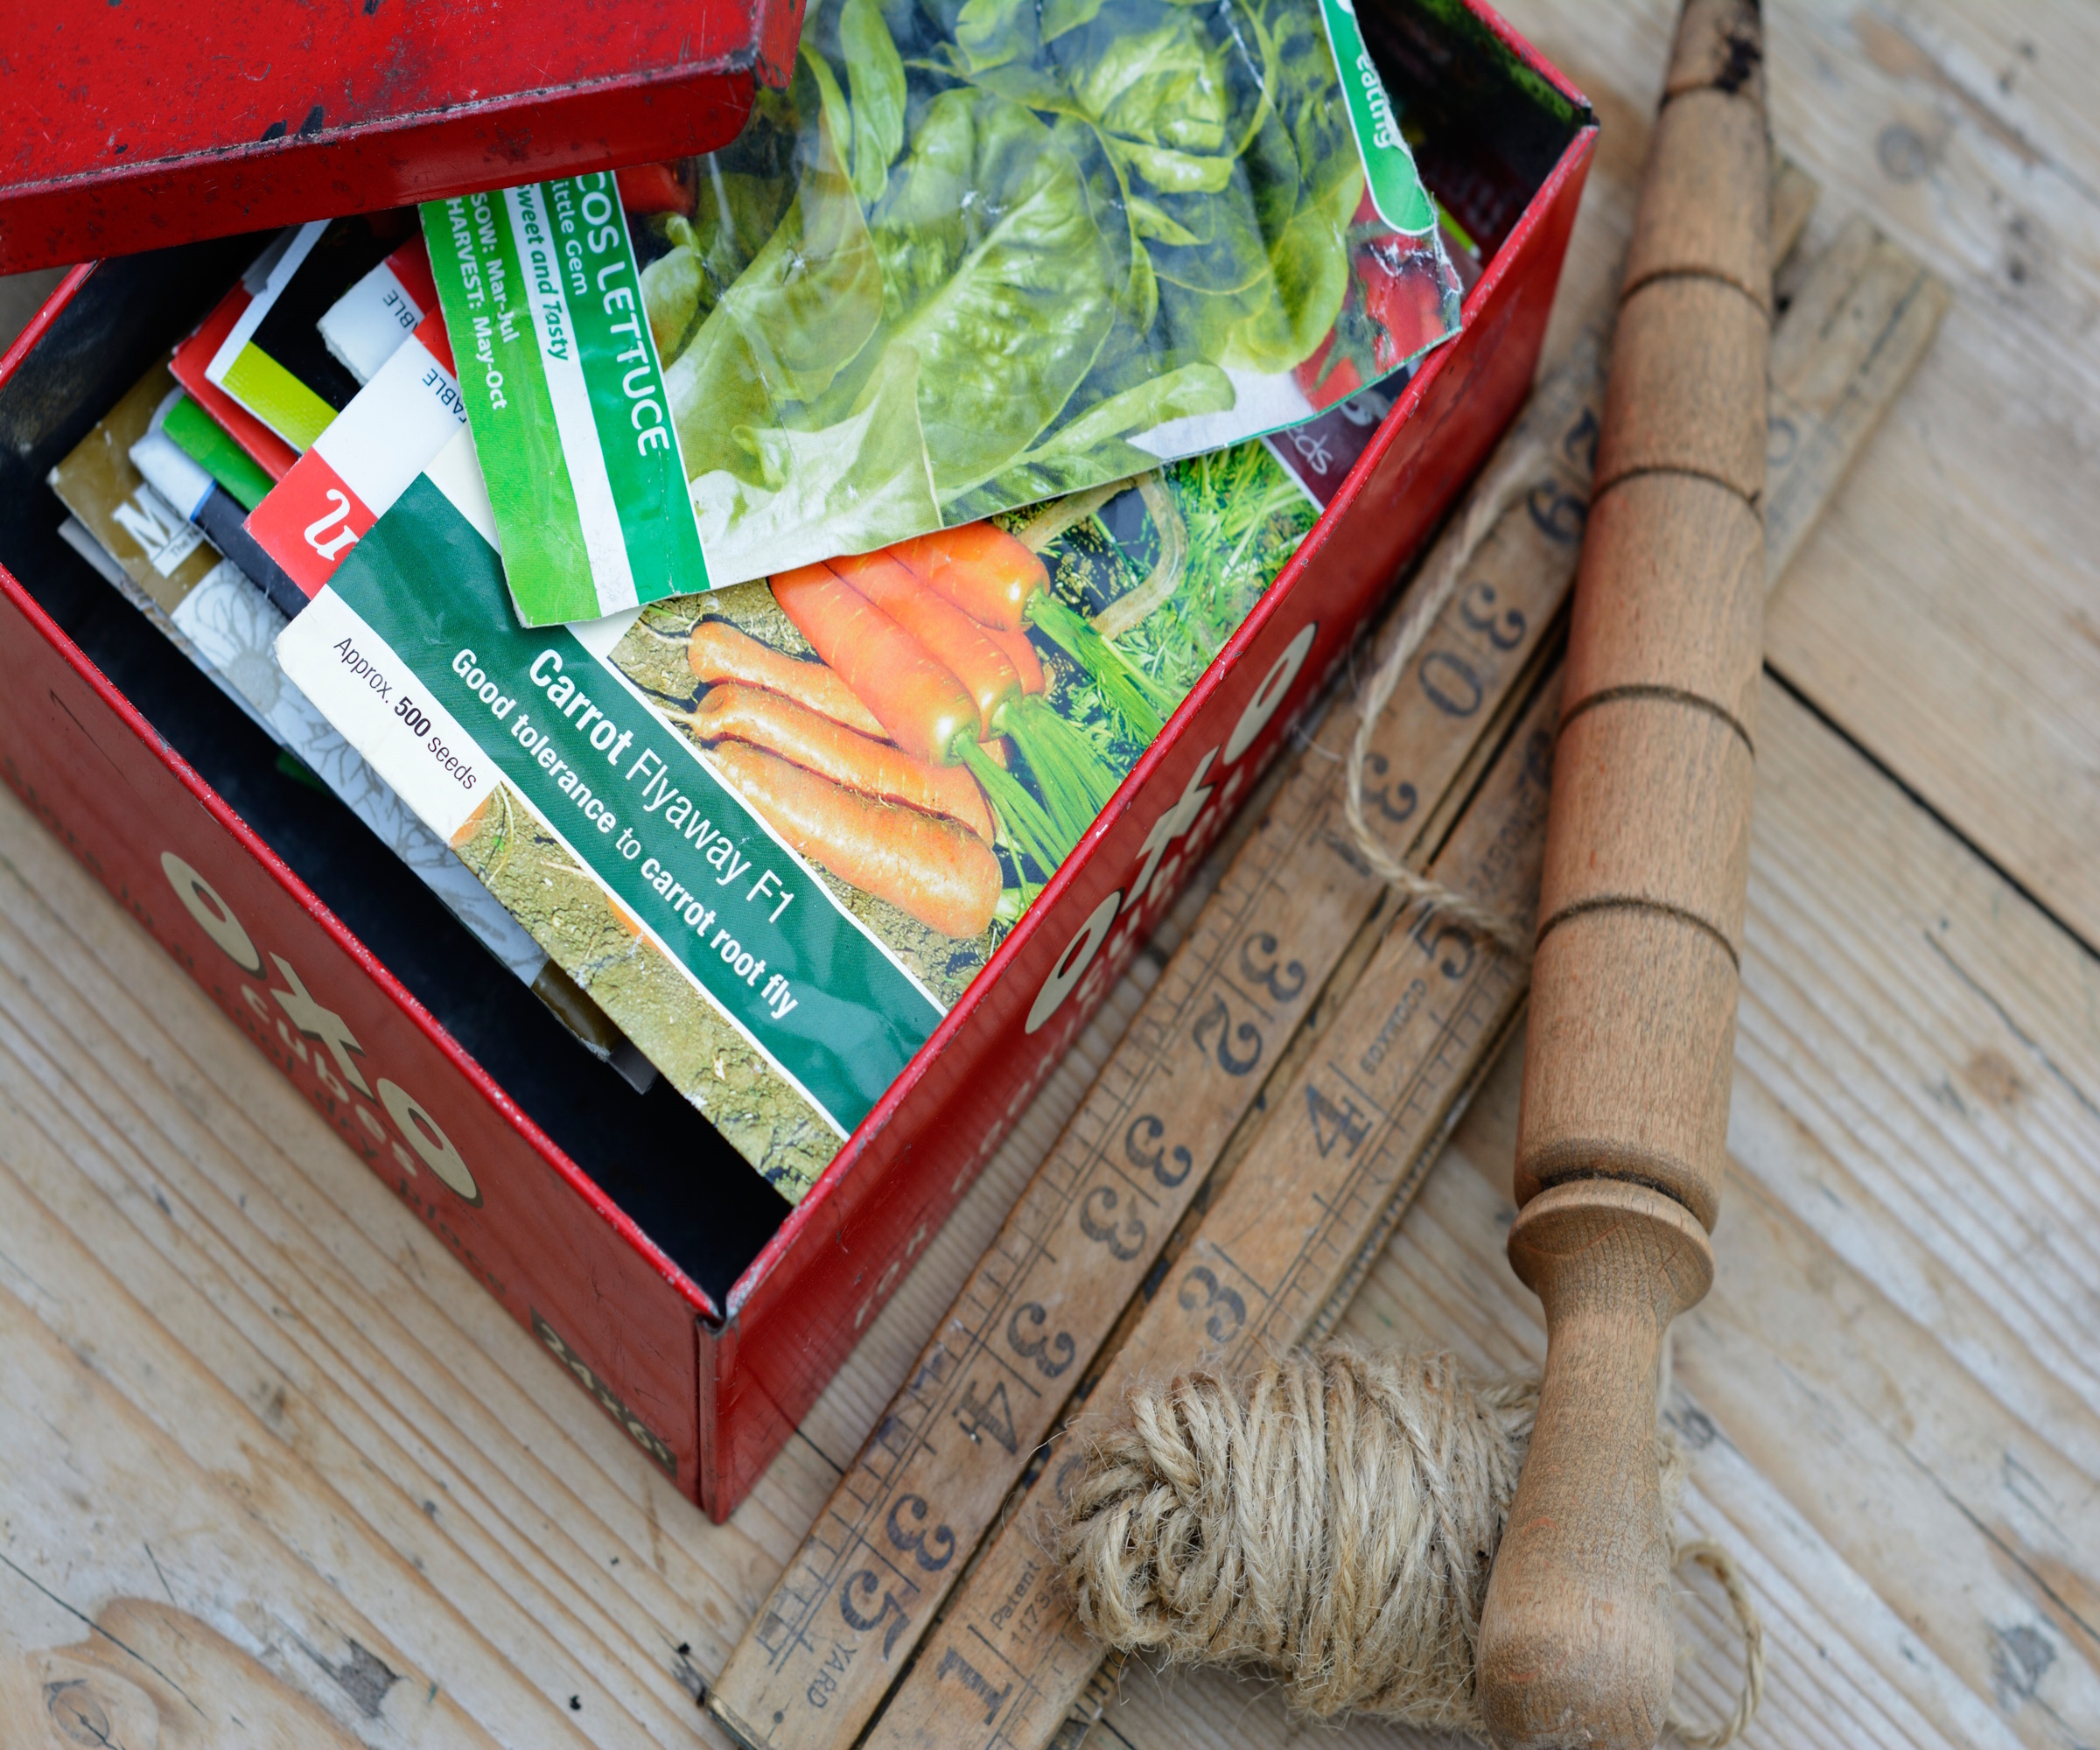
Throw away expired seed packets, but old seeds can be used if they are in date
It might sound like basic information, but always refer to the seed packet itself. The packet will tell you when to sow and also how deep to sow the seed. Not all seeds have the same requirements and you need to understand the intricacies of each type. Some will want to be planted deeply, for example, while some want to be planted just under the surface and some seeds want to be on the surface and not covered at all. So check the requirements before starting to sow.
3. Sow the seeds
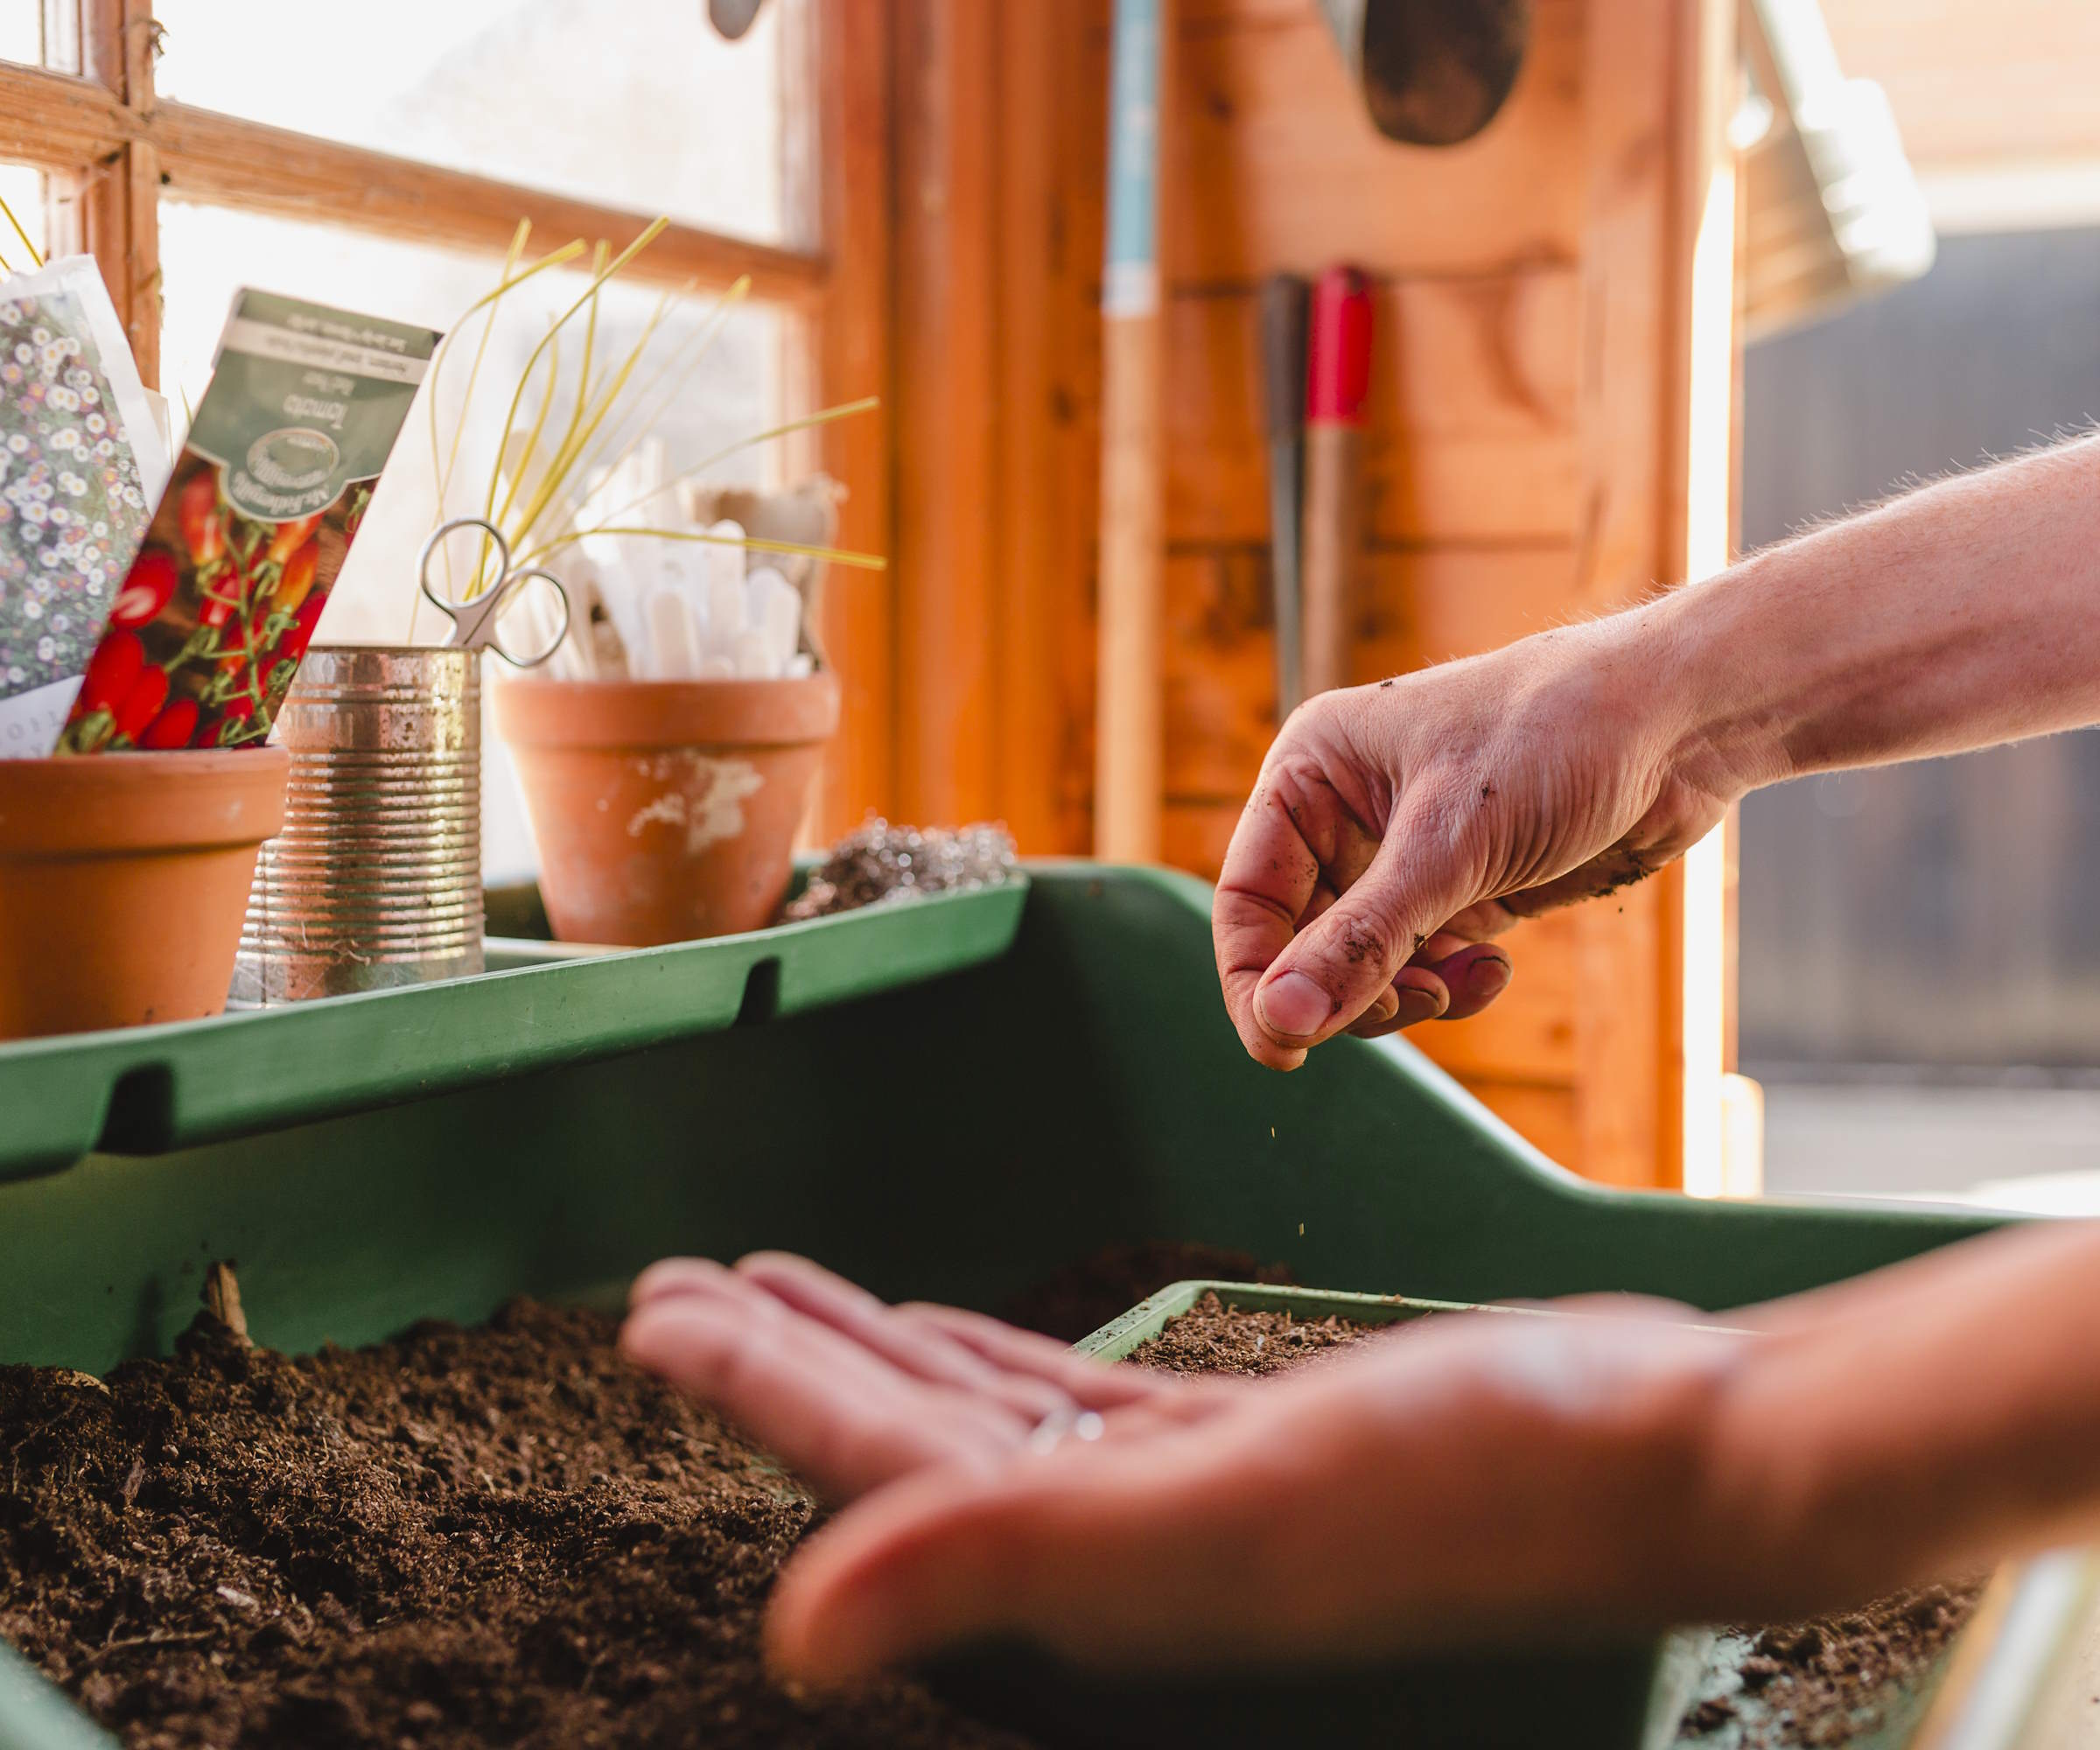
Avoid sowing seeds too thickly
When sowing in trays, thinly sprinkle the seeds over the surface. If you are using modules or pots, plant two or three seeds in each module with a view to thinning them to the strongest one as they germinate. Cover the seeds with a thin layer of compost or vermiculite – unless the packets advise not to – taking care to not apply too thickly. Place a label in the tray that displays the name of the plant and the date that you sowed the seeds.
4. Carefully water
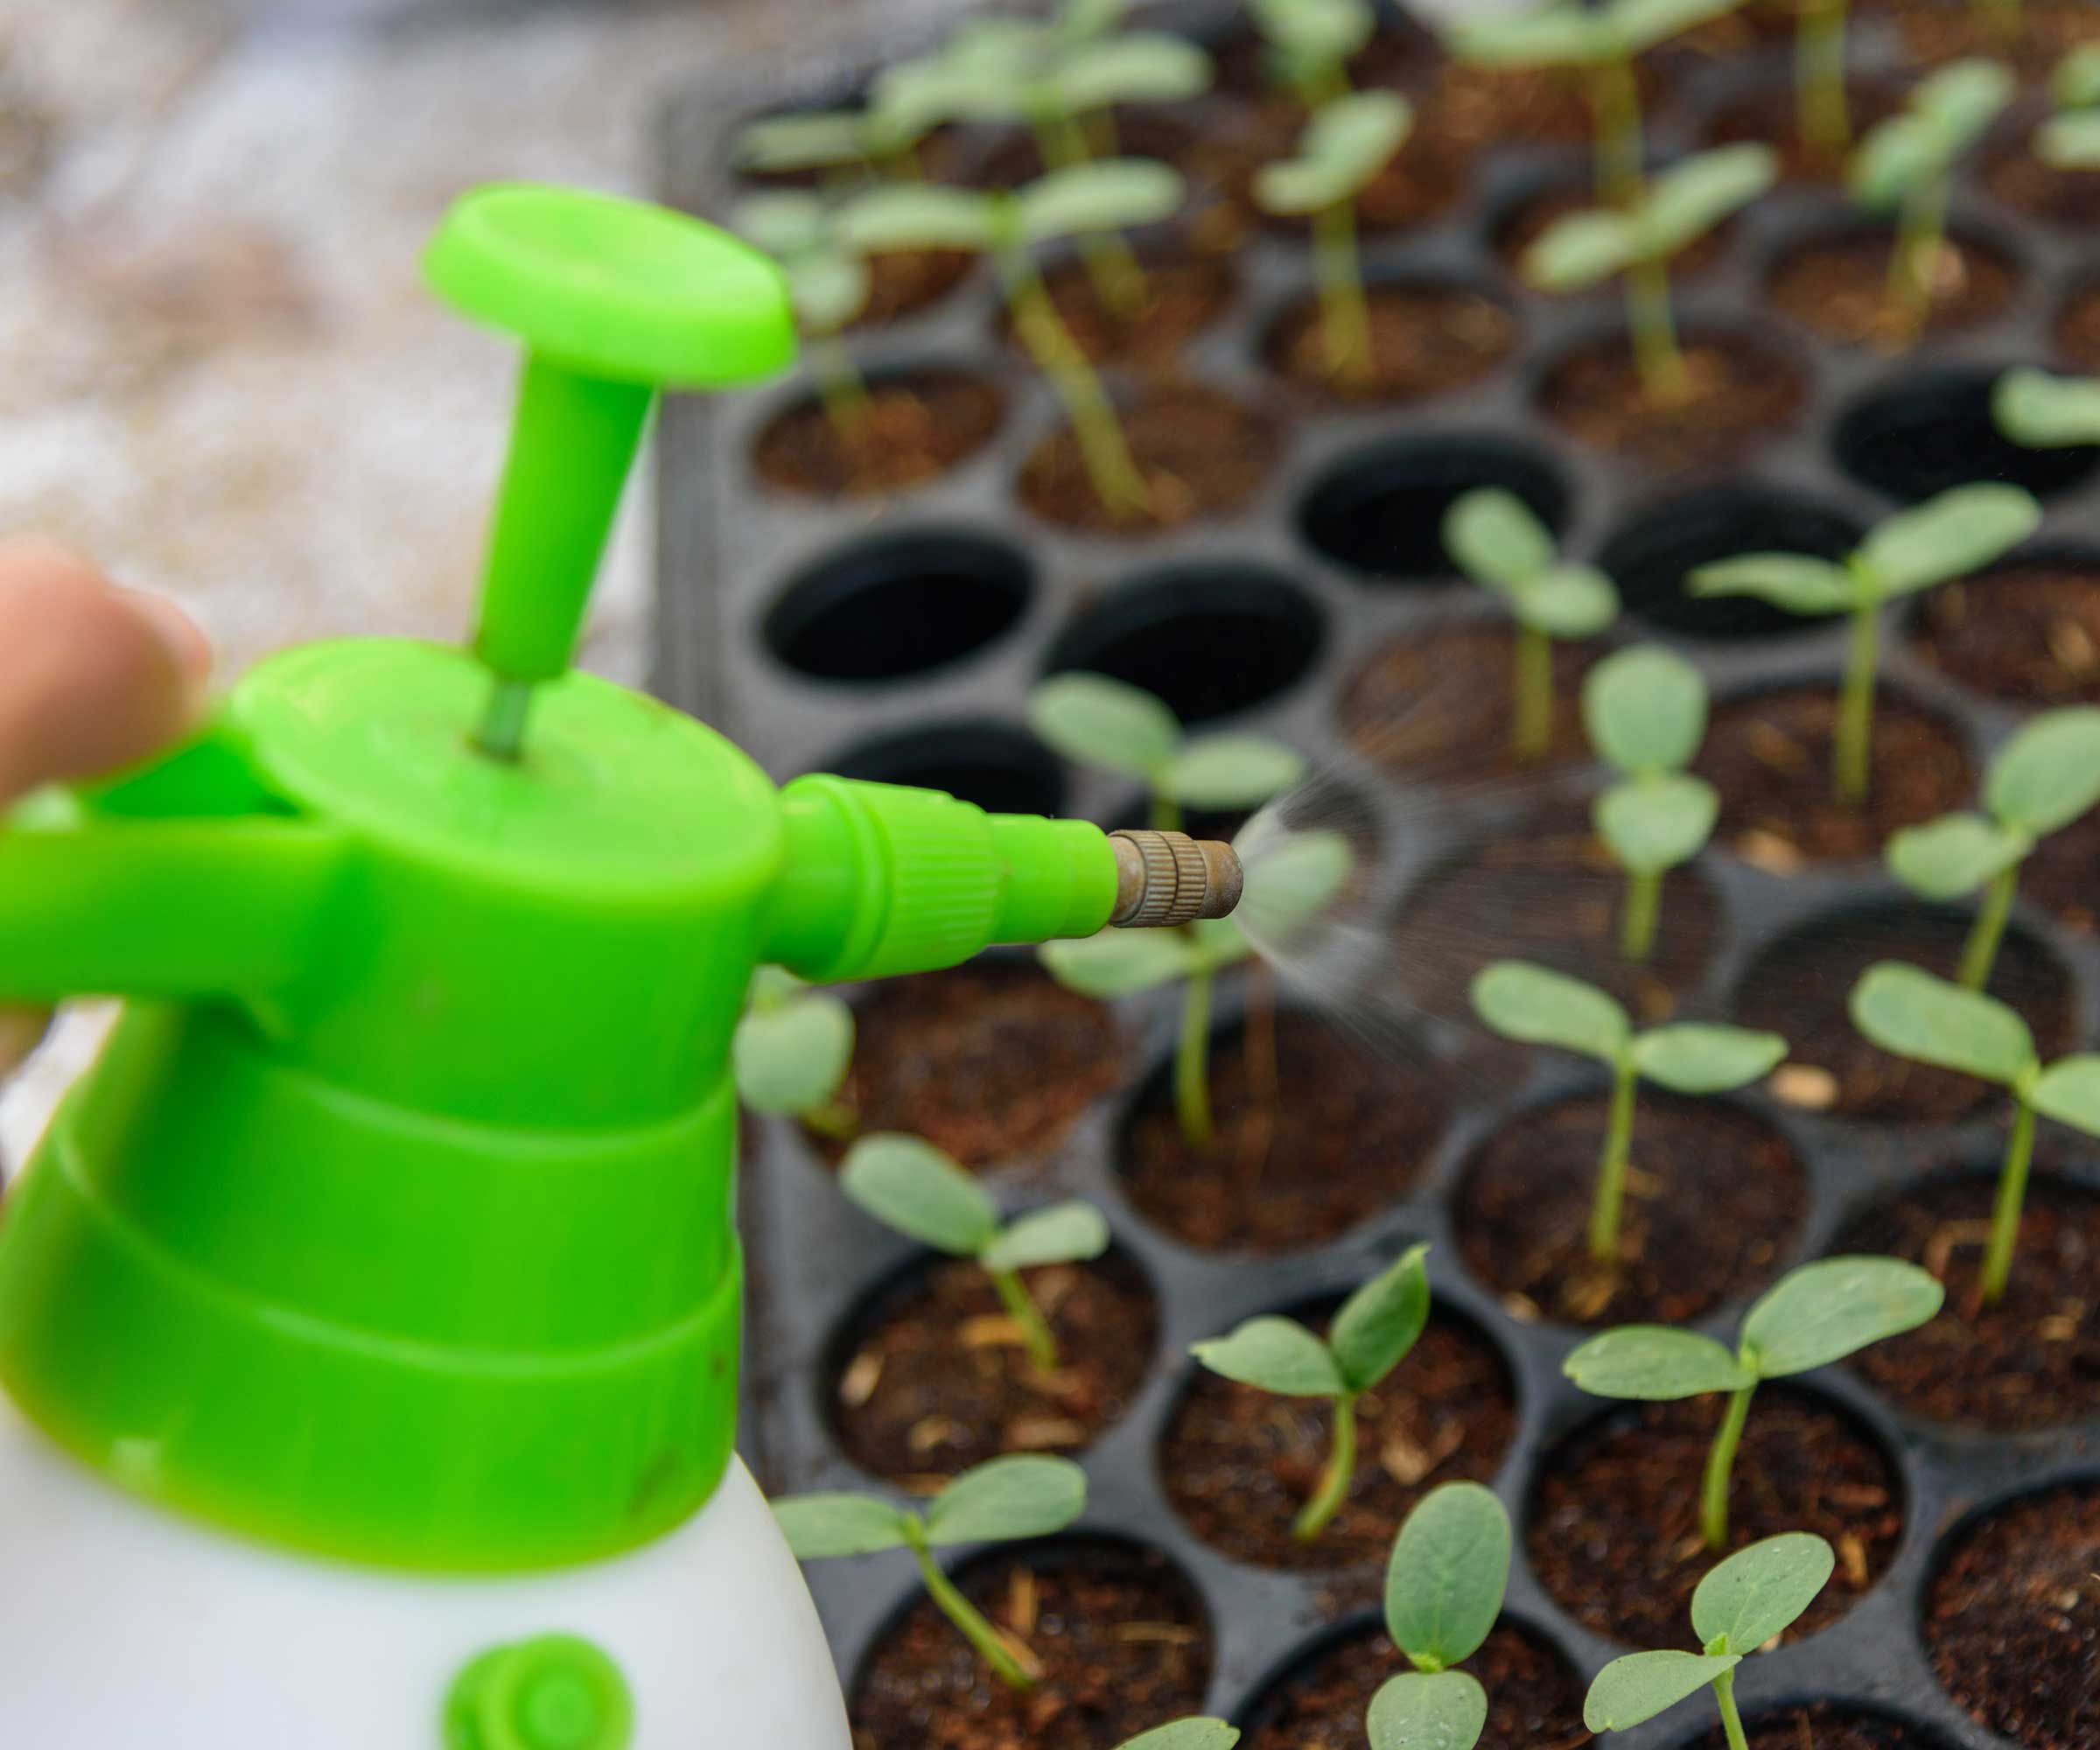
A mister can be used for keeping seedlings moist
Even though you pre-moistened the compost, the seeds will need additional watering. Do not be heavy-handed when watering, as tipping a lot of water over the tray can wash the soil away along with the seeds you gently sprinkled. I always prefer to water my seeds from below, sitting the trays or pots in a bath of water to allow them to soak up the moisture they require. This is a much gentler method of watering. If not watering from below, use a watering can with a fine rose. Keep checking the trays regularly for when to water plants and, ideally, continue to water from below rather than above.
5. Place somewhere warm and bright
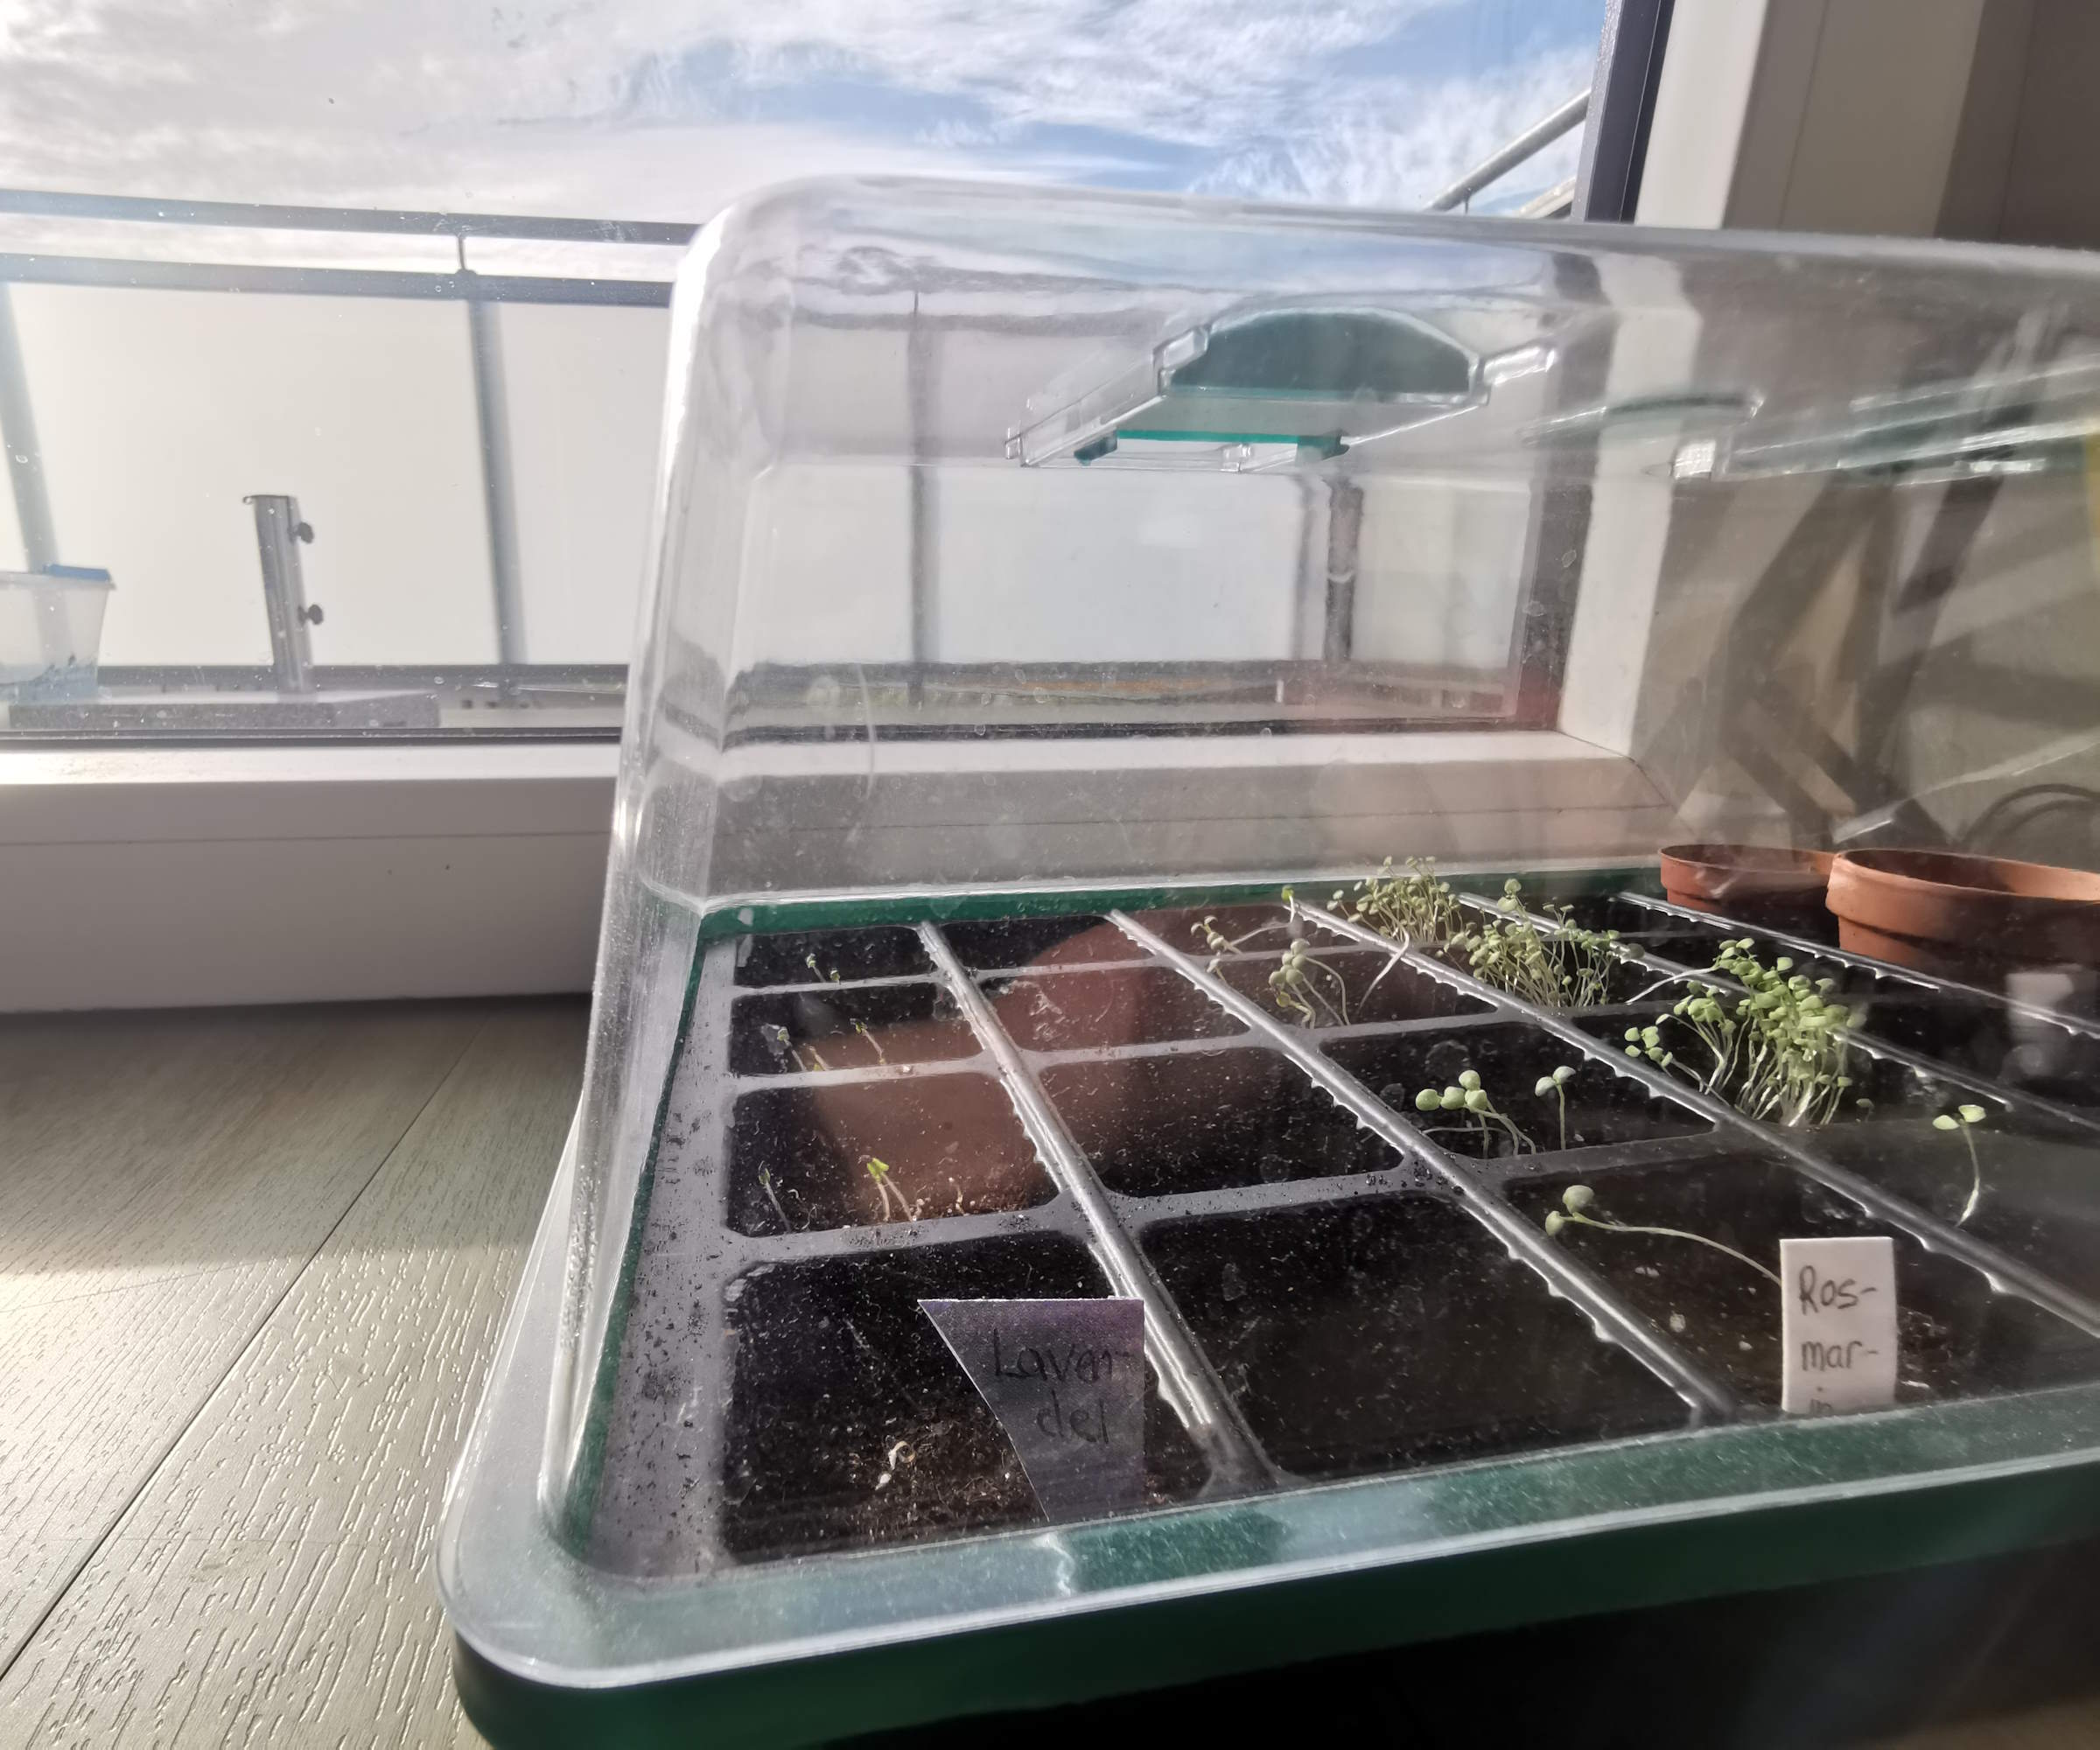
A bright and warm windowsill can be used to germinate seeds
Heat and light is imperative when you sow seeds indoors because temperature affects plant growth. A greenhouse is going to be a fantastic place to start seeds in, ideally a heated greenhouse - though that is a luxury for many people. If you do not have a greenhouse, then you can start seeds on a bright windowsill. The seed packets should also give an ideal temperature to germinate the seeds at. A heated propagator or heat mat, such as this seedling heat mat available at Walmart, can be highly recommended to help provide gentle and consistent warmth to seeds, while covering pots with a humidity dome or a plastic bag can help with germination.
6. Care for your seedlings
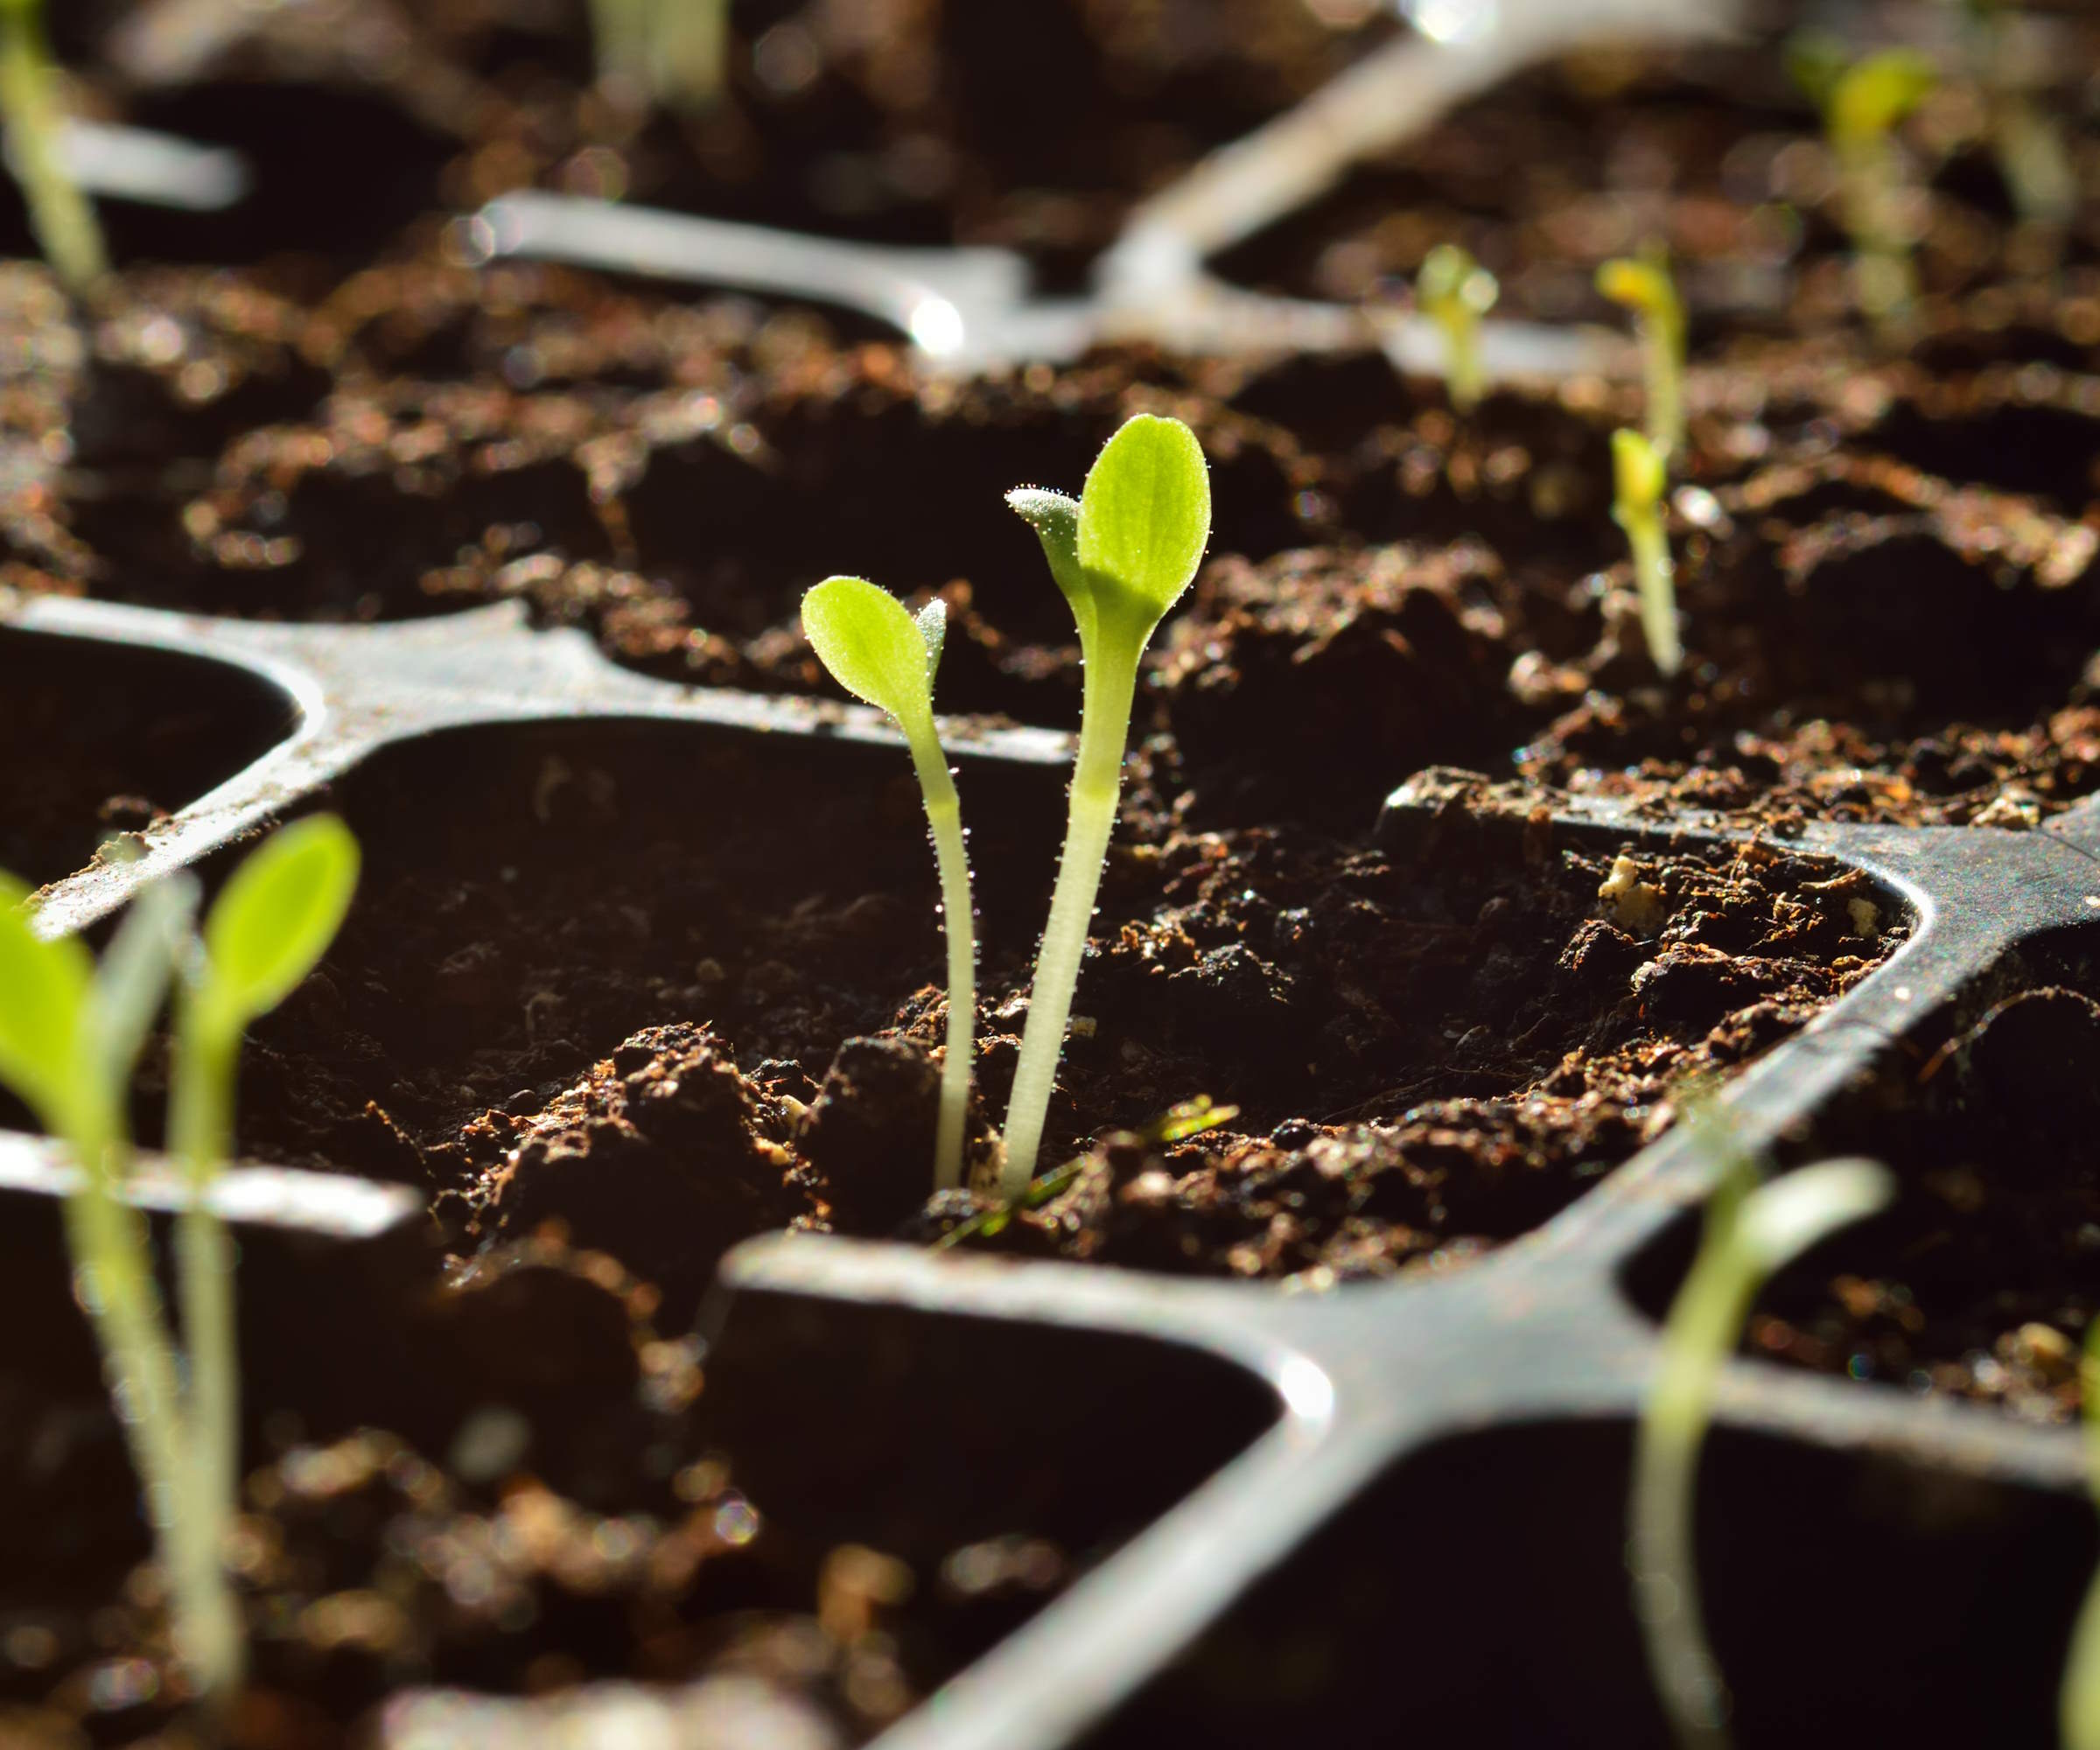
Thin seedlings in modules once they appear
The seedlings should start to germinate pretty quickly, depending on the type. As they start to develop, keep the seedlings watered – ideally from below – and with good access to warmth and light. Heat mats are not required once the seeds have germinated but they still want a warm environment. If the seedlings are not getting enough light they risk going leggy, so it may be worth considering using LED grow lights.
Once the seedlings have developed their first set of true leaves, they are ready to be pricked out and potted up. When you pot up, you can fertilize seedlings with a slow release fertilizer, such as Osmocote plant food available at Amazon, though make sure your potting mix does not already have fertilizer added in it – as you risk harming seedlings through overfeeding. Continue to grow the seedlings until the risk of frosts have passed and you can then plant them out into flower beds or vegetable gardens after a period of hardening off.
FAQs
What seeds should be started indoors?
There is a whole host of seeds that you can start indoors. You can start lots of vegetable seeds indoors early in the year and there are also many flower seeds to start indoors too.
In terms of vegetables, tender crops like tomatoes, eggplants, and both chili peppers and bell peppers can be started, along with brassicas including cauliflower, broccoli, kale, and cabbages. Half-hardy flowers and annual flowers are suited to sowing indoors early in the year, while biennials can be started indoors during the summer.
The list of plants you can start indoors is long, so refer to seed packets or websites to see the recommended advice for any plants you wish to grow.
Do I need a light to start seeds indoors?
Grow lights are not required to germinate seeds, as light is not necessary for them to actually sprout. Lights are beneficial once the seedlings start to germinate and poke through the soil. At this point they need lots of light to develop in a healthy manner.
If you do catch the bug for seed sowing, why not consider taking the next step and collecting your own seed? You can harvest seed from lots of your favorite flowers and vegetables around your own garden to store and sow in years to come.
Sign up to the Homes & Gardens newsletter
Design expertise in your inbox – from inspiring decorating ideas and beautiful celebrity homes to practical gardening advice and shopping round-ups.

Drew’s passion for gardening started with growing vegetables and salad in raised beds in a small urban terrace garden. He has worked as a professional gardener in historic gardens and specialises in growing vegetables, fruit, herbs, and cut flowers as a kitchen gardener. That passion for growing extends to being an allotmenteer, garden blogger, and producing how-to gardening guides for websites. Drew was shortlisted for the New Talent of the Year award at the 2023 Garden Media Guild Awards.
-
 How to fertilize magnolias – garden experts reveal the secrets to better blooming, and timing is critical
Magnolias are famed for their spring flowers, and feeding at the right time can give trees a boost
By Thomas Rutter Published
-
 Sarah Jessica Parker's spring tablescape epitomizes lived-in luxury with art deco candle holders and a statement tablecloth – it's easy (and affordable) to recreate
Kick off the season right with a warm table that invites guests into your home by emulating Sarah Jessica Parker's luxe and cozy scheme
By Sophie Edwards Published