Electricians reveal how to shorten outdoor Christmas lights – two simple methods for safe festive lighting
This expert method for shortening Christmas lights is so simple, and you don't even need to do any wiring

A light display is one of the best ways to make your home festive for the holidays. Whether you're decorating your porch or the plants in your front yard, Christmas lights are the perfect way to bring some coziness during the winter weather.
However, lighting your home can be tricky. Sometimes you're left with more lights than you know what to do with. If you have several feet of wire looking untidy around your lights, you've probably wondered if there's a way to shorten the cables.
I spoke to expert electricians and lighting experts. While they warn against trimming your outdoor Christmas lights, there are a couple of methods to cut your lights down to size. This is all you need to know about shortening outdoor Christmas lights.
Use zipties or velcro
Most of the experts recommend leaving your lights alone. Lighting expert Dara Greaney says 'I don't recommend shortening Christmas lights. You would need to cut the wires, strip them, and splice them back together in a watertight and windproof fashion.'
Instead, Forrest Webber explains that 'Zip ties are the simplest, safest way to manage extra length without permanently altering the lights. Gather the extra length of lights neatly into small loops. Use zip ties to secure the loops together at multiple points to keep them tidy.'
Then, once the lights are bundled up, Forrest says you just need to 'Tuck the bundled section out of view when hanging or arranging the lights. It's quick, inexpensive, and doesn't affect the lights' functionality. If you need the entire length, you can easily undo it.'
Zip ties are available at Home Depot or any other hardware store. However, a better option is to use Velcro ties (available at Amazon) which are only a couple of dollars more expensive and can be reused indefinitely.

Dara Greaney is the CEO and President of LEDLightExpert.com, a leading company in commercial lighting solutions. During that time LED Light Expert has sold hundreds of millions of dollars worth of LED Lights. Greaney has extensive expertise in lighting design, LED technology, and fixture design.

Forrest now works on several ventures, including Bear Brothers Cleaning, but he's also a trained electrician.
How to cut string lights
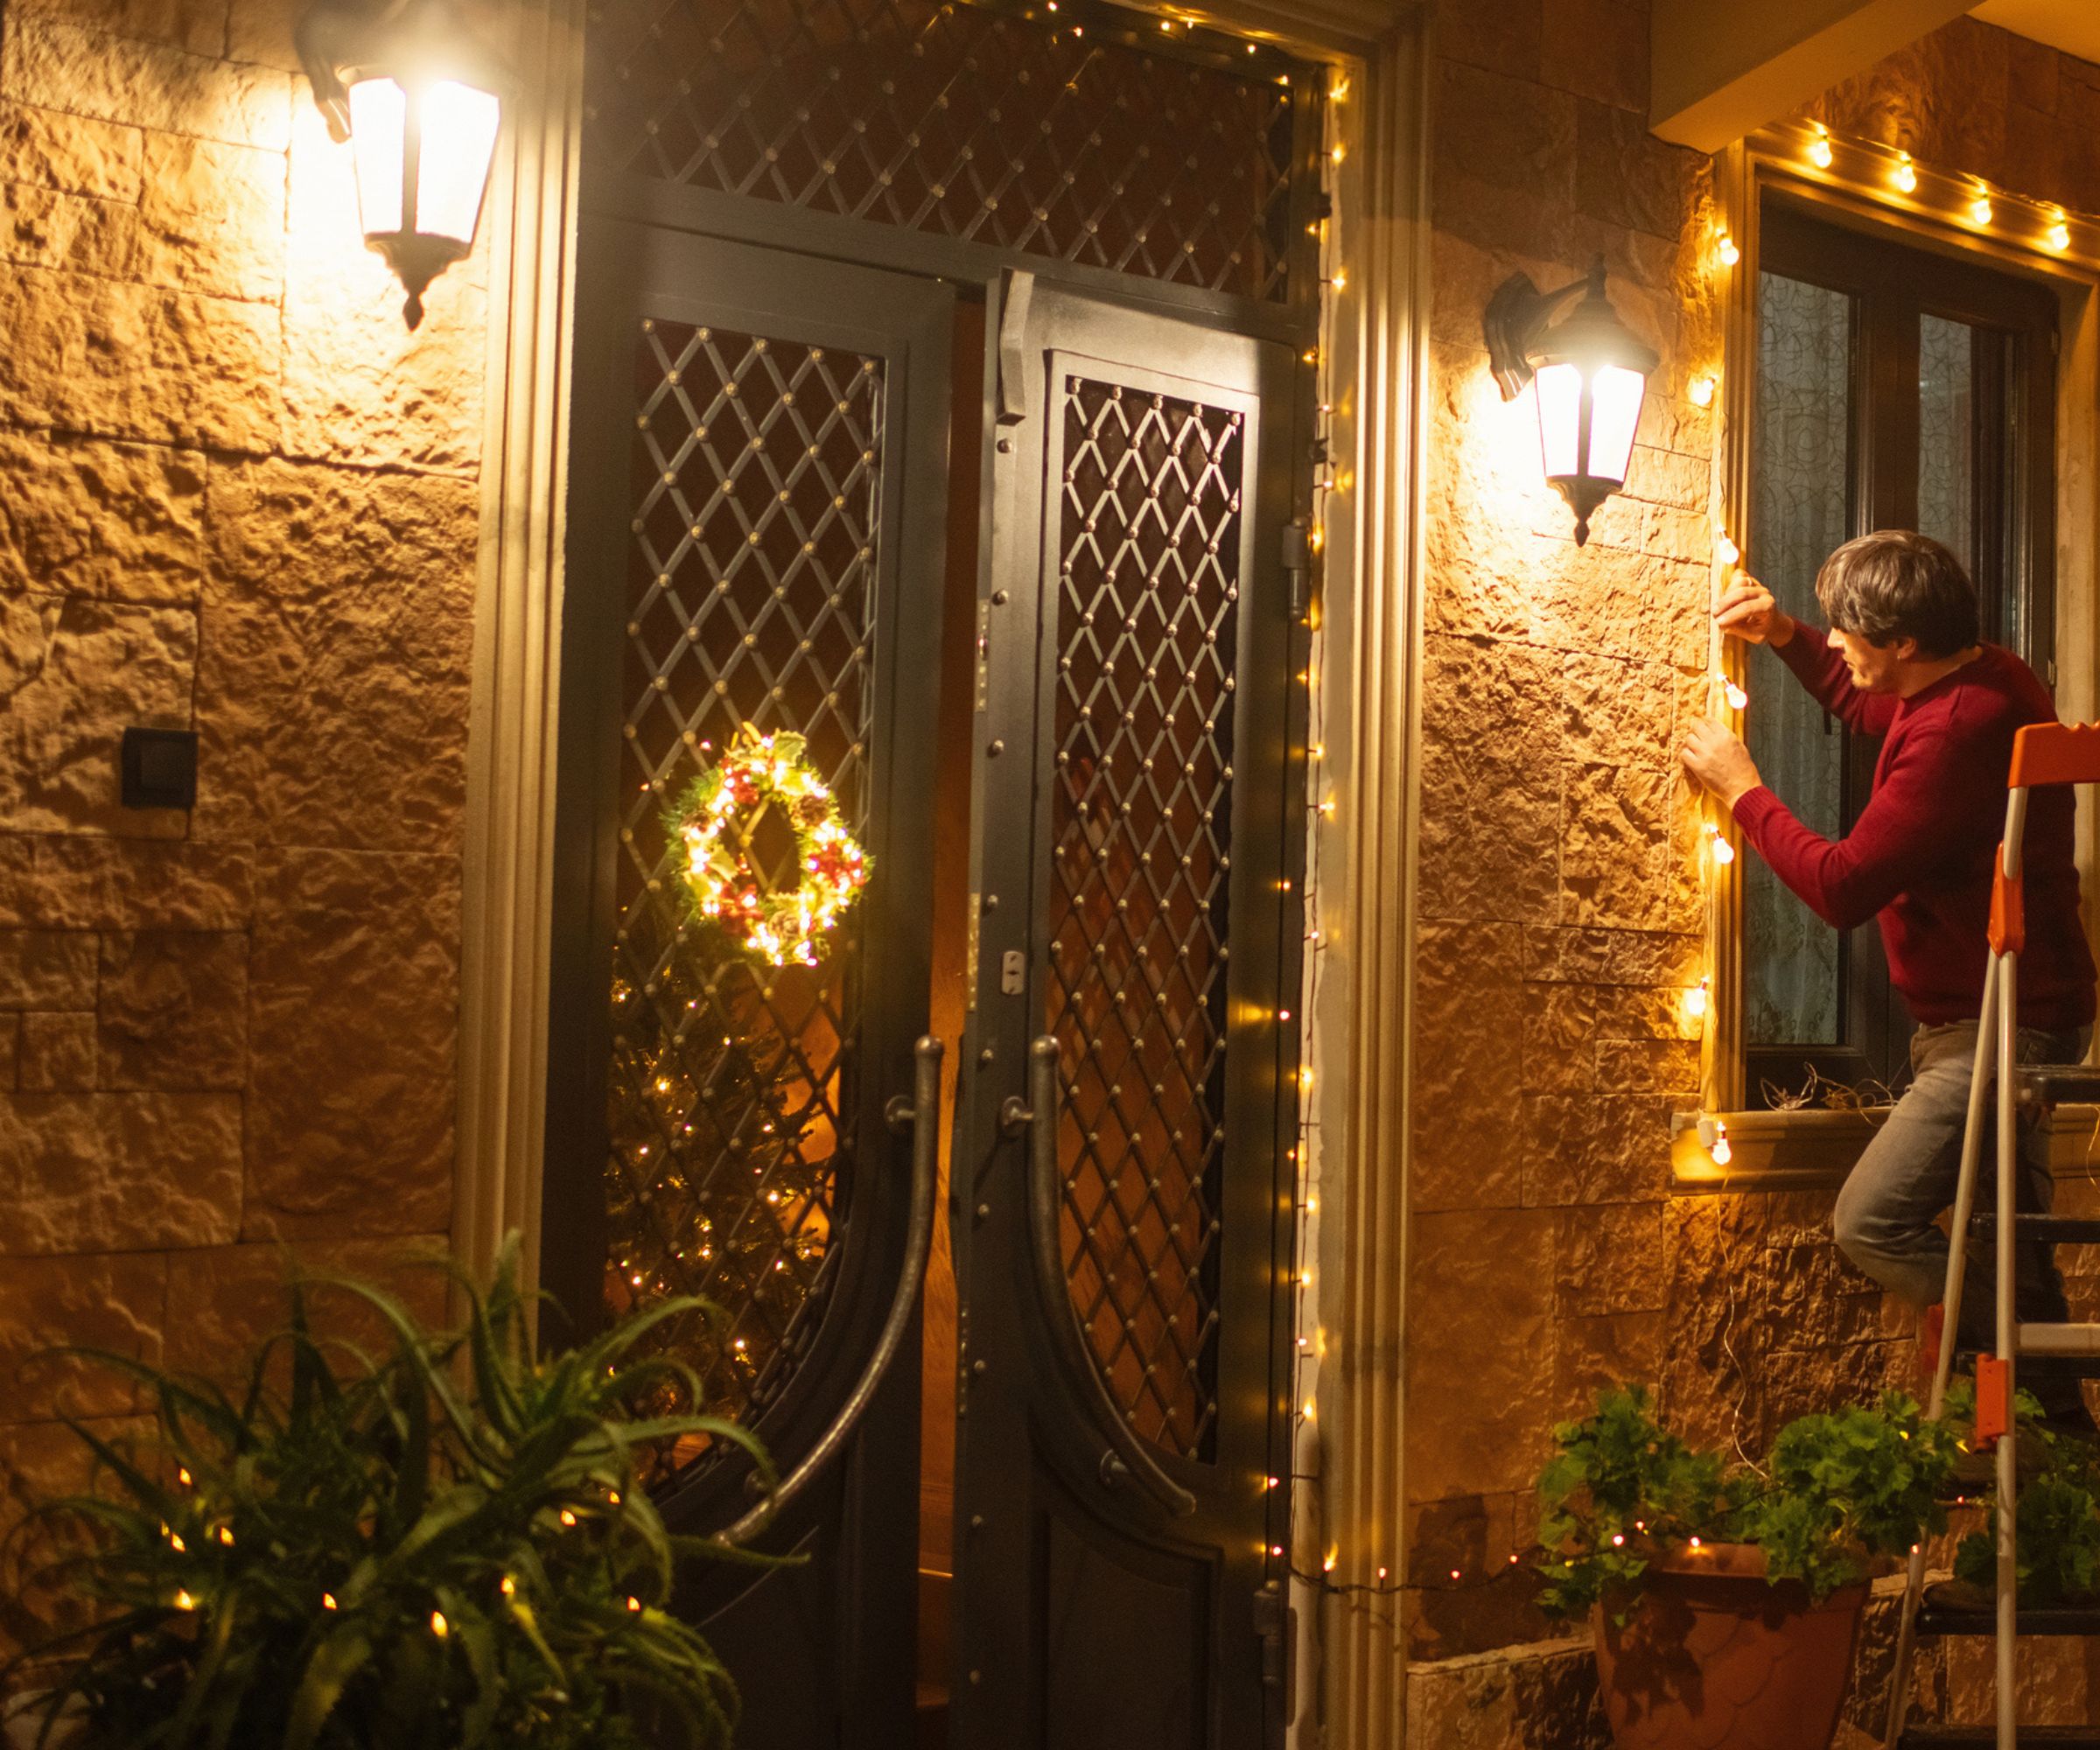
You can cut Christmas lights to size, but only certain types. Forrest Weber explains 'Some string lights are designed to be cut, such as LED lights labeled as "customizable" or "cut-to-fit." Regular string lights without cut marks shouldn't be modified, as cutting the wrong point will break the circuit and stop the lights from working.'
If you have lights you can cut, the process is simple. Forrest says 'Most cuttable lights have designated points marked between bulbs. Only cut at these points. Use sharp wire cutters to make a clean snip. Use heat-shrink tubing or electrical tape to cover and protect the exposed ends. This prevents short circuits or damage.'
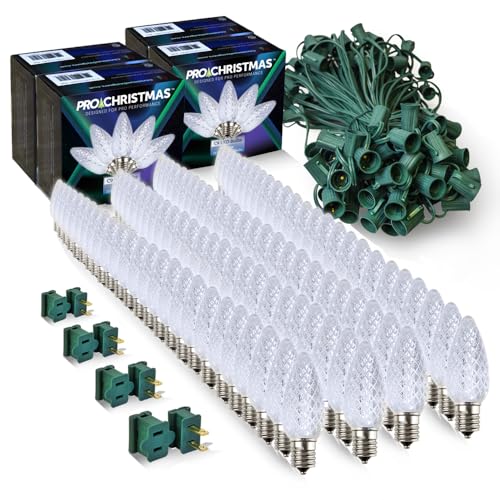
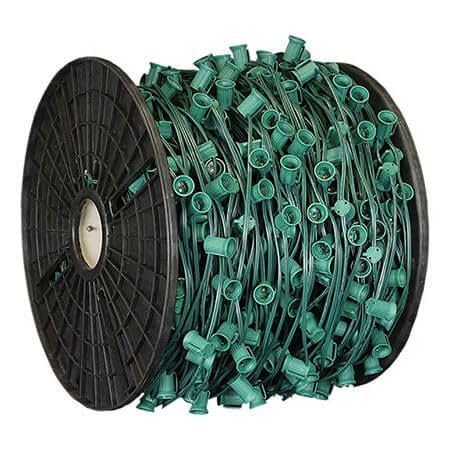
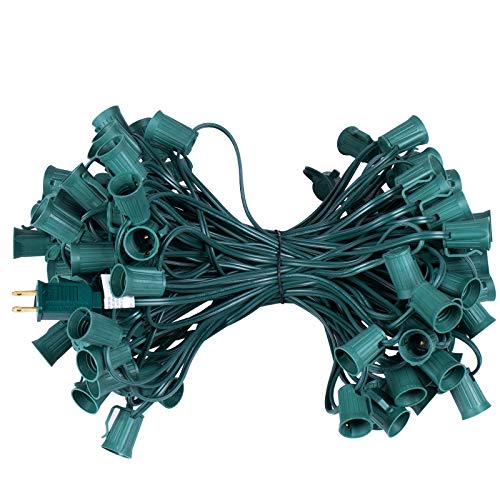
This set has everything you need. 100ft long, it includes 100 blubs, zip plugs and sockets, and can be cut to length.
How to install zip plugs
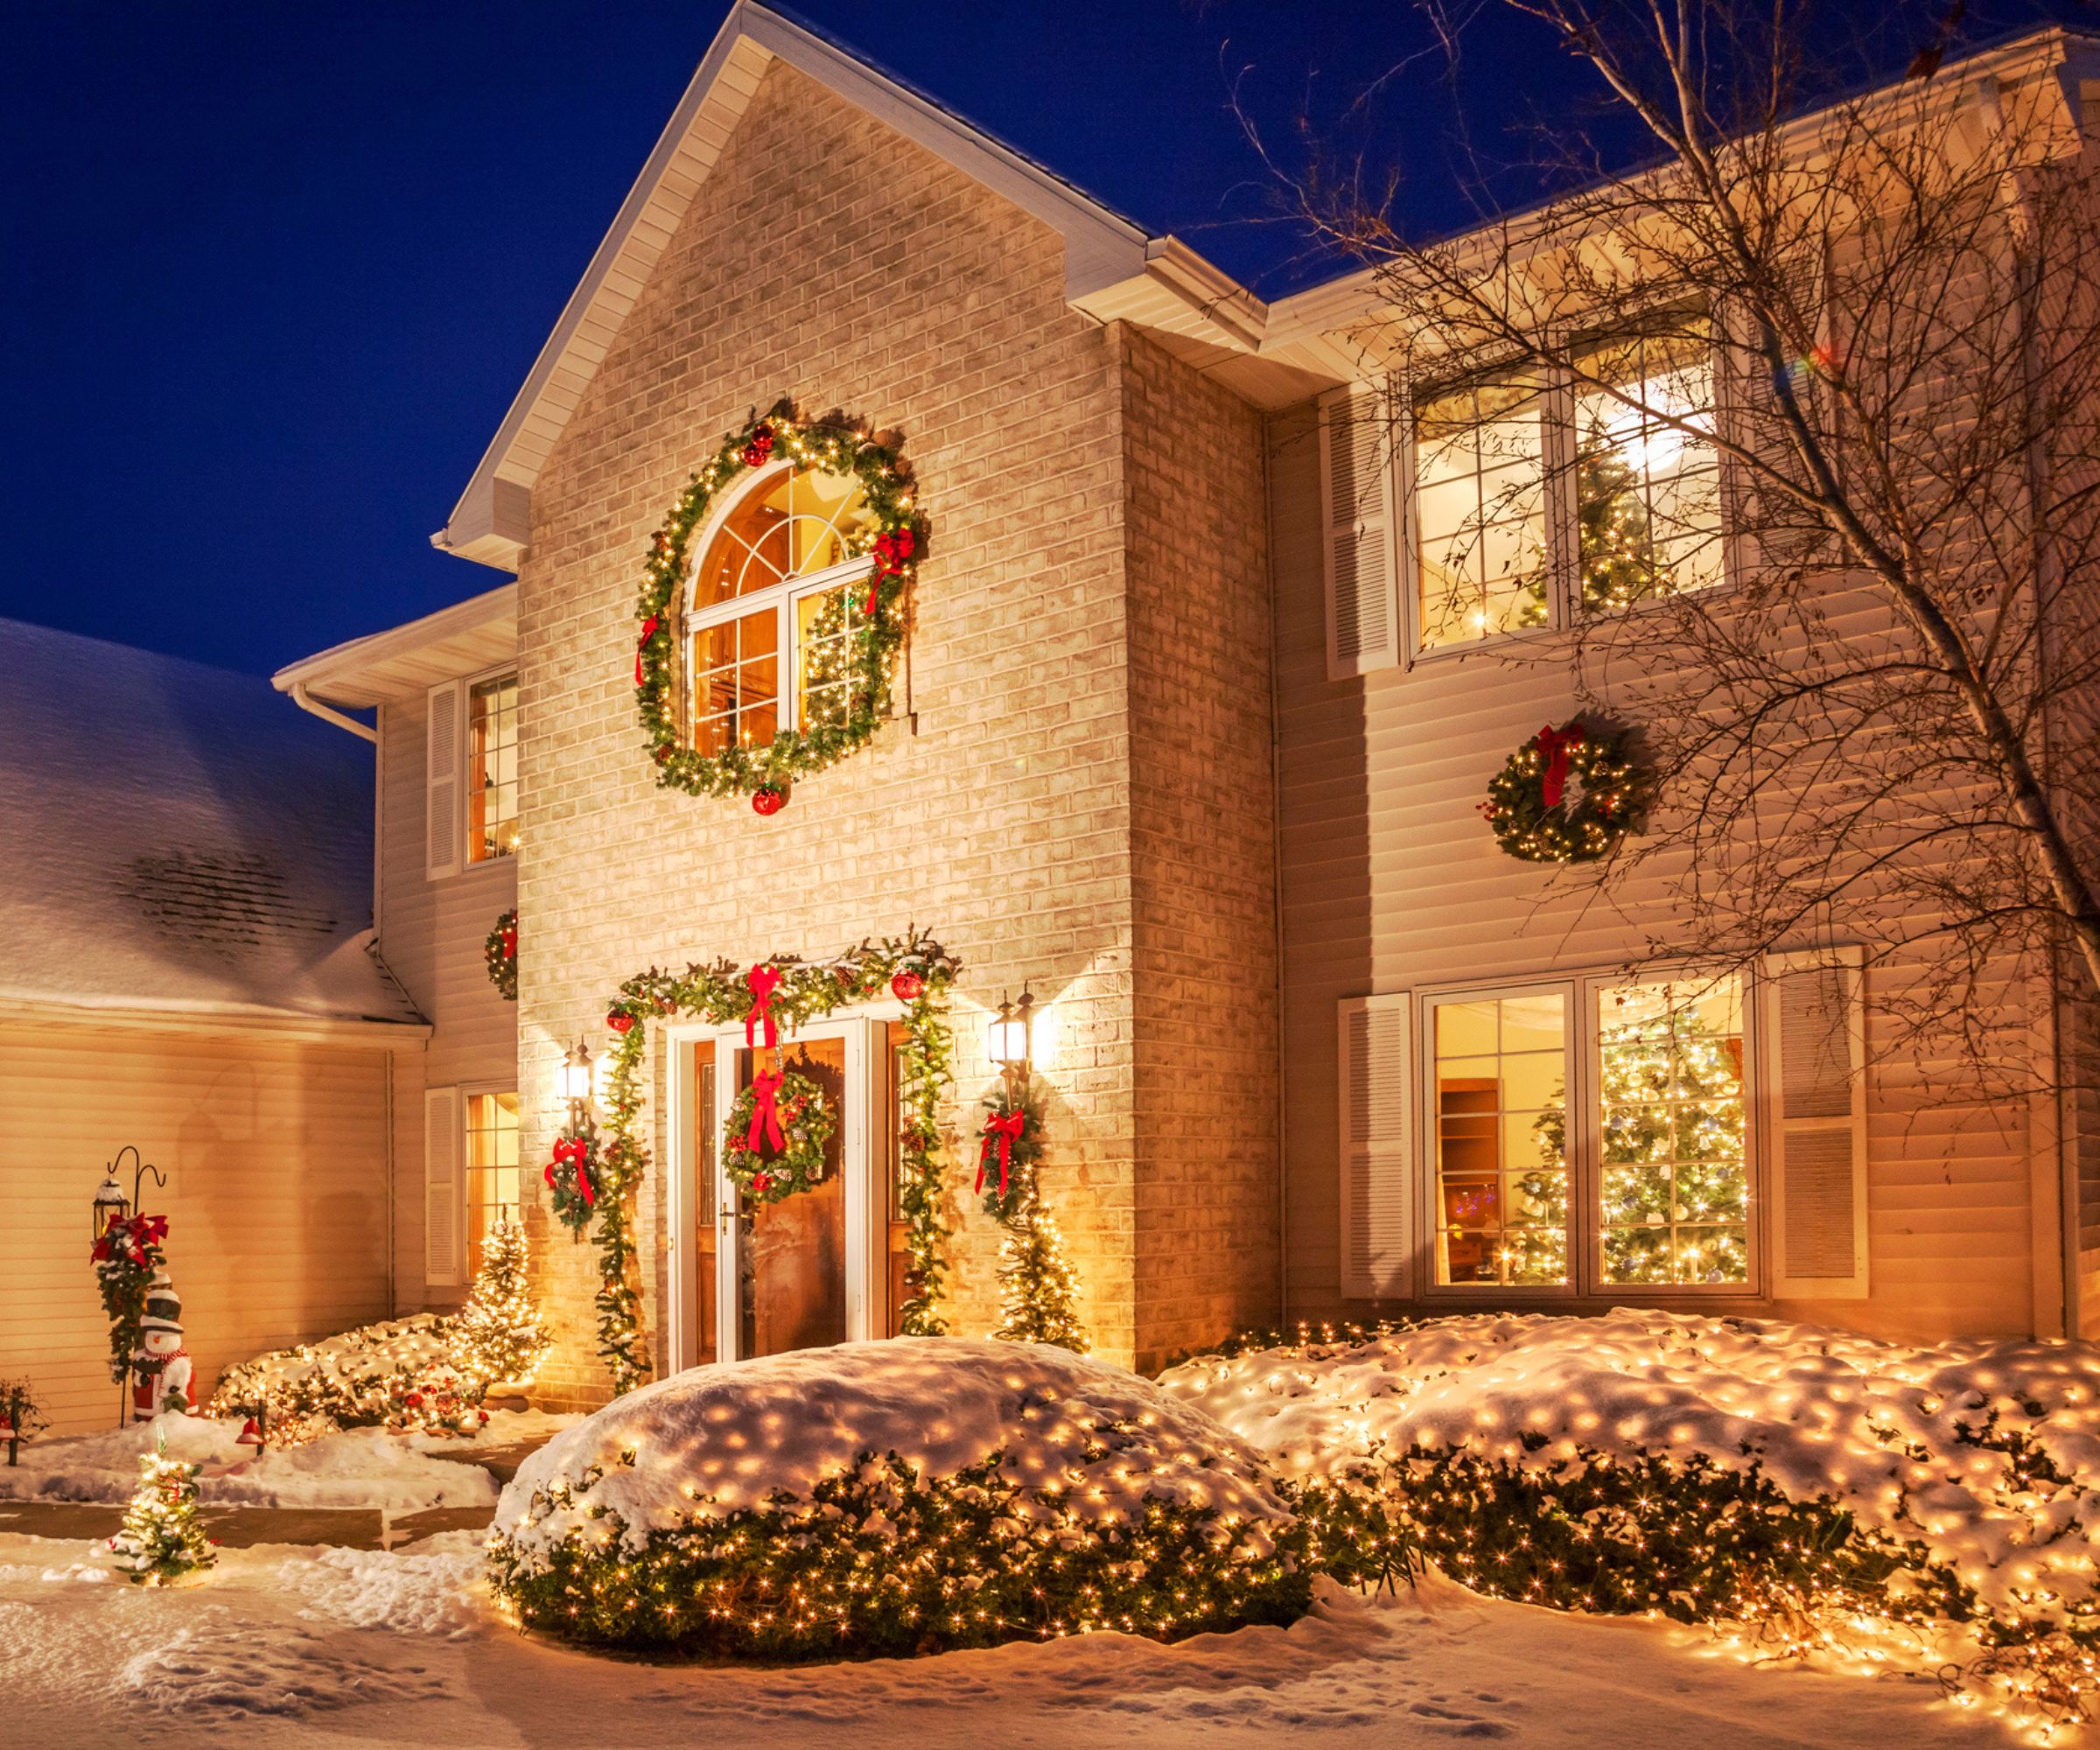
With the lights cut, you need to use a zip plug. Forrest Webber explains that 'A zip plug safely creates a new connection after cutting string lights.' Expert Dara Greaney warns that 'They are not the easiest to use. You are poking a metal rod into the wire hoping to make a connection. They're not my favorite as you are often out troubleshooting errors. If you get a strong connection and lock it in, then it does make shortening Christmas lights easy.' Zip plugs are widely available at Amazon or any hardware store.
The process is relatively simple. Dara says to 'Remove the back slider from the plug. Insert the zip into the plug, ensuring the ribbed side is on the right (for correct polarity) and the tip goes into the end channel. Bend the zip to make contact with sharp points. Then, slide the back cover onto the plug.'
With this done, Forrest says 'Slide or snap the cover shut tightly to secure the connection. Plug the lights into an outlet to ensure the connection is successful.'
How to install a zip socket
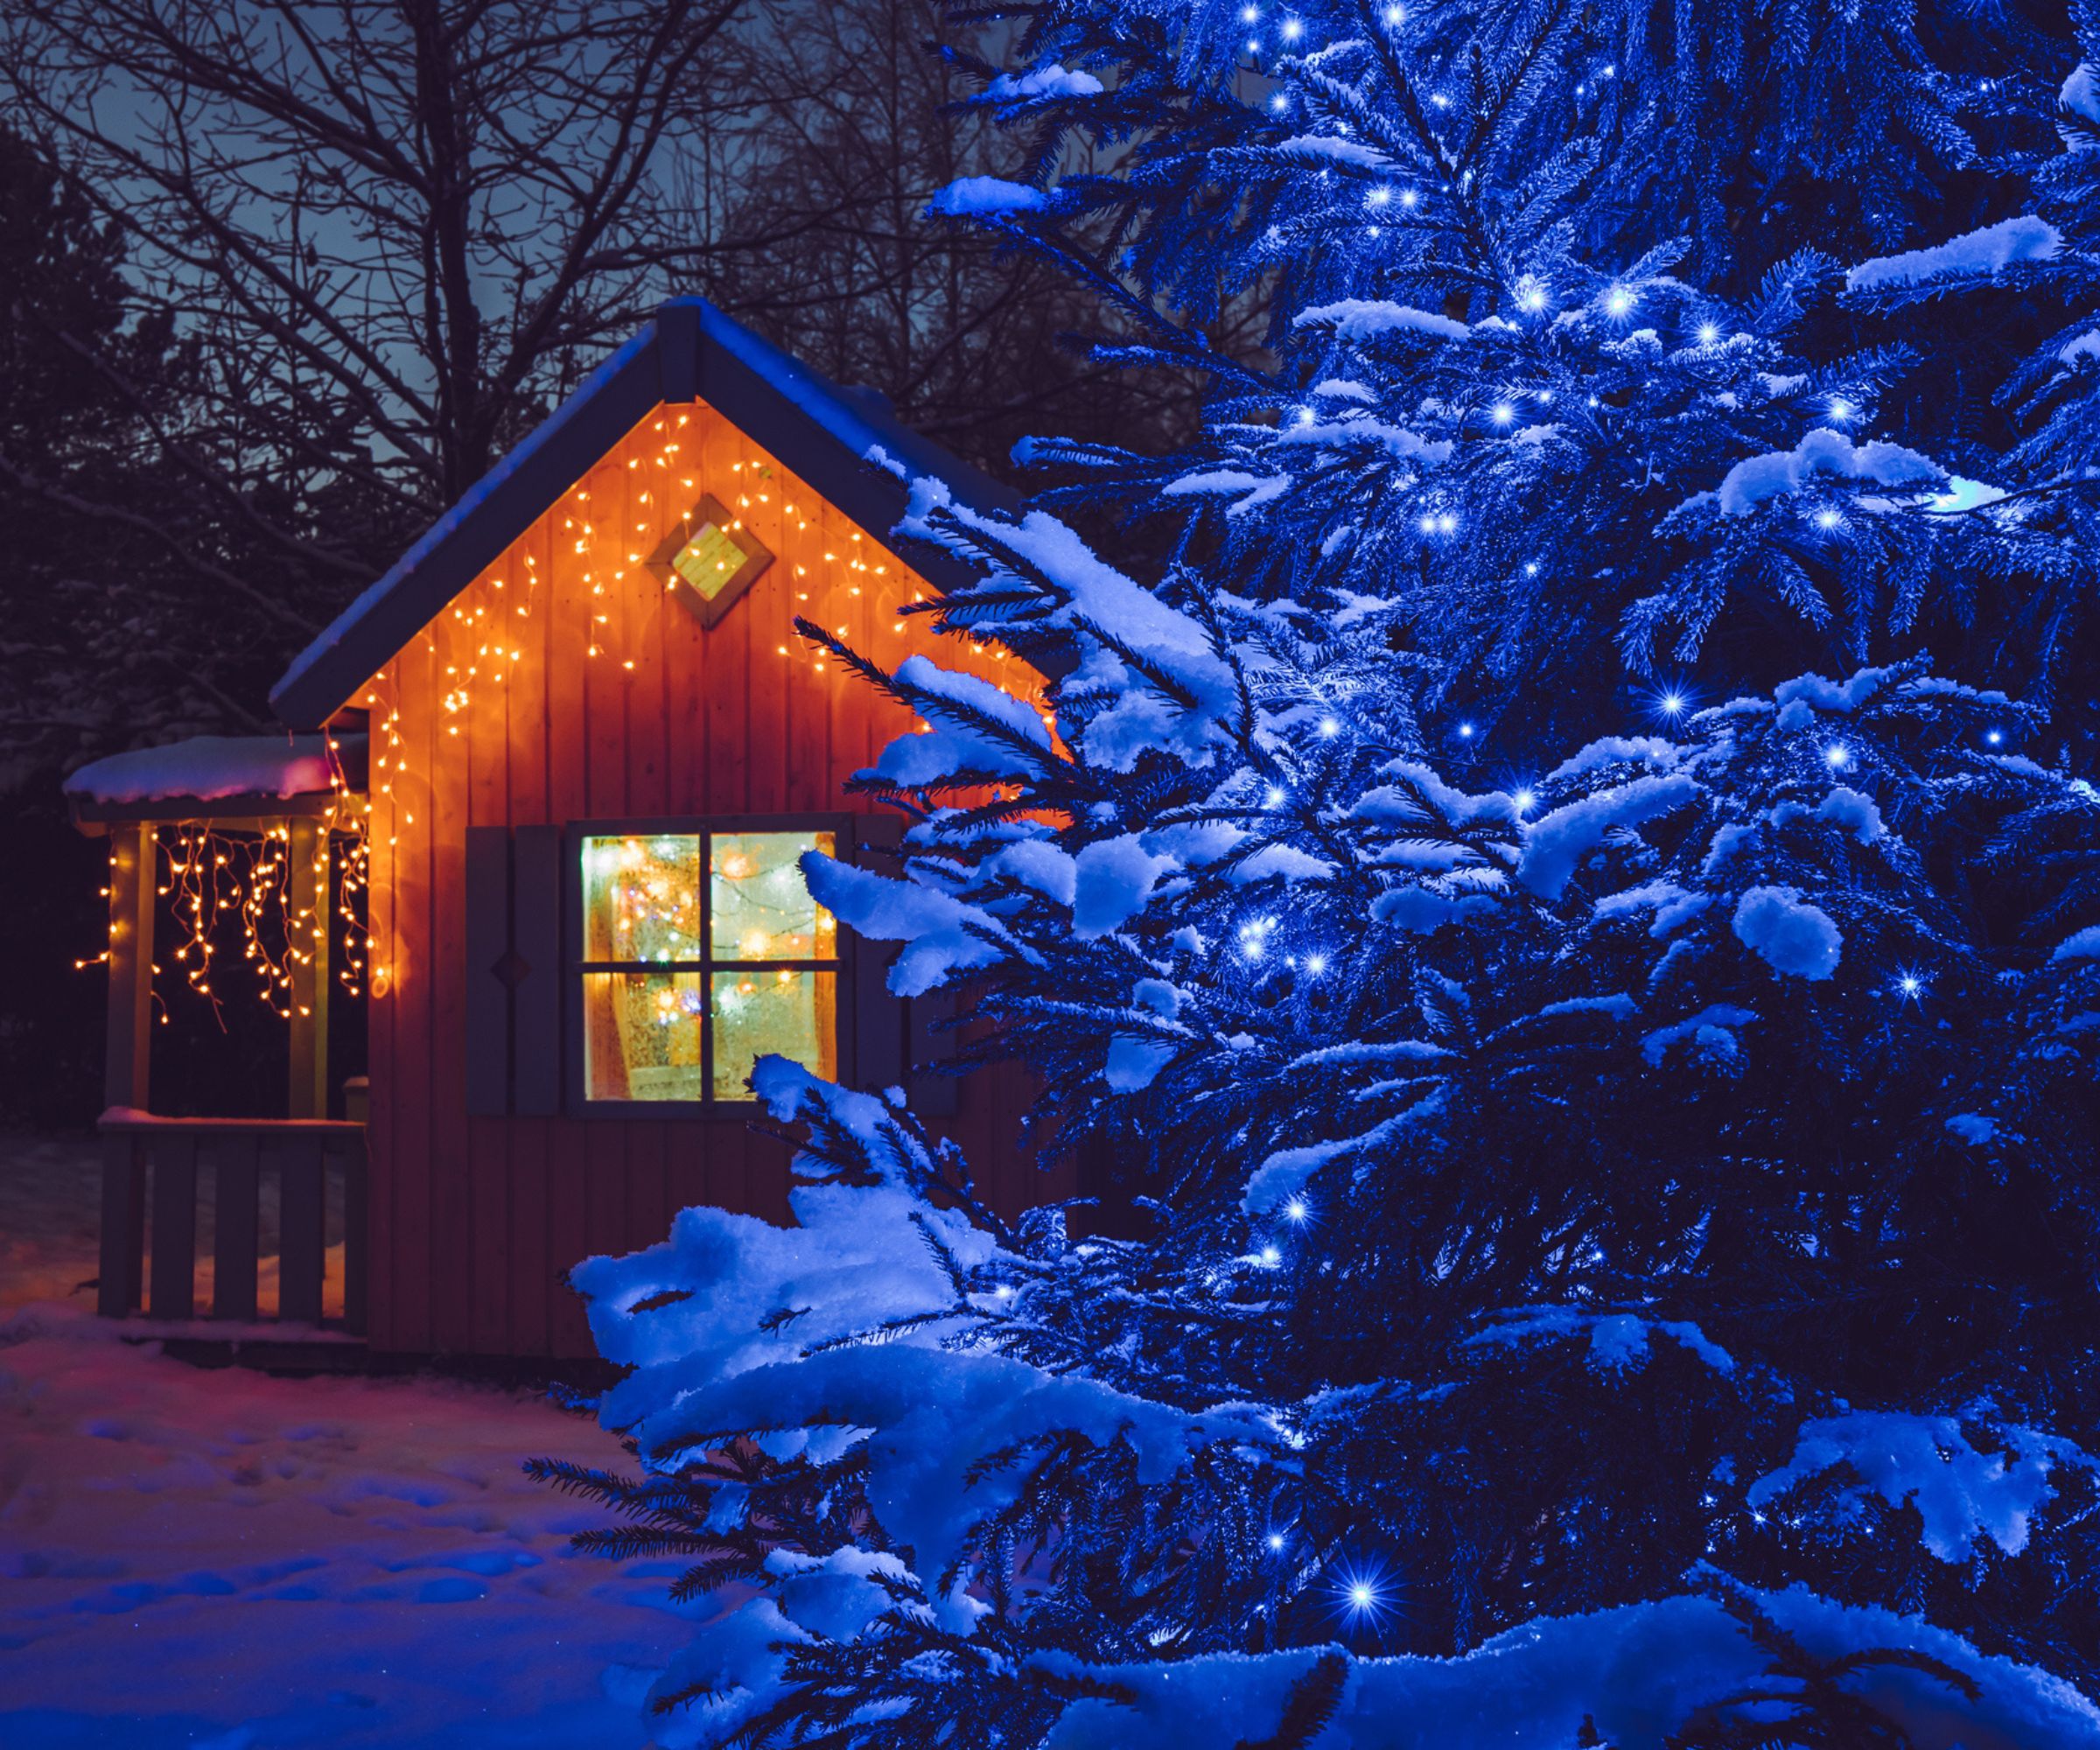
You also need to add a zip socket. Forrest Webber explains 'A zip socket is the counterpart to the plug, creating a safe endpoint for the light string.'
The process is similar to a zip plug. Forrest says:
- 'Cut the string at the correct spot and untangle any loose ends
- Slide the cover open to expose the internal prongs
- Position the wire so the prongs puncture the insulation and connect to the wire
- Snap or slide the cover securely into place
- Attach a bulb or the lights to confirm the socket works'
However, safety is paramount. Forrest warns 'Always disconnect lights from power before cutting or modifying them. Use heat-shrink tubing or electrical tape to cover cut ends and protect against shorts.
'After cutting or installing plugs, test the lights to ensure everything works before moving on.' As ever, heat shrink tubing is easy to find at Home Depot or other hardware stores.
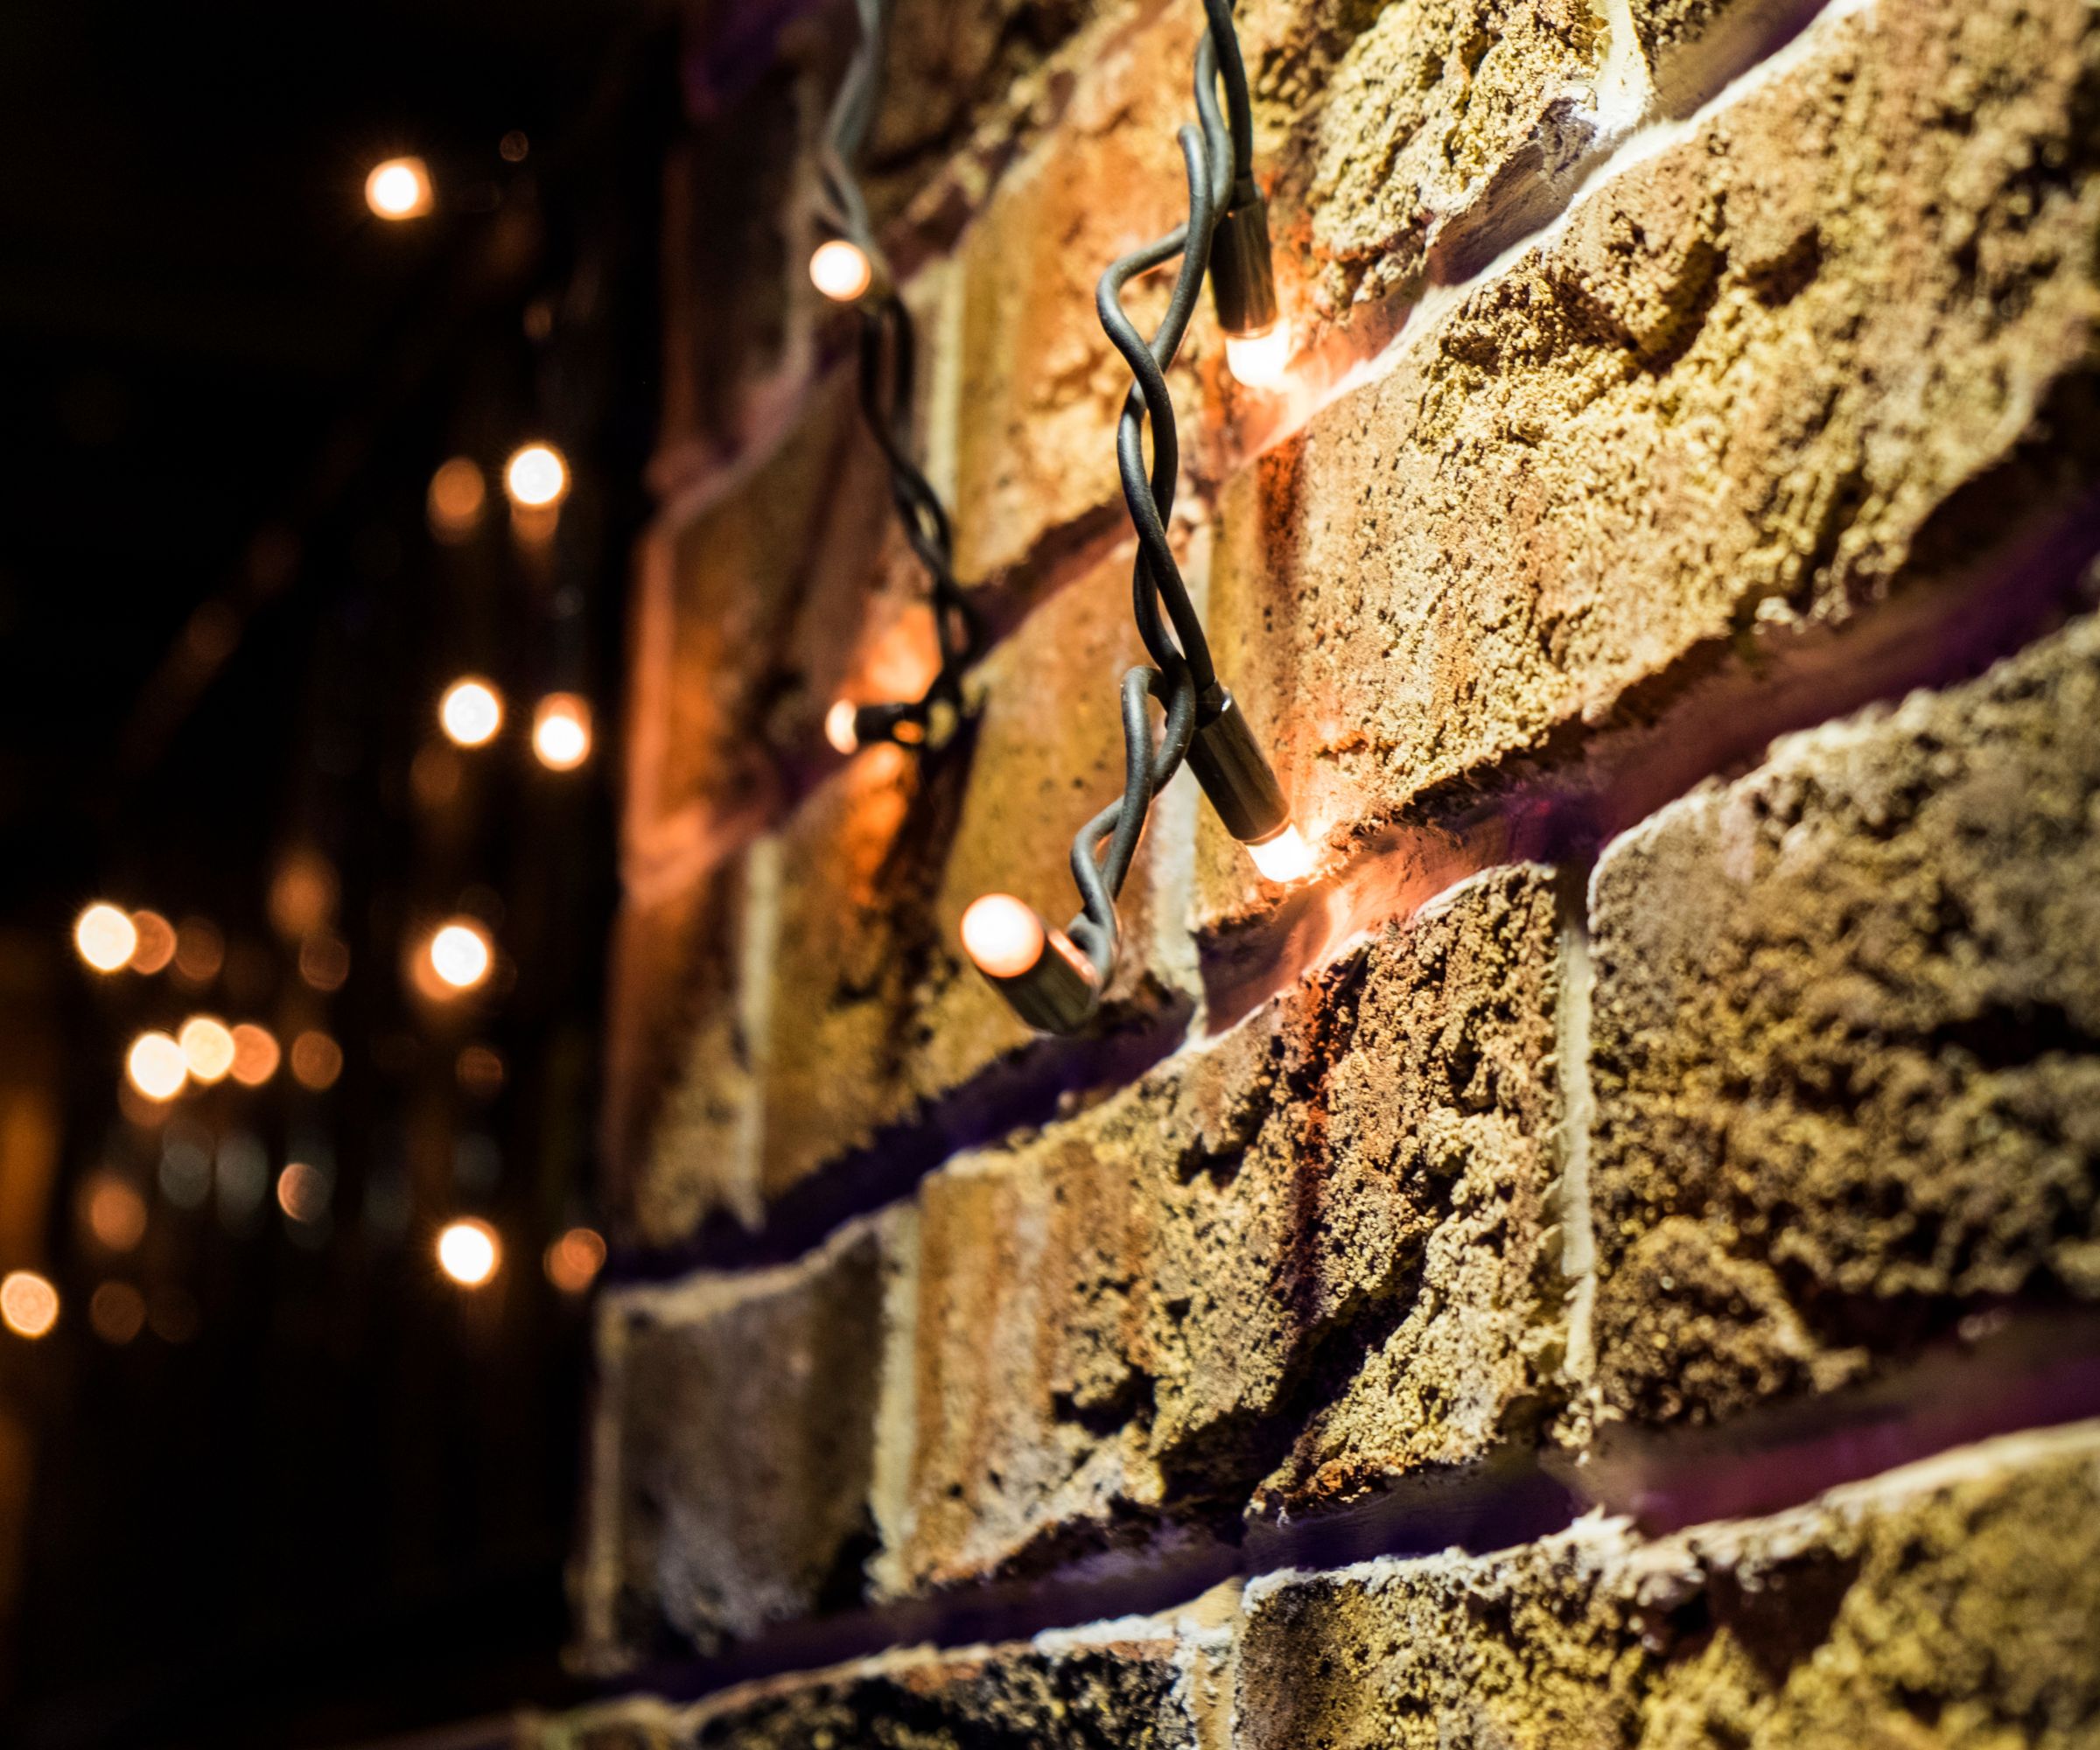
Don't shorten your lights too much, however. You need more than you think, and following the fifty-per-foot rule will make for a much better light display. On top of that, shortening your lights is only half the battle. It's also worth learning how to attach them to tricky surfaces like brick walls so that they're safe and secure.
Sign up to the Homes & Gardens newsletter
Design expertise in your inbox – from inspiring decorating ideas and beautiful celebrity homes to practical gardening advice and shopping round-ups.

As a gardens and lifestyle contributor, Alex makes sure readers find the right information to help them make the best purchase. Alex got his start in reviewing at the iconic Good Housekeeping Institute, testing a wide range of household products and appliances. He then moved to BBC Gardeners’ World Magazine, assessing gardening tools, machinery, and wildlife products.
-
 Ina Garten's storage pantry is an insightful window into all of the best cookware used by the chef – and it's easy to recreate on your kitchen shelves from $48
The beautiful dishware in The Barefoot Contessa's Hamptons pantry showcases the tools she uses most often to cook – this is exactly how you replicate it
By Sophie Edwards Published
-
 Extend the lifespan of your appliance with 5 simple but crucial washing machine maintenance tips
From cleaning the filters to keeping the door open, experts reveal the washer tips they swear by
By Andy van Terheyden Published
