How to sharpen pruning shears – for cleaner cuts when tending to your plants
Not keeping your tools sharp can damage your plants and shrubs

When you're preoccupied with keeping on top of plant care, it can be easy to forget to also give your gardening tools some attention. It's inevitable your tools will show some signs of wear after lots of use, so looking after them properly is important for their longevity.
Storing your essential gardening tools away is important for maintaining their condition, but you also need to know how to look after specific tools. Cleaning pruning shears after every use, for example, will keep them looking new and prevent the spread of potential pests and diseases between plants. However, this isn't enough to keep your shears in pristine condition.
Repetitive use of your pruning shears will cause them to become dull, and if you notice your shears aren't making as clean cuts as they once did, it's time to give them some TLC. Here, we've compiled everything you need to know about how to sharpen pruning shears.
When to sharpen pruning shears
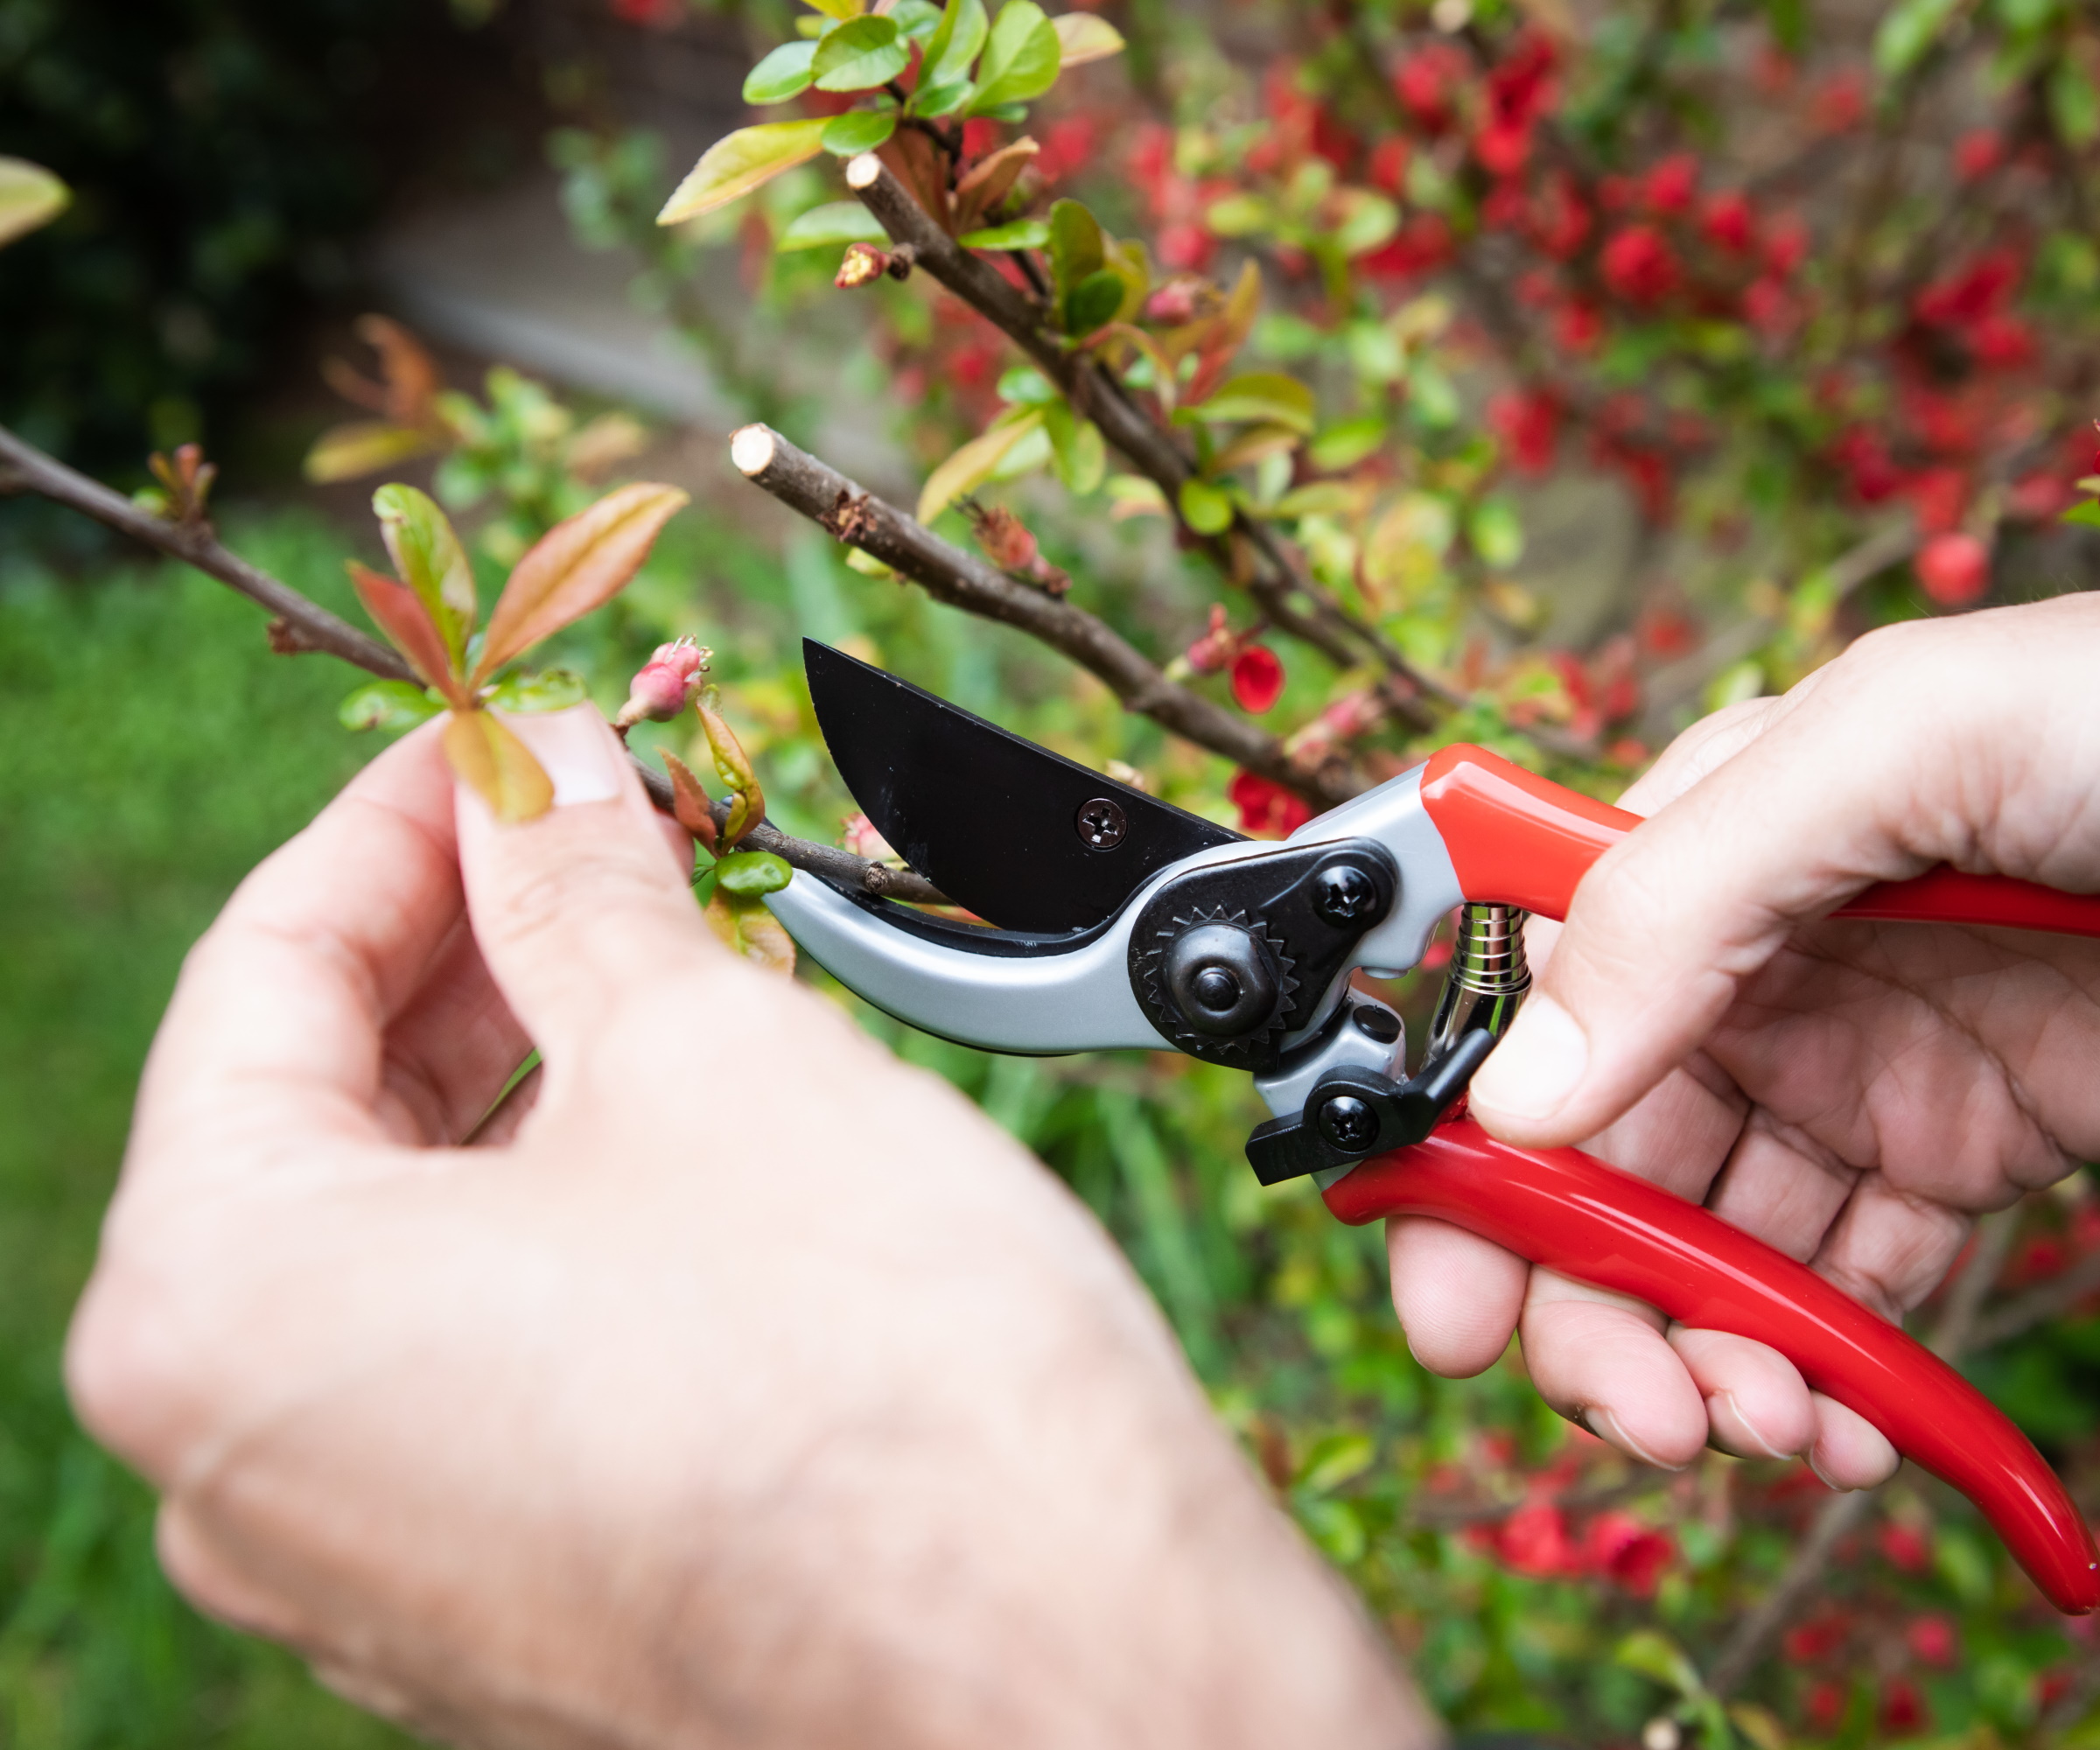
If you're using the same tool for everything, from pruning fruit trees to pruning hydrangeas, it makes sense that a sharper blade is easier to work with. Plus, a shaper blade will make a cleaner cut, which is why you should sharpen your shears regularly.
'Pruning shears should be sharpened before each major pruning task, and often as once per month when in frequent use. It depends how much you use them,' says Lindsey Chastain, growing expert and founder of The Waddle and Cluck.
'Just check for dullness and sharpen as soon as any crushing, tearing or lack of clean cuts occurs to keep them in shape,' she adds.
You can test your pruning shears by using them to cut a piece of paper. If it makes a clean cut the length of the blade, they're ready to use on your plants.
Design expertise in your inbox – from inspiring decorating ideas and beautiful celebrity homes to practical gardening advice and shopping round-ups.

Lindsey Chastain, a dedicated homesteader and skilled writer, is the driving force behind The Waddle and Cluck, a platform that celebrates sustainable living, gardening, and responsible farming. As half of the husband-wife team making The Waddle and Cluck thrive, Lindsey's expertise shines through in her engaging narratives about farm life and the beauty of rural living.
How to sharpen pruning shears
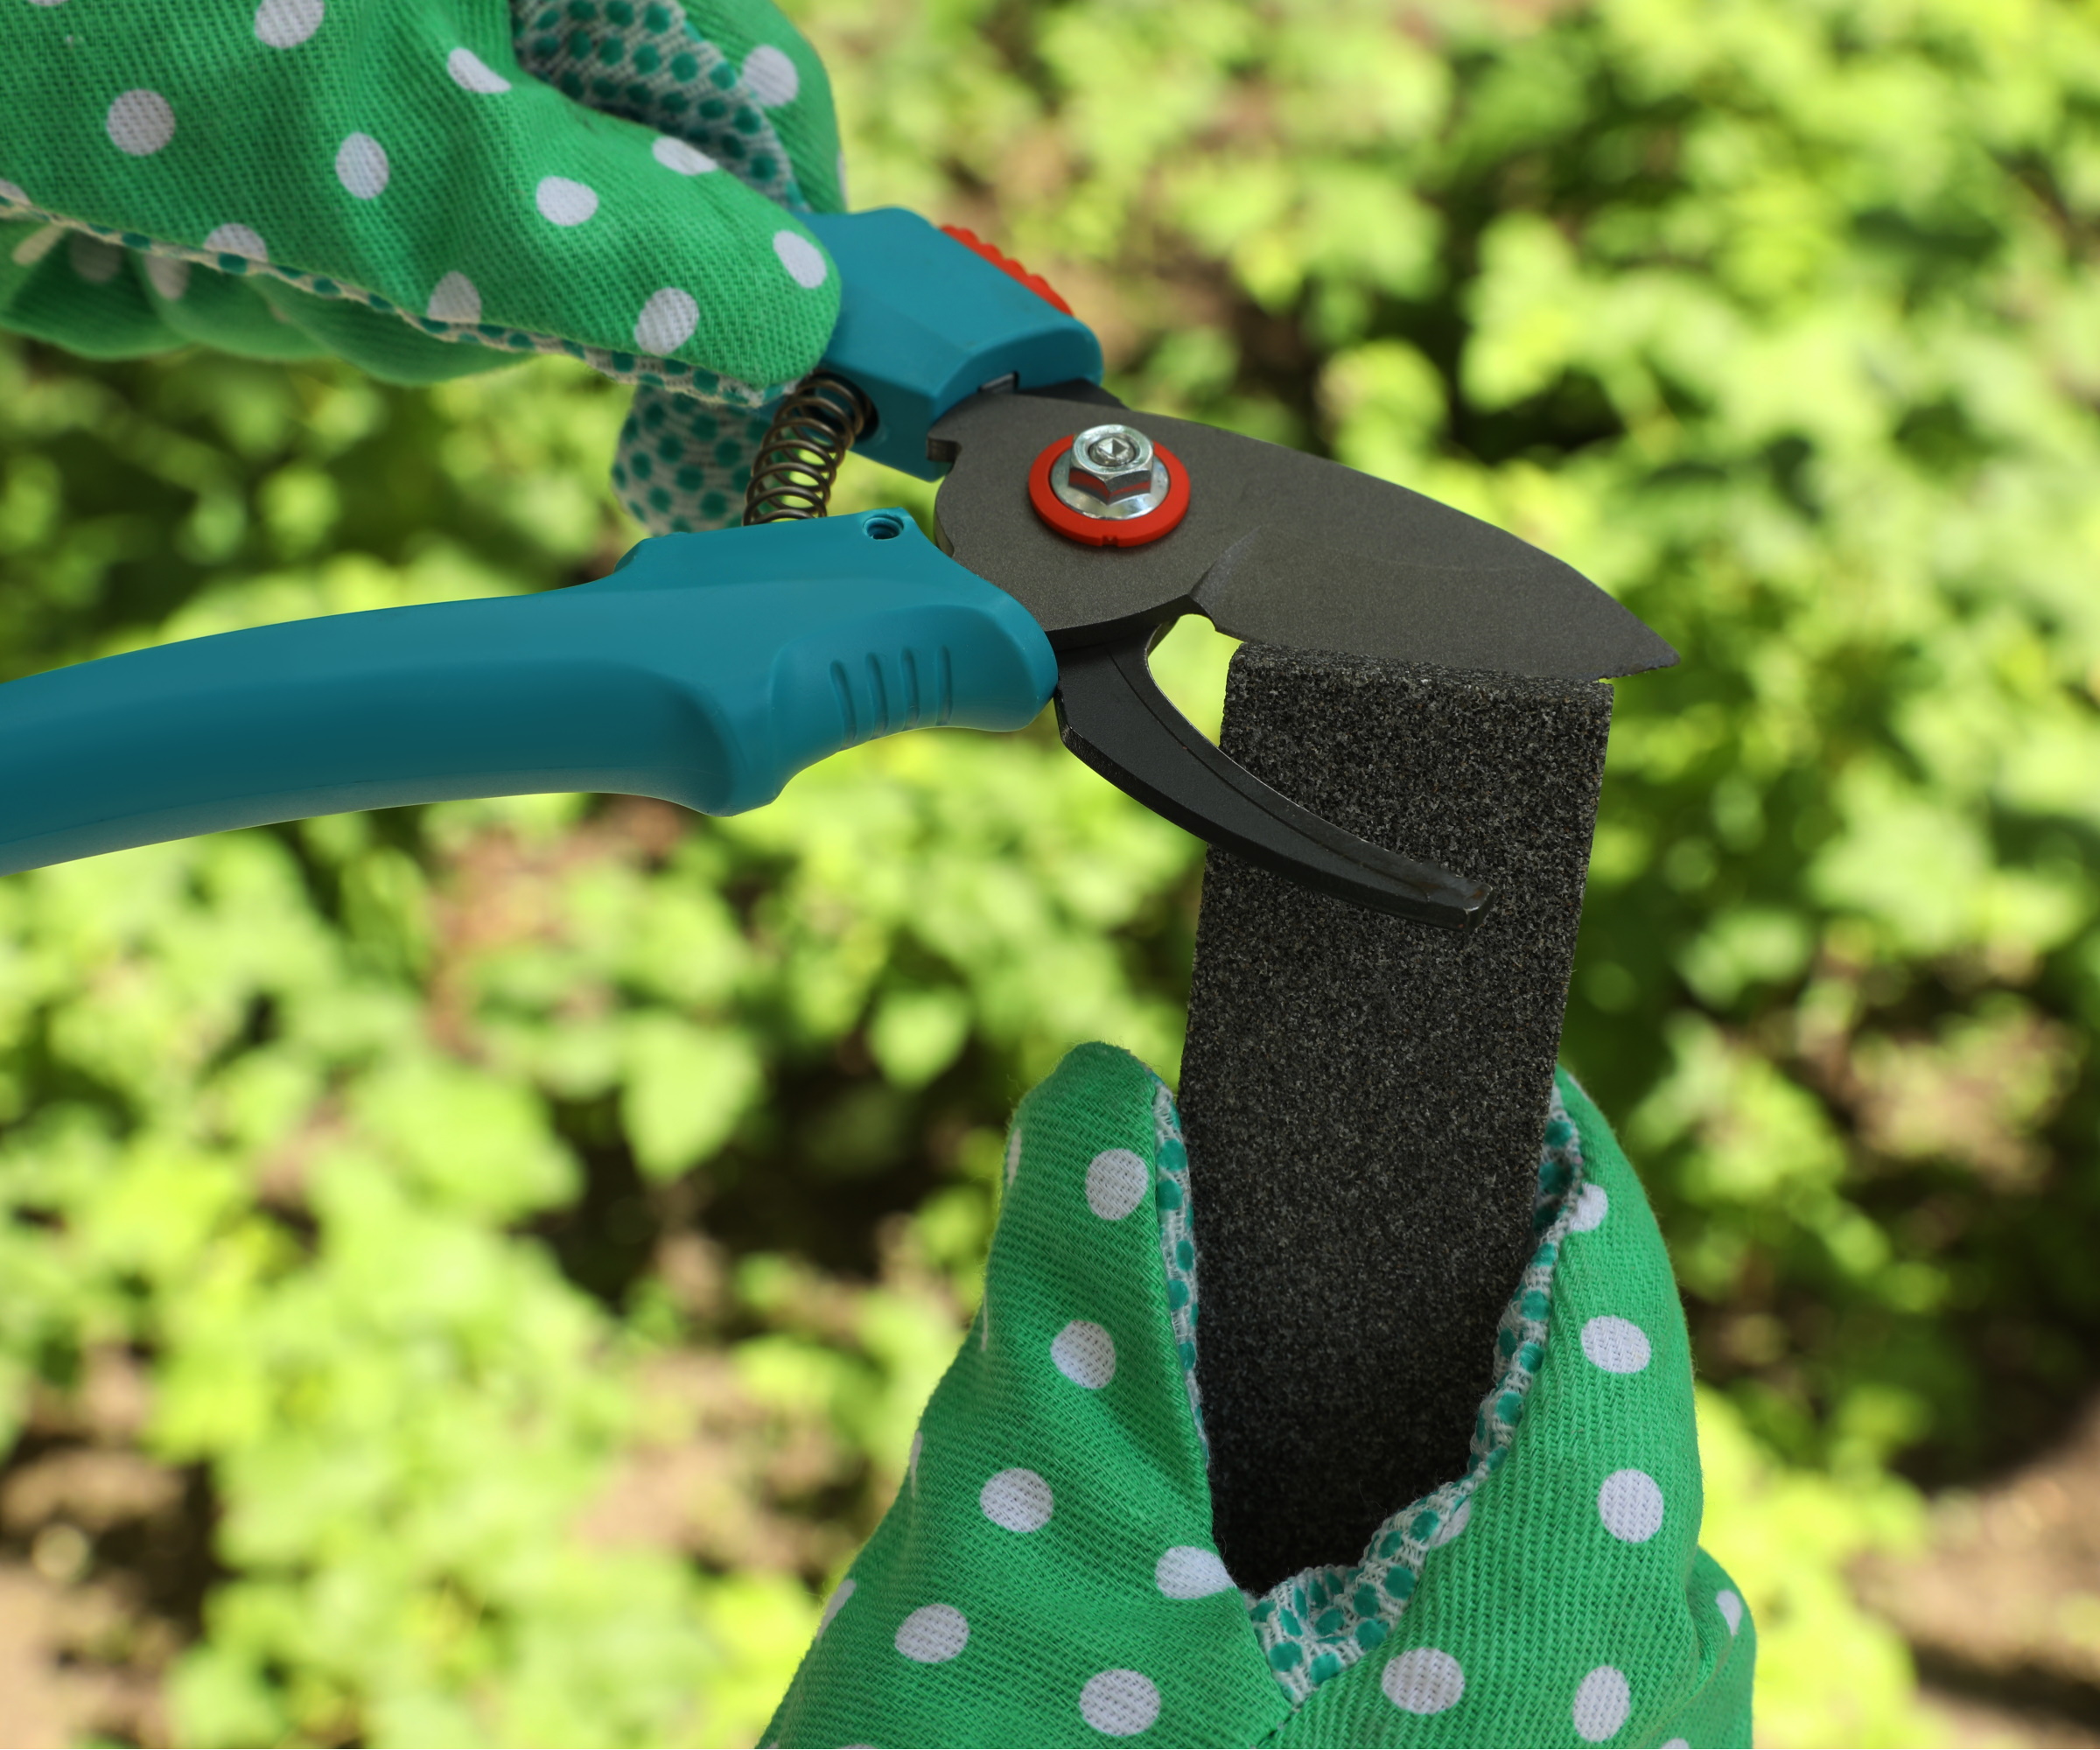
Sharpening your pruning shears is a lot easier than you might assume. Whether you're sharpening Bypass shears, like these from Amazon, or gardening scissors, like these from Amazon, all you need is a simple sharpening tool.
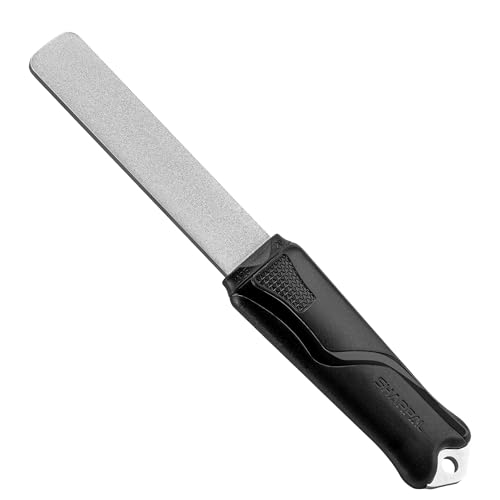
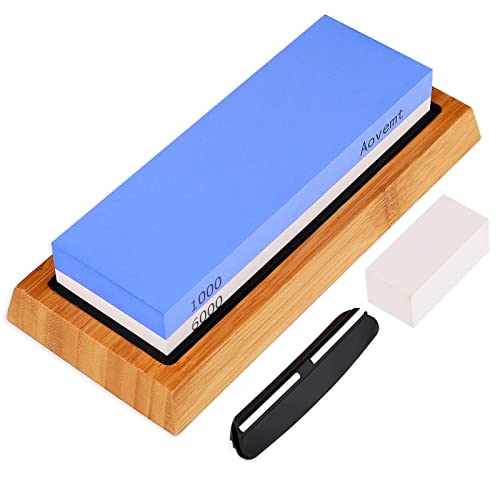
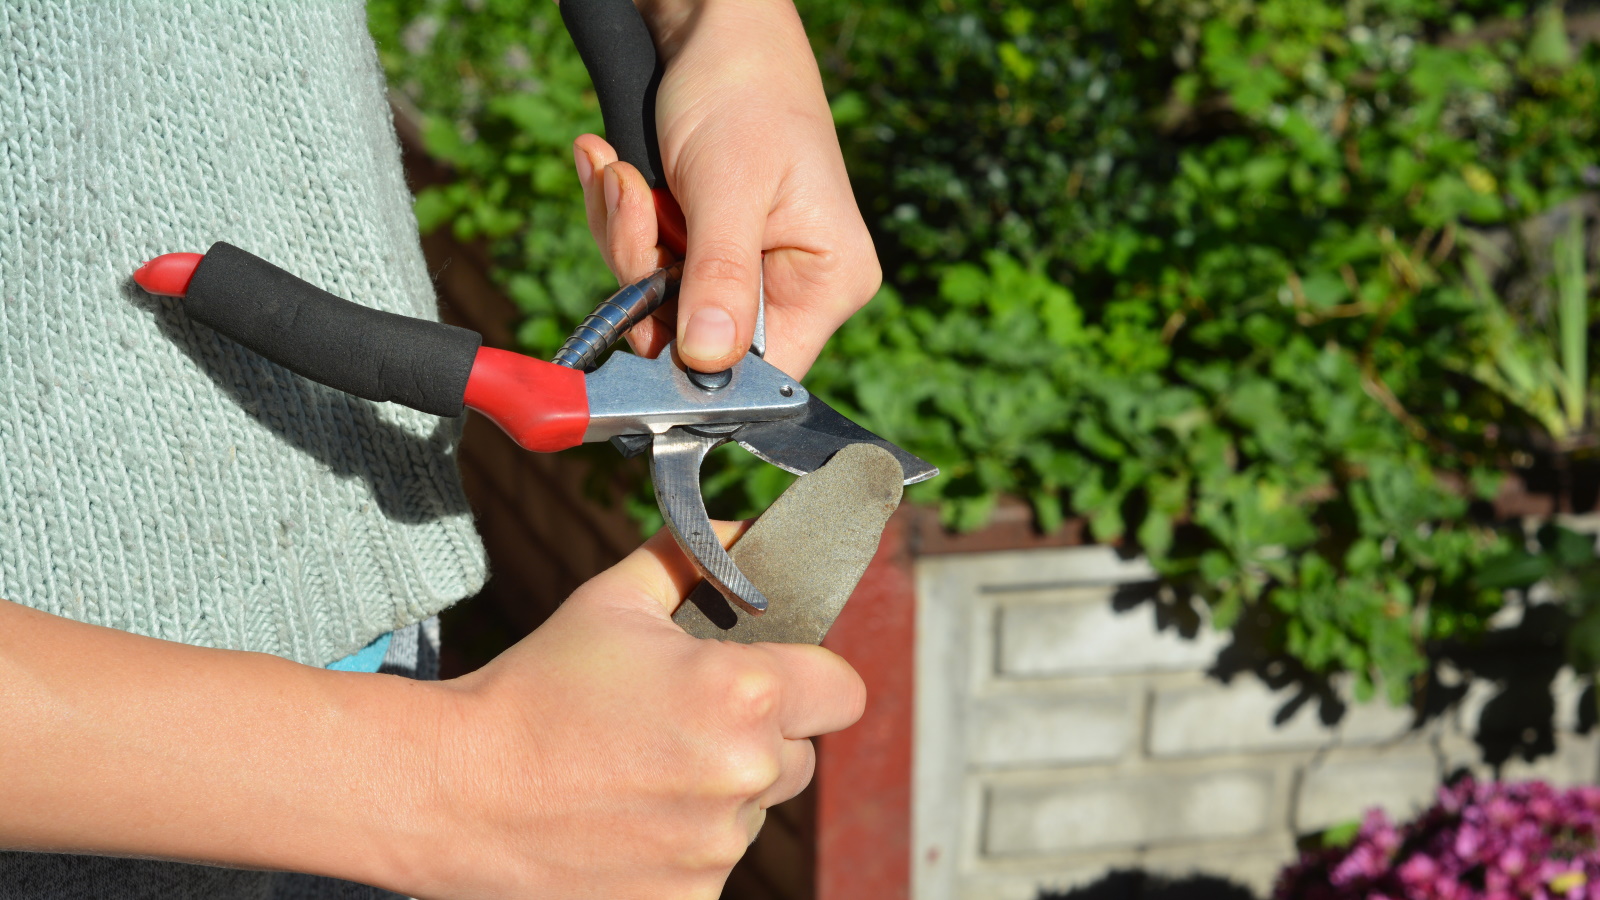
'You can sharpen hand pruners using a whetstone, file set or dedicated shear sharpener,' says Lindsey.
You should take the time to clean rusty tools and remove any debris with a cloth before sharpening them. Make sure to also put on some safety gloves to protect your hands.
Depending on the pruning shears you have, your method of sharpening will differ. Bypass shears have one angled side on its sharp blade, while anvil shears are angled on both sides of its sharp blade. Bear in mind that you want to sharpen all angled sides, meaning anvil shears need sharpening on both sides.
You can go ahead and start sharpening your tools by dragging the sharpening tool against the angled side of your shears. 'Sharpen the outside bevel, maintaining the correct blade angles as you work,' says Lindsey. Take care to also apply an even pressure as you curve the tool along the blade angle.
If you use a file, the sharpening action may cause a ‘burr’ along the flat edge of the cutting blade (this is where a thin sliver of metal folds over the cutting edge during sharpening). This can be easily removed by running the file once along the edge.
As you repeat this action, the bevel will become shiny - an indication of successful sharpening. Give your pruning shears another paper test to see if they cut through, at which point they're sharp enough to use.
Shop shear sharpening tools
FAQs
How do I make my pruning shears last longer?
Regularly cleaning and sharpening your pruning shears will keep them in pristine condition for much longer and ensure they always make clean cuts.
'You should take care to clean sap and debris off regularly, lubricate pivot points with oil, adjust tension screws and replacing any loose, bent or cracked parts right away,' advises Lindsey Chastain.
'Dull blades crush and tear the plants causing stress to the plant and leaves jagged openings for pests and infections,' says Lindsey. 'Keeping your pruners sharp ensures you can prune cleanly without harming the plants,' she adds.
You should also take care to store your garden tools properly over winter to ensure they don't become damaged during harsher weather.

Tenielle is a Gardens Content Editor at Homes & Gardens. She holds a qualification in MA Magazine Journalism and has over six years of journalistic experience. Before coming to Homes & Gardens, Tenielle was in the editorial department at the Royal Horticultural Society and worked on The Garden magazine. As our in-house houseplant expert, Tenielle writes on a range of solutions to houseplant problems, as well as other 'how to' guides, inspiring garden projects, and the latest gardening news. When she isn't writing, Tenielle can be found propagating her ever-growing collection of indoor plants, helping others overcome common houseplant pests and diseases, volunteering at a local gardening club, and attending gardening workshops, like a composting masterclass.
