How to sand outdoor furniture – make it easy with our step-by-step guide
Give weathered outdoor furniture a new lease of life. These are the simple steps to a beautiful finish


Exposed to sun, rain and snow, outdoor furniture made from wood inevitably shows the effects. But tables, chairs and benches that look weathered can be revived if you know how to sand outdoor furniture.
Sanding is the key preparation stage whether you want to stain or paint wood furniture to refresh it for a new season and ensure it lasts longer and, even better, it’s a simple do-it-yourself task.
Our guide has all the knowhow you need on how to sand outdoor furniture ready to create a great new finish for all your wood pieces.
Benefits of sanding outdoor furniture
Sanding wooden outdoor furniture is worth the effort. ‘Sanding your outdoor furniture has several benefits,’ explains home expert Kimberly Greenwell of My Southern Home TV. ‘The most important is increasing the lifespan of your pieces. Spending the time to sand your furniture and refinish the piece protects it from wear and tear caused by the weather, allowing you to enjoy your outdoor furniture for decades.
‘Wood furniture can become sun bleached and weathered overtime. Refinishing the piece easily allows you to change the stain or paint color giving your outdoor furniture a fresh new look.
‘It also makes sitting on your furniture more enjoyable. You won’t have paint chips or splinters poking you while trying to enjoy your front porch or outdoor living area.’

How to sand outdoor furniture
There are just a few simple steps you should follow for the best results.
You will need:
- Stiff brush
- Garden hose
- Drop cloth
- Sandpaper: 120 grit and 80 grit
- Sanding block
- Orbital sander (optional)
- Soft brush
- Tack cloth
1. Prepare the furniture
It’s worth cleaning outdoor furniture before sanding it. Use water and a stiff brush to get rid of any dirt and stuck-on debris, then rinse gently with a hose. Allow to dry completely before sanding.
2. Sand the furniture surface
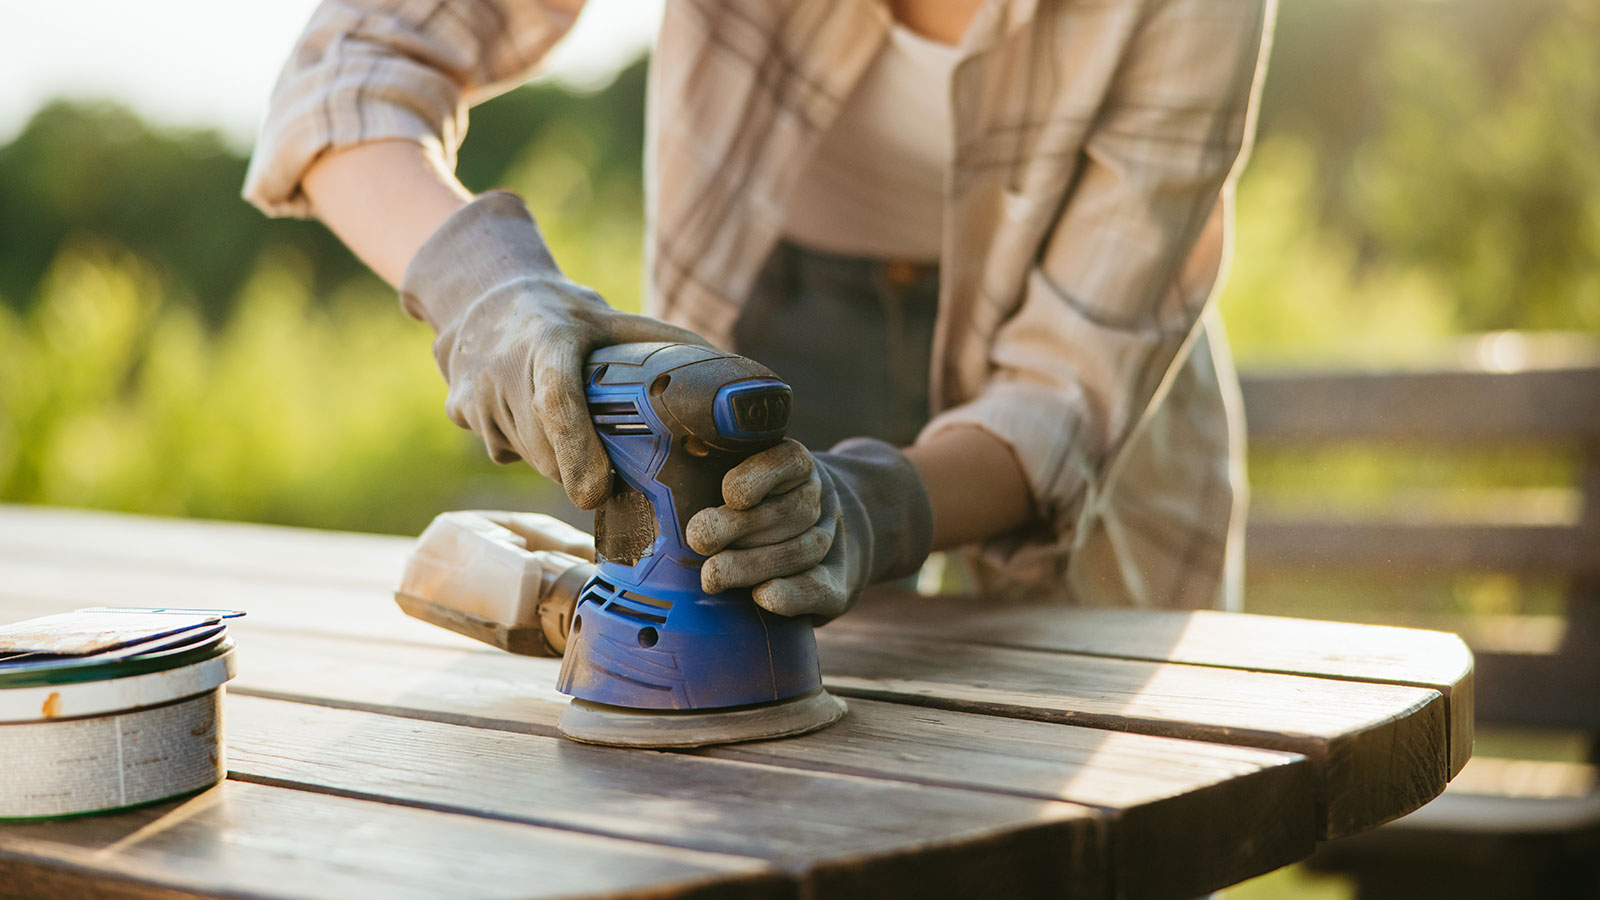
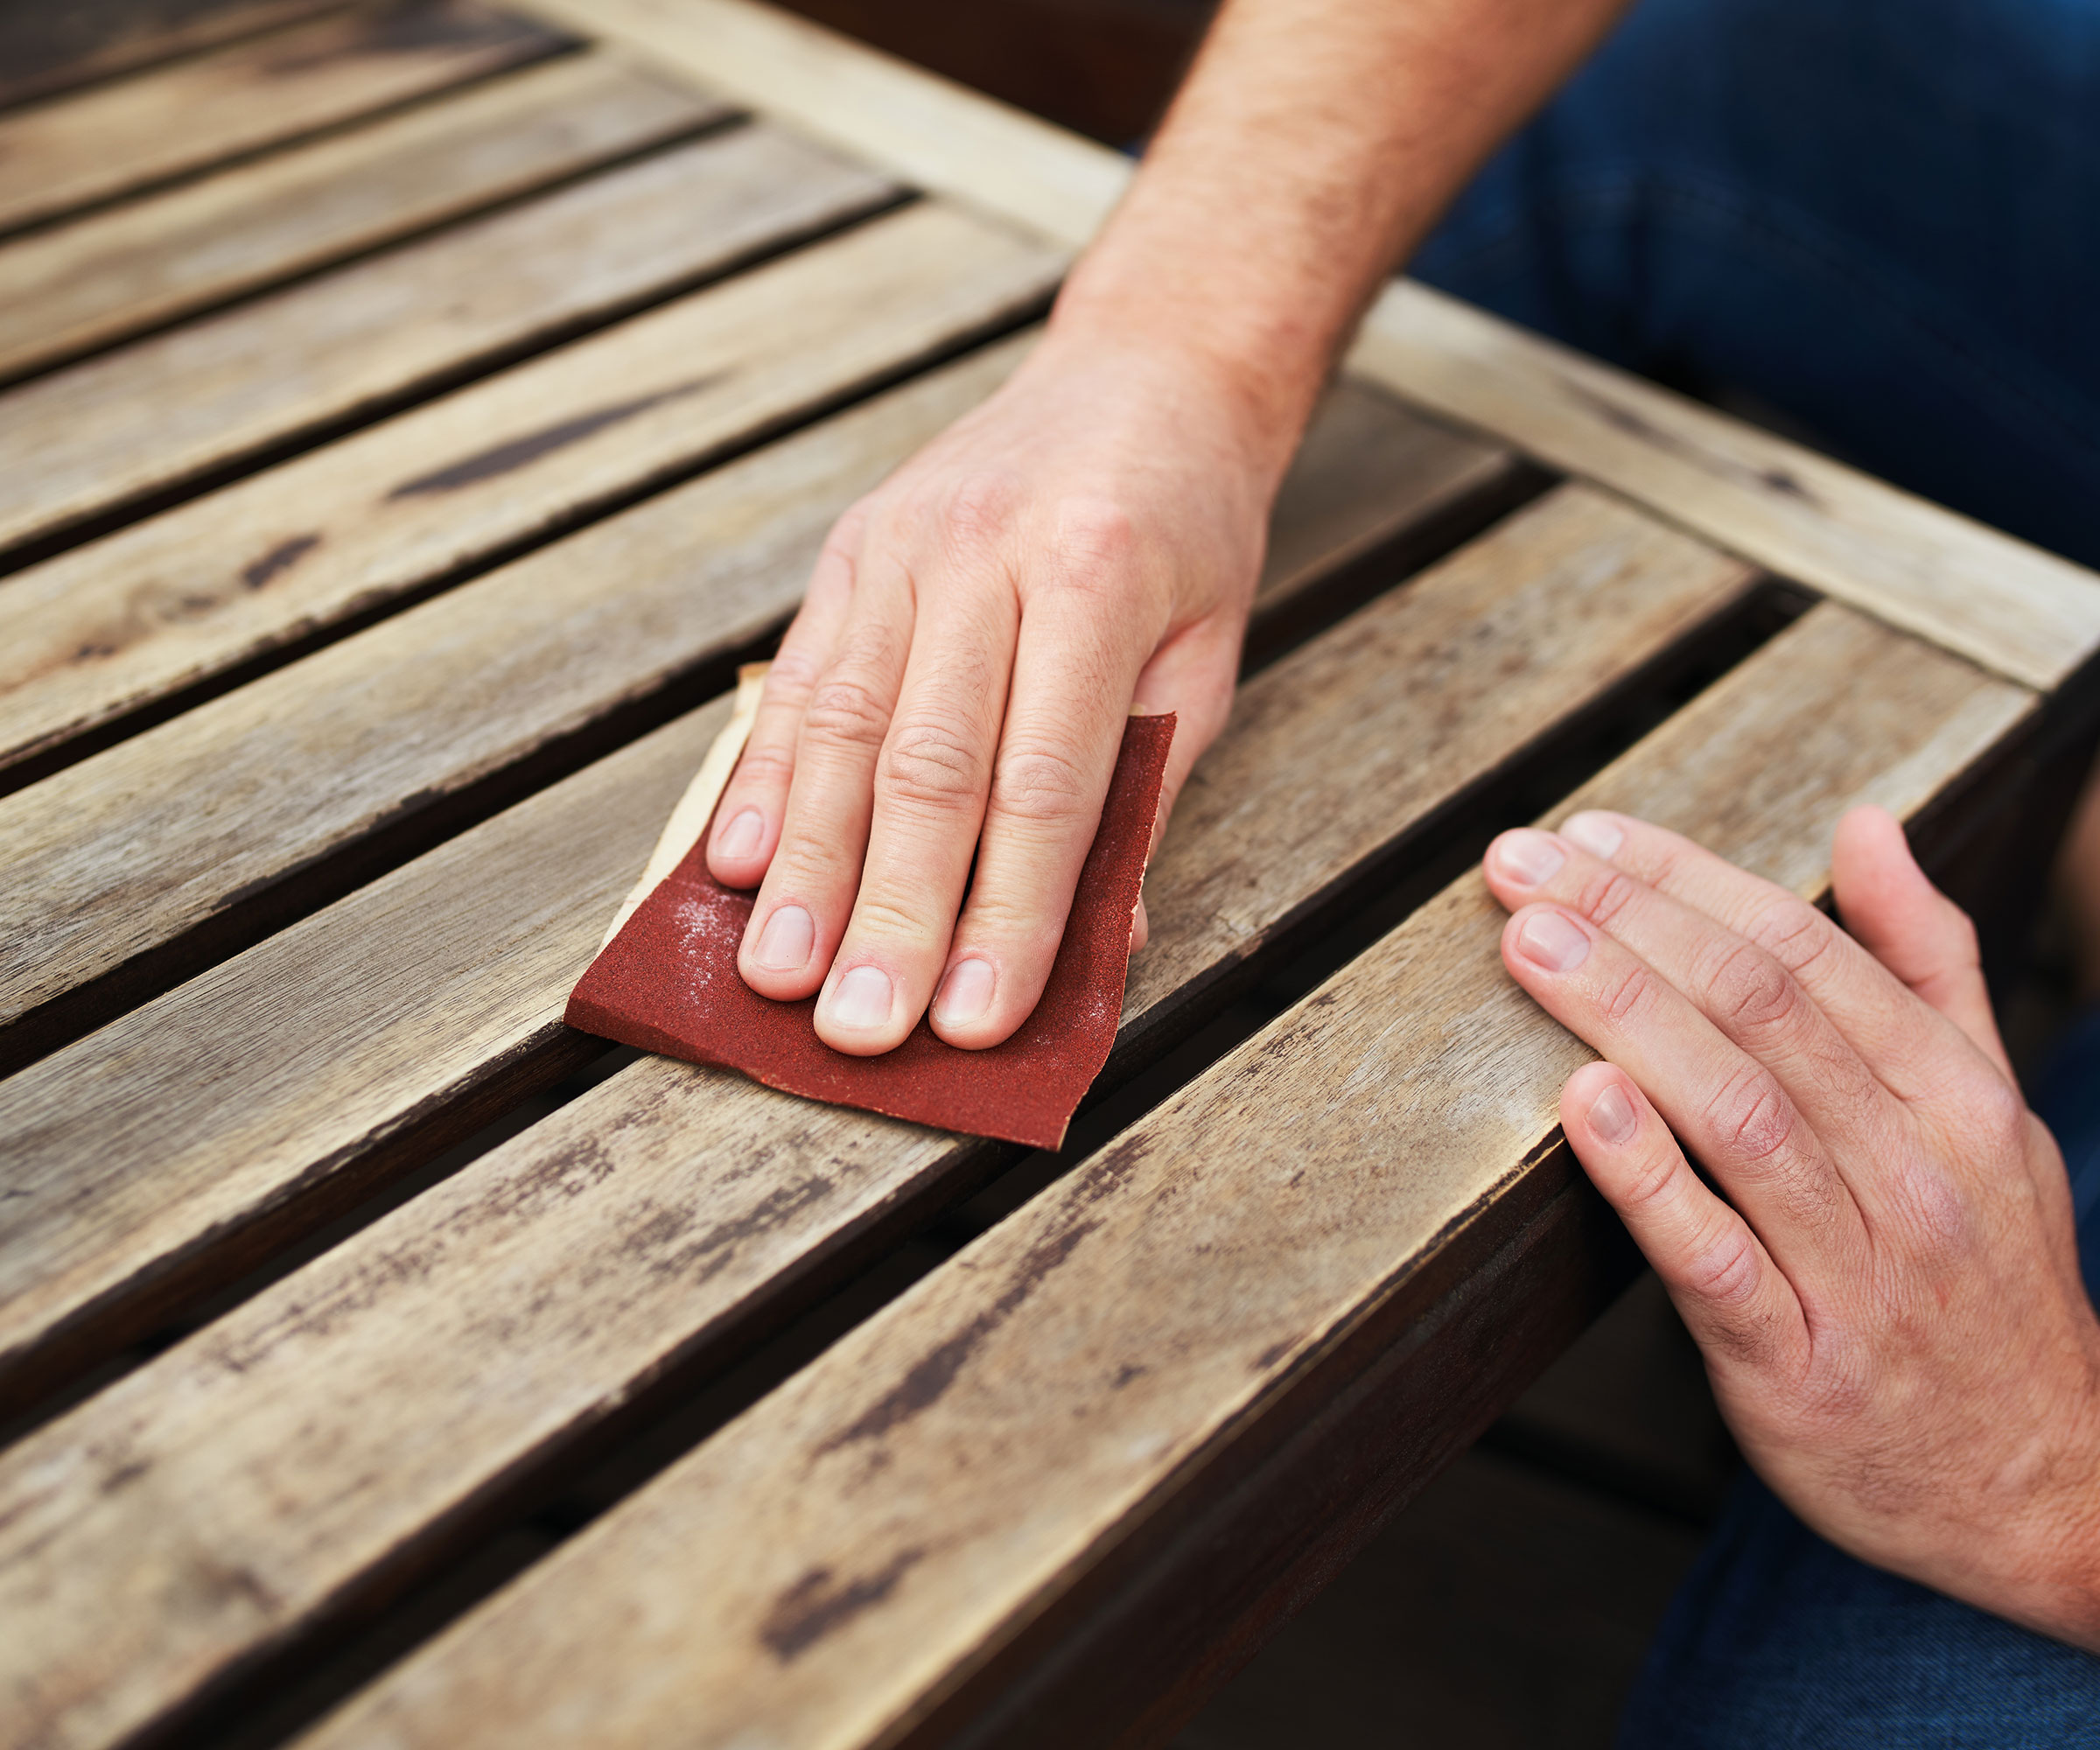
Lay the drop cloth underneath the furniture to prepare, then sand the surface of the furniture. This can be done by hand but it’s far easier to use an orbital sander, such as the Bosch ROS20VSC orbital sander from Amazon. Corners and edges will need to be sanded by hand as you won’t be able to reach these with the orbital sander. Using a sanding block for hand sanding should prove easiest.
Start by using 80 grit sandpaper, then finish with 120 grit sandpaper. This Fandeli multi-purpose sanding paper pack from Amazon contains both grades of sandpaper that you will need.
Always work in the direction of the wood grain and use long strokes and a gentle pressure. You may need to sand more than once.

3. Remove dust
Sanding will create a layer of dust which needs to be removed from the furniture before you do anything else. Use a soft brush to get rid of the dust that’s accumulated on surfaces.
Next, use a tack cloth to wipe down all surfaces removing any remaining dust and oil. Be sure to work into edges, corners, gaps, and decorative detailing on the furniture.
The furniture is now ready for the application of primer then paint or a wood stain depending on your finish preference.
FAQs
Do you have to sand outdoor furniture before painting?
To create the best finish, you should sand before painting wooden furniture. ‘Sanding down your furniture is a crucial first step in refinishing furniture,’ says home expert Kimberly Greenwell of My Southern Home TV. ‘It allows the paint to easily adhere to the surface and for the paint to be applied smoothly.
‘Skipping this step will leave your furniture with imperfections and uneven surfaces, and the paint will easily chip and peel.’
Do you need to sand before staining outdoor furniture?
You should sand before staining outdoor furniture. ‘Sanding down outdoor furniture before staining is crucial for a couple different reasons,’ explains home expert Kimberly Greenwell of My Southern Home TV.
‘Staining wood is slightly different from painting because you enhance the beautiful wood tones in your furniture. It also lets you see imperfections, such as scratches or dents in the piece.
‘Properly cleaning and sanding the wood removes scratches or chips in the furniture, leaving a smooth and like-new finish. Sanding also opens the pores in the wood, allowing the stain to easily absorb into the furniture giving it a nice, even, smooth, professional look.
‘Like paint, stains will only apply properly if you thoroughly clean your furniture before applying. Before staining your furniture, remove all sand dust, dirt, and paint chips.’
Sanding outdoor furniture might seem like a time-consuming task that isn't worth the effort, but don't discount its benefits. Lack of preparation when painting or staining furniture is a common outdoor furniture mistake, and can lead to flaking paint and unsightly finishes, so it pays to get it right first time.
Sign up to the Homes & Gardens newsletter
Design expertise in your inbox – from inspiring decorating ideas and beautiful celebrity homes to practical gardening advice and shopping round-ups.

Sarah is a freelance journalist and editor. Previously executive editor of Ideal Home, she’s specialized in interiors, property and gardens for over 20 years, and covers interior design, house design, gardens, and cleaning and organizing a home for Homes & Gardens. She’s written for websites, including Houzz, Channel 4’s flagship website, 4Homes, and Future’s T3; national newspapers, including The Guardian; and magazines including Future’s Country Homes & Interiors, Homebuilding & Renovating, Period Living, and Style at Home, as well as House Beautiful, Good Homes, Grand Designs, Homes & Antiques, LandLove and The English Home among others. It’s no big surprise that she likes to put what she writes about into practice, and is a serial house renovator.
-
 5 surprising but brilliant ways to clean with old socks – from perfectly buffing stainless steel to deterring pests naturally and more
Tackle dust in tricky corners, clean your mirrors and even banish bad odors with those rogue single socks
By Andy van Terheyden Published
-
 How to grow astilbe – expert advice on cultivating this shade-tolerant flowering perennial
Shade-tolerant and pest-resistant - astilbe are hardy and tough perennials that can thrive in many settings
By Ellen Wells Published