How to repot a jade plant – 4 easy steps for healthy houseplants
Is it time to give your Crassula ovata a new home? Here's everything you need to know to encourage strong growth


Q: I have a jade plant in my conservatory. It's a couple of years old now and has filled its pot. Is it a good idea to repot it, and if so, can you give me any tips?
A: Most healthy houseplants will need repotting now and again to accommodate their growth and prevent congestion of the roots, which can affect nutrient uptake. Jade trees or plants, also known as Crassula ovata, are among these, and are usually repotted every two or three years – or every four years if they are more mature. This is best done in the spring, when the plant is actively growing, advises Tony O'Neill, a gardening expert.
Often, repotting (along with removal of any rotten roots) is also worth doing if a jade plant is dropping its leaves due to overwatering.

Tony O'Neill is an accomplished gardening expert, author, and educator. With a passion for simplifying gardening practices, he has inspired a wide audience through his popular YouTube channel and website SimplifyGardening.com. Tony's expertise empowers individuals to cultivate thriving gardens and connect with nature.

These plants are low maintenance, but repotting them now and again is beneficial
How to repot a jade plant
Before you get started, you'll need to choose the right container to move your jade plant into. Note that larger jade plants will need a heavier pot to prevent them from toppling over.
'Be sure your new pot has drainage holes – this will help prevent waterlogging,' says Autumn Hilliard-Knapp of Perfect Plants Nursery. 'You will also want your pot to be slightly larger than the current one your jade plant is in.' Avoid picking one that's too big, she adds, otherwise it will retain excess moisture and contribute to root rot.
You will also need to prepare your potting mix. Tony advises combining a standard potting soil with sand or perlite for better drainage. You can buy Organic Perlite from Perfect Plants Nursery.
Then, follow Tony's simple steps below.
- Gently tap the sides of the current pot to loosen the soil and root ball. Grasp the jade plant at its base and ease it out.
- Look for damaged or overly long roots and trim them. If the roots are circling the bottom, gently untangle and spread them out.
- Place some soil at the bottom of the new pot. Position the jade plant so it sits at the same depth as before. Fill in around the plant with the soil mixture, gently tamping down to eliminate air pockets.
- After repotting, water sparingly and place the jade plant in its usual location.
Top tip: Water the jade plant a few days before repotting, recommends Autumn. This helps the plant to tolerate the stress of the event better.
If you like, you can add a mulch of pebbles or decorative gravel on the top of the soil after repotting your jade plant. This gives the display an attractive finishing touch and is a popular addition when repotting cacti, too. Plus, it can help to prevent problems with fungus gnats, a common houseplant pest.

Autumn is a horticulture specialist and marketing professional at Perfect Plants Nursery. With four years of experience in the horticulture industry, she has developed a passion for helping people create beautiful indoor and outdoor spaces to enjoy. Her expertise in horticulture encompasses a broad range of activities, including plant care and selection, landscape design, and maintenance.

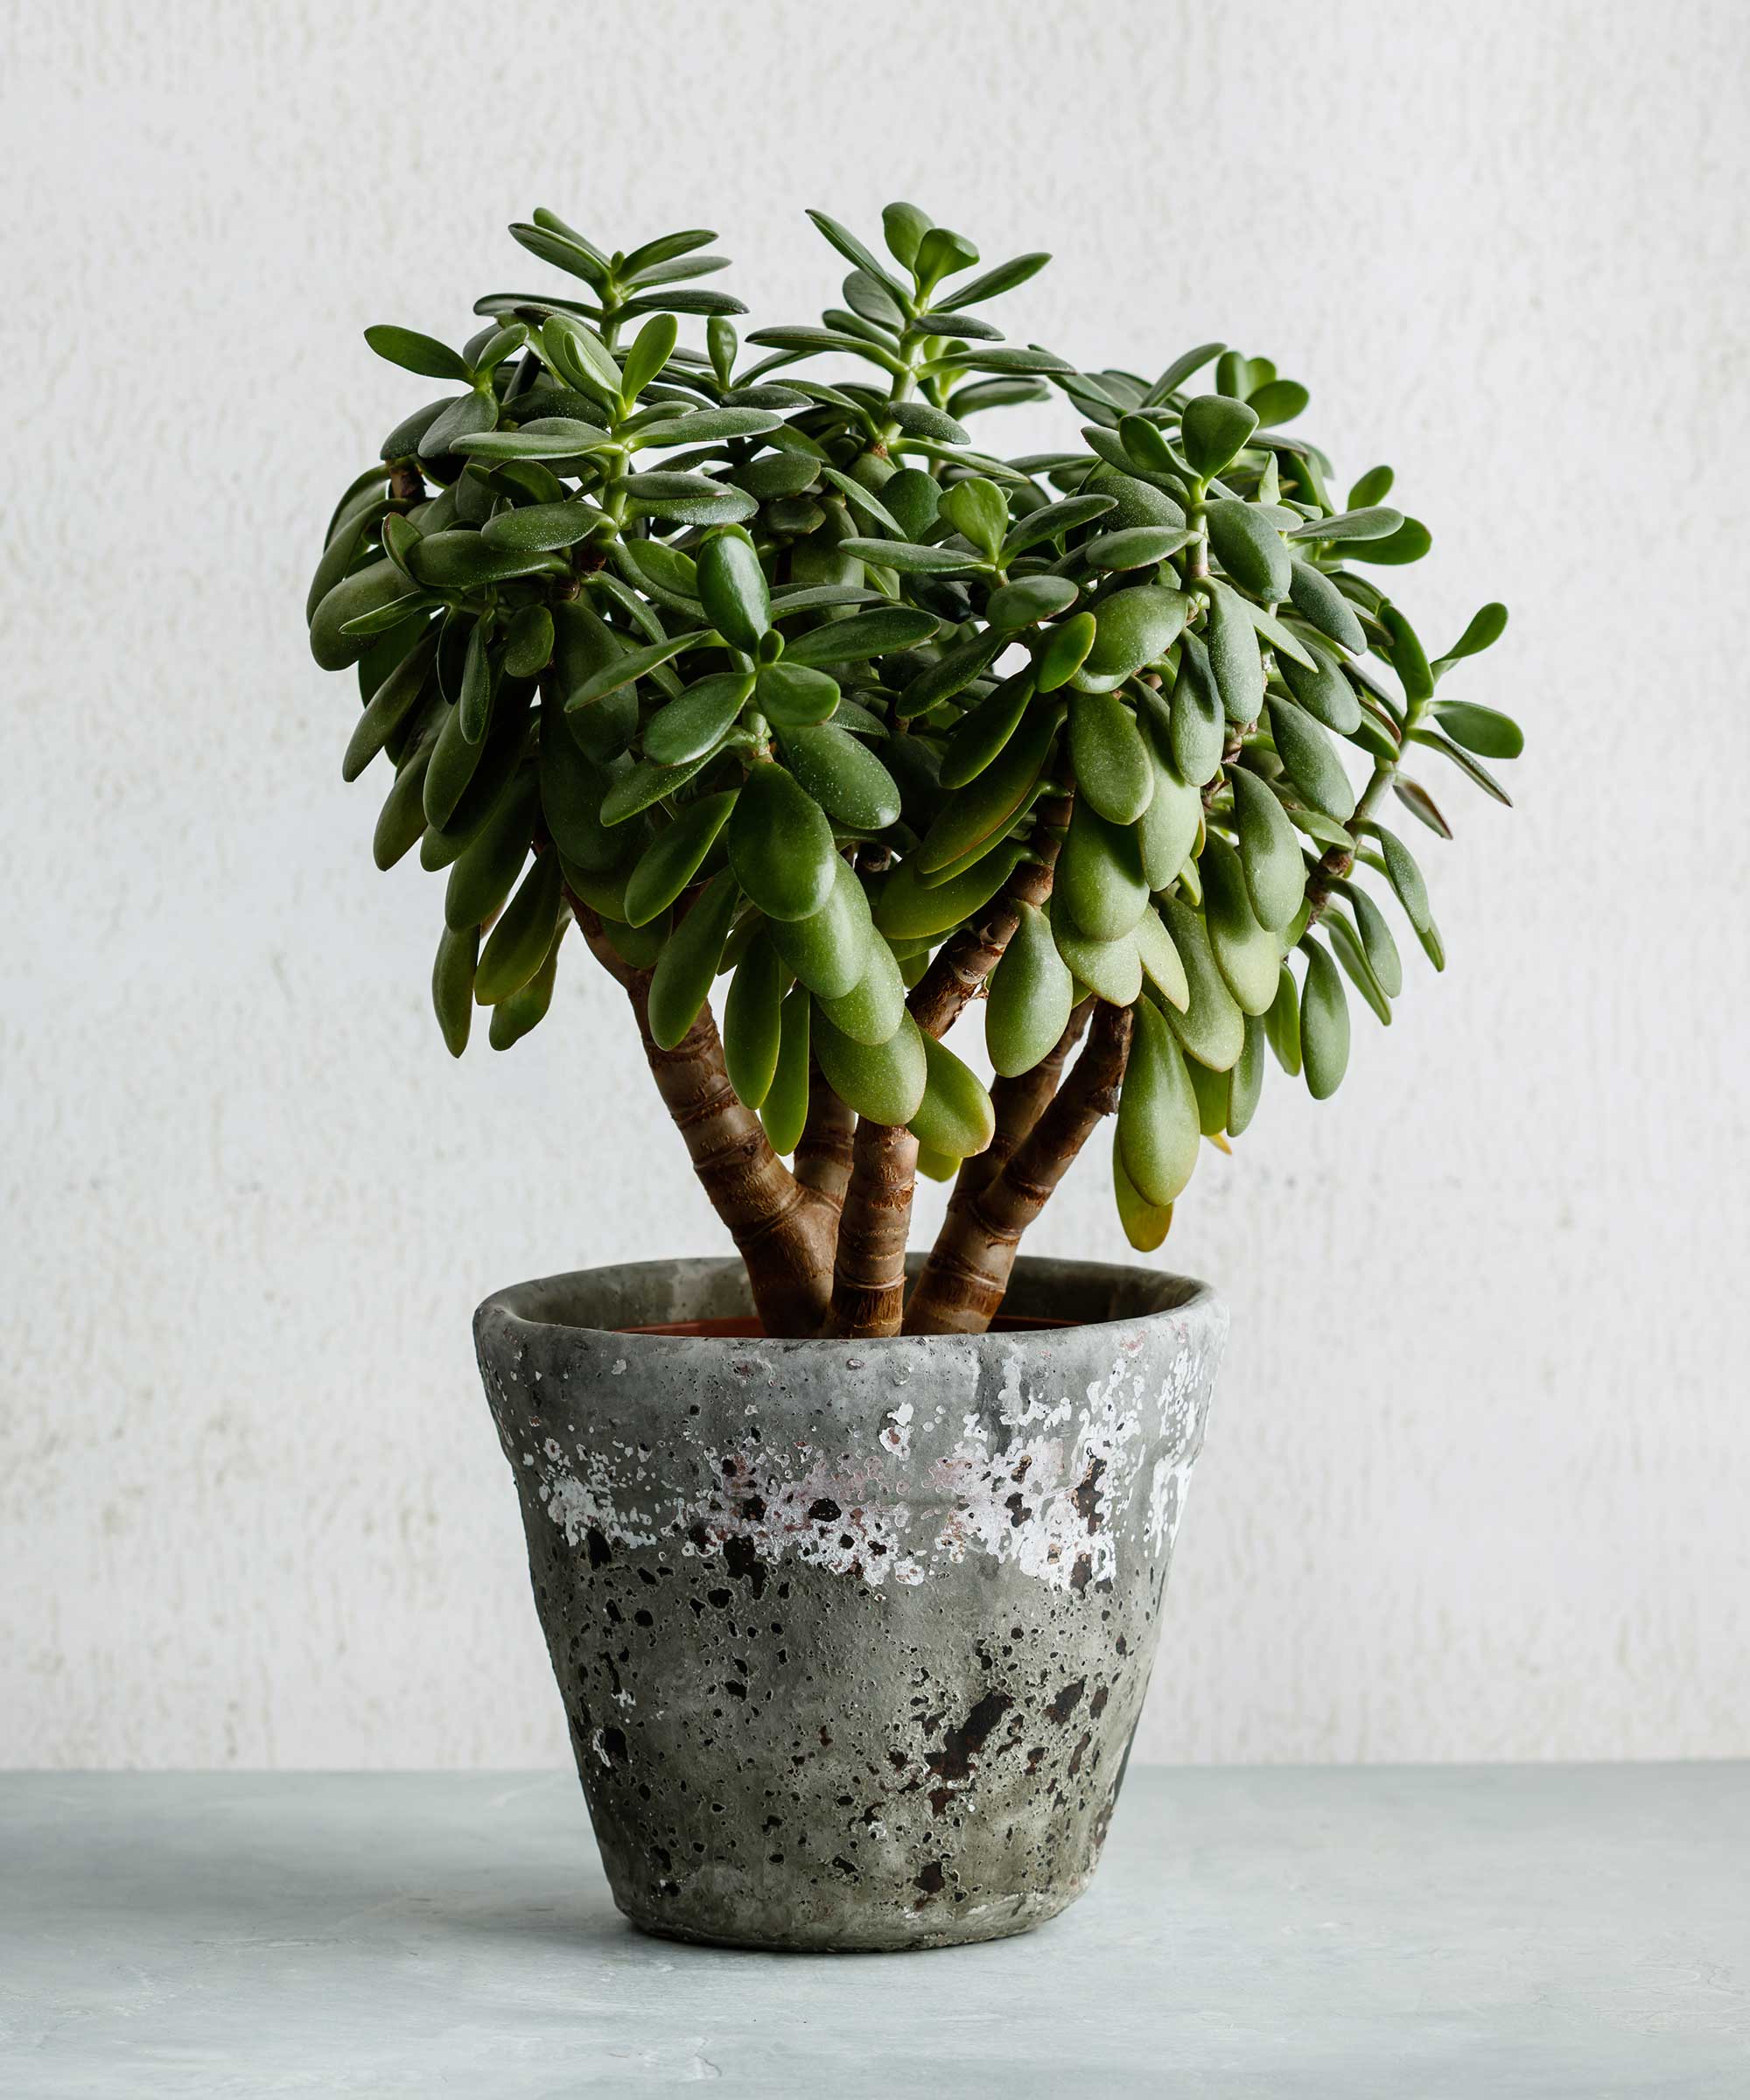
These plants make attractive small trees for interior schemes
My jade plant is stuck in its pot – what should I do?
Root-bound plants can be tricky to remove from their container. It's easier if you water the plant first. One trick I like to use is to take a chopstick and gently poke it through the drainage holes in the bottom of the pot, which can help to loosen it. Carefully running a knife around the edges of the soil can also help.
If it's in a plastic pot, you may need to cut this away, Autumn adds.

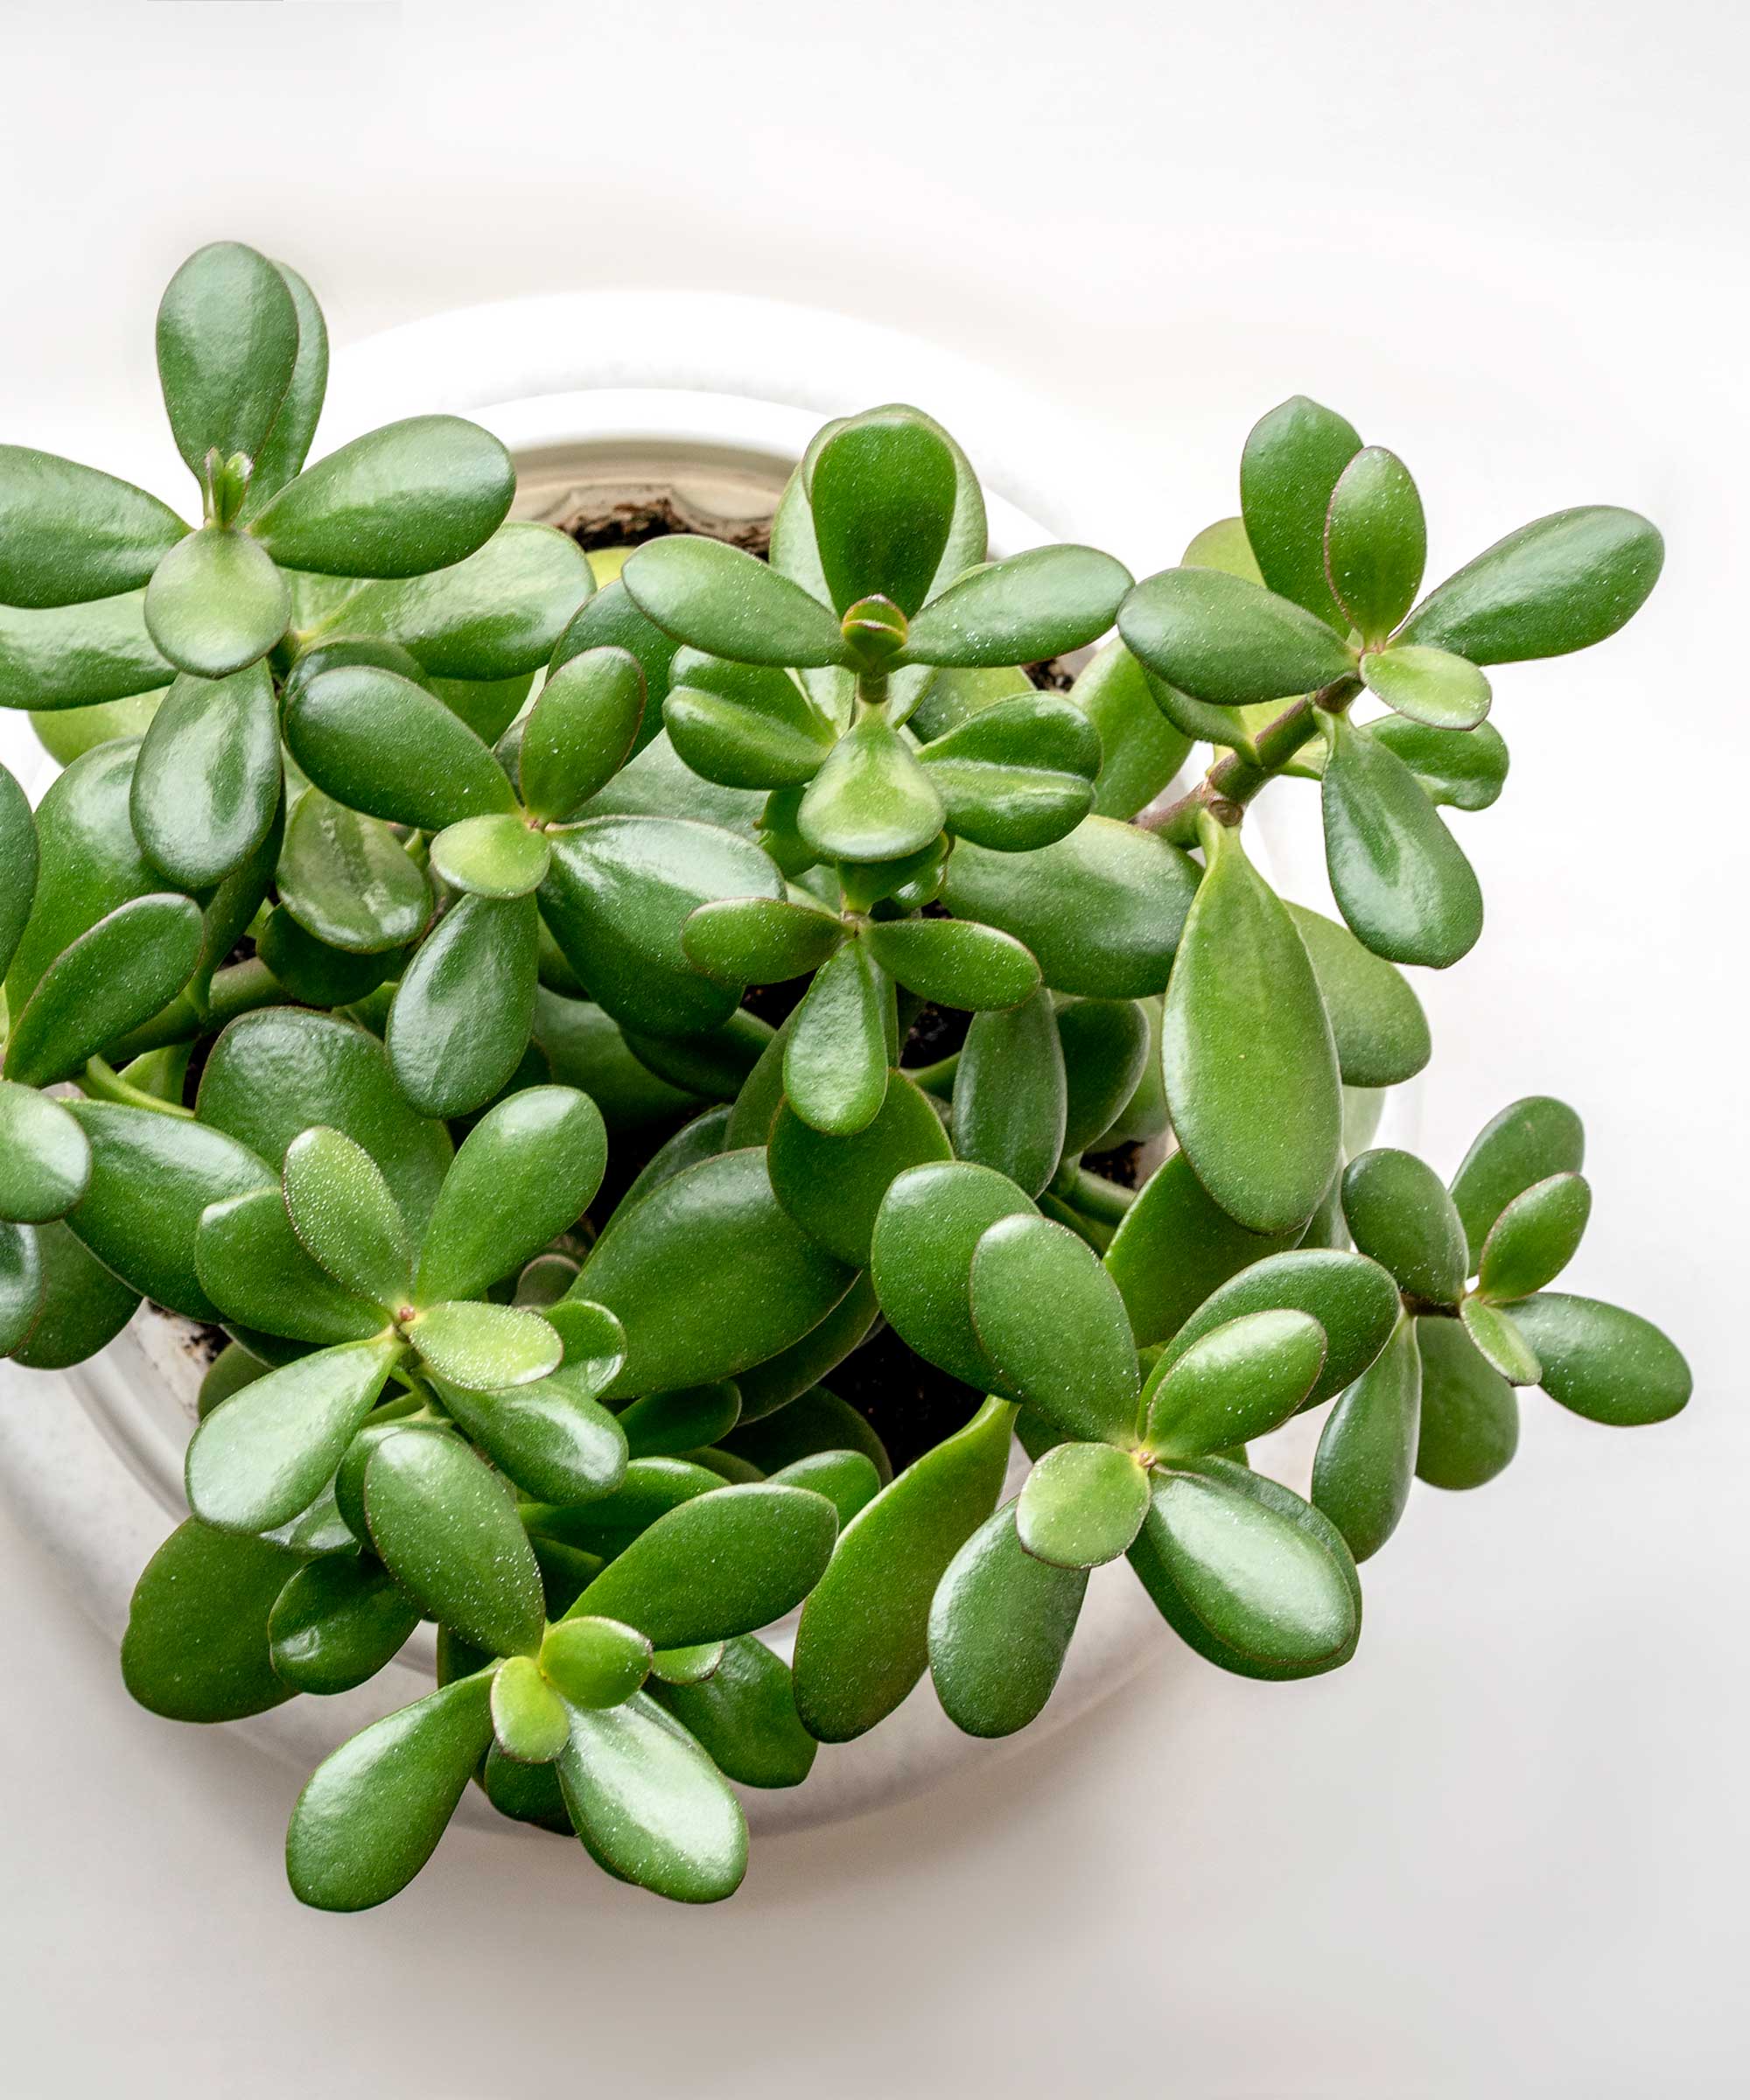
Healthy jade plants will have firm and glossy green leaves, and can produce flowers, too, if conditions are just right
These houseplants can grow quite large – I've seen jade plants that started from small cuttings turn into indoor trees around 4ft tall (albeit, over decades). Once your plant gets to this stage, repotting it into a larger container may no longer be practical. Instead, replacing the top layer of compost with fresh and using a houseplant fertilizer will give it the nutrient boost it needs.
Sign up to the Homes & Gardens newsletter
Design expertise in your inbox – from inspiring decorating ideas and beautiful celebrity homes to practical gardening advice and shopping round-ups.

Holly started writing about gardening five years ago, and she is a regular contributor to Homes & Gardens. She has also written many gardening features for Woman & Home and Real Homes, too. She has previous experience as a professional gardener, where she helped to plant and maintain private gardens. Holly has also looked after allotment plots over the years and loves to grow her own flowers and veggies from seed. In her spare time, she enjoys visiting local gardens, botanical drawing, and tending to her ever-growing collection of houseplants.
-
 This kitchen has been transformed from cramped and outdated to warm and welcoming – and it's all thanks to a few thoughtful Japandi-style features
Warm wood tones, textural designs, and considered contrast are key to this beautiful transformation
By Molly Malsom
-
 This brilliant $4 drawer organizer helped me reclaim control of my chaotic underwear drawer – and turbocharged my mornings
It makes heaps of difference when I'm getting ready
By Chiana Dickson