How to repair cracks in a concrete patio – 7 DIY steps to get your yard in pristine condition
Get ready for outdoor entertaining by fixing up concrete patio damage in just a few simple steps
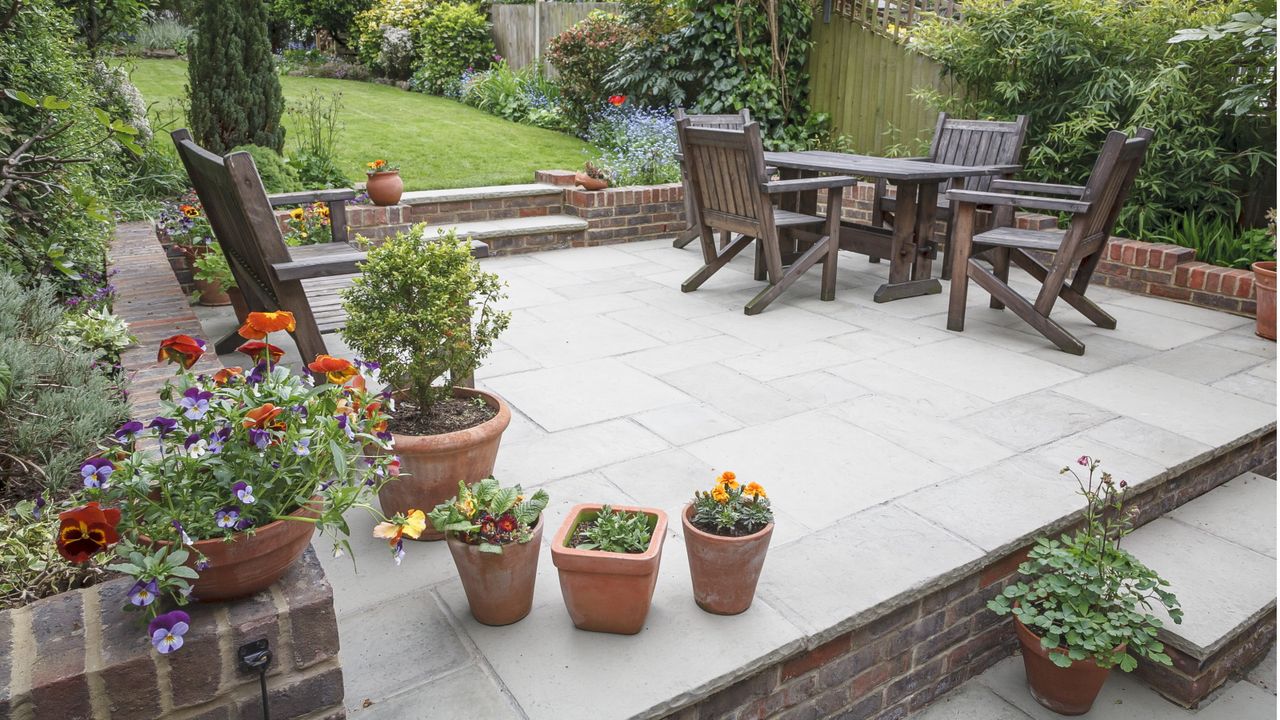

As the weather gets warmer and we start to spend more time in our backyards, we want to make sure our outdoor living space is in the best possible condition.
If you opted for concrete when exploring garden patio ideas, you may experience cracking and the concrete becoming damaged at some point. But don't worry - this patio material can be fixed easily, so that you can get ready for outdoor entertaining and summer garden parties.
We asked experts how to fix cracks in a concrete patio and they shared seven steps to follow to make your patio look as good as new.
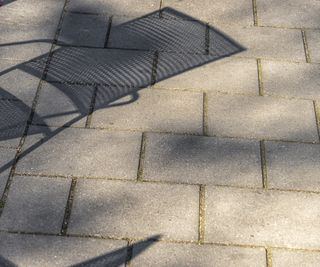
Tools to fix a cracked concrete patio
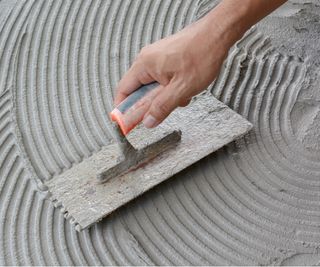
Before jumping in with fixing cracks in a concrete patio, you need to make sure you have the right DIY tools to get the job done. Here are a few tools to collect for this project:
- Wire brush, like these wire brushes from Walmart.
- Chisel, like this chisel set from Walmart.
- Flat trowel, like this finishing trowel from Amazon.
- Putty knife, like this putty knife from Amazon.
- Mixing container, like this mixing container from Walmart.
- Safety gear, like these safety goggles from Amazon.
How to fix cracks in a concrete patio
Don't panic if you notice cracks in your concrete patio. Follow these seven steps from experts to repair your concrete patio and get your outdoor living space looking as good as new in no time.
1. Identify the cause of damage
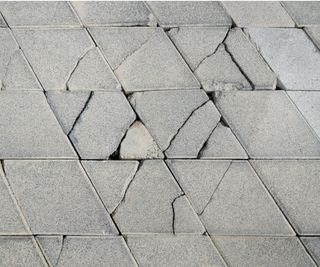
To avoid further cracks developing, you should take the time to identify what caused the damage in the first place.
'The first step in patching a concrete crack in a patio, or any other slab surface, is to determine what is causing the crack in the first place,' says Korey Gregory, construction supervisor at ASAP Restoration. 'If it is being caused by subsidence or other earth shifting issues, then those will need to be addressed prior to fixing the concrete crack, or it will just crack again in short order,' he adds.
Korey noted that if cracks are forming from subsidence problems, it might be a good idea to get a specialist involved.
'One of the best ways to tackle this is by having a foundation specialist add spray foam to the areas that are sinking. This will prevent them from continuing to subside and ruin any fixes made to the cracks in the concrete,' he adds.
If the cracks in your patio have been caused by other factors and you have eradicated the source of the issue, you can begin repairing the damage.

Korey Gregory is the Superintendent for ASAP Restoration, LCC. Korey has been in the construction industry for more than 17 years and has been a licensed General Contractor for the past four. Before joining ASAP Restoration, Korey owned his own successful company called KG Custom Interiors in Washington.
2. Clean the damaged area
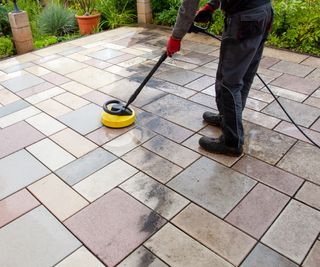
It's important to clean your patio pavers and the rest of the damaged area to ensure you remove debris get a smooth results.
'Clean cracks using a wire brush to remove loose materials and debris, this makes the filler adhere well,' says Jay Sanders, licensed contractor and owner of Castle Dream Construction and Maryland Contractors.
Make sure to be wearing your safety gear while doing this so that any materials that may be flying around don't harm you.

Jay Sanders is a Baltimore based licensed contractor. He's been working on construction for more than 10 years with a large portfolio of successful projects. Jay is owner of Castle Dream Construction and Maryland Contractors.
3. Widen the crack
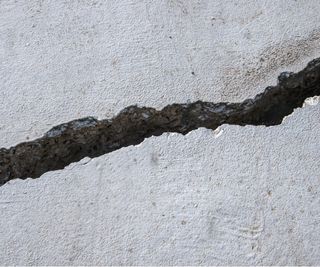
While it may sound strange, experts say that the next thing you need to do is widen the crack.
'It seems counterintuitive to make the crack bigger to fix it, but in some cases it may be required to get the best fix,' says Korey. 'Use a chisel or screwdriver to widen the crack in some spots so that the compound will easily transfer in,' he adds.
By making the space larger, the mixture used to fix the crack will fill in better and smoother. You can also use a hammer to help the impact of the chisel, making it easier to widen the gap.
4. Apply bonding adhesive
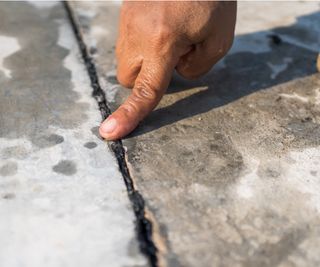
Next, it's time to apply a bonding adhesive to help the repair be a success.
'Using concrete bonding adhesives helps the new material to adhere well to the old one, increasing the bonding strength up to two times,' says Jay.
Apply the adhesive using a putty knife or flat trowel, ensuring you are providing smooth and even coverage.
You can find bonding adhesive for concrete online, like this concrete bonding adhesive from Amazon.
5. Prepare the compound mixture
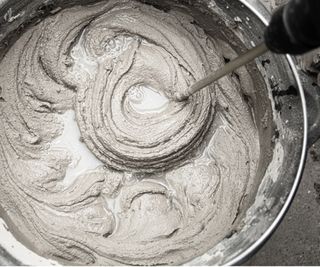
Whether you're fixing a crack in a concrete patio or building a patio from scratch, you need to have a compound mixture to ensure everything sticks in place.
There are lots of compound mixtures available on the market to choose from, like this concrete repair resin from Amazon. 'For the best results, always consider the type and size of crack you are dealing with and get the right compound mixtures,' says Jay.
'You can go in for the polyurethane or latex-based fillers which are flexible, easy to apply and good for minor cracks. Or the epoxy compounds which are also good for wider cracks that need stronger bonding,' he adds.
Always follow the manufacturer's instructions on the packaging to create your compound mixture correctly before use.
6. Fill the crack

Equipped with the right materials, tools and safety gear, you can now begin to fill the cracks.
'Use concrete patching compound to fill and fix any chips or cracks in the surface of the concrete,' says Korey. 'You should follow the manufacturer’s instructions for the specific patching compound that you choose,' he adds.
It's wise to push down firmly where you apply the filler. 'Pressing down firmly will prevent air pockets which can cause weak spots,' says Jay.
7. Smooth the surface
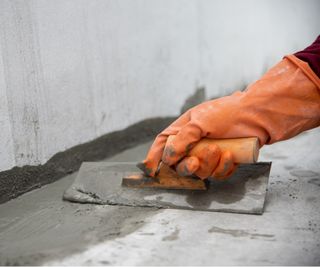
The final step is to give your repair a finished look, so that you can keep your patio looking expensive and provide a flawless base for your patio furniture.
'To reduce the risk of new cracks and proper water runoff, use a hand trowel to level the filler and the patio ensuring a smooth and even surface,' says Jay.
The easiest way to achieve a smooth look is with a flaw hand trowel, like this flat finishing trowel from Amazon.
'Use a putty knife to scrape away any excess patching compound that escapes the crack when trowelling,' suggests Korey.
You can also apply a sealer, like this concrete sealer from Amazon, to cure your repair and extend its lifespan. Although, experts note it isn't a necessity.
FAQs
How long does it take for concrete to dry?
Whether you're laying a new concrete patio in your backyard or repairing concrete cracks, it's important to let the compound mixture you use dry properly. Drying time will depend on the product you have used.
'A quick setting cement may be dry to the touch within a few hours, but it's best to allow for adequate drying for 24 to 48 hours,' says Jay Sanders, licensed contractor and owner of Castle Dream Construction and Maryland Contractors.
'Sealants and coolers may take 24 hours to cure but it's best to follow the manufacturer's instructions as it takes up to seven days for a full cure to be achieved,' he adds.
It's best to always follow manufacturer instructions to ensure you allow your concrete patio and features to dry properly before use.
Concrete patios form the center of backyard entertaining for many, so it can be worrying to see cracks form. But don't worry, you can DIY repair it and soon get your outdoor living area in good condition again.
Once the repairs are done, you can paint your concrete patio and add some of the best patio plants to brighten up your outdoor space.
Sign up to the Homes & Gardens newsletter
Design expertise in your inbox – from inspiring decorating ideas and beautiful celebrity homes to practical gardening advice and shopping round-ups.

Tenielle is a Gardens News Writer at Homes & Gardens. She holds a qualification in MA Magazine Journalism and has over six years of journalistic experience. Before coming to Homes & Gardens, Tenielle was in the editorial department at the Royal Horticultural Society and worked on The Garden magazine. As our in-house houseplant expert, Tenielle writes on a range of solutions to houseplant problems, as well as other 'how to' guides, inspiring garden projects, and the latest gardening news. When she isn't writing, Tenielle can be found propagating her ever-growing collection of indoor plants, helping others overcome common houseplant pests and diseases, volunteering at a local gardening club, and attending gardening workshops, like a composting masterclass.
-
 Gwen Stefani's seasonal branch display marks a 'shift toward wild, untamed greenery' – it's unbelievably easy to follow her example
The singer uses foliage from her Oklahoma estate to create a simple, yet statement-making focal point on her living room coffee table
By Megan Slack Published
-
 A designer just taught me this inexpensive bathroom lighting trick that's changed my life for the better – it's an under $10 solution to my daily problem
This simple, affordable hack has solved a problem with my bathroom lighting, I thought we all suffered from
By Pip Rich Published