How to propagate orchids – expert tips for three key methods
There are several ways you can propagate an orchid to create extra plants. Here's what you need to know
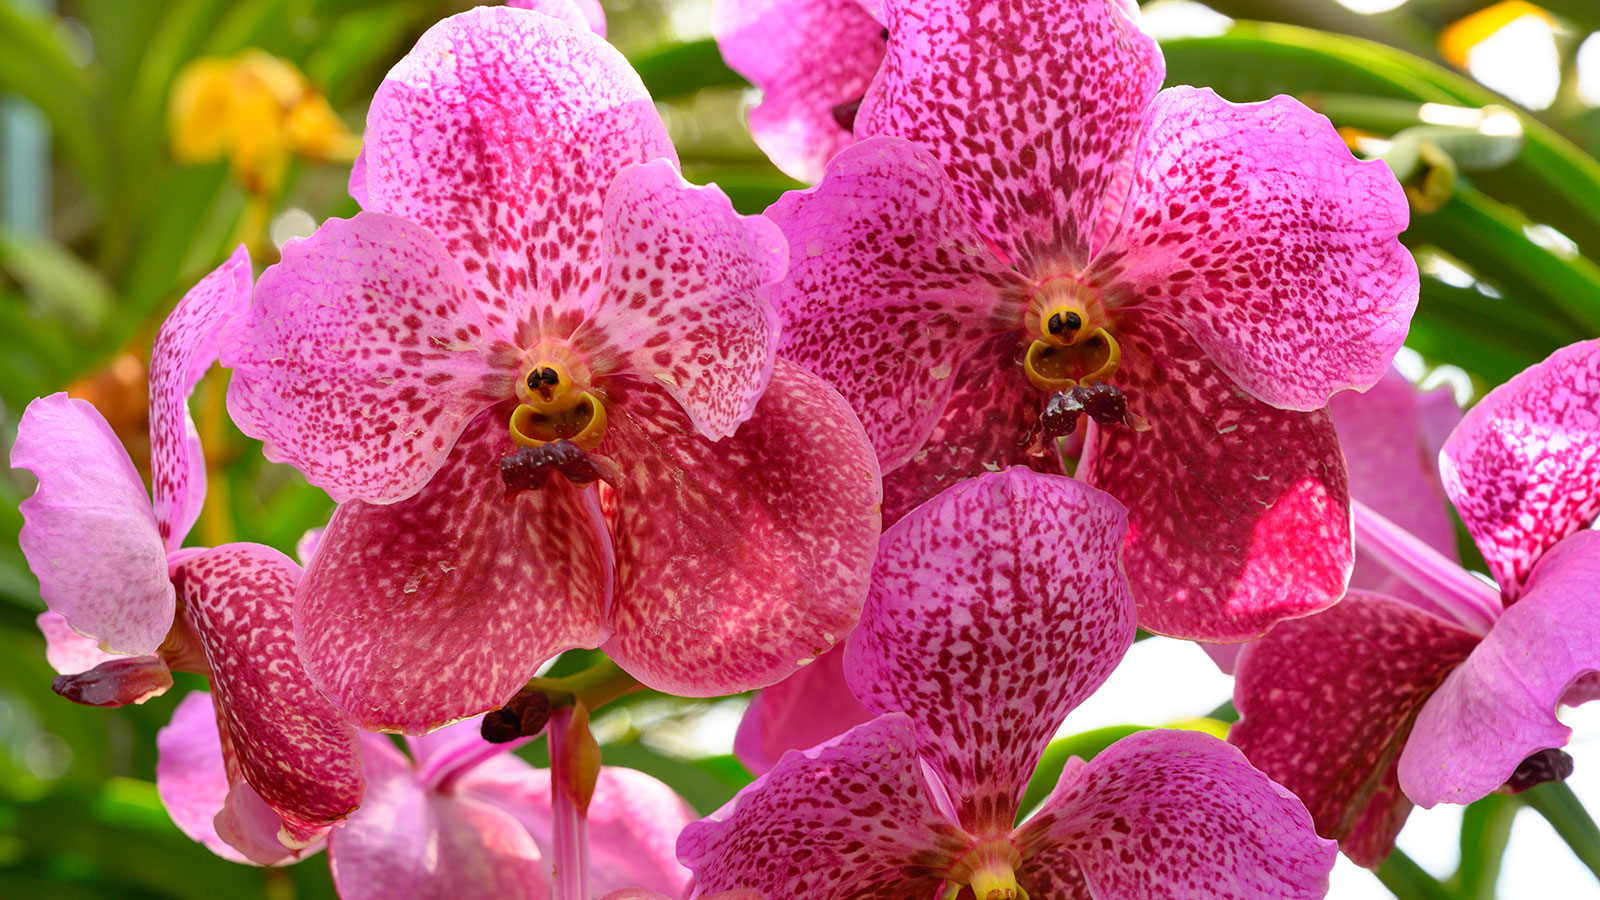
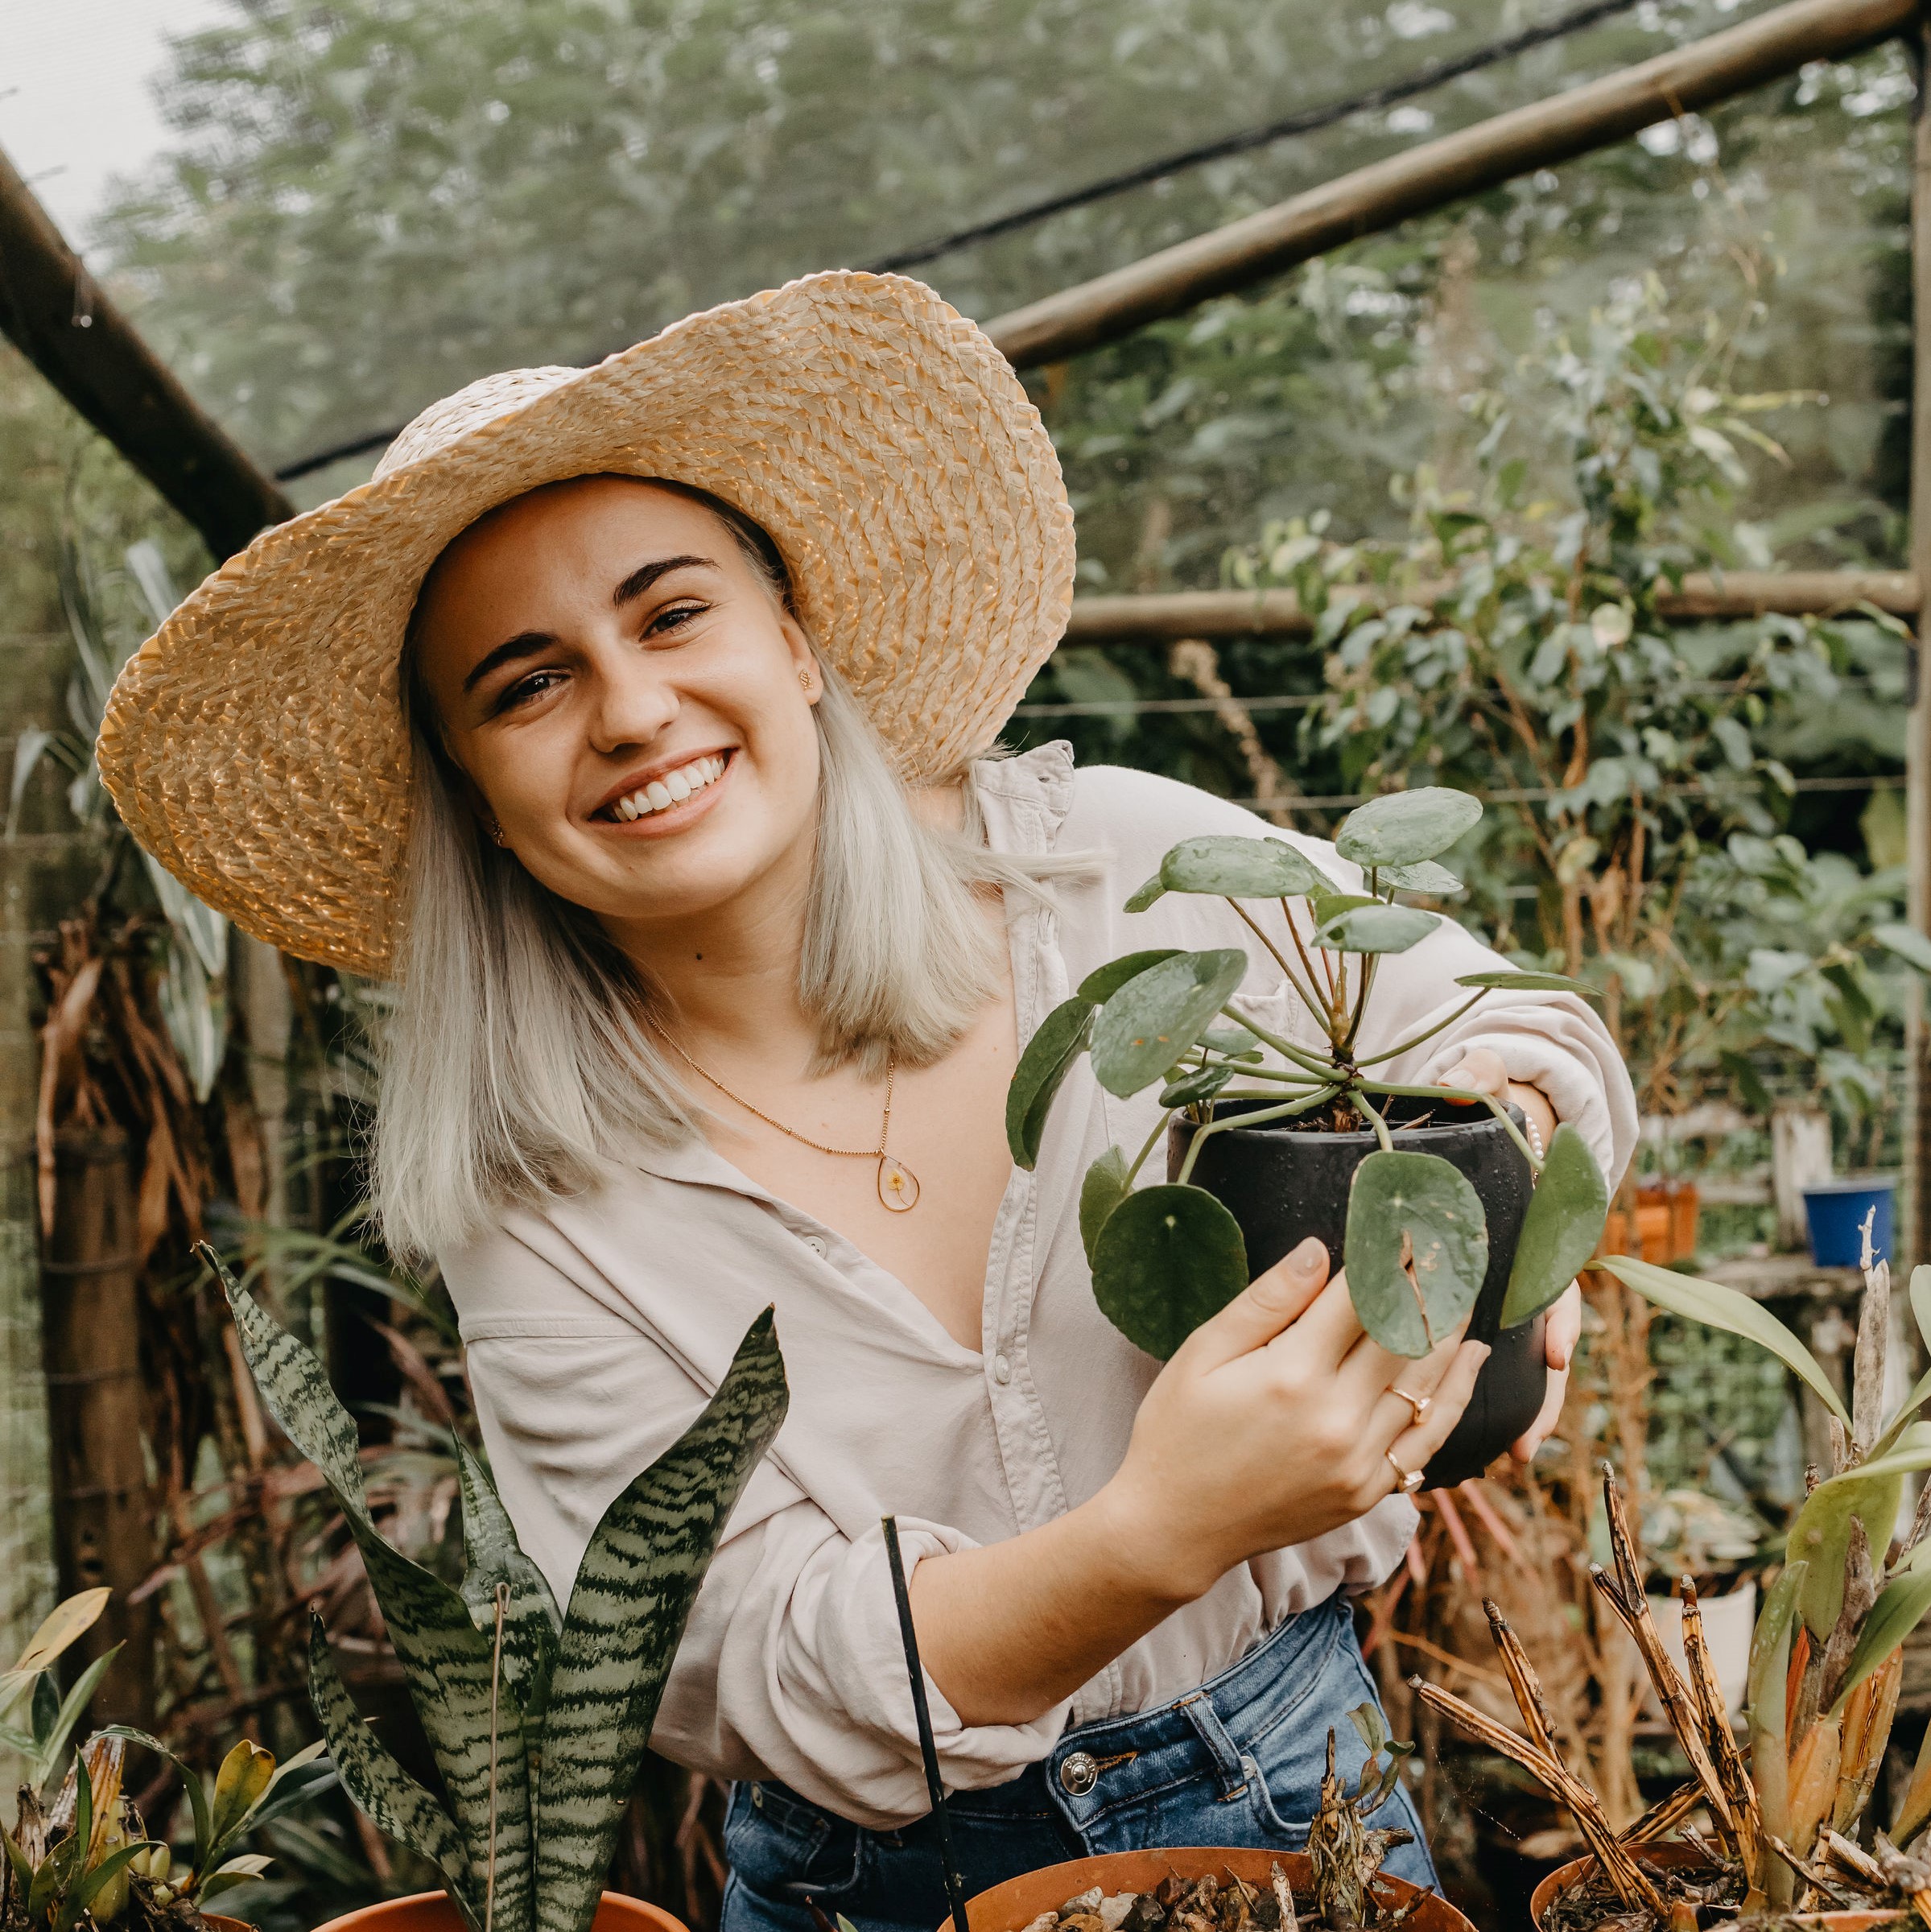
In the world of houseplants, orchids are an elusive group that many plant lovers attempt to grow, but few fully understand. This leads to some confusion when it comes to tasks like propagating, where knowledge of how these unique plants function is essential to success.
There are many potential orchid propagation methods, quite different from the basic propagation techniques you may be used to.
The method you choose will depend on the type of orchid you have (sympodial vs monopodial) and the health and growth of your specific plant at the time.
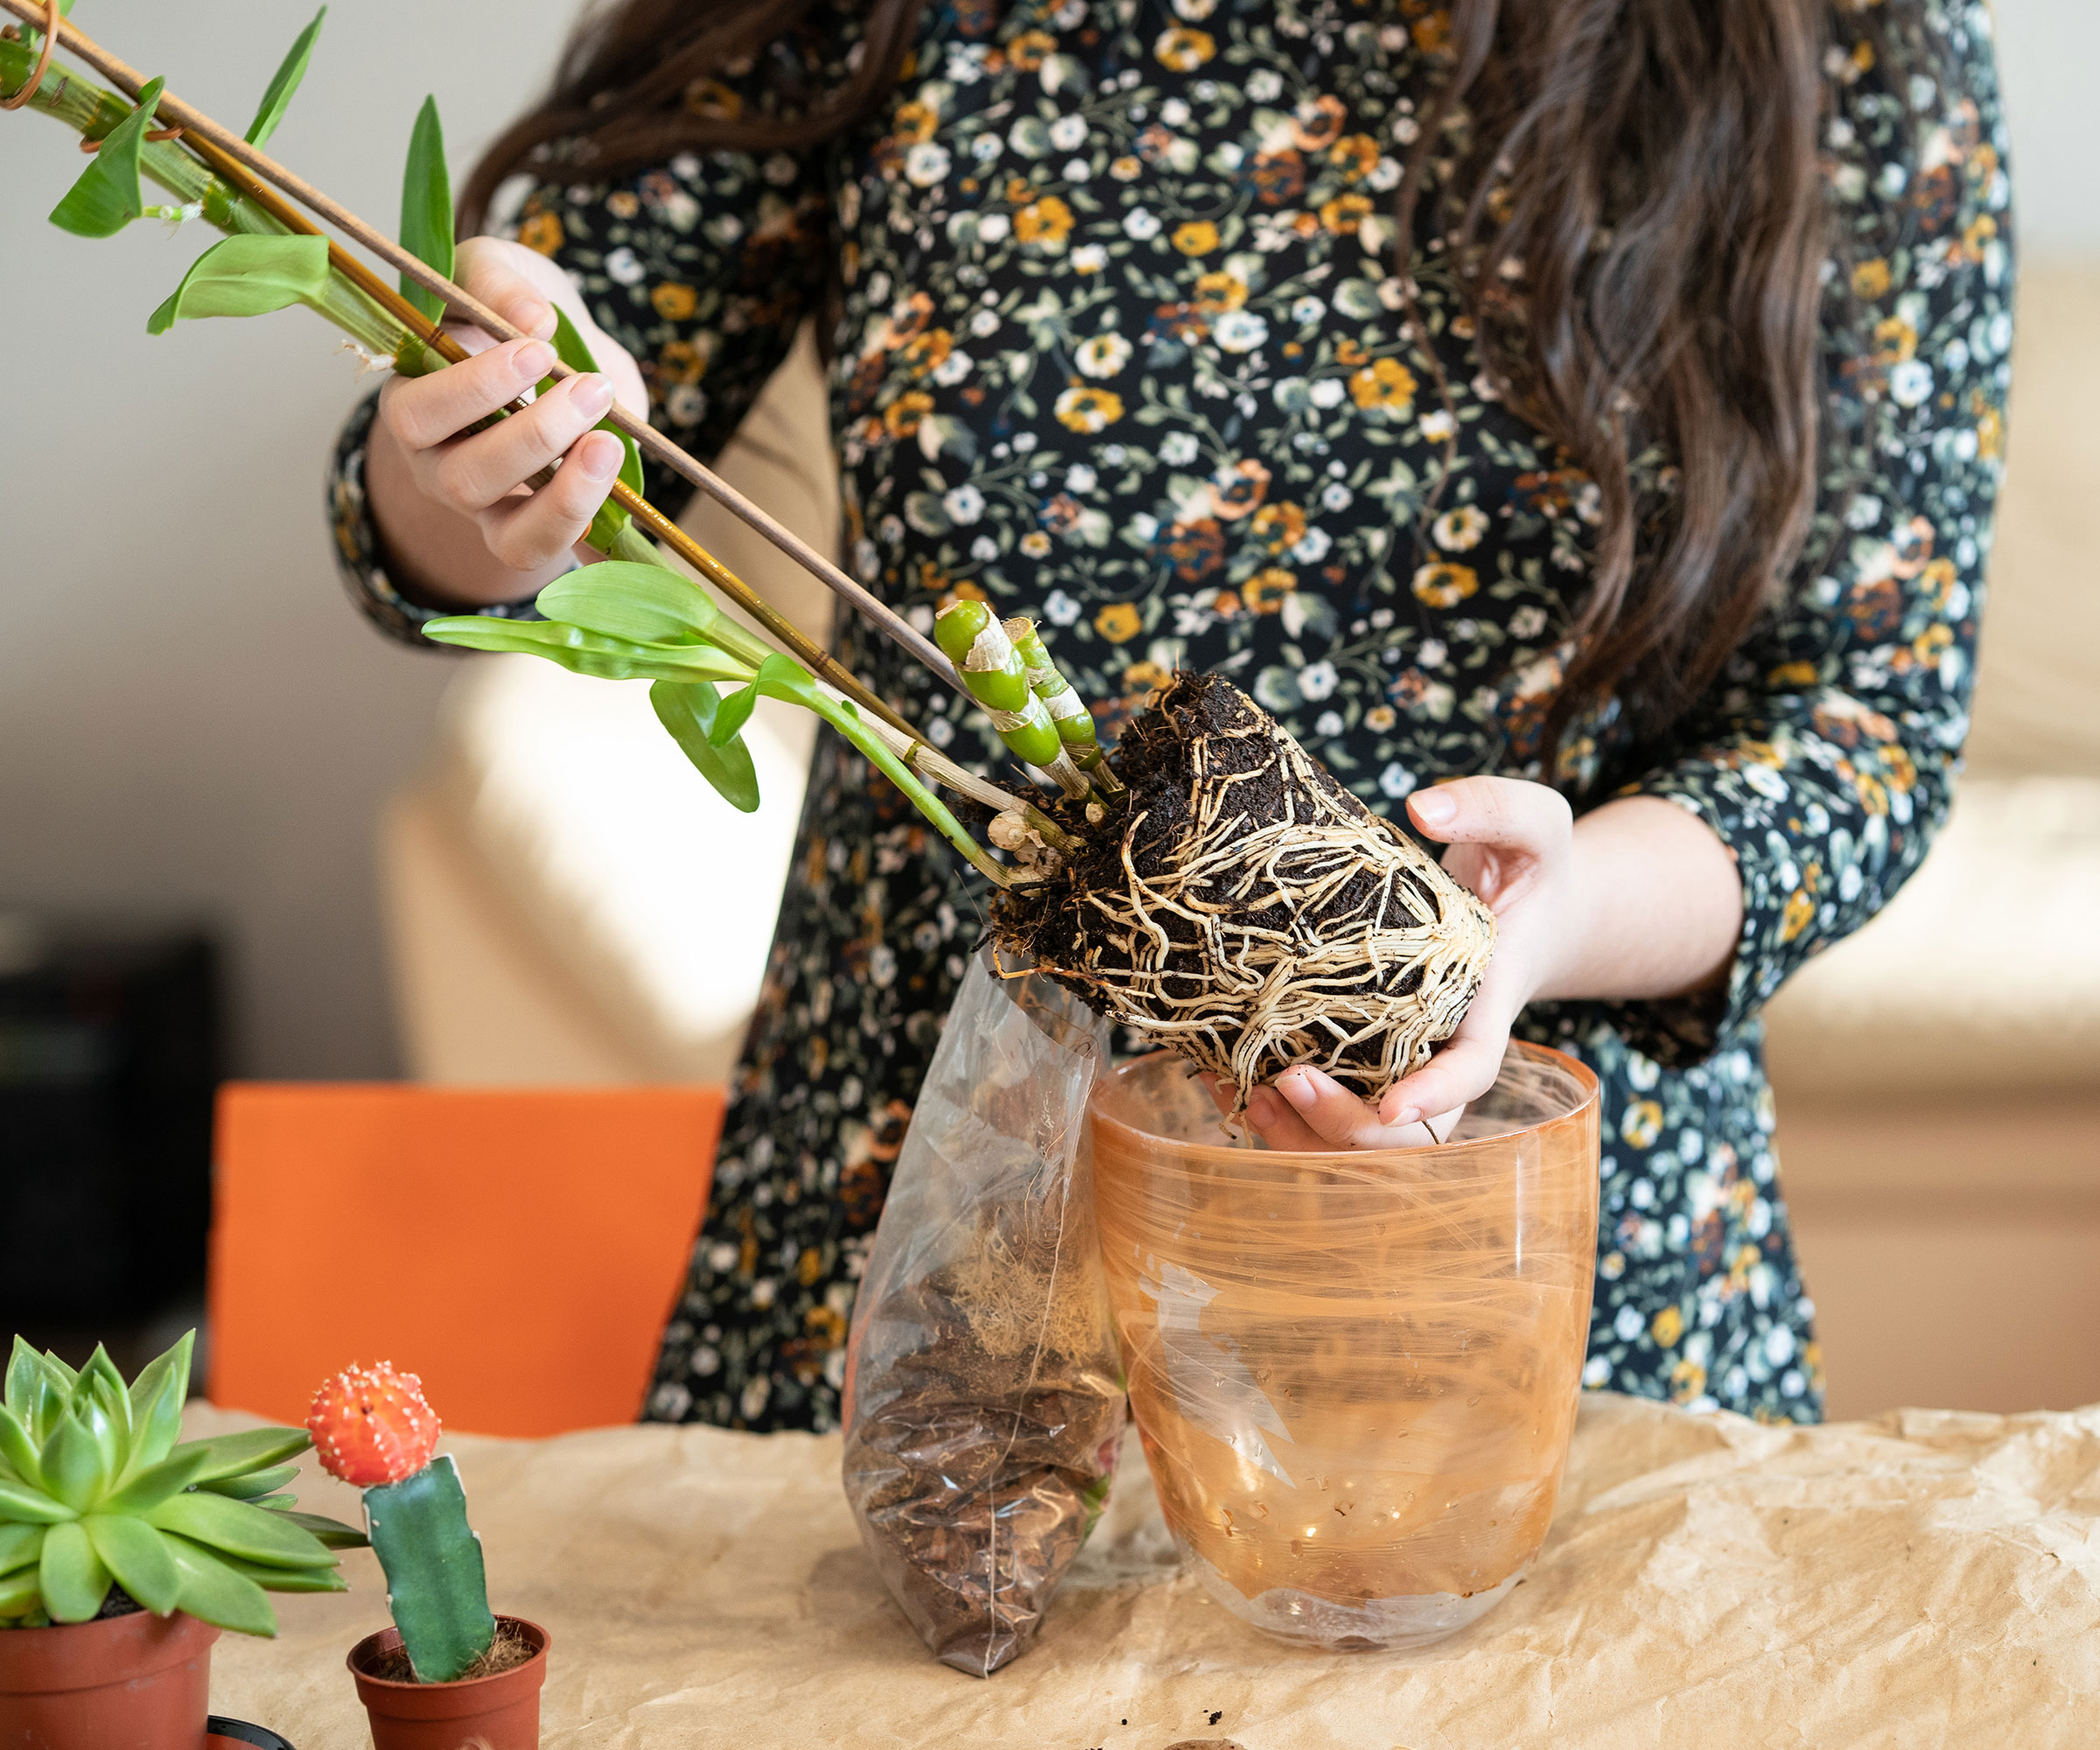
The propagation method you use will depend on the type of orchid you have
3 methods for propagating orchids
Although it seems technical, the process is not difficult once you understand the plant structures at play.
These are the three most common orchid propagation methods used by home gardeners, suitable for a wide range of orchid types.
How to propagate orchids by division
Sympodial orchids, including Cattleya and Oncidium orchids, produce low-growing rhizomes that develop growths called pseudobulbs. These look similar to the flower bulbs you may be familiar with, but largely store water to supply the plant in times of drought.
When the plant is large enough with several pseudobulbs, it can be split into two to double your stock almost instantly. This task is ideal to combine with repotting an orchid, especially if your plant is spilling out of its existing container.
According to Emily Hoffman from Your Home And Living, ‘The division method is like creating a new chapter from a well-loved story. This technique is best suited for orchids with several pseudobulbs. It's quick and easy but requires a mature plant.’
To start you’ll need a sharp knife and a mature sympodial orchid. You’ll also need a few new containers for each division, along with an orchid potting mix. Products like fungicides can be used to treat any cuts before repotting, but this step is optional.
- Remove the plant from its container Orchids tend to cling to the sides of their containers, so you will likely need to squeeze the sides of the pot or run a knife around the edges to loosen the roots. It’s important to be gentle when removing the plant. I usually turn the pot on its side to gently pull from the base, limiting damage to the leaves, roots and pseudobulbs.
- Identify pseudobulbs Once you’ve unpotted the plant and removed some of the soil, take a closer look at the main rhizome and pseudobulbs. Depending on how overgrown the plant is this can be a tricky task. Start from the base of the plant to identify the central rhizome, working outwards from there. Each division should have around three to four healthy pseudobulbs in order to divide successfully, and the number of divisions you can remove will depend on the size of the plant. A healthy bulb should be green and plump with no signs of damage. Don’t include any bulbs that don’t have root or leaf growth attached. These are known as back bulbs and can be removed for a separate propagation technique (see below), but are best left out of your divisions.
- Separate the rhizome Next, grab a sharp and recently disinfected knife, ready to cut the plant into sections. Starting with four bulbs at the center, slice the rhizome to separate the groups, cutting as carefully as possible to limit damage. The more roots there are, the better. Immediately after cutting, you can dust the cut ends with a suitable fungicide to protect them from rotting and disease. Although this step requires extra effort, it will likely increase your chances of success. Remember to clean your garden tools after use to prevent the risk of spreading diseases.
- Plant each division Choosing new small pots for each division, replant into a well-draining orchid potting mix, such as this Miracle Gro variety from Amazon. Move the containers to a warm and bright spot and wait for new growth to appear. Once you spot new green growth or new roots, you can care for the divisions as normal.
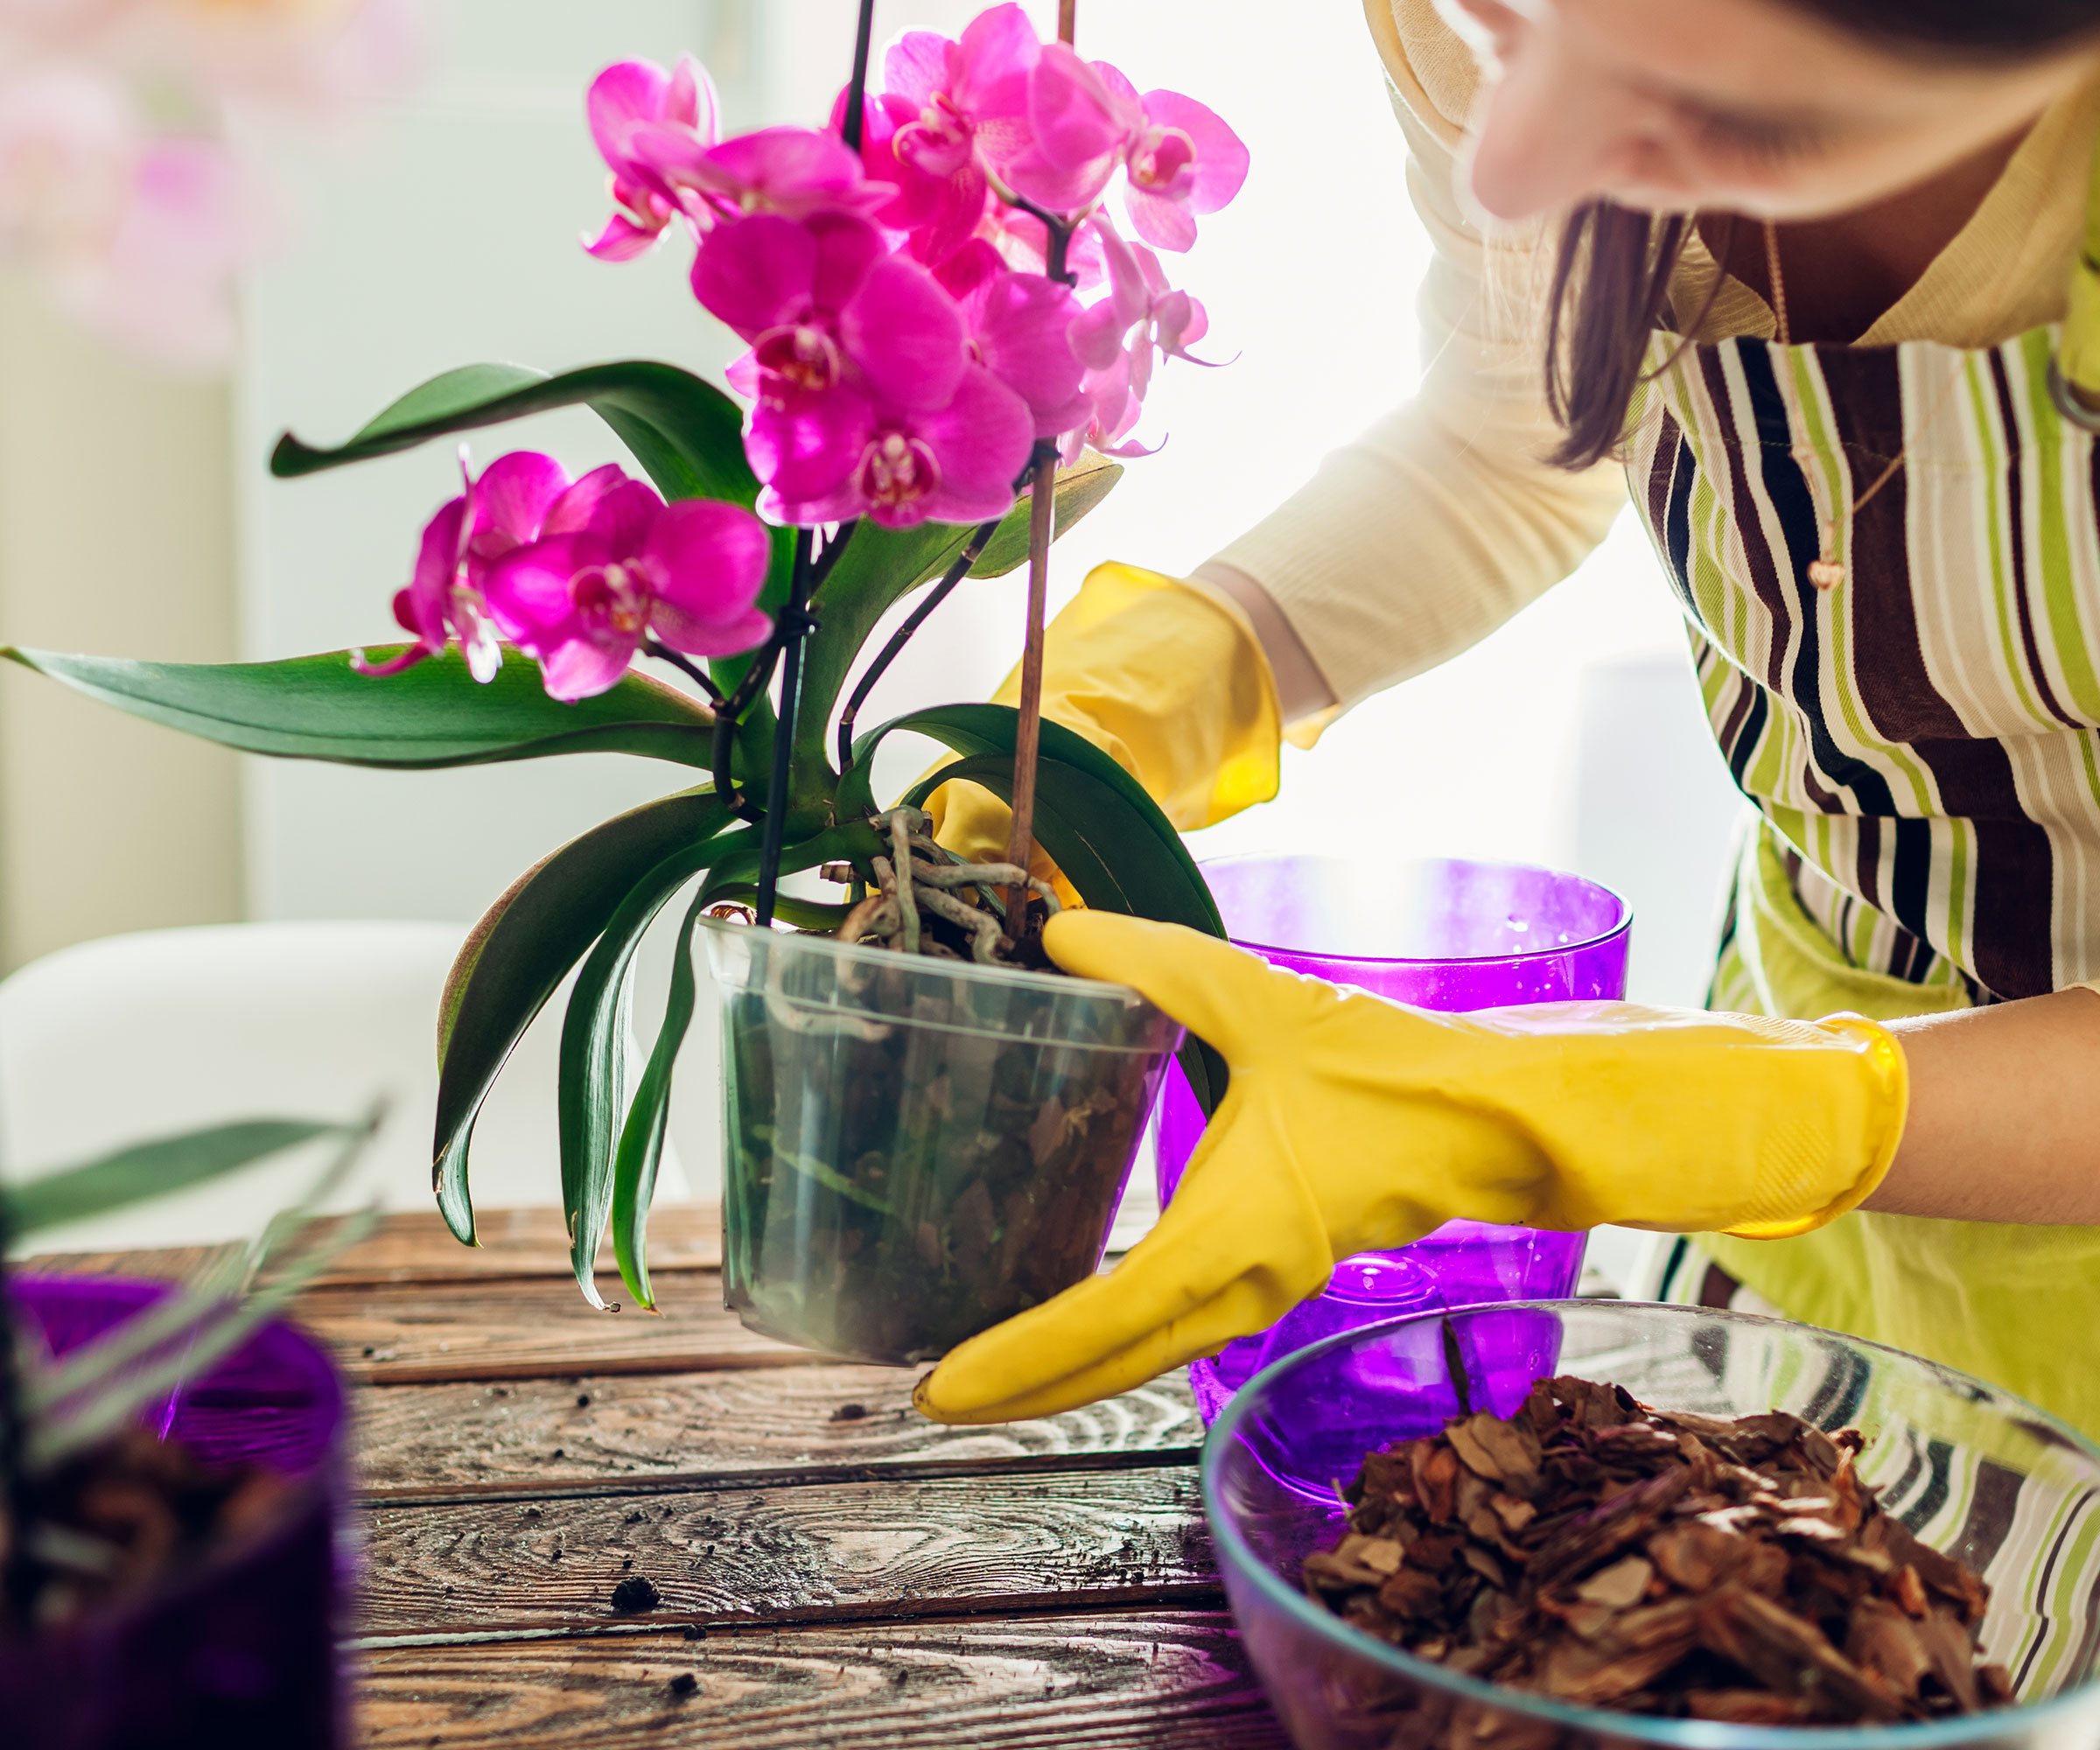
The healthier your orchid is, the better your chances of propagating success
How to propagate orchids from back bulbs
Back bulbs are the outer bulbs of sympodium orchids that don’t have any leaf growth attached to them. According to experts at the University of California, ‘Back bulbs are storehouses of food and plants. As long as back bulbs are a part of the mother plant they will remain dormant. But if removed, new growth may perhaps be initiated.’
This method has a lower success rate than division and takes longer to produce full orchids that have the ability to flower. But Emily Hoffman argues that these bulbs are a great way to use all parts of your indoor plant, especially when dividing.
‘This technique utilizes the older "back" bulbs of an orchid plant that are usually discarded. These can be used to grow new plants, especially for orchids like Cymbidiums. The success rate might be lower, but it's an excellent way to utilize every part of the plant.’
Back bulb propagation follows a similar process to dividing and requires the same tools. It’s best to identify several back bulbs if possible rather than just one to increase your chances of success.
- Remove the bulb Start by identifying any viable back bulbs. Don’t be discouraged if they don’t look their best – there may still be potential for new growth within the bulb. Remove it from the rhizome with a sharp knife or by pulling them apart from the parent plant.
- Plant in sphagnum moss To encourage new growth in these dormant bulbs, lay them on a bed of sphagnum moss or orchid bark in a container. Lightly moisten the medium and place the container in a bright area. Keep the medium lightly moist and wait for new growth to appear from the eye of the bulb.
- Repot If your efforts have been successful, you can repot into a new container filled with orchid mix once the new growth is large enough to support itself. Keep the soil mix moist to boost root growth down into the pot. Once established, you can care for your new orchid as you do the others of a similar type in your collection.
How to propagate orchids from keikis
Monopodial orchids, including the popular Phalaenopsis and Vanda orchids, don’t have any pseudobulbs you can use to propagate. The ‘mono’ in monopodial describes a single stem and root system that can’t be split like the other types to produce new plants. But that doesn’t mean you can’t propagate them at all.
In the right conditions, monopodial orchids can produce keikis – tiny versions of the main plant that appear along the flowering stem. ‘Keiki’ is the Hawaiian word for ‘baby’, perfectly describing these adorable growths. Keikis can be removed from the main plant and potted to produce a brand-new orchid of the same type, flowering in one to three years.
Certified Master Gardener Alex Worley from Gardenine uses this method rather than propagating from seed – a long and involved process. ‘I prefer propagating orchids via keikis because they actually grow much faster than seedlings, hence you’ll have flowers much sooner than you would from seedlings.’
Before you start, you will need a mature orchid with at least one keiki present. When potting up, you’ll also need a new container and orchid potting mix.
- Identify keikis or encourage new growth Keikis appear at nodes along flower spikes. They should have small roots at the base before removal to ensure they are able to grow on their own. If your plant doesn’t have any keikis, you can encourage their growth. According to Worley, this process starts by cutting into the stem. ‘Cut the stems or spikes 1-1.5 inches above the node using a sterile knife. Peel the bract away from the node using tweezers to expose the bud. Lightly apply growth hormone paste onto the bud to encourage baby orchids to emerge. This should happen after 1-2 months. I recommend treating just one or two flower nodes with the growth hormone to minimize stress on the plant.'
- Remove the keikis Once the keiki has developed roots, it can be removed from the main plant. Start with a sharp knife or pair of secateurs and clean them before use to prevent the spread of disease. Cut the stem 2-3 inches below the keiki to remove it from the main plant. Avoid damaging the roots or the parent plant in the process for a strong start at growth.
- Pot the keiki Finally, all there is left to do is pot up the keiki in its own container, filled with specialized orchid potting mix. Alex recommends watering your orchid immediately after planting and continuing to add moisture when the roots dry out. It may take a year or two for orchids propagated from keikis to flower. But with patience, care and the right environment, these new blooms will be well worth the wait.

Alex's gardening journey and love for plants started back in 2011 as an apprentice gardener at the Outback Nursery in Baxley, Appling County, Georgia. He has a Bachelor’s degree in Sustainable Agriculture from Andrew College in Georgia and is also a certified master gardener since 2019. He is happiest when helping gardening enthusiasts build their backyard gardens, select, grow, and care for their plants.
Waiting for an orchid to rebloom can sometimes seem like a lengthy process, so if you have more of these stunning plants in your home, chances are you may get to enjoy flowers at slightly different times. No matter what kind of orchid you have, you can use these easy propagation methods to expand your collection of these wonderful plants for free so you can enjoy displaying them throughout your home.
Sign up to the Homes & Gardens newsletter
Design expertise in your inbox – from inspiring decorating ideas and beautiful celebrity homes to practical gardening advice and shopping round-ups.

Madison is a garden writer and editor, covering all things outdoors and lifestyle. After completing a BA in History and Political Science, she transformed her years-long passion for plants into a career writing for both digital and print publications. As garden editor of several print titles, Madison focuses on trends and developments in the continuously expanding gardening industry. When not typing away at her desk, she tends to her ever-growing houseplant collection and travels frequently, photographing and reporting on gardens around the world.
-
 I've spent over 200 hours testing vacuums and swear by my two Dysons – this is how I properly clean a Dyson vacuum filter for longer-lasting appliances
Your Dyson vacuum will last much longer and clean at its best
By Dan Fauzi Published
-
 Bethenny Frankel calls this $695 machine the 'Rolls-Royce Cullinan of coffee' – it's a must-have luxury buy for iced-coffee lovers this springtime
The Real Housewife swears by a luxurious machine that makes nitro cold brew, cold brew, and cold espresso at the touch of a button – here's why it's worth it
By Sophie Edwards Published