How to propagate camellias – professional advice for successful plant cuttings
Summer is the perfect time create more camellias and grow your shrub collection for free

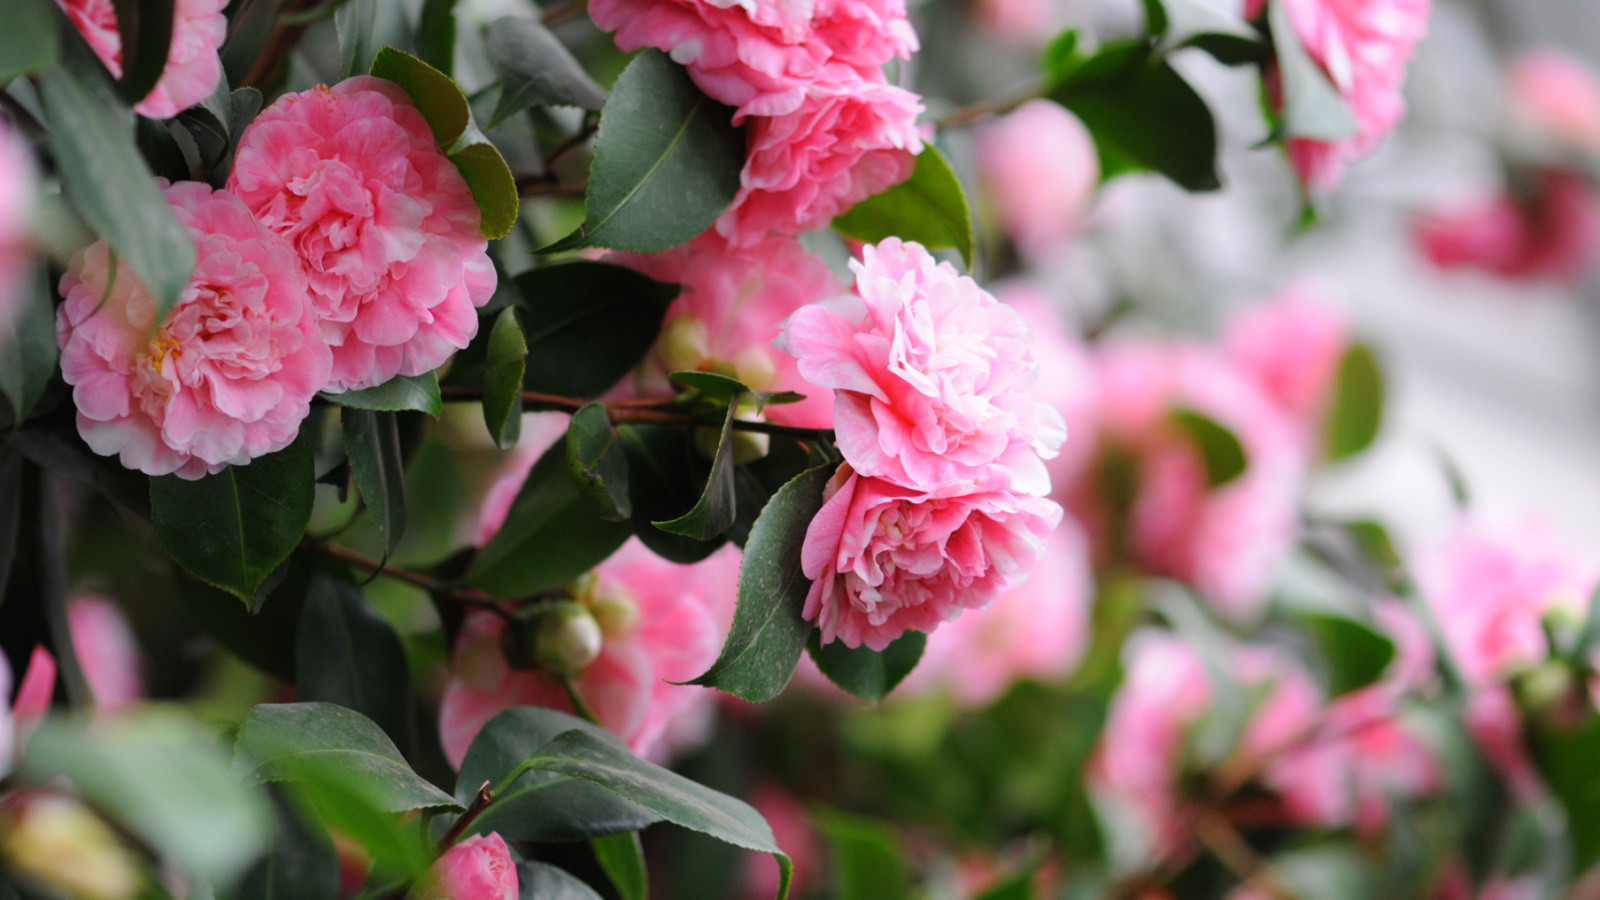
Camellias are evergreen shrubs and trees grown in many backyards worldwide. In spring and summer, the glossy green foliage of camellia shrubs provides a supporting role to colorful flowering perennials and annuals. It is in winter, however, when camellias have their moment. There is no better cure to beat the January blues than catching a glimpse of these large flowers on a brisk winter walk, blooming in shades of red, pink, white or yellow when there is little color to be found elsewhere in the garden.
There are many types of camellias, although the most popular is Camellia japonica, with over 2,000 known cultivars. When considering how to grow camellias, these low-maintenance shrubs are hardy down to 15°C/5°F, making them a useful plant to grow in cooler regions. When planted in a partially shaded position in borders with slightly acidic soil, your camellia shrubs will thrive.
If you would like to increase your camellia collection this year, then taking cuttings is a good idea. I have grown camellias from cuttings myself, and while a small amount of patience is needed, you will certainly be rewarded in the years to come. Here, I share everything I know about when and how to propagate camellias.
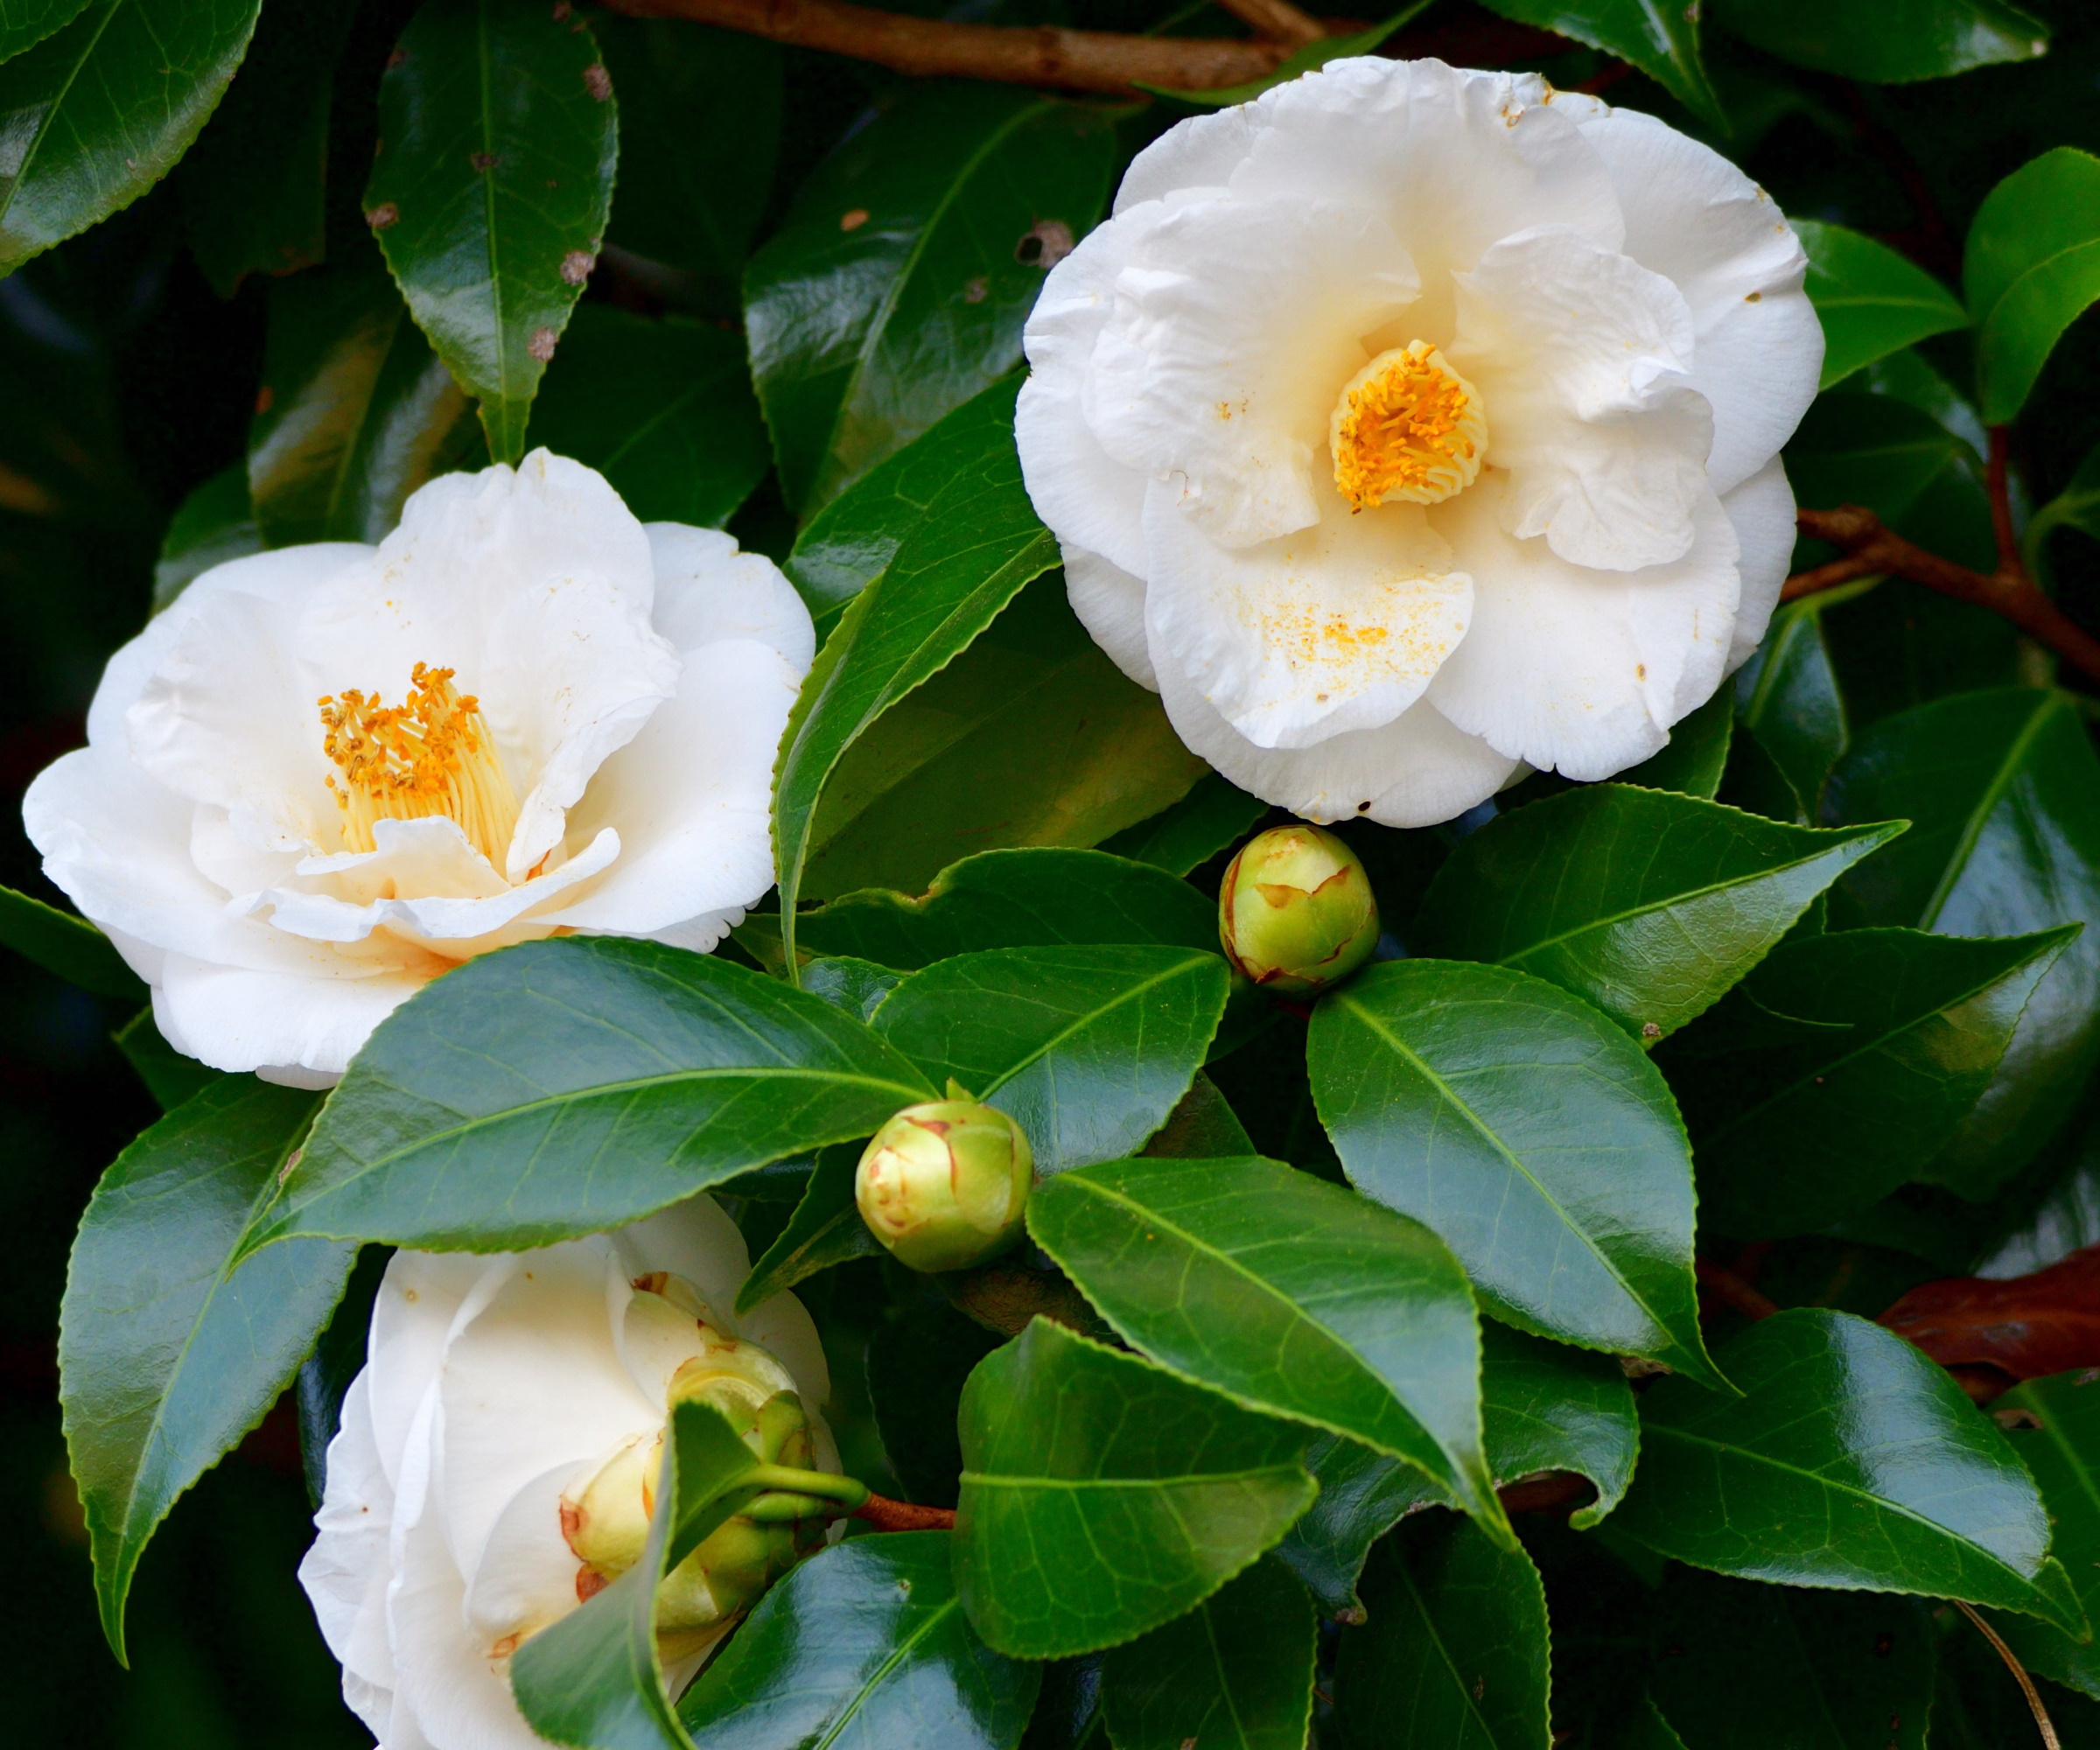
How to propagate camellias
Often considered some of the prettiest evergreen plants, the large blooms of camellia shrubs can add impact to any space, whether grown in a pot, in a border or planted as a hedge. Camellia japonica shrubs can be grown in US hardiness zone 6 and above, with a preference for a position that is part sun, part shade.
Cuttings are a free and fun way to make more plants, and you do not need extensive experience or equipment to give it a try. So, what are you waiting for, why not take some camellia cuttings this year?
When to take camellia cuttings

With their vibrant blooms and lush green foliage, camellias are some of the best evergreen shrubs that will fill borders with impactful flowers and year-round greenery.
When considering how to propagate camellias, I recommend taking semi-ripe cuttings from this year's growth. Instead of taking these earlier in the year, it is better to give the stems time to mature, so that they have just turned from green to brown which will reduce the risk of your cuttings rotting.
Design expertise in your inbox – from inspiring decorating ideas and beautiful celebrity homes to practical gardening advice and shopping round-ups.
For this reason, the best time to take semi-ripe camellia cuttings is around July and August. This is because the new growth that developed in spring will have hardened, which is the ideal type of stem for this method of propagation.
Select a mild, dry day to take your cuttings, identifying several stems of growth that are healthy, with green leaves and a brown stem. You are then ready to take your cuttings.
Shop propagation accessories
How to take camellia cuttings
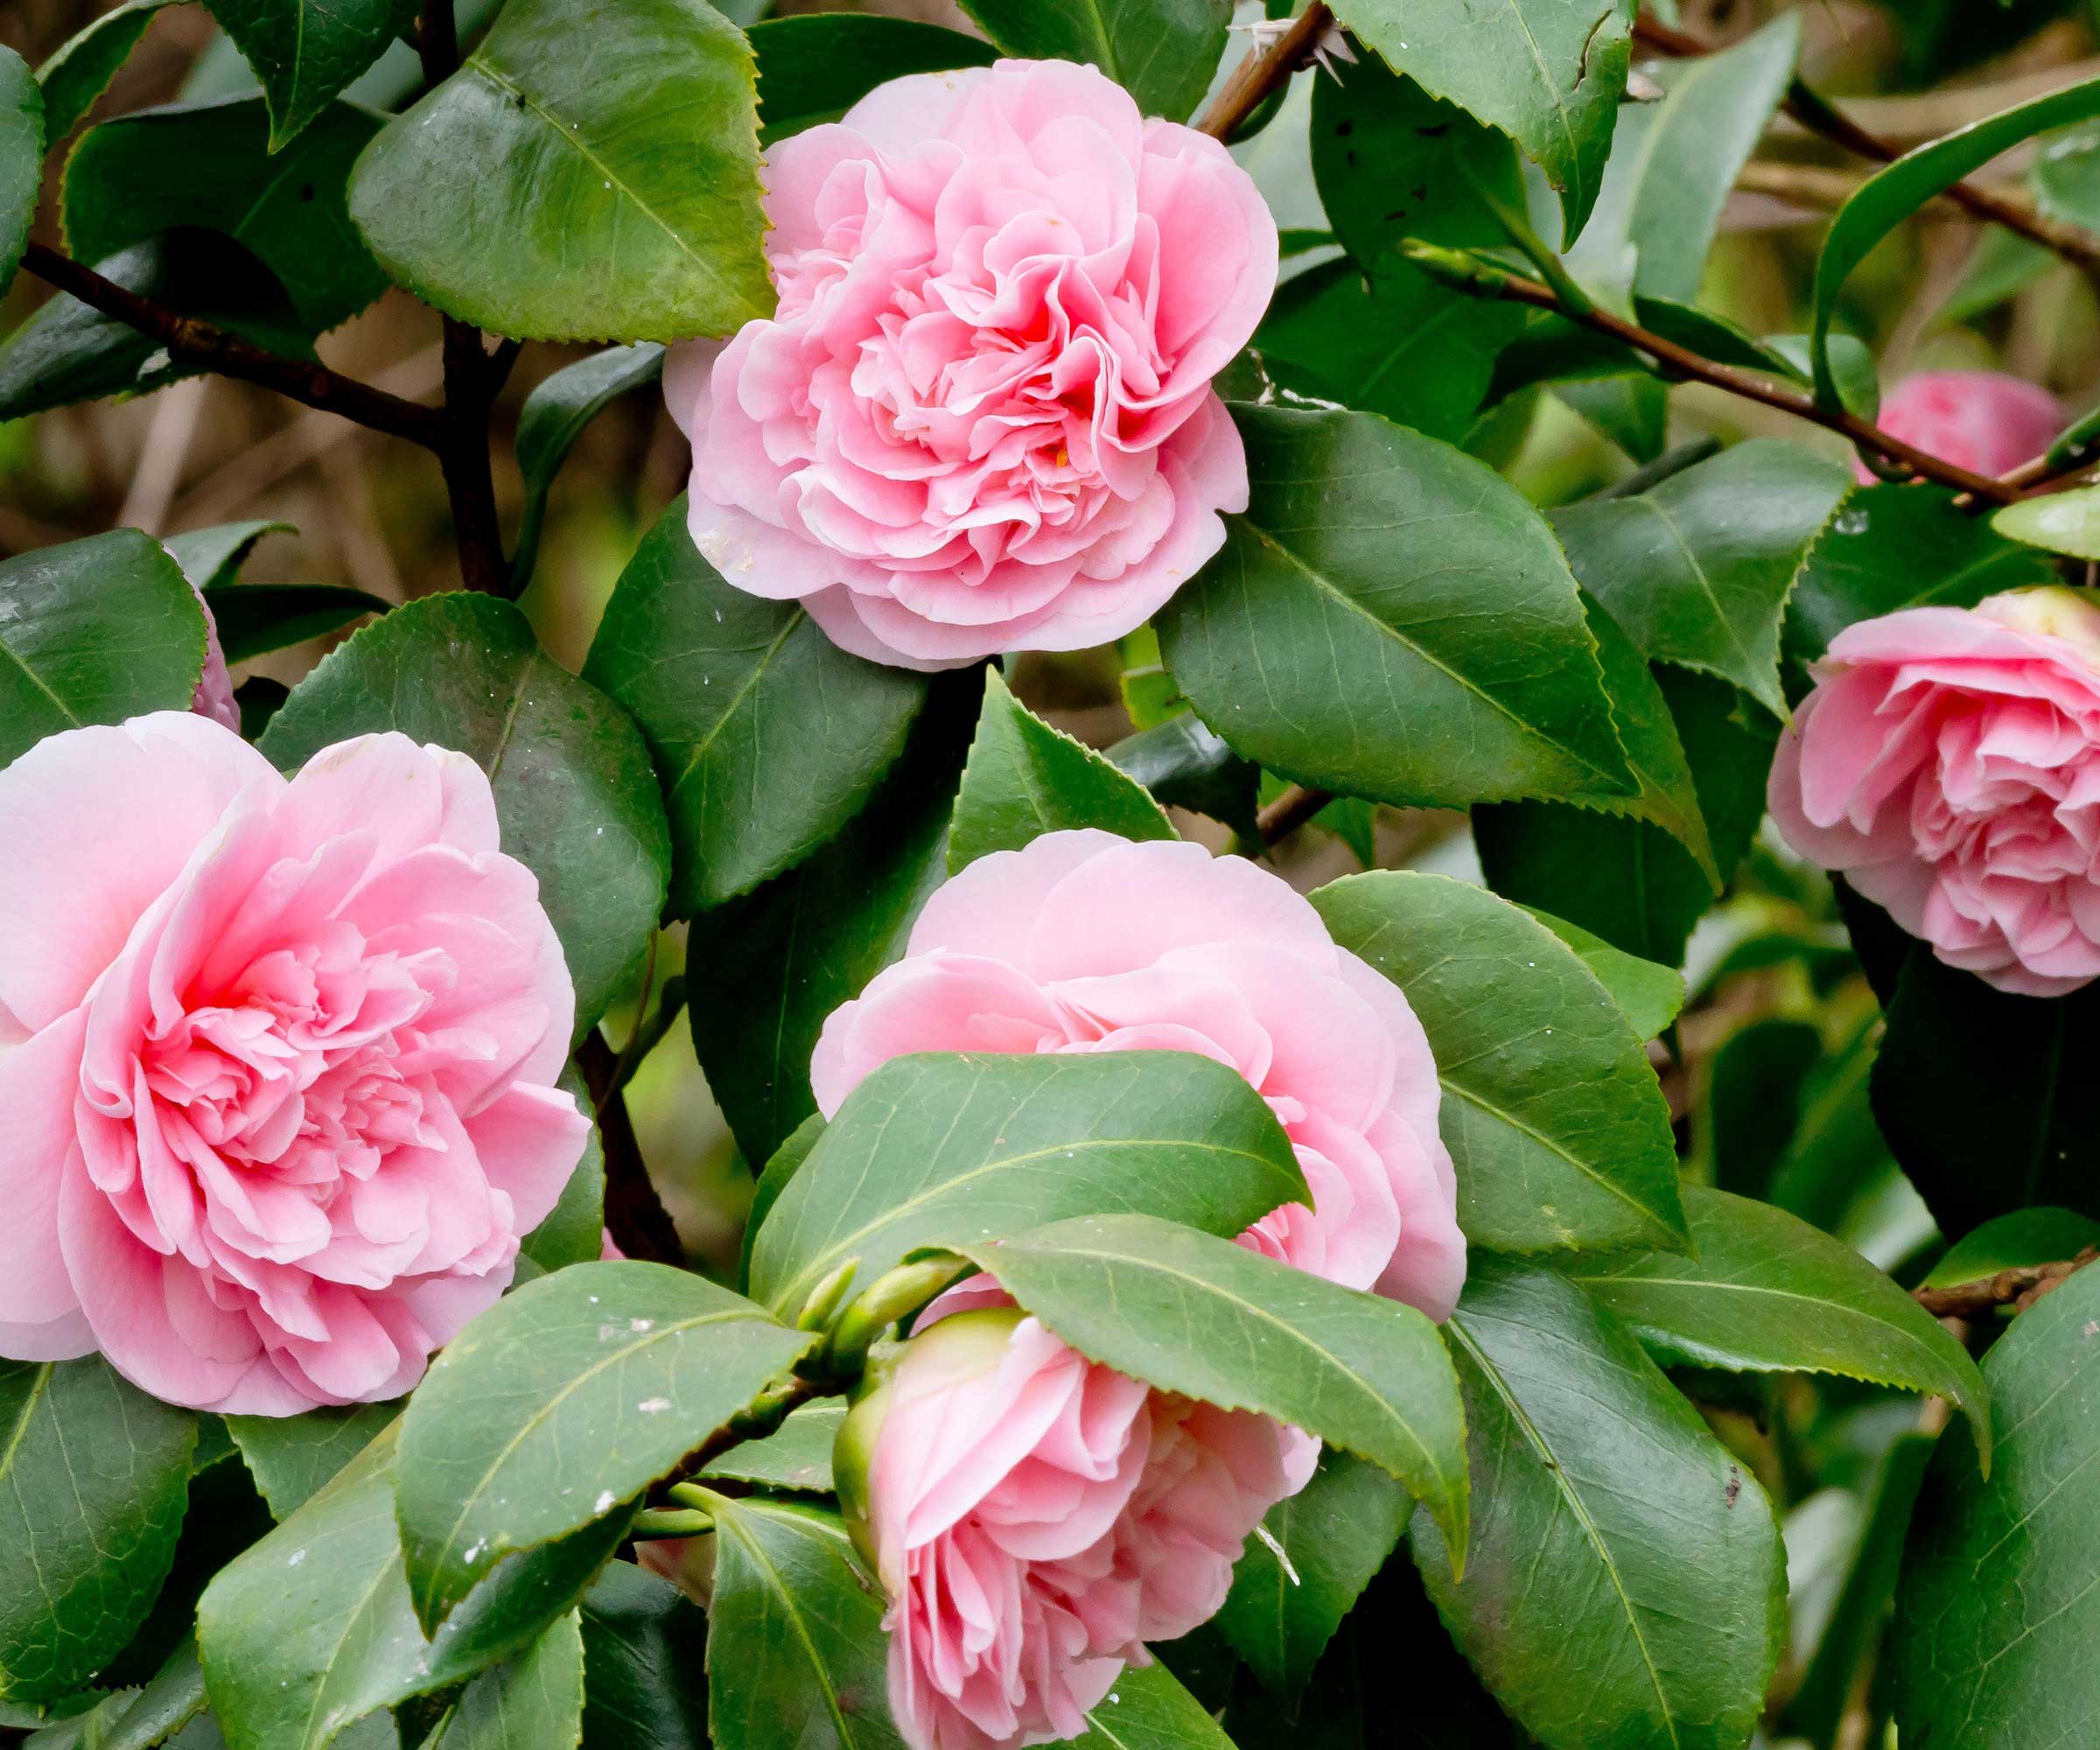
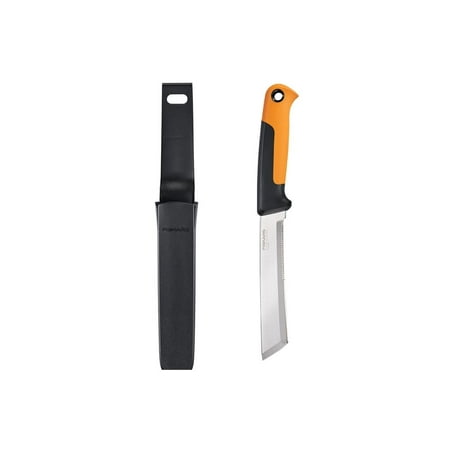
- Using clean, sharp pruning snips, available from Walmart, select your camellia stems to cut. These stems should be semi-ripe, meaning they are brown but this year's growth. Take nodal cuttings that are 4 to 5 inches in length, cutting just below a leaf node.
- Remove all of the foliage on each camellia cutting apart from two leaves at the top of each stem. You can do this by hand.
- Using your pruning snips or knife, carefully strip a small amount of the brown bark from the bottom 1-inch of each cutting. This process is called wounding. Just a thin scratch will expose the stem, and from these wounds, you can expect roots to shoot.
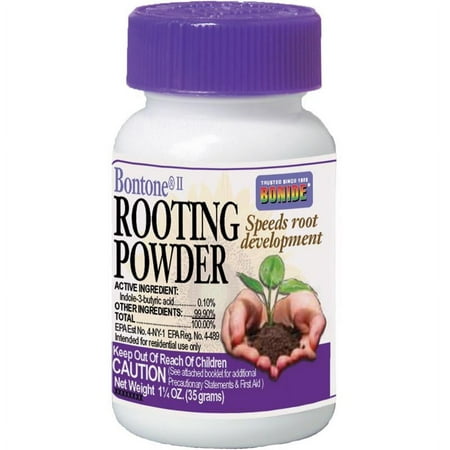
- Place the bottom 1-inch of each camellia cutting in a cup of water before dipping it in rooting hormone powder, available from Amazon. Be sure to shake off the excess, you only need a small amount.
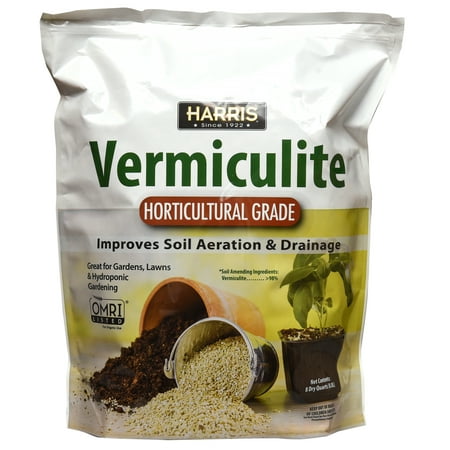
- Place all of your cuttings in the same terracotta pot, which will save on space. Fill using cuttings or seed compost with added vermiculite for drainage. I would suggest planting no more than 4 cuttings in any one pot, ensuring that the leaves do not touch.
- Give your cuttings a good watering, allowing the pot to drain.
- Place a plastic bag over the pot. This will help to seal in warmth and moisture. Place the pot in a partially shaded position outside, such as in a cold frame.
- Patience is a virtue, and you can expect to see roots by the fall, typically taking 3 to 4 months to shoot. Once roots emerge, give the cuttings time to produce new growth before moving on to individual pots next spring.
FAQs
How long will my camellia cuttings take to flower?
I would expect camellia cuttings to produce blooms after 2 or possibly 3 years. Taking cuttings is not for those gardeners who are short on time, but eventually, your hard work will be rewarded.
Taking cuttings is an easy way to make more plants for your yard, and in a few years, your new plants will reach a good size. For more propagation advice, see our guide on how to propagate salvia, and make plenty of new perennial plants for your yard.

Thomas is a Content Editor within the Gardens Team at Homes and Gardens. He has worked as a professional gardener for both public spaces and private estates, specializing in productive gardening, growing food and flowers. Trained in Horticulture at the Garden Museum, he has written on gardening and garden history for various publications, including The English Garden, Gardens Illustrated, Hortus, The London Gardener and Bloom. He has co-authored a Lonely Planet travel book, The Tree Atlas, due out in 2024.
