How to propagate calathea – get more of these bold and beautiful houseplants
Expand your calathea collection with our step-by-step propagation guide


Calathea plant propagation is simple to do and is a great way to expand your indoor plant collection of these striking houseplants.
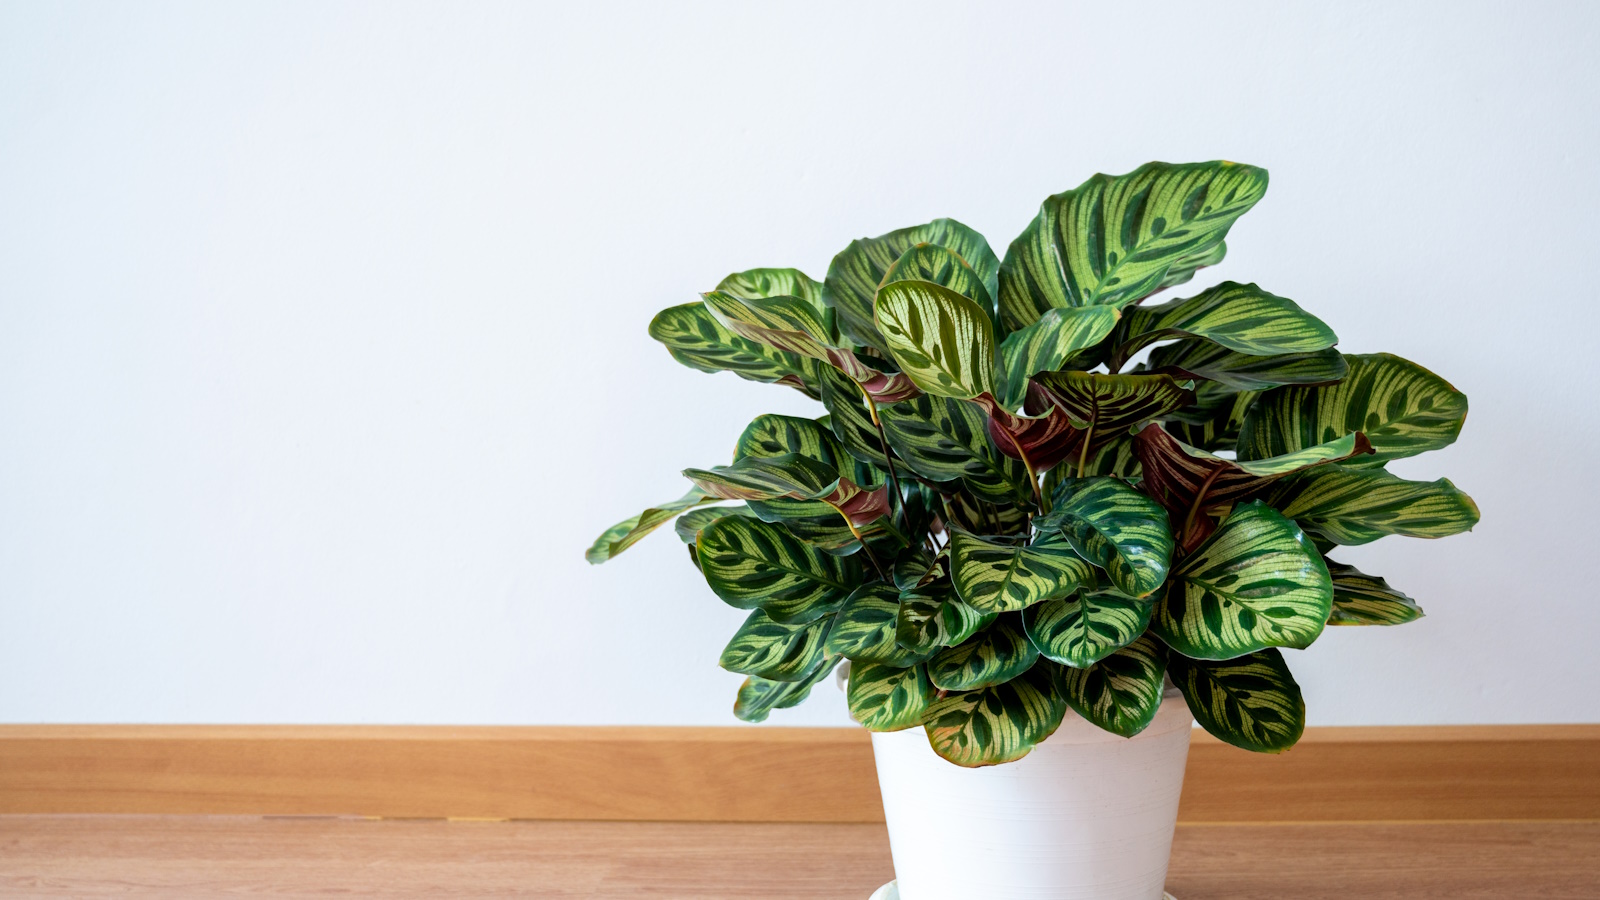
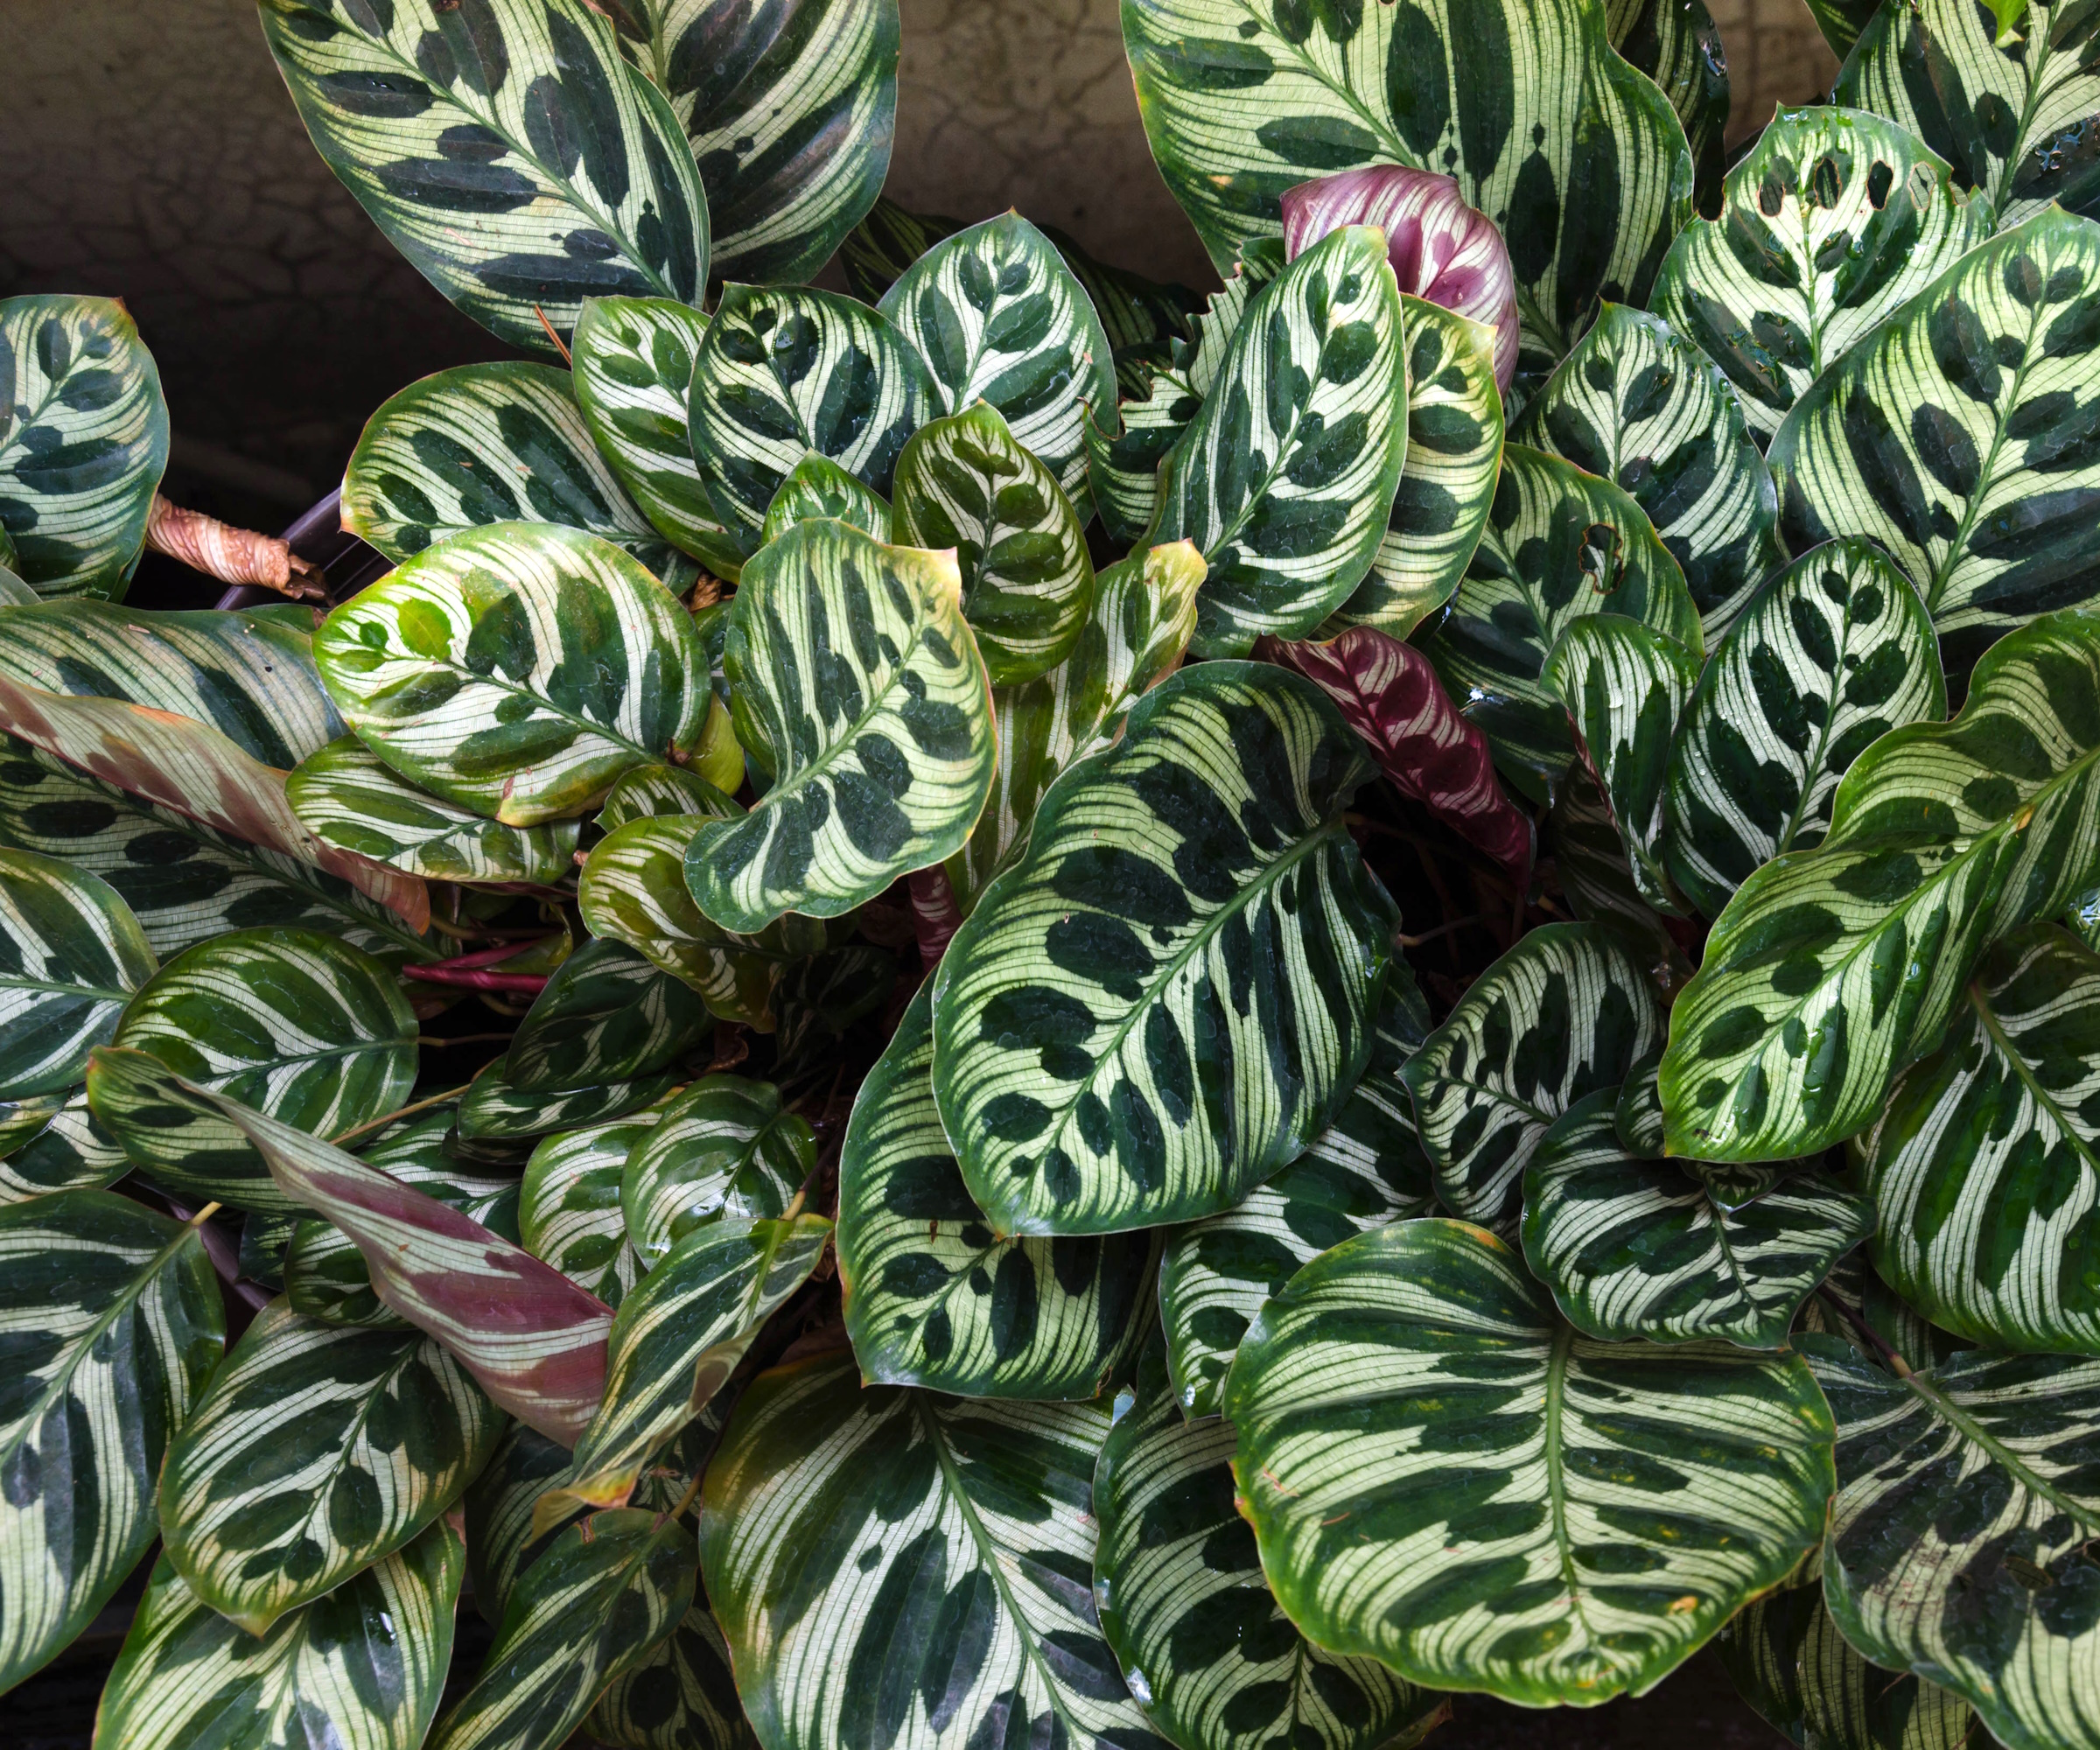
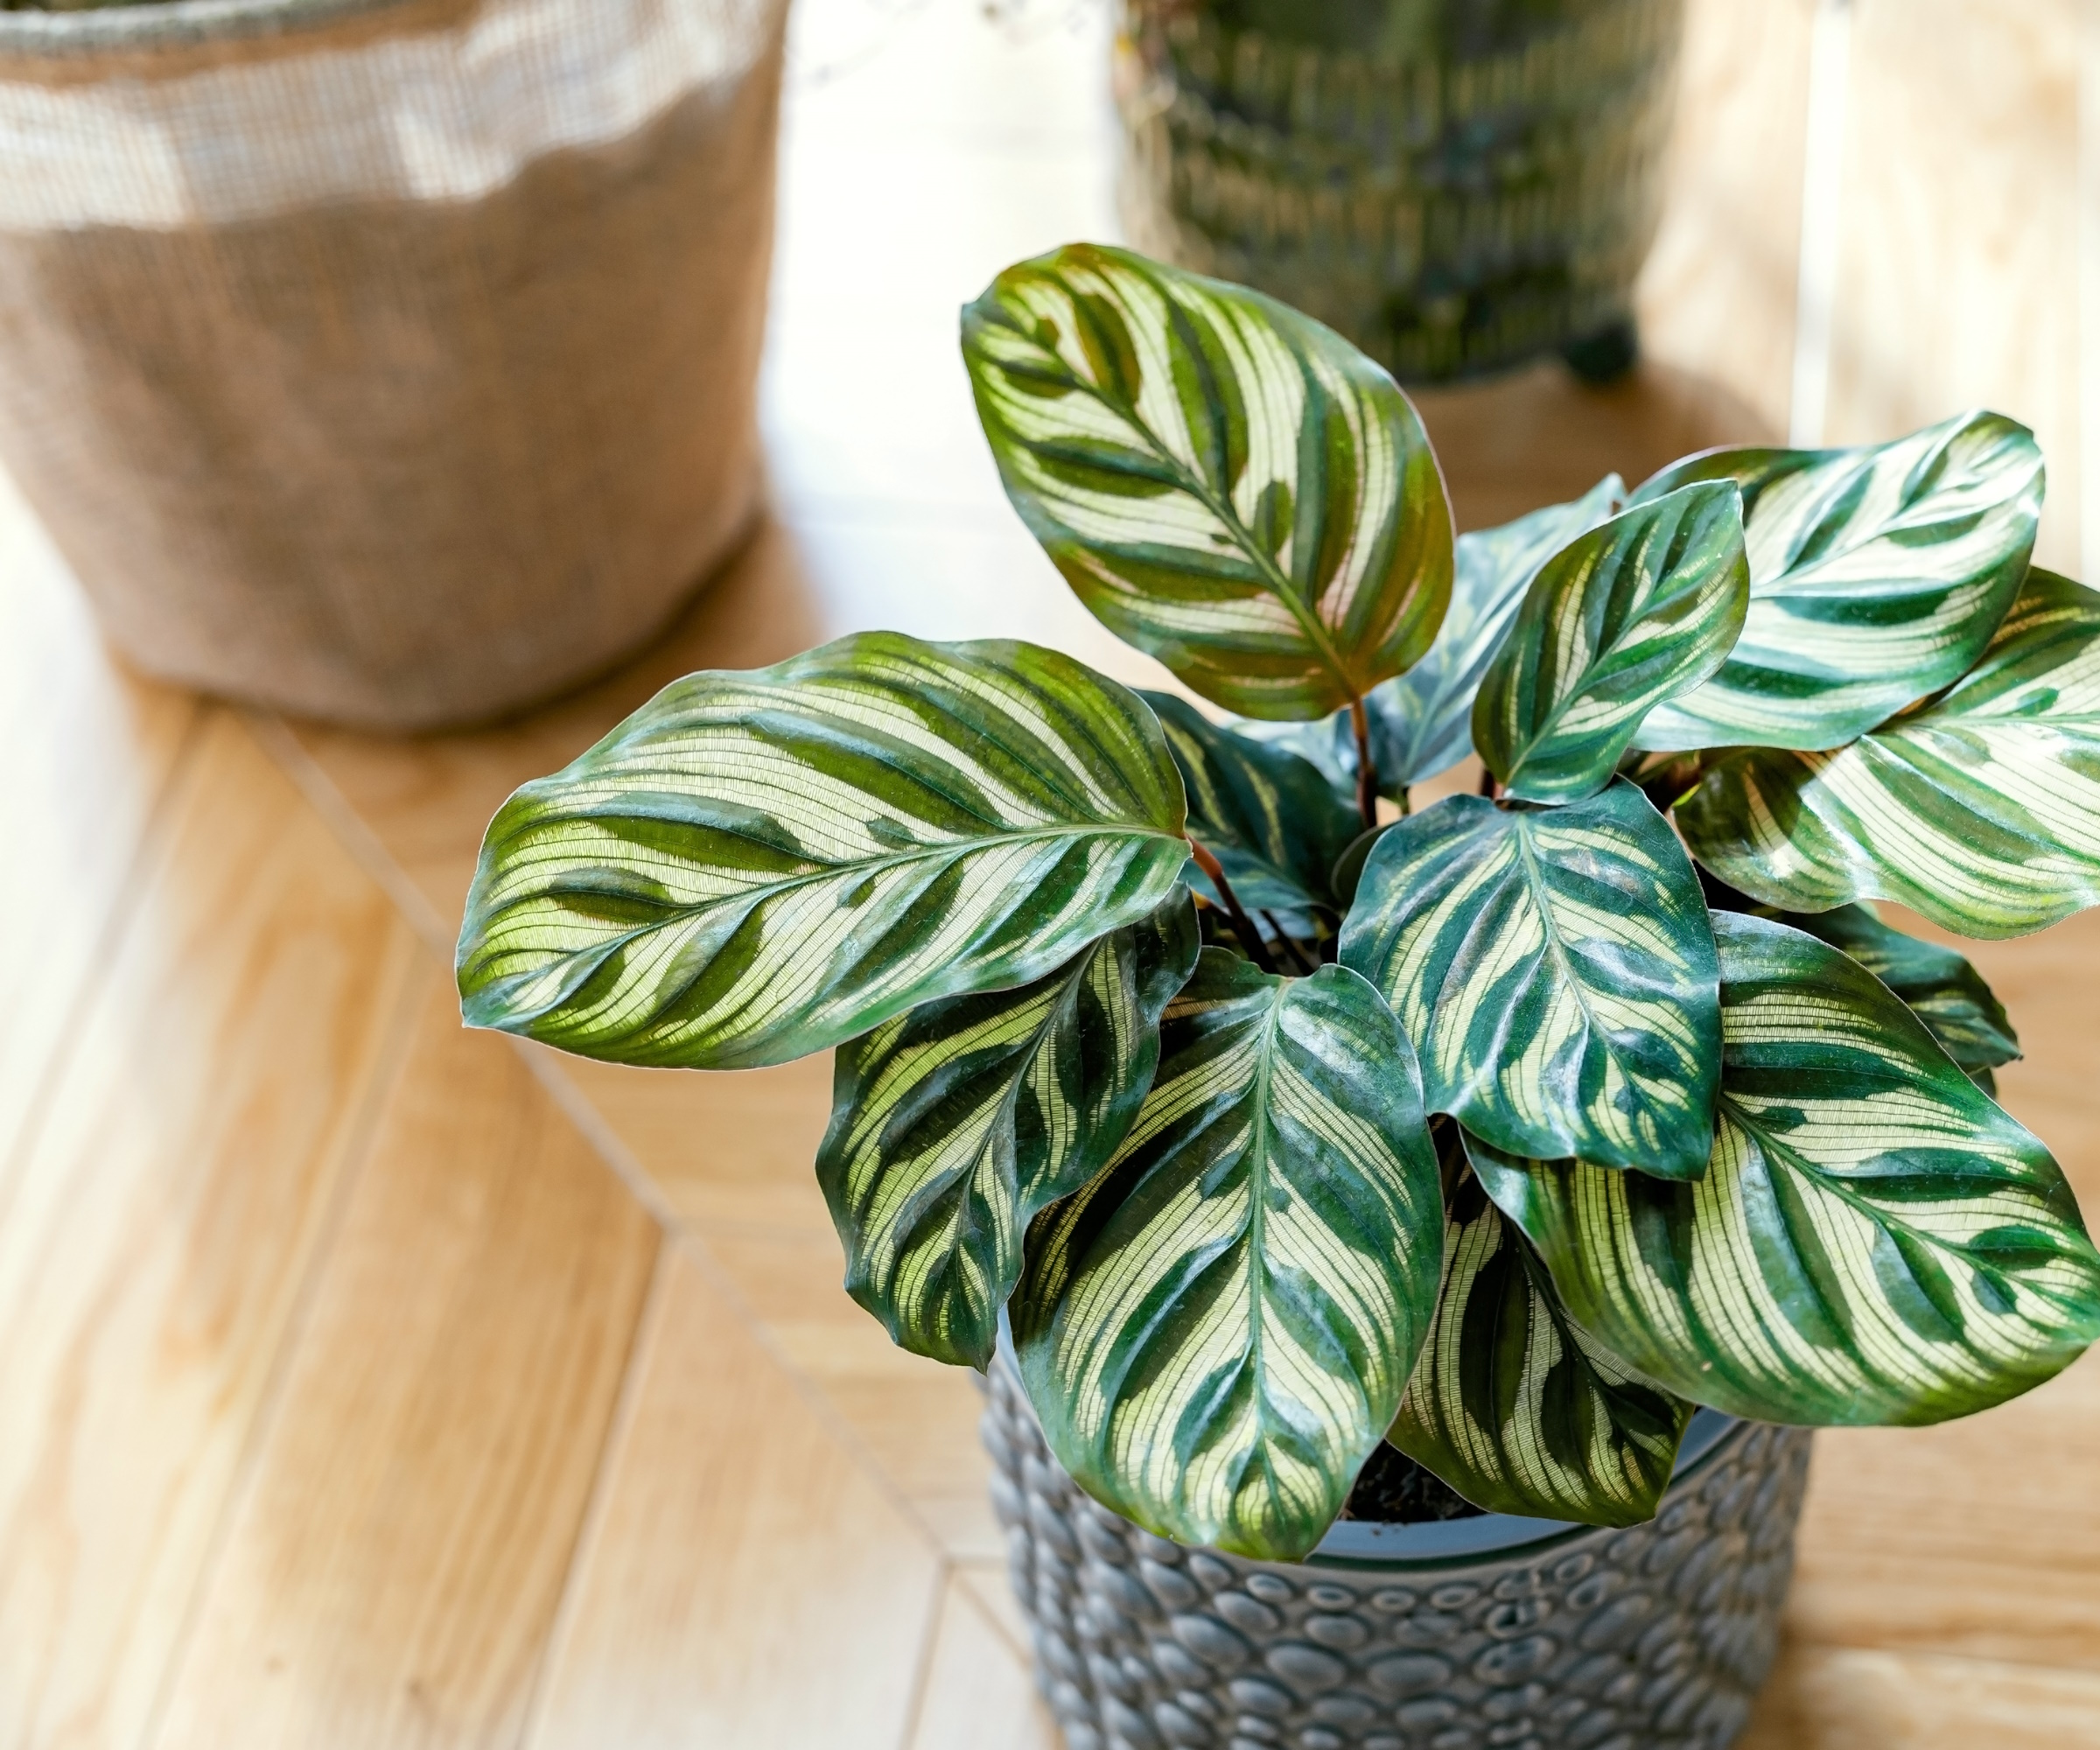
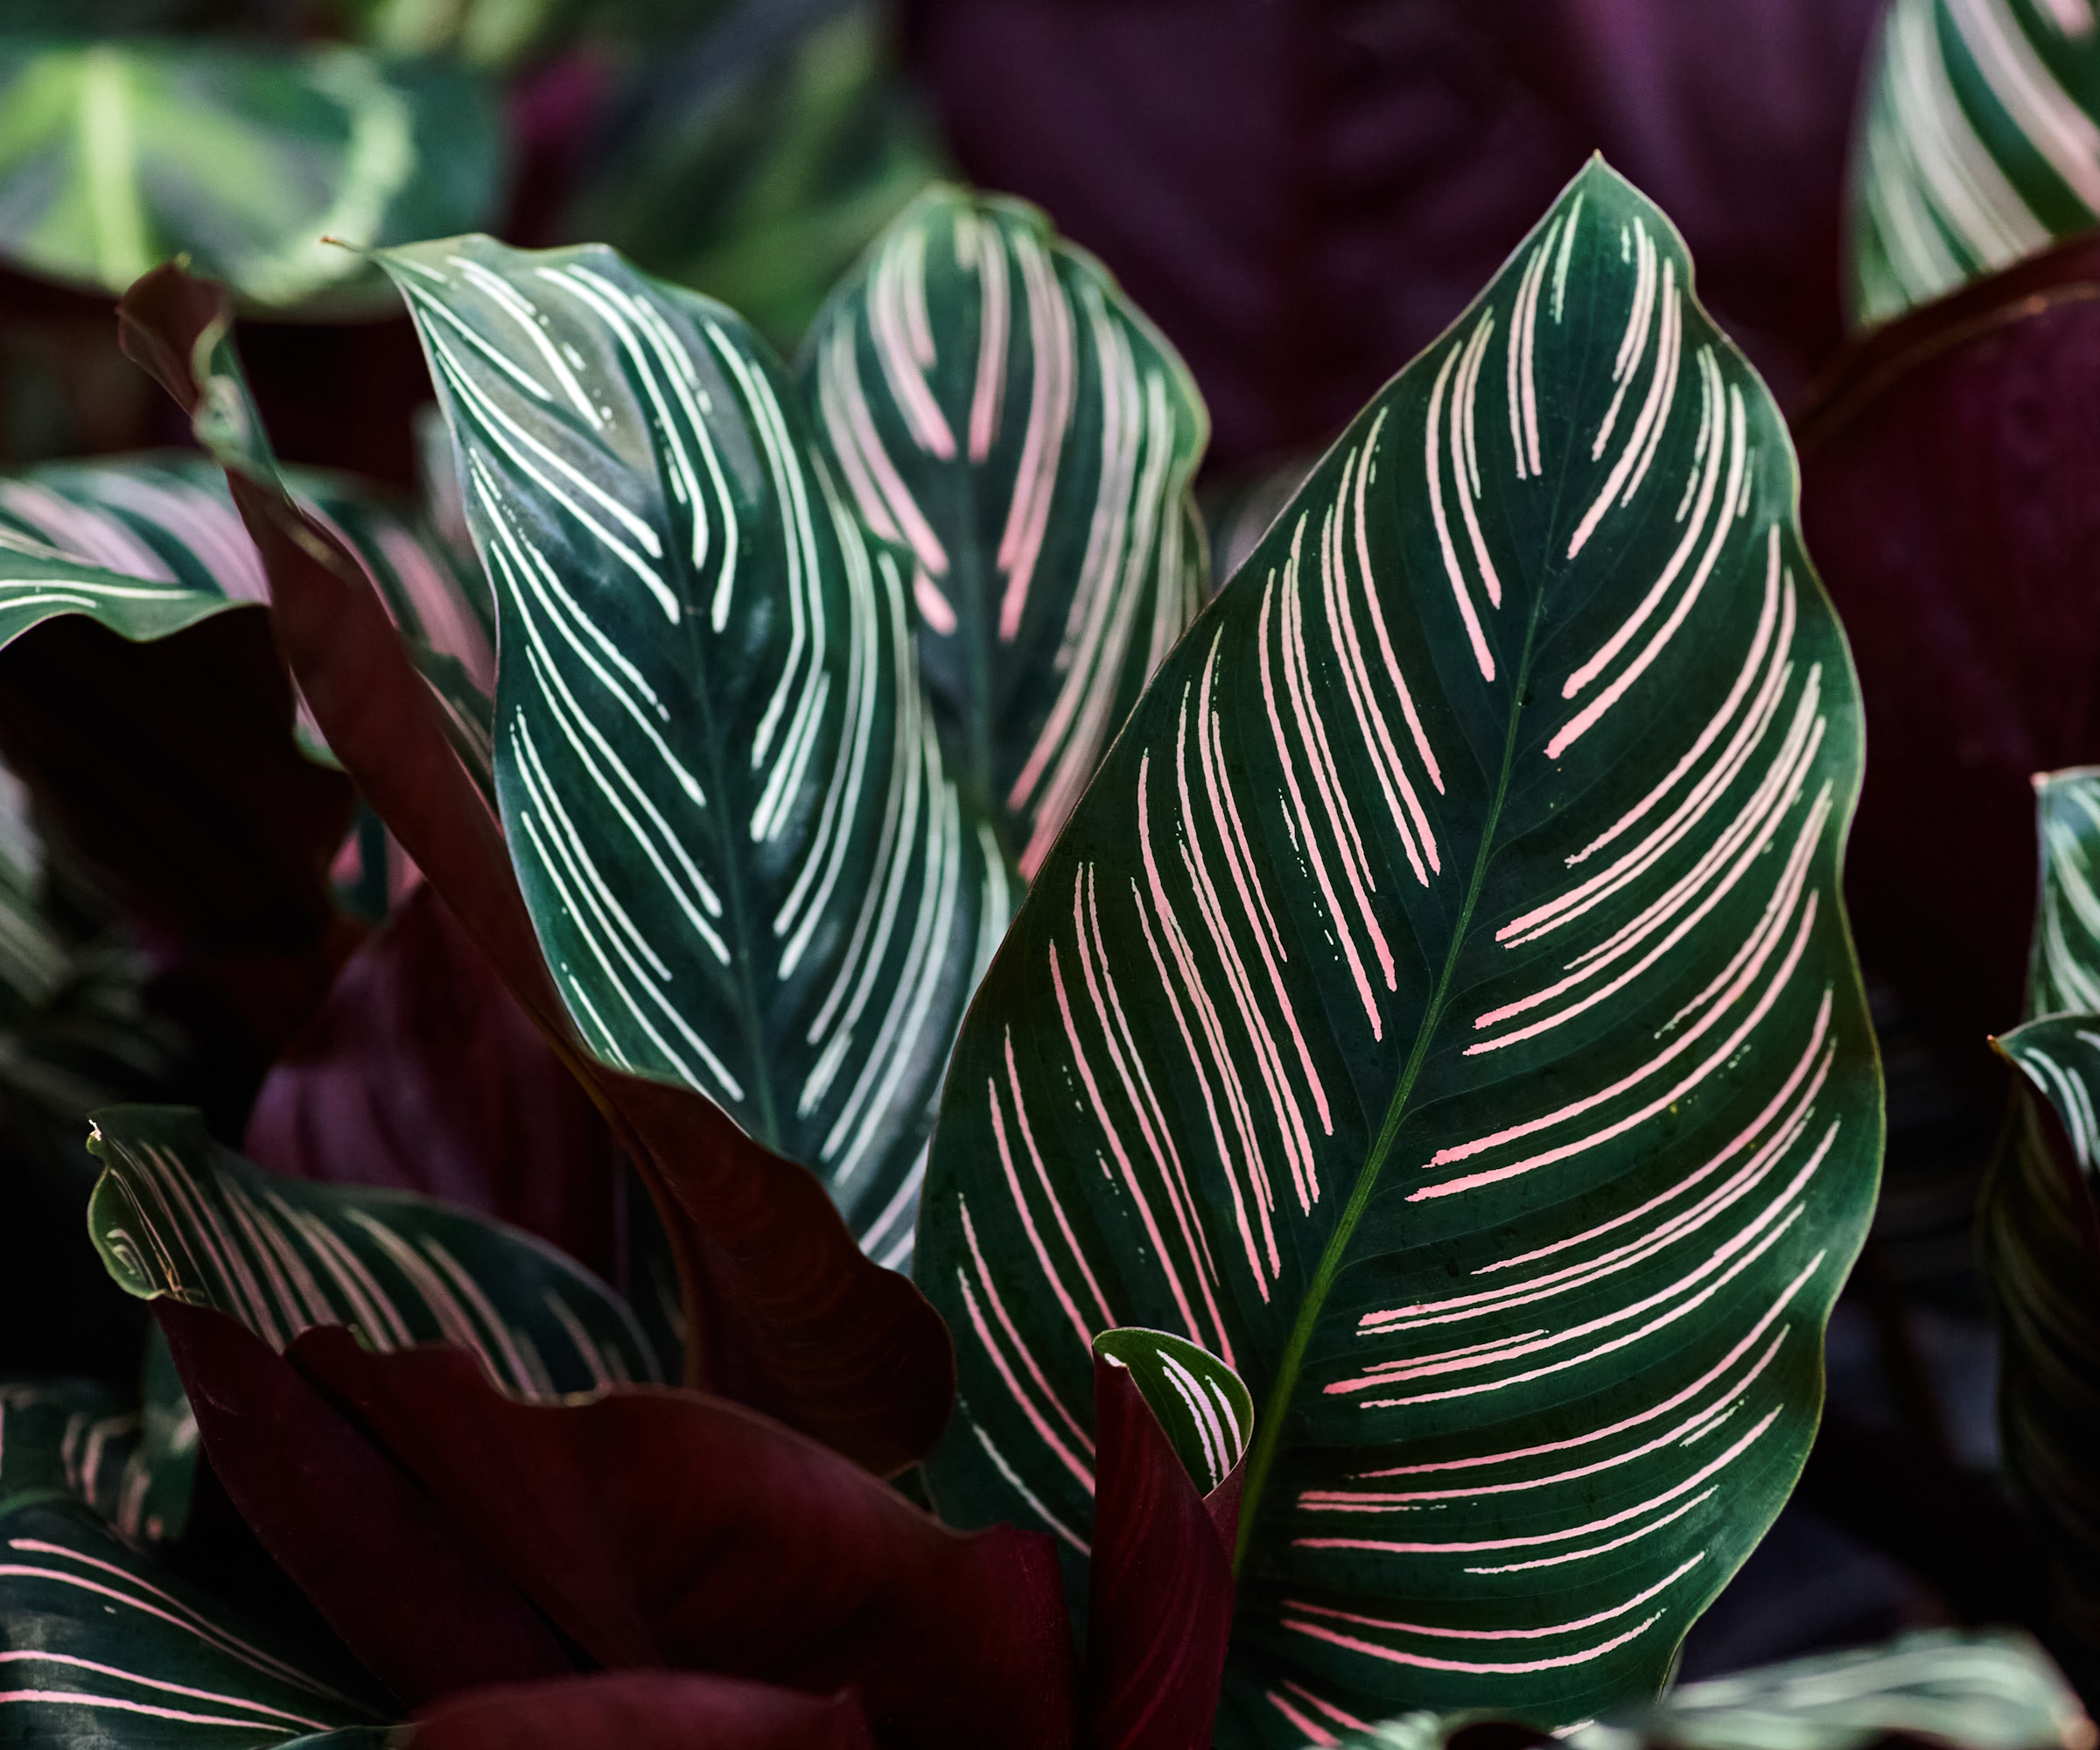
These specimens comprise of a diverse group of foliage plants and include the aptly named peacock plant (Goeppertia makoyana), with its intricately patterned dark and pale green upper leaves with purple coloring below; the rattlesnake plant (Goeppertia lancifolia), which sports snakeskin patterns on its tall sword-shaped leaves; and the eye-catching eternal flame (Goeppertia crocata), grown for its fiery orange torch-like blooms, as well as the dark green, wavy-edged leaves.
Part of your calathea care routine is to spot when it has outgrown its container, and this is the ideal point to divide it up into newer, smaller plants. You can check if your calathea is at this stage by looking underneath the pot to see if roots are growing through the drainage holes.
Alternatively, slip it out of the container and if the roots are encircling the root ball in a tight mass, you’re ready to go.

How to propagate calathea in four simple steps
Perfecting calathea propagation is easy and is done using division. Other methods which may work for some indoor plants, like using cuttings for rubber plant propagation, or collecting seeds from your plants, are either very slow or ineffectual when it comes to calathea. So, we recommend this method for the very best results.

- Water your plant well and leave to drain for an hour or so. Also make sure you have some pots with drainage holes in the base that will accommodate the newly divided calatheas. Then remove the plant from its pot and shake off any compost from around the rootball; don’t worry if no compost comes away at this stage.
- If the roots are not packed too tightly, you can gently pull apart the leafy stems with your hands, so that you have two or three clumps, each with some healthy roots attached.
- A common indoor plant mistake is allowing your plant to become pot bound. This is when the roots are forming a tight mass that can’t be pulled apart. Use a sharp, clean knife to cut the rootball into a couple of sections. After dividing it, carefully remove any dark, black or unhealthy looking roots.
- Lay your divided clumps on a table, and check that the pots you have ready are just a little bigger than each of the plant’s rootballs. Place a layer of moss or houseplant compost, such as this Tilth Indoor Houseplant Potting soil from Walmart, or a 2:1 mix of soil-based compost mixed with perlite, in the base of the pots, and then add the plants. Fill in around the rootballs with more compost, making sure that once planted, your calatheas are at the same level in their new pots as they were in their original container. Water well, and leave your plants to grow on in the bright, humid conditions they enjoy – they are wonderful plants for bathrooms or kitchens because of this.
Caring for your propagated calathea

Keep the compost moist as you would with a maidenhair fern, but guard against waterlogging.
Holly Crossley, a houseplant expert and gardens writer, says that while calathea are thirsty houseplants, they still like to dry out a bit between watering.
'The ideal way of watering plants is over a sink with rainwater or distilled water and leaving them to drain,' she says. 'You could also use tap water that has been put aside for a day to allow the chlorine to dissipate. When the top inch of the soil is dry, you'll know it's time to give them a drink.'
Keep the plants in their new pots for two to three years, after which time they will probably need repotting and may also be large enough to divide again.

Holly is a former allotment keeper and professional gardener. She now spends her time tending to her many houseplants and writing about gardens and outdoor living for Homes & Gardens.
FAQs
Can you propagate calathea from cuttings?
The simple answer is no. With spider plant propagation you can place your cuttings in water to start them off. However, the stems from the calathea plant don't contain the necessary rooting tissue for this to be effective. The best way to propagate calathea is using the division method.
When is the best time to propagate calathea?
The best time to propagate a calathea is in spring, at the beginning of their growing season. All you need for this quick and effective technique is a mature calathea with plenty of healthy stems to divide up.
The perfect time to propagate is when a plant has outgrown its original container, which will also help to give it a new lease of life, since the congested roots will be struggling to take up sufficient water and nutrients. Though calathea are good low light indoor plants, grow your new plants on in bright conditions in the beginning to allow them to establish properly.
It's little wonder these eye catching houseplants are often featured in Instagram and TikTok posts - they are so striking. And even better, they are among the best pet safe indoor plants you can grow, meaning you won't have to worry about keeping them out of the way of your furry friends.
Sign up to the Homes & Gardens newsletter
Design expertise in your inbox – from inspiring decorating ideas and beautiful celebrity homes to practical gardening advice and shopping round-ups.

Zia Allaway is a garden book author, editor, and journalist, and writes for a range of gardening and women’s magazines, including Easy Gardens, Homes & Gardens and Livingetc, as well as The Guardian and The Daily Telegraph newspapers. She has also written books for the Royal Horticultural Society and Dorling Kindersley publishers, including Eco-Gardening, Compost, Low Maintenance, Practical House Plant Book, Practical Cactus & Succulent Book, Indoor Edible Garden, What Plant Where, and the Encyclopedia of Plants and Flowers.
-
 This is the single best upright vacuum we've ever tested – and it's on offer with $130 off at Shark for a limited time only
You won't want to miss this one
By Dan Fauzi
-
 Nate Berkus says slipcovered sofas are back on trend – and I just found a way to create this designer-approved laid-back look from just $86
This classic style is making a strong comeback, but did you know you don't have to buy a whole new couch to get this Nate-approved look?
By Eleanor Richardson