How to propagate an alocasia – discover 3 methods for new, healthy plants
Watch your elephant ear plant multiply with these professional propagation tips
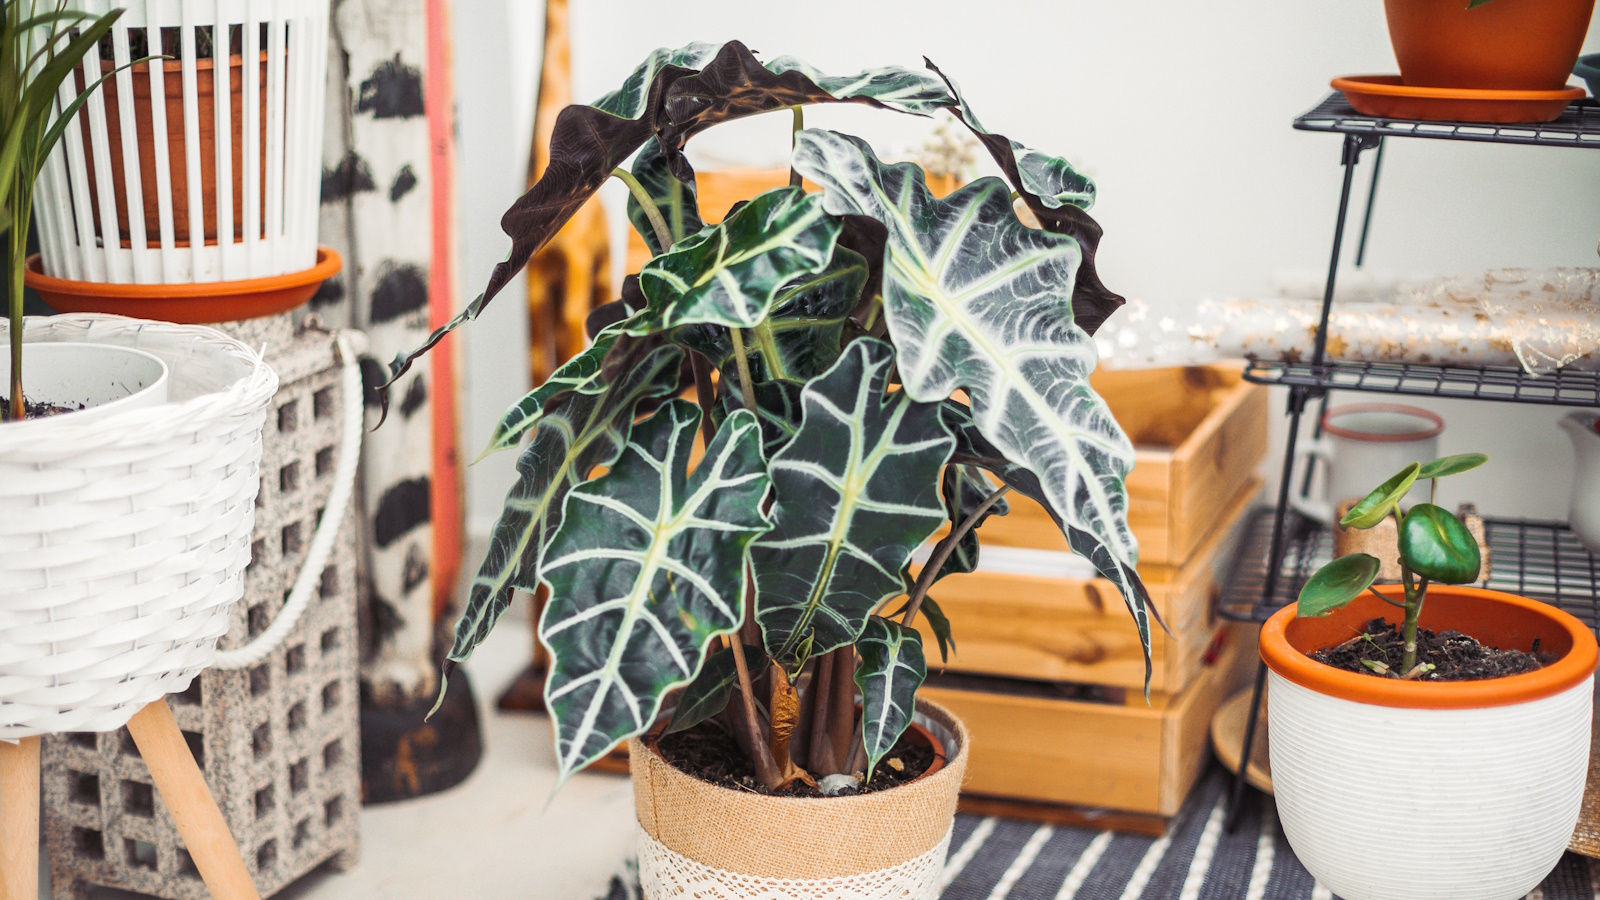

Alocasias, often known as elephant ear or African mask plants, are beautiful tropical houseplants, and they are very simple to propagate at home.
The popularity of these striking plants amongst interior and garden designers is on the rise, thanks to their fascinating crimped, heart-shaped leaves and beautiful white veining.
Knowing how to propagate your alocasia plant properly will mean you'll have the option of creating new plants that are already semi-matured, for free. We asked the experts about the best ways to do it.
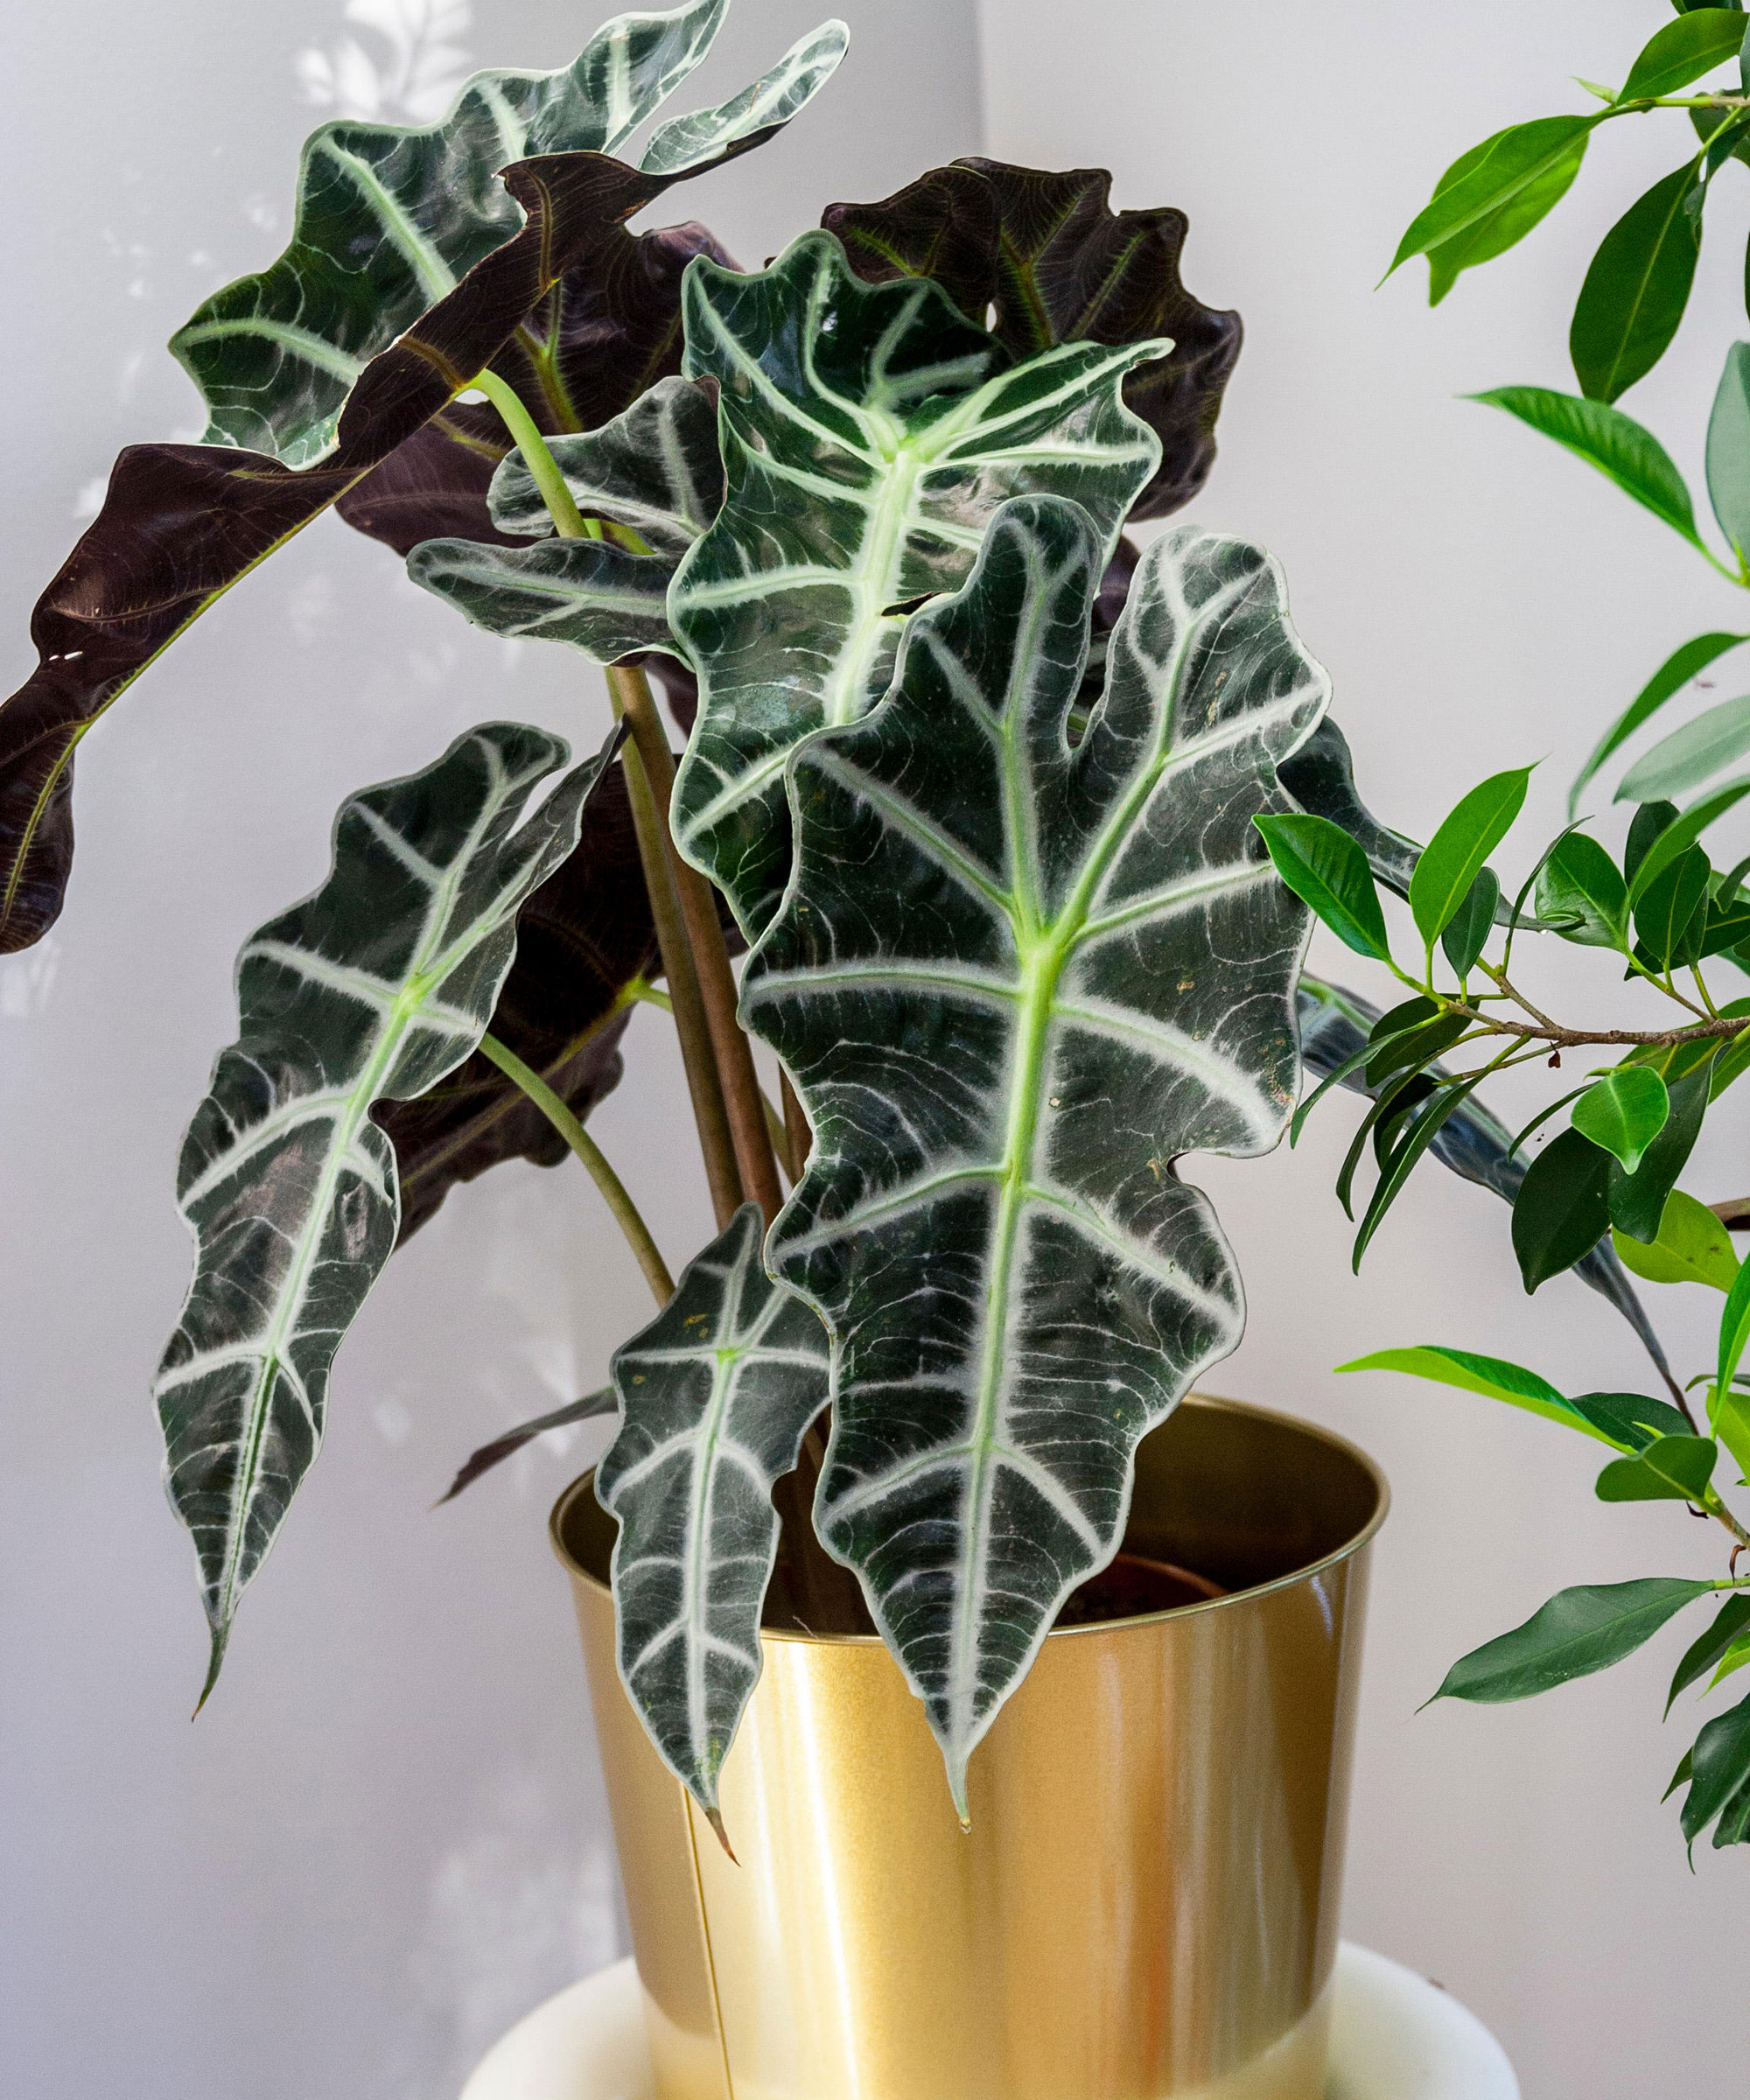
Expert steps to propagating an alocasia plant
Houseplant experts have detailed three different methods for successful alocasia propagation. Here is a step-by-step guide to the task and all the kit you need.
Select a Healthy Parent Plant
‘Start by choosing a healthy and mature alocasia plant,’ says houseplant expert Vladan Nikolic. ‘Look for a plant with well-developed stems and no sign of infestation or disease. An optimal parent plant will produce the best offspring.’
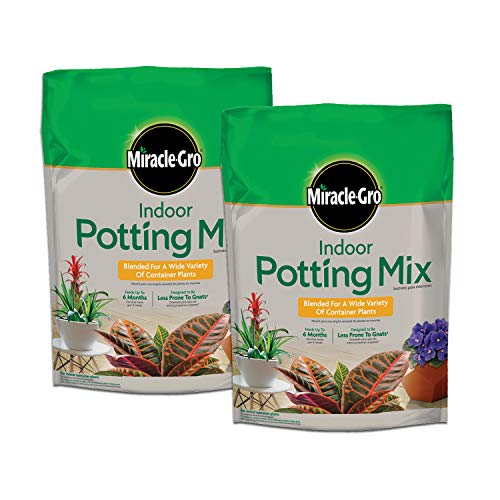
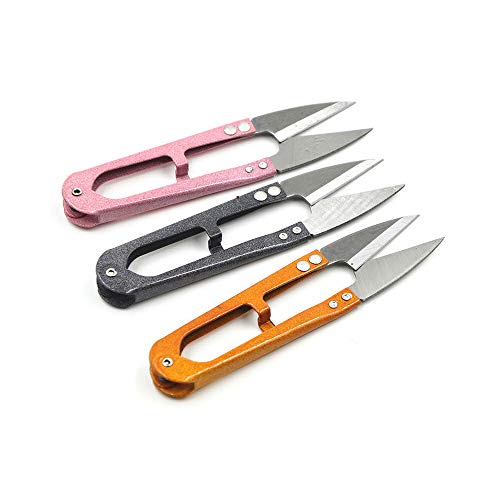
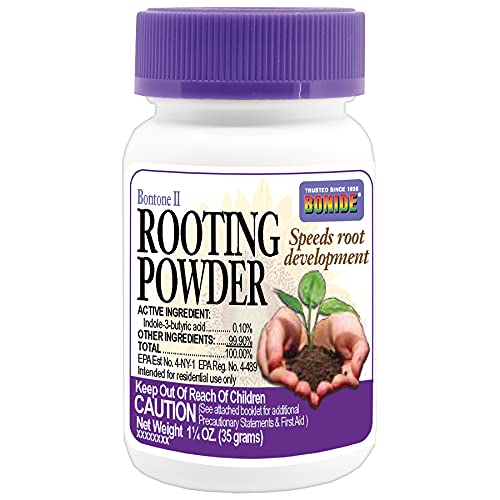
To begin the propagation process, prep your kit by gathering well-draining potting mix, a clean and sharp knife or scissors, a small container, and optional rooting hormone powder, such as Bonide Bontone II rooting powder from Amazon, if you wish to promote root development.
Alocasia plants can be propagated by several methods: division, offsets, or stem cuttings. It simply depends on how large your parent plant is, and your personal preference.

Vladan Nikolic, otherwise known as Mr. Houseplant, is a houseplant expert with over 10 years of experience. He is the founder of the houseplant care blog MrHouseplant.com and also an influencer who helps newcomers in the houseplant world become great plant parents. You can find him on Instagram, TikTok, Youtube, Facebook, Twitter and Pinterest.
Option 1: Propagation by division
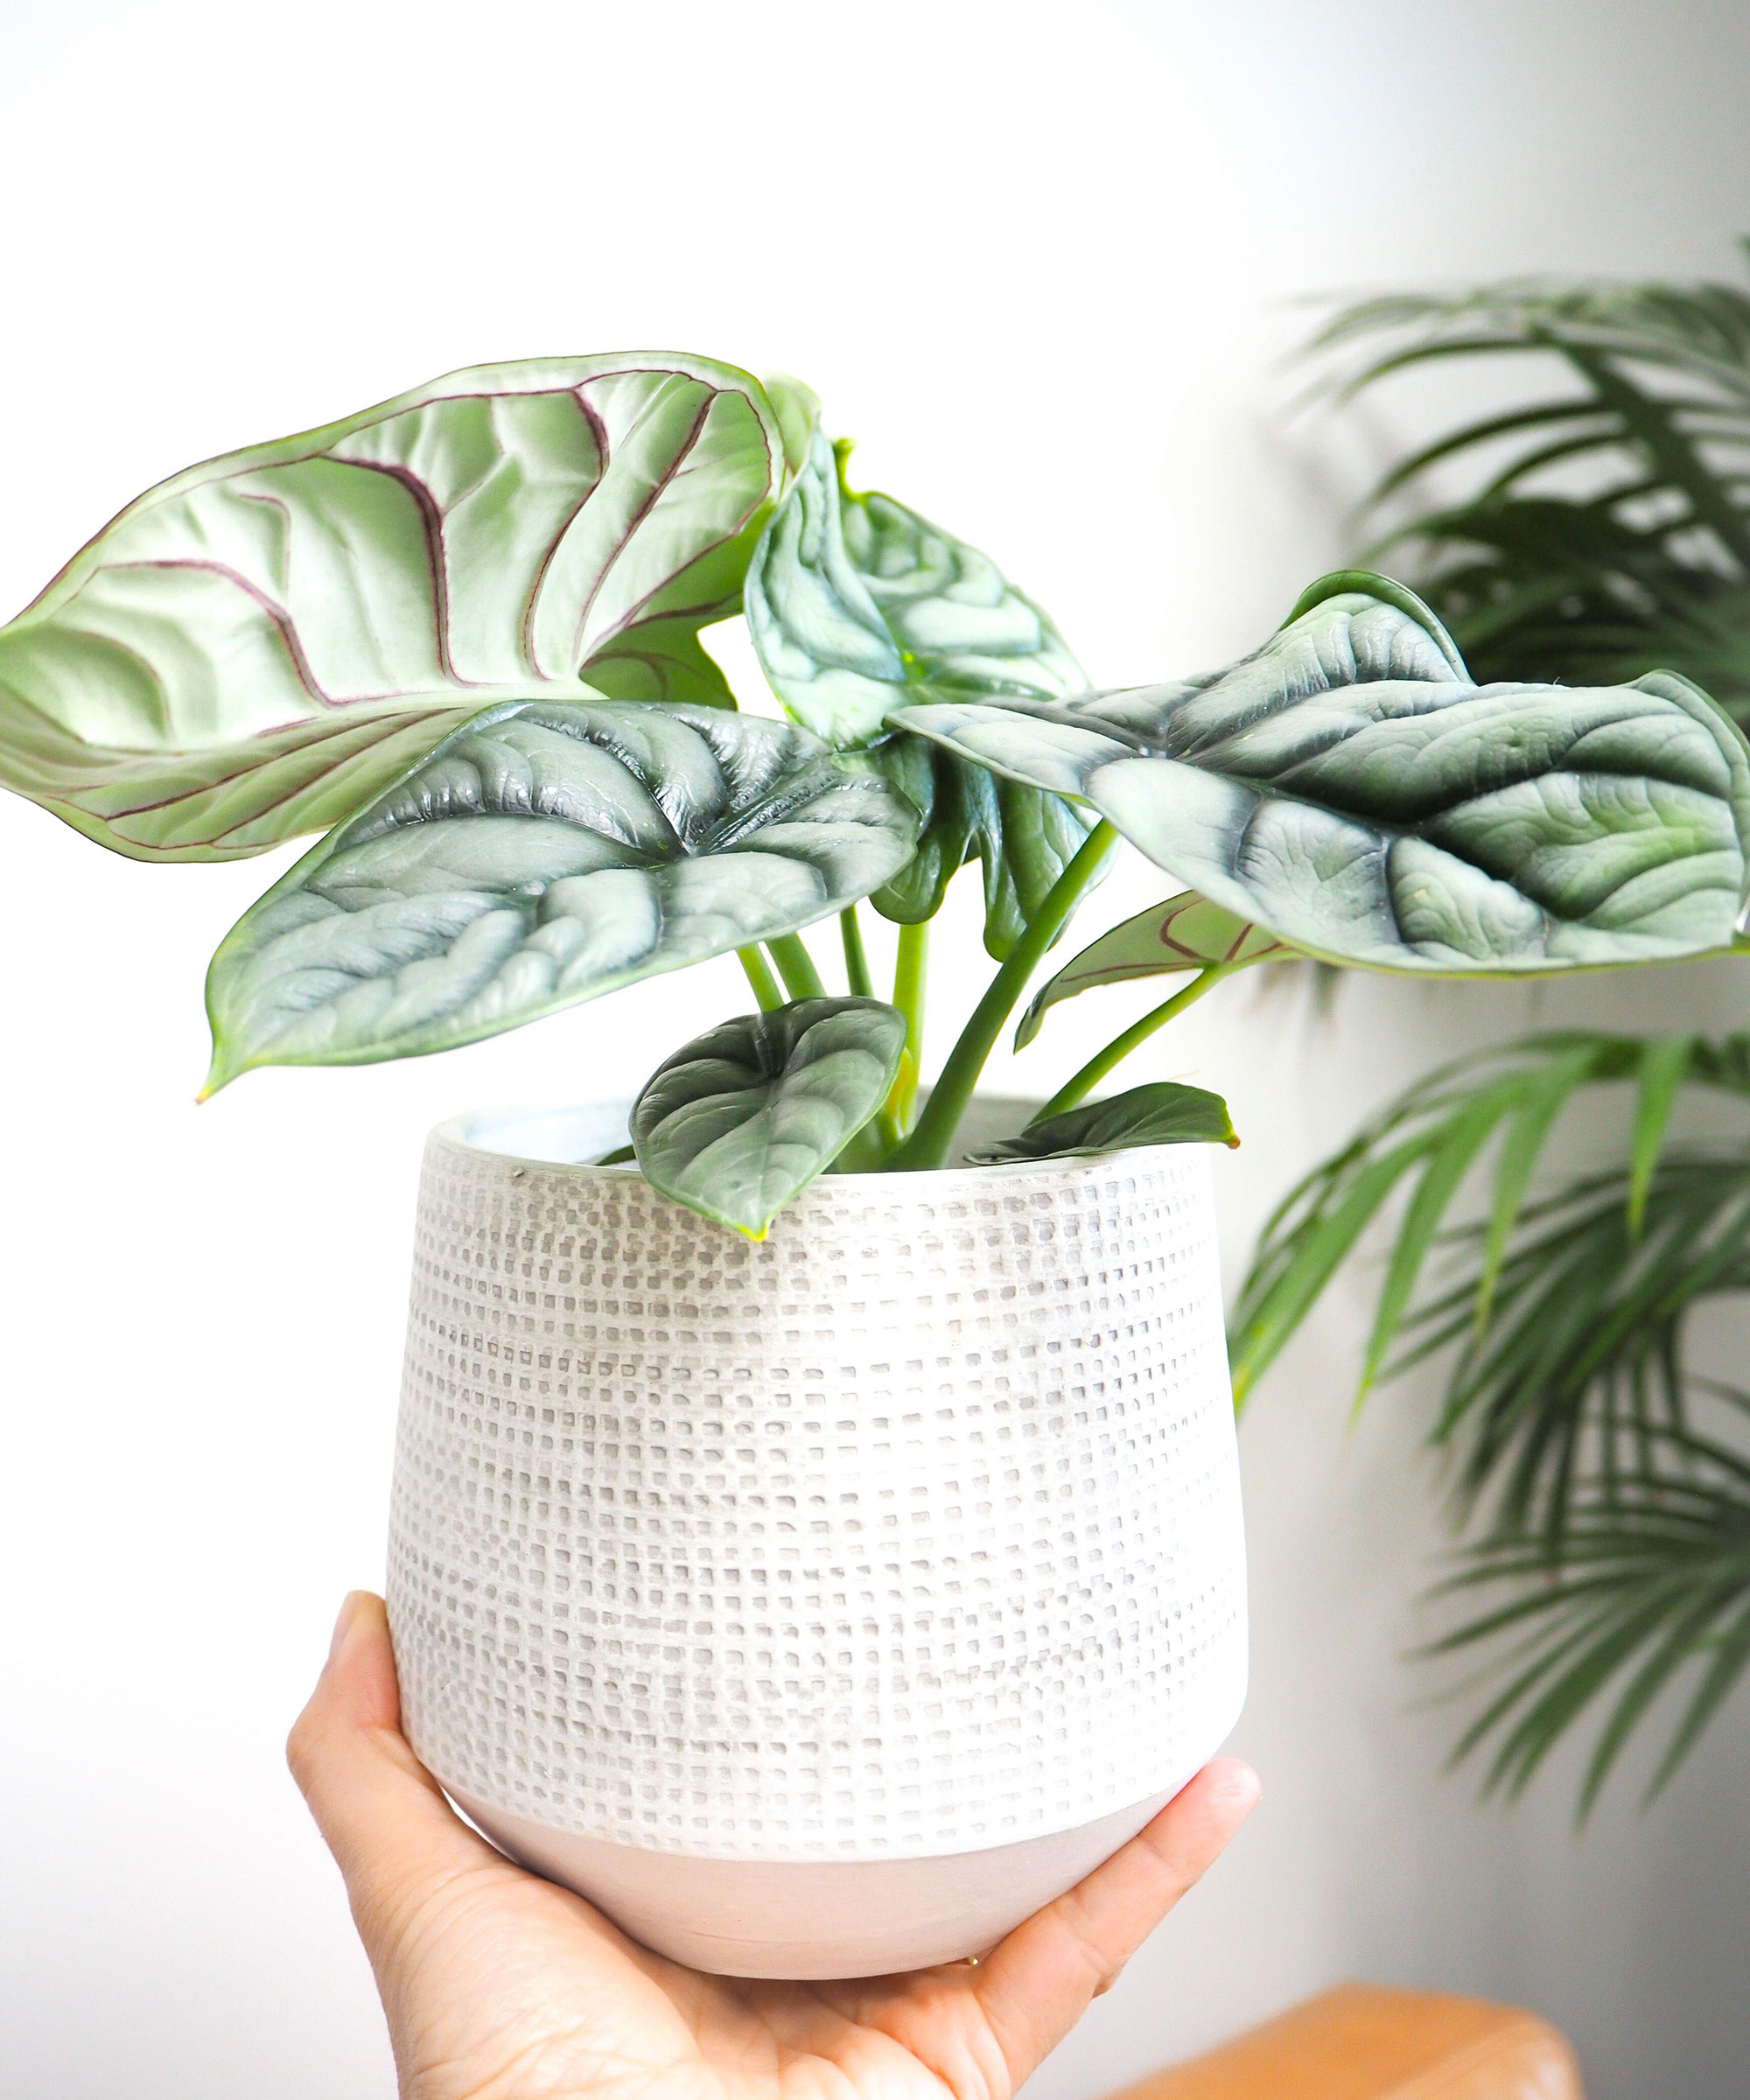
According to Vladan, when alocasia plants have more than one stem or rhizome it is best to propagate them by division.
First, take the plant from the pot and separate the stems and rhizomes carefully, ensuring that every division has its roots. Gently upturn the alocasia over a plastic tray, then tap the pot to remove as much soil off the rhizome as possible.
Slice the clump into various sections using a clean, sharp knife; each part should have the ability to produce new shoots. This is normally shown by the presence of a bud or growth point.
Plant the division in a new container filled with potting mix such as Dr. Earth Gold premium potting soil from Amazon. Thoroughly water and place the newly potted divisions to a warm environment with sufficient light but avoiding direct sunlight.
Option 2: Propagation by Offsets:
Some alocasia plants produce offsets or bulbils, otherwise known as small baby plants, around the base of the parent plant.
Select the offset intended for propagation and carefully separate it from the parent plant using a clean, sharp knife or snips. Plant the offset in a new container filled with potting mix, water, and in a few weeks it will start to develop roots and shoots.
Option 3: Propagation by Stem Cuttings
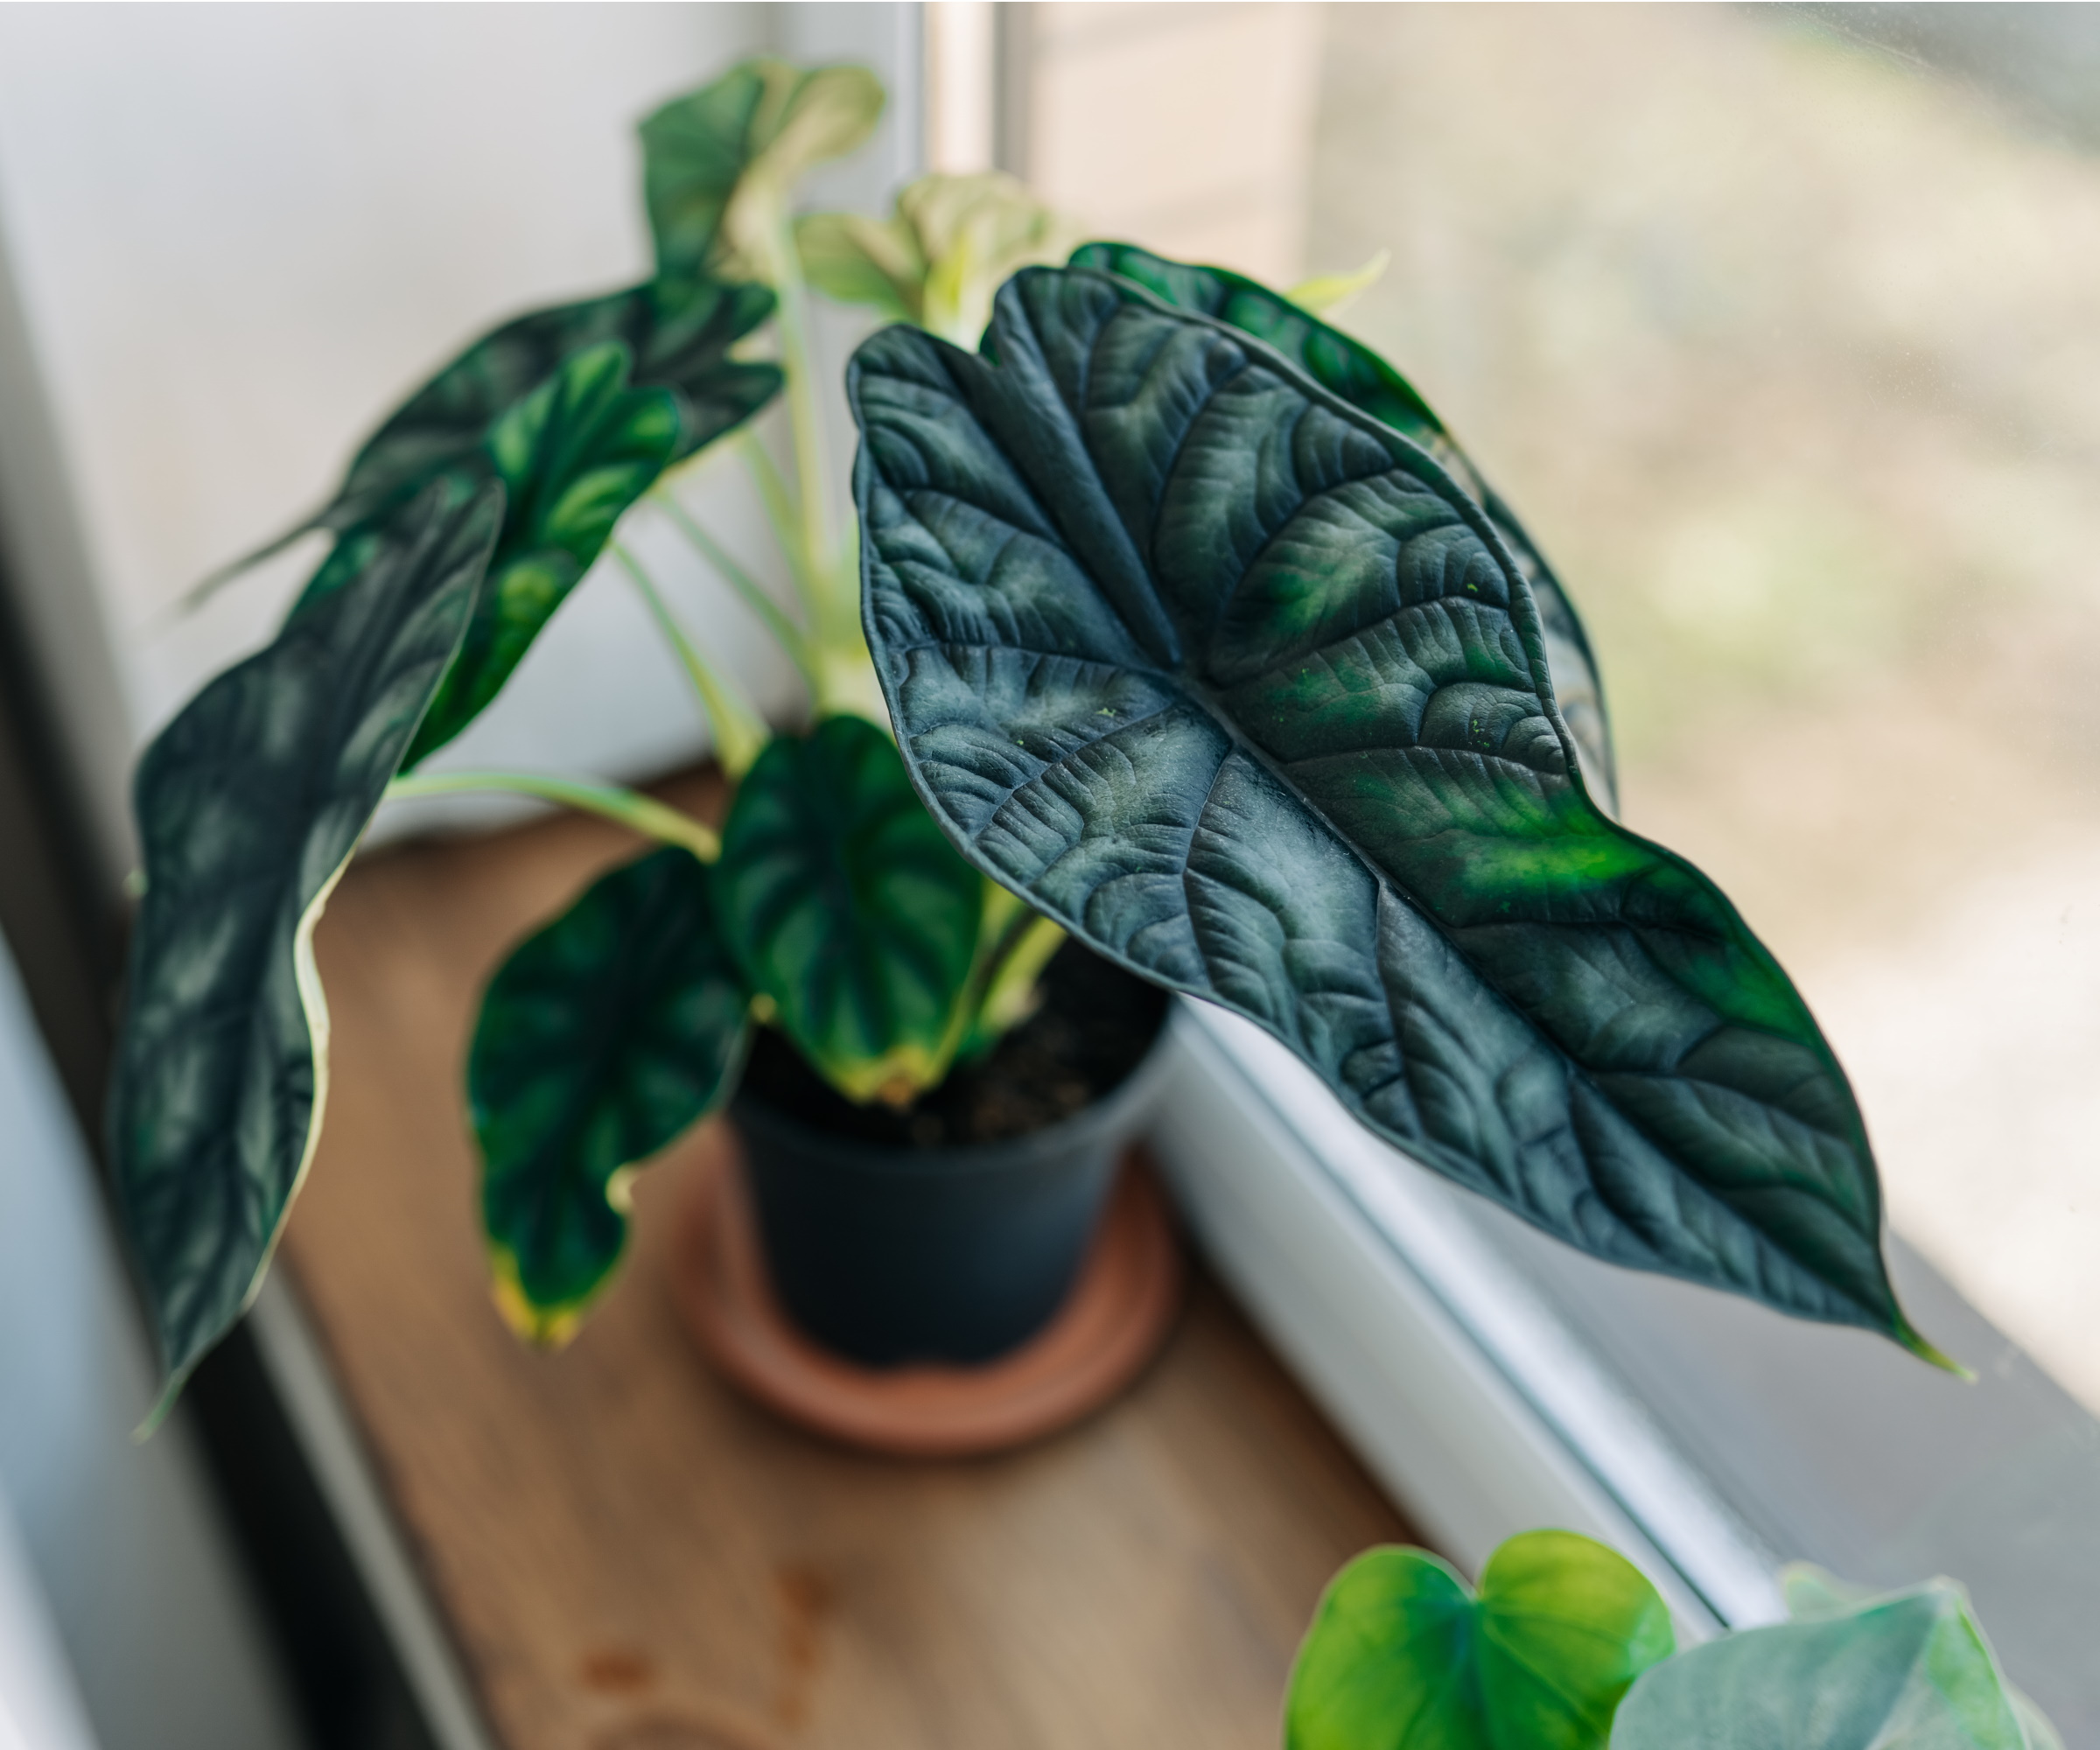
Alocasia varieties that have long stems can be propagated by stem cuttings. If bulbils are not formed, stem cuttings from the mature growth of the plant can be taken by selecting the healthy stems.
With a clean and sharp knife or scissors, cut a healthy stem from the parent plant, ensuring that at least one node (where leaves are attached) and a portion of the stem are included.
Dip the cut end of the stem in rooting hormone powder to enhance the growth of new roots, and then plant it in a container filled with potting mix. Water thoroughly and provide the requisite care to allow the cutting to develop roots.
Caring for a propagated alocasia
Watering and humidity:
Some plants simply don’t cope well with inconsistent water and this is one of them. Alocasia need constantly moist soil and high humidity. Brody Hall, co-founder of The Indoor Nursery, recommends that you 'moisten, but do not saturate the soil' as the latter could lead to the development of root rot.
Light requirements:
As your propagated alocasia grows, you should care for it by ensuring it receives bright, indirect sunlight. They can burn in direct sunlight, but they also need some exposure to light to avoid forming petite plants.
Fertilizing:
When new growth emerges, start using a selective, water-soluble fertilizer to feed your plants for 4-6 weeks during summer.

From managing a vineyard to studying horticulture, all the way to obtaining a degree in Environmental Science - Brody loves nothing more than taking his years of knowledge and understanding of ecological science and applying it to the world of gardening.
FAQs
Should I mist my alocasia everyday?
In short, no. You should look to keep the soil of your alocasia plant moist but not wet. You can achieve this with weekly watering sessions and frequent misting, but not everyday.
After you have propagated your alocasia, observe the newly propagated plants to be sure of proper of root development and fresh growth. If you love the idea of getting new, free plants from your existing collection, have a look at our guide to snake plant propagation.
Sign up to the Homes & Gardens newsletter
Design expertise in your inbox – from inspiring decorating ideas and beautiful celebrity homes to practical gardening advice and shopping round-ups.

Seraphina is a contributing editor at Homes & Gardens, writing Solved features on organizing and storage. She loves to decorate and also grow her own produce from her home in London. Her previous experience includes working at Women's Health and Fabulous Magazine.
-
 'Sexy disco-era Italy meets Japanese farmhouse in the Brazilian jungle' was the description the interior designer gave this glass-walled modernist home
Offering a warm welcome that defies its stark, modernist lines, this archictectural gem is full of surprises
By Karen Darlow
-
 Are you making the most out of the estate sales in your area? These are the 5 most valuable items you should be shopping for
Vintage lovers and antique experts share the objects you should always look out for when you're exploring an estate sale
By Eleanor Richardson
