How to propagate a rubber plant – and get more houseplants for free
Try this simple step-by-step guide for more greenery in your home
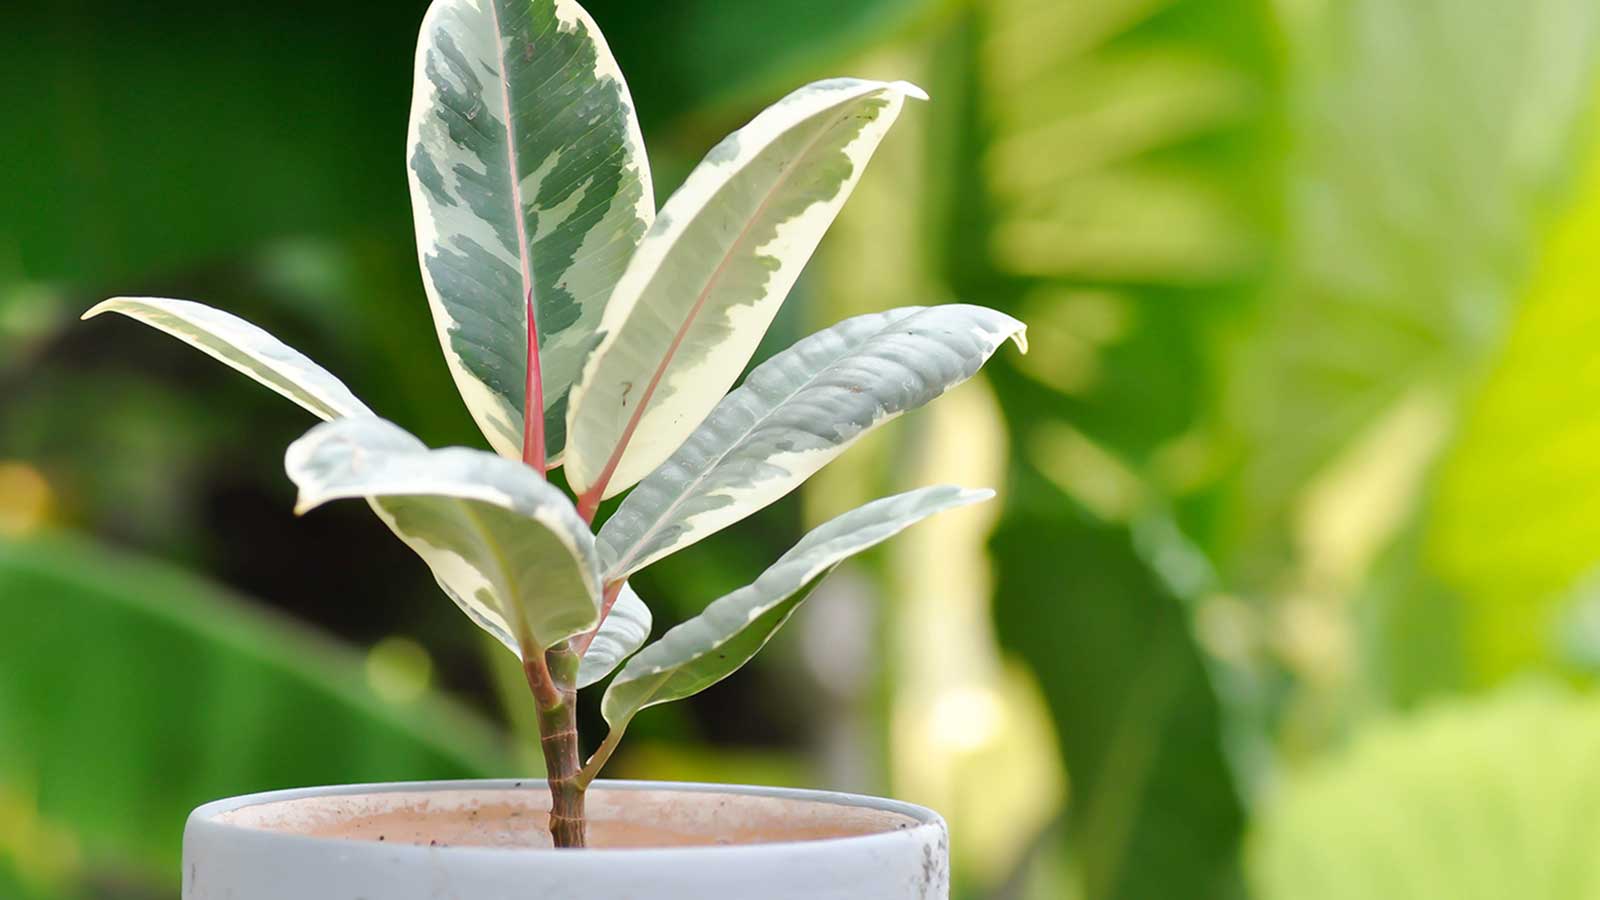

Rubber plants, also known as Ficus elastica, are well-loved for their large, glossy leaves. They hail from South Asia, where they can grow into tall trees. However, they also make excellent, albeit much smaller, houseplants.
Not only are these indoor plants aesthetically pleasing and easy to look after, but they can also be propagated in just a few steps by taking leaf cuttings. This means that if you already have one brightening your interior scheme, you can make more – without extra cost – either for yourself or to give away as gifts.
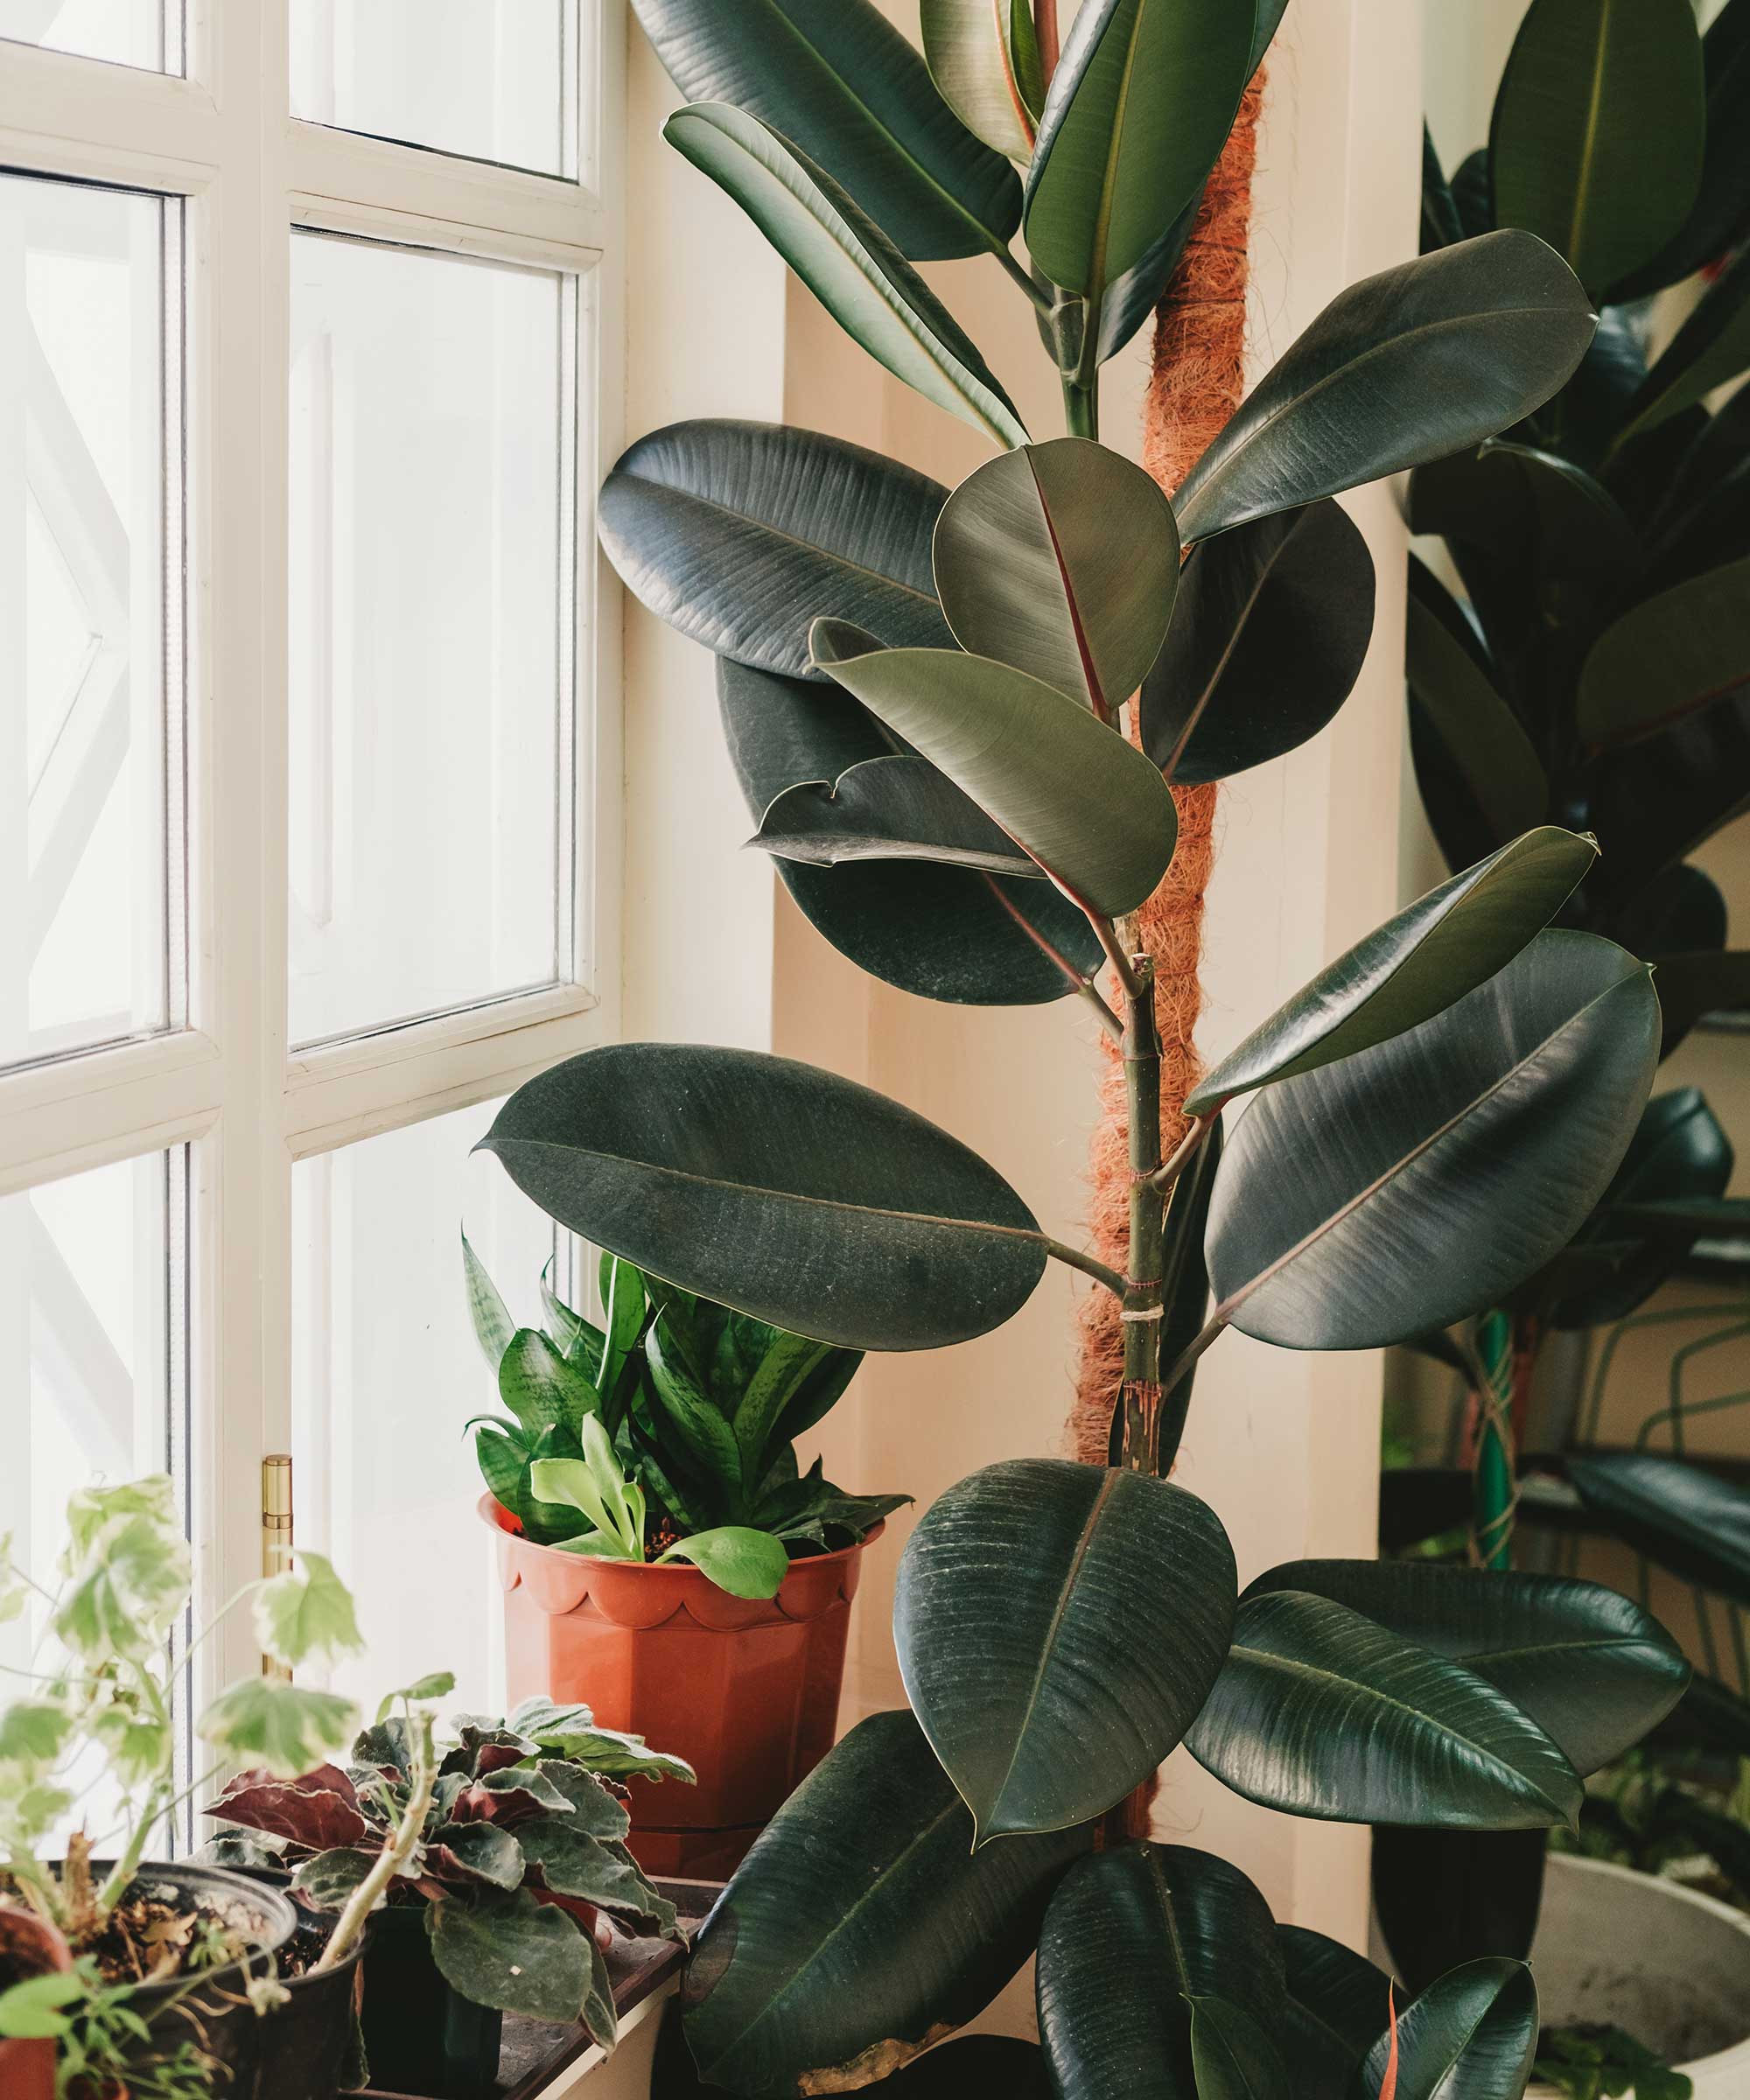
Rubber plants make a stunning statement in the home
How to propagate rubber plants
Before you start propagating your rubber plants, it's best to put on some gardening gloves. This will protect you from the milky sap inside the plant, which can irritate the skin. You should also ensure your scissors or pruners are sharp and clean to protect the plant from any diseases.
Autumn Hilliard-Knapp of Perfect Plants Nursery shares her step-by-step guide on propagating rubber plants below.
- Begin by selecting a healthy stem of your rubber plant to cut. The stem should be at least six inches long and have several leaves.
- Use sharp pruning shears to make a cut at a 45-degree angle, just below a leaf. Using a sharp cutting tool will help the plant have a clean cut which will help it propagate easier. Cutting the stem at a 45-degree angle will create more surface area for the plant to root. Once you cut the plant, it may drip sticky, white sap. If that happens, use a damp cloth to dab it until it stops.
- Once it stops dripping, gently remove the leaves that are towards the bottom of the stem, leaving one to two leaves at the top. Removing excess leaves helps the plant focus its energy on rerooting.
- Take the top leaf or two that you left on the stem and roll each one into a cylinder shape with the waxy side facing out and secure it with a rubber band. Rolling the leaf will help reduce the plants' moisture loss.
- Plant the cutting in moist and well-draining potting soil, such as the indoor plant soil mix from Perfect Plants Nursery, and in a pot that is suitable for its size. Planting in a suitable-sized pot will help you avoid having to transplant the rubber plant too soon. You can apply rooting hormone to the end of the cutting before you plant it.
- Put the pot in a warm, sunny location. Humid environments help rubber plants sprout roots, so avoid allowing the soil to dry out. If you are not placing your plant in a greenhouse, you could place a clear plastic bag over the plant and mist the inside every once in a while to create a humid environment.
- In about two to three weeks, the rubber plant should have developed roots and the plastic covering, if you're using one, can be removed.
gonicc 8" Professional Premium Titanium Bypass Pruning Shears | $21.95 from Amazon
Featuring a sleek, ergonomic design and a premium titanium steel blade, these pruners are the perfect tool for taking cuttings from your rubber plant, as well as deadheading and pruning other plants.

Autumn is a horticulture specialist and marketing professional at Perfect Plants Nursery. With four years of experience in the horticulture industry, she has developed a passion for helping people create beautiful indoor and outdoor spaces to enjoy. Her expertise in horticulture encompasses a broad range of activities, including plant care and selection, landscape design, and maintenance.
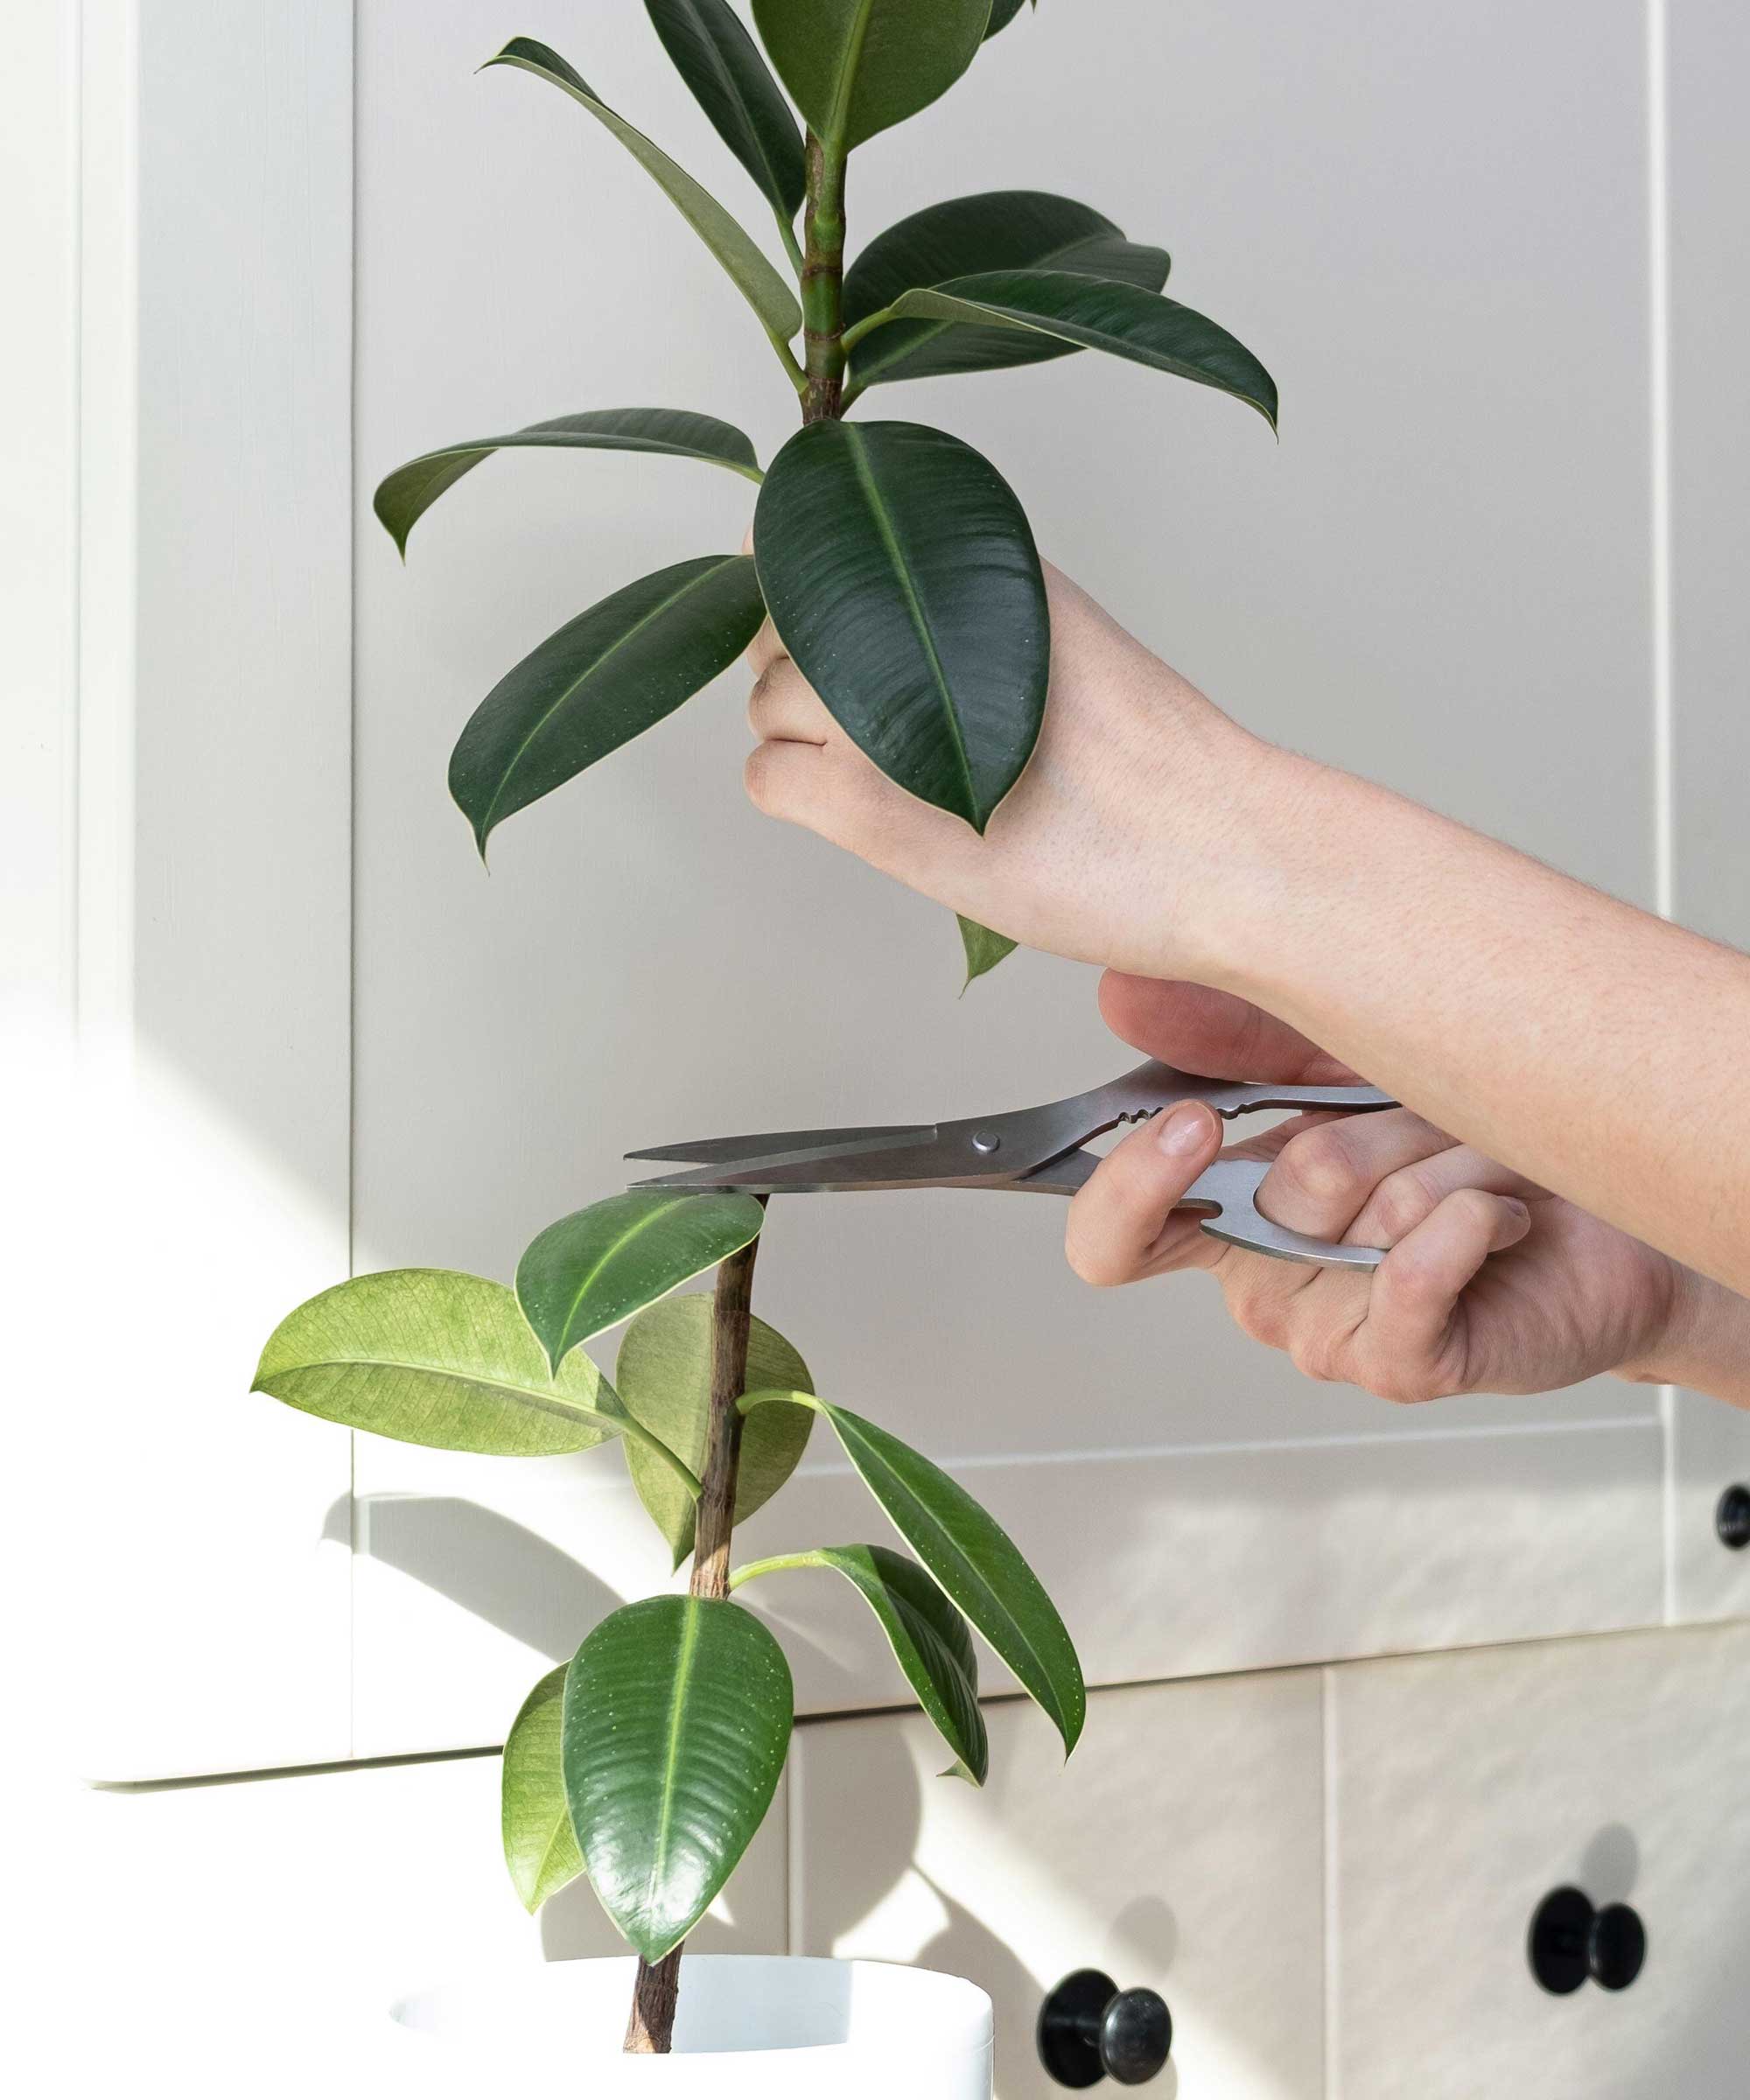
You can remove the top part of the plant for propagation
When to propagate rubber plants
As with most houseplants, rubber plants should be propagated when they are actively growing, in spring or summer. This will enable the parent plant to recover quicker. The new plant will establish faster, too.
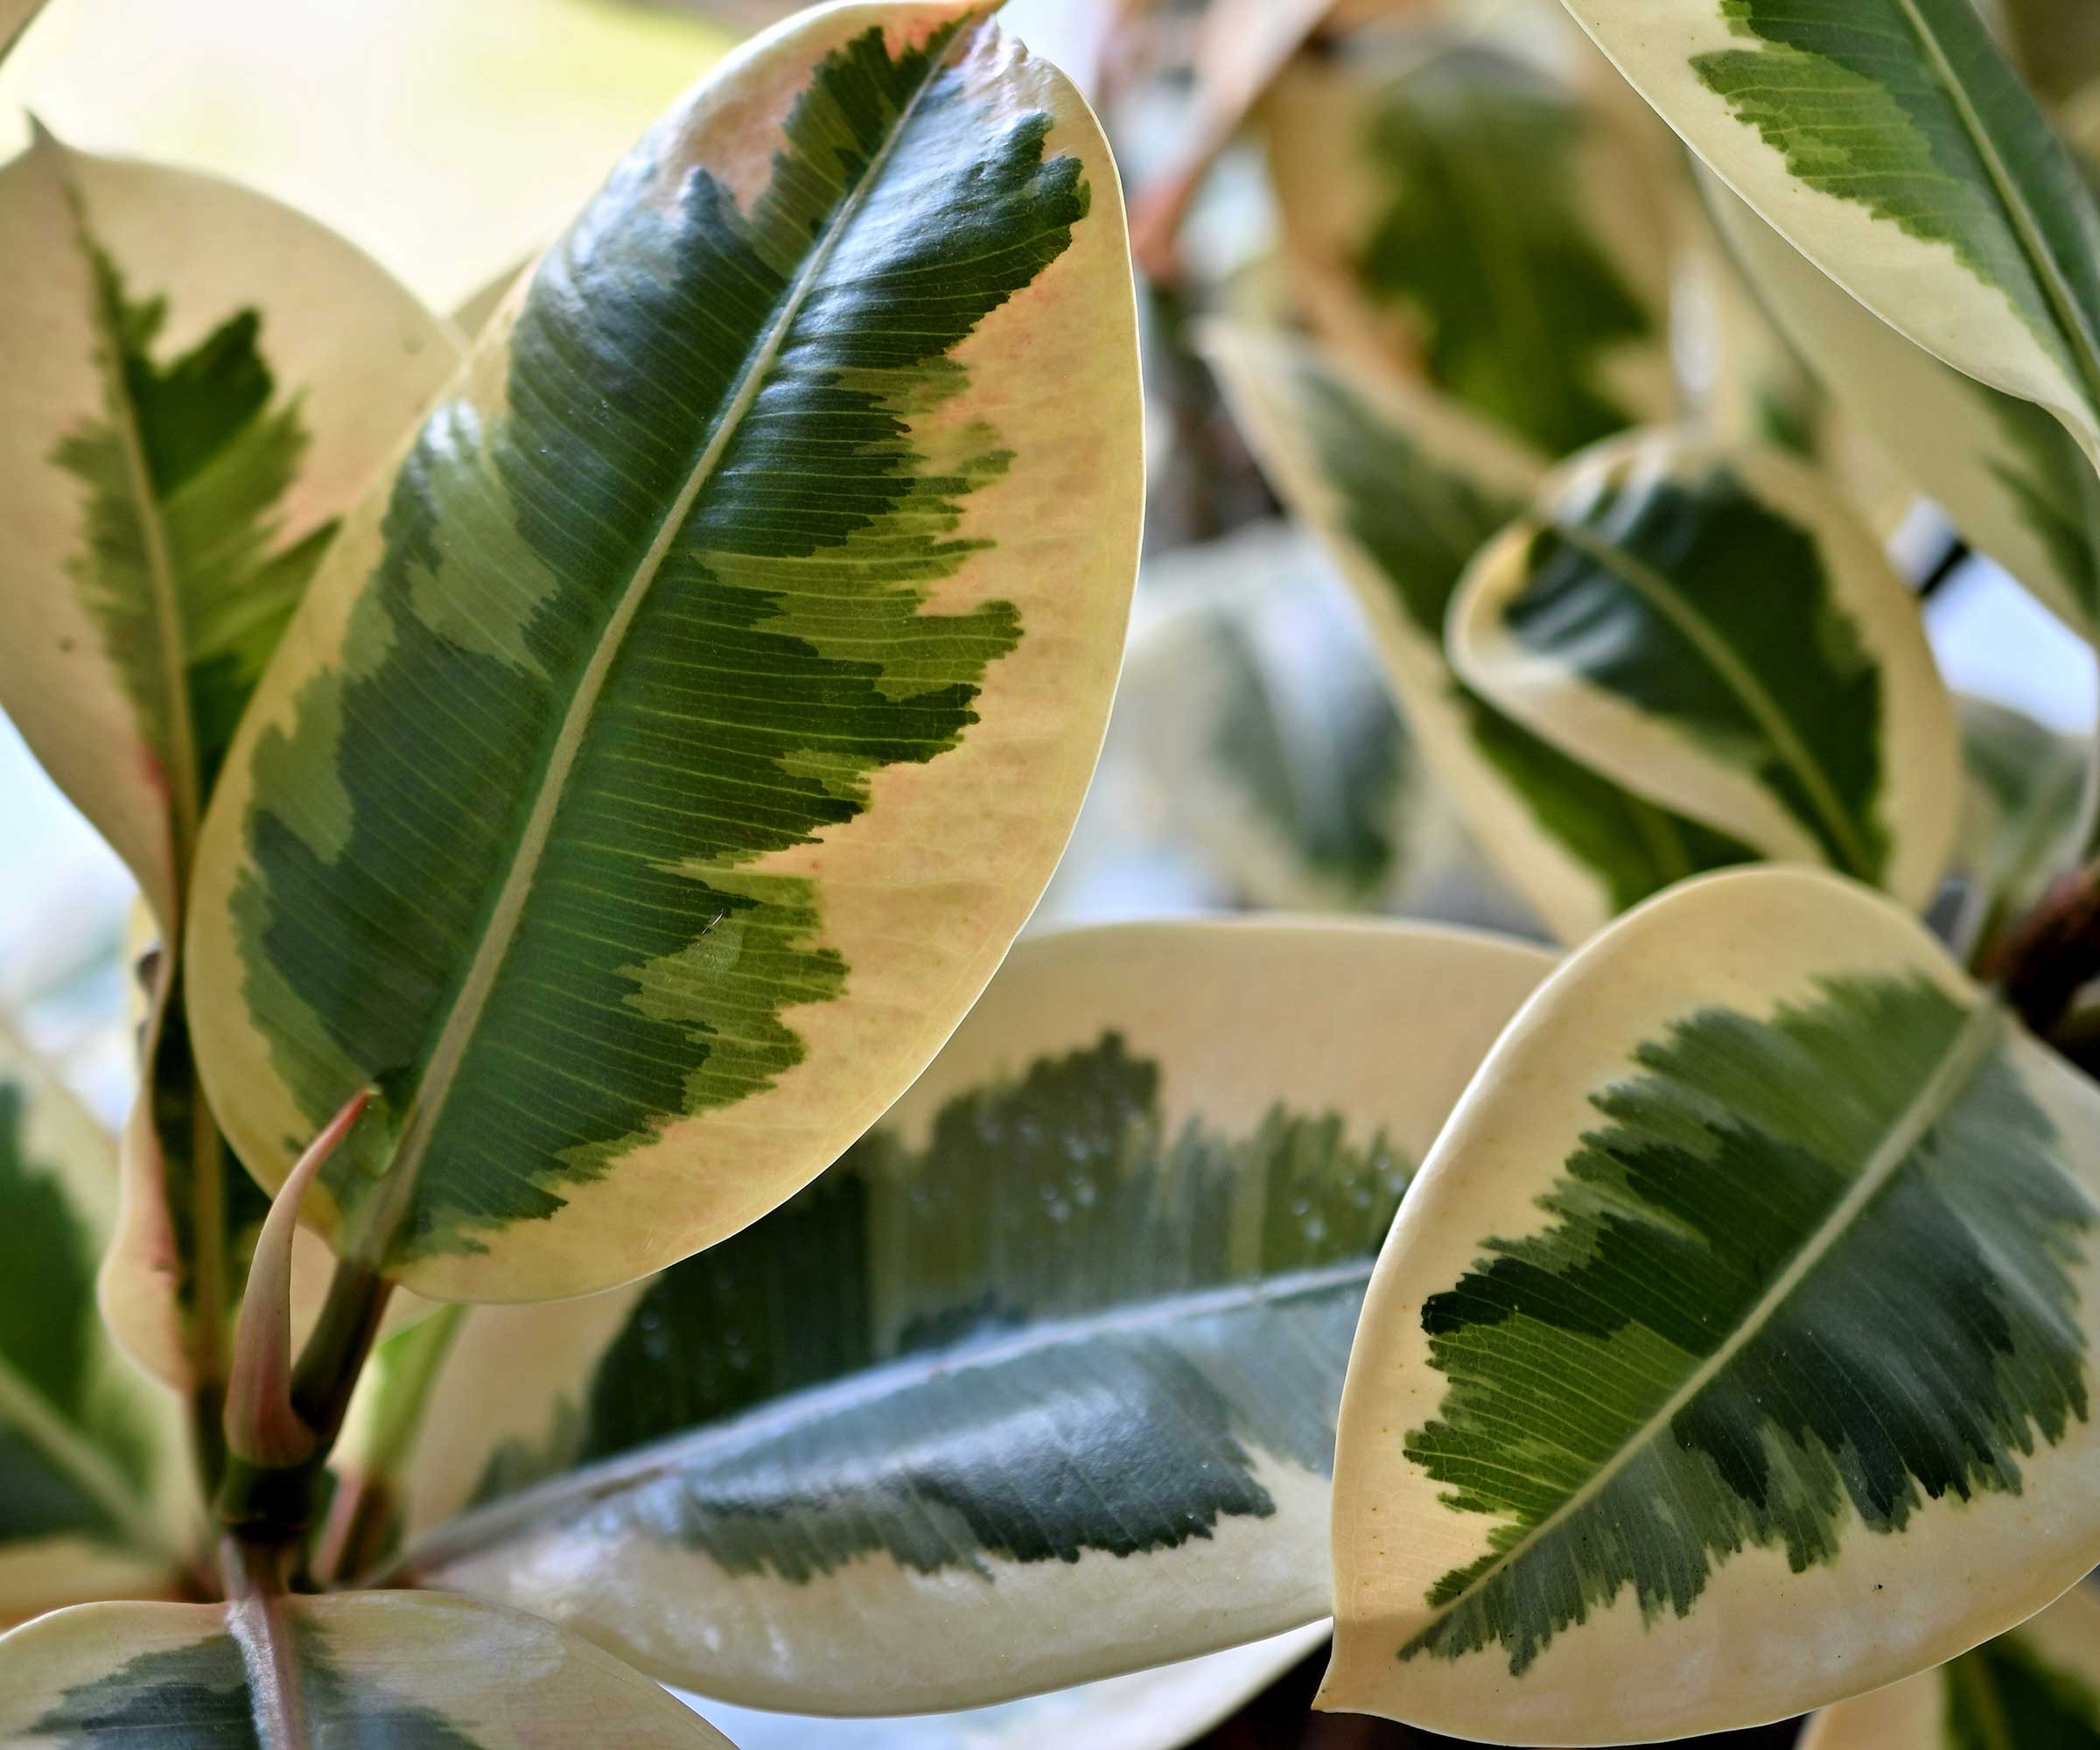
Some rubber plant varieties have beautifully variegated leaves
FAQs
Can you propagate rubber plants in water?
‘Water propagation tends to take a bit longer than soil propagation and can be less reliable due to roots having the inclination to rot,’ says Autumn Hilliard-Knapp of Perfect Plants Nursery. ‘However, some people find water propagation to be simpler and successful if they are attentive.'
'Take a jar or a glass, fill it with water, and place the cutting in it,' says Vladan Nikolic of Mr Houseplant. 'Make sure that the nodes are submerged, but keep the leaves out of the water.'
Then, place the jar or the glass in a location with plenty of bright, indirect light, he instructs. Replace the water once a week, or sooner if it gets dirty – not doing so is a common water propagation mistake. New roots will begin to form. Once they have reached a length of about 1-2 inches, you can put the cutting into soil, Vladan says.

Vladan is a Houseplant Expert with over 10 years of experience. He is the Founder of the houseplant care blog MrHouseplant.com and is also an influencer who helps newcomers into the houseplant world become great plant parents. You can find him on Instagram, TikTok, Youtube, Facebook, Twitter and Pinterest.
Can you propagate rubber plants by air layering?
Air layering is another method of propagation that works for rubber plants, although it's a little more complicated than taking leaf cuttings.
The idea is that you allow new roots to develop on a part of the plant before removing it and potting it up. To do this, you make an angled cut through a leaf bud and remove the leaves on either side. Then, cover the wound in hormone rooting powder (try Hormex Rooting Powder from Amazon), followed by damp sphagnum moss or coco coir, and secure it with plastic wrap. Unwrap it now and again to re-moisten the area.
In several weeks' time, roots should have formed, and you can cut the stem below them and plant it. You can also use layering to propagate fiddle leaf figs.
Rubber plants aren't the only houseplant that's easy to propagate. Monsteras can be propagated in a very similar way, for instance.
Some indoor plants require slightly different methods, but the process is still straightforward. For example, propagating spider plants is done by division, or by planting the 'plantlets' that can develop at the tips of the leaves.
Whatever plants you decide to make more of, just remember to stay clear of the common houseplant propagation mistakes. Before long, you'll have a beautifully botanical home.
Sign up to the Homes & Gardens newsletter
Design expertise in your inbox – from inspiring decorating ideas and beautiful celebrity homes to practical gardening advice and shopping round-ups.

Holly started writing about gardening five years ago, and she is a regular contributor to Homes & Gardens. She has also written many gardening features for Woman & Home and Real Homes, too. She has previous experience as a professional gardener, where she helped to plant and maintain private gardens. Holly has also looked after allotment plots over the years and loves to grow her own flowers and veggies from seed. In her spare time, she enjoys visiting local gardens, botanical drawing, and tending to her ever-growing collection of houseplants.
-
 Miley Cyrus breaks a cardinal decorating rule with her 'floating table' – her unexpected layout transforms a dead space into a stylish breakfast area
The singer tosses aside the maxim that furniture shouldn't be floating in the middle of the room with an innovative kitchen layout
By Sophie Edwards Published
-
 It’s a concept straight out of a fashionista's playbook, but I used the Sandwich Method to organize my kitchen shelves – it’s never looked sleeker
It transformed messy to mesmerizing in a matter of seconds
By Punteha van Terheyden Published
