How to prepare garden tools for spring – garden experts reveal 6 key steps ahead of the busiest time of the year
Every tool needs a little TLC before the bustle of spring. These garden experts reveal how to make them as good as new
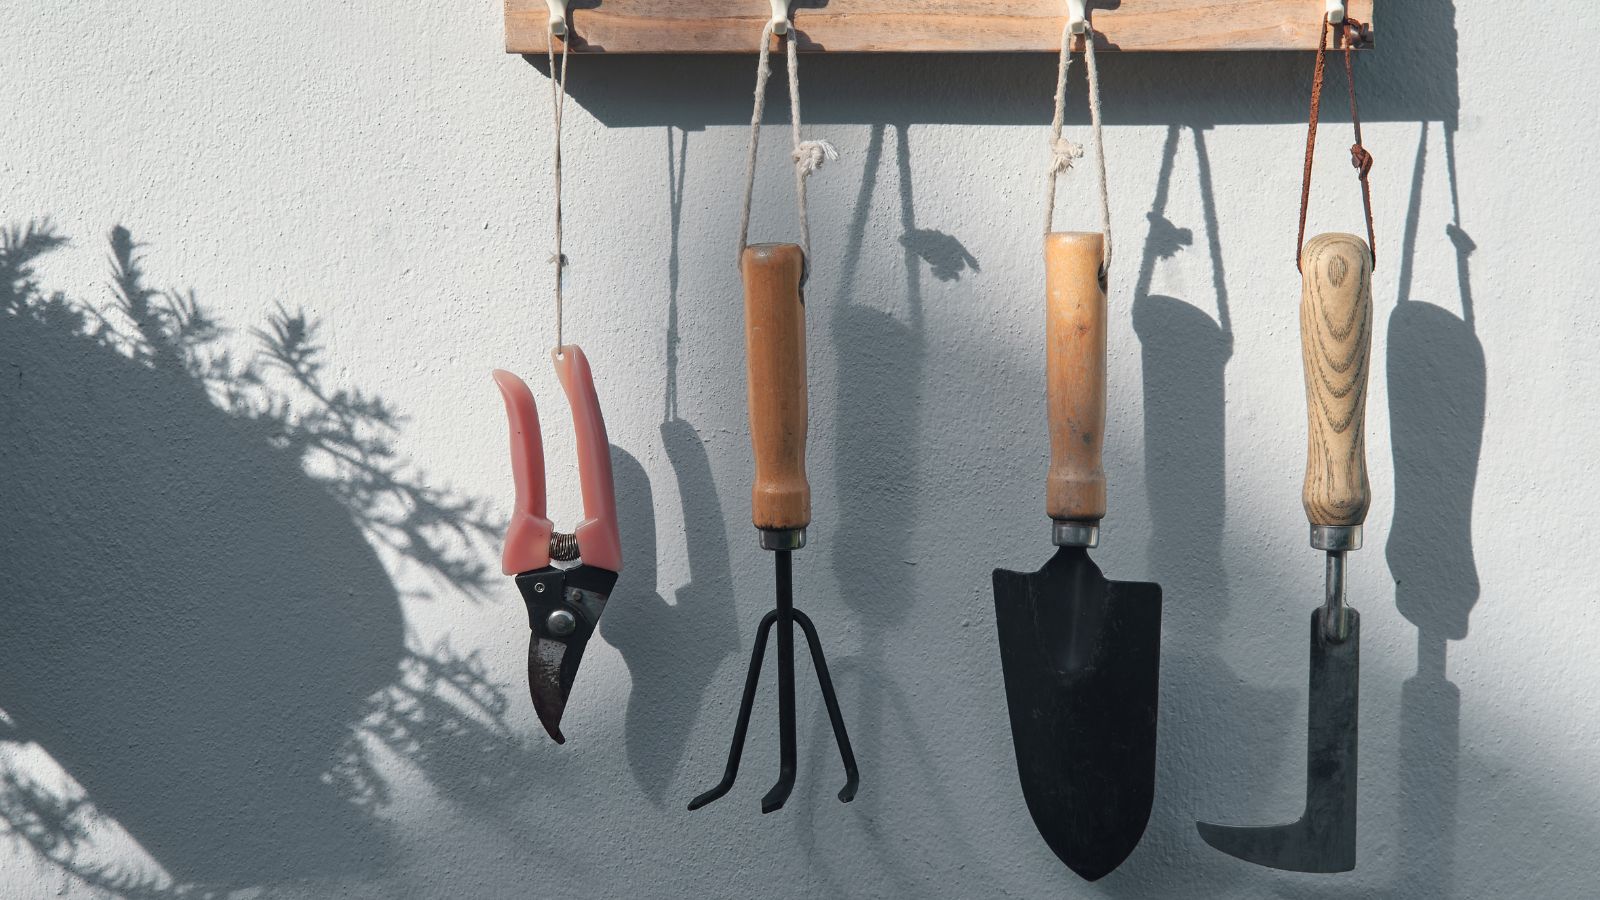

Some of us are still buried under snow and ice, but while it doesn't feel like it now, spring is right around the corner.
Late winter is a quiet time for most gardeners, but there are still things to work on. Once you've finished all your January gardening jobs, there's another task to consider. Most of us shut our tools up in the shop or garage after fall and don't think about them.
However, there are some quick steps you can take in the winter lull that can make your tools much more effective in the warmer months. I spoke to gardening experts about the best ways to prepare garden tools for spring.
1. Remove rust to protect your plants
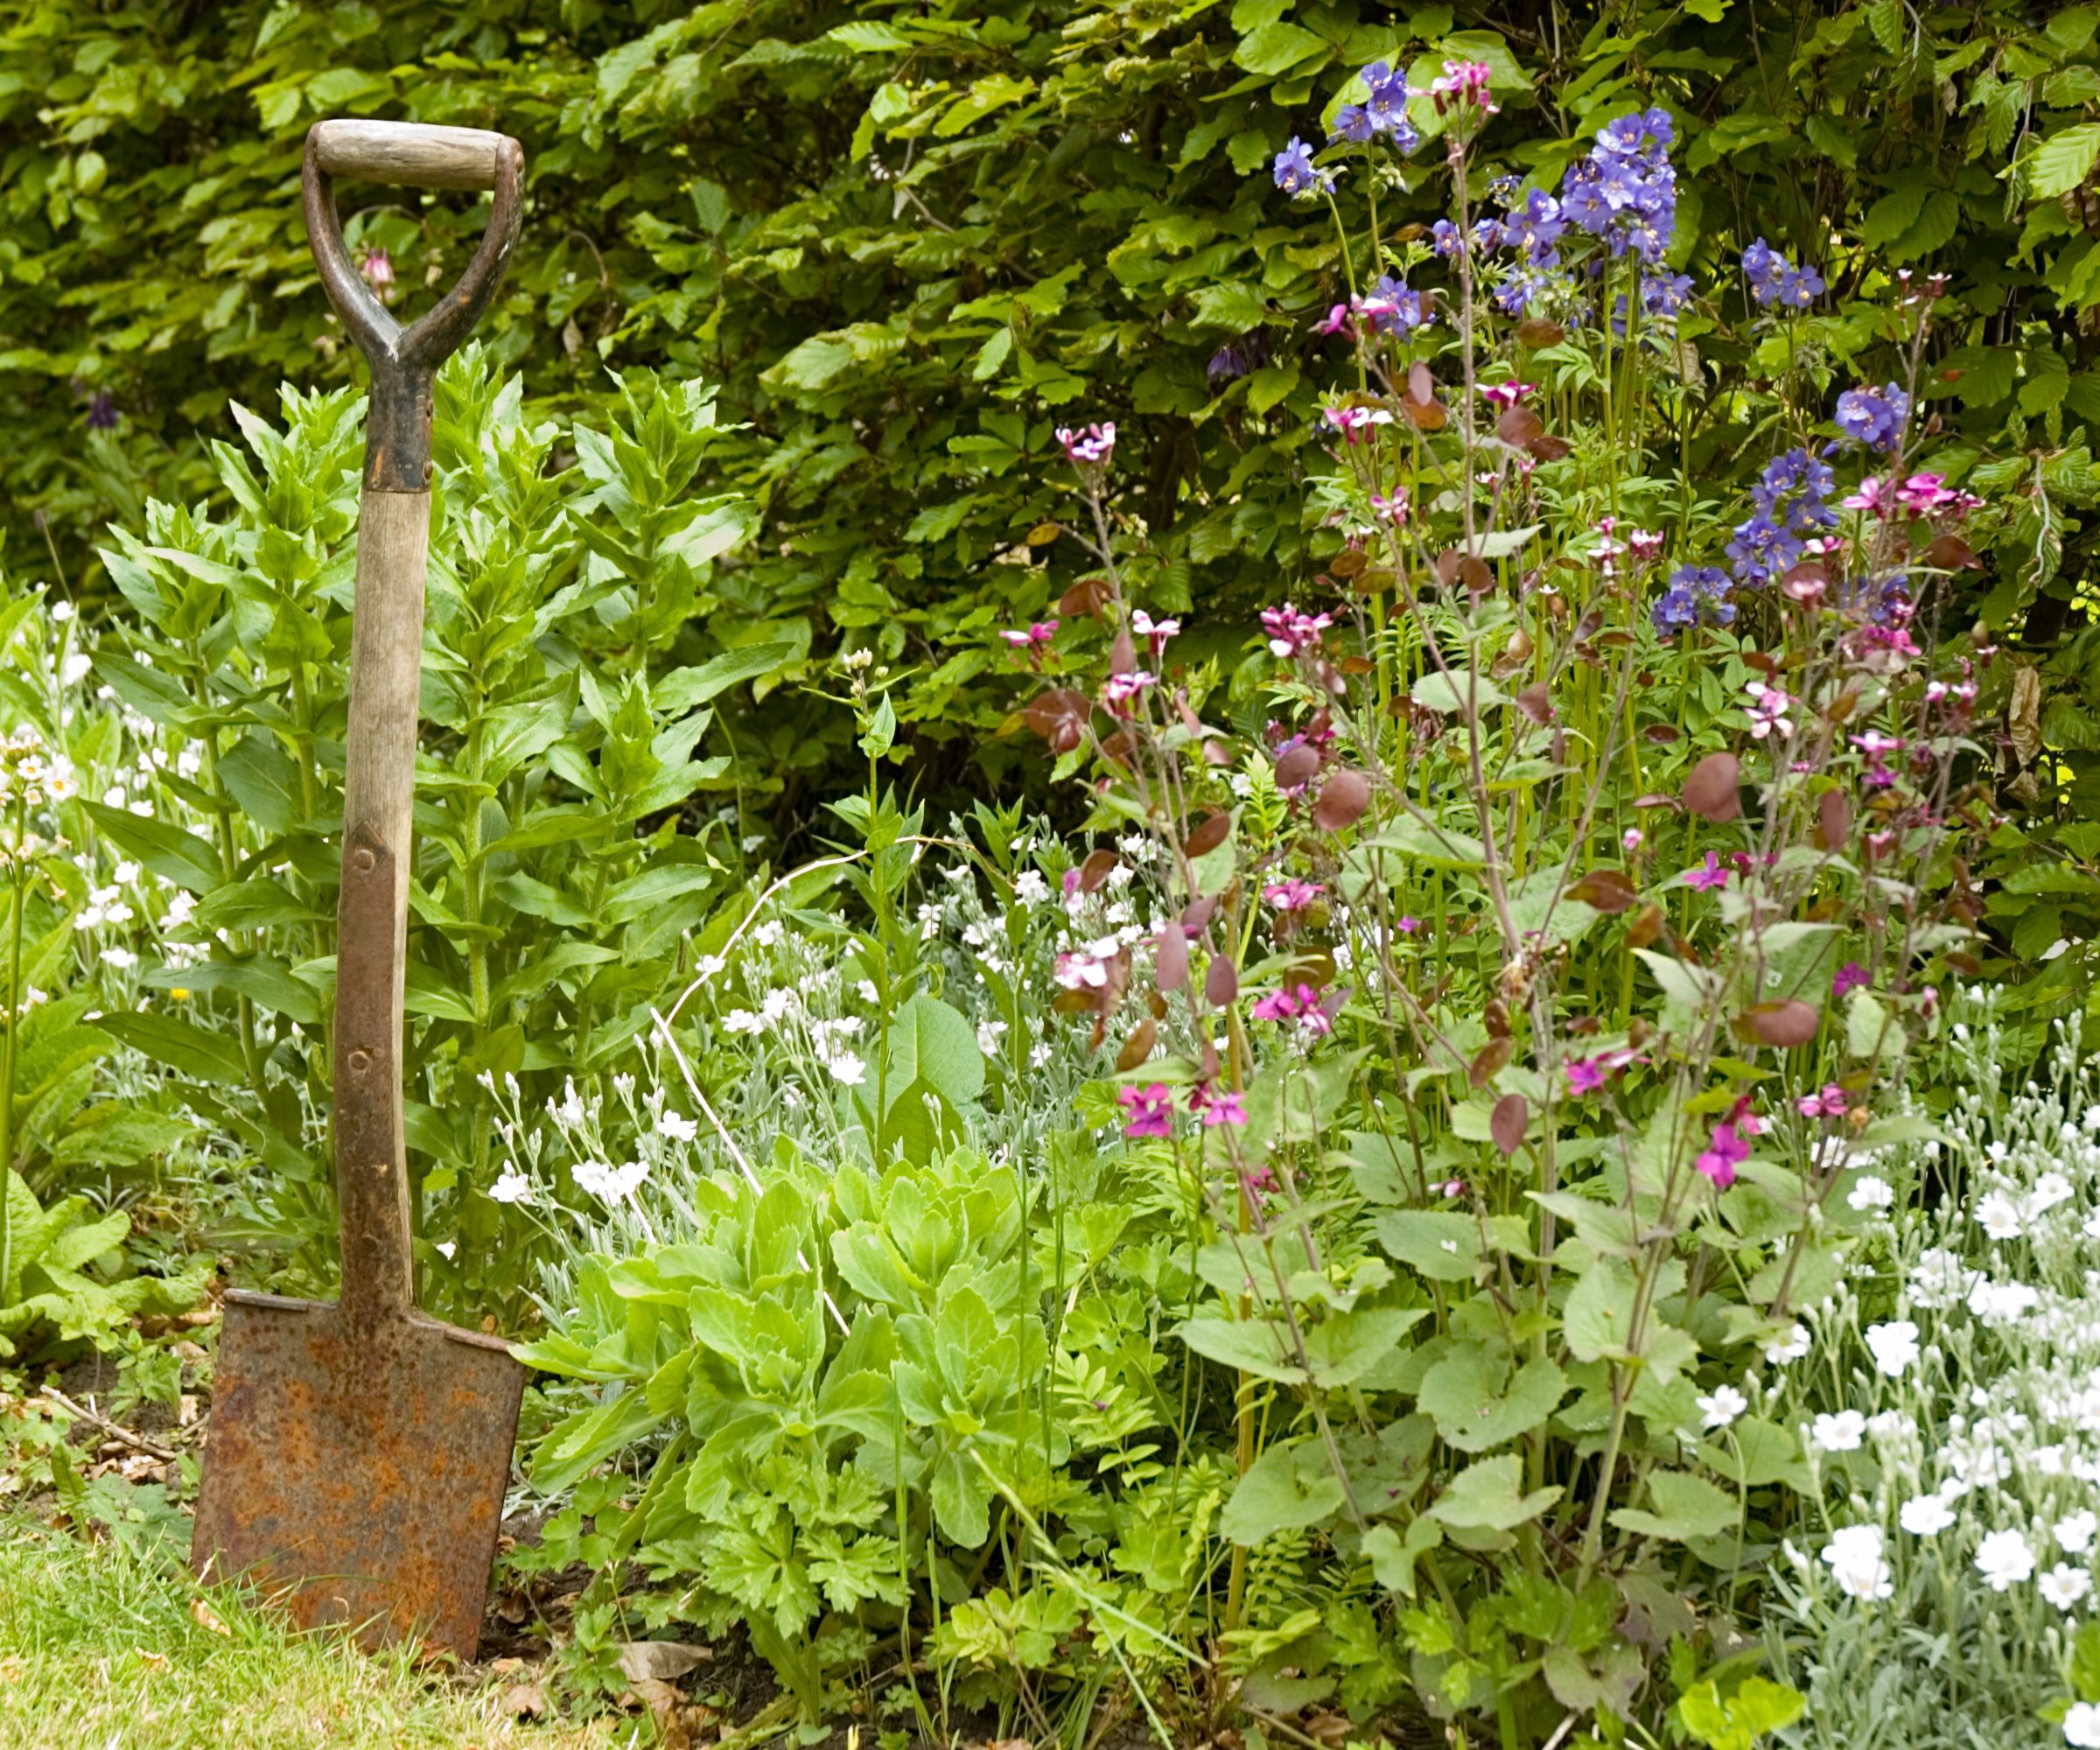
Before you do anything, you need to remove rust from your metal tools. Rust weakens tools and makes them harder to use. It's especially important to remove from pruners, trowels, and spades. Jagged rust on these tools can damage your plants with ragged cuts that invite disease.
There are a couple of simple natural solutions to this. Garden expert Ryan Farley says 'If your metal tools have picked up a bit of rust, then making a paste with baking soda and scrubbing with a stiff brush can work to get rid of this. This does take a bit of hard work, and I’ve found it often takes a few repetitions of scrubbing with the baking soda paste and then wiping it away and reapplying.'
You don't need to use baking soda, however. Vinegar is also a good choice. Garden expert Valeria Nyman says 'Personally, I use a wire brush or steel wool to scrape it off, then wipe the tool down with a mix of white vinegar and water. For stubborn spots, l just let the tool sit in straight vinegar for an hour before scrubbing. When it’s clean, just dry it immediately and coat the metal with a thin layer of machine oil to keep rust at bay.'

Ryan Farley is the CEO of LawnStarter, a lawn care service founded in 2013 and based in Austin, Texas.

Valeria is the Chief Product Officer at Taim.io, an innovative platform that serves as a personal, adaptive gardening coach, offering tailored weekly advice to users. Her areas of expertise include growing your own food.
2. Sharpen tools for clean cuts
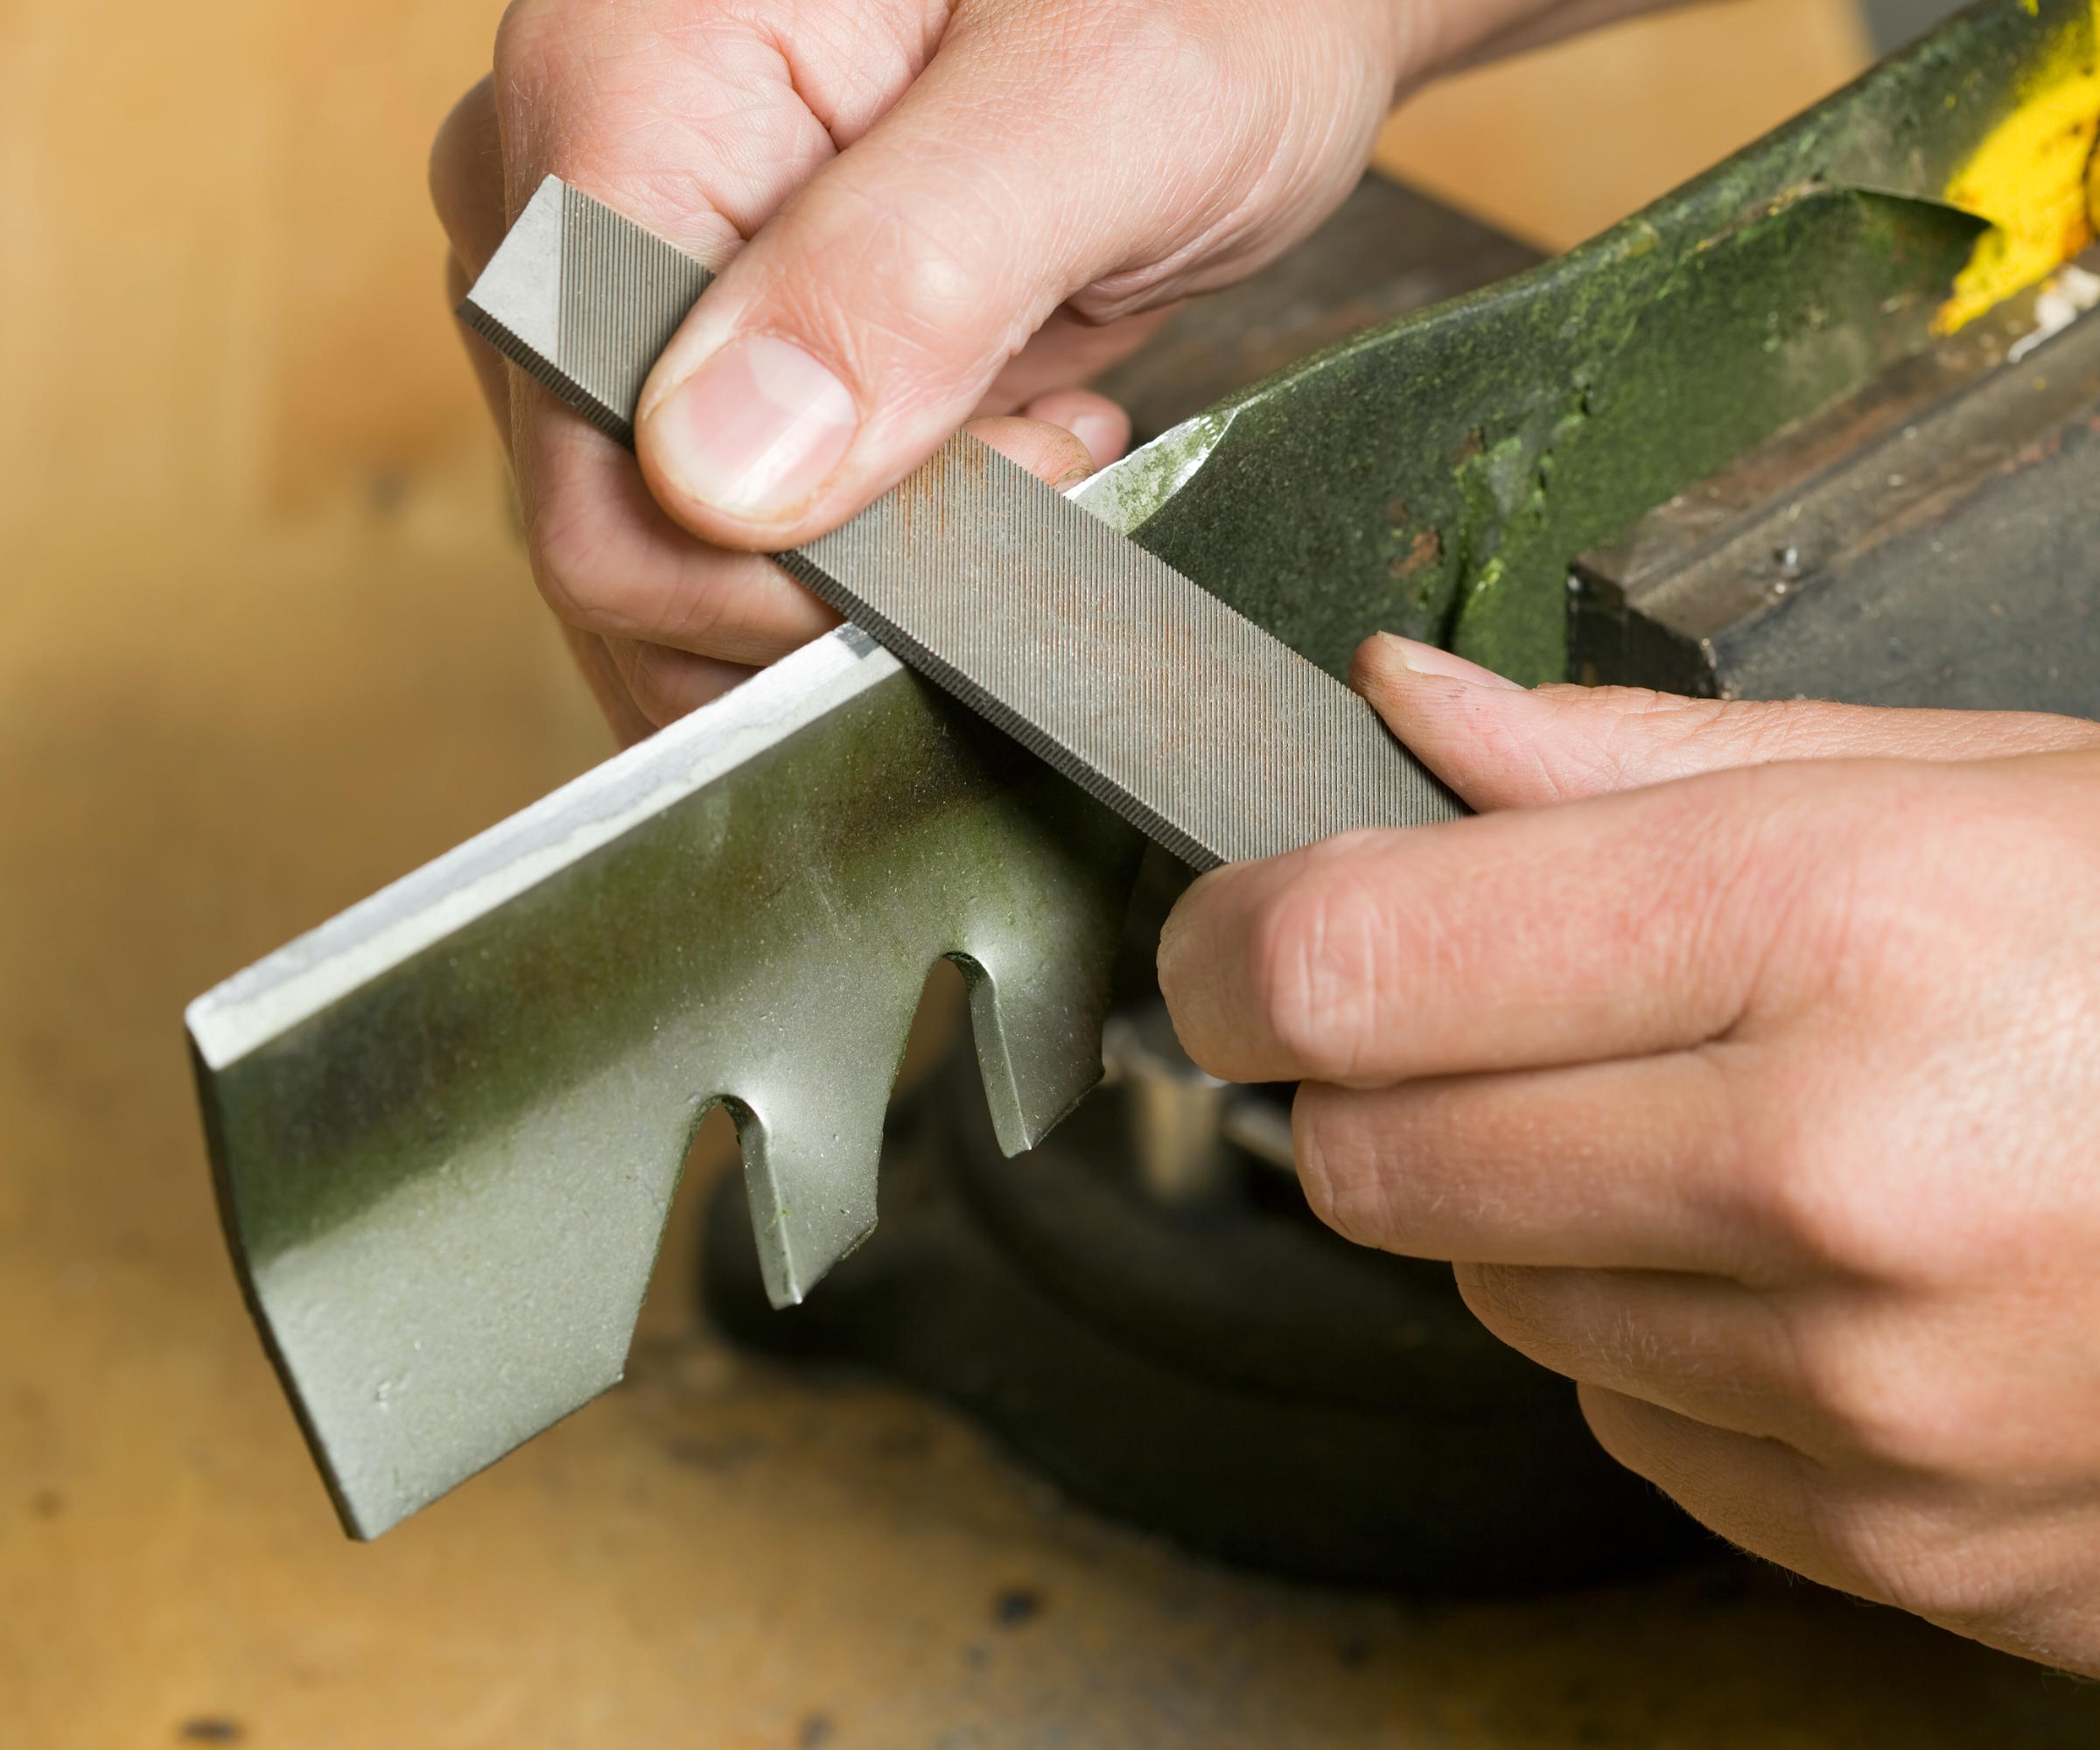
Sharpening is the most important task for preparing gardening tools. Almost every garden tool needs to be sharpened - if it has a metal blade, it probably needs sharpening. At a minimum, you need to sharpen mower blades, pruner blades, hedge trimmer blades, axes, hedge shears, spades, and trowels.
Garden expert Jeremy Yamaguchi explains 'It is a great idea to sharpen your garden tools before you start using them again in the spring. Things like garden shears and lawn mower blades, both of which are meant to cut through living greenery, are most effective when sharp. Dull blades may not cut through as quickly, efficiently, or cleanly. It could require more effort to get the job done, and the end result may not look as good. Additionally, using dull blades leaves your plants far more susceptible to disease.'

Jeremy is a gardening expert who advises on a range of gardening matters. As the CEO of Lawn Love, Jeremy helps homeowners find quality, reliable lawn care.
The good news is that the method doesn't change much across all these tools. All you need is a metal file. With rust removed from your tool, clamp it down to a workbench. Then, using a rough file, file the cutting edge.
Be sure to keep the 'factory edge' by checking the tool beforehand. Not every tool needs to be sharpened on both sides, especially bypass shears and pruners. However, if your tool has a single bevel like this, burrs will form on the non-cutting edge of the tool you need to remove these burrs on the other side by filing them off.
As you file, the edge will change color from dull to bright, and once the entire cutting edge is bright, you know the job is nearly done. You can then finish off any snags with a fine file.
The good news is that it doesn't need much work; you don't need to get your tools knife-sharp. In fact, oversharpening lawn mower blades is a common gardening mistake. With hand tools, oversharpening is a mistake for safety reasons - you don't want a trowel that can cut you as you dig. However, it's also important for plant health. Sharp mower blades are more likely to chip on rocks and twigs. Not only does this mean you need to sharpen them again, but these chips mean the blades tear at grass, not cut it cleanly, which makes it more likely for disease to enter your grass.
3. Oil pivot points
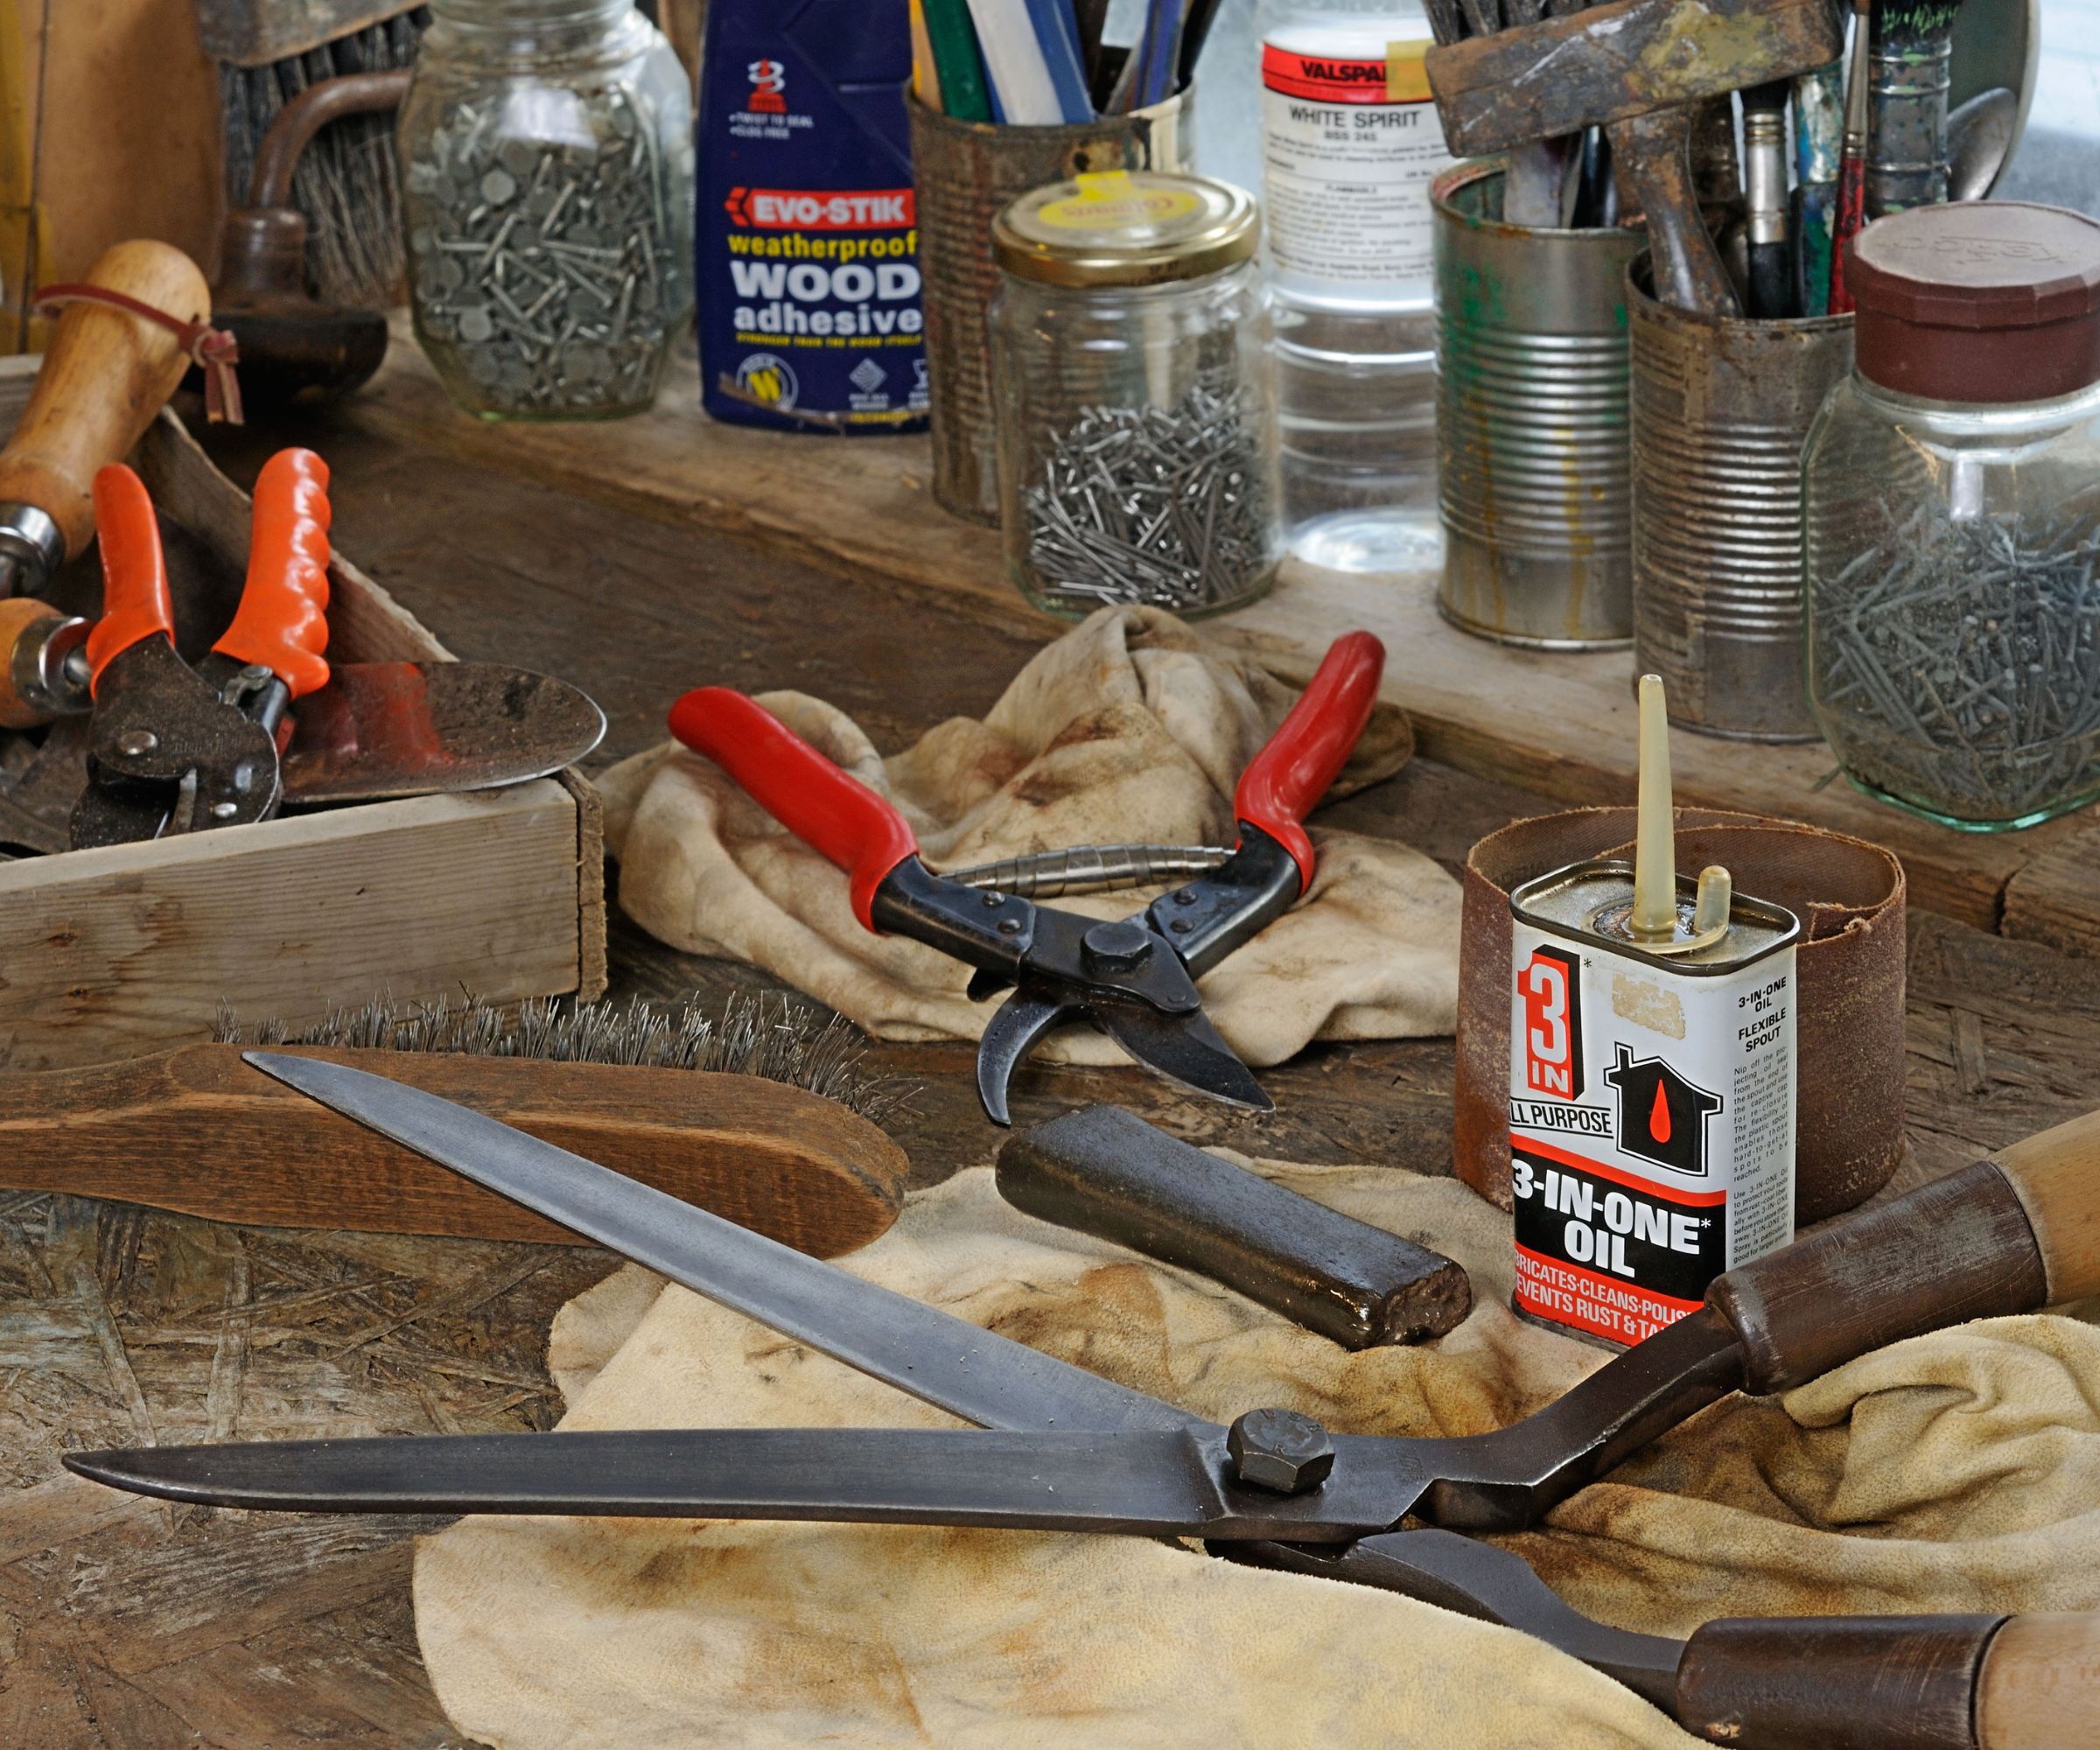
The late winter is also a good time to make sure moving tools run smoothly. This is a very simple task. All you need to do is oil the pivot points on your shears and pruners. You need a good lubricant - WD40 is fine - and just apply a little to the pivot on the shears.
Garden expert Valeria Nyman explains that 'Hinges get cranky after winter, so a few drops of lightweight oil (3-in-1 oil works great) will keep them smooth. Open and close the tool a few times to work it in.
The only potential sticking point is if you've left them for several months over fall and winter. This needs some more intensive care. Valeria says 'If they’re really stiff, disassemble, clean, and oil the parts individually.' This should restore even the stiffest tools to their best.
4. Sand wooden handles for comfort
Another crucial task is to sand wooden tool handles. These pick up tiny nicks and splinters over the previous season, and left untreated, these can be very uncomfortable. This is an easy fix. Take some medium-grit sand paper and run it up and down the shaft of the tool. This will remove rough patches and make the handle much more comfortable to hold.
Garden expert Ryan Farley says 'Sanding down wooden handles of tools can be a good step, though I don’t personally do it every year. If you’re running into splinters or snags on your tool handles, then yes, I do recommend giving them a quick sand-down with some sandpaper.'
5. Oil wooden handles for protection
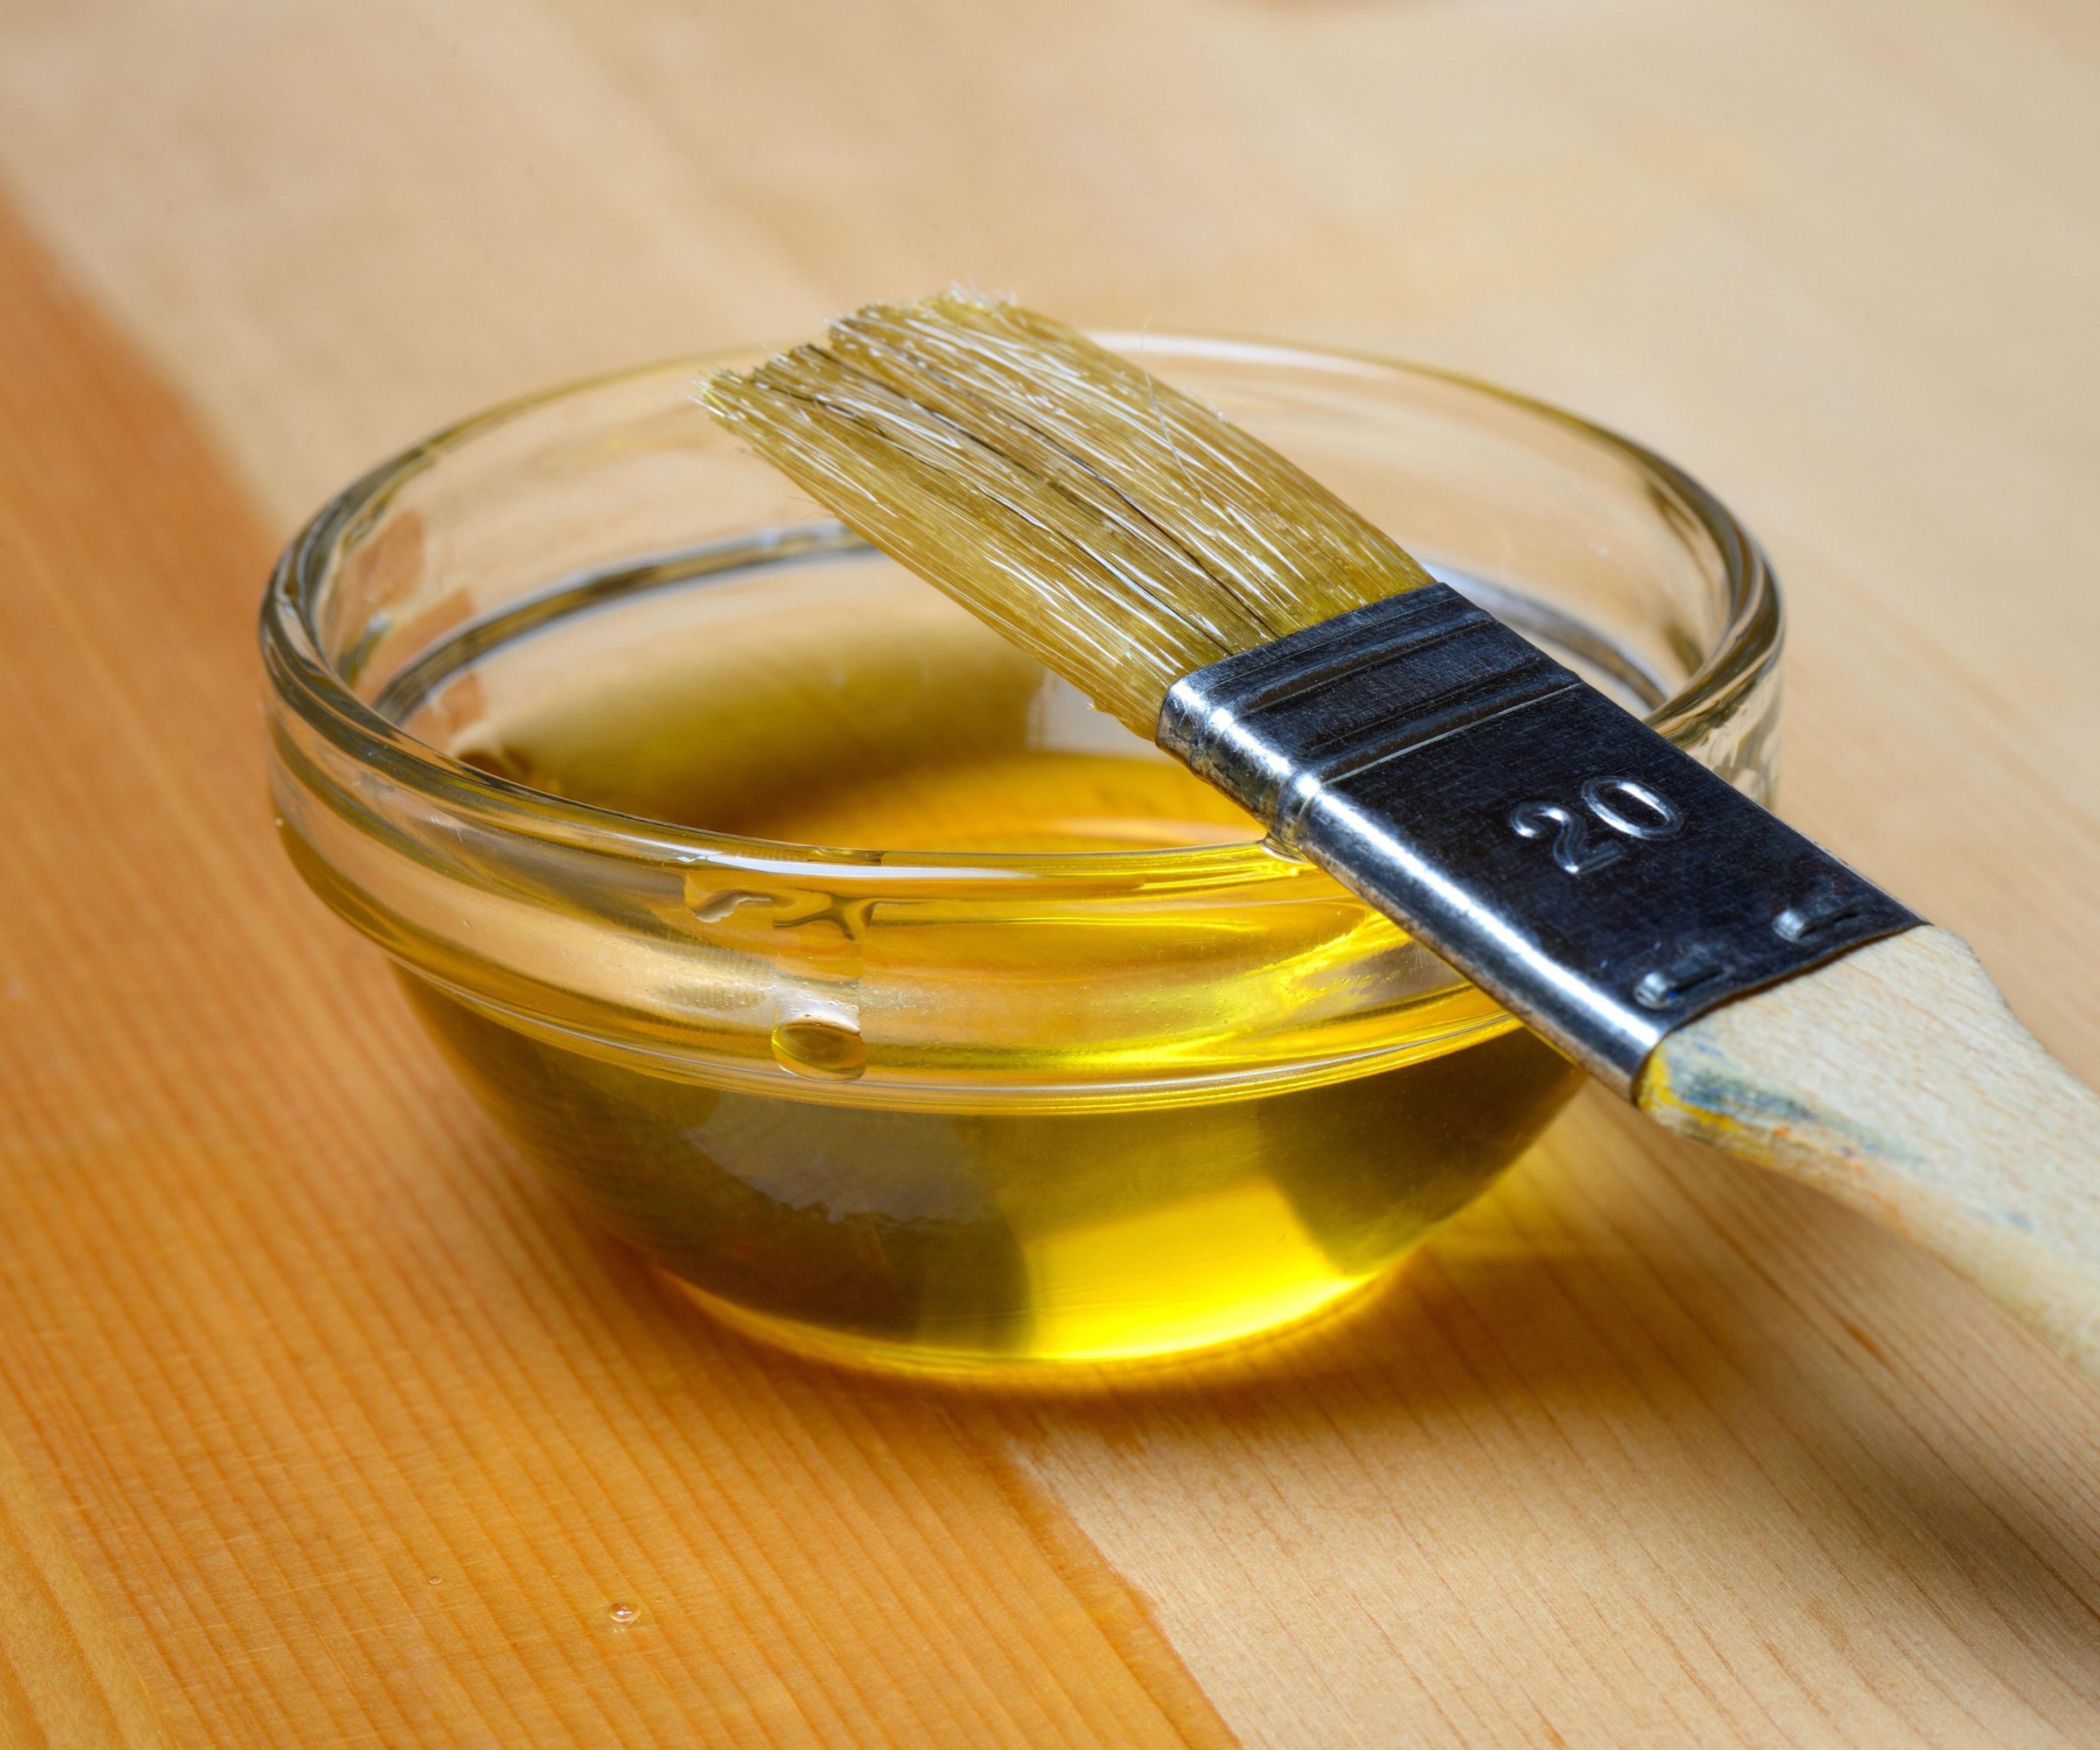
Once the handles are sanded, you need to protect the handle with oil. Sanding removes imperfections and rough patches, but it also exposes new wood, which needs to be sealed with oil so it doesn't split. This is another easy job. After sanding, just wipe down tool handles with oil, usually boiled linseed oil like this at Home Depot. The oil doesn't need to be 'boiled'; this just means it dries faster.
Ryan Farley gave me some good tips for this. He says 'I like to use linseed oil and will typically just soak a rag in it and then wipe down each handle with the rag. You can then wipe away excess oil and give the handles a chance to sit and soak in the oil for half an hour or so before you store them for spring.'
6. Add new grips for security
After the tools are dry, it might be time to consider adding grips. It's not always necessary, but if you feel like you can't get leverage on your tools or they feel uncomfortable, adding some grips can make tools a little easier to use. Rubber tubing grips like these on Amazon are easy to find, but you can also use sports tape.
Garden expert Valeria Nyman explains 'If your hands ache after gardening, grips can help. Foam or rubber sleeves work, or just wrap them with tape like you would a baseball bat or similar.' Baseball bat grip tape like this from Amazon is perfect for both short- and long-handled tools.
These steps are great for manual tools, but they aren't the only tool and equipment preparation needed ahead of spring. Learning when to de-winterize your garden is a crucial part of preparing pools and decks for hosting come spring.
Sign up to the Homes & Gardens newsletter
Design expertise in your inbox – from inspiring decorating ideas and beautiful celebrity homes to practical gardening advice and shopping round-ups.

As a gardens and lifestyle contributor, Alex makes sure readers find the right information to help them make the best purchase. Alex got his start in reviewing at the iconic Good Housekeeping Institute, testing a wide range of household products and appliances. He then moved to BBC Gardeners’ World Magazine, assessing gardening tools, machinery, and wildlife products.
-
 Stripes move over, I have surprised myself by deciding to decorate with dots instead – and designers agree they can be far more sophisticated than you might think
They might be known for their playfulness, but I've seen a whole new sophisticated side of this whimsical print
By Eleanor Richardson
-
 Isabella Rossellini's European-designed chef's knives are currently $65 off – and these luxury cooking tools have been around for over 200 years
These stunning German-made knives have a rich history, including being used in the Conclave actress's kitchen – and they're now on sale at Wayfair
By Sophie Edwards