How to paint a fence – expert tips for curb appeal
We’ve asked the experts for their advice on how to paint a fence so you can complete the task with optimum results


Whether you are painting a fence that's brand new or touching up an existing fence for fall and winter, it's important for curb appeal and longevity that the job is done properly.
When it comes to our outdoor spaces, we often ignore the opportunity to add a touch of personality. Your fence punctuates your garden and frames the entire boundary area, so it’s a great opportunity to add some color.
Before you embark on your painting project, it is worth thinking about fence decorating ideas, because, whatever hue you choose, it will provide a vibrant backdrop for shrubs and plants.
As with any external area it is also important to think about using a product that is suitable for weathering, as untreated wood can easily rot.
To set you off on the right path, we’ve asked the experts for advice on how to paint a fence for easy-to-achieve, professional results every time.
How to paint a fence
Whether your garden fence ideas are contemporary or traditional, whether painting is a follow up to building a fence for your backyard or you're recoating an existing one, this is how to get the job done properly.
You will need:
- Electric or hand sander and sandpaper
- A broom
- Cleaning solution; we like Mold Armor Deck and Fence Wash
- Dust sheets
- Exterior paint
- Paintbrushes
- Roller, pads or paint sprayer
- Waterproofing seal, such as Thompson's Water Seal
1. Prepare your fence for painting
Start by removing items that are close to the fence, such as plant pots and garden furniture. Then use a broom to remove loose debris and old bits of foliage from the fence.
The fence is likely to be made of pressure treated lumber, so it’s worth giving it a quick sand down before painting.
Finish by giving the fence a clean with either a for-purpose solution or a simple mixture of soap and water.
Once you’ve cleaned your fence thoroughly, make sure you leave plenty of time for the panels to dry.
‘Troublesome spots appear when dirt and moisture linger, that's why cleaning and waterproofing (afterwards) are critical to making your fence look its best,’ explains Brandon Poole, Associate Product Manager at Thompson’s Water Seal.
Before you start, it’s also worth trimming back any plants or foliage so you have clear access to the fence. If you already have plenty of foliage, use dust sheets to cover the plants. Alternatively, you can use a post or stake to tie plants backwards, away from the fence.
2. Choose the right paint
Getting the right paint finishes is important.
From matte paint and satin paint to self-cleaning and mildew-resistant, there are lots of different options and of course, color choices available when it comes to choosing a product for your fence, though it makes sense to choose something that matches the paint colors for the exterior of your house.
Many exterior paints are not only long-lasting, but also feature a mildew-resistant coating such as Sherwin Williams Duration Premium Exterior Coating.
When it comes to choosing the perfect color, Tobie Lewis, Senior Brand Manager at Valspar Paint suggests several ways to approach it. ‘Try color drenching to match the color of your masonry, or venturing away from the conventional neutral and dark shades and opting for a pastel tone to help bring more natural light into shaded areas of your garden,’ he advises. ‘Valspar’s Mineral Water is a colorful pastel shade, perfect for complementing flora in your garden,’ Tobie suggests. ‘Or try Warm Breeze, another great color that maintains a rustic look.’
3. Begin painting your fence by hand
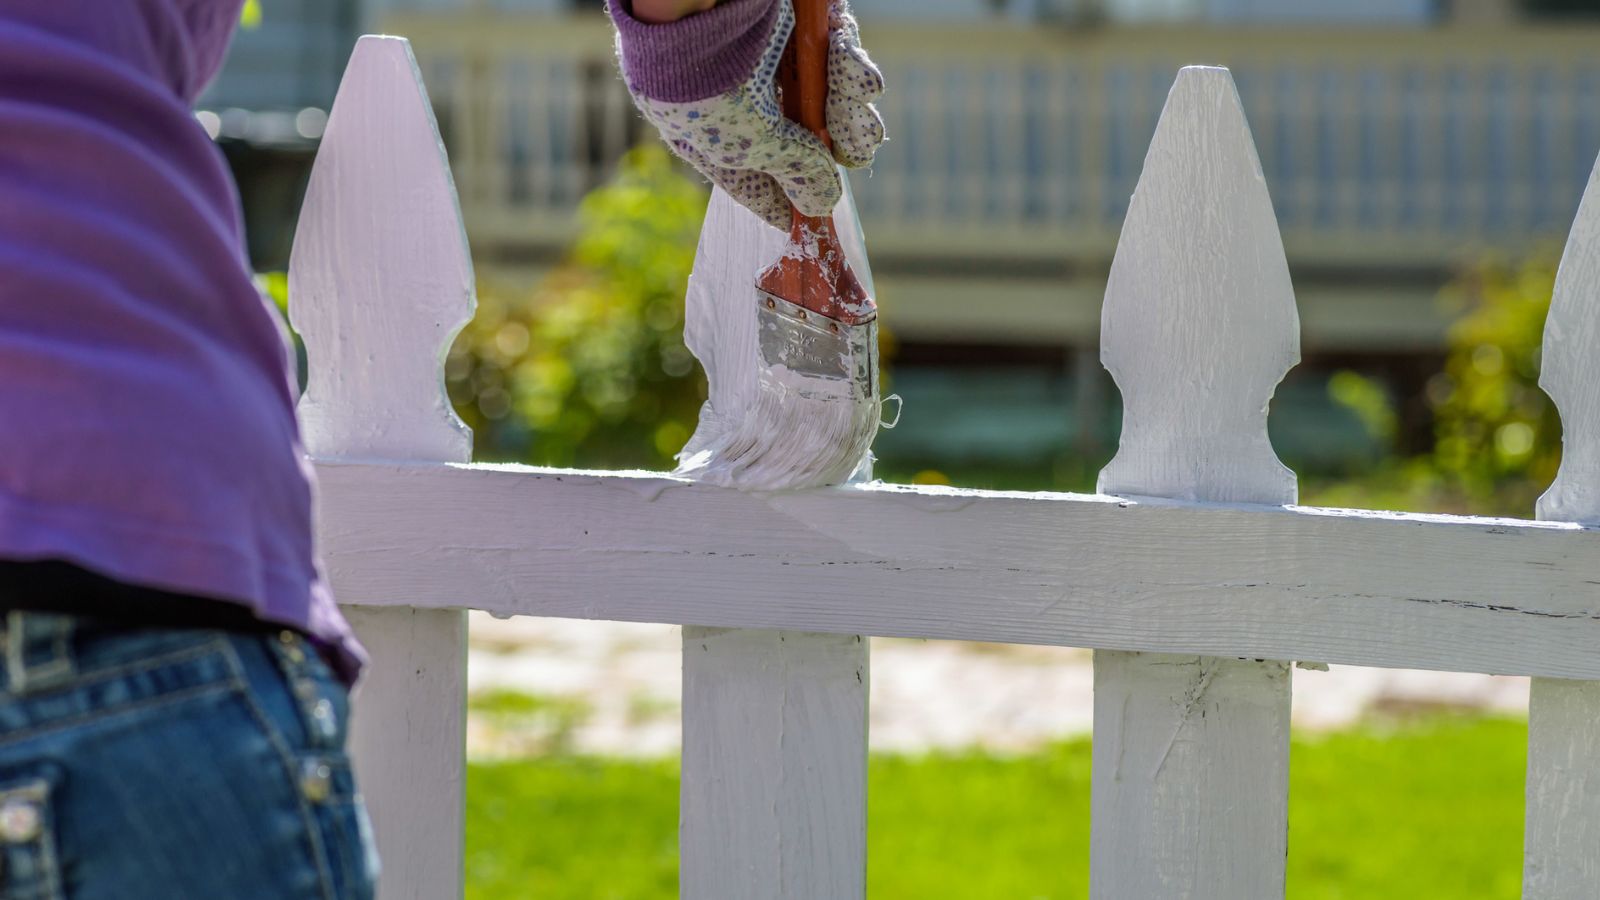
You are now ready to apply the paint either with a thick brush, roller or paint sprayer. If using a brush, be sure not to overload it and work the paint into the wood covering all areas. In awkward areas apply the paint in a stippling motion to really get the product into the wood.
4. Spray paint a fence for speed
Start by pouring your chosen paint into the sprayer. You may need to thin it down, but don’t use any more than 10% water.
When spraying large sections, hold the nozzle about 8in to 10in away from the fence. Twist your arm 45 degrees when changing direction. For edges and tricky bits, hold the nozzle about 6in away from the fence and start spraying. Make sure to overlap where you've sprayed so you don’t get any gaps.
5. Finish up
You’ll need around two coats of paint to achieve the optimum finish.
After the paint is completely dry, use a waterproofing product that's suitable over paint.
What is the best way to paint a fence?
The best way to paint a fence is by spray painting it since it is quicker and easier to do. However, you can paint a fence by hand, too. In both cases, it is always best to paint a fence in the direction of the wood grain, which will achieve a more professional finish and allow you to get into all the nooks of the timber.
Is it better to paint a fence with a brush or roller?
It is quicker to paint a fence with a roller if it is large and generally flat; however you will always have to return to the fence with a brush to reach the areas, such as edges, that you cannot get to with a roller. Equally, intricate fences, such as carved picket fence tops, will need brushstrokes to cover them fully and neatly.
Sign up to the Homes & Gardens newsletter
Design expertise in your inbox – from inspiring decorating ideas and beautiful celebrity homes to practical gardening advice and shopping round-ups.

Steph Hendries is a freelance journalist who has contributed to many different interiors websites including Homes & Gardens, Ideal Home and Livingetc. She has also worked on a range of social content for property brands such as Zoopla and Boomin. Steph writes for Homes & Gardens Solved section, concentrating on DIY, how to, cleaning and organizing content.
-
 6 things you should never throw in the trash – and what to do for safe disposal instead
From batteries to space heaters, experts reveal what not to throw
By Andy van Terheyden Published
-
 Worst-smelling plants to avoid – experts reveal 5 pungent species and suggest perfumed options to grow instead
These are some of the worst-smelling plants that can cause quite a stink
By Thomas Rutter Published