What's the correct way to light a pizza oven? Tips on getting the method and timing right
Discover how to light a pizza oven with our expert guide and make cooking for family and guests stress-free
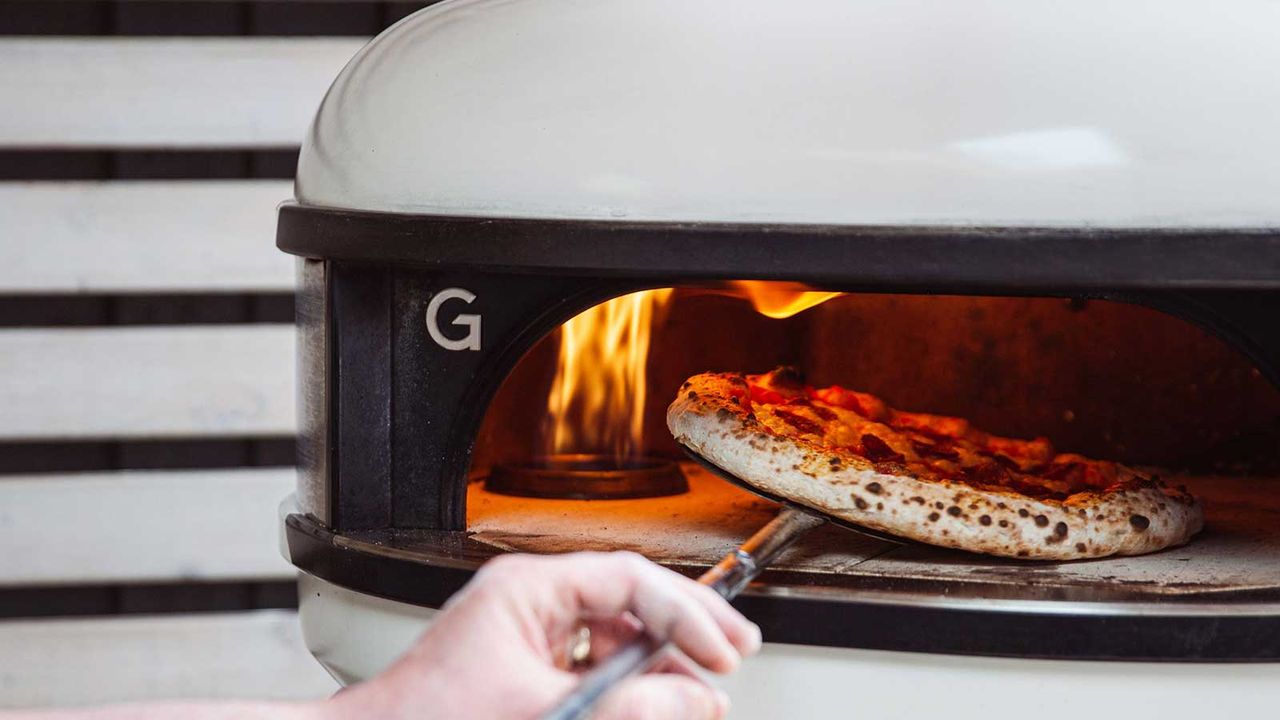

Knowing how to light a pizza oven is a must if you want to dish up slices of pie with authentic flavor and the perfect crust. Get it right and you can make the most of spending time in the yard with family and friends while dishing up food you’ll all enjoy.
If you’ve invested in one of the best pizza ovens, understanding how to prepare for cooking is part of the learning process so you can produce tasty pizzas with the taste you expect and at the time you want from your appliance. The process will vary depending on how the pizza oven is fuelled, so our guide has the details for each type to allow you to cook and serve up free of stress.
We’ve included extra advice below, too, so you can be sure about how to light a pizza oven and become a pizza chef whose creations are celebrated by all your diners.
How to light a pizza oven like a pro
The process for lighting a pizza oven depends on how it is fuelled – whether that’s with wood, gas or wood pellets. Here, we’ve put together the information you need on all three from the experts to make lighting a pizza oven in your outdoor kitchen a smooth and stress-free process.
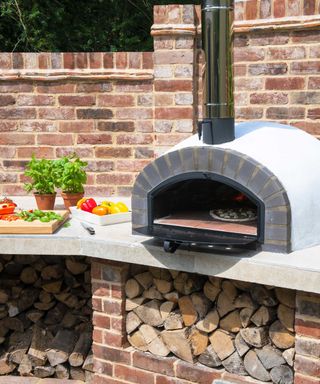
The method you use for lighting your oven will depend on the type of oven and fuel you are using
How to light a wood-fired pizza oven
Lighting a wood-fuelled pizza oven the right way is a skill that’s important to gain. Dan Hart, the founder of Home Pizza Ovens, explains, ‘Typically, pizza chambers measure 24x24in, and at the time of baking, the burning embers will be located to one side of the oven. Prior to the burning embers being ready to bake, the fire must be started in the center of the oven floor so the heat penetrates its entirety.’
These are the steps to follow from Dan:
- Build up a stack of kindling. Set alight a few natural wood firelighters in the center of the stack.
- Once the flame is going, add small bits of wood – these must be small logs that can burn quickly, not lumpy pieces you use in a wood burner or open fire – and gradually build up the fire.
- Keep adding timber to the flame and after 40 minutes or so (depending on the time of year and outdoor temperature), the floor will be hot enough to get baking.
- Drag the embers to one side of the oven and continue to feed the fire during the baking process.
- A key tool to monitor the heat of the oven floor is a temperature gun [available at Amazon]. Regularly check the floor before and during bakes to ensure it maintains the optimal pizza oven temperature of 700 to 750˚F.
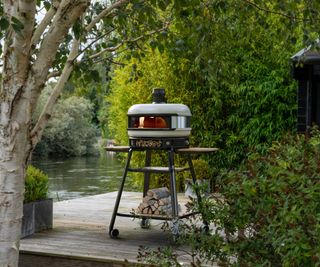
The Dome from Gozney is fuelled by wood
How to light a pizza oven using wood pellets
Compact wood-pellet-fuelled pizza ovens are many people's favorite type of pizza oven – especially for small backyards – as they are convenient to use and easily portable. ‘There are a few wood pellet ovens on the market and each varies in terms of lighting,’ explains Dan Hart. ‘However, the principle of lighting the pellets and letting them heat the oven thoroughly prior to baking is essential.’
Here’s how to light our garden editor's favorite Ooni Fyra wood-pellet-fuelled pizza oven – you can find more from Ooni:
- Remove the chimney cap and make sure the chimney vent is open. Keep the door on.
- Remove the grate and fill with hardwood pellets (around 5oz or two handfuls to start).
- Put a fire starter at the front of the grate. Light and push the grate back in.
- Allow the pellets time to fully ignite, using the viewing hole in the door to check for a full flame.
- Top up the pellets gradually until they reach the top of the hopper and maintain this level when cooking your pizza recipes.
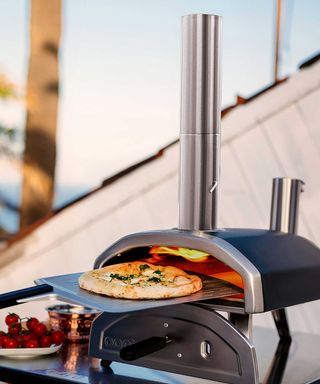
The portable Ooni Fyra, available at Cuckooland, uses wood pellets
How to light a gas pizza oven
One of the benefits of a gas pizza oven is how easy it is to light. Tom Gozney, the founder of Gozney, explains how to do so correctly:
- Ensure you have the gas burner set up correctly and a gas canister safely attached before twisting the ignition knob to fire up the oven.
- If your oven doesn’t light on your first attempt, it’s important that you wait a minute or two to allow any gas that was released with the first attempt to dissipate before trying again.
- Your oven will take approximately 20 to 30 minutes to get up to temperature depending on what temperature you need and the weather conditions.
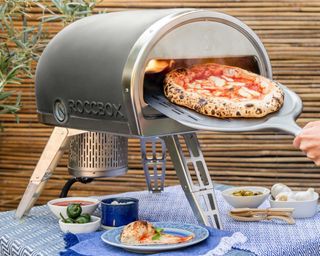
The gas-fired Roccbox from Gozney has a built-in thermometer that tells you when the oven is up to temperature. It's also available as a dual fuel option
Tips to make lighting a pizza oven easy
To make lighting a pizza oven easy, it’s important to get the setup right and use the best fuel. Check out these expert recommendations.
- Locate it correctly: ‘Ensure your oven is on a stable, heatproof surface that is relatively sheltered from any strong winds,’ says Tom Gozney. This is particularly important if you are using a pizza oven in winter, when the winds might be stronger.
- Consider the fuel: ‘You need to know what fuel type you are planning on using and have the appropriate equipment ready,’ says Tom.
- Opt for kiln-dried wood: ‘If you’re using wood, we would always recommend using kiln-dried hardwood such as ash, beech or oak as they are dense and have lots of energy to burn,’ explains Tom. ‘Avoid softwoods or anything with a high moisture content and make sure you chop your kindling into manageable pieces.'
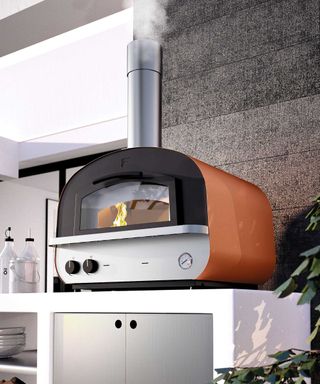
The Fontana Piero gas and wood pizza oven from Home Pizza Ovens
When should you light a pizza oven?
When to light a pizza oven so it will be ready for cooking when you need it to be depends on the type. Dan Hart offers these guidelines: ‘Wood-fuelled pizza ovens: 40 minutes minimum; gas-fuelled: 25 to 30 minutes; wood pellet ovens: 20 minutes.’
How much smoke does a pizza oven produce?
A wood-fired pizza oven does produce smoke when it has first been lit, so bear this in mind if you're hosting a garden party. ‘One thing we often have questions about is smoke,’ says Tom Gozney. ‘There will be smoke when you first light your oven using wood, but it should reduce as the oven gets hotter.’
Be sure to use kiln-dried hardwood to avoid excess smoke, and tend the fire. ‘It’s important to remember that wood-fired cooking is all about the experience, managing the flame and feeding it as appropriate,’ says Tom. ‘It’s a labor of love from which you’ll be rewarded with that signature smoky flavor.'
Sign up to the Homes & Gardens newsletter
Design expertise in your inbox – from inspiring decorating ideas and beautiful celebrity homes to practical gardening advice and shopping round-ups.

Sarah is a freelance journalist and editor. Previously executive editor of Ideal Home, she’s specialized in interiors, property and gardens for over 20 years, and covers interior design, house design, gardens, and cleaning and organizing a home for Homes & Gardens. She’s written for websites, including Houzz, Channel 4’s flagship website, 4Homes, and Future’s T3; national newspapers, including The Guardian; and magazines including Future’s Country Homes & Interiors, Homebuilding & Renovating, Period Living, and Style at Home, as well as House Beautiful, Good Homes, Grand Designs, Homes & Antiques, LandLove and The English Home among others. It’s no big surprise that she likes to put what she writes about into practice, and is a serial house renovator.
-
 Claudia Schiffer creates a sophisticated minimalist living room with these 3 pieces – designers say her look is 'enduring' and so easy to recreate
The model's Scandi-style living space transcends trends with its neutral color scheme and textured elements, which experts say is timeless
By Hannah Ziegler Published
-
 It's your last chance to buy one of our all-time favorite Shark upright vacuums in the Walmart sale – I'm a vacuum tester, and it's a seriously worthy upgrade
The Shark Vertex DuoClean PowerFin Upright Vacuum is now heavily discounted and brilliant for busy homes
By Dan Fauzi Published