How to light a gas grill – expert advice for stress-free cooking
Lighting a gas grill is easy with our step-by-step guide


Using a gas grill is fuss-free and once you know how to one, getting ready for cooking is simple as well as speedy. There are just a few simple steps to follow along with some safety considerations to bear in mind and the whole process should prove a piece of cake.
Gas grills are the most consistently popular choice of grill in the US, according to the Hearth, Patio & Barbecue Association (HPBA), and what makes them a top choice for many is how straightforward cooking is – including lighting the grill.
Our step-by-step guide has the details gas grill owners need along with tips for doing so harm free, and timings.

How to light a gas grill step by step
Moving from a kitchen stovetop to a gas grill isn’t much of a leap, and once you’ve understood how to light a gas grill you can start on the fun part of cooking and serving in double-quick time. These are the essentials for lighting a grill.
1. Check there’s sufficient gas
Running out of gas in the middle of grilling is frustrating, so take a look at the fuel gauge on the propane cylinder before you go to light your grill. Typically, a 20lb tank provides about 18 to 20 hours for most gas grills.
Perhaps unsurprisingly, an empty cyclinder is the most common reason for a gas grill not lighting. To avoid running out, it’s always worth keeping an extra tank ready to avoid the issue.
2. Open the lid
Although gas grills are safe, there’s another step you must take before starting the lighting procedure for a gas grill, and that’s lifting the lid.
‘It’s extremely important to keep the lid up when you light a gas grill,’ says Dan Cooper, head grill master at Weber. ‘Leaving it down while lighting can cause a gas buildup which could lead to an explosion.’
3. Start the gas flow and ignite the grill
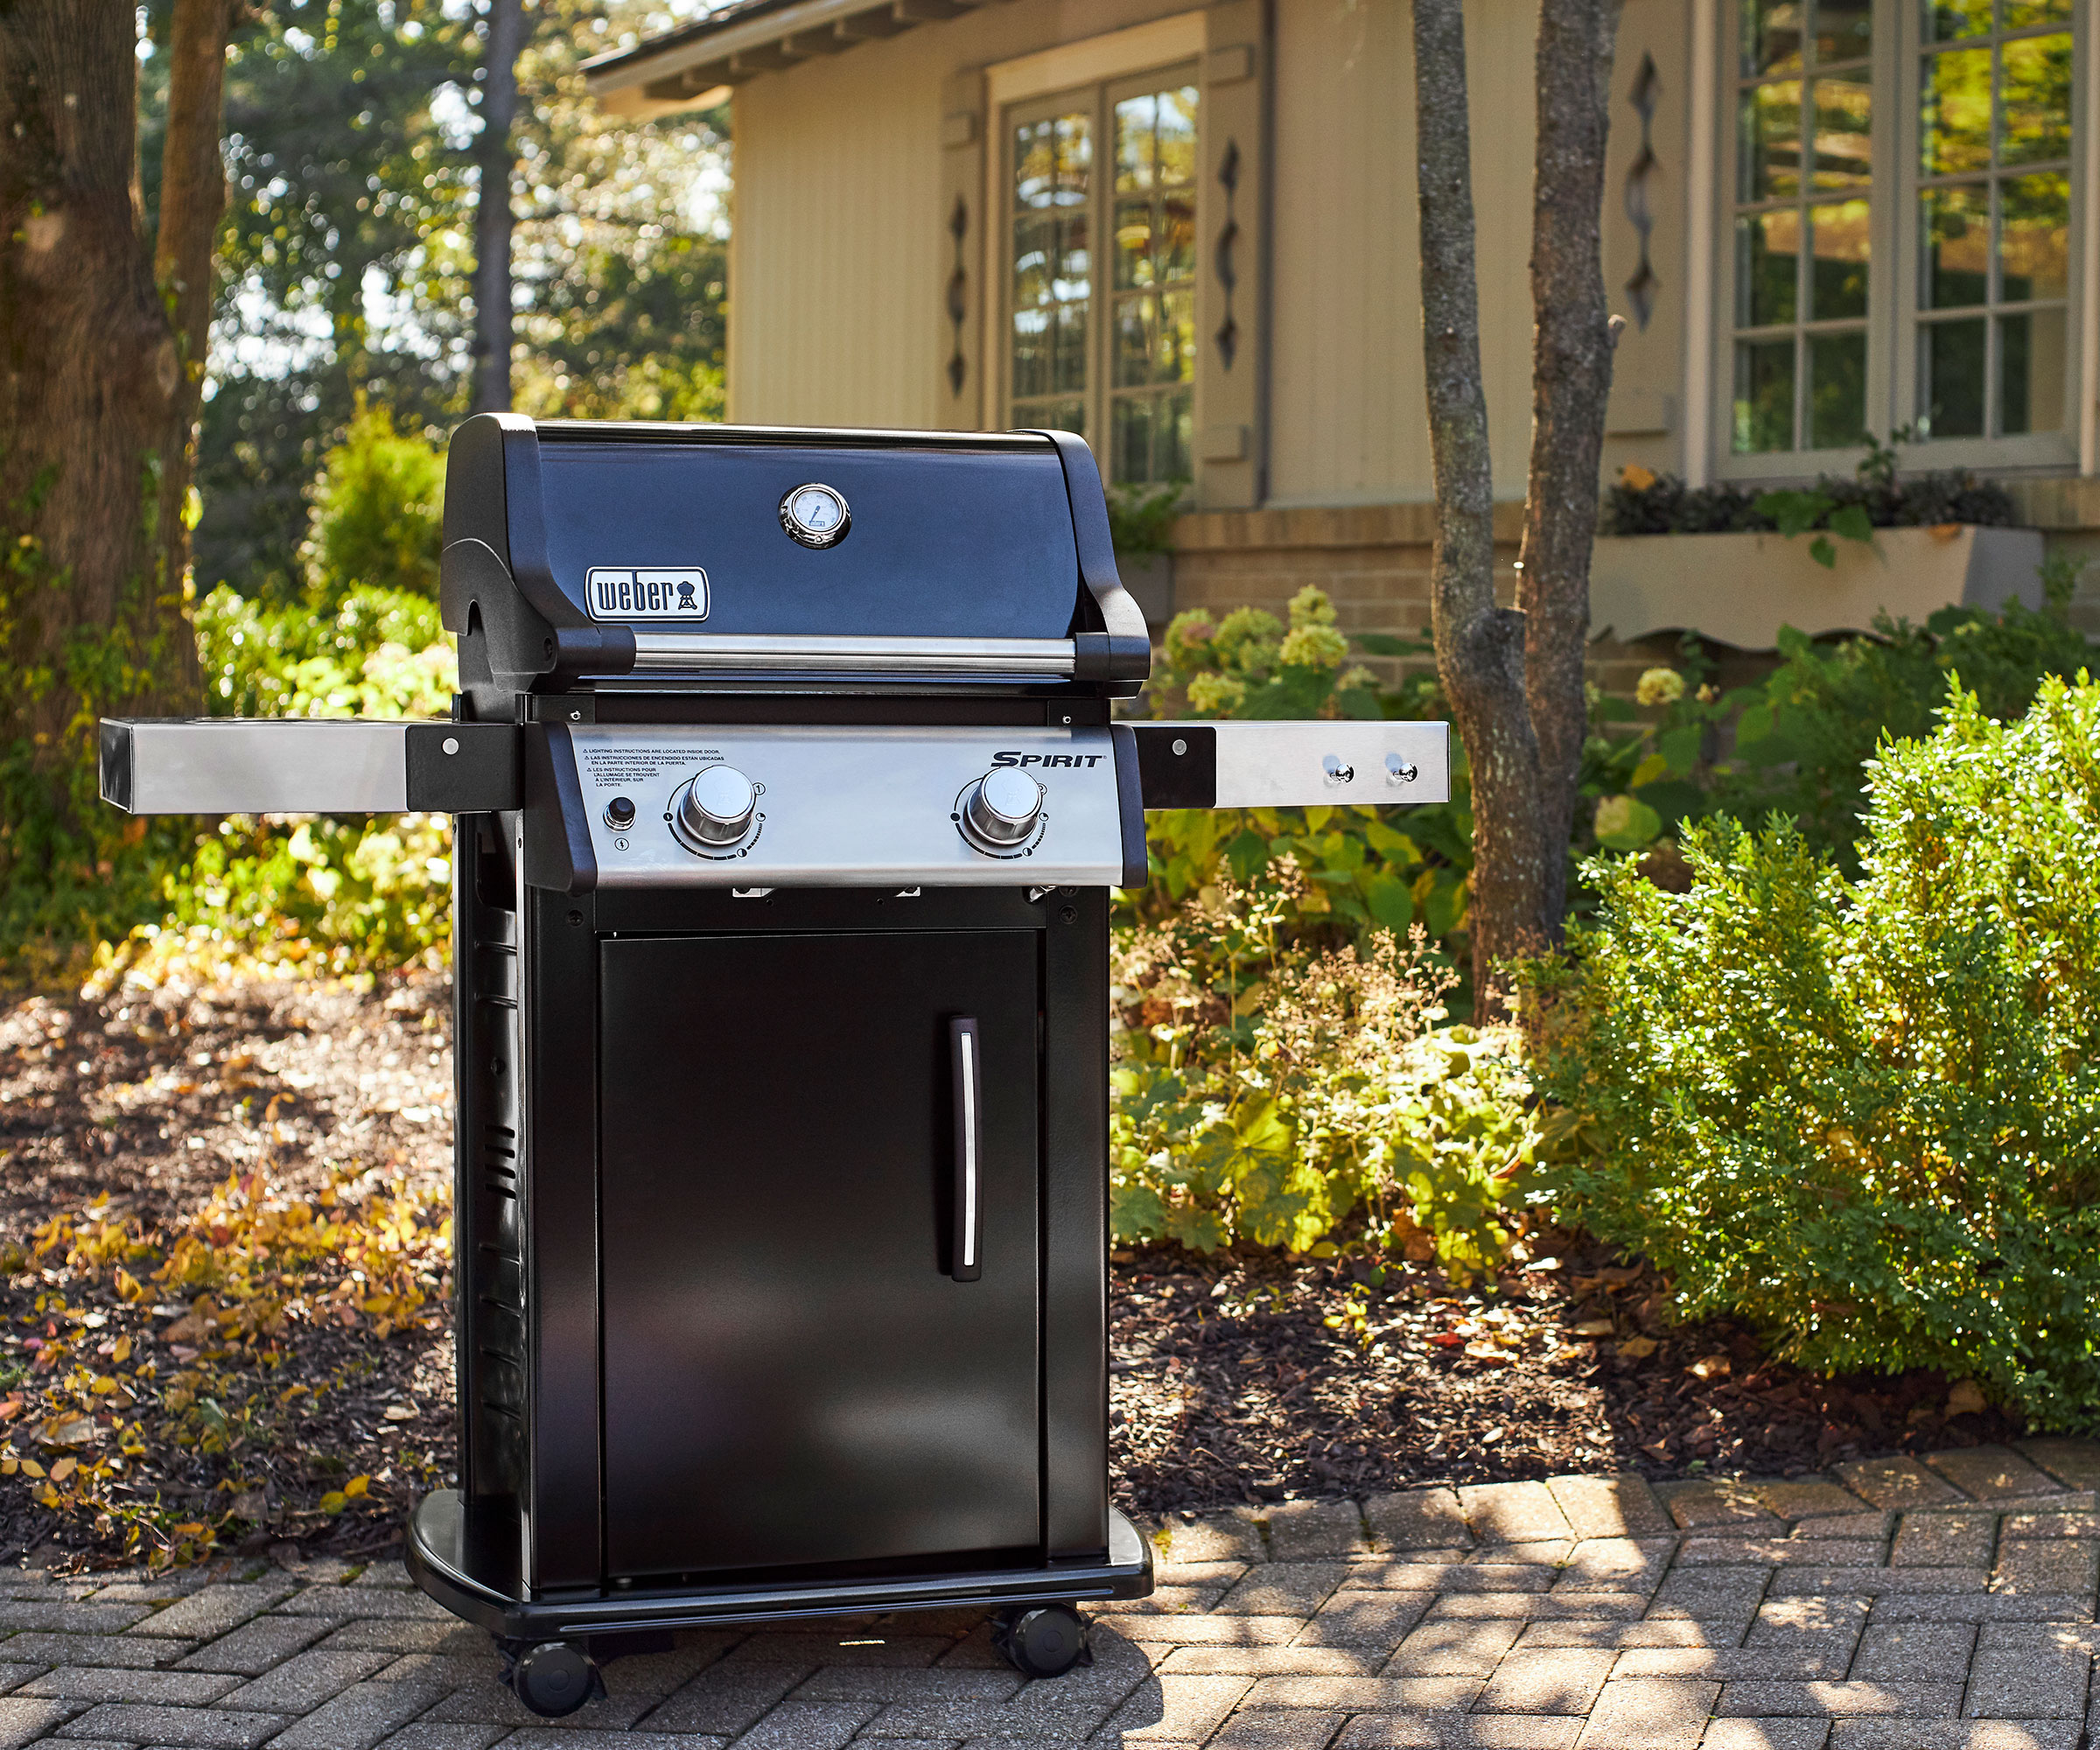
Slowly open the valve at the top of the gas cylinder to the fully open position, and wait a minute to allow the gas to travel through the line. Typically you should then turn on the burner knob closest to the ignition button on the grill to its highest setting and press the ignition, but do check manufacturer’s instructions for your particular model as these may differ.
4. Check the burner
Carefully take a look to see if the burner is lit. If it isn’t, turn off the burner as well as the cylinder and allow the gas to disperse before trying again (see safety tips below).
5. Preheat the grill
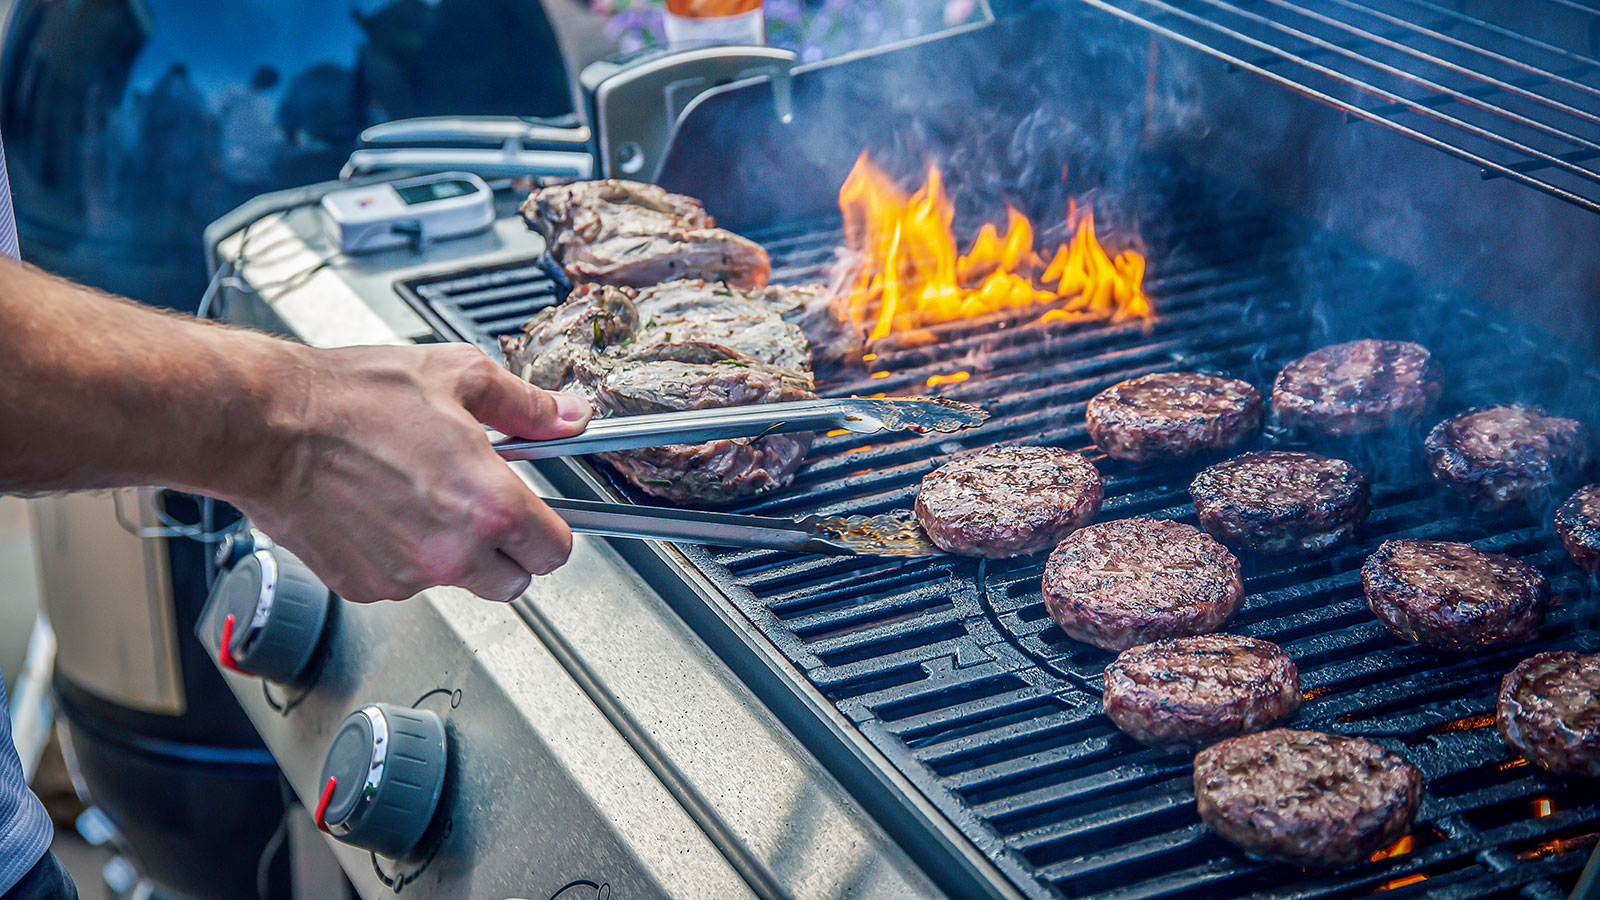
With the burners all set to maximum, close the lid of the grill to allow it to preheat. Once it is at temperature you can use a stainless-steel brush to remove any debris from the cooking grates before cooking.
After this adjust the burners to the temperature needed for whatever you’re grilling.
Safety tips for lighting a gas grill
Take the right precautions when you’re lighting a gas grill in your outdoor grill station to avoid harm.
- Be aware of the potential for gas to escape. ‘Make sure your gas bottle is properly connected and there are no leaks,’ says Weber’s Dan Cooper. ‘If you can smell gas this could indicate there is a problem. If you’re concerned, try doing a leak test where your hose and regulator hook up to the bottle.’
- Don’t lean over the grill when you’re igniting burners.
- Make sure you’re not wearing anything that will hang down towards the grill either. That means no dangling apron strings, loose sleeves, and so on. Tie back long hair, too.
- As we mentioned above, if the grill doesn’t light, always turn off the gas. Leave the grill lid open and wait for five minutes before restarting the lighting procedure.
FAQs
How long does it take for a gas grill to heat up?
It is important to allow time for a gas grill to heat up before beginning to cook. ‘One of the easiest mistakes to make when getting used to a gas grill is not giving some real love to its preheat time,’ says Andrew Lovell, product manager of Landmann.
‘We all know we have to wait for a charcoal BBQ to warm up for its time to shine, but many forget that gas grills are just the same.
‘A general rule of thumb: give your gas grill 10 to 15 minutes of high heat to preheat; make sure this is done under a closed lid to insulate the heat and give the grill’s metal bars or ceramic rods enough time and heat to cook food safely.'
Lighting a gas grill is a fairly straightforward process, providing you keep those safety checks in mind while doing it. However, don't be tempted to start cooking on it as soon as it is lit as you could be disappointed with the results.
‘Preheating is the most important thing you can do with your gas grill,' says Landmann's Andrew Lovell. 'If you don't preheat properly, your grill will not get to the optimal temperature for cooking. No preheating also means that pesky bits of your banquet can stick to the grill, as well as compromising that lovely BBQ flavour and can cause overcooking. Preheating properly means your grill cooks faster and more efficiently.’
Sign up to the Homes & Gardens newsletter
Design expertise in your inbox – from inspiring decorating ideas and beautiful celebrity homes to practical gardening advice and shopping round-ups.

Sarah is a freelance journalist and editor. Previously executive editor of Ideal Home, she’s specialized in interiors, property and gardens for over 20 years, and covers interior design, house design, gardens, and cleaning and organizing a home for Homes & Gardens. She’s written for websites, including Houzz, Channel 4’s flagship website, 4Homes, and Future’s T3; national newspapers, including The Guardian; and magazines including Future’s Country Homes & Interiors, Homebuilding & Renovating, Period Living, and Style at Home, as well as House Beautiful, Good Homes, Grand Designs, Homes & Antiques, LandLove and The English Home among others. It’s no big surprise that she likes to put what she writes about into practice, and is a serial house renovator.
-
 9 longest-living houseplants – expert recommendations and tips for species that can live over 10 years
Invest in these houseplants now for years of luscious foliage in your home
By Tenielle Jordison Published
-
 Kris Jenner's 'organic modern' living room champions the most talked-about trend of 2025 – it's the new way to do luxe-minimalism
Simple silhouettes, organic textures, and industrial nuances infuse functional pieces with elegance to create an effortlessly chic and easy-to-live-with living space
By Jennifer Ebert Published