How to harvest sweet pea seeds – expert advice for saving and storing seeds
Our top 5 tips for collecting and storing sweet pea seeds will guarantee floral scent and color for years to come
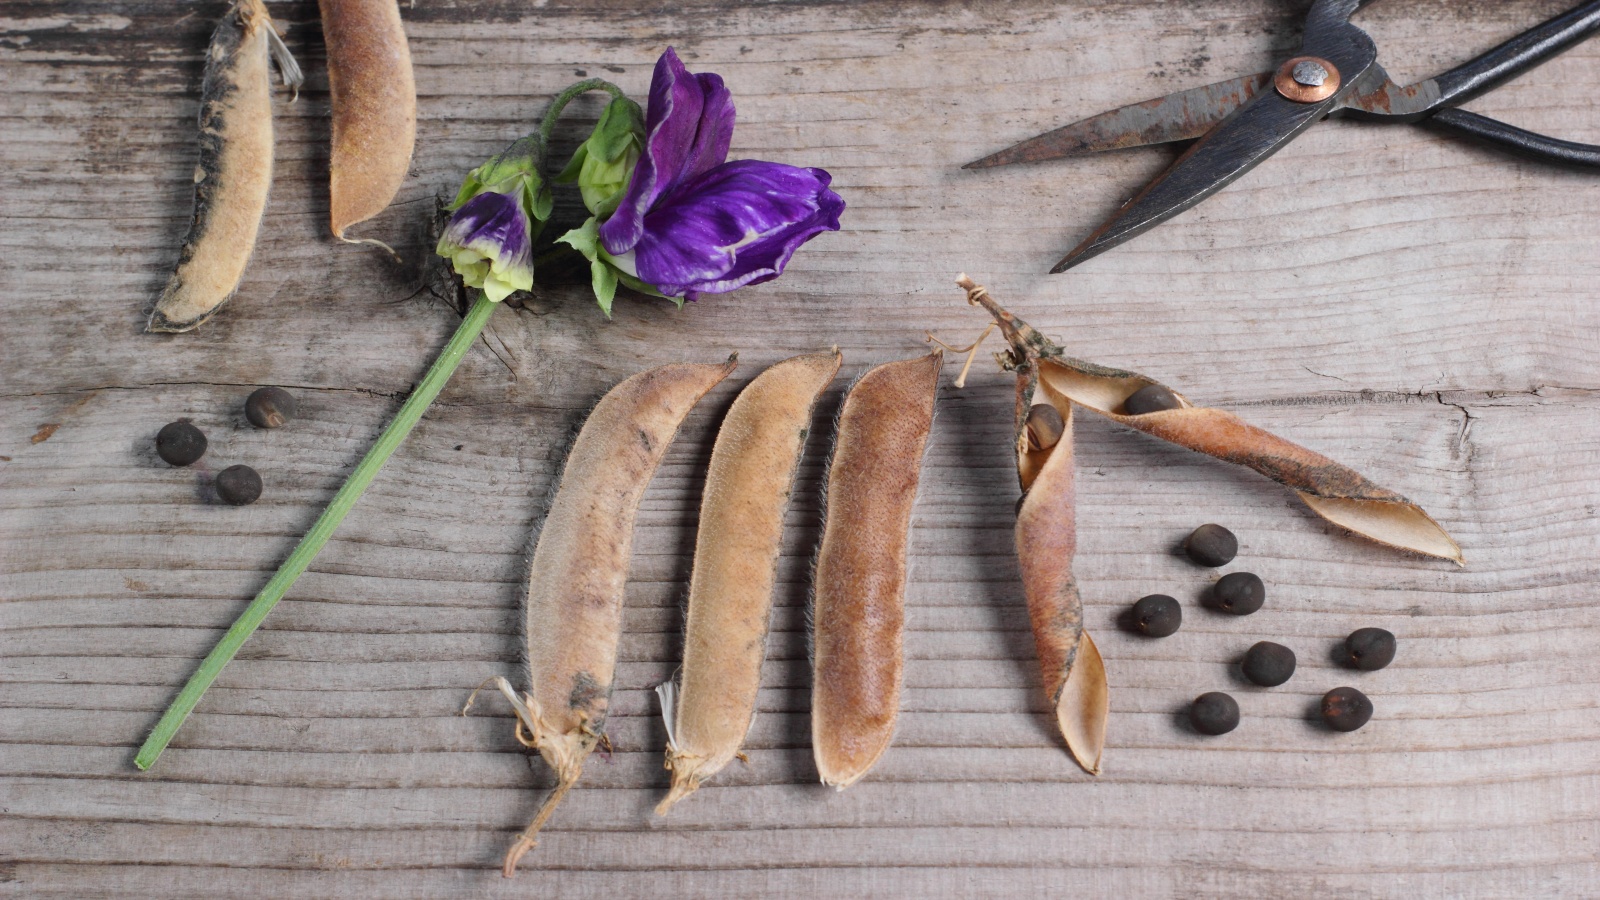
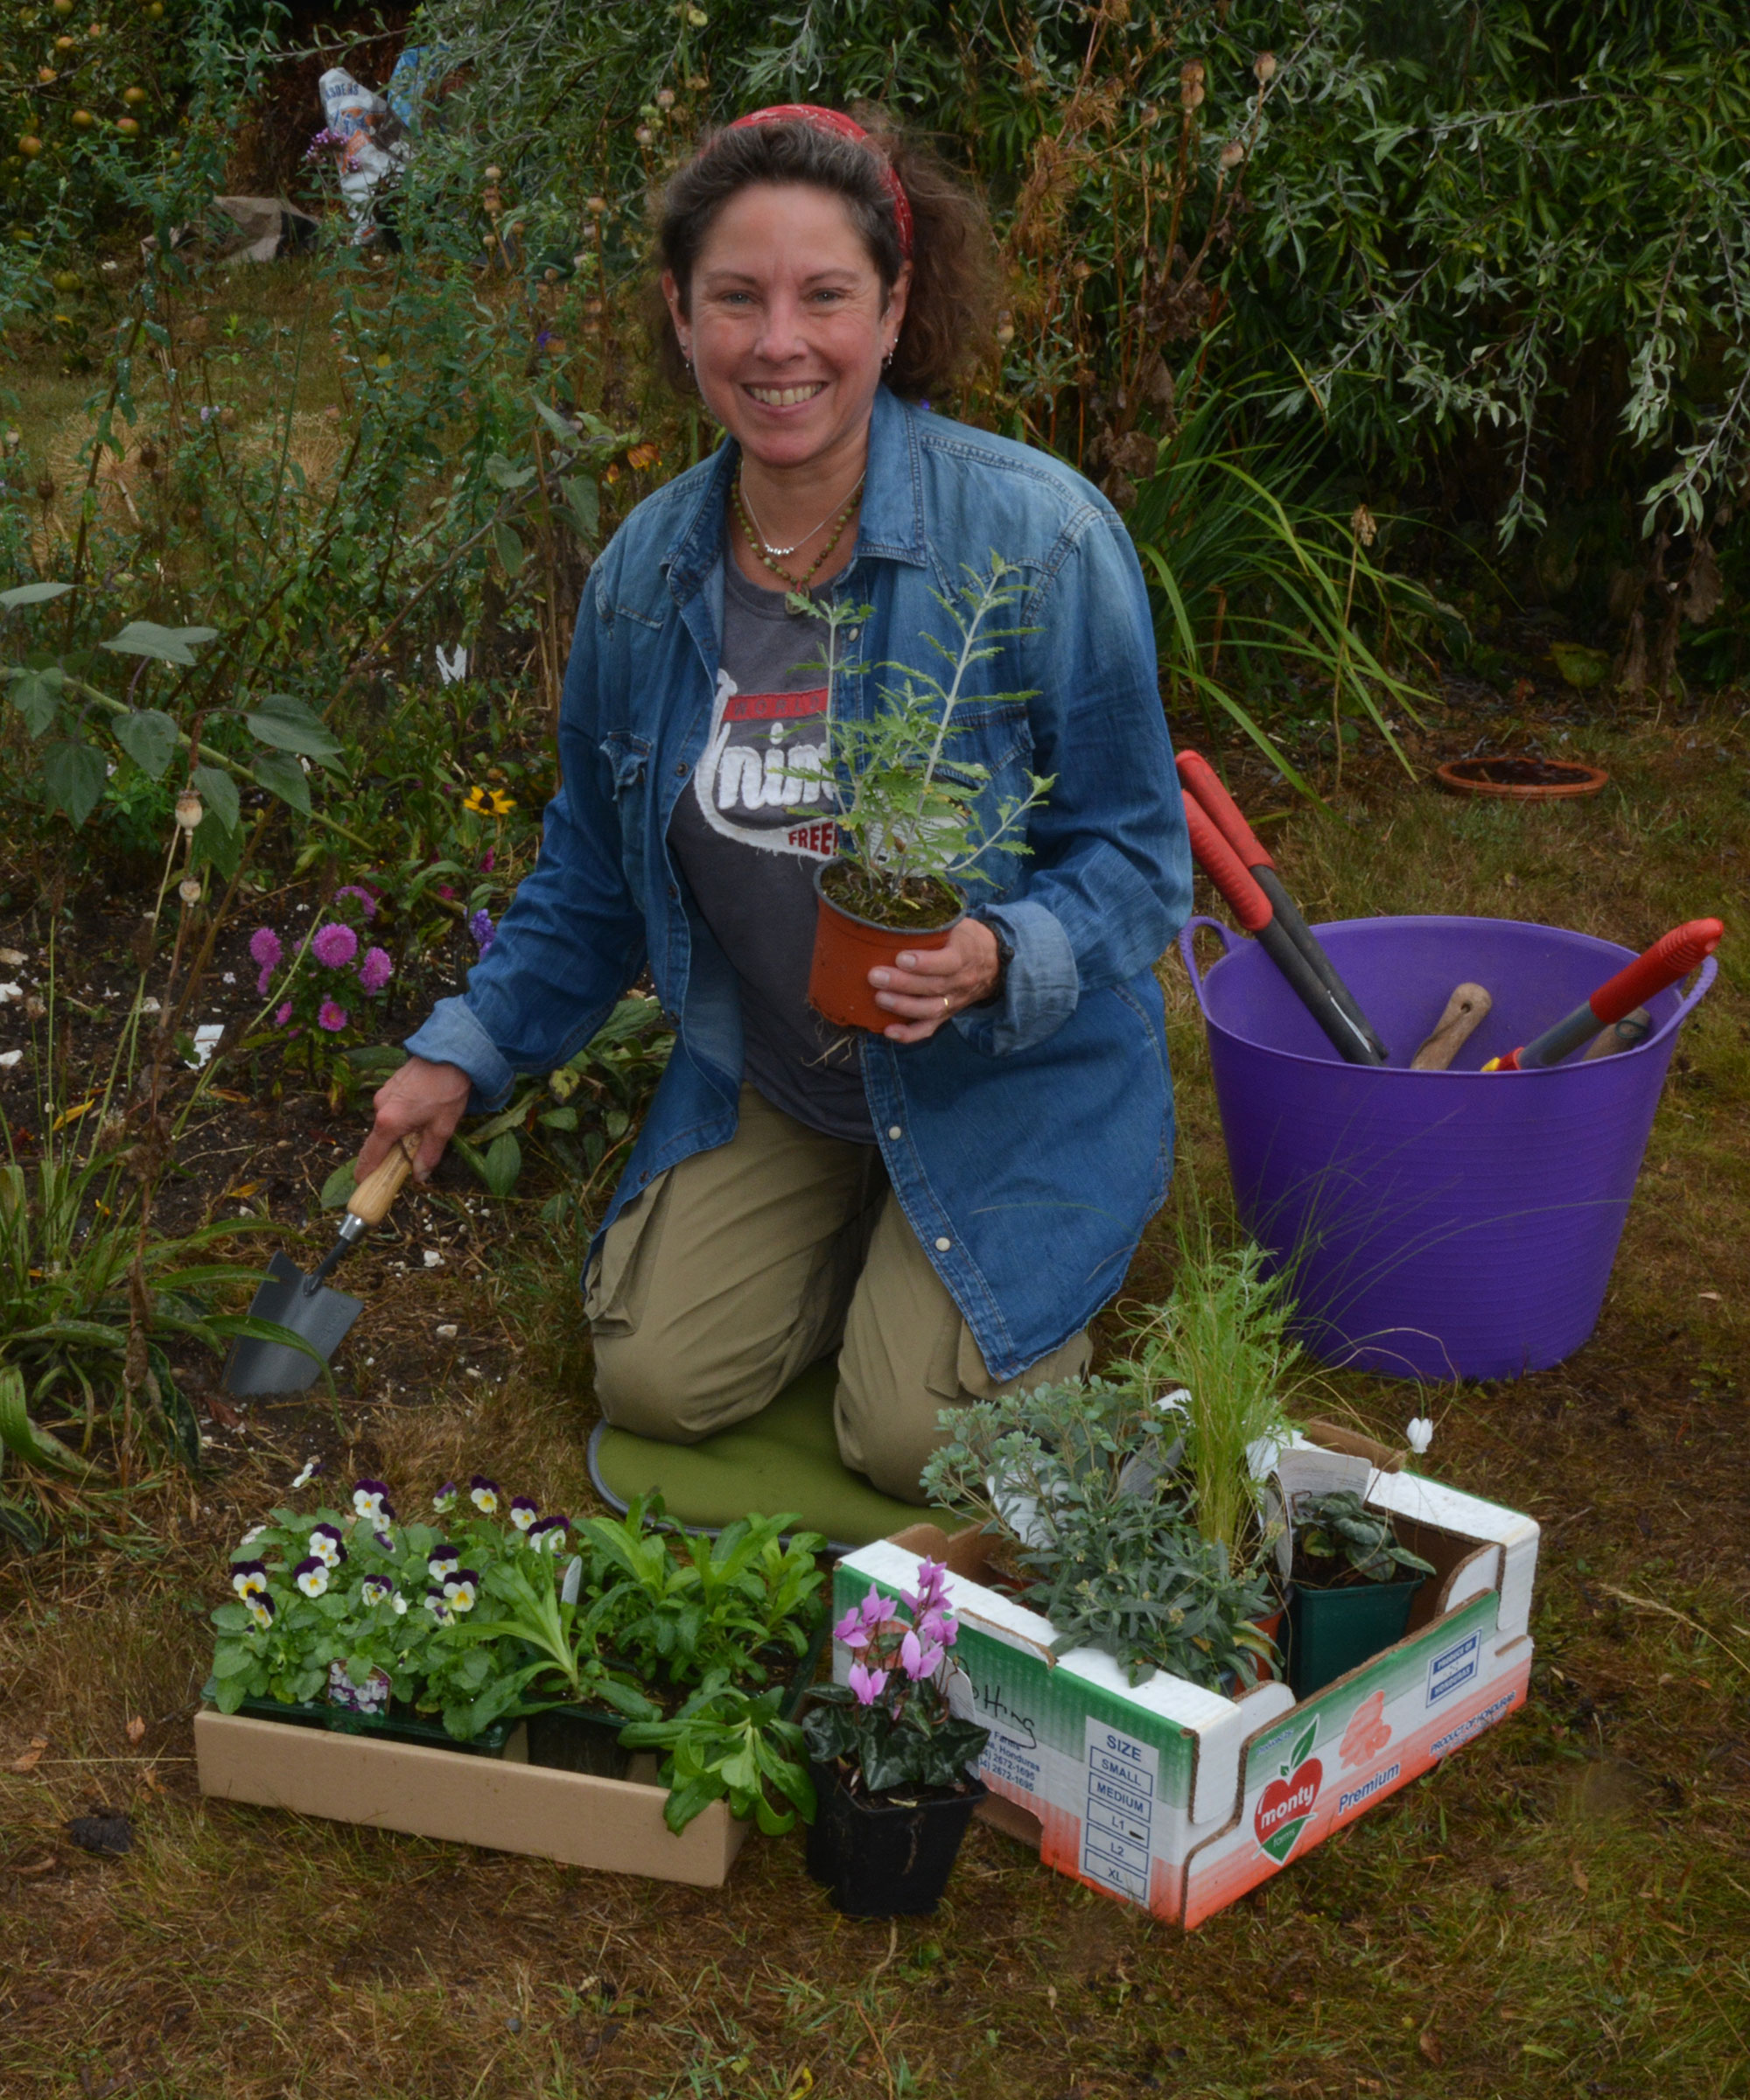
Sweet pea seeds are some of the easiest seeds to harvest and grow, providing you and your backyard with years of color and perfume - and all for free.
Over the centuries, they have become one of the quintessential summer flowers and come in many colors. We usually recommend picking sweet pea flowers regularly because this encourages the plants to produce more blooms, but at the end of the season, it is best to leave a few in place so their pods have time to develop.
I suggest harvesting seeds from your favorite varieties that year, so if there are any types, varieties, or colors that you are drawn to, make sure to grab the seeds before they scatter. Here, our guide has all the information you need to succeed and avoid any seed harvesting mistakes.
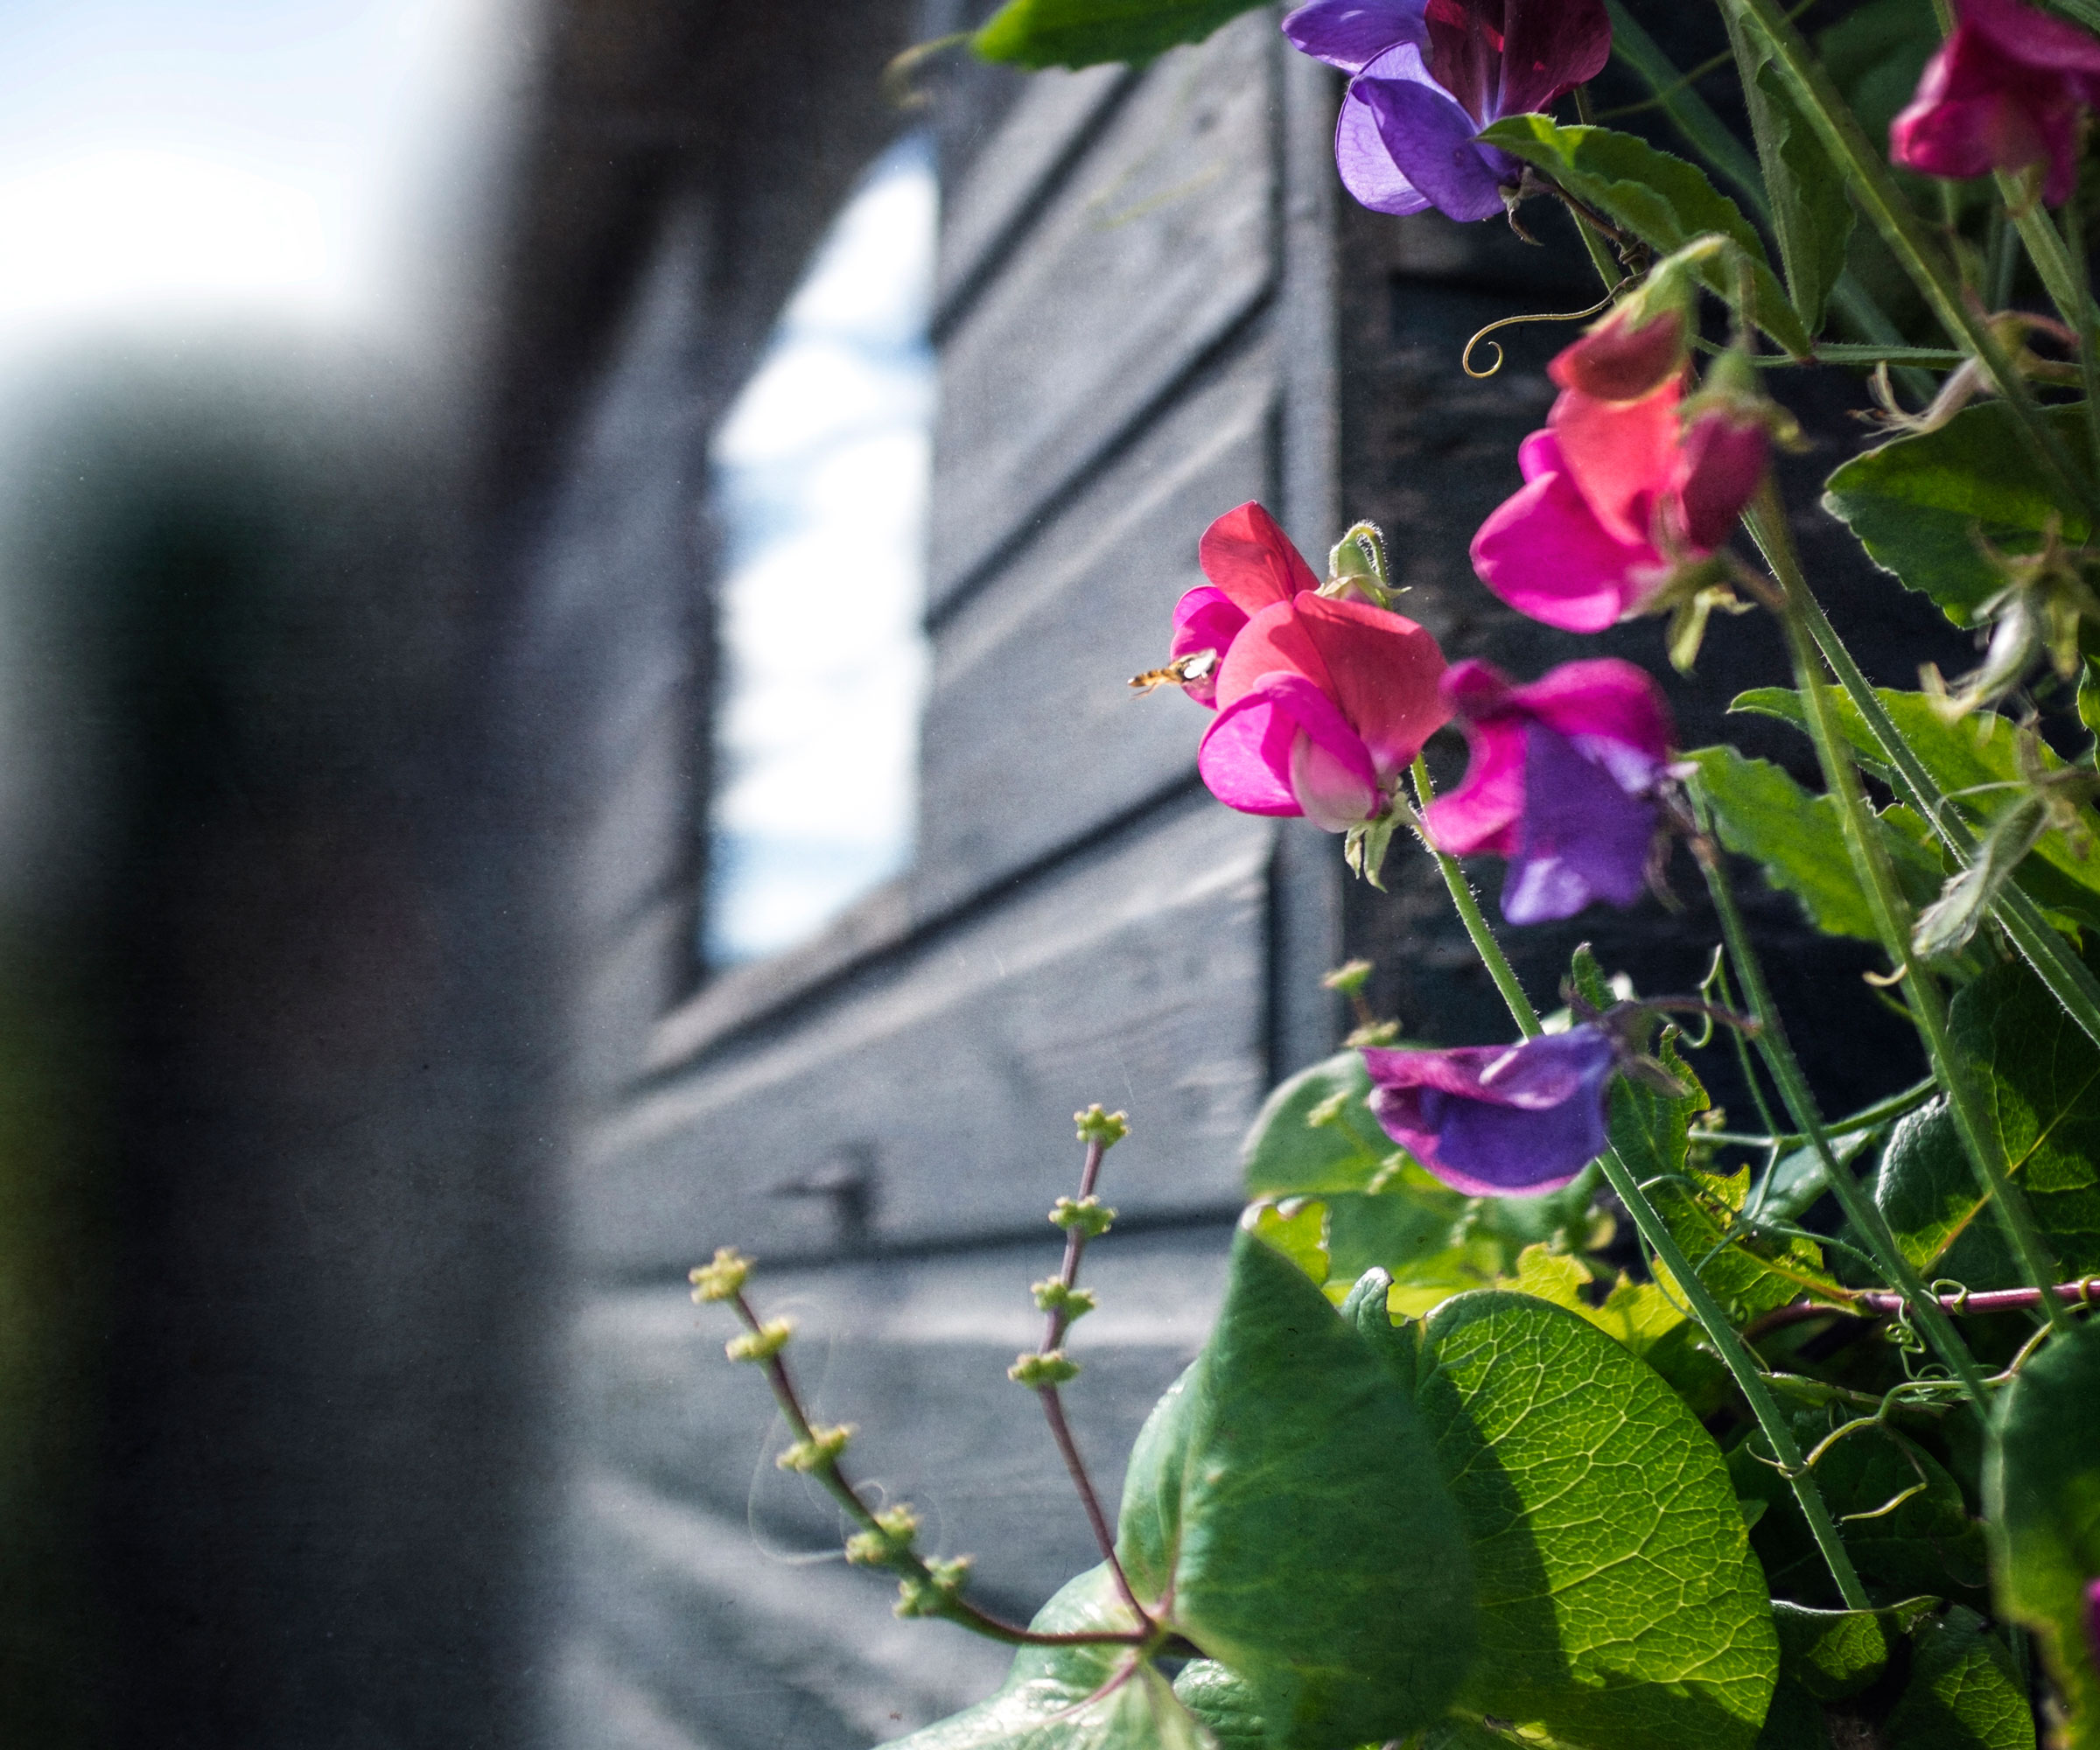
How to harvest sweet pea seeds
Learning how to harvest sweet pea seeds is a free and fun way to make more plants. It can also be a great activity to get children and young gardeners involved in, teaching them how to save seeds for the following year. Our tips have all the information you need.
1. Stop picking the flowers
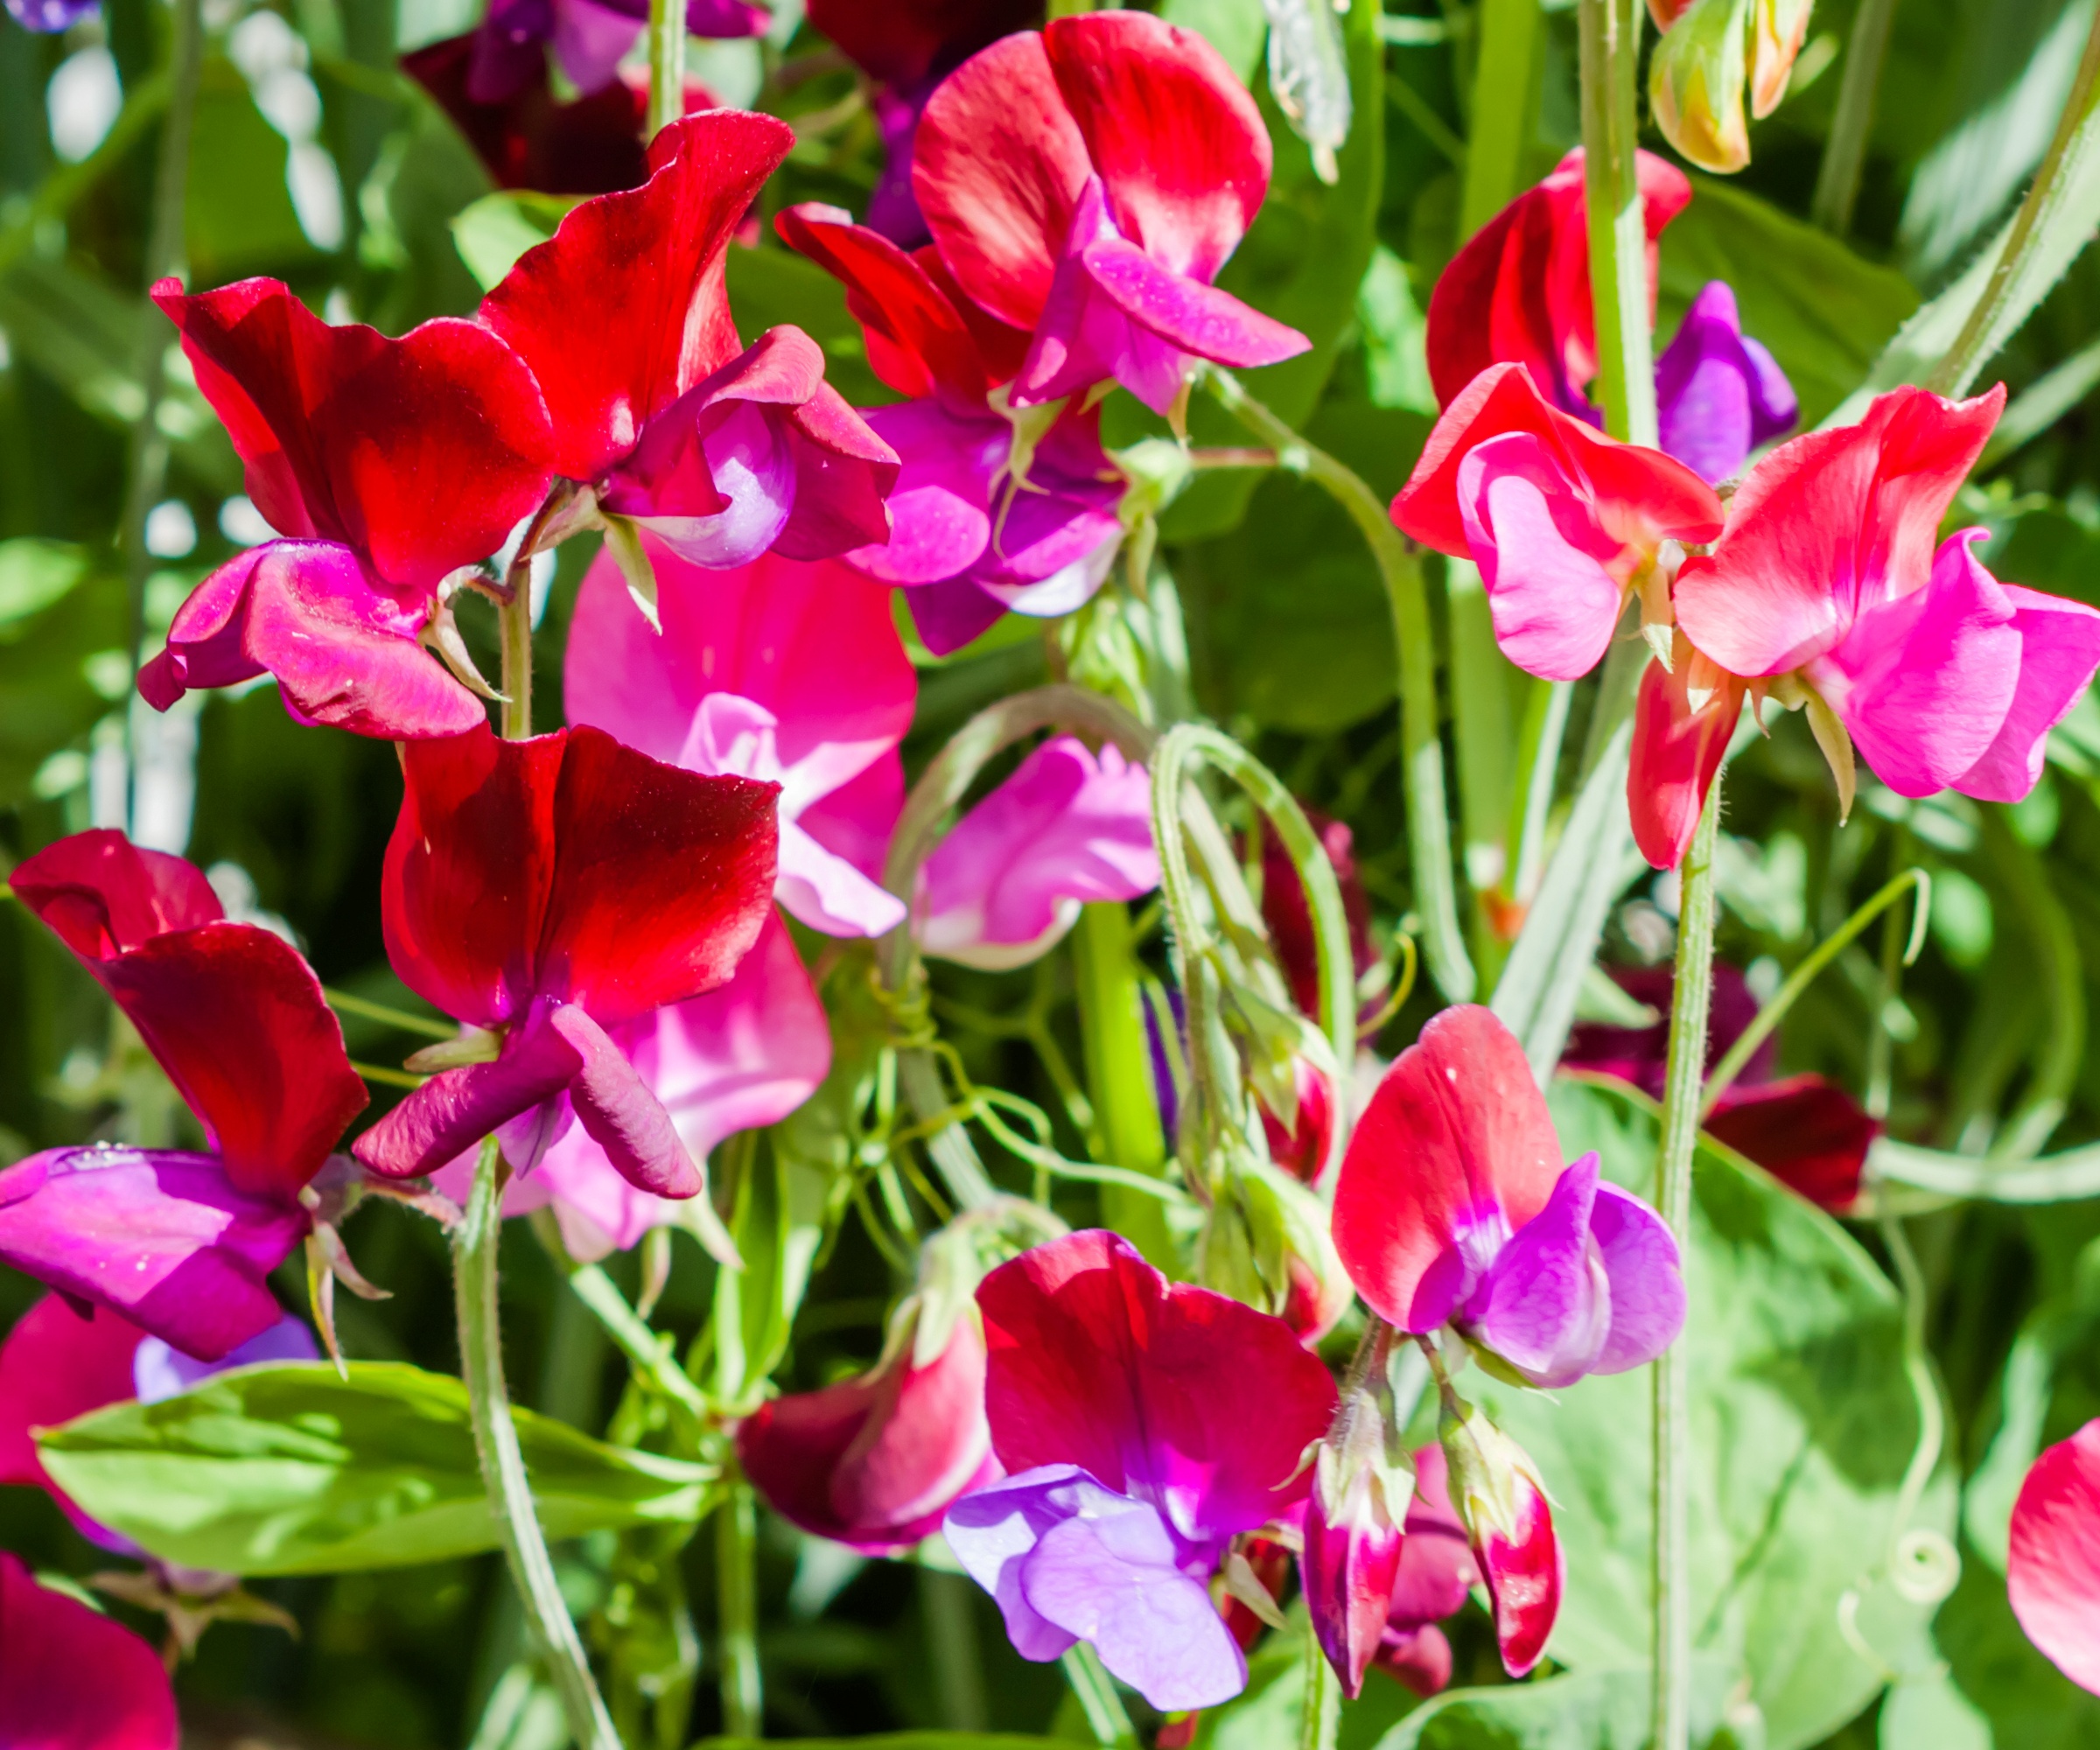
It's tempting to keep harvesting sweet peas for as long as possible, but stop now and leave some to form pods
To start encouraging your sweet pea plants to produce seeds, you need to stop deadheading the flowers towards the end of the growing season, in late summer or early fall.
This will cause the plants to pour all their energy into making and ripening seed pods, which in turn means they will stop producing more flowers because they think their ‘job’ is done and they are about to reproduce.
2. Let the plant go to seed
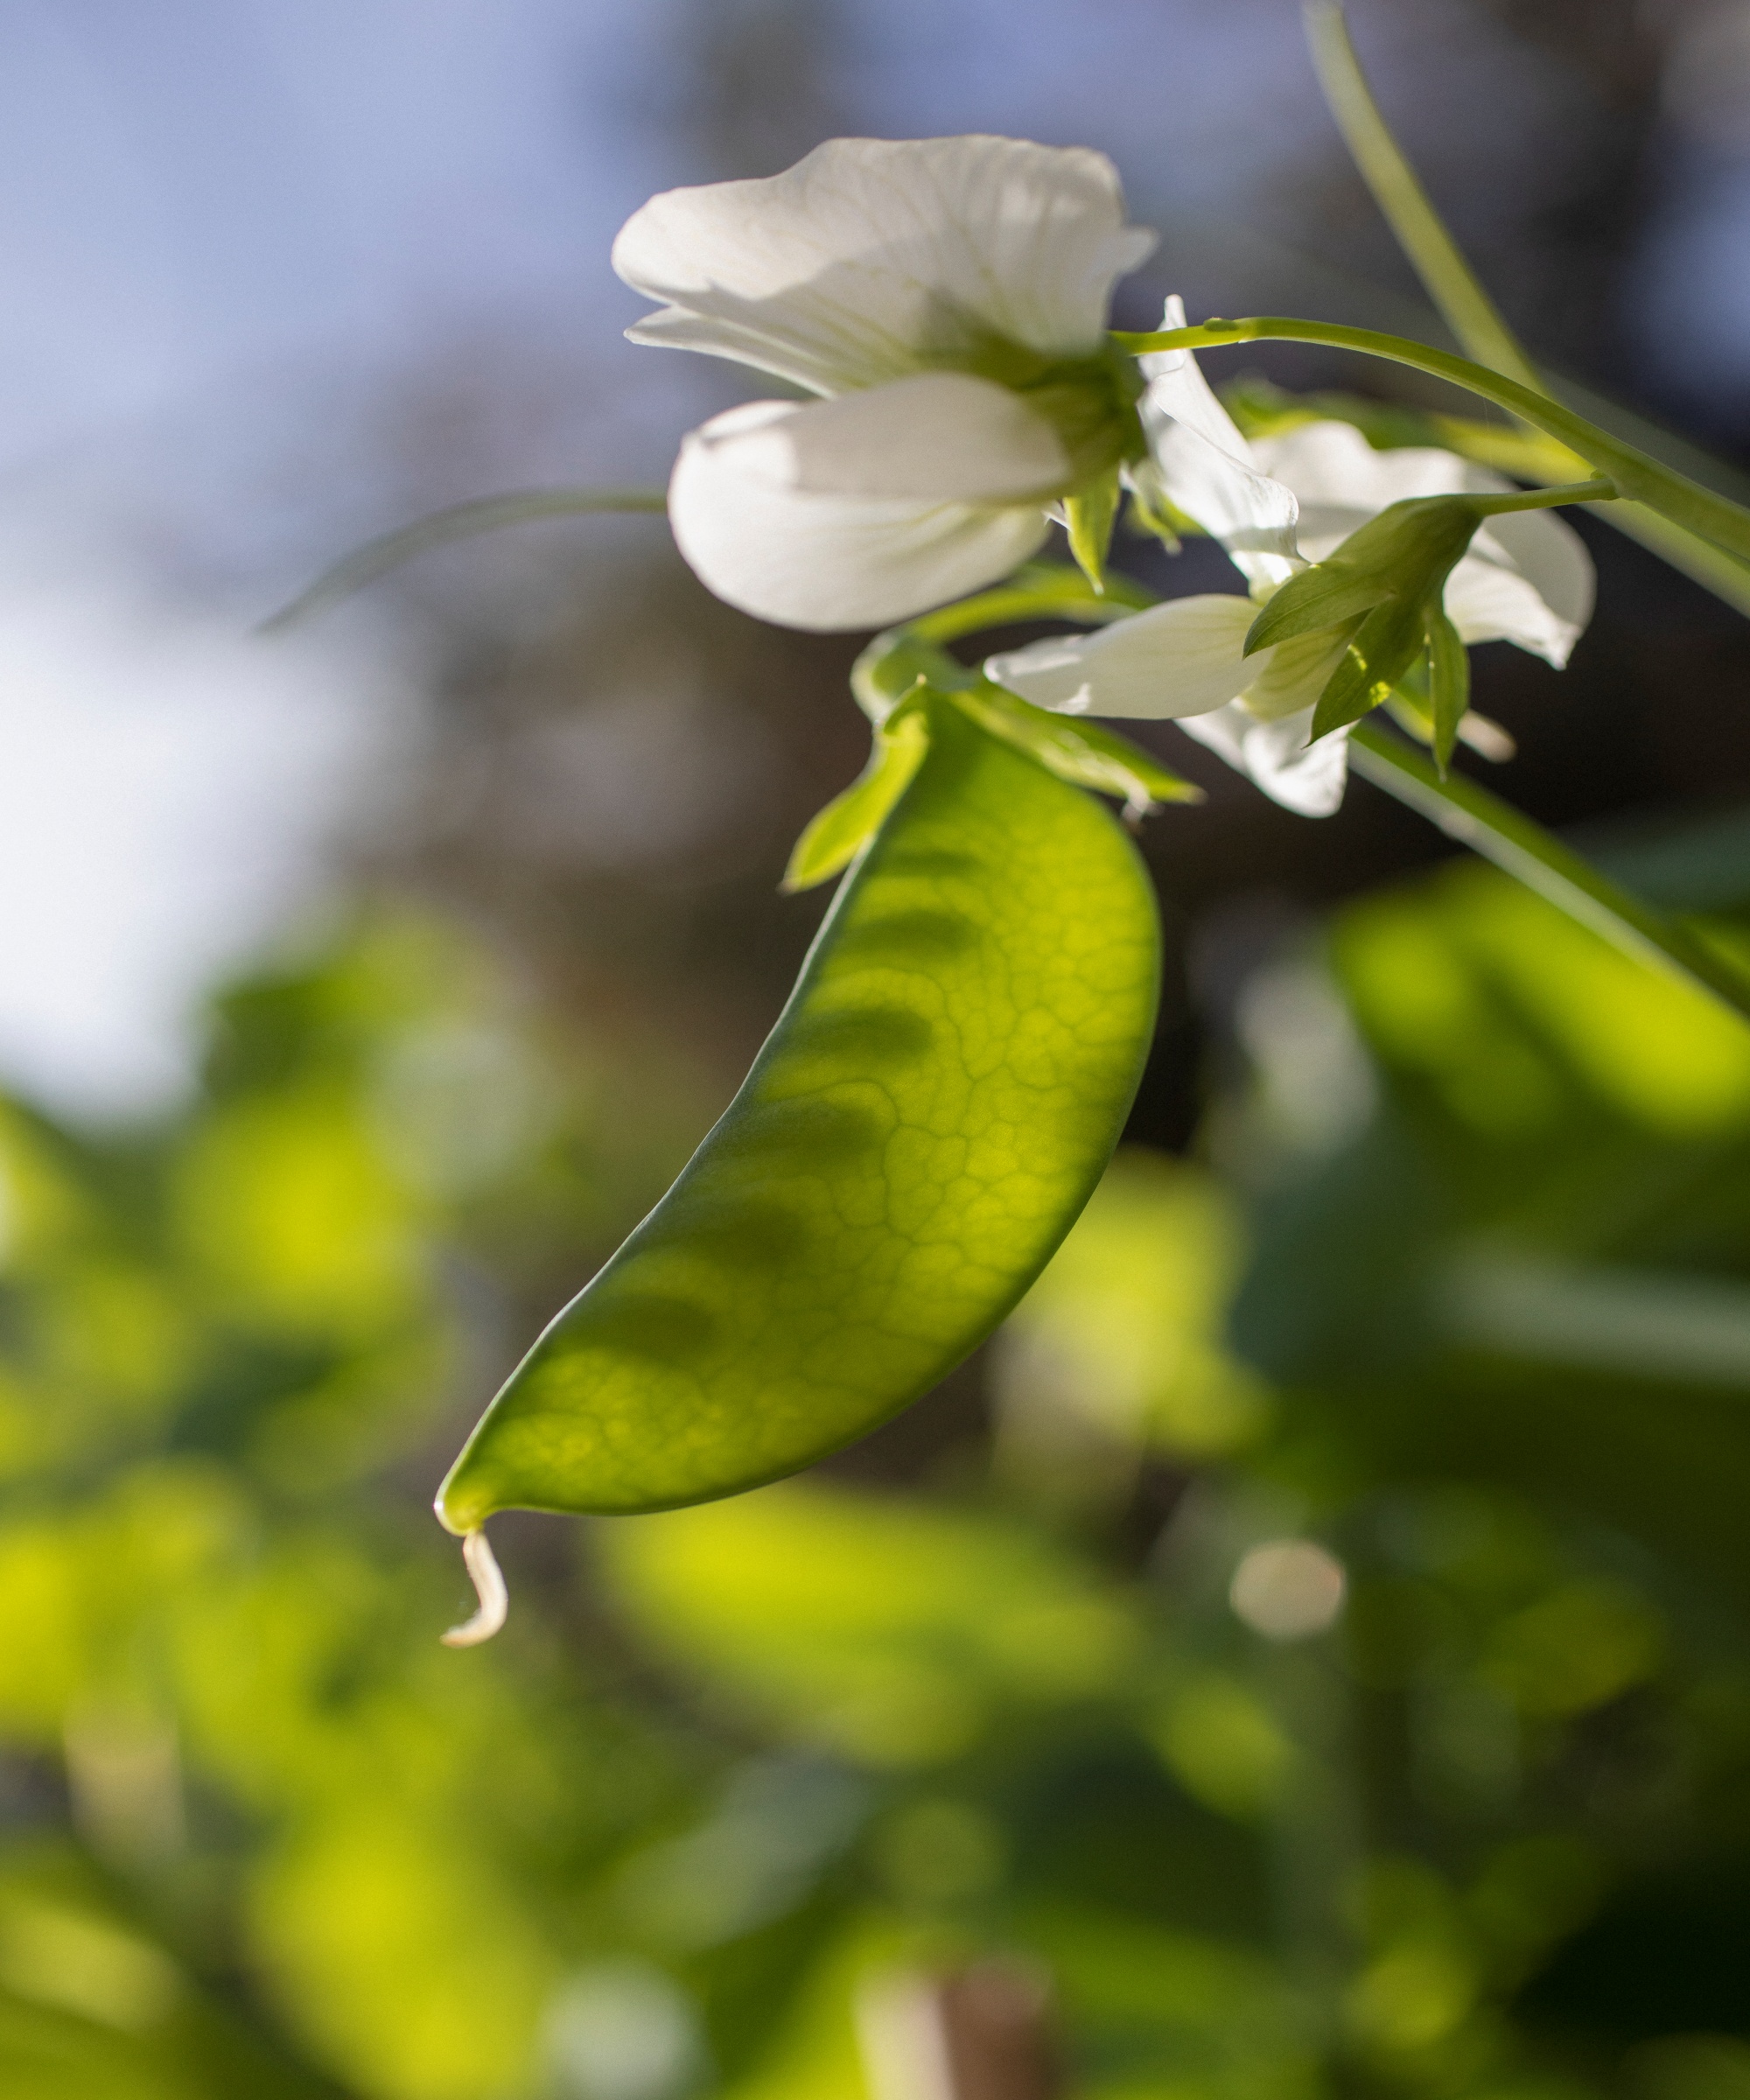
Once you stop picking flowers, they will start producing seed pods, which start out flat and green
Once you stop picking flowers, the sweet peas will go to seed. Flowers will die off, and pods full of seeds will form.
The pods will start flat, flexible and green, but as they age and ripen the peas will swell within and the pods will become fatter and lumpy and darken in color.
3. Pick the dried pods
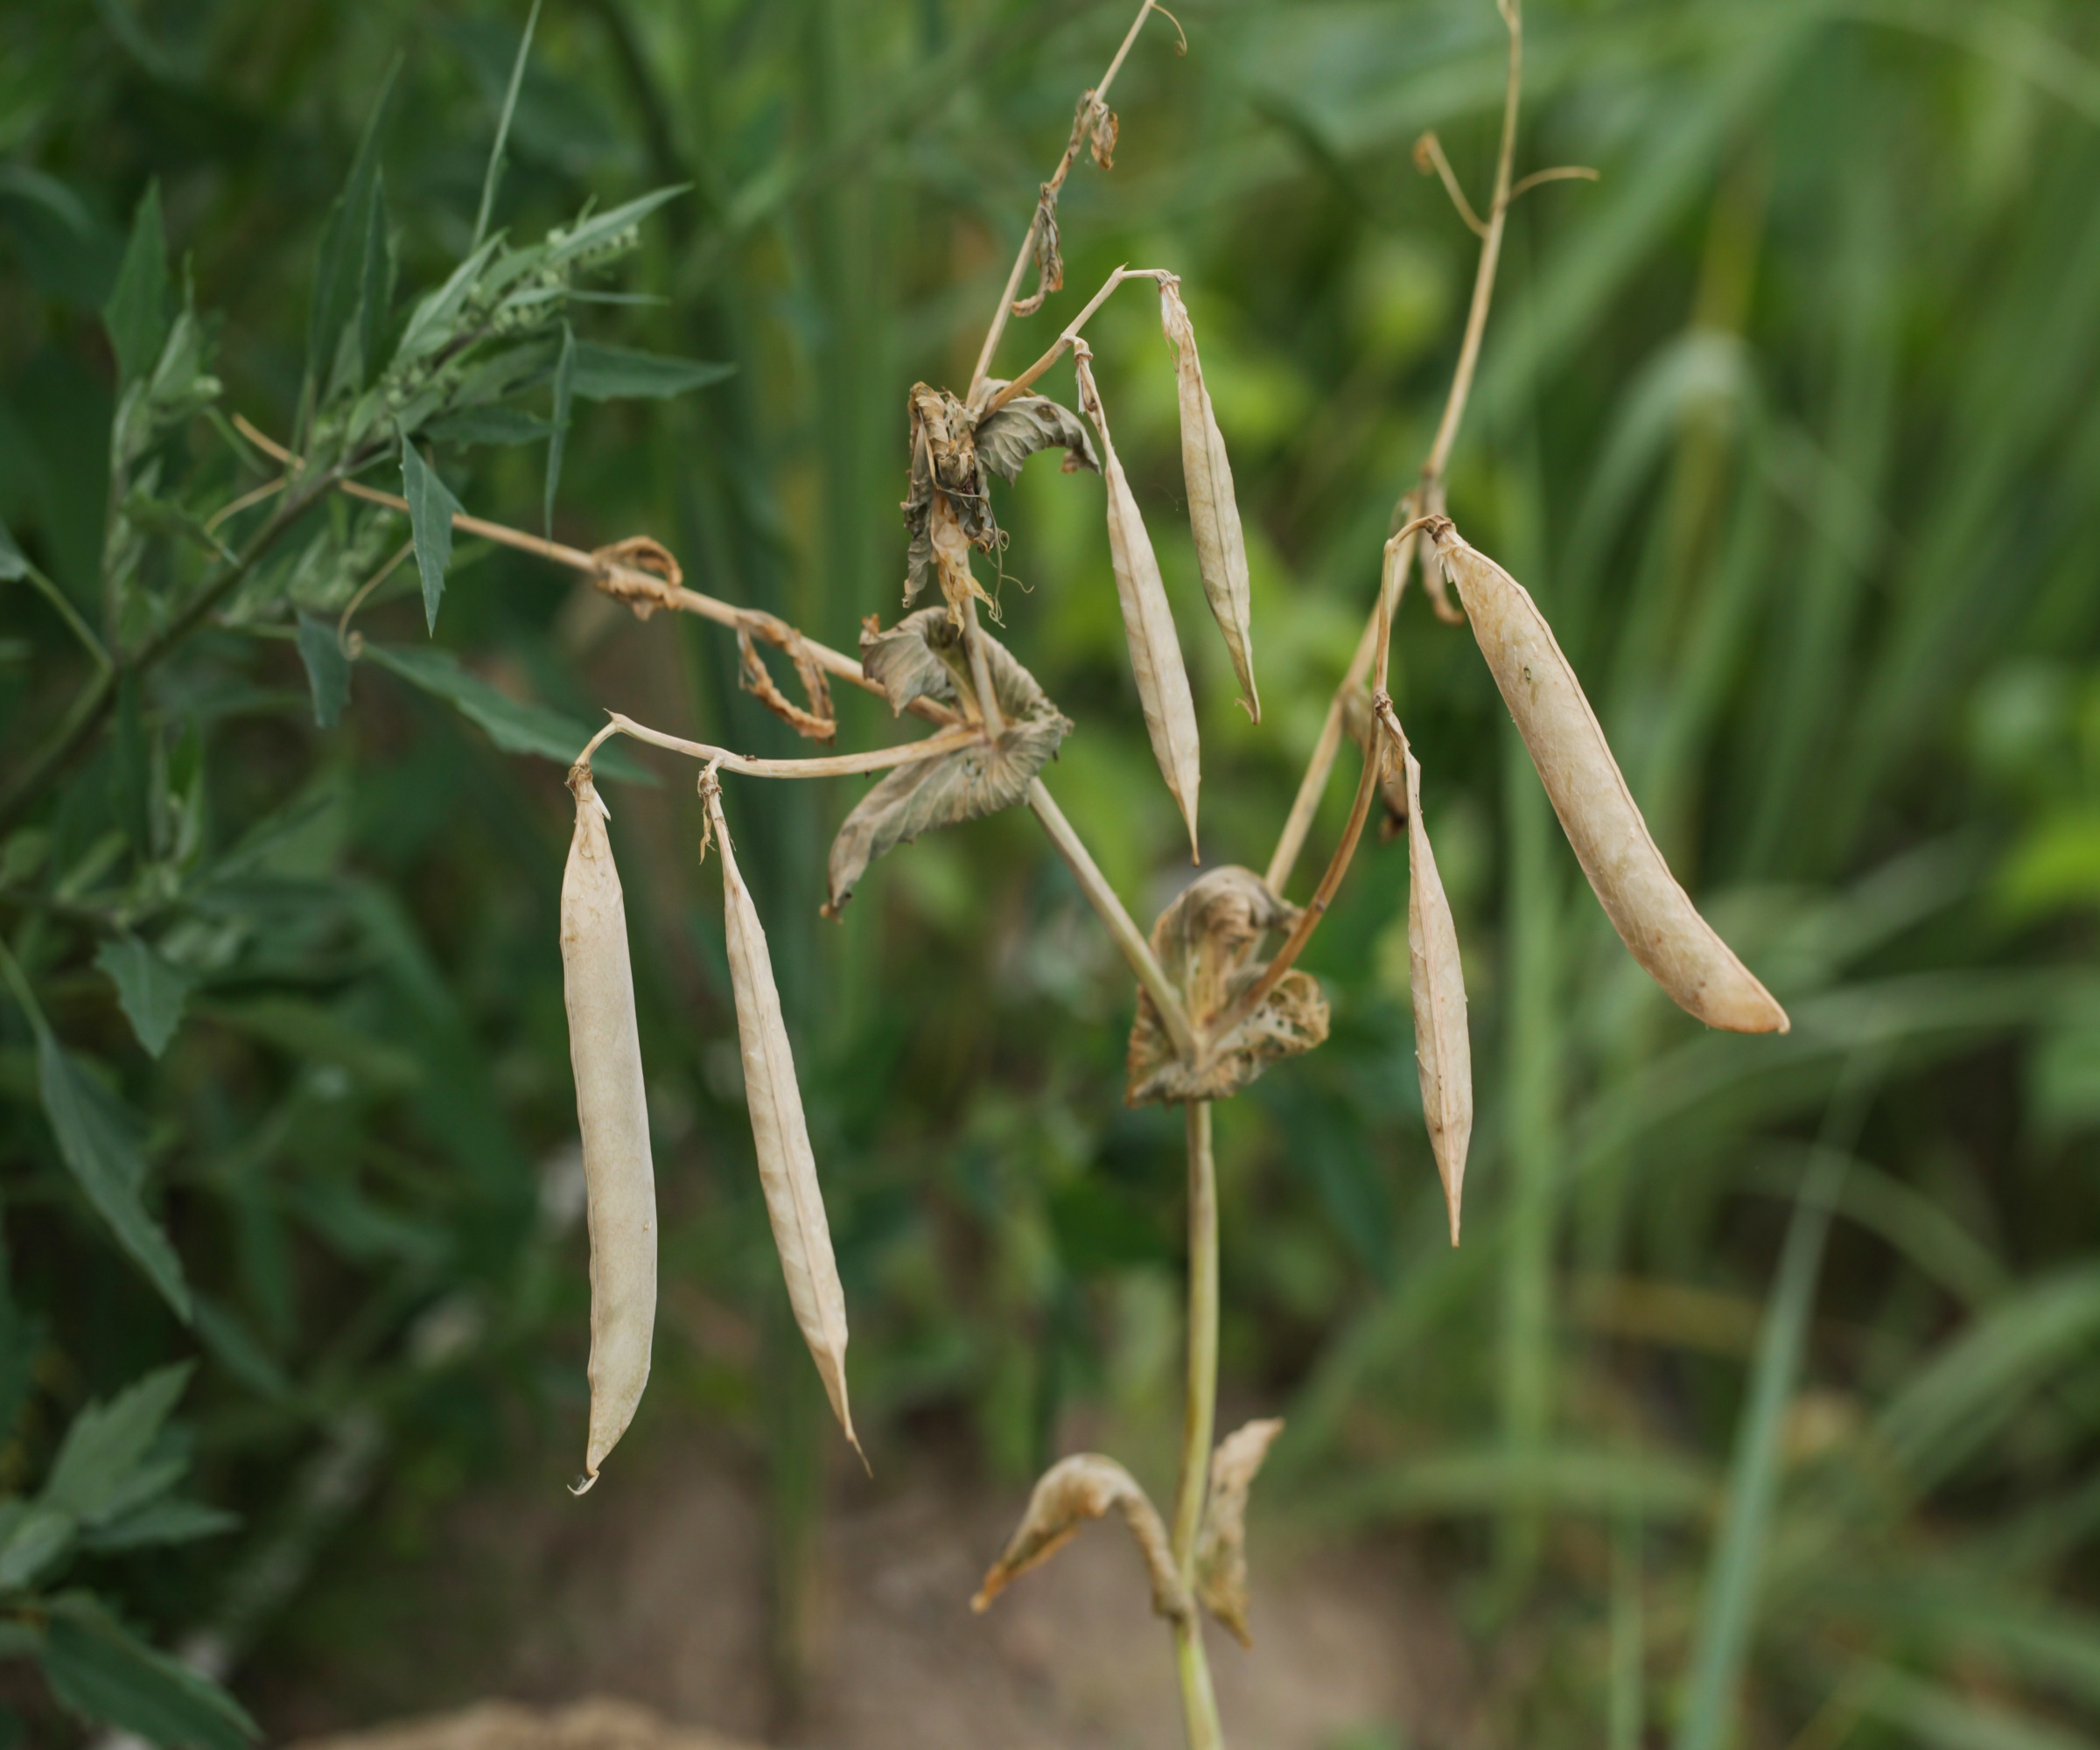
Harvest your sweet pea pods when they have turned dry, brown and brittle
Once the sweet pea pods have turned brown and brittle, you can carefully cut them from the plants using sharp scissors or pruners. I find these best-selling Fiskars Micro-Pruning Snips available from Amazon are ideal for getting in among the tangled stems with their slim blades.
While it will depend on your region and US hardiness zone, collect pods towards the end of summer on a dry day because dampness can cause the peas to start germinating, and will also encourage mold and rot to form if they are not dried properly before storing - which is one of the most common seed storage mistakes.
Only collect seeds from healthy pods, ignoring any that are starting to blacken or feel soft and mushy.
4. Dry thoroughly before podding
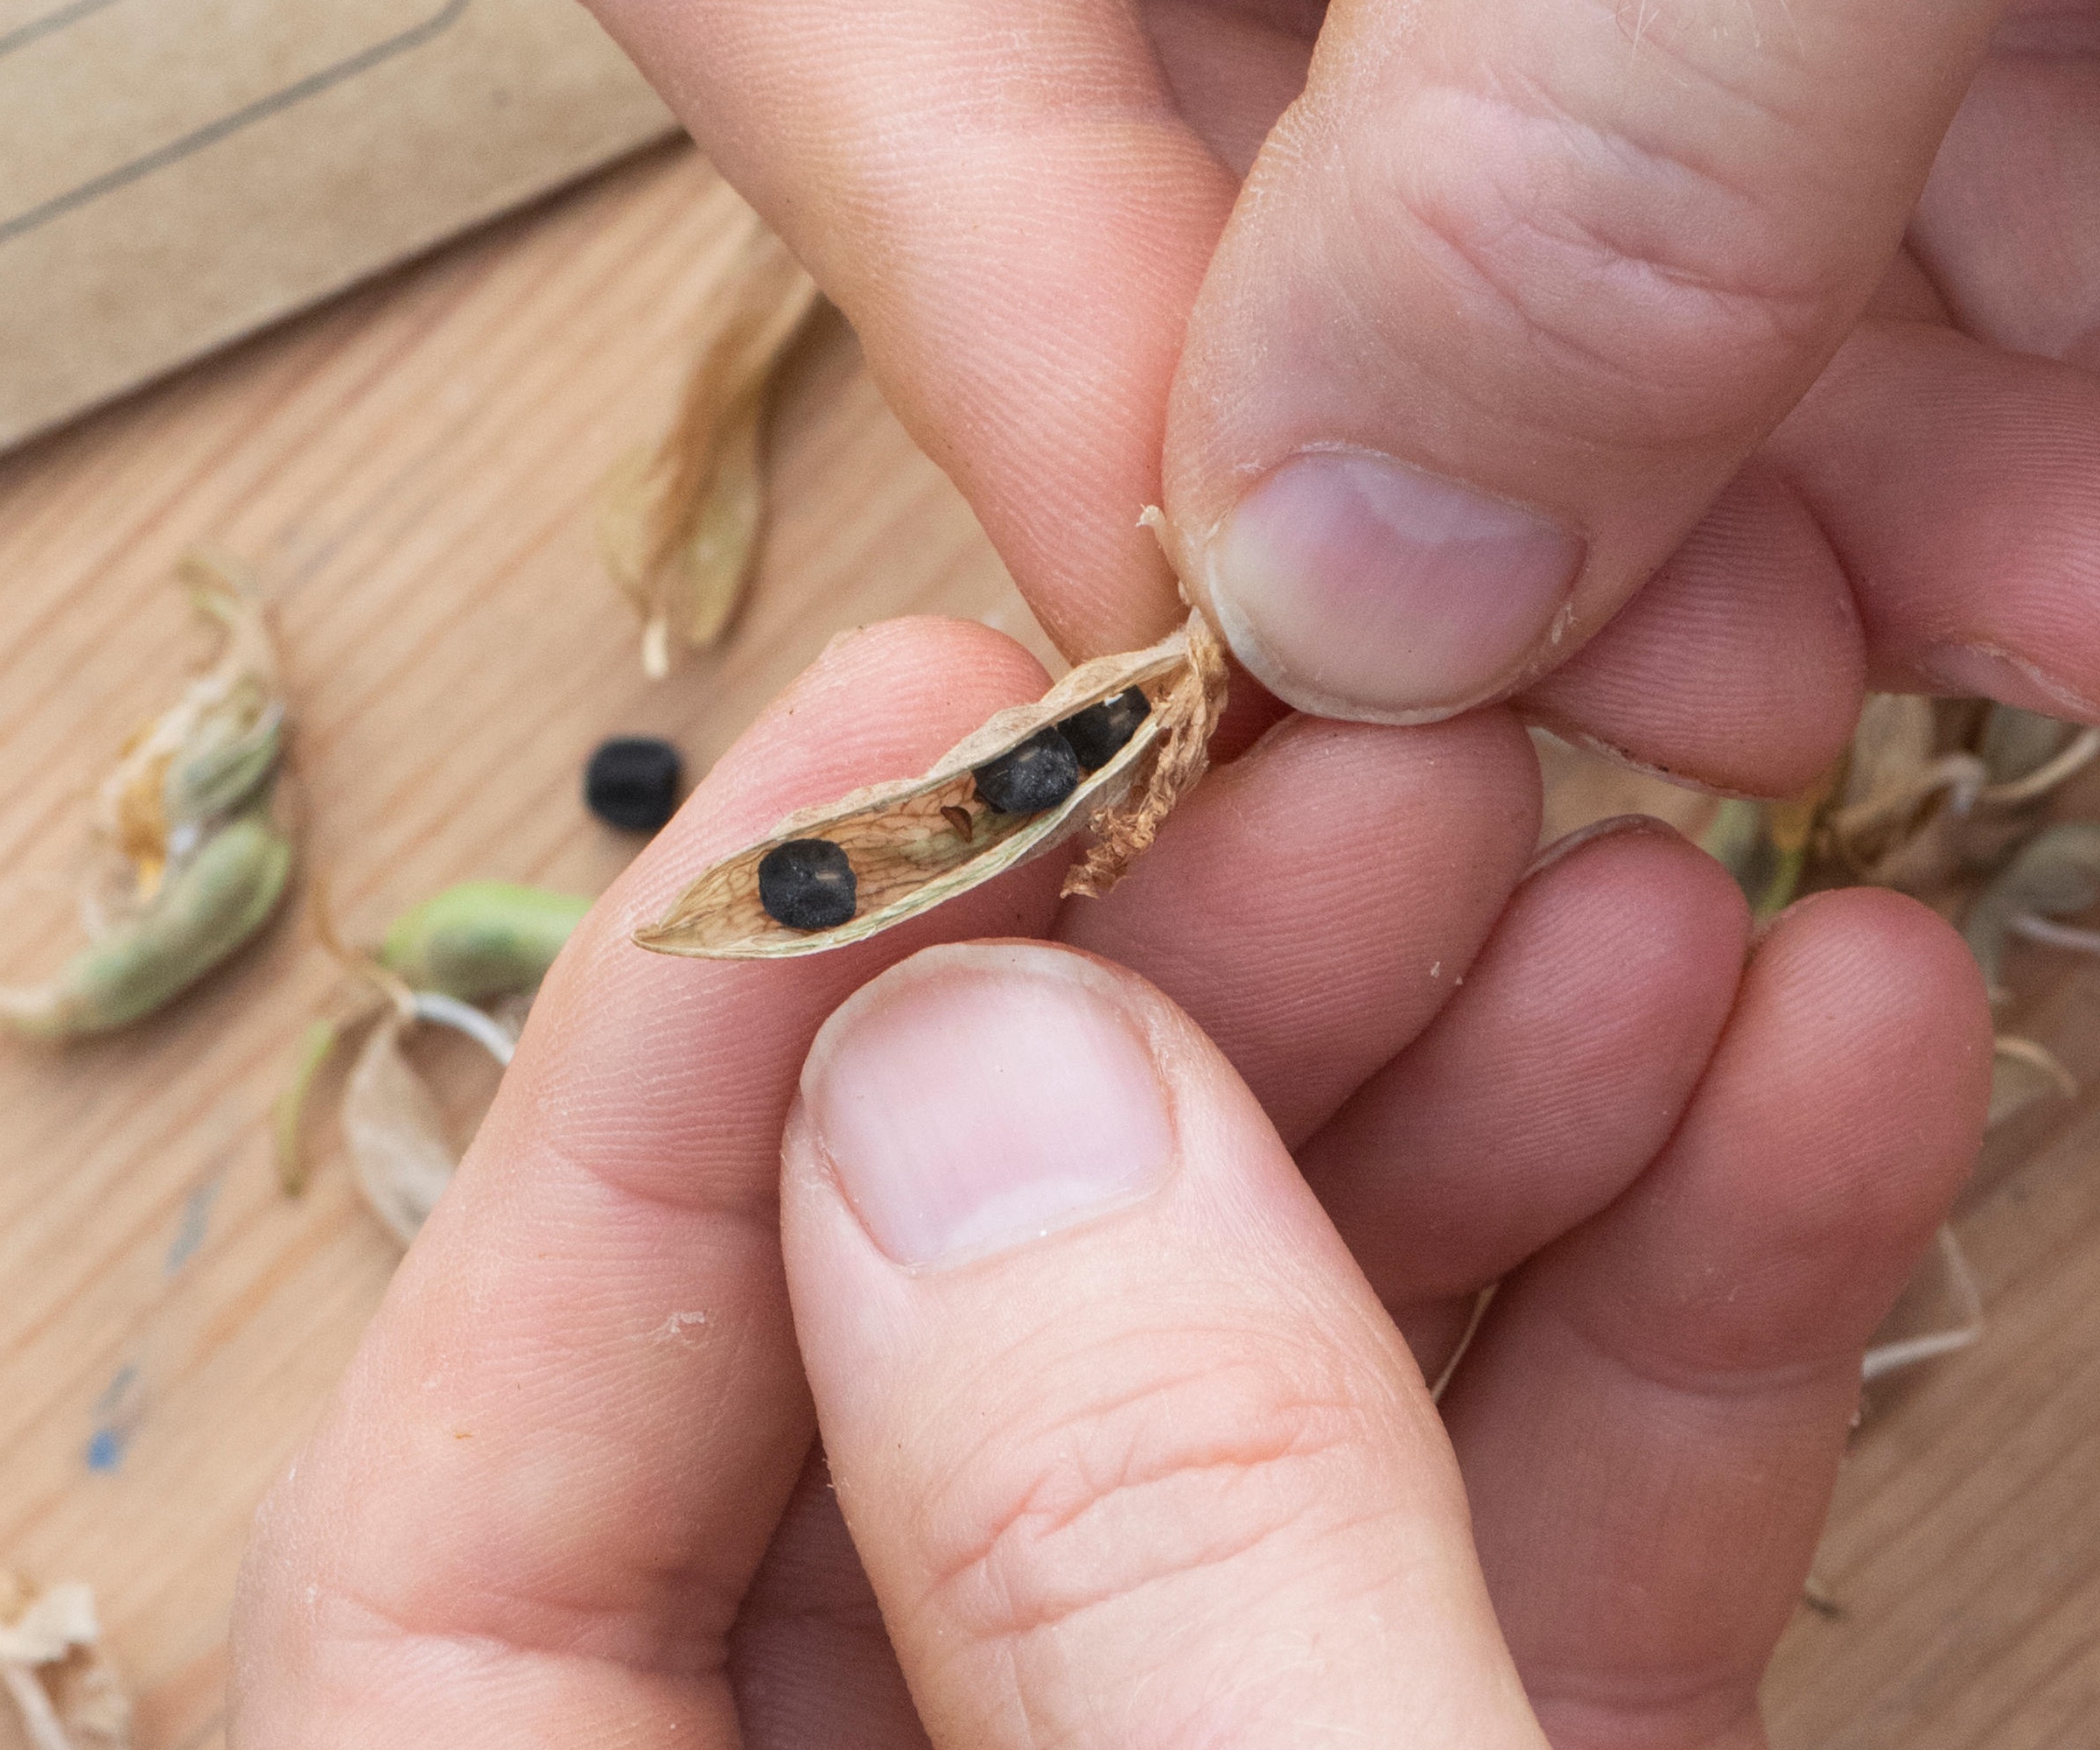
Some very ripe pods will crack open when you handle them or run a thumb nail down their side seam
Place the pods on a rack somewhere dry, for example in a cool cupboard, leaving them for a few days to completely dry out.
As this happens, some of the ripest pods might start to split, so encourage them with a gentle squeeze or by running a thumbnail down the ‘seam’ of the pod. The seeds will easily loosen and scatter, so be careful.
5. Storing your seeds
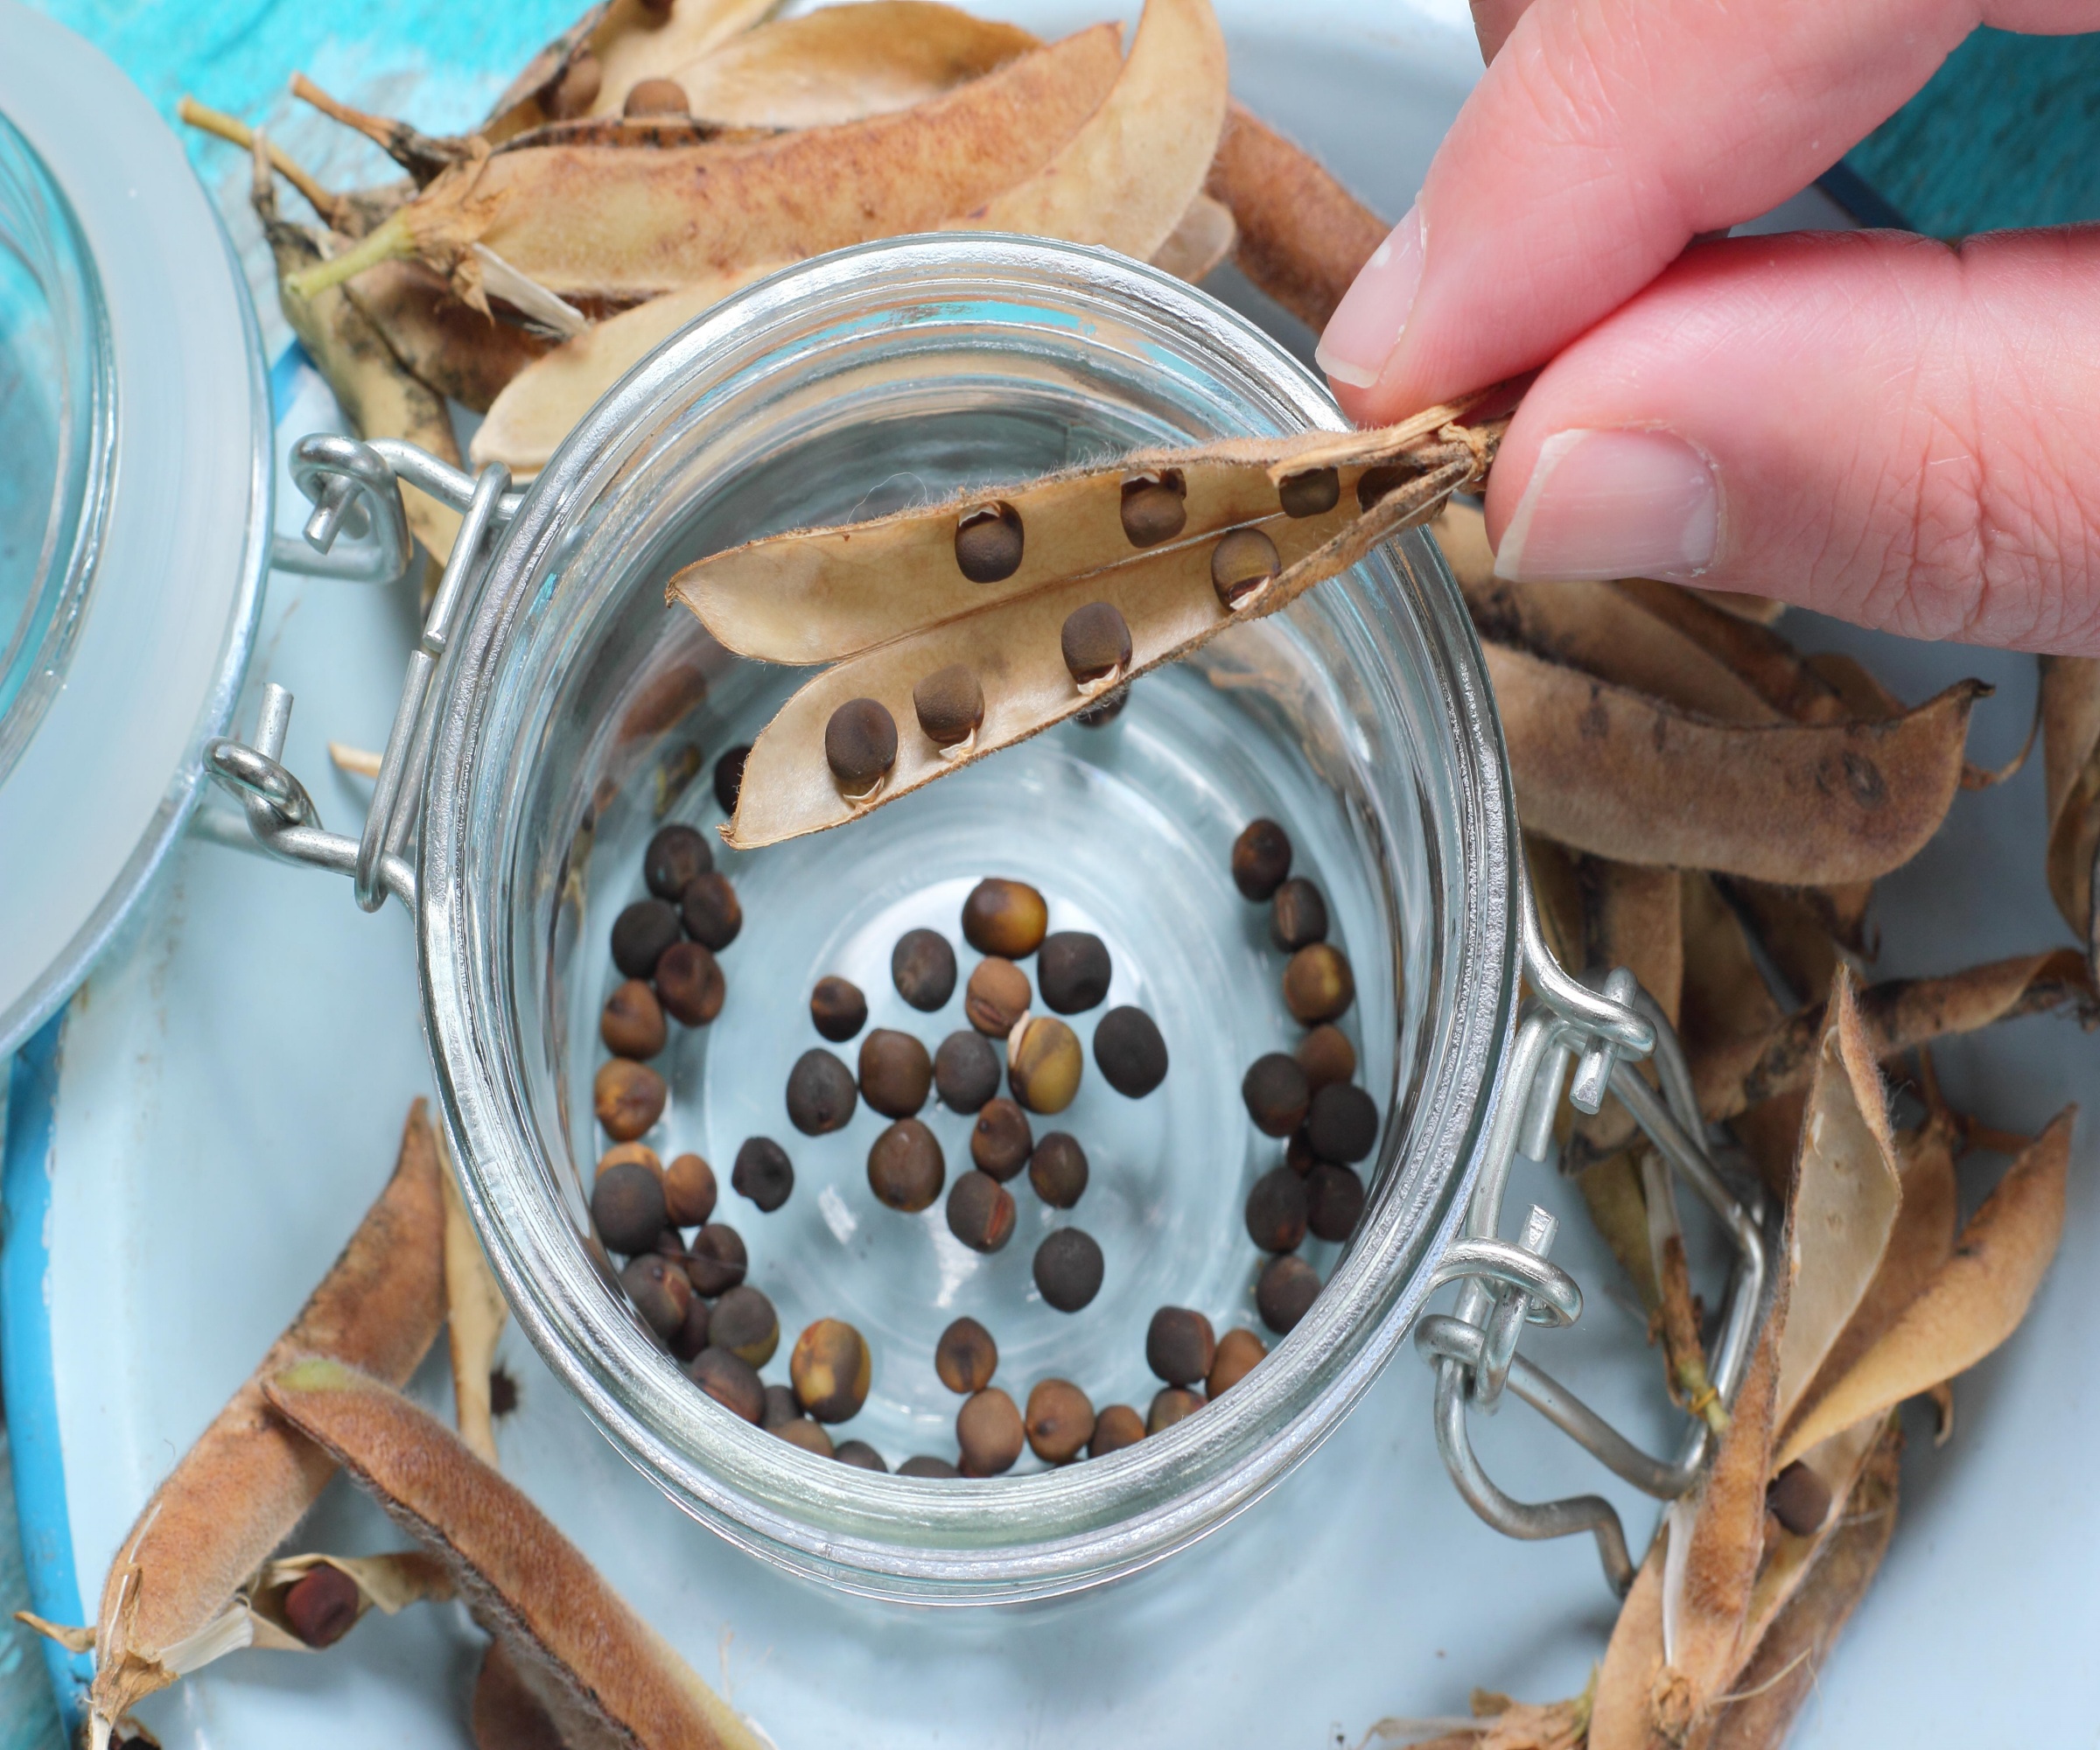
When your sweet pea pods and seeds are fully dry, store them in a labelled jar or clean envelope
Sometimes the drying pods will start to crack open at the seams on their own. Encourage this by running your nail along the seams, and gently press the pods’ contents into a container.
Alternatively, you can place the completely dried pods in a paper bag and squeeze them gently or shake them every day for a few days until all the seeds have been released from their pods.
There are lots of seed storage ideas you can try, but once they are in their clearly labeled container, tin or envelope, make sure you put them somewhere cool, dark and dry until you are ready to sow them.
Why not try these attractive and useful seed envelopes, available from Amazon?
FAQs
How long will sweet pea seeds remain viable?
Seeds can be stored for different lengths of time depending on the variety, but sweet pea seeds should remain viable for two to three years if stored properly.
Remember that only heirloom seeds will reproduce true to type, as seeds from modern cultivars are less stable and may well produce something different - although it could be a beautiful new coloration!
When should I plant my sweet pea seeds?
The gardener's annual seed sowing schedule has two windows for growing sweet peas from seed, in the fall and again in spring.
In the fall, sow your seeds in pots and keep them somewhere frost-free. Pinch them out when they are 4-8in high to create bushier plants that will produce more flowers.
Keeping them shorter also helps protect them against mold and rot in the winter months. In spring you can repeat this process, or sow your sweet peas directly into the soil once it has warmed up.
They will need protection from rodents and birds that see them as a tasty snack.
When you have finished harvesting your sweet pea seeds, cut down and compost the plants.
If they have been growing in the soil instead of pots, you could use the stems and roots as green manure. Leave the roots in place because, like all members of the legume (pea and bean) family, they will fix nitrogen and improve the soil’s health and fertility as they decompose.
Sign up to the Homes & Gardens newsletter
Design expertise in your inbox – from inspiring decorating ideas and beautiful celebrity homes to practical gardening advice and shopping round-ups.

Ruth is a Contributing Editor for Homes & Gardens, and formerly Gardening Editor of Amateur Gardening magazine. She is horticulturally trained, with a qualification from the Royal Horticultural Society. Her work for Amateur Gardening, the world's oldest weekly gardening publication, involved matching gardening tasks with each season, covering everything from sowing and planting, to pruning, taking cuttings, dealing with pests and diseases and keeping houseplants healthy. She is an expert in ornamental plants and edible crops, and everything she writes about and photographs is in her own garden, that has been a work in progress since her family moved there in 2012.
-
 Kris Jenner's 'organic modern' living room champions the most talked-about trend of 2025 – it's the new way to do luxe-minimalism
Simple silhouettes, organic textures, and industrial nuances infuse functional pieces with elegance to create an effortlessly chic and easy-to-live-with living space
By Jennifer Ebert Published
-
 I’m an HVAC technician, and this is when I turn my AC on each year – plus 5 checks I always do beforehand
Save yourself an AC hassle by running my checks and turning it on before big heat hits
By Josh Mitchell Published