How to harvest lupine seeds – for sowing new plants next season
The spire-shaped lupine has an abundance of flowers, producing plenty of seeds to reap in the fall


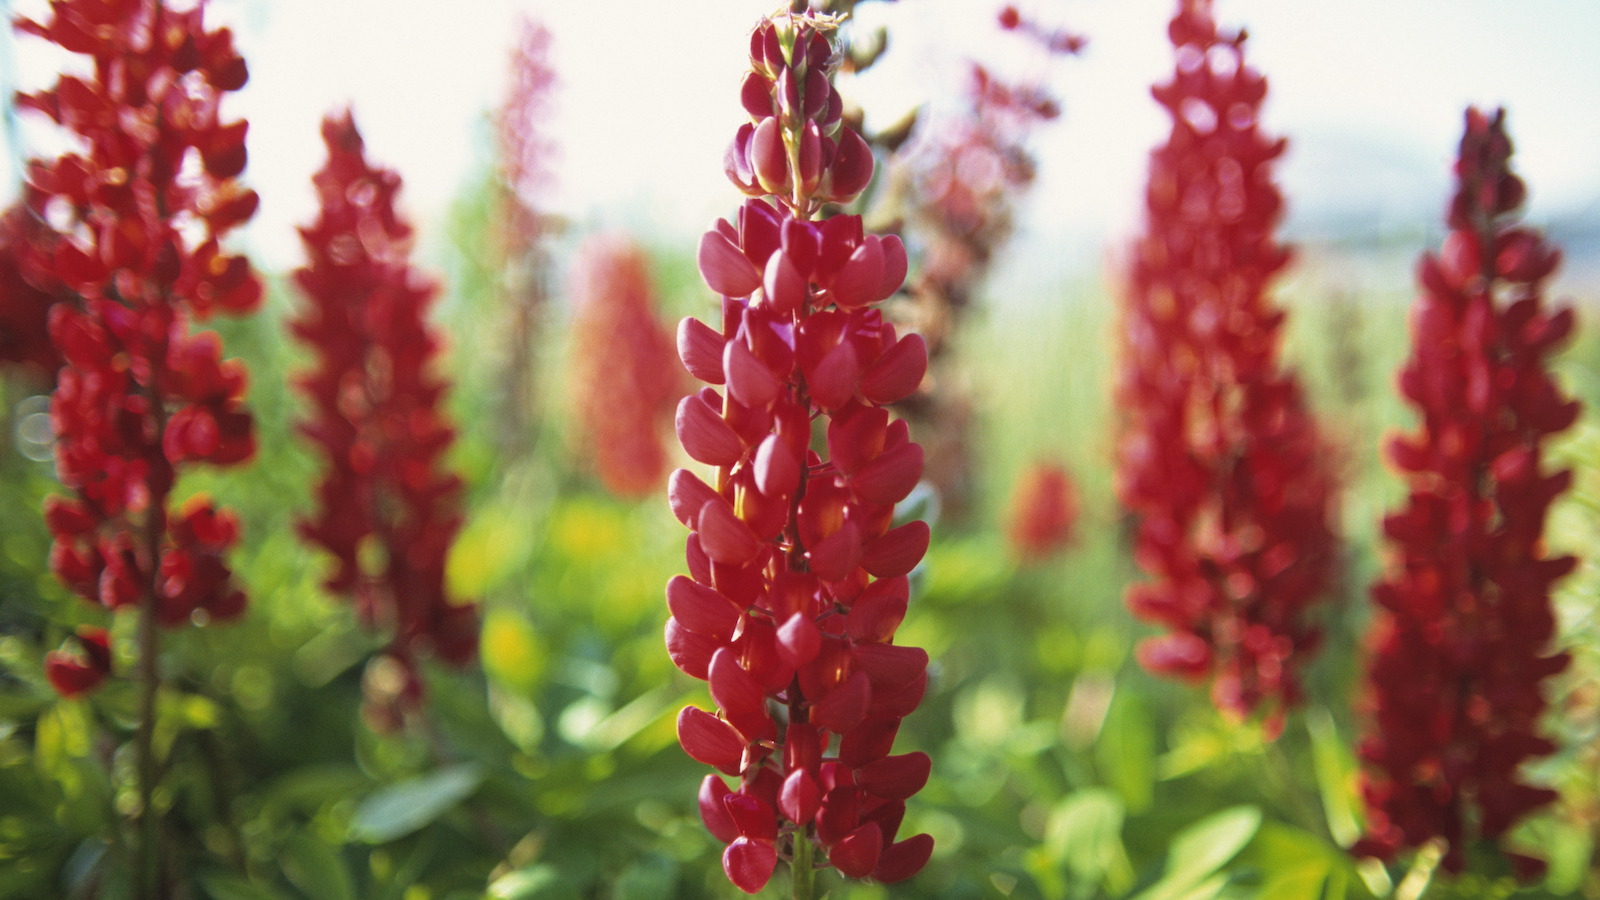
Lupines are the statuesque stalwarts of the cottage-style garden. The tall, vibrant towers bring structure to the flower bed, are beloved by bees and other pollinators, and the perennial varieties offer colorful highpoints year after year.
But there is more to lupines than showy spires in confetti colors; they are legumes (like peas or beans) and they produce vast quantities of seeds.
Harvesting seeds to reuse from your spent plants and flowers is a greener and cheaper way to garden. In the case of lupines, it is perfect for creating a classic display in your other beds, or sharing them with friends who want some of this candy-box charm. We tell you how to do it to ensure you get the best out of this bounty.

Where did lupines originate?
In spite of their close association with English-style gardens, most varieties of lupines are native to American states including Texas, Florida and Minnesota. Being quick-growing, low-maintenance and self-seeding they rapidly spread in popularity.
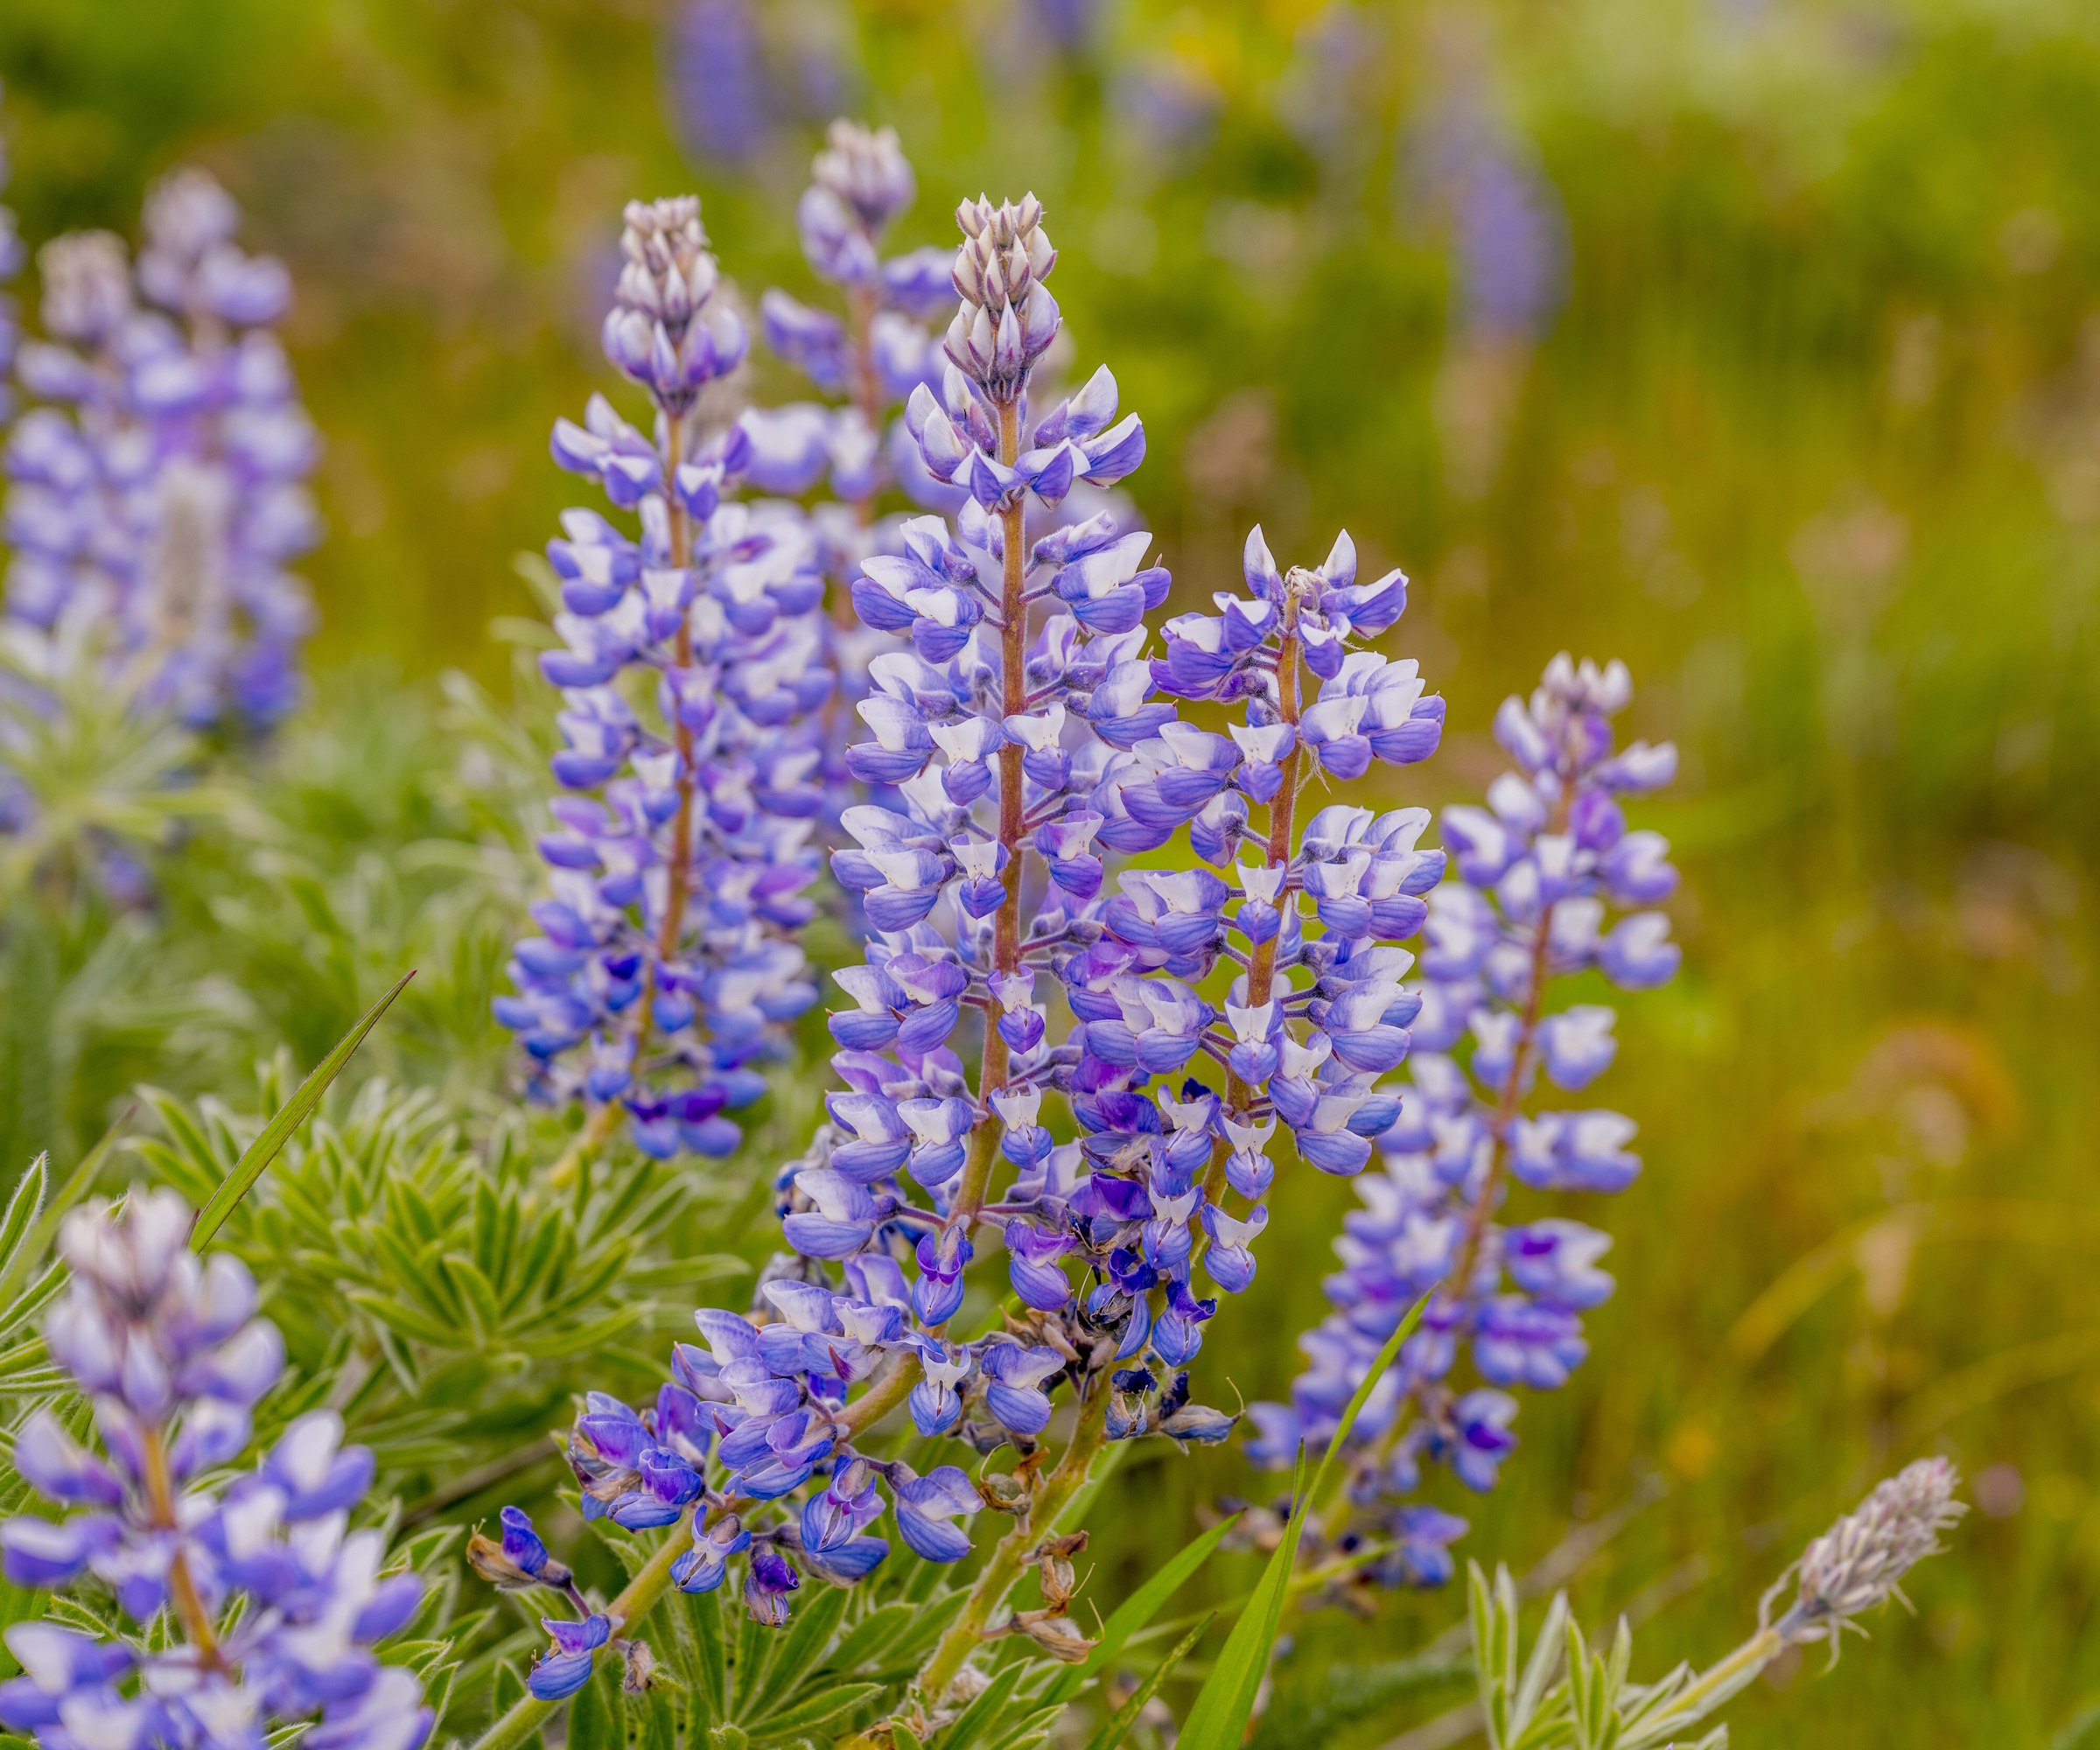
Lupines like cooler northern climates but thrive in positions where they get full sun and are in well-draining, slightly acidic soil. They come in a range of shades, but in Texas the state flower is the bluebonnet (Lupinus texensis), which is an annual lupine that covers fields in a sky-colored carpet.
How to harvest lupine seeds

Lupines bloom for around three months from spring to mid-summer, though you can deadhead to encourage a second flowering.
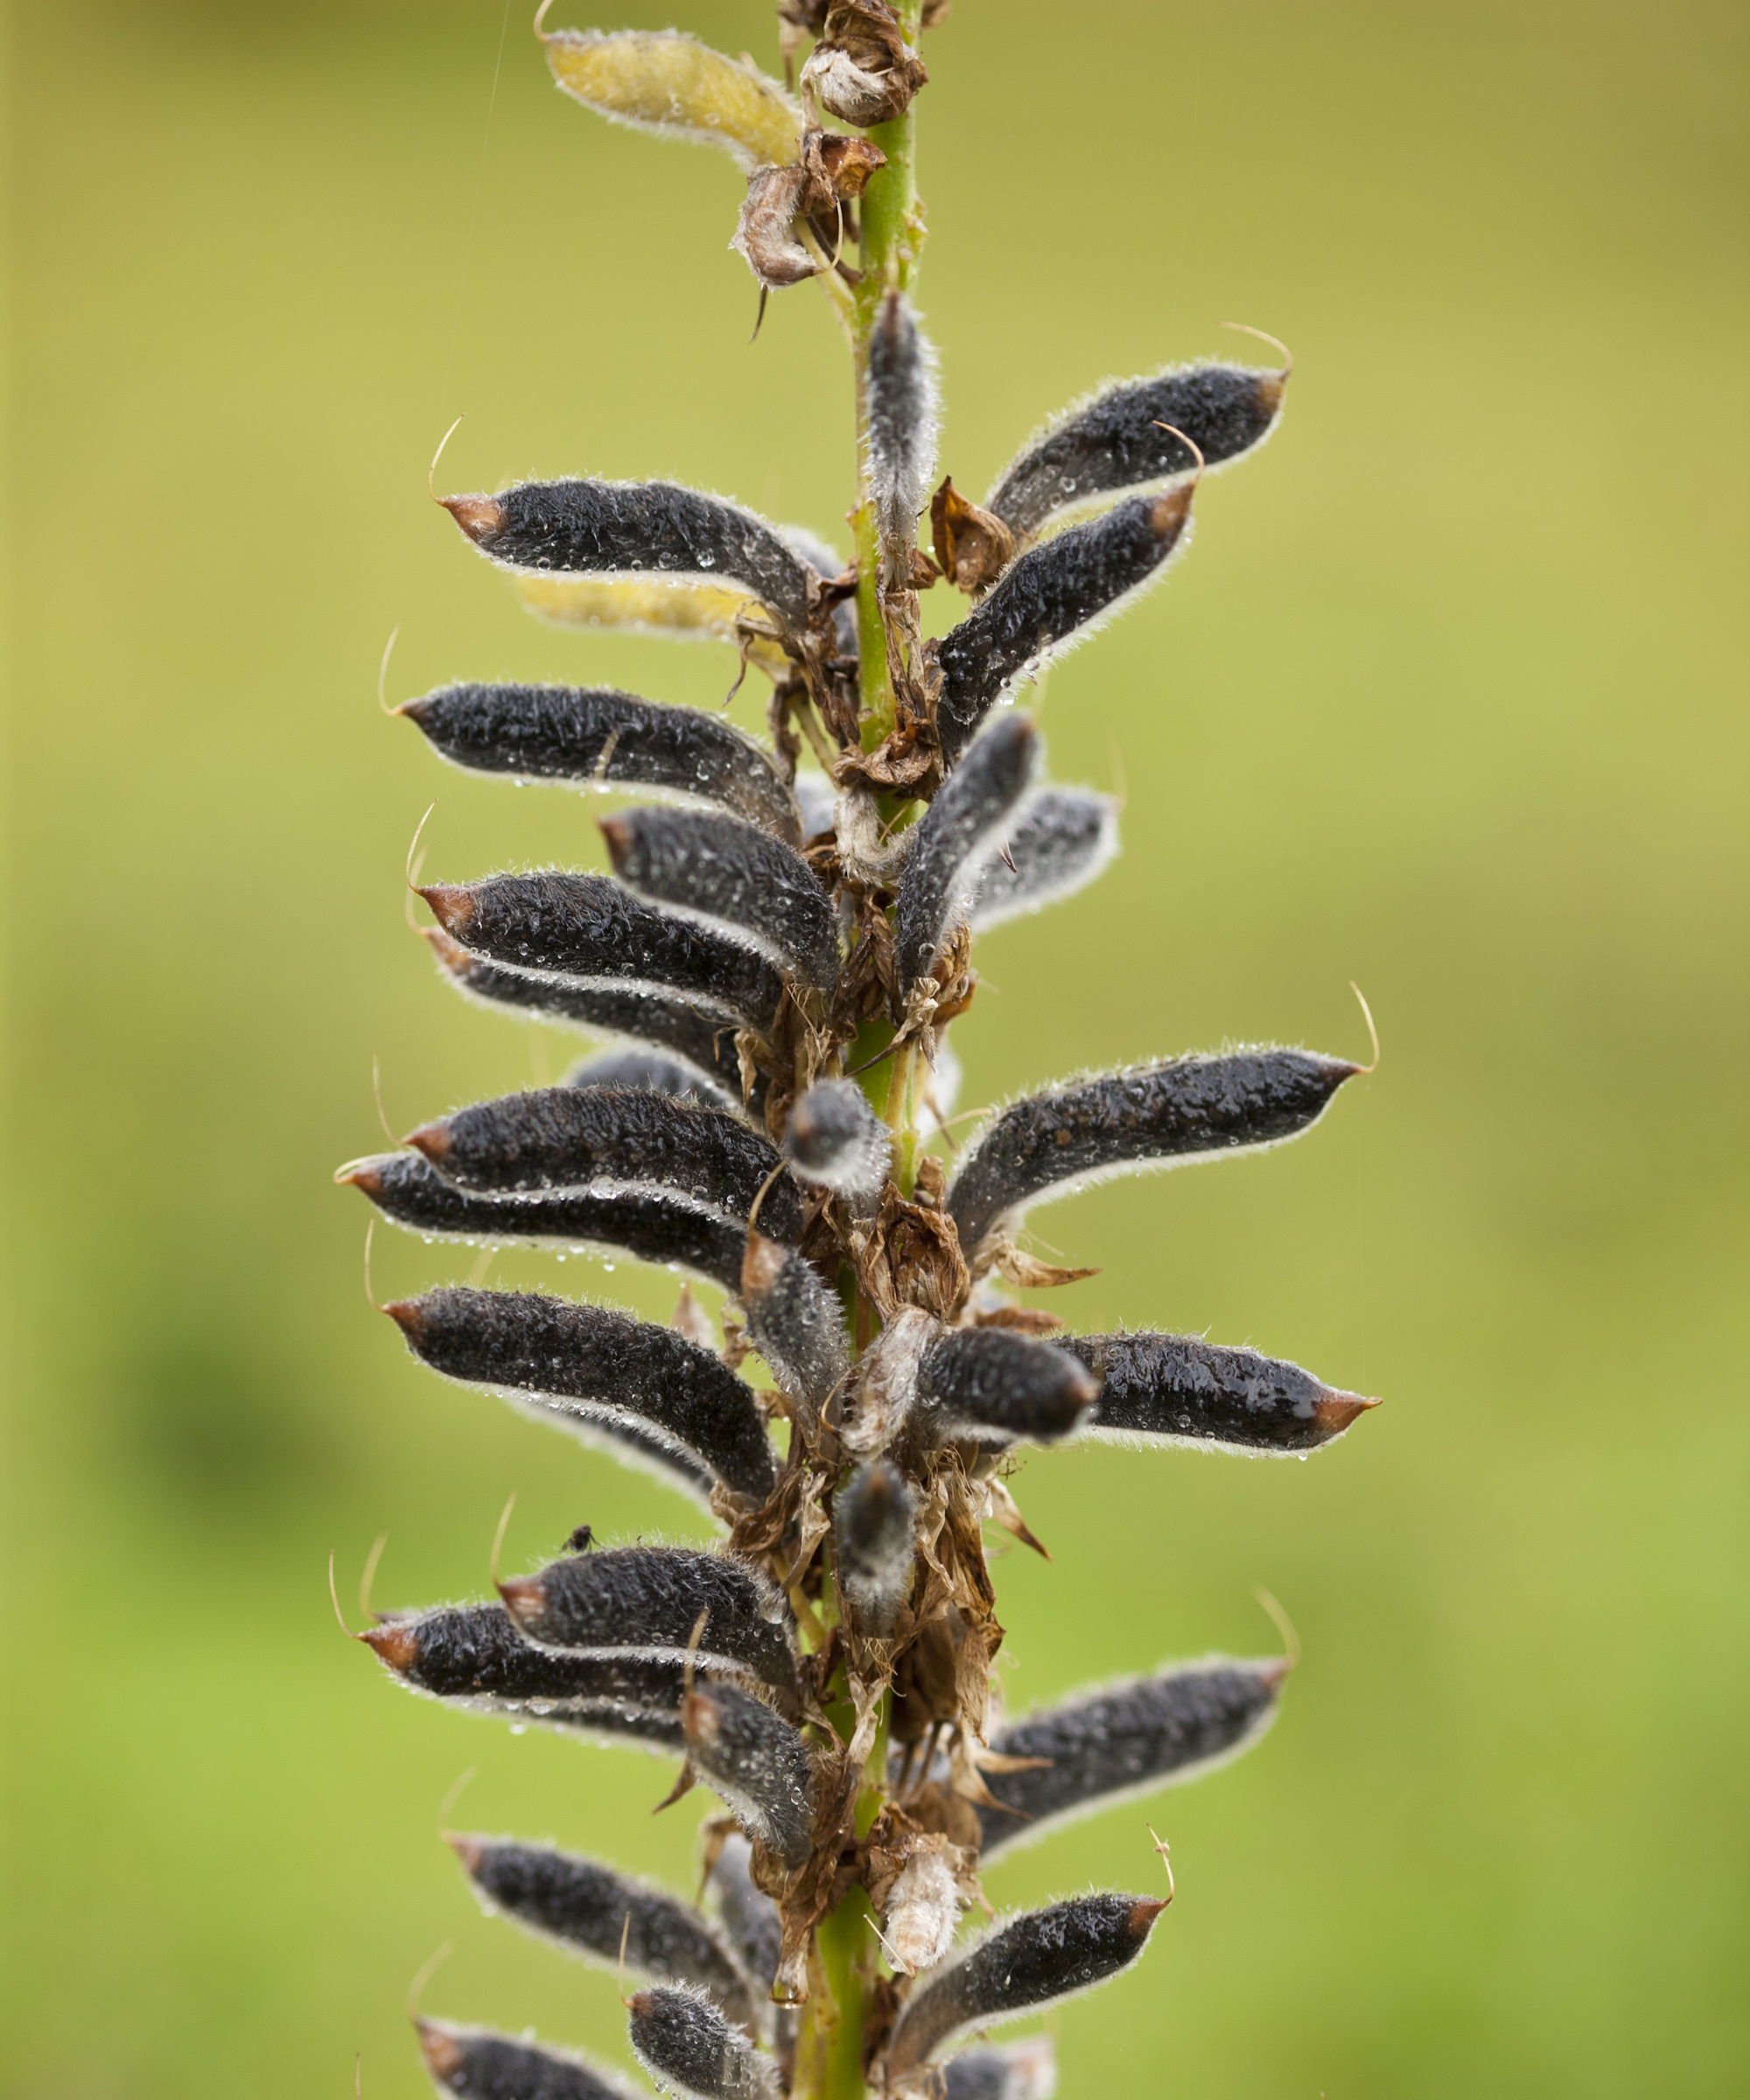
To harvest the seeds, leave the fading flowerheads on the stems to form the pods that will be packed with seeds.
‘When the pods turn brown and dry, that's your sign the seeds are fully mature and ready to harvest,’ says Evan Torchio, a trained arboriculturist. ‘You can even try picking a few green pods early and letting them dry indoors by a window or under a grow light. Whichever method you choose, make sure the final seeds are a deep black or dark color – light-colored ones likely won't sprout.’
Design expertise in your inbox – from inspiring decorating ideas and beautiful celebrity homes to practical gardening advice and shopping round-ups.
You want to make sure that you pick pods that haven’t split open and already released the seeds. Give them a quick shake and you should hear them still rattling inside.

Evan grew up with a love for being outside and working with nature. He studied forestry at the University of Toronto and is the founder and CEO of Tree Menders.
Collecting and storing the seeds

You can open the pods with a thumbnail or small-bladed knife such as this Fiskars harvesting knife from Amazon and lightly brush out the seeds. There can be up to a dozen in there, and with up to 40 pods on a stalk, you'll end up with plenty for your needs and to give to your friends and neighbors.
The lupine plants themselves should be cut back down to the ground, but leave the roots in place as they have rhizomes attached to them that are packed with nitrogen. These are great way to enrich your soil as bacteria will break these rhizomes down, releasing the nitrogen into it.
Once you have collected your seeds, you need to recreate the seasons that they would normally experience outside.
‘If you harvested the seeds directly from the plant in fall, they need a cold spell to mimic winter before they'll germinate well. This is called stratification,’ says Evan.
‘Keep them in the fridge or a cool, dry garage over winter. Then, come spring, you can plant them directly in your garden.’
You could put the seeds in little bags labelled with their color and the date when you harvested them. Stored in an airtight container, they will keep for up to three years.
FAQs
Can you harvest lupine seeds for eating?
Lupin seeds contain bitter-tasting alkaloids that are toxic to both humans and animals. We do not recommend harvesting these seeds for eating, however, so-called sweet lupins are special cultivars that contain little to no trace of these alkaloids. They need to be properly processed and prepared before they can be used as an alternative to soybeans.
If you enjoy collecting and growing a range of seeds in your vegetable beds and flower borders, you might be interested to read about DIY seed tray alternatives, for a greener approach to your gardening.

Alison is a contributing gardens writer for Homes & Gardens, writing on a range of topics from plant care to garden design. She has recently landscaped the outside space of her Victorian home, replacing crazy paving and cracked slabs with new lawn, and is currently cultivating a fruit bed.