How to harvest grapes in 6 simple steps – expert tips for successful picking and storage
Discover the tools and technique you need to know to harvest grapes
Whether you use your homegrown harvests to make wine, juice, jams, or jellies, or use them in desserts, it is important to pick grapes carefully to avoid damaging the delicate fruits and ruining any potential yield.
To grow grapes at home you need a warm climate and, due to their need for heat, grapes are either grown outdoors in warmer US hardiness zones or indoors as part of greenhouse ideas. I grew several grape vines indoors in the UK, where the fruits were harvested each summer for juice and desserts.
I hear from experts in grape growing and harvesting to talk about how to harvest grapes by hand. This guide also looks at the best tools to use and how to store your homegrown grapes successfully.
Knowing how to harvest grapes ensures they are picked safely
How to harvest grapes by hand - 6 steps to follow
Grapes can be harvested by hand or by machine. Mechanical harvesting of grapes is common in large vineyards, while smaller operations and home growers can easily harvest grapes by hand.
There are benefits to harvesting by hand, as Ian Bearup, head winemaker at Millbrook Vineyards & Winery, where they do all their grape picking by hand, claims: ‘Hand harvesting ensures gentle handling of the fruit and minimizes oxidation of the juice before it hits our presses.’
1. Check the ripeness
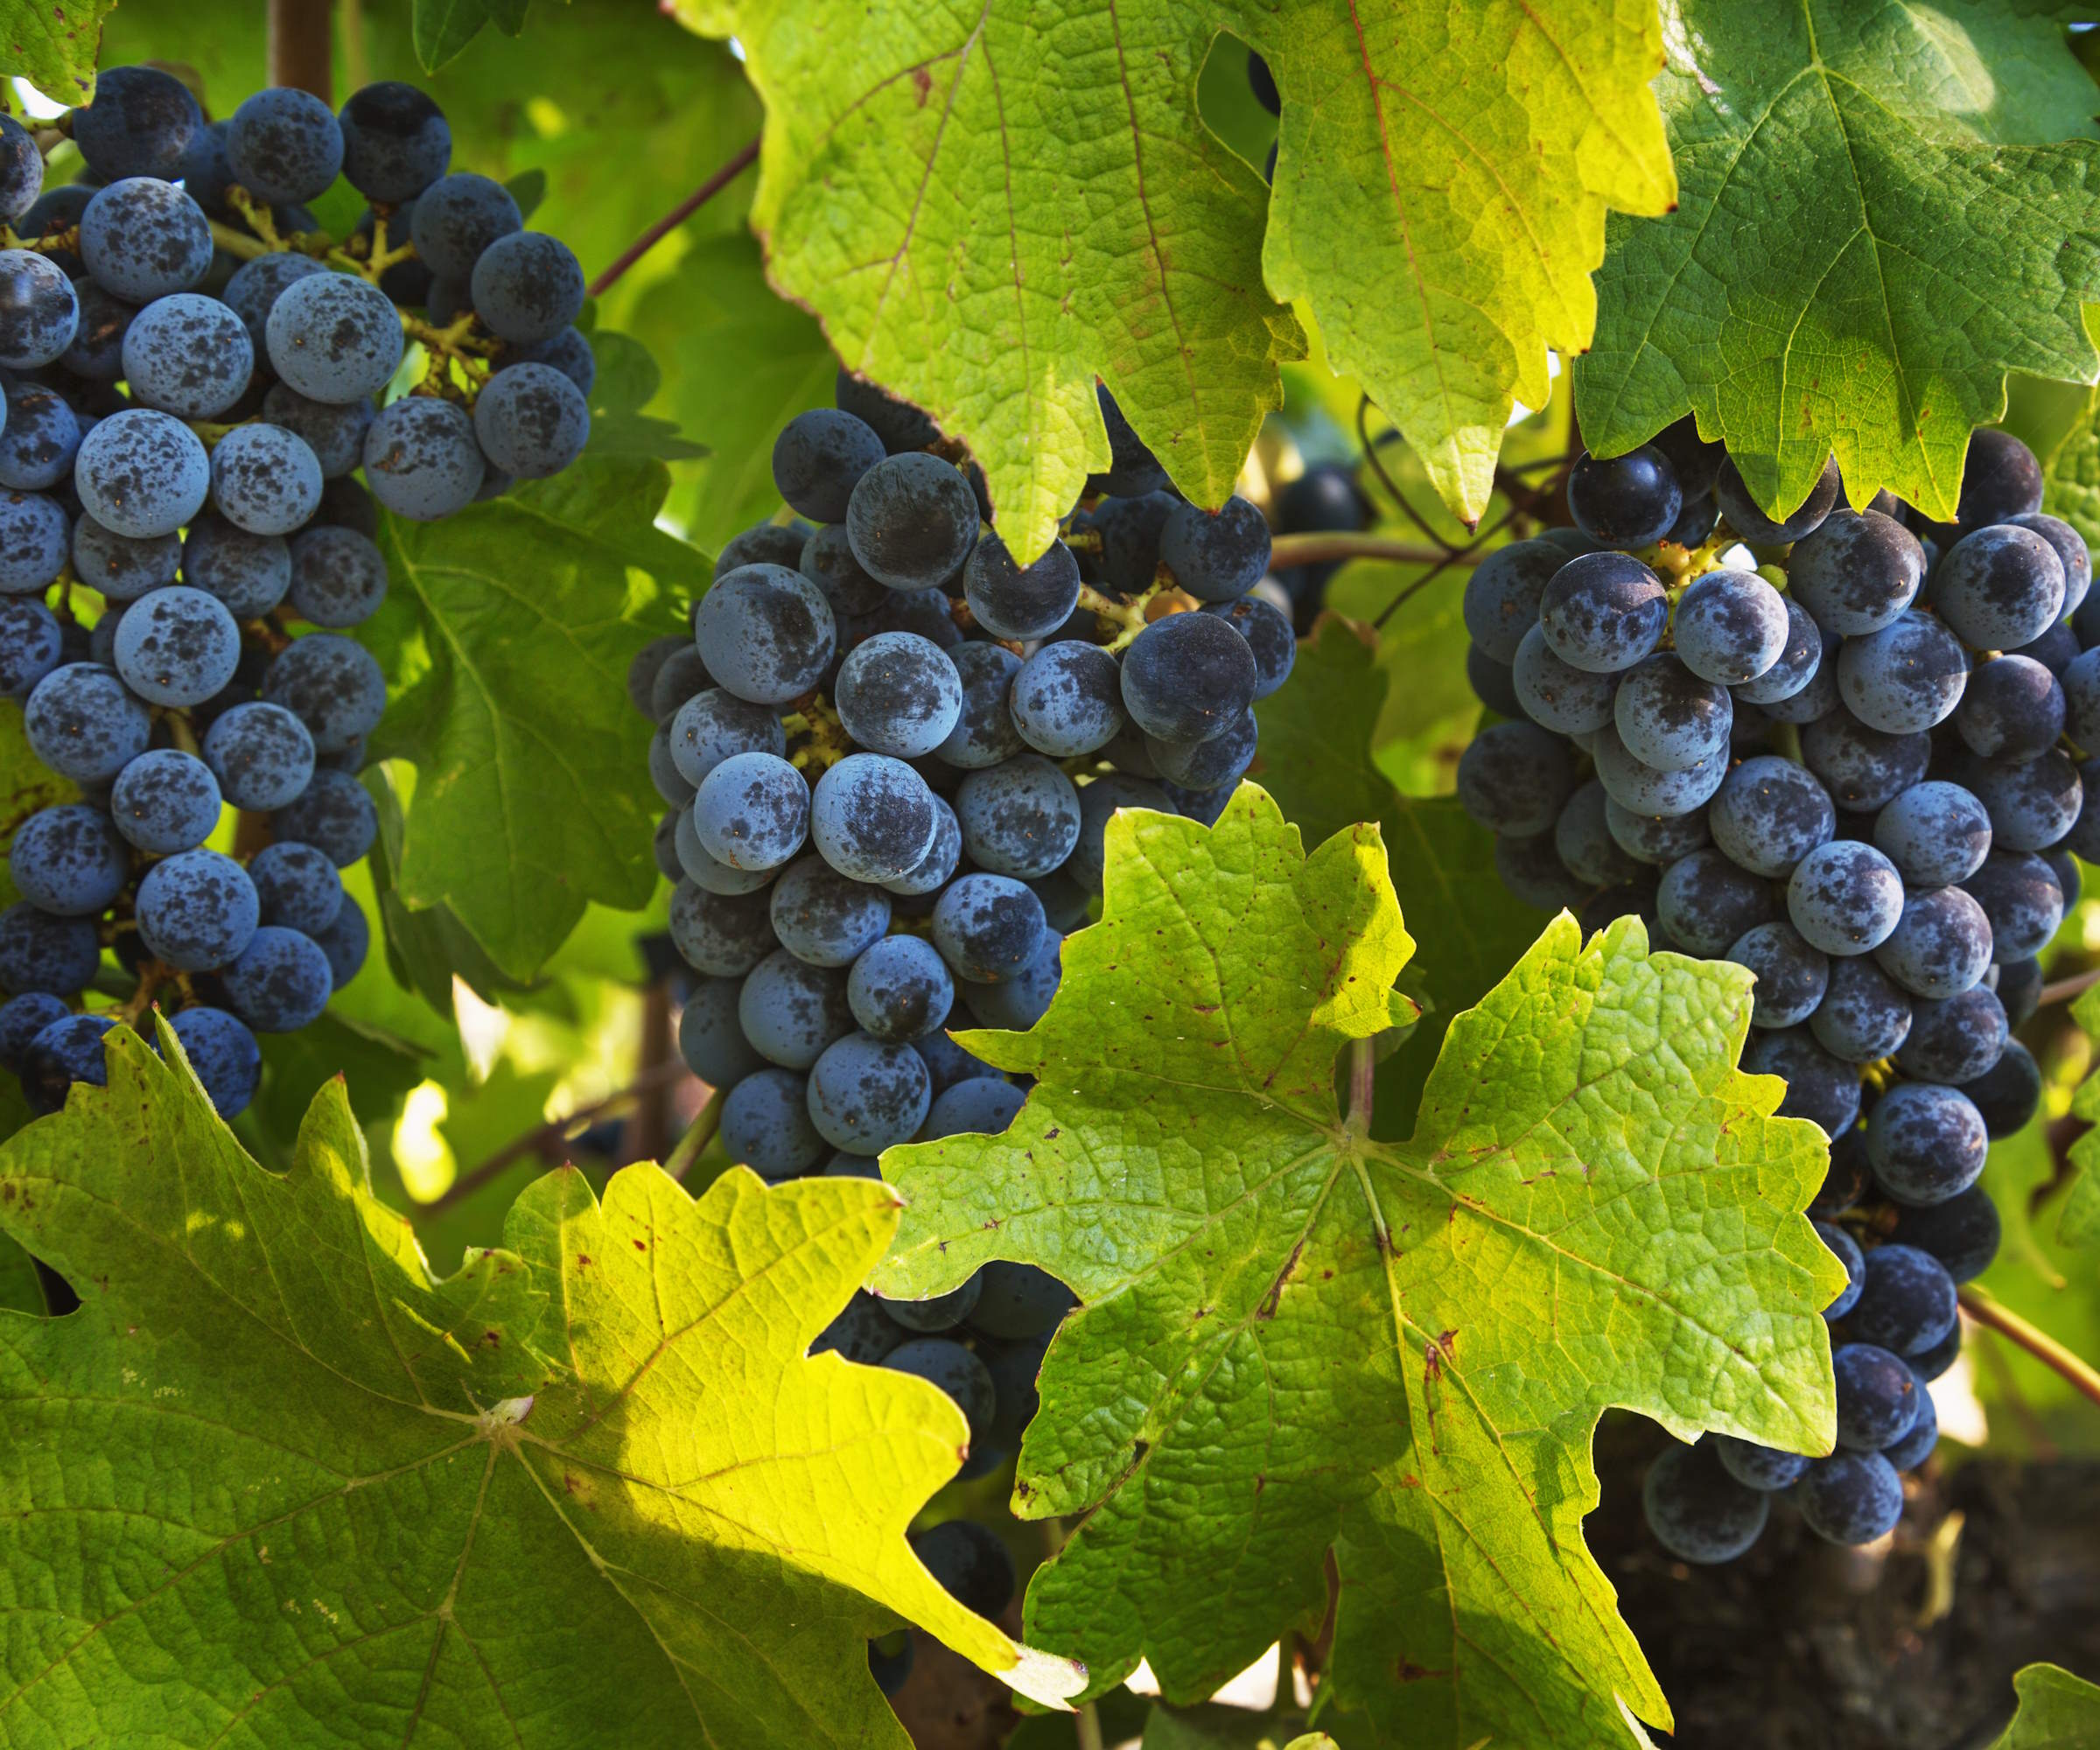
Grapes are harvested from late summer into fall
Judging when to harvest grapes can be tricky as the ideal moment can vary yearly. Grapes ripen in late summer to late fall and the color and taste of the grapes are the best indicators of when it is the right time to harvest - beware of picking too early as grapes will not continue to ripen off the vine. Ripe grapes ready to harvest will be soft, juicy, and sweet.
2. Gather your equipment
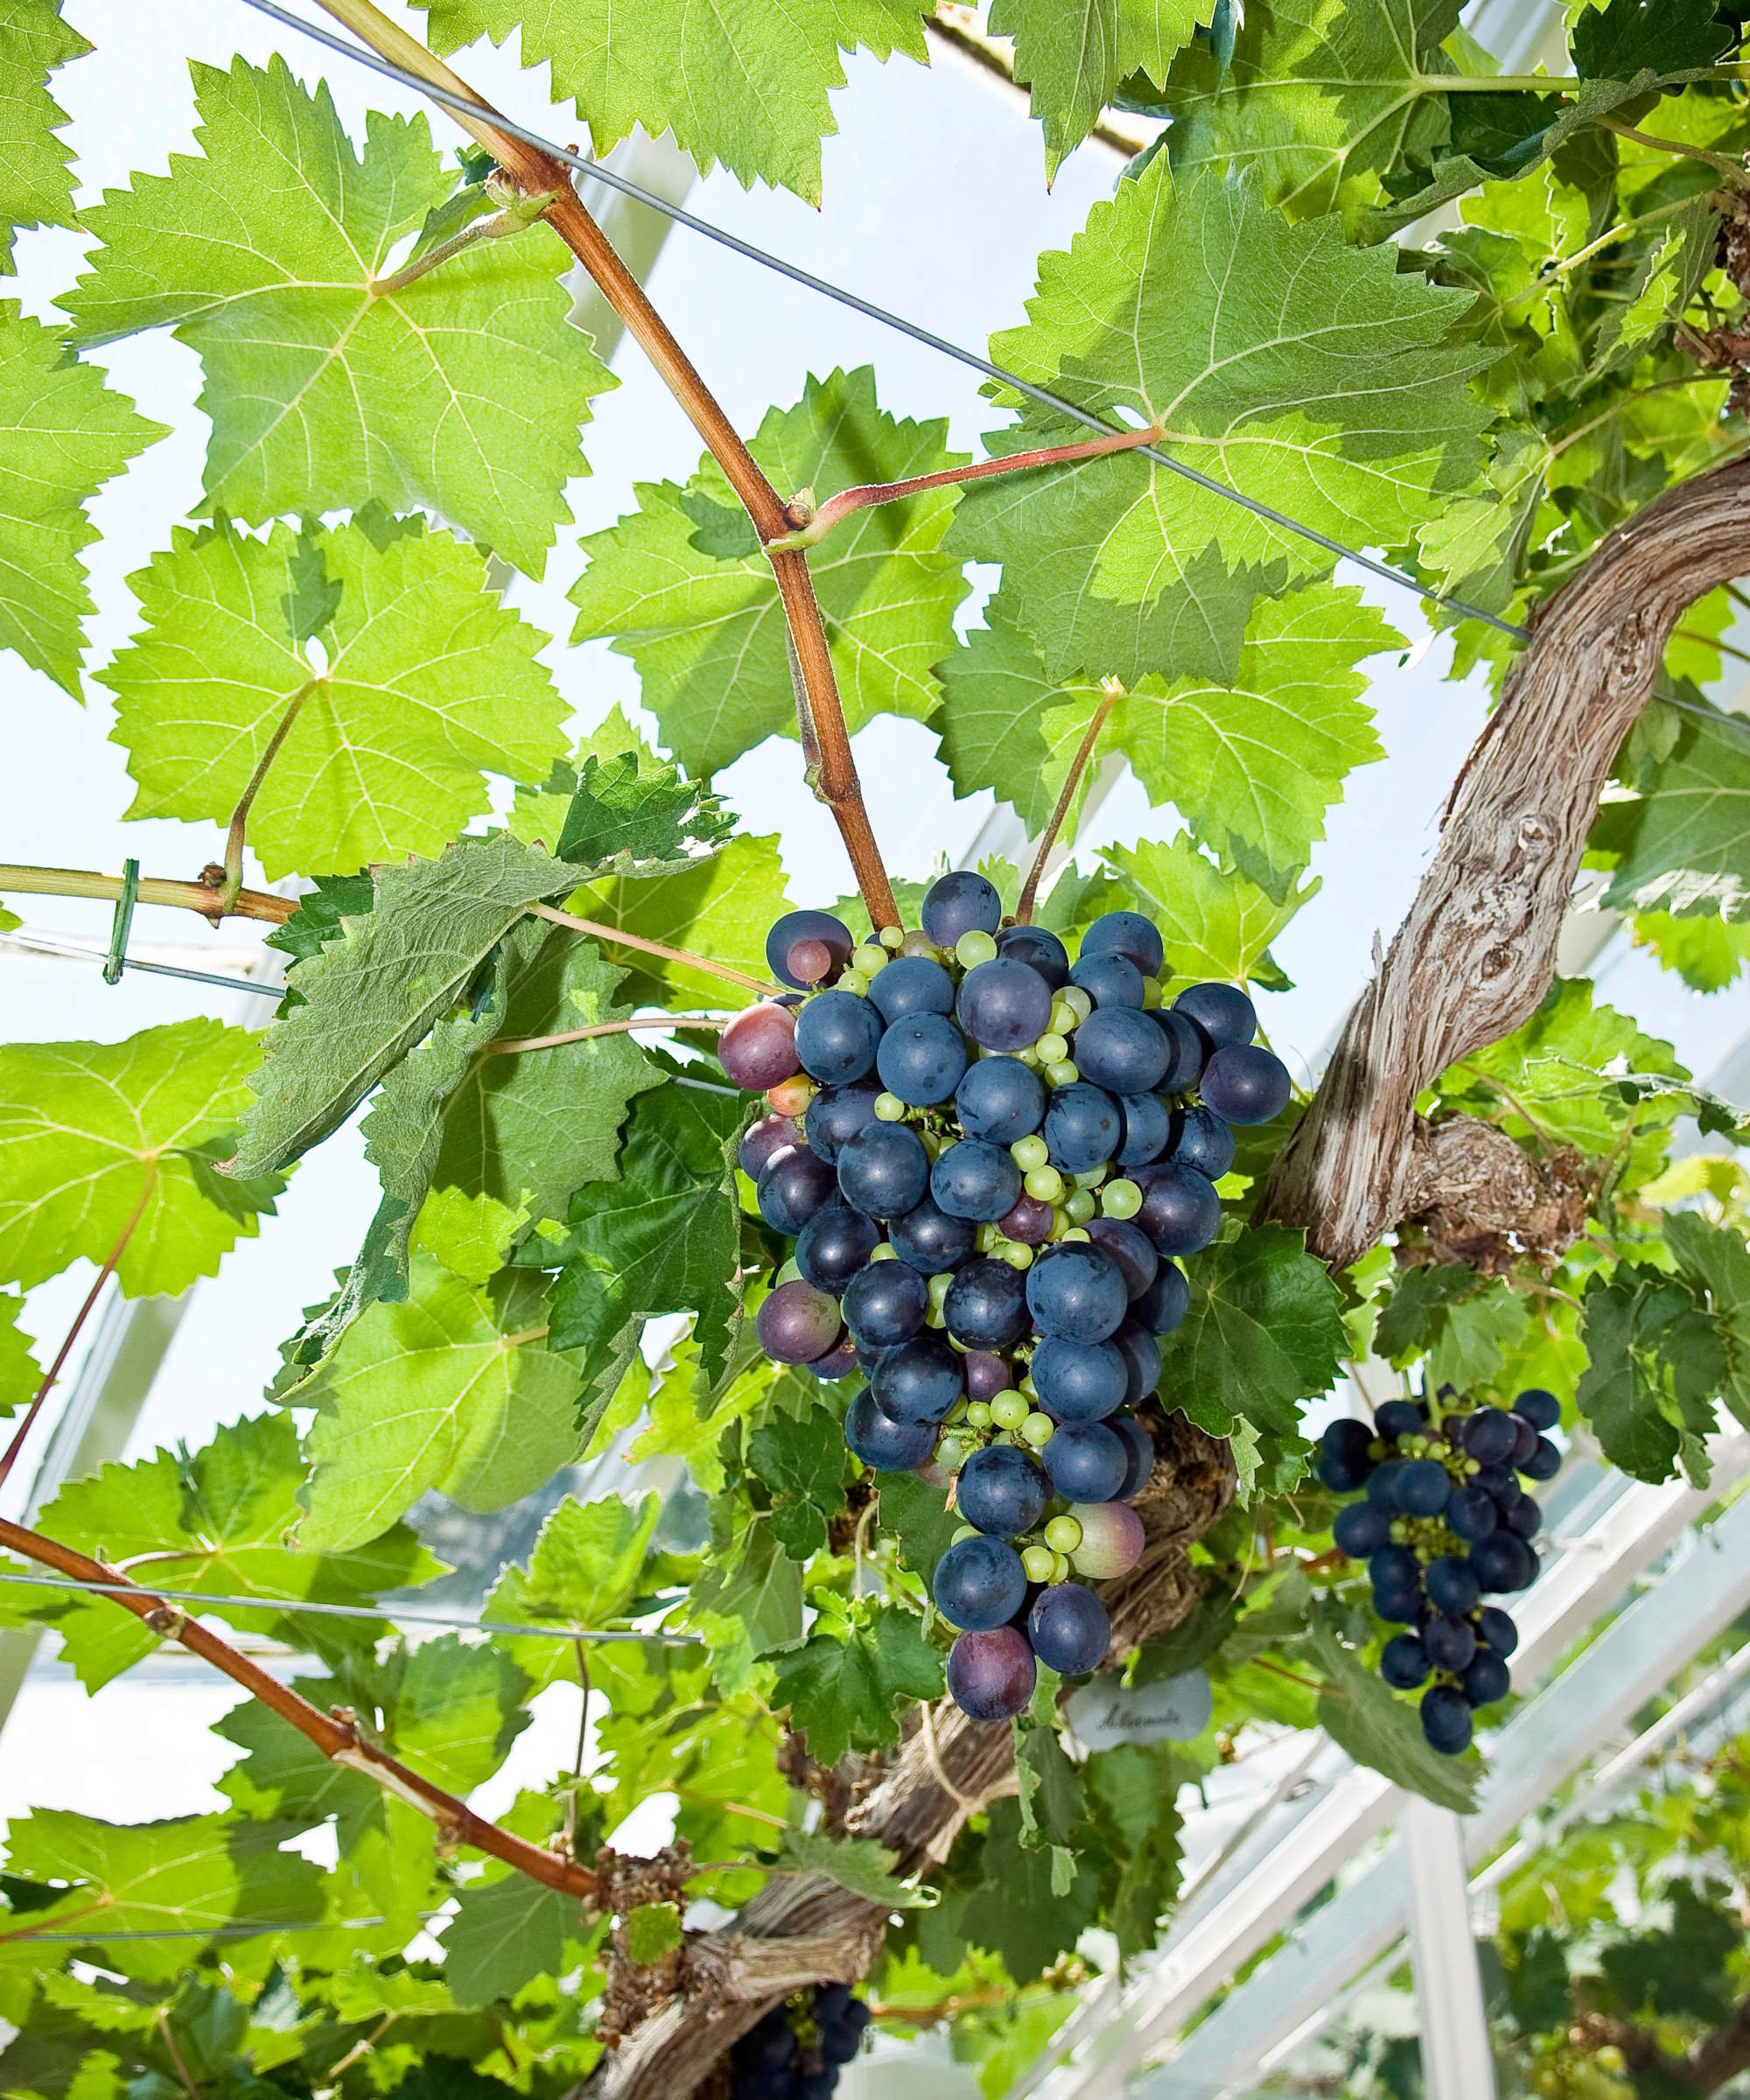
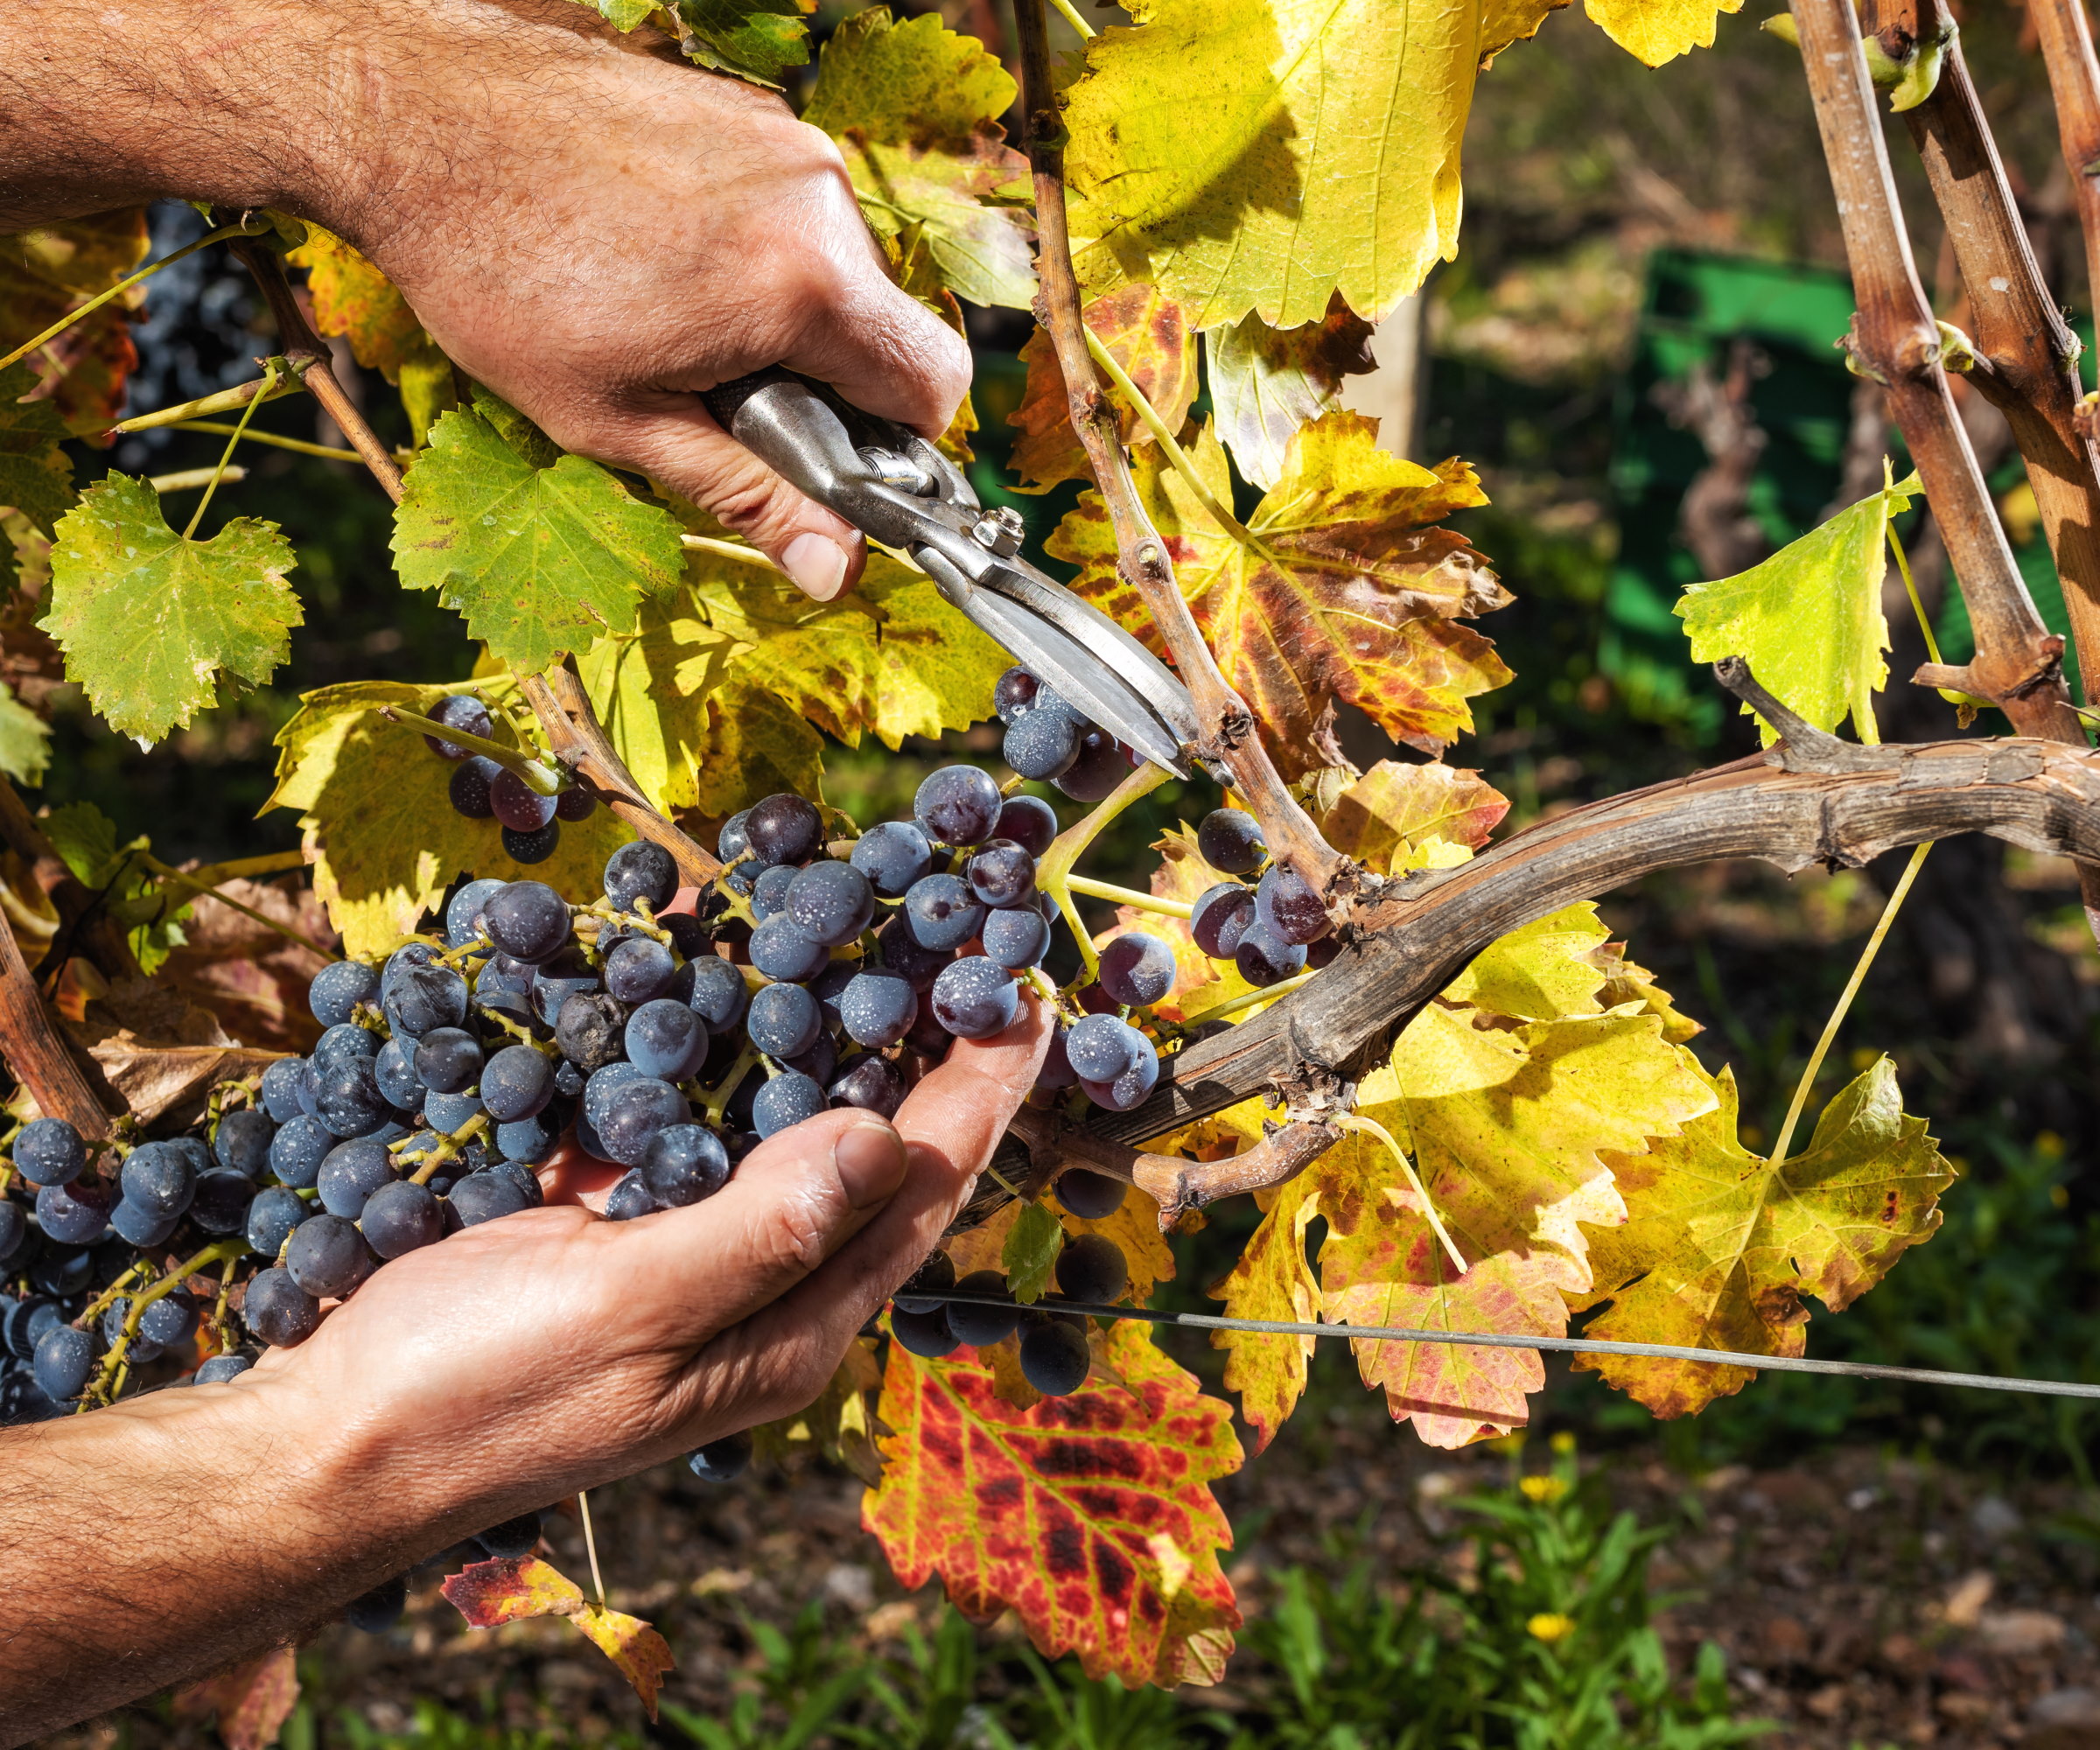
Harvesting grapes involves carefully snipping the cluster from the vine
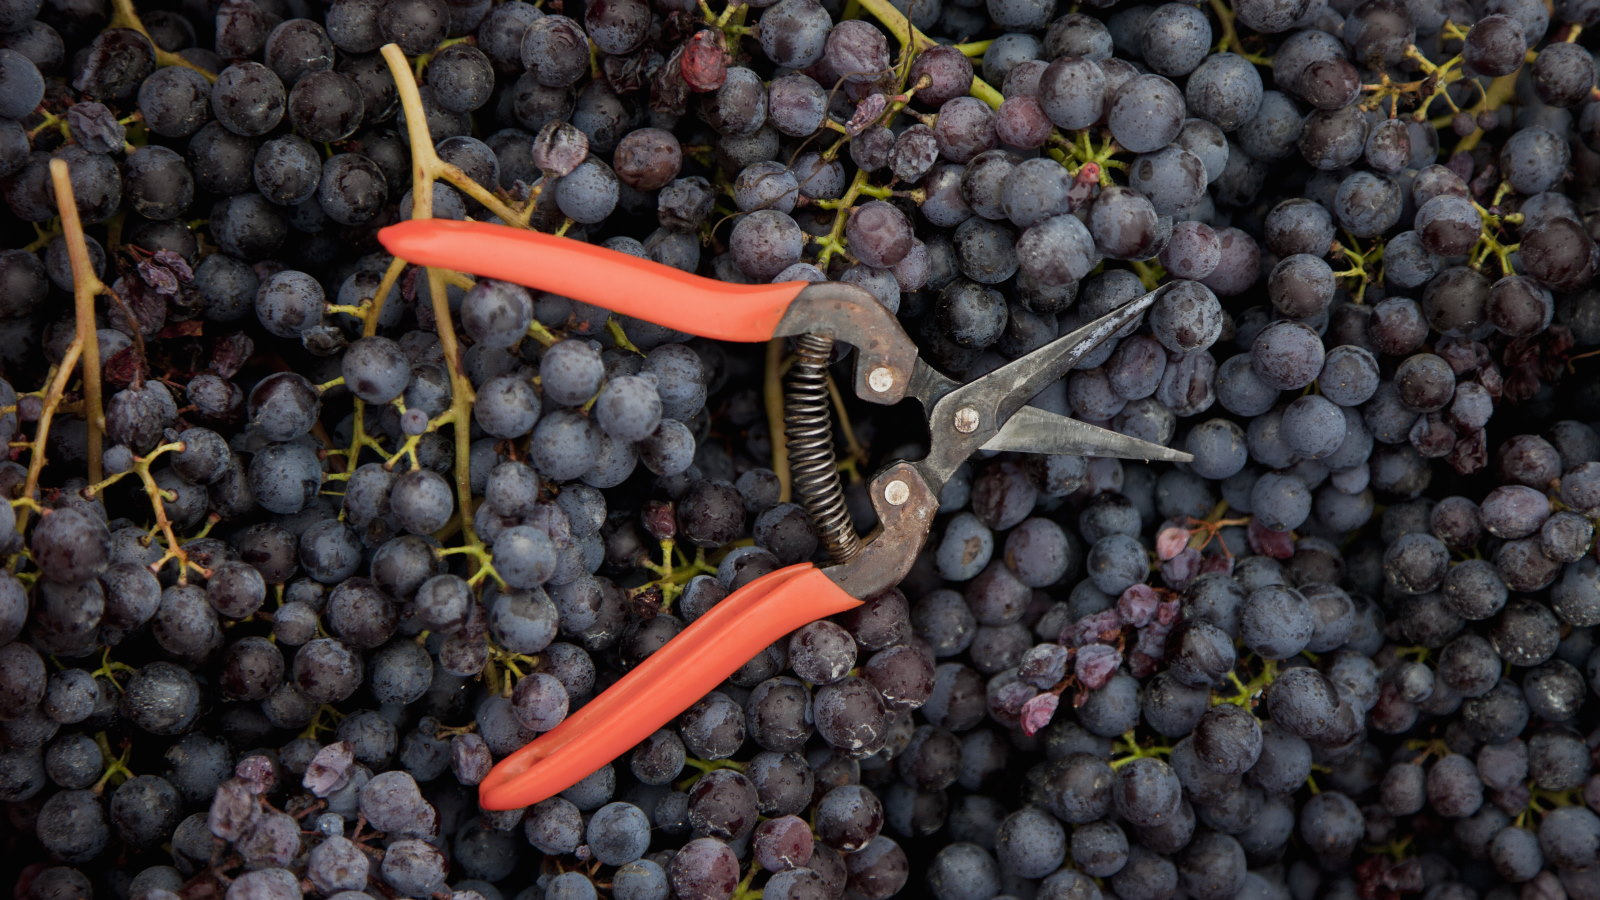
The best garden tools for harvesting grapes will be garden snips with a straight blade. Such tools with narrow tips - often called gardening snips or needle-nose pruners - allow you to get the blades right into the cluster to cut it from the vine without damaging the fruits.
An alternative, recommended by Craig Hosbach, head winemaker at Fox Run Vineyards, is to use ‘garden scissors’. He says: ‘Garden scissors with stainless steel blades are designed for harvesting fruit such as grapes.’ Craig also recommends wearing gardening gloves as ‘an extra layer of protection to avoid clipping your fingers’ when harvesting grapes.
A grape razor harvest tool, available at Amazon, is a final potential garden tool for harvesting grapes. It has a specially designed adjustable head featuring two blades to snip the cluster from the vine without any risk of cutting your fingers.
Ensure that any garden tools are clean and all cutting tools sharp. Other potential equipment that may be required come harvest day include a set of ladders and buckets or crates to carefully collect the grapes into.
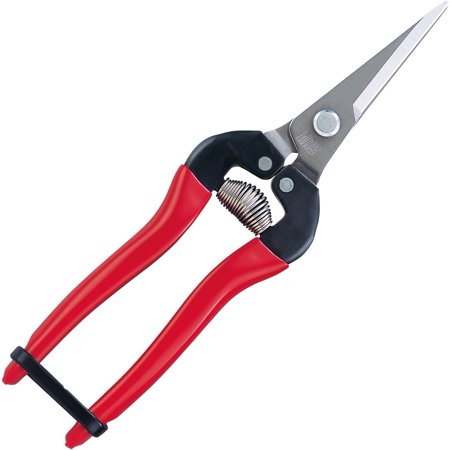
A pair of stainless steel needle-nose pruners designed for fruit harvesting. Featuring a top quality spring, ergonomic handles, and a strap to securely hold the pruner closed when not in use.

Craig Hosbach accumulated over a decade of experience across multiple wineries within the northern New York winemaking region before assuming the role of head winemaker at Hunt Country Vineyards in 2017. He now has a pivotal role at Fox Run Vineyards as head winemaker, infusing his expertise and passion into every bottle.
3. Harvest on a sunny day
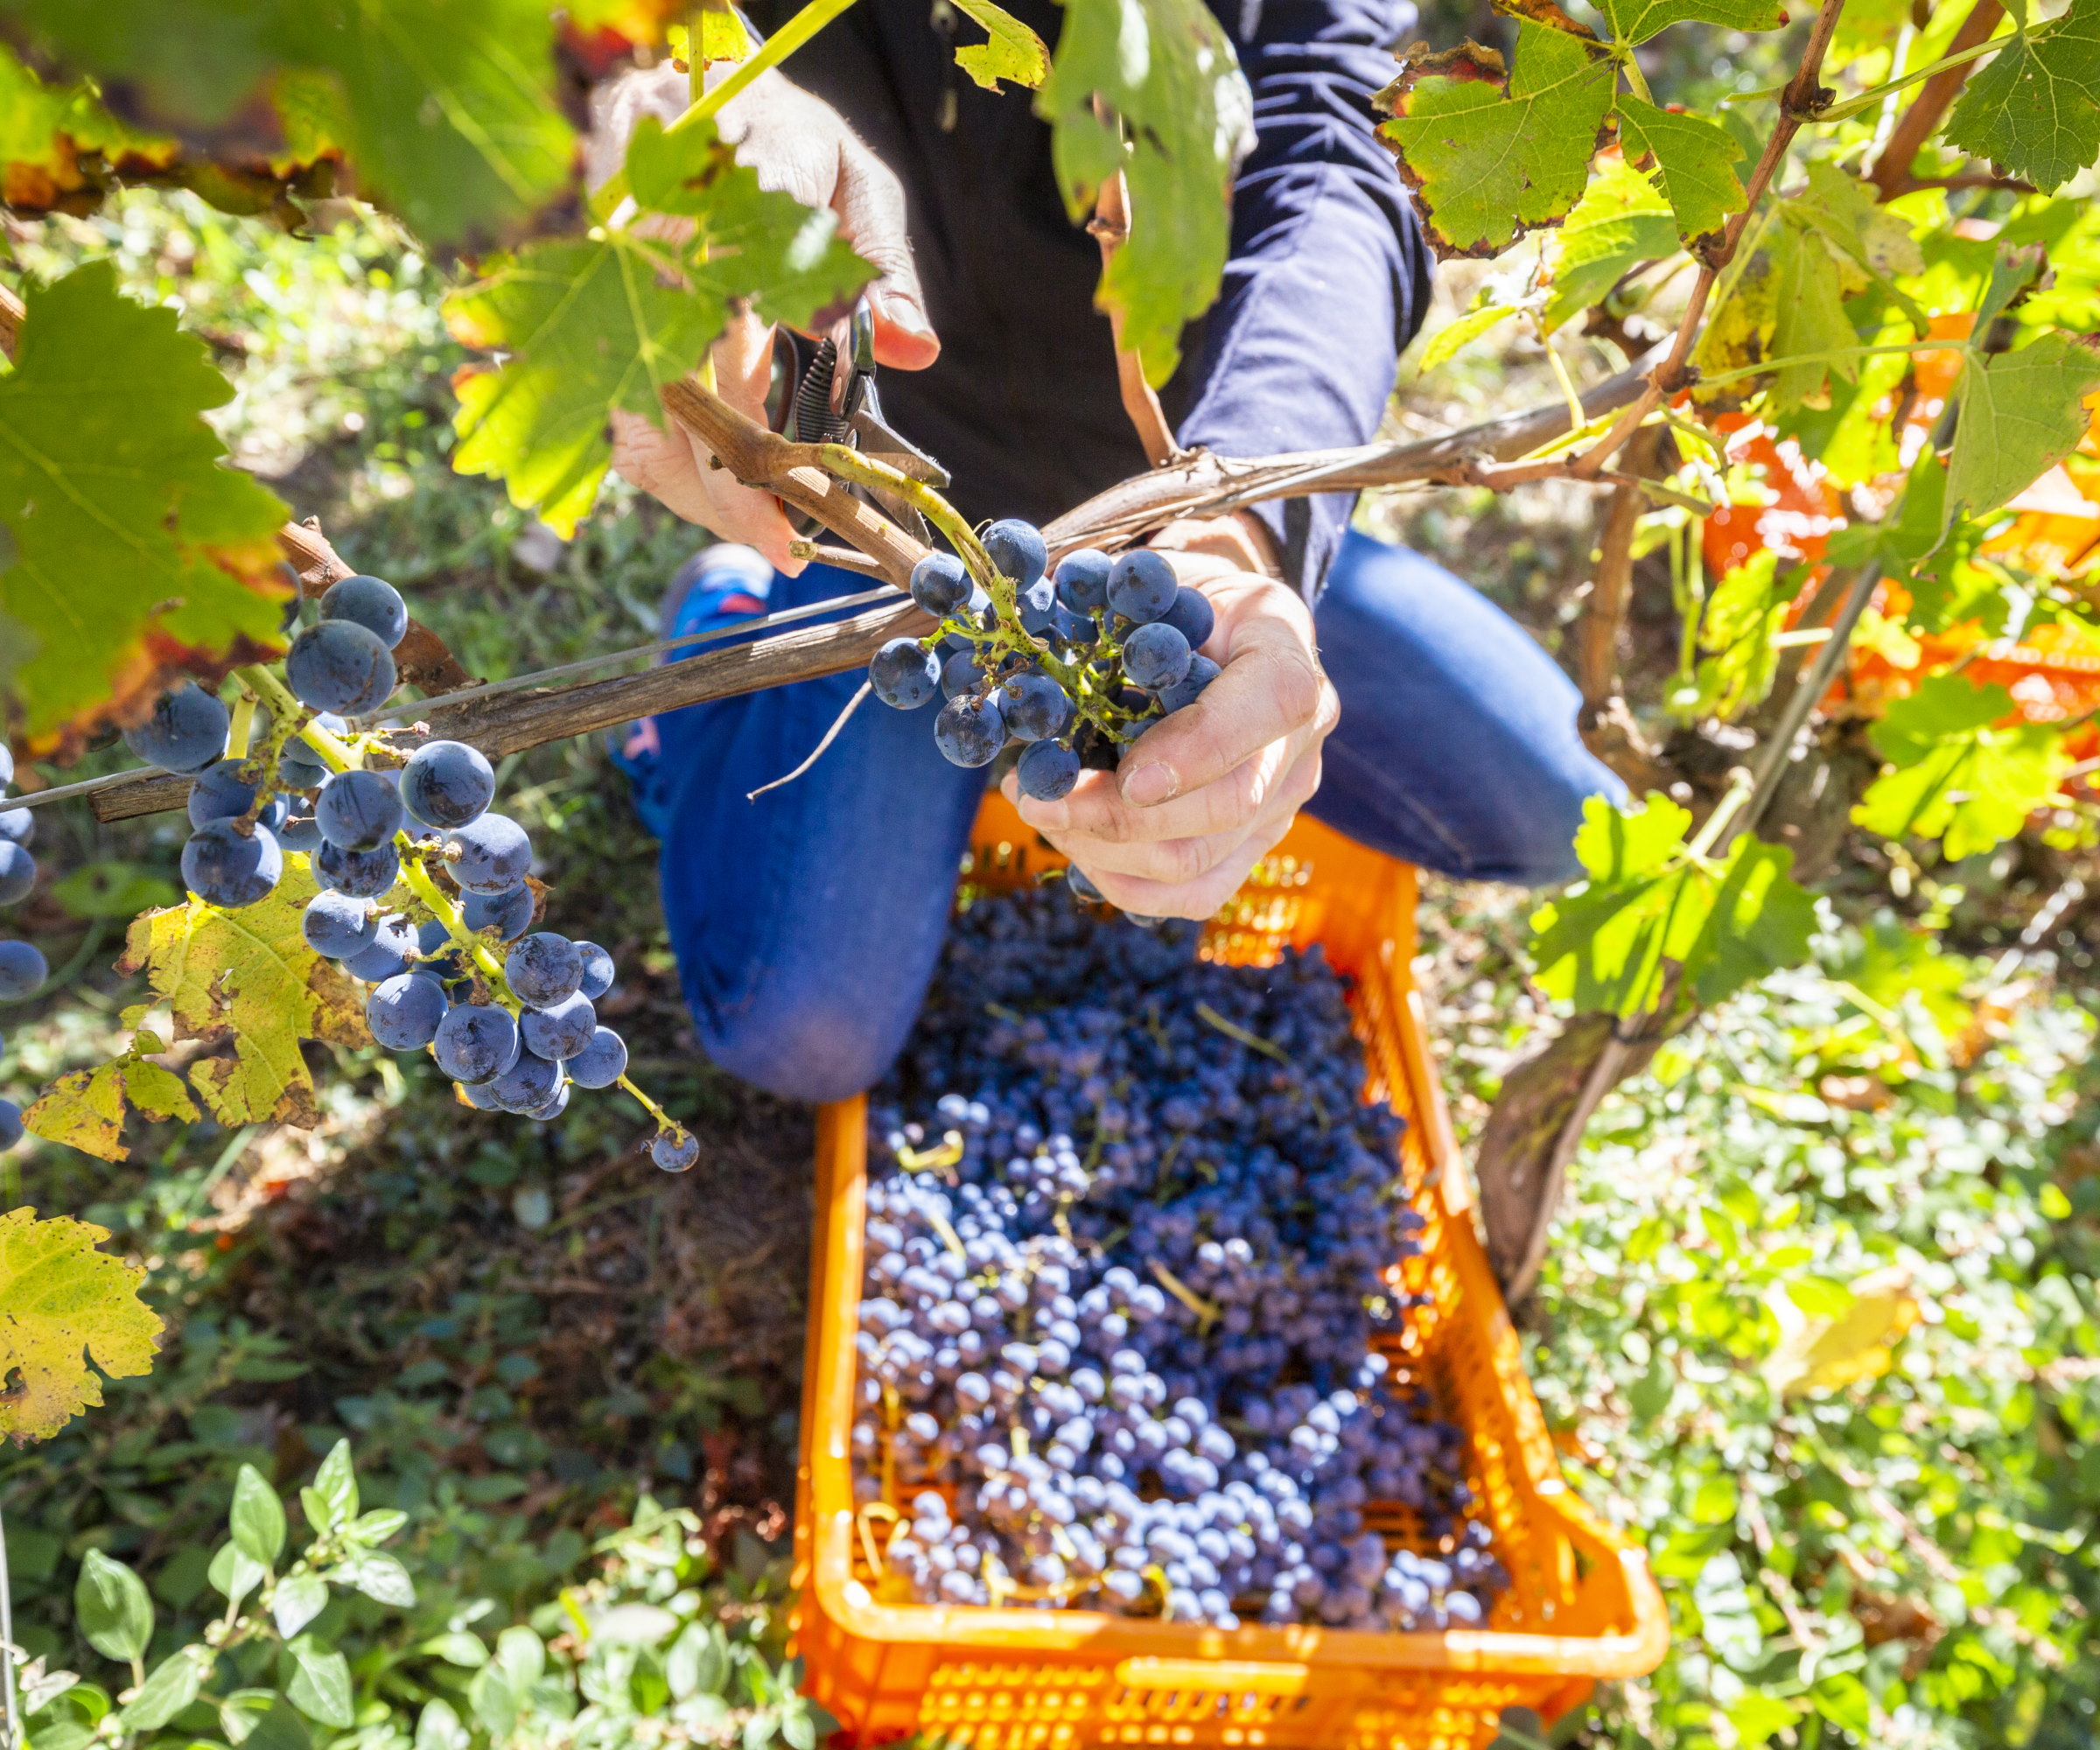
Handle the fruits carefully when harvesting grapes
Harvesting grapes on a warm and sunny day means the fruits are at their most flavorful. The grapes will have a higher sugar content and a sweeter taste. Picking on a cold and damp day would be a harvesting mistake, as the grapes will not be as sweet and moisture on the fruits affects how long the grapes can store for.
When it comes to how to harvest grapes for wine, Craig Hosbach claims even the time of day you harvest can differ for different grapes or wine types.
‘I would recommend picking red grapes, intended for a skin ferment, mid-day because that fermentation needs to start fast and warm to maximize color and tannin extraction,’ claims the experienced winemaker.
‘White grapes and red grapes intended for rosé wine are different and should be picked early morning or late evening when it's cool outside because the juice will need to settle after pressing the grapes.’
4. Cut individual clusters
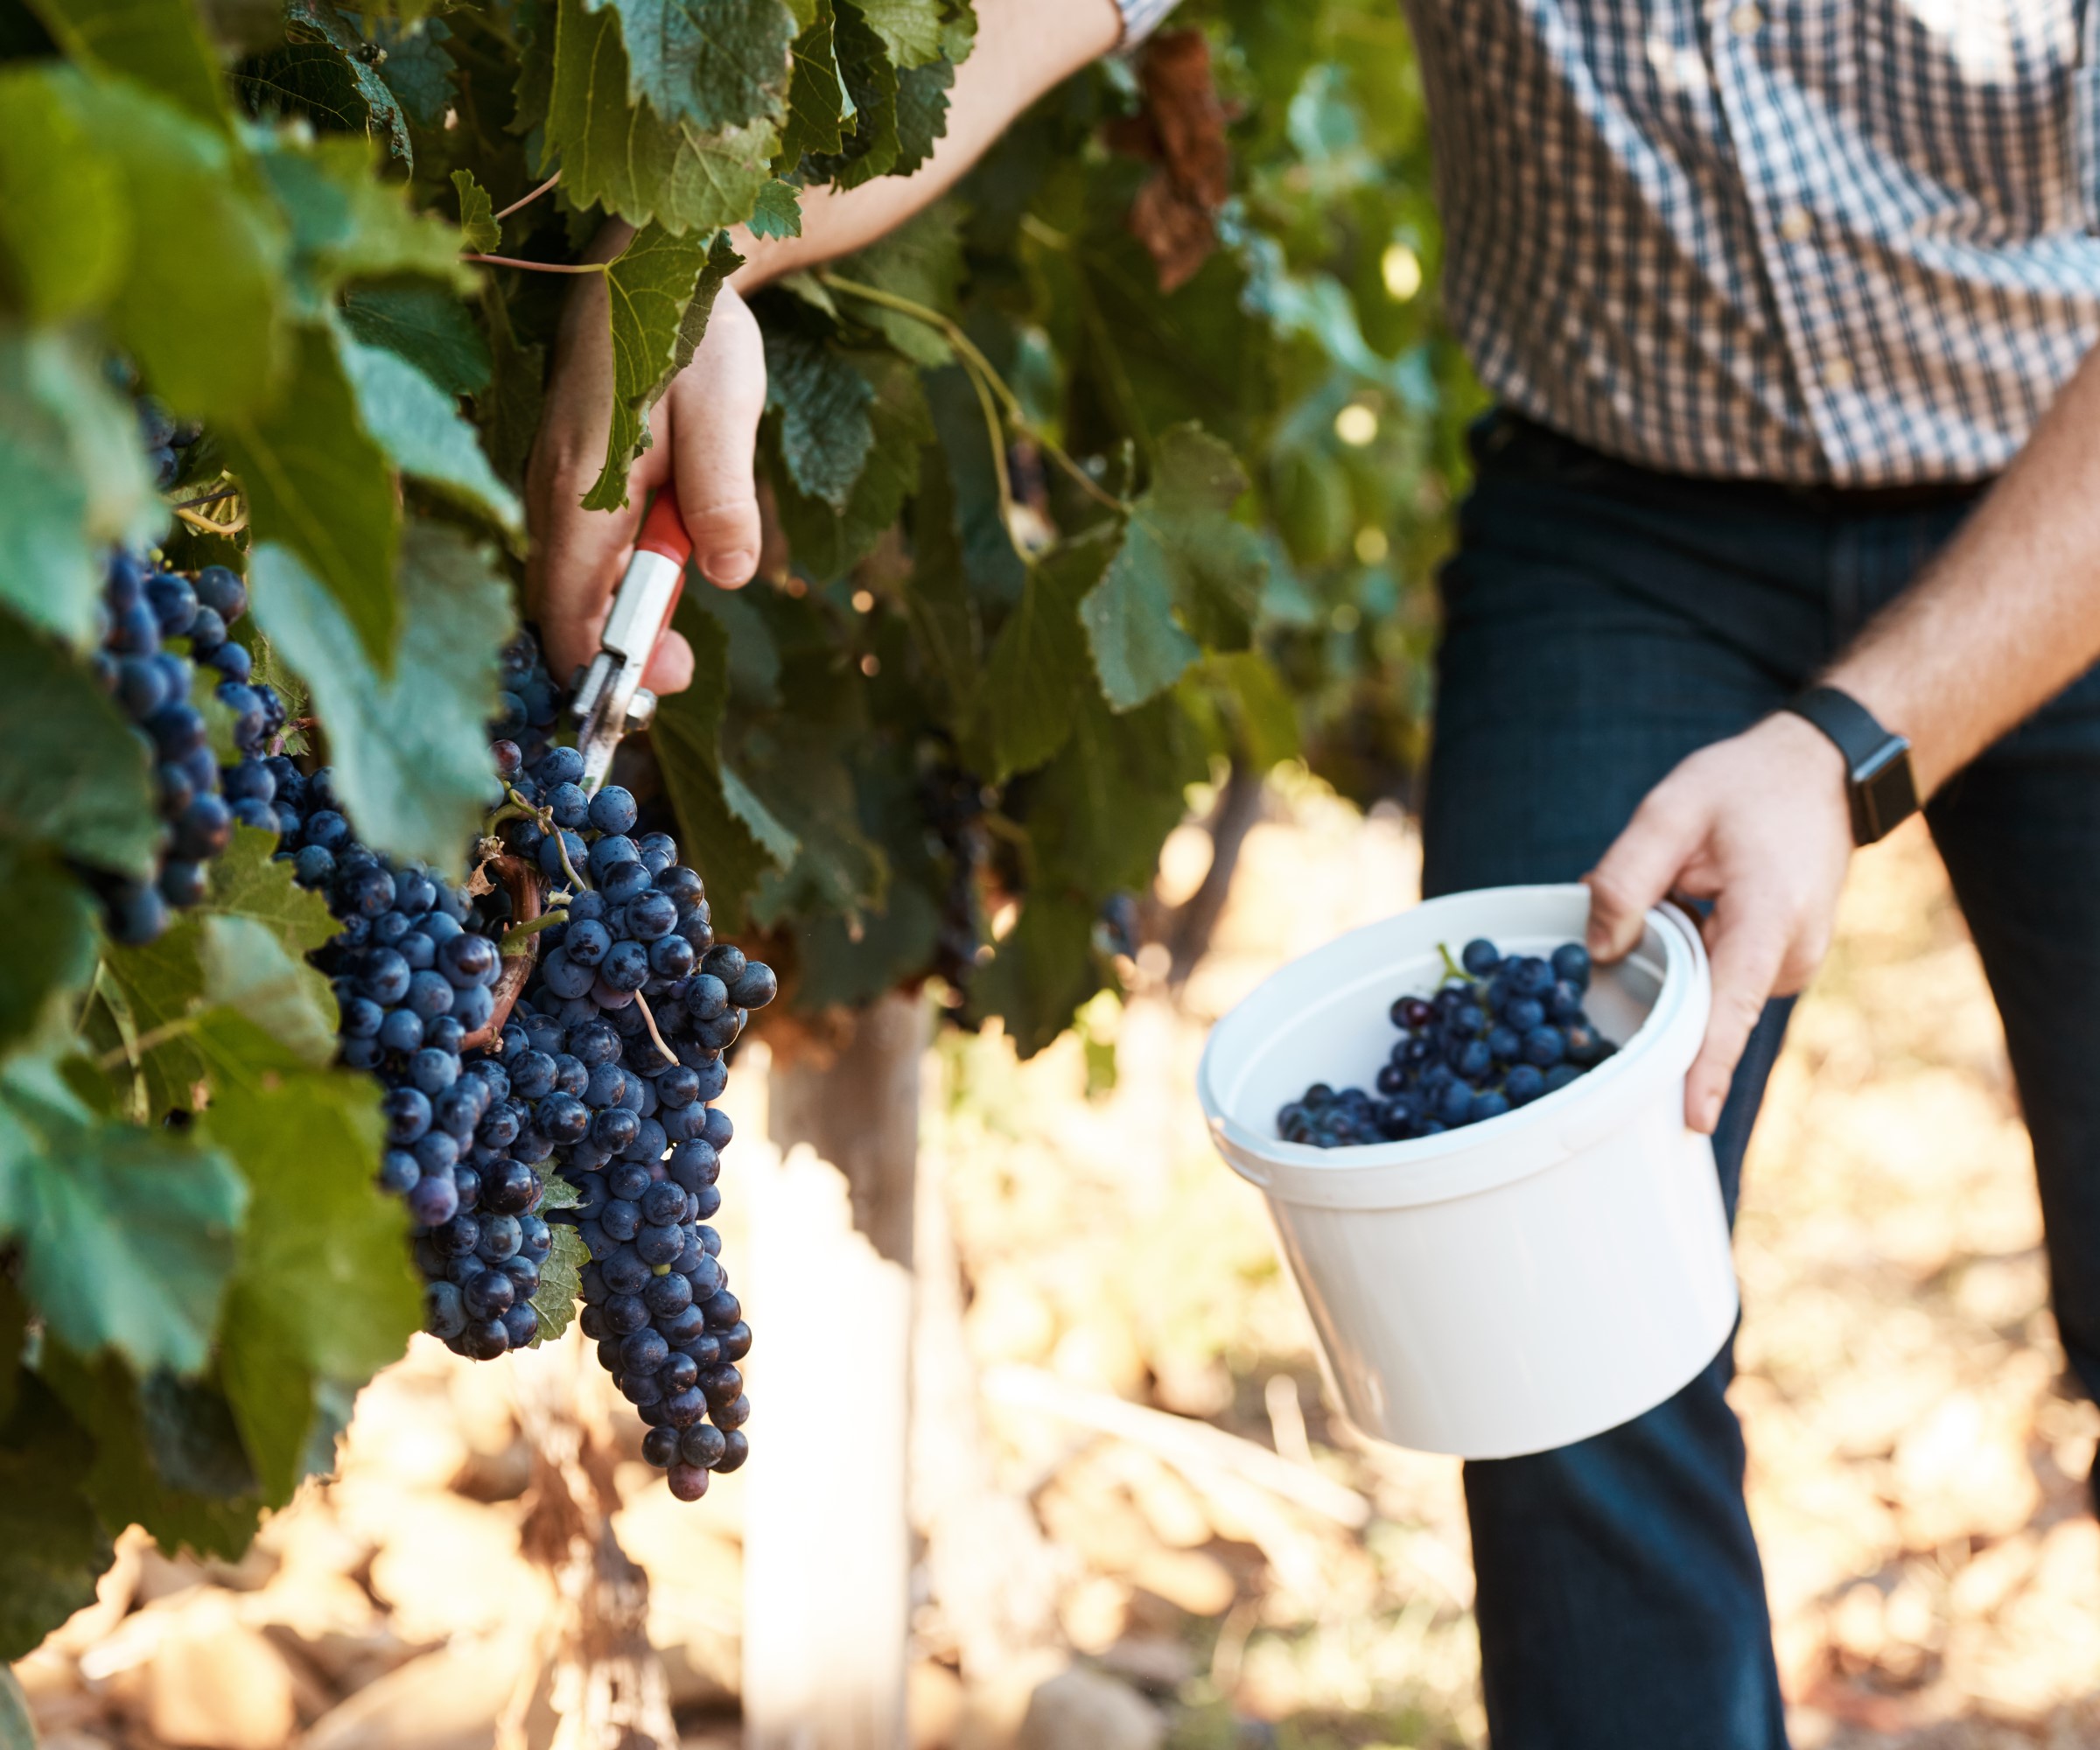
Harvest individual grape clusters into a container close at hand
Once you have donned your gloves and got your tool in hand, the time has come to harvest the grapes. This must be done carefully to avoid damaging the grapes or the vine.
Using one of the tools outlined above should always be done, rather than pulling at the cluster with your hards. Craig Hosbach warns that, if you attempt to harvest grapes with your hands, you’ll ‘most likely just pull the berries off and not break the cluster, resulting in a sticky mess’.
Prudy Foxx, Viticulturist with Foxx Viticult, recommends to use the long-end clippers to ‘snip the stem of each bunch of fruit off the vine’. She explains: ‘Snip at the stem of the fruit and hold the cluster around the berries. Be extra careful to keep fingers and snippers apart from each other.’
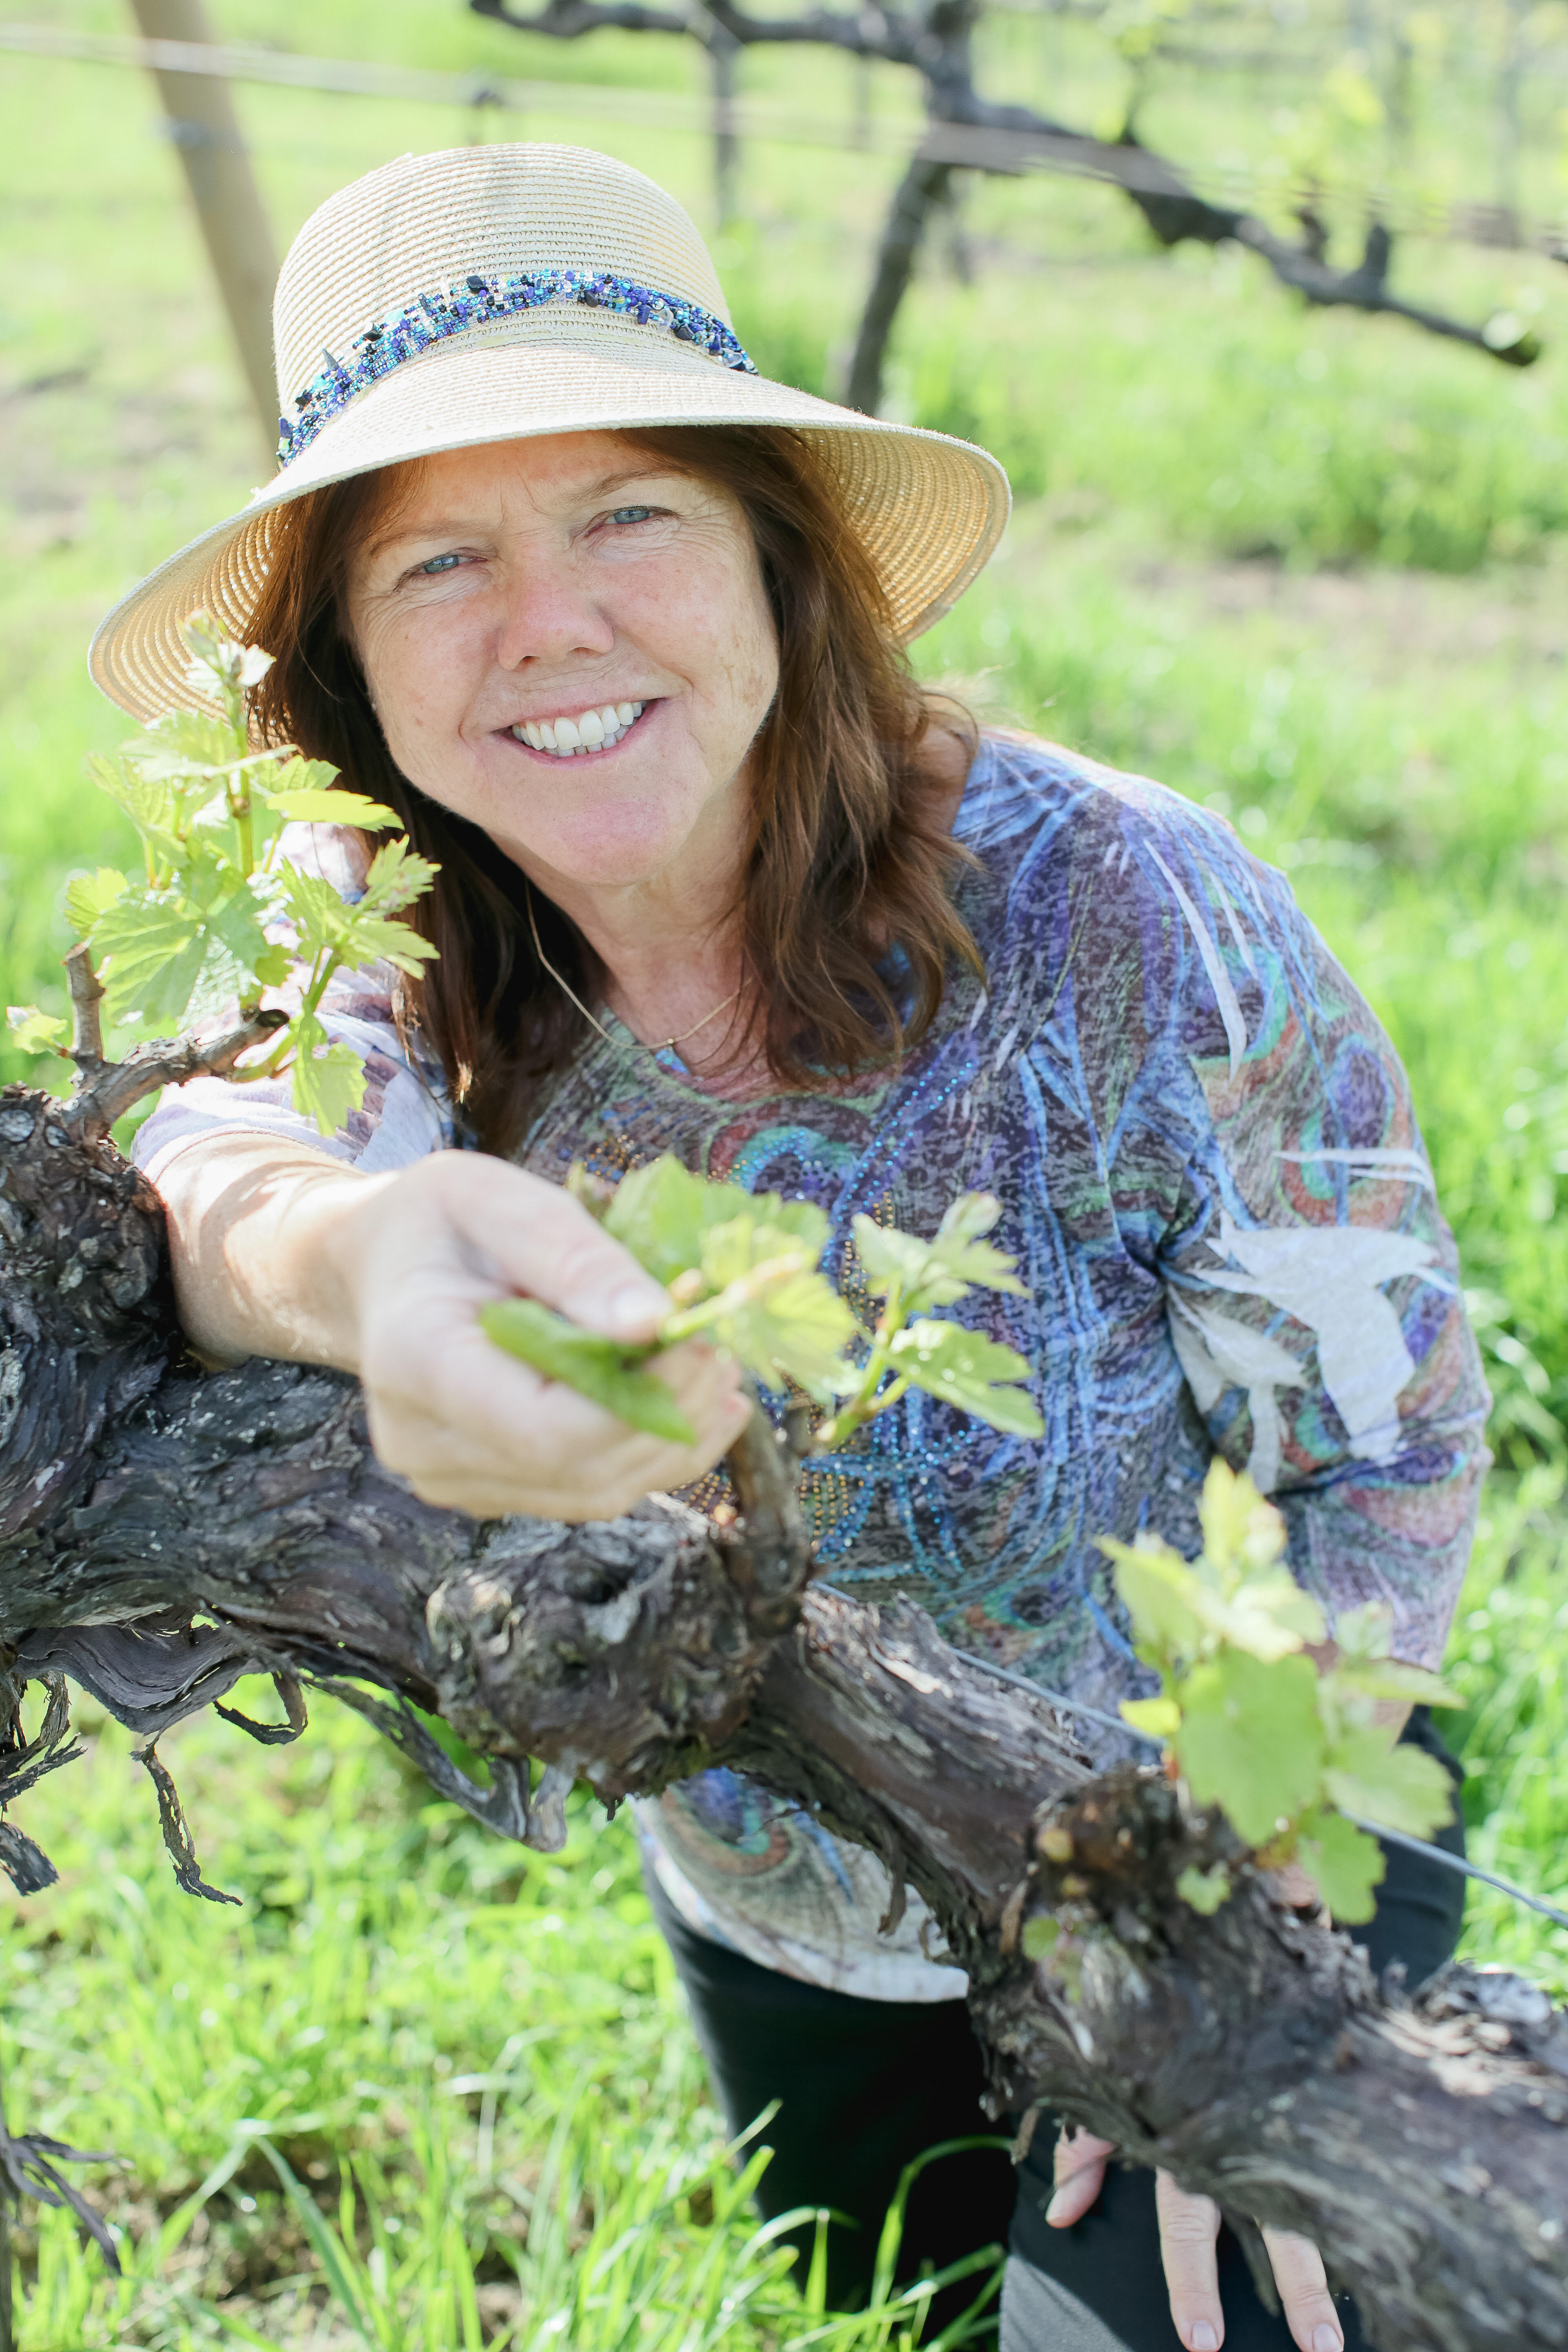
Prudy Foxx is an experienced biologist and viticulturist and assists with grape growing for some of the bigger producers in the Santa Cruz Mountains. She was previously vineyard manager for Mt. Baker Vineyards and Bonny Doon Winery and was a research aid for the UC Davis Agriculture Extension Service in viticulture. Prudy founded Foxx Viticulture in 1997.
5. Place the clusters into a basket
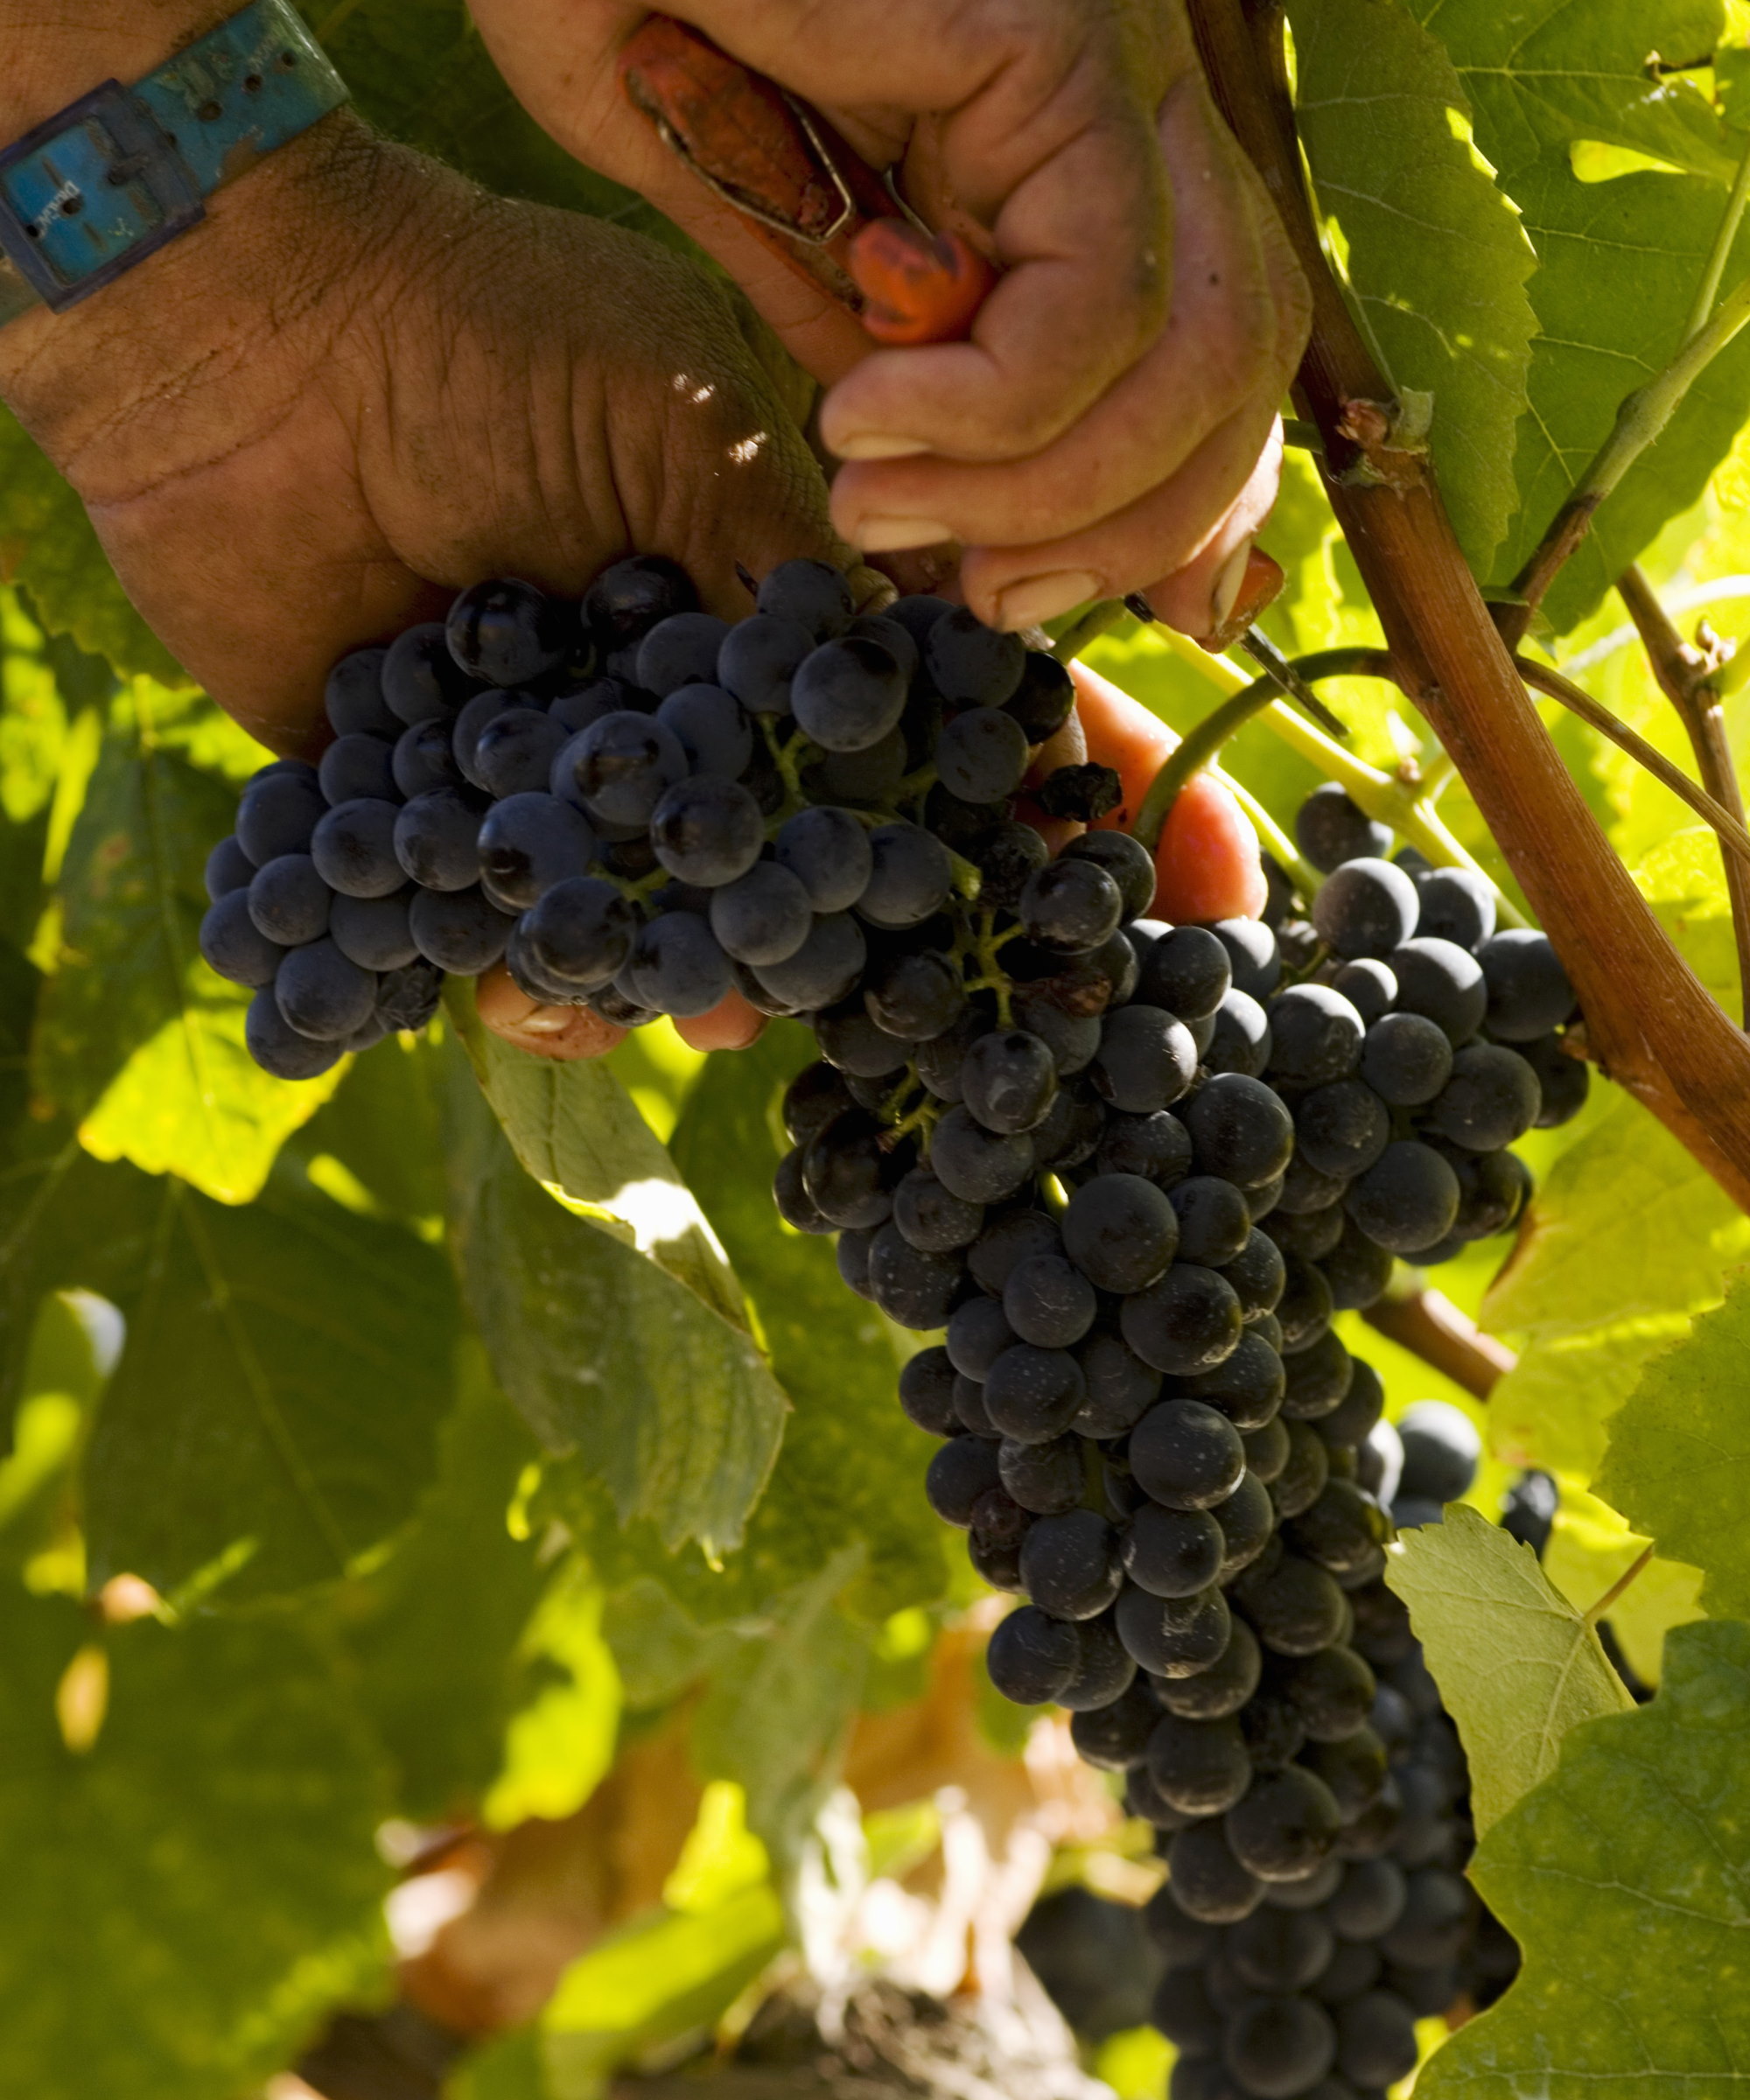
Take care harvesting grapes not to damage the fruit or vine with the cutting tool
Each cluster needs to be individually checked and assessed, to remove any fruits that show signs of disease or rot. The cluster, minus any blemished grapes, is then carefully placed into a bin, basket, or bucket, ensuring no leaves or bits of stems end up in the container too.
It is recommended to carry the container close with you, so grapes can be quickly stored to avoid you having to hold lots of clusters in your hands. As you harvest, keep any containers out of direct sunlight. Placing them in a cool and shady spot ensures the grapes remain in the best condition.
In addition, if you are harvesting white and red grapes, keep the different grape types in separate containers.
6. Store the grapes
If you are making wine or juice, process the grapes immediately where possible. Prudy Foxx warns that the grapes ‘start to break down immediately after picking’ unless they are processed or stored correctly. Craig Hosbach adds: ‘If you can't process them immediately then I'd recommend storing them in a cool area overnight until you can process them.’
Clusters of grapes can be kept fresh in a paper bag or perforated container in a refrigerator crisper drawer for up to three weeks. Do not store them in sealed containers or airtight plastic bags.
However, if you have large quantities of grapes, these can be stored in a cool and dry environment, such as a cellar - even a home wine cellar - or garage, in boxes filled with straw for up to six weeks. Check for signs of mice before storing grapes in such spaces, as they are liable to eat the grapes.
Grapes can also be frozen to be kept fresh for longer. Spread them onto a baking sheet and freeze them and, once they are solid, they can be put in a container and will be good for a year. Frozen grapes can be eaten as snacks or thawed to use in jams.
FAQs
Do grapes need to stay on the stem?
After harvesting grapes, keeping them on the stems will extend their storage life. Removing the stem from a grape causes a minor injury to the fruit and allows air to enter into it - this starts the process of them turning bad. If you keep the stems in, it will ensure a longer storage life for the fruits.
To keep any grapevine healthy and produce a good harvest each year, pruning is an essential task. Grape vines are pruned in winter, when the vines are dormant, and it is a task that keeps the vine healthy and helps to maintain a good balance between producing stems, leaves, and fruit for a bumper yield of grapes.
Sign up to the Homes & Gardens newsletter
Design expertise in your inbox – from inspiring decorating ideas and beautiful celebrity homes to practical gardening advice and shopping round-ups.

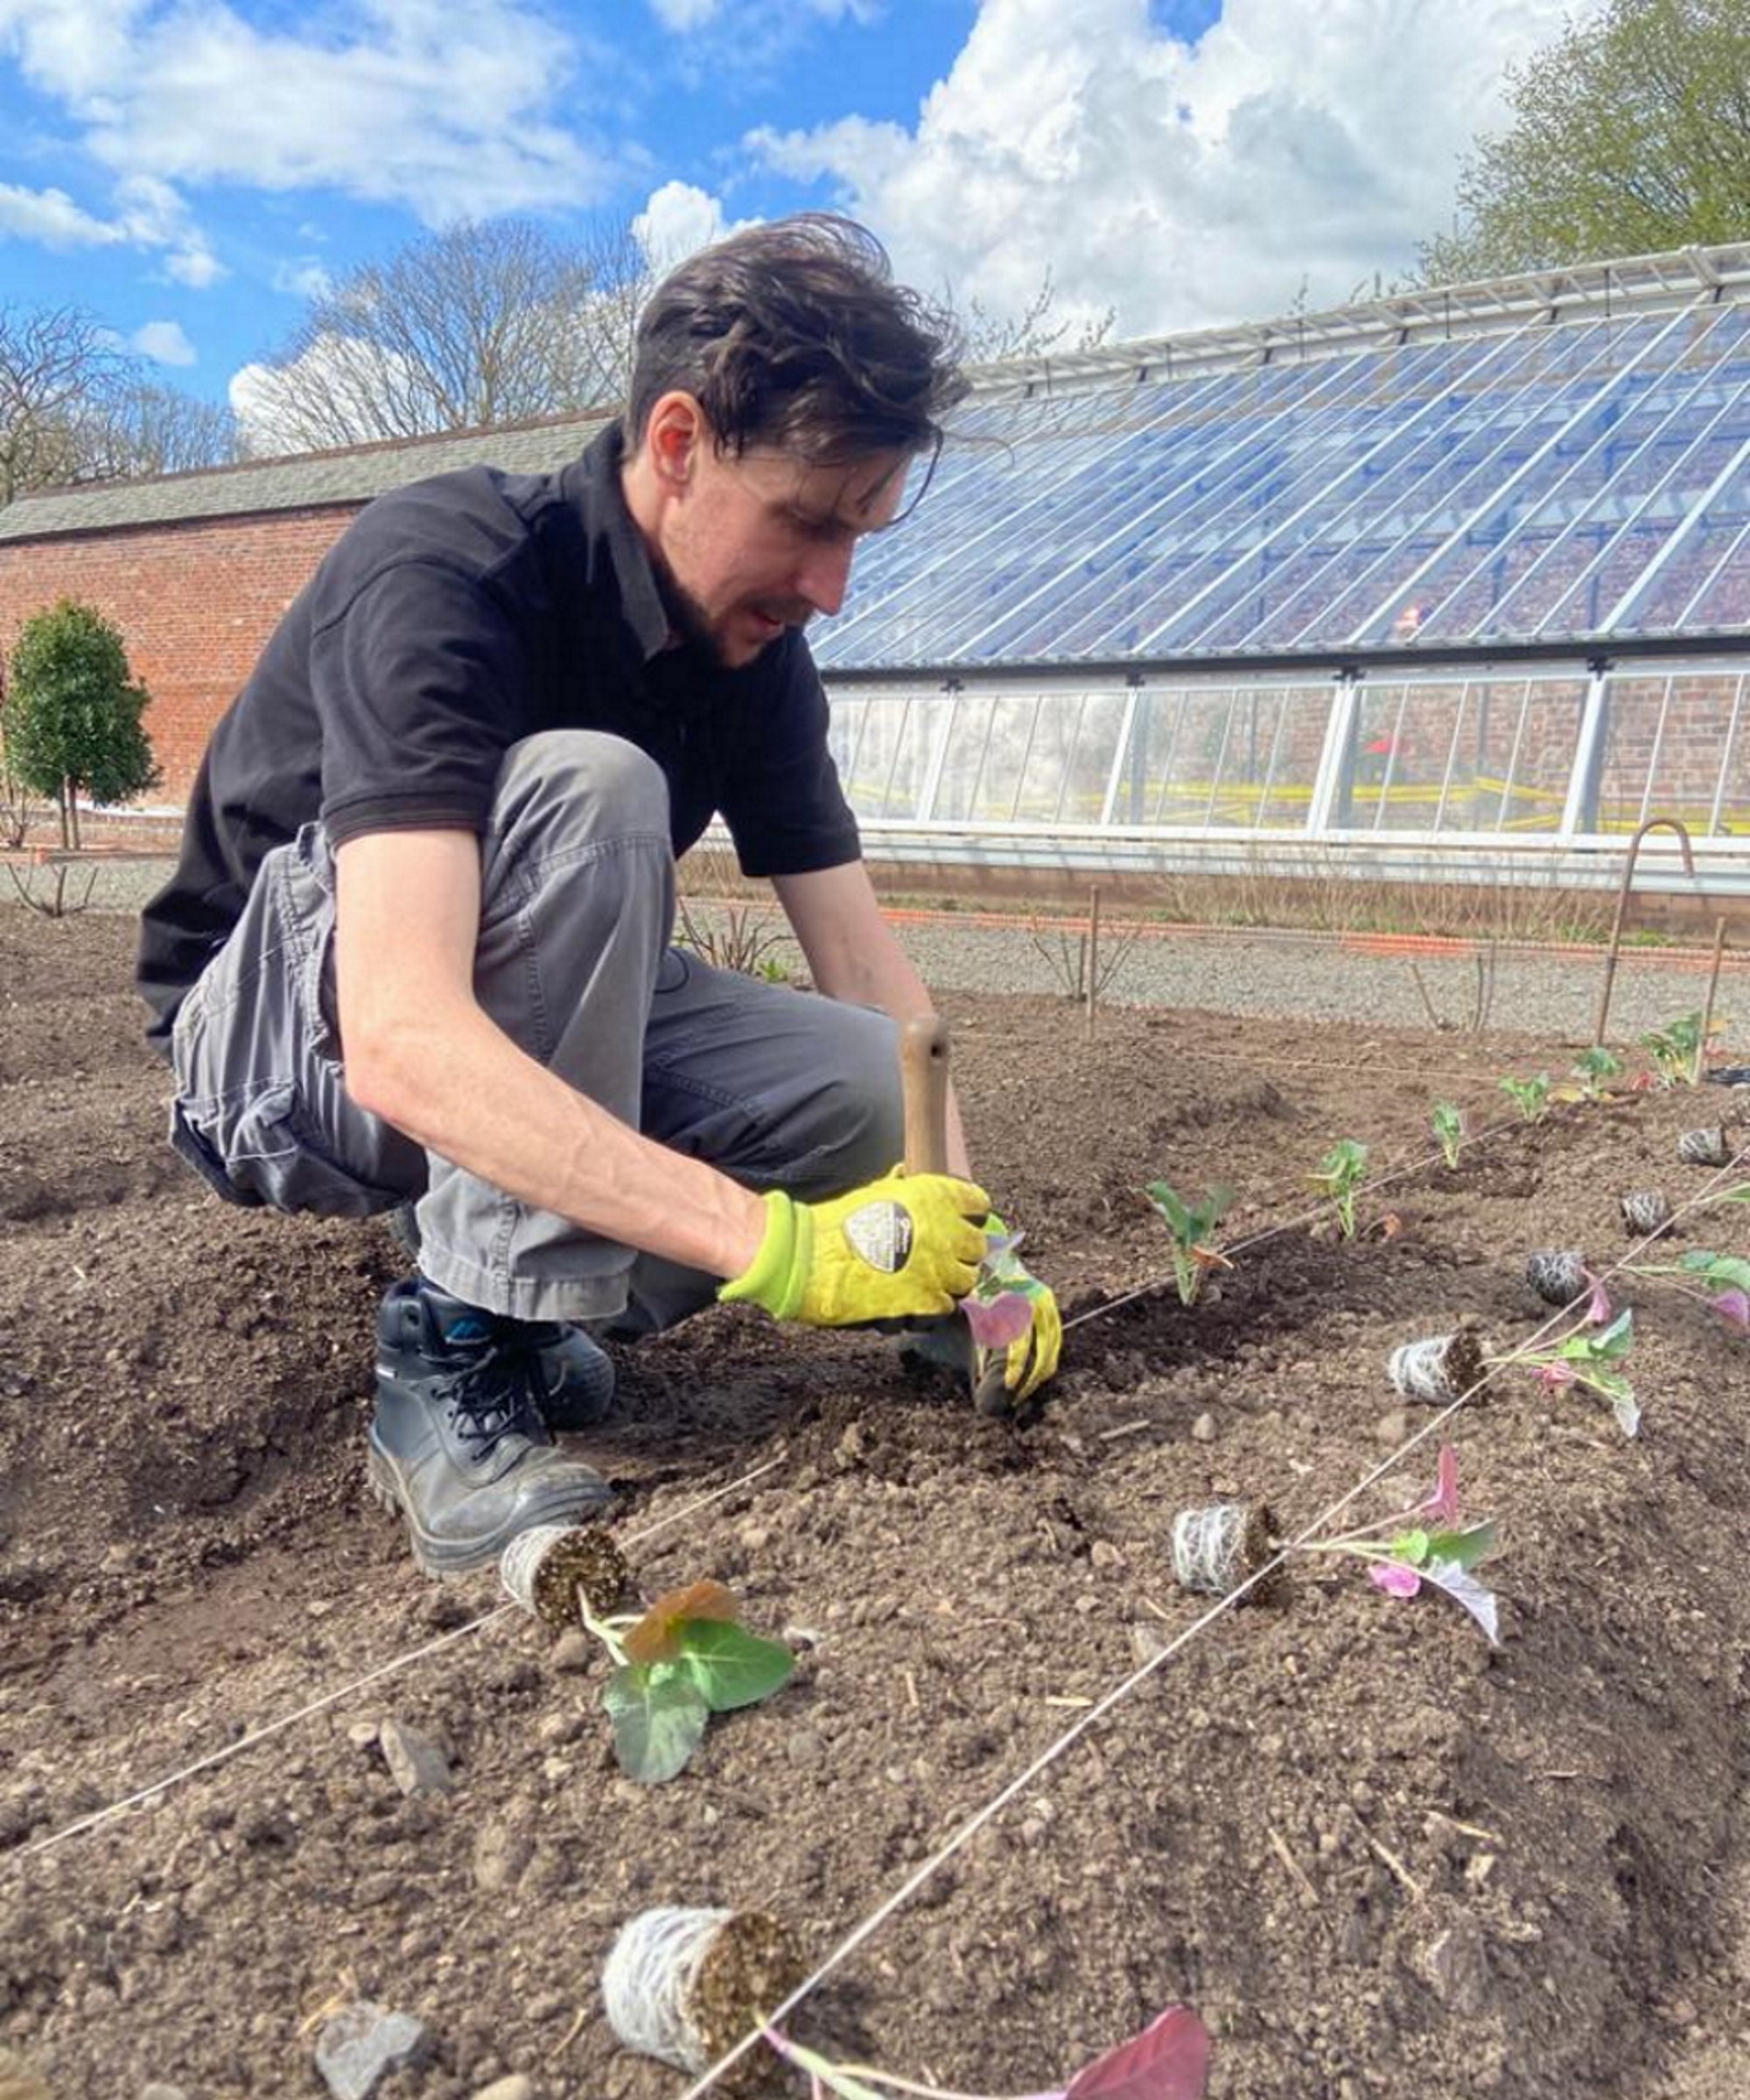
Drew’s passion for gardening started with growing vegetables and salad in raised beds in a small urban terrace garden. He has worked as a professional gardener in historic gardens and specialises in growing vegetables, fruit, herbs, and cut flowers as a kitchen gardener. That passion for growing extends to being an allotmenteer, garden blogger, and producing how-to gardening guides for websites. Drew was shortlisted for the New Talent of the Year award at the 2023 Garden Media Guild Awards.
-
 Urban gardening ideas – 7 creative ways to grow in small spaces, balconies, containers, indoors, and more
Make the most of your space with these innovative ways to garden
By Tenielle Jordison
-
 'Sexy disco-era Italy meets Japanese farmhouse in the Brazilian jungle' was the description the interior designer gave this glass-walled modernist home
Offering a warm welcome that defies its stark, modernist lines, this archictectural gem is full of surprises
By Karen Darlow
-
 7 native perennials to plant in April – for glorious flowering displays to attract bees, butterflies, and hummingbirds
Discover some of the best perennials to plant in April to make your garden a hotspot for wildlife
By Drew Swainston
-
 7 shrubs to plant in April to transform beds and borders – including native plants and bushes suitable for dry or wet spots
These shrubs can bring flowers, texture, and fragrance, as well as attracting beneficial insects and birds
By Drew Swainston
-
 I'm a lawn care expert, and always do these 7 jobs in April to ensure thick, green grass all summer long
Transform your lawn with these simple yet highly effective April lawn care tasks
By Drew Swainston
-
 Horticulturists urge you to prune these 7 plants in April – for healthy growth and better-than-ever flowering displays
Discover a key selection of plants to cut back this month, with expert pruning advice
By Drew Swainston
-
 7 fruits to plant in April for years of tasty homegrown harvests, plus expert planting tips
An exceptional selection of fruit trees and soft fruit can be planted this month
By Drew Swainston
-
 7 dazzling cut flowers to plant in April for bountiful blooms to enjoy in bouquets, vases, and displays this summer
Discover sowing tips from an expert horticulturist
By Drew Swainston
-
 7 of the best vegetables to plant in April, with sowing tips from an experienced grower for bumper harvests
From broccoli to zucchini, April is a fantastic time to plant a wide range of vegetables
By Drew Swainston
-
 Best fragrant spring-flowering perennials – 5 charming choices to infuse delightful scent in your yard this season
Spring is full of so many beautiful aromas, uplifting our yards and making them an even more pleasant place to be
By Tenielle Jordison