How to grow shallots – advice for growing from sets or seed from an experienced kitchen gardener
From planting to harvesting these superb edibles, here are my expert tips for successful shallots
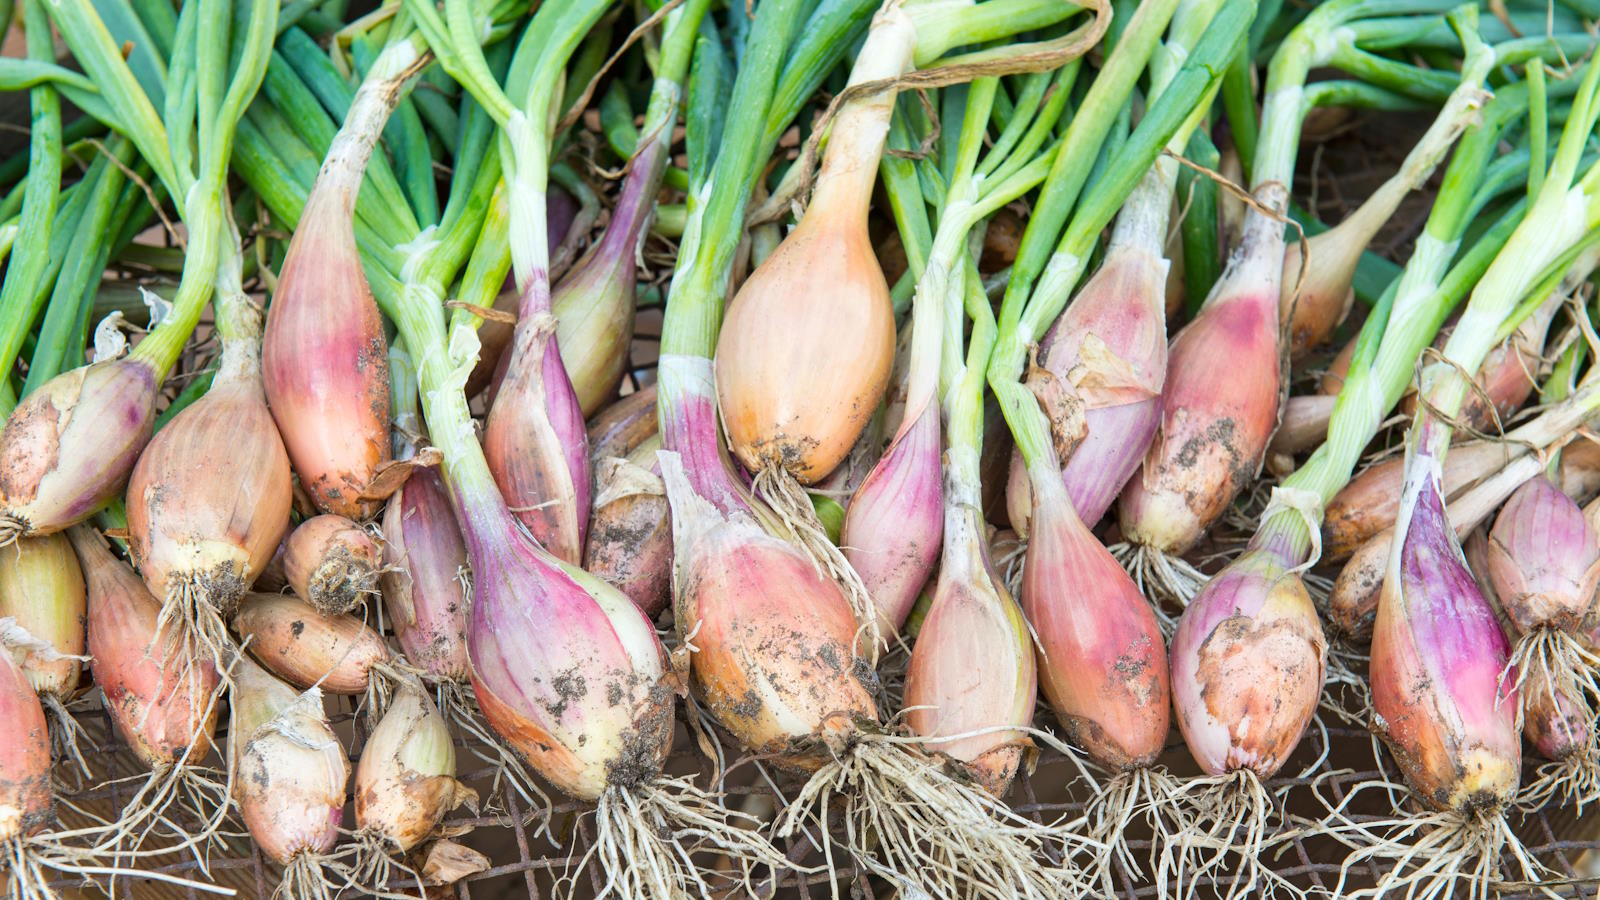
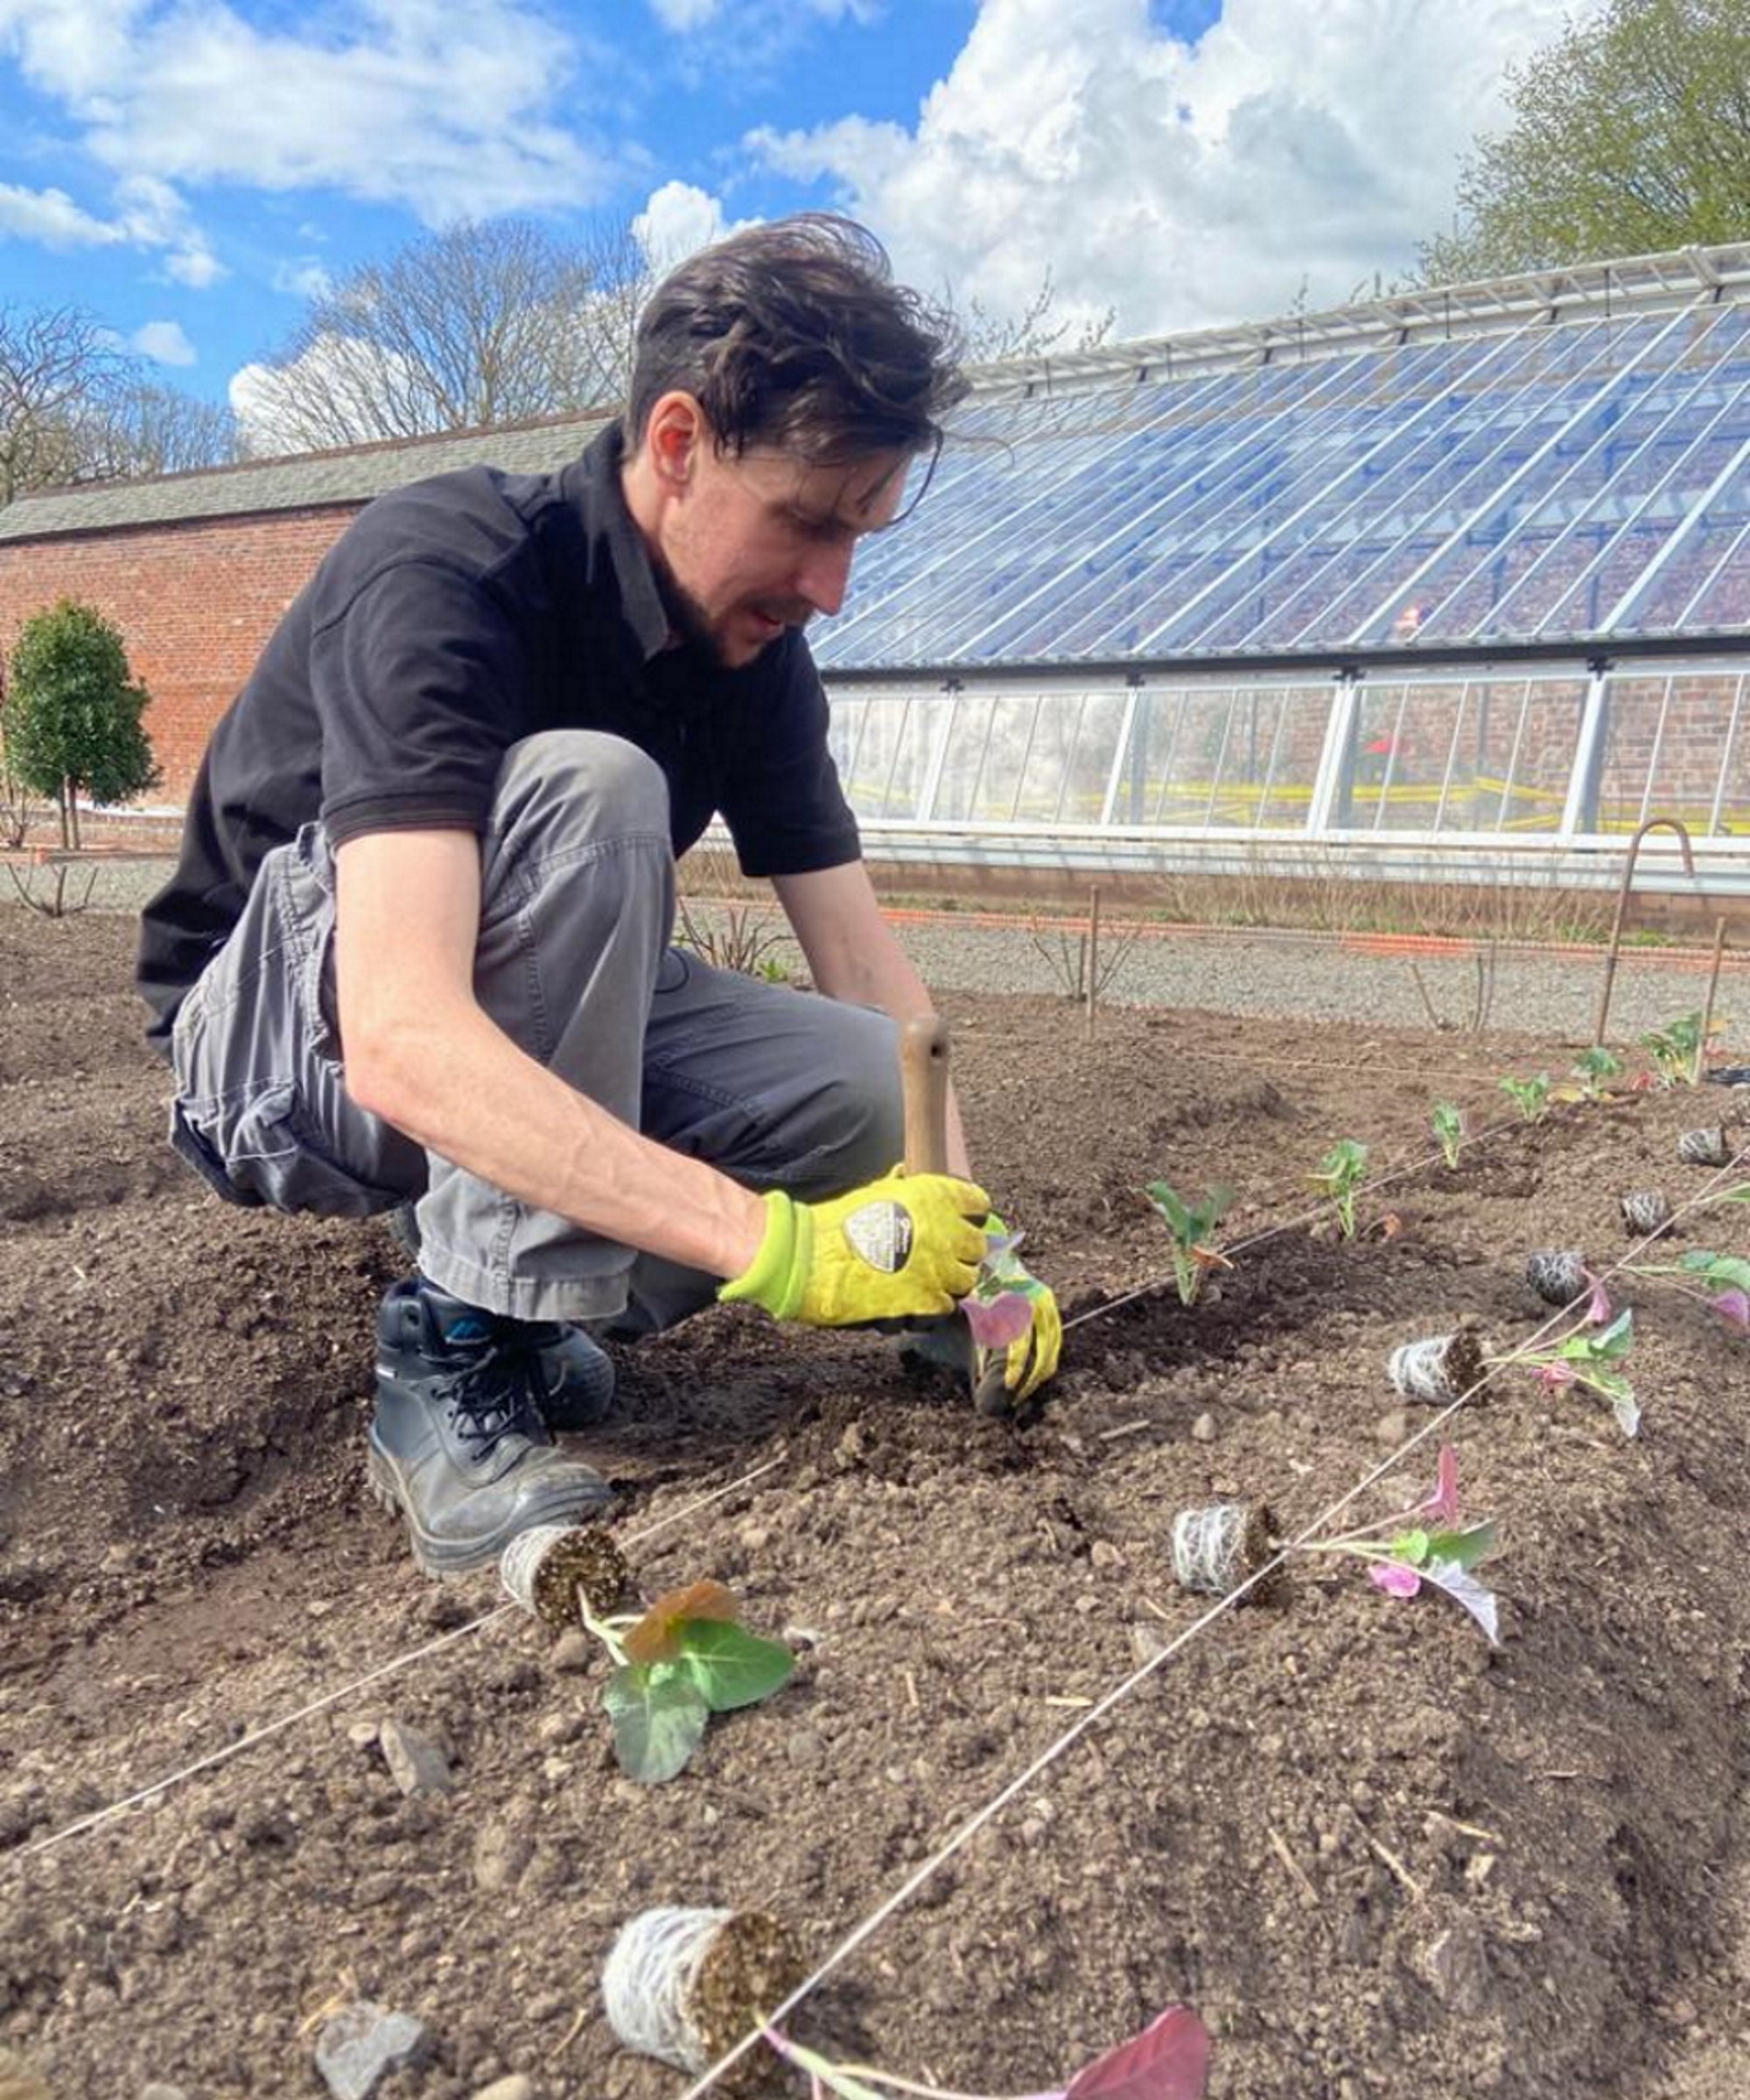
Shallots are fantastic members of the allium family that are very simple to grow and each one planted will give you a harvest of multiple bulbs. The crops have a milder flavor than onions and come in a range of sizes, colors, and shapes.
If you want to know more about how to grow shallots, the crops can either be grown from sets, which can be planted in fall or spring, or from seed. They are very similar to onions in that regard and can also store for an impressively long time after you harvest shallots in the summer.
These types of onions are increasingly popular crops to grow and are revered for their more delicate flavor and multitude of uses. I have grown shallots in vegetable gardens for many years and they were always highly sought after crops by the chefs I grew vegetables for.
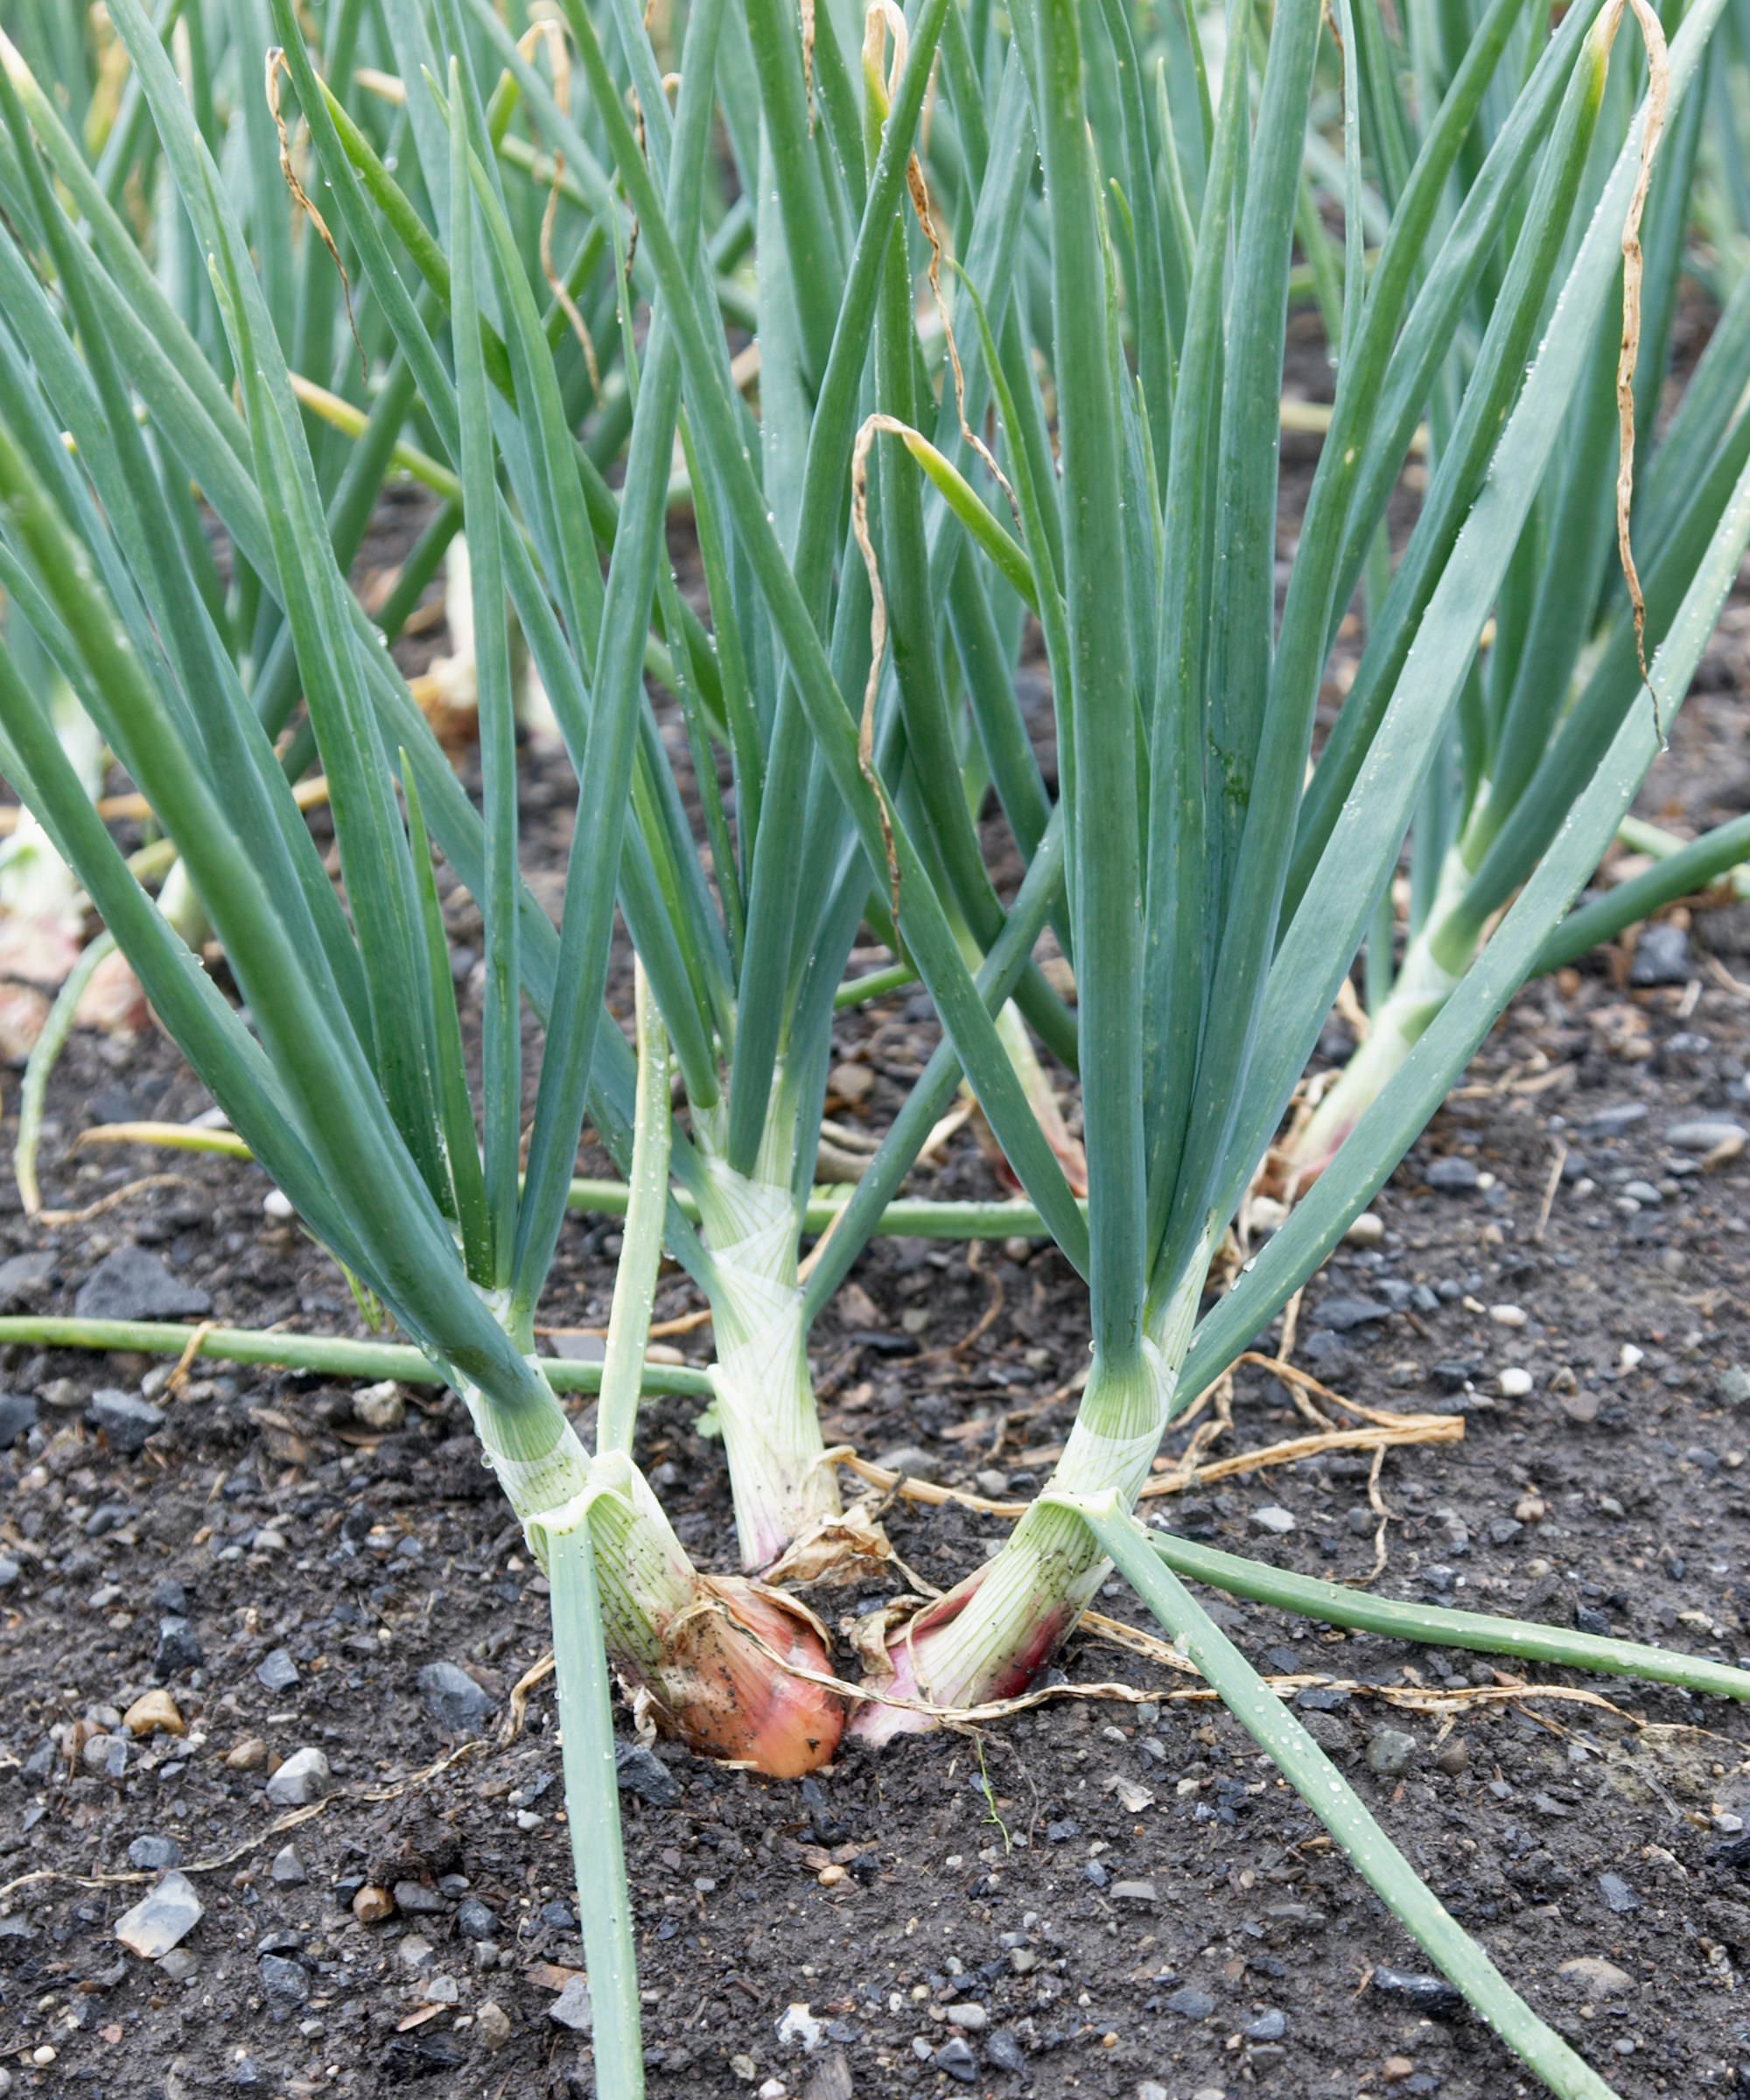
Shallots multiply to produce several large offsets
How do I grow shallots?
Just like when growing onions, shallots can either be grown from sets or by seed. Sets are commonly available in garden centers and online to plant in either fall or spring, depending on the type.
Growing shallots from seed will take longer and will be more labour-intensive, however seeds are cheaper and also able to last many years. I have grown shallots from seed, but found using sets to be a lot more simple and reliable.
You can view the range of shallot sets available at Nature Hills, and a selection of shallot seeds available at Burpee.
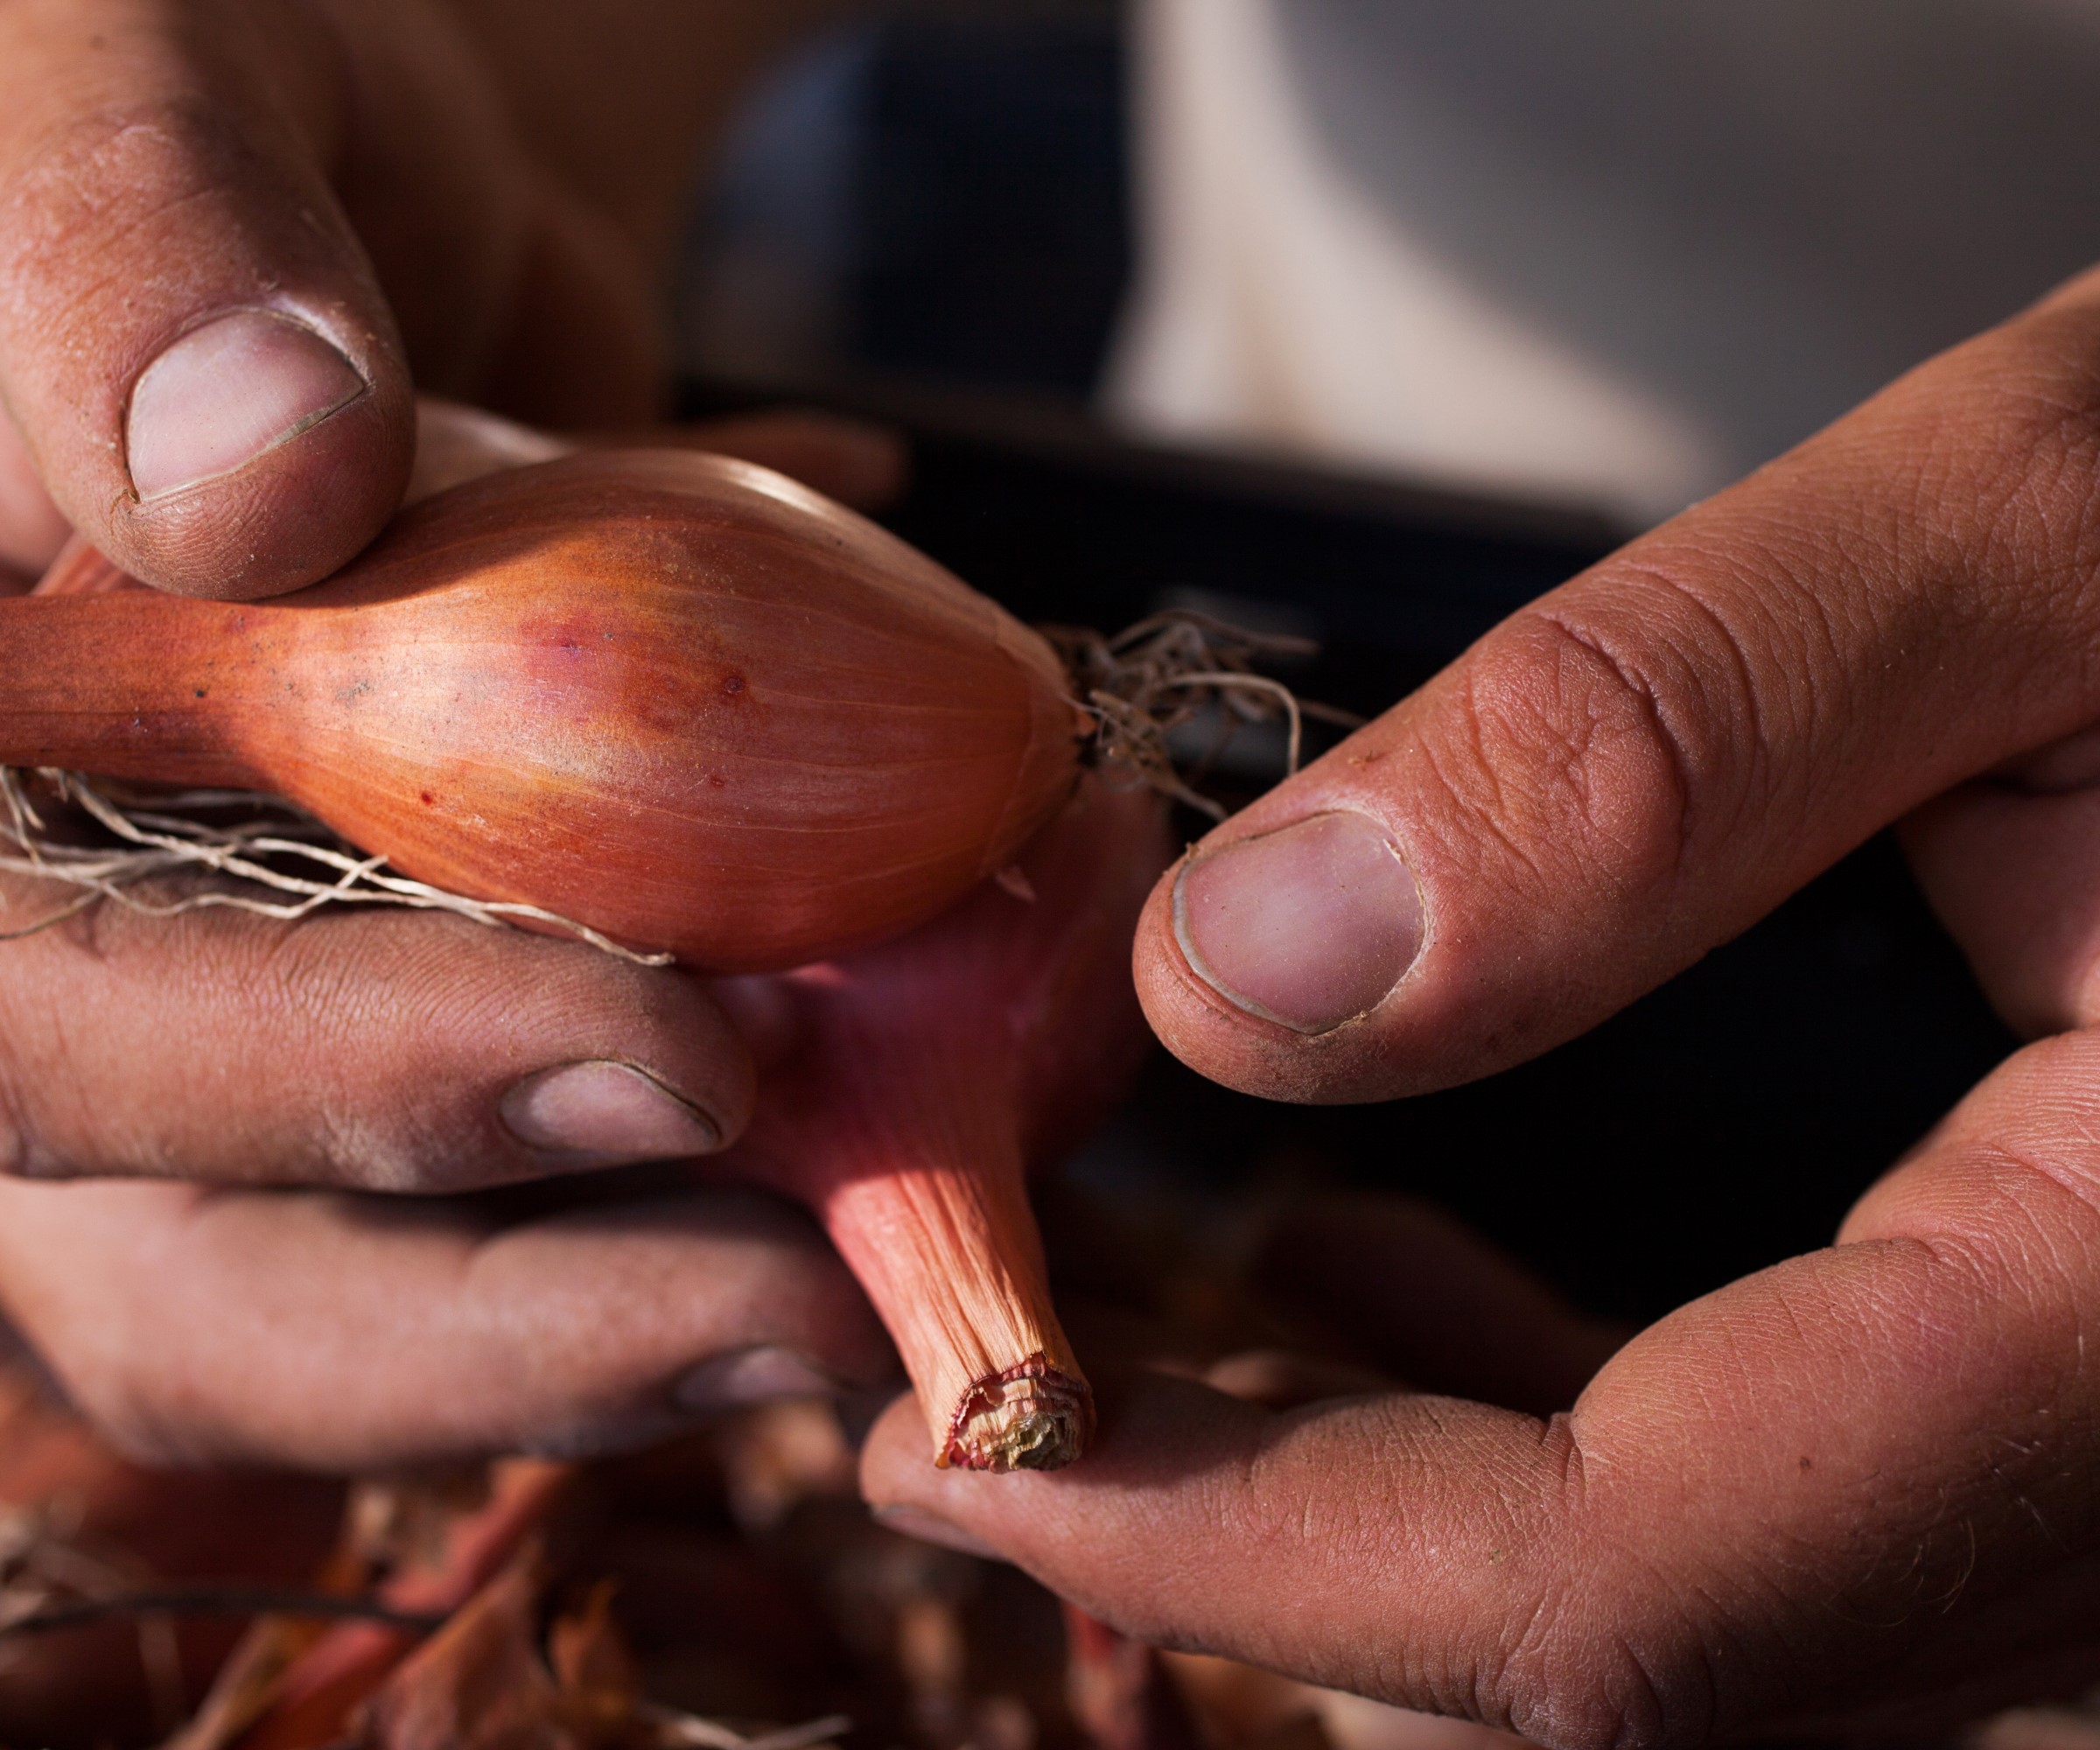
Shallots come in different shapes - from rounded to long
How to grow shallots from sets
Shallots like to grow in a sunny spot and in a soil type that is fertile and well-draining. The crops do not like sitting in soggy soil and are best not put in a spot where you planted onions, or any other allium crop, the previous year. Plant elsewhere as part of a crop rotation plan to maintain the health of your kitchen garden soil.
Consider adding some compost or well-rotted manure prior to planting shallots to improve the drainage, water holding capacity, and fertility of the soil. Like when fertilizing onions, adding a balanced fertilizer at the time of planting can help the plants establish a strong root system. One example of a suitable balanced feed is the Expert Gardener All Purpose Plant Fertilizer, available at Walmart.
Sets can either be planted in late fall or early winter, or in late winter or early spring - depending on the type of shallots you are growing. A sowing between September to December will provide an earlier crop, from June onwards, but check the packets or variety descriptions to make sure a shallot type is suitable for overwintering. Otherwise, the window to plant is in February or March and this will give you a crop in July or August.
Shallot sets should be planted in the ground with the thick end pointing downwards and the tip of the set just showing above the soil surface. Space sets around 6-8 inches apart in rows spaced 12-18 inches between. It is advised to protect the newly-planted sets with some horticultural fleece, available at Amazon or other retailers, to protect them from birds pulling the sets out of the ground. This only needs to be in place until the shallots start to take root.
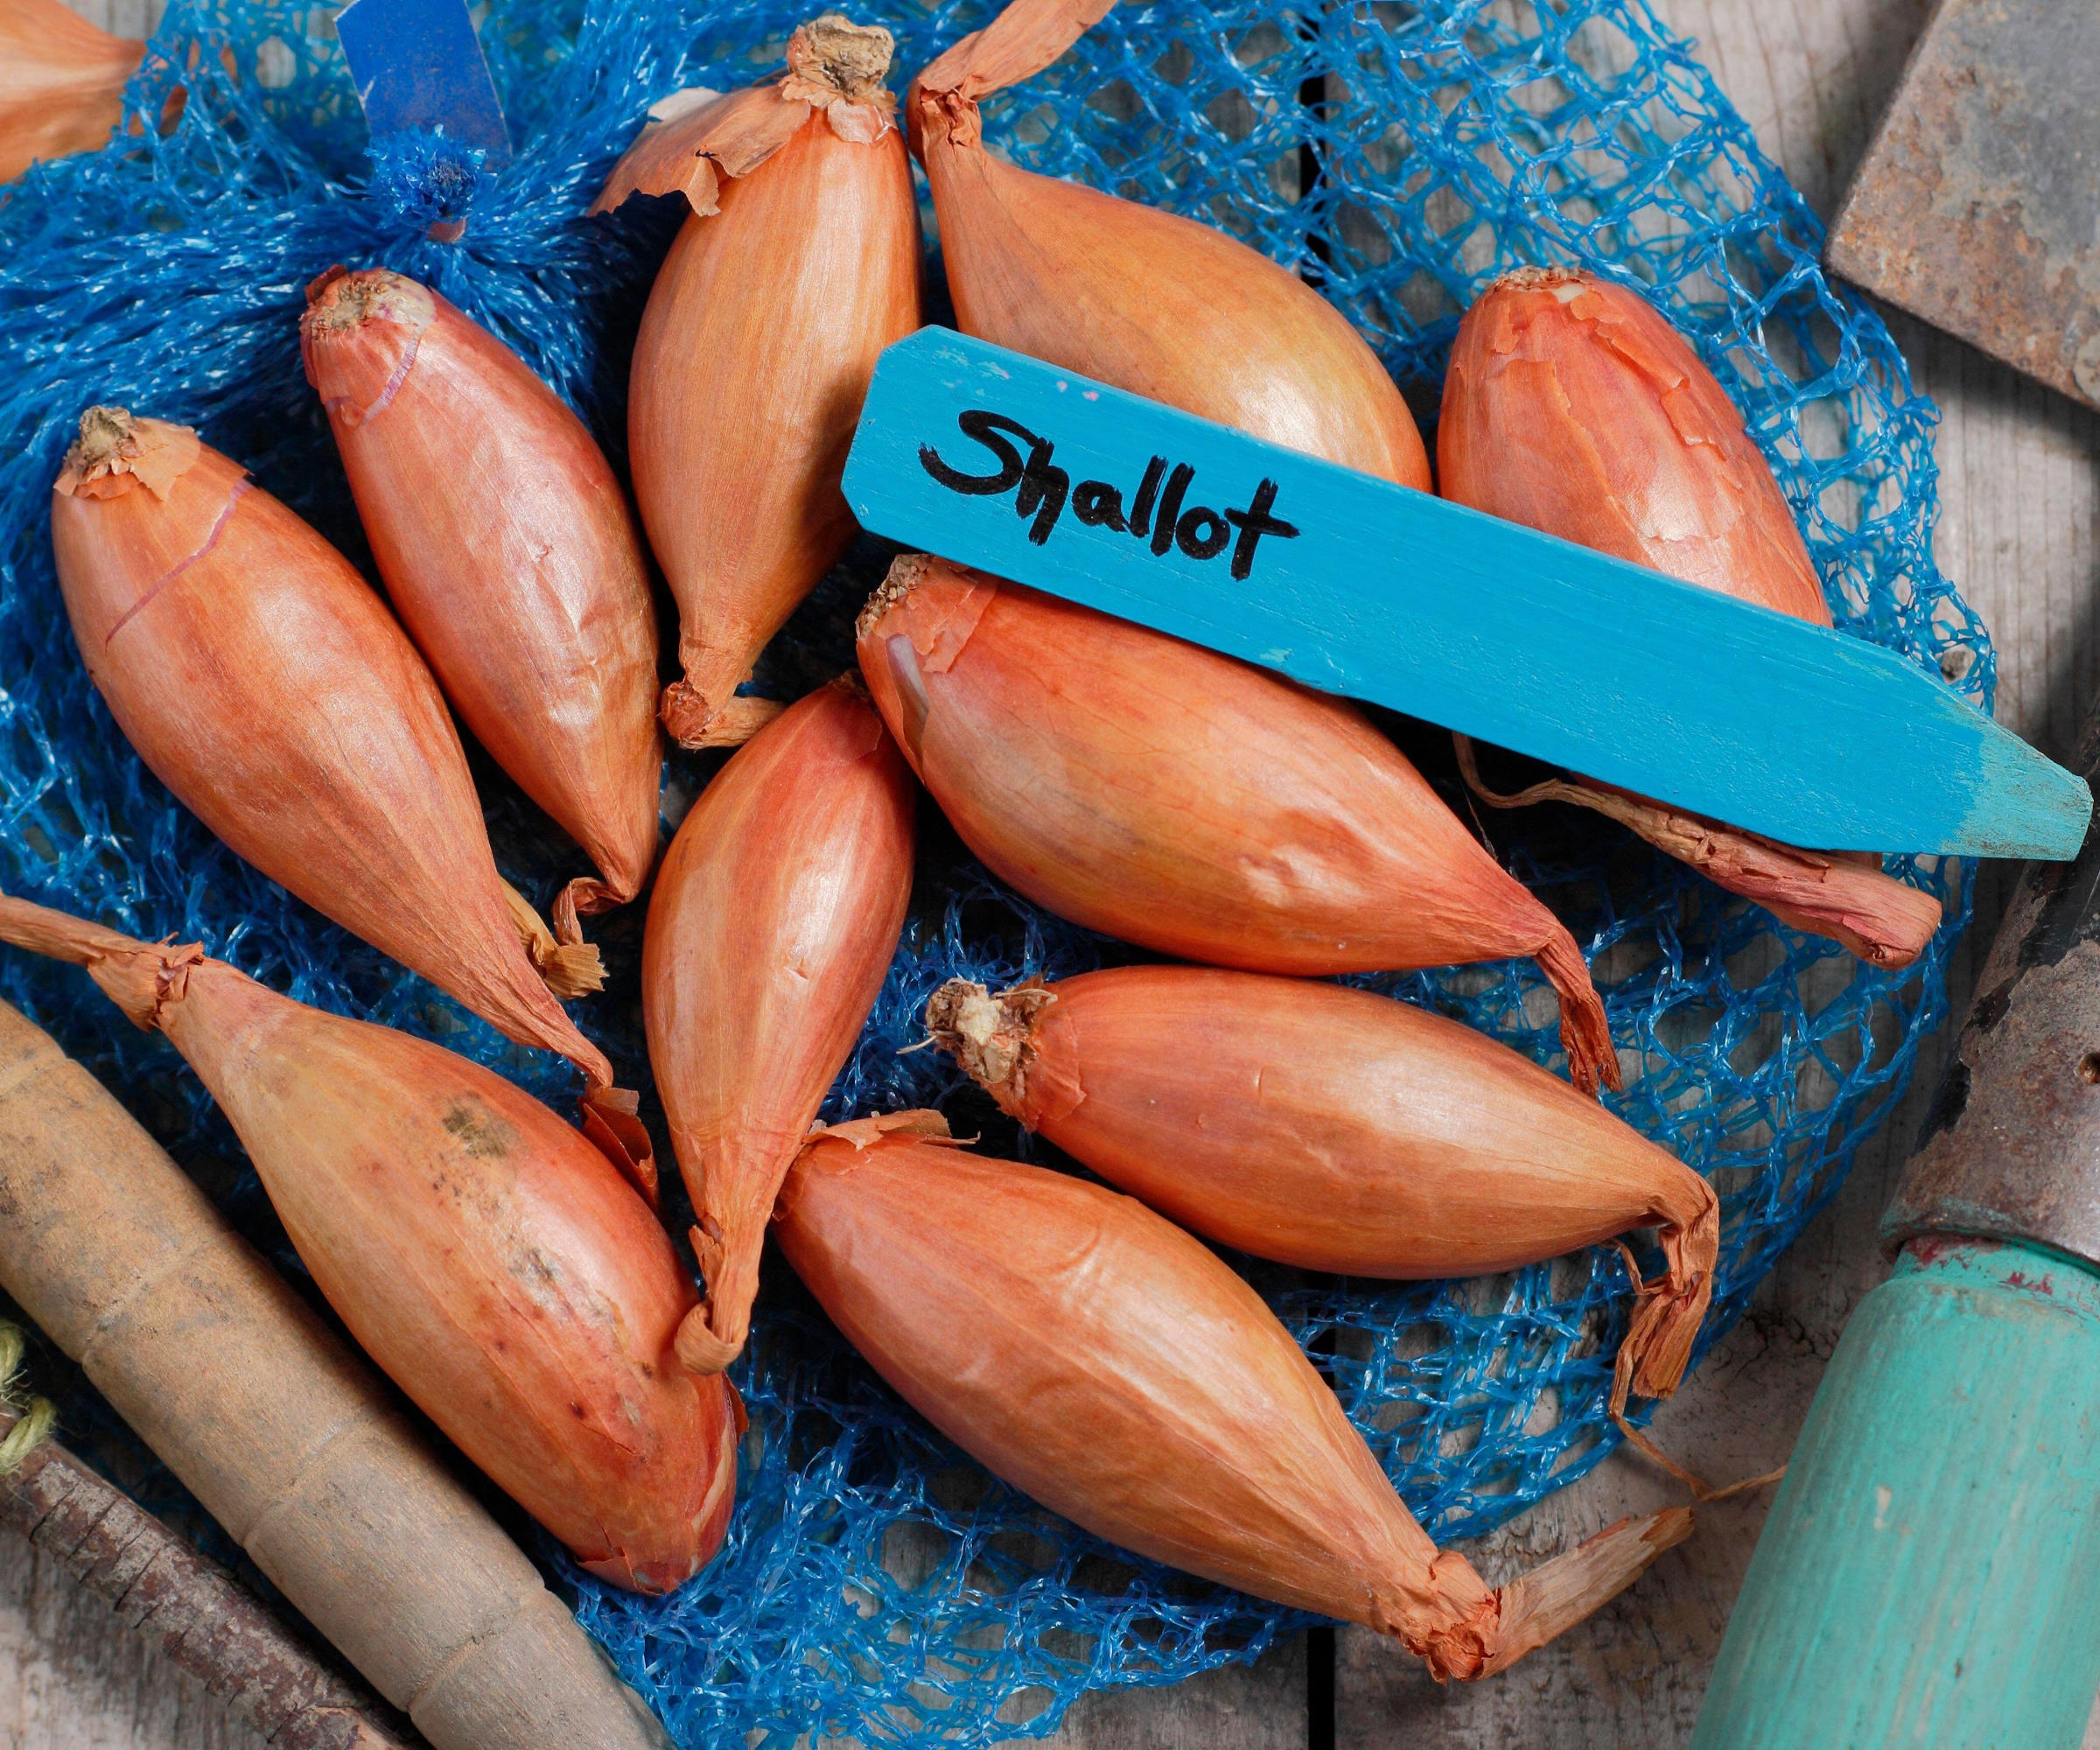
Sets are the easiest way of how to grow shallots
How to grow shallots from seed
Shallots can either be sown from seed directly into the growing space, or alternatively sown indoors as part of greenhouse ideas ready to be transplanted out in the garden once the risk of frost has passed.
To sow the seeds in situ, wait until the frosts have passed for your US hardiness zone, in early-to-mid spring, and the soil is workable. Sow the shallot seeds in rows around 12 inches apart and, when the seeds germinate, thin the shallots out to around 4-6 inches apart.
If you are planning a greenhouse, then you can sow shallot seeds in early spring. Sow the seeds into trays filled with a good quality seed compost and germinate them at temperatures of 50–60°F - you may need to use a heated propagator to ensure continued warmth.
Germination should be quick and the compost needs to be kept relatively moist. If you do not have a backyard greenhouse, you can germinate shallot seeds on a warm windowsill in a propagator. Harden off the seedlings before planting them out in the garden around 4-6 inches apart. This process for growing shallots from seed is very similar to if you want to sow and transplant onion seedlings into your garden, rather than growing them from sets.
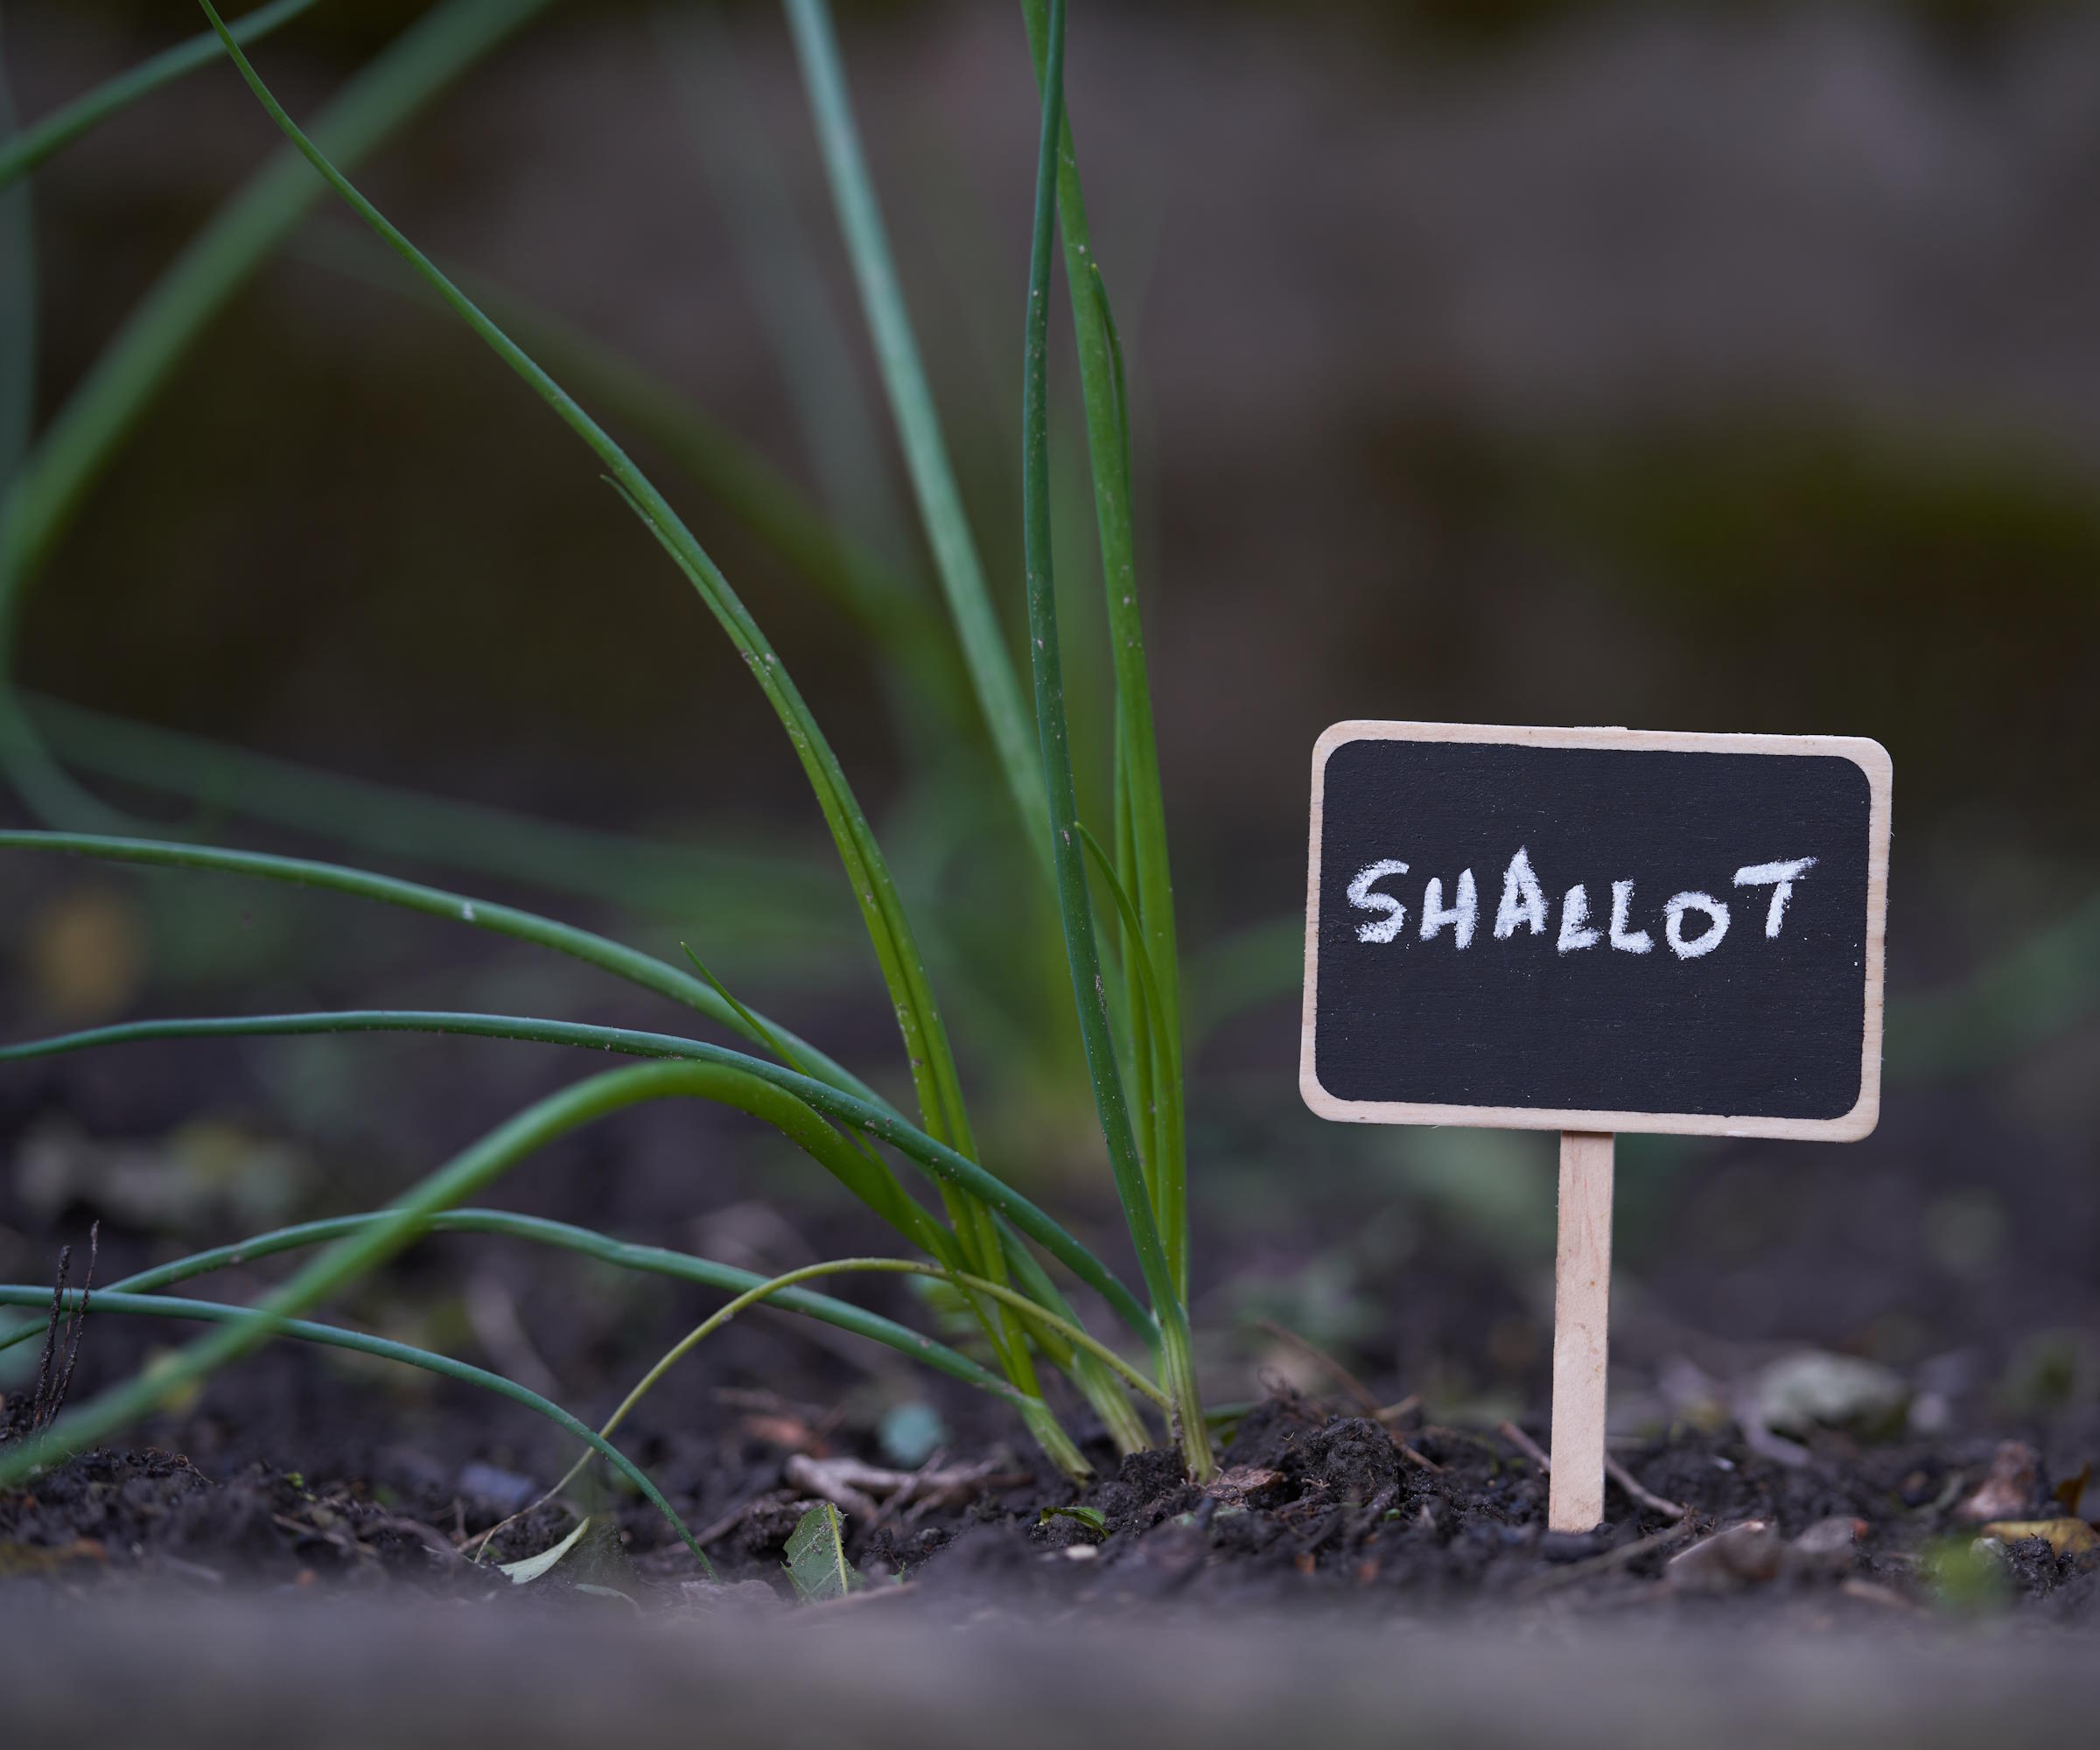
Seeds can either be sown in situ or started earlier indoors
How to care for shallots
Shallots should be kept well-weeded, they do not like too much competition and this can impact your eventual shallot harvest. The crop does also need to be regularly watered during extended dry spells. The soil ideally should be moist throughout the growing season, however they do not want to be sitting in extremely soggy soil as this runs the risk of the shallots rotting. When you water plants, try to only water the soil and not the foliage as this can increase the risk of fungal issues, such as mildew.
Fall-planted shallot sets will benefit from an application of a high-nitrogen fertilizer in spring to provide them with a boost of nutrients and help to prevent possible bolting. Shallots sown in spring tend to not require much more feeding other than when they are planted to help them grow healthy and strong throughout their growing season. An example of a high-nitrogen feed you could use is Natural Organic Blood Meal, available at Burpee.
Shallots are harvested from mid-summer onwards. In a similar vein to when to harvest onions, the time to pick is when the plant’s foliage starts to go yellow and fall down naturally. It is a quick and easy process to harvest shallots, simply use a garden fork to lift each clump of bulbs from the ground and carefully separate them at the base.
Lay the shallots in a sunny spot to dry - or lay them out in a frost proof garage, shed or greenhouse - and, once the skins are dry and papery, they can be stored somewhere cool and dry. Properly stored shallots can be kept for up to nine months and be used for all your culinary desires.
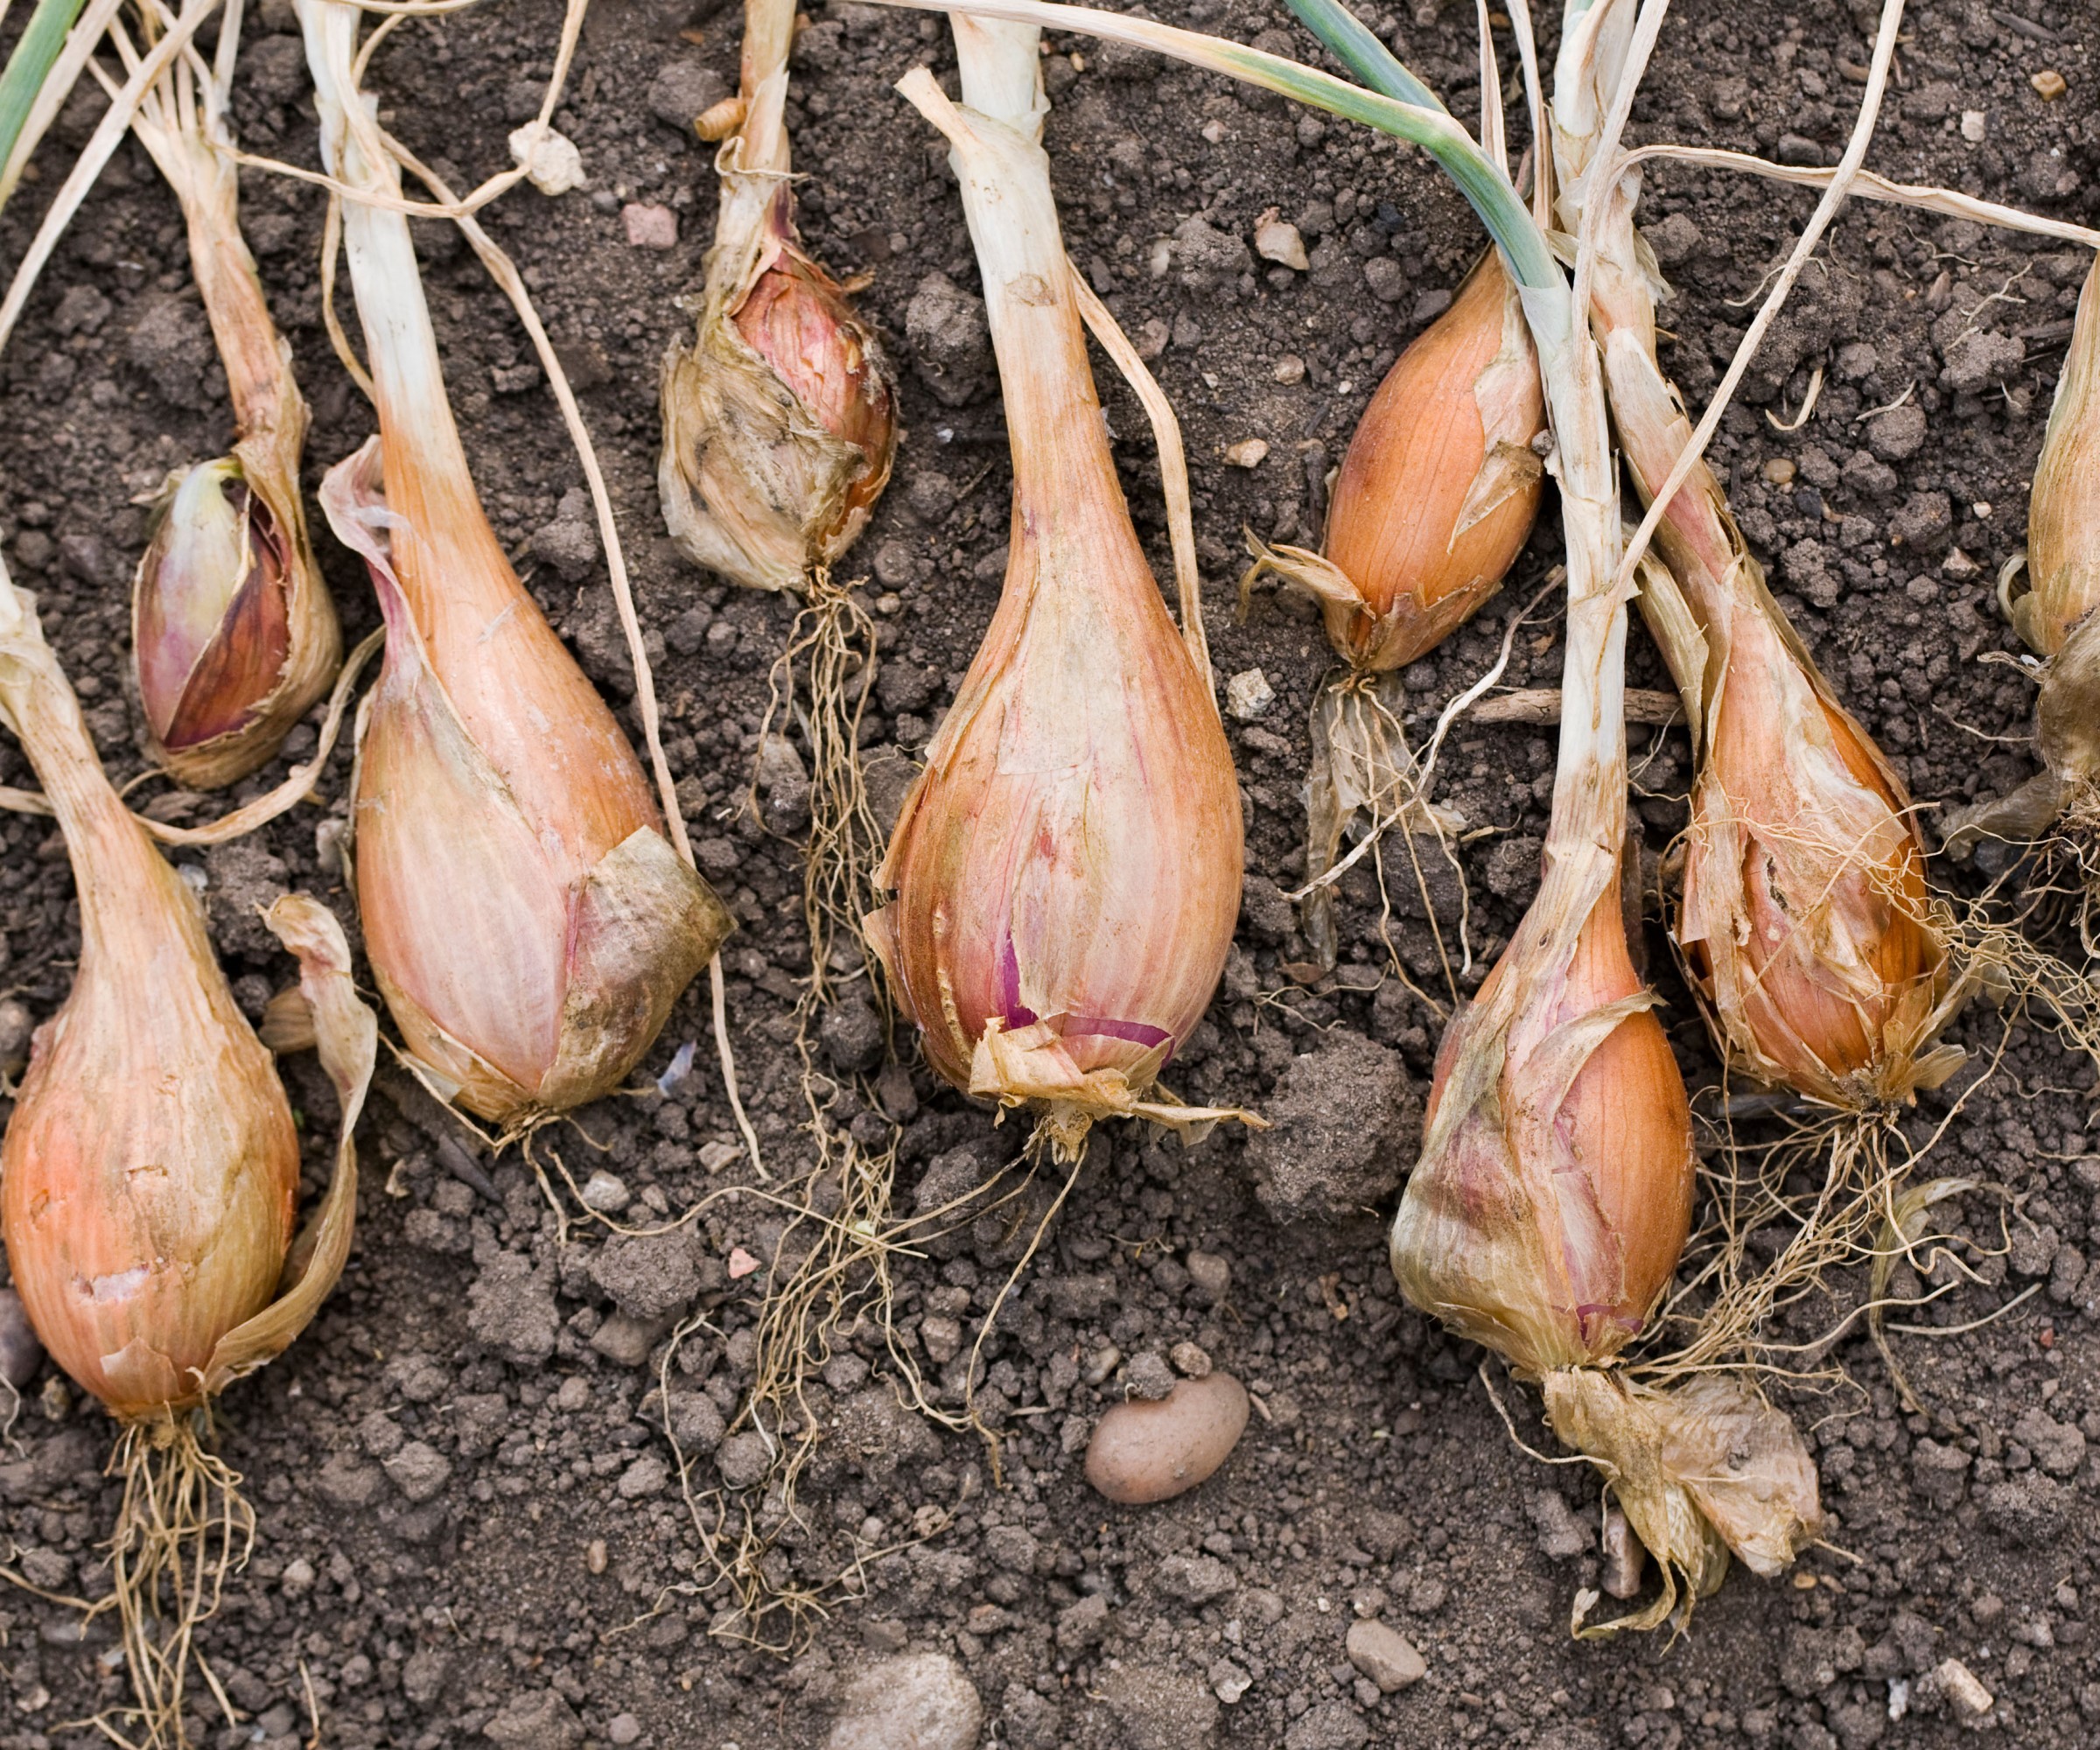
Shallots are separated when they are harvested and need to fully dry
How to grow shallots in pots
Shallots can be grown in pots, though you are likely to get smaller bulbs than when grown in the ground. It is important to use a large pot that has good holes in the bottom for drainage.
For example, a pot that is six inches wide can have one shallot set planted in it, which will give you a harvest of around half a dozen shallots. A 12 inch wide pot will be able to house two sets. Don’t be tempted to cram lots of sets, a tighter spacing may give you a larger number of bulbs but they will all be smaller in size.
When growing shallots in pots, place the container in a very sunny spot and make sure to regularly check and water the pot. A good way of avoiding signs of over-watering when watering plants in containers is to check the moisture levels below the surface using your fingers.
FAQs
How long do shallots take to grow?
Shallots can take around 6-7 months to go from a fall planting to being ready to harvest, while crops planted in spring are much quicker at around three months. Shallots planted in the fall do provide you with bigger bulbs, however they take a lot longer to mature. The length of time shallots take to grow will vary depending on the type, when they were planted, and the climate. However, shallots can be picked and used in the kitchen before they get to full size.
How many shallots do you get from one bulb?
Depending on the variety of shallot you are growing, you can expect to get between six and 12 shallots from one bulb. A wider spacing of bulbs when planting can give you a higher number of new bulbs produced, and a larger overall harvest.
Can you grow a shallot from a shallot?
If you have grown healthy shallots, then it is conceivable to save some of your bulbs to replant again. It is not always ideal to grow shallots from store-bought ones though, as they are not guaranteed to be disease-free and you could risk bringing allium diseases into your garden.
It is the same when it comes to growing garlic from grocery store garlic, unless you are at a farmers market and can speak to the grower directly, then planting store-bought bulbs comes at a gamble.
If you are looking for more alternatives to growing the classic onions, there are many perennial onions that you can consider. These plants are often very easy to maintain and can give you a harvest year-after-year.
Some fantastic options for perennial onions include Egyptian walking onions and potato onions - the latter of which are similar to shallots and multiply to produce many offsets year-on-year.
Sign up to the Homes & Gardens newsletter
Design expertise in your inbox – from inspiring decorating ideas and beautiful celebrity homes to practical gardening advice and shopping round-ups.

Drew’s passion for gardening started with growing vegetables and salad in raised beds in a small urban terrace garden. He has worked as a professional gardener in historic gardens and specialises in growing vegetables, fruit, herbs, and cut flowers as a kitchen gardener. That passion for growing extends to being an allotmenteer, garden blogger, and producing how-to gardening guides for websites. Drew was shortlisted for the New Talent of the Year award at the 2023 Garden Media Guild Awards.
-
 9 things you can clean with glycerin – this cheap and natural cleaner is perfect for indoor and outdoor use
From patio furniture to silverware, this hydrating and gentle cleaning agent will work miracles
By Ciéra Cree Published
-
 Martha Stewart's houses – inside her most iconic properties, from Cantitoe Corners to Turkey Hill
The lifestyle guru built her legacy around her homes, some of which are the most recognized homes in modern American history – we explore her portfolio
By Megan Slack Published