How to grow rutabaga – tips for growing this underappreciated sweet and earthy crop from seed
It is possible to enjoy two harvesting seasons for rutabaga each year
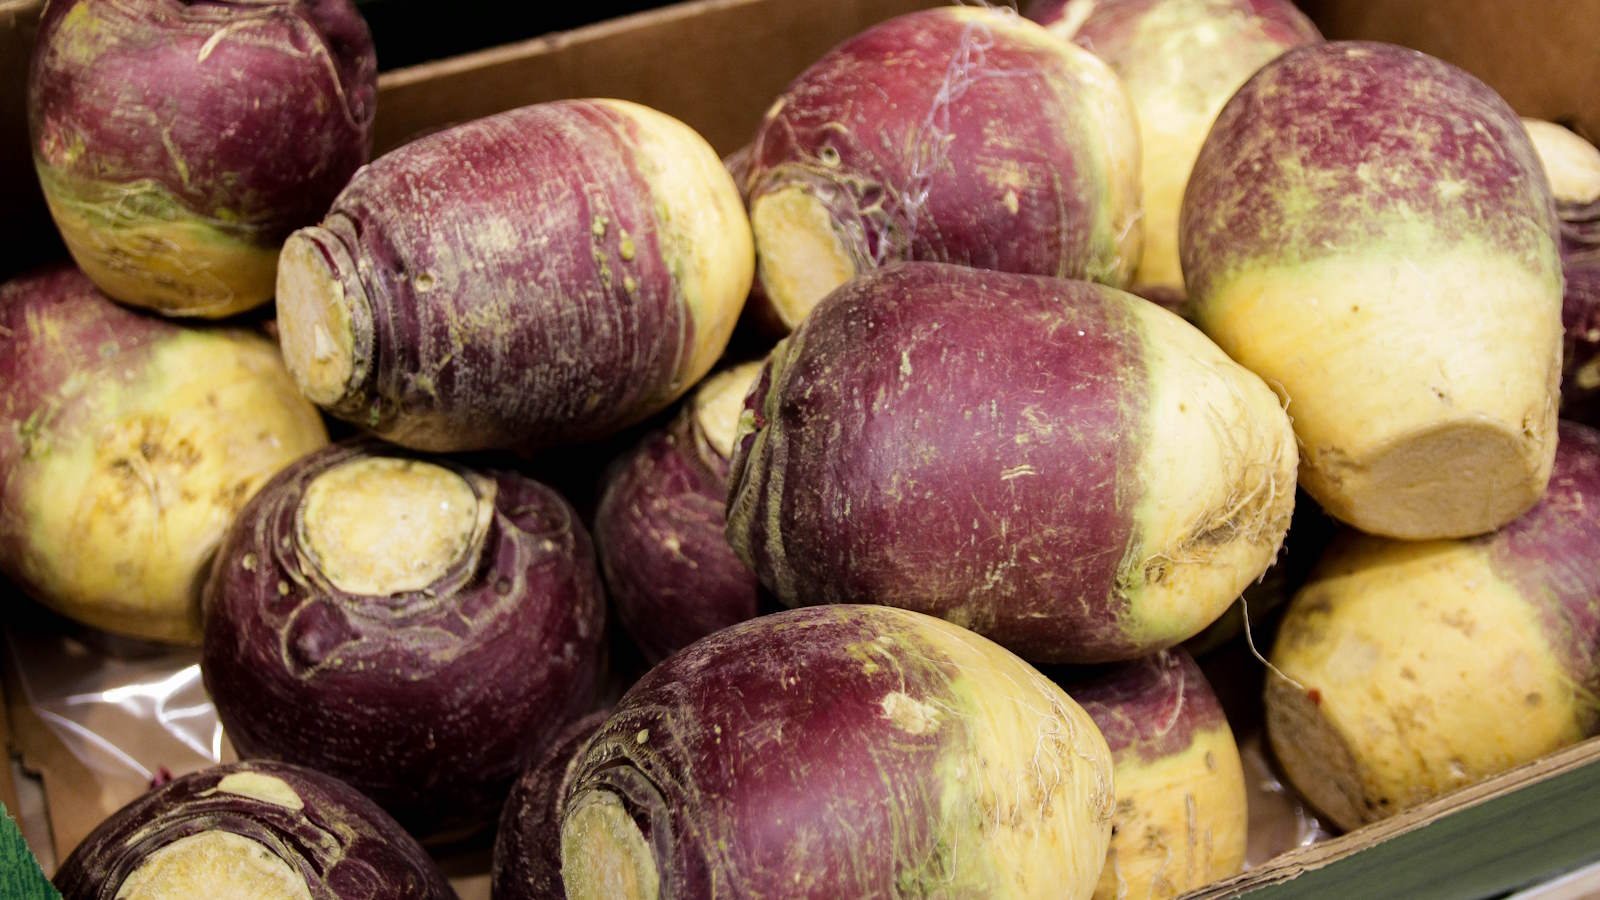
Rutabaga are hardy brassica crops that have been grown around the world for centuries, but these often-overlooked vegetables are only recently experiencing a bit of a renaissance among growers.
Rutabaga is a crop known by many names around the globe, including swede or swedish turnip. They are often confused with the more-popular turnip, however the large oval bulbs of rutabaga have a longer growing season and are ready to harvest from late summer onwards.
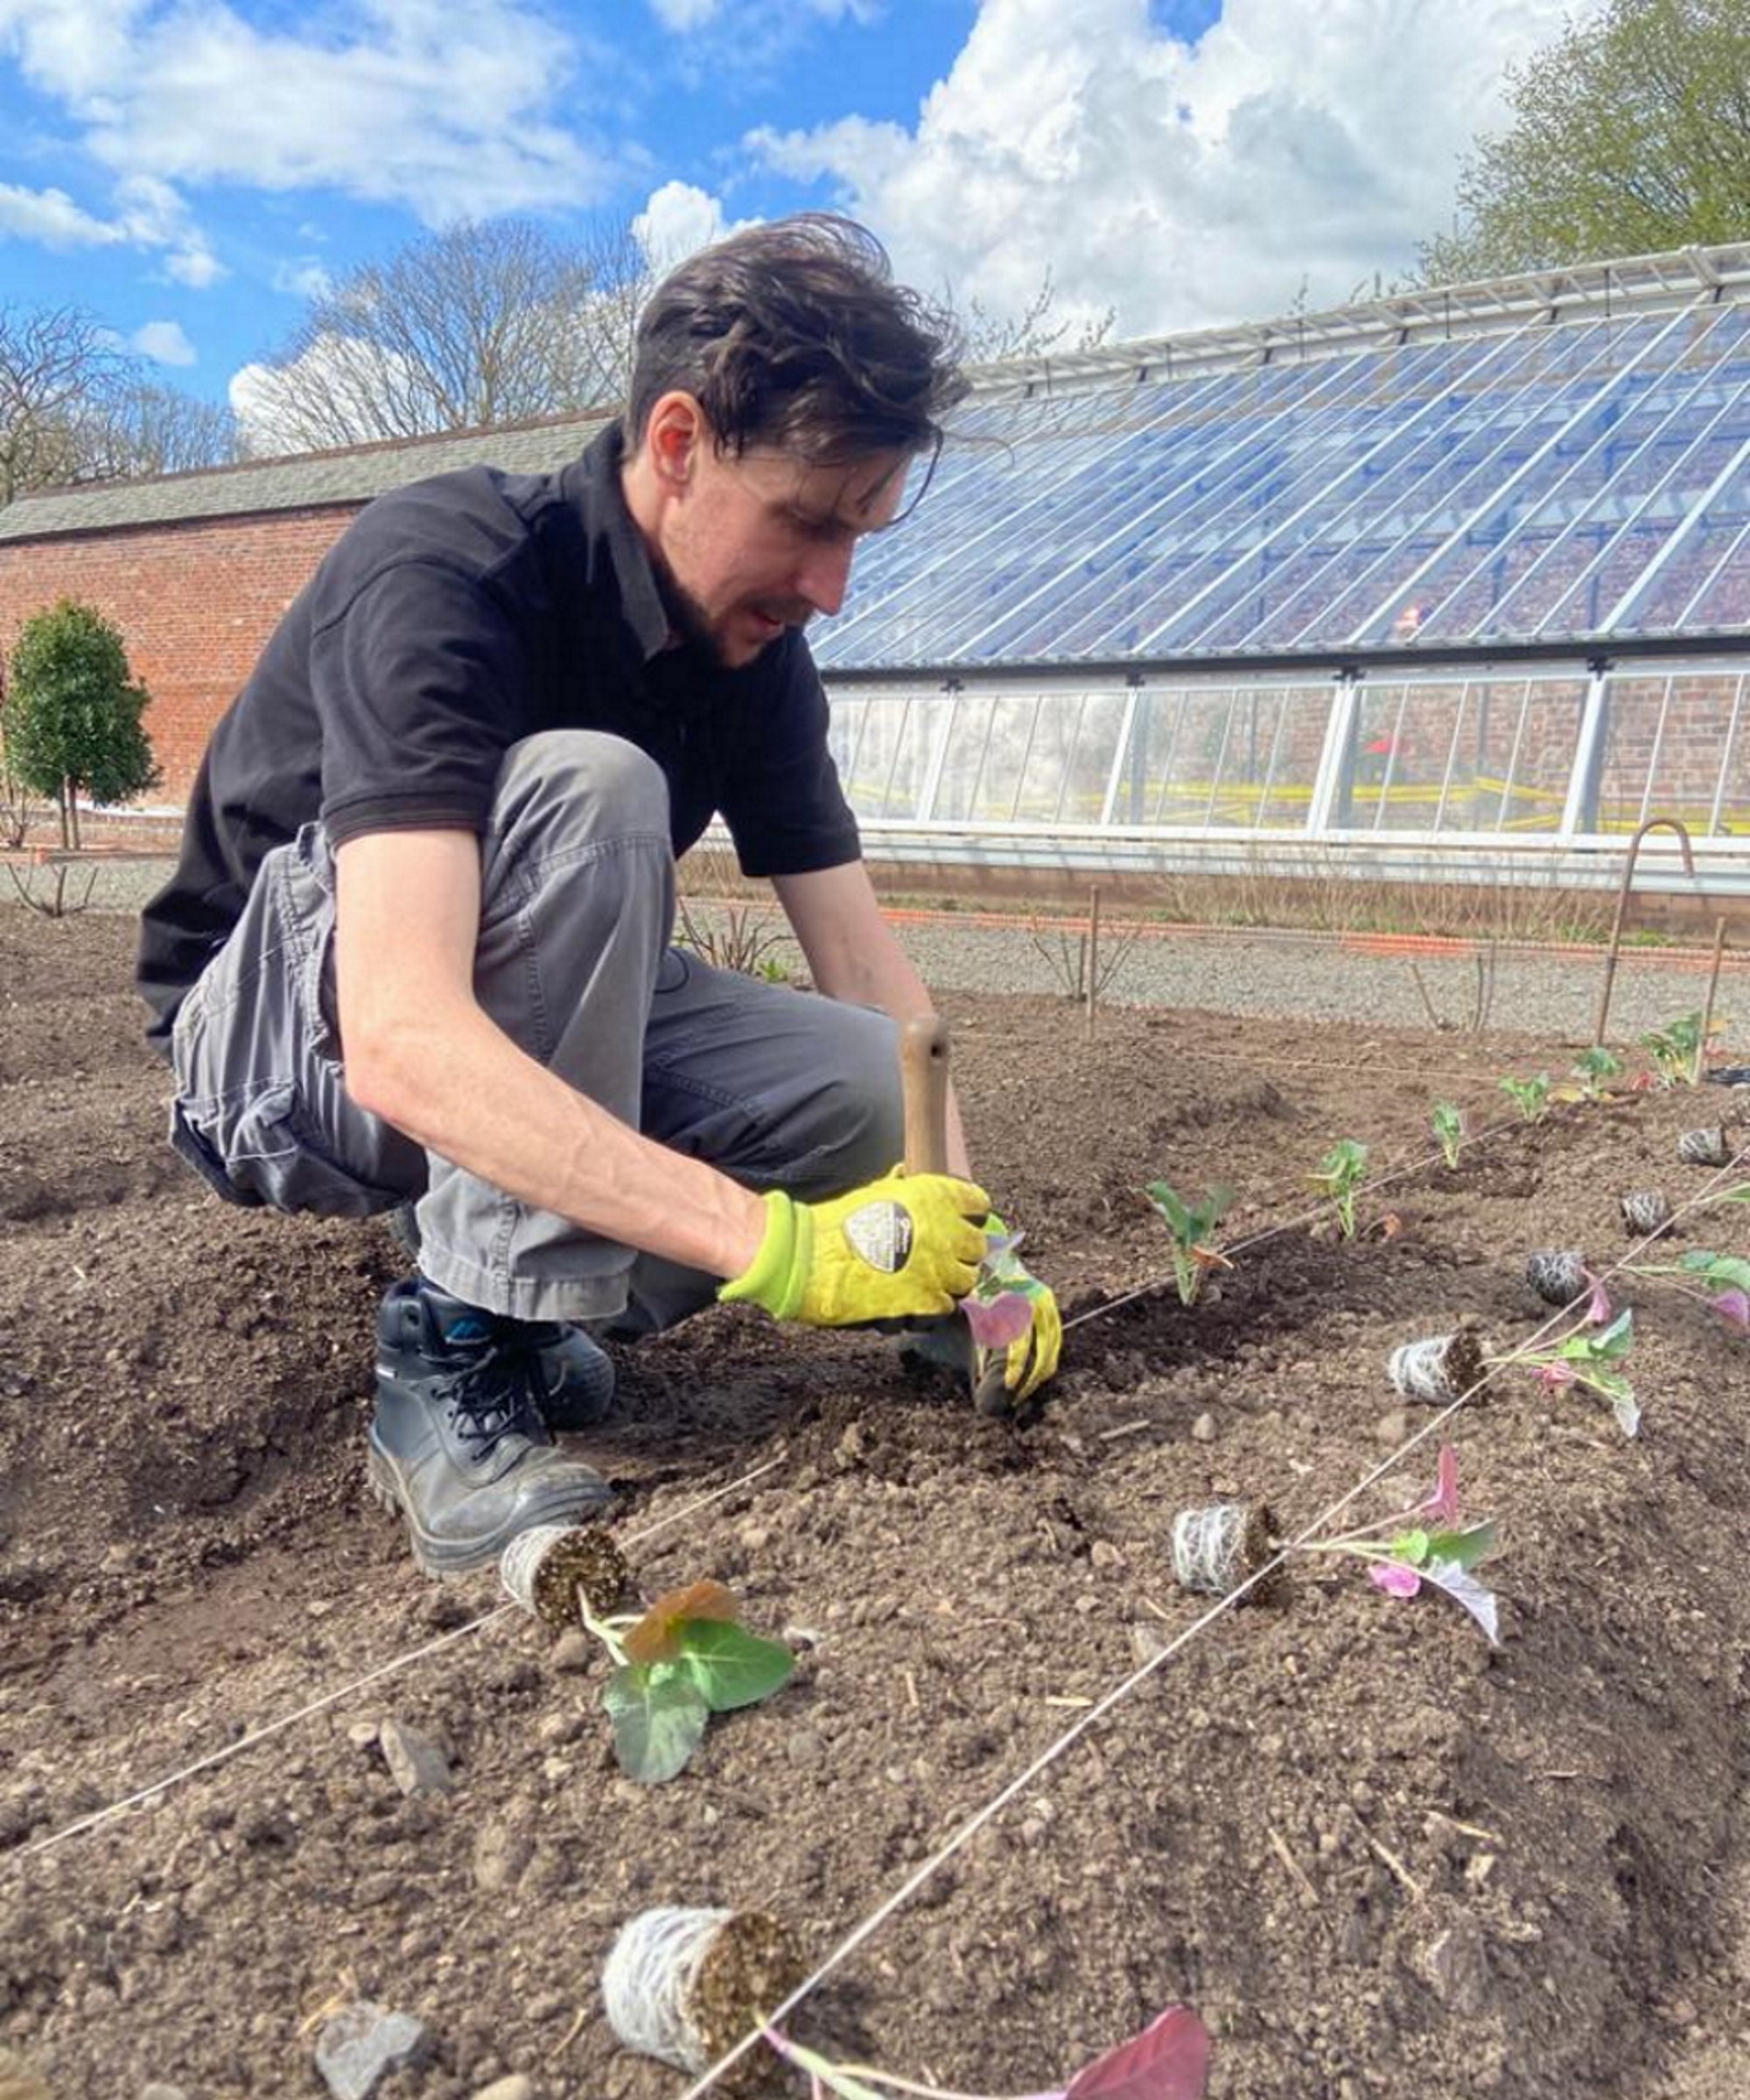
I have grown rutabaga for many years in vegetable gardens, both for chefs and to sell to the public. It is a simple vegetable to grow and both the yellow and purple-fleshed varieties of rutabaga were always popular with chefs I grew vegetables for.
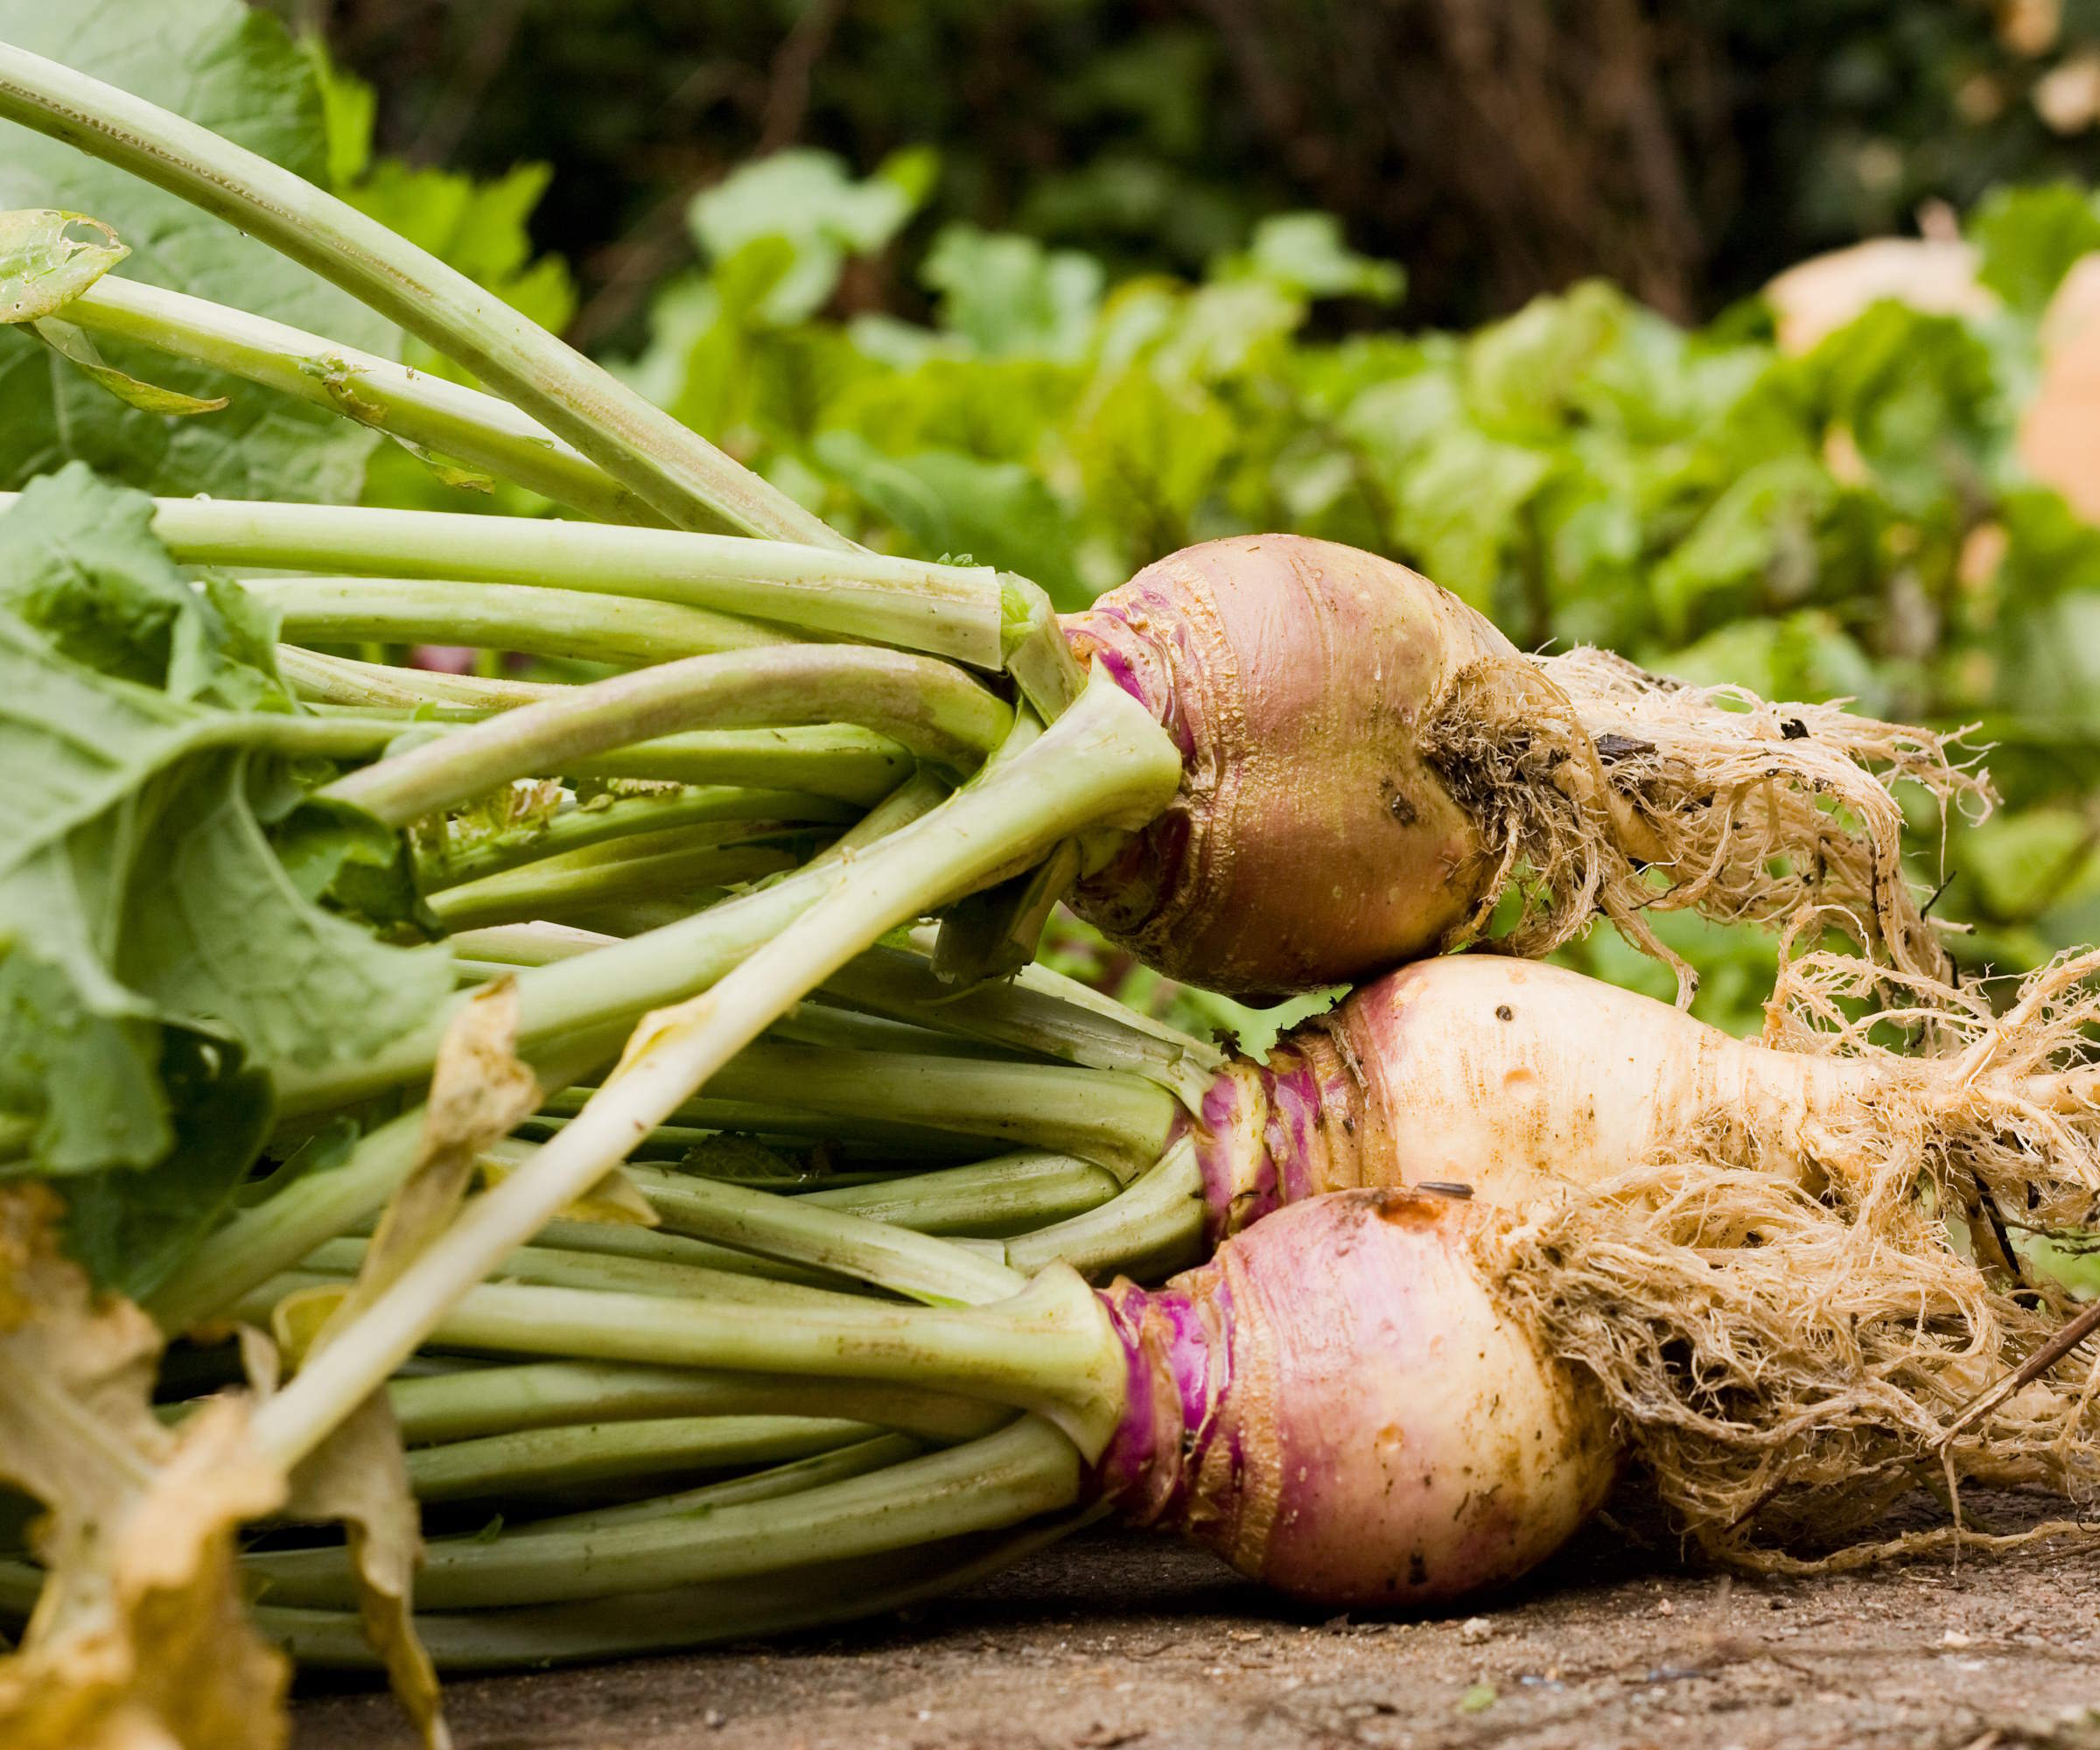
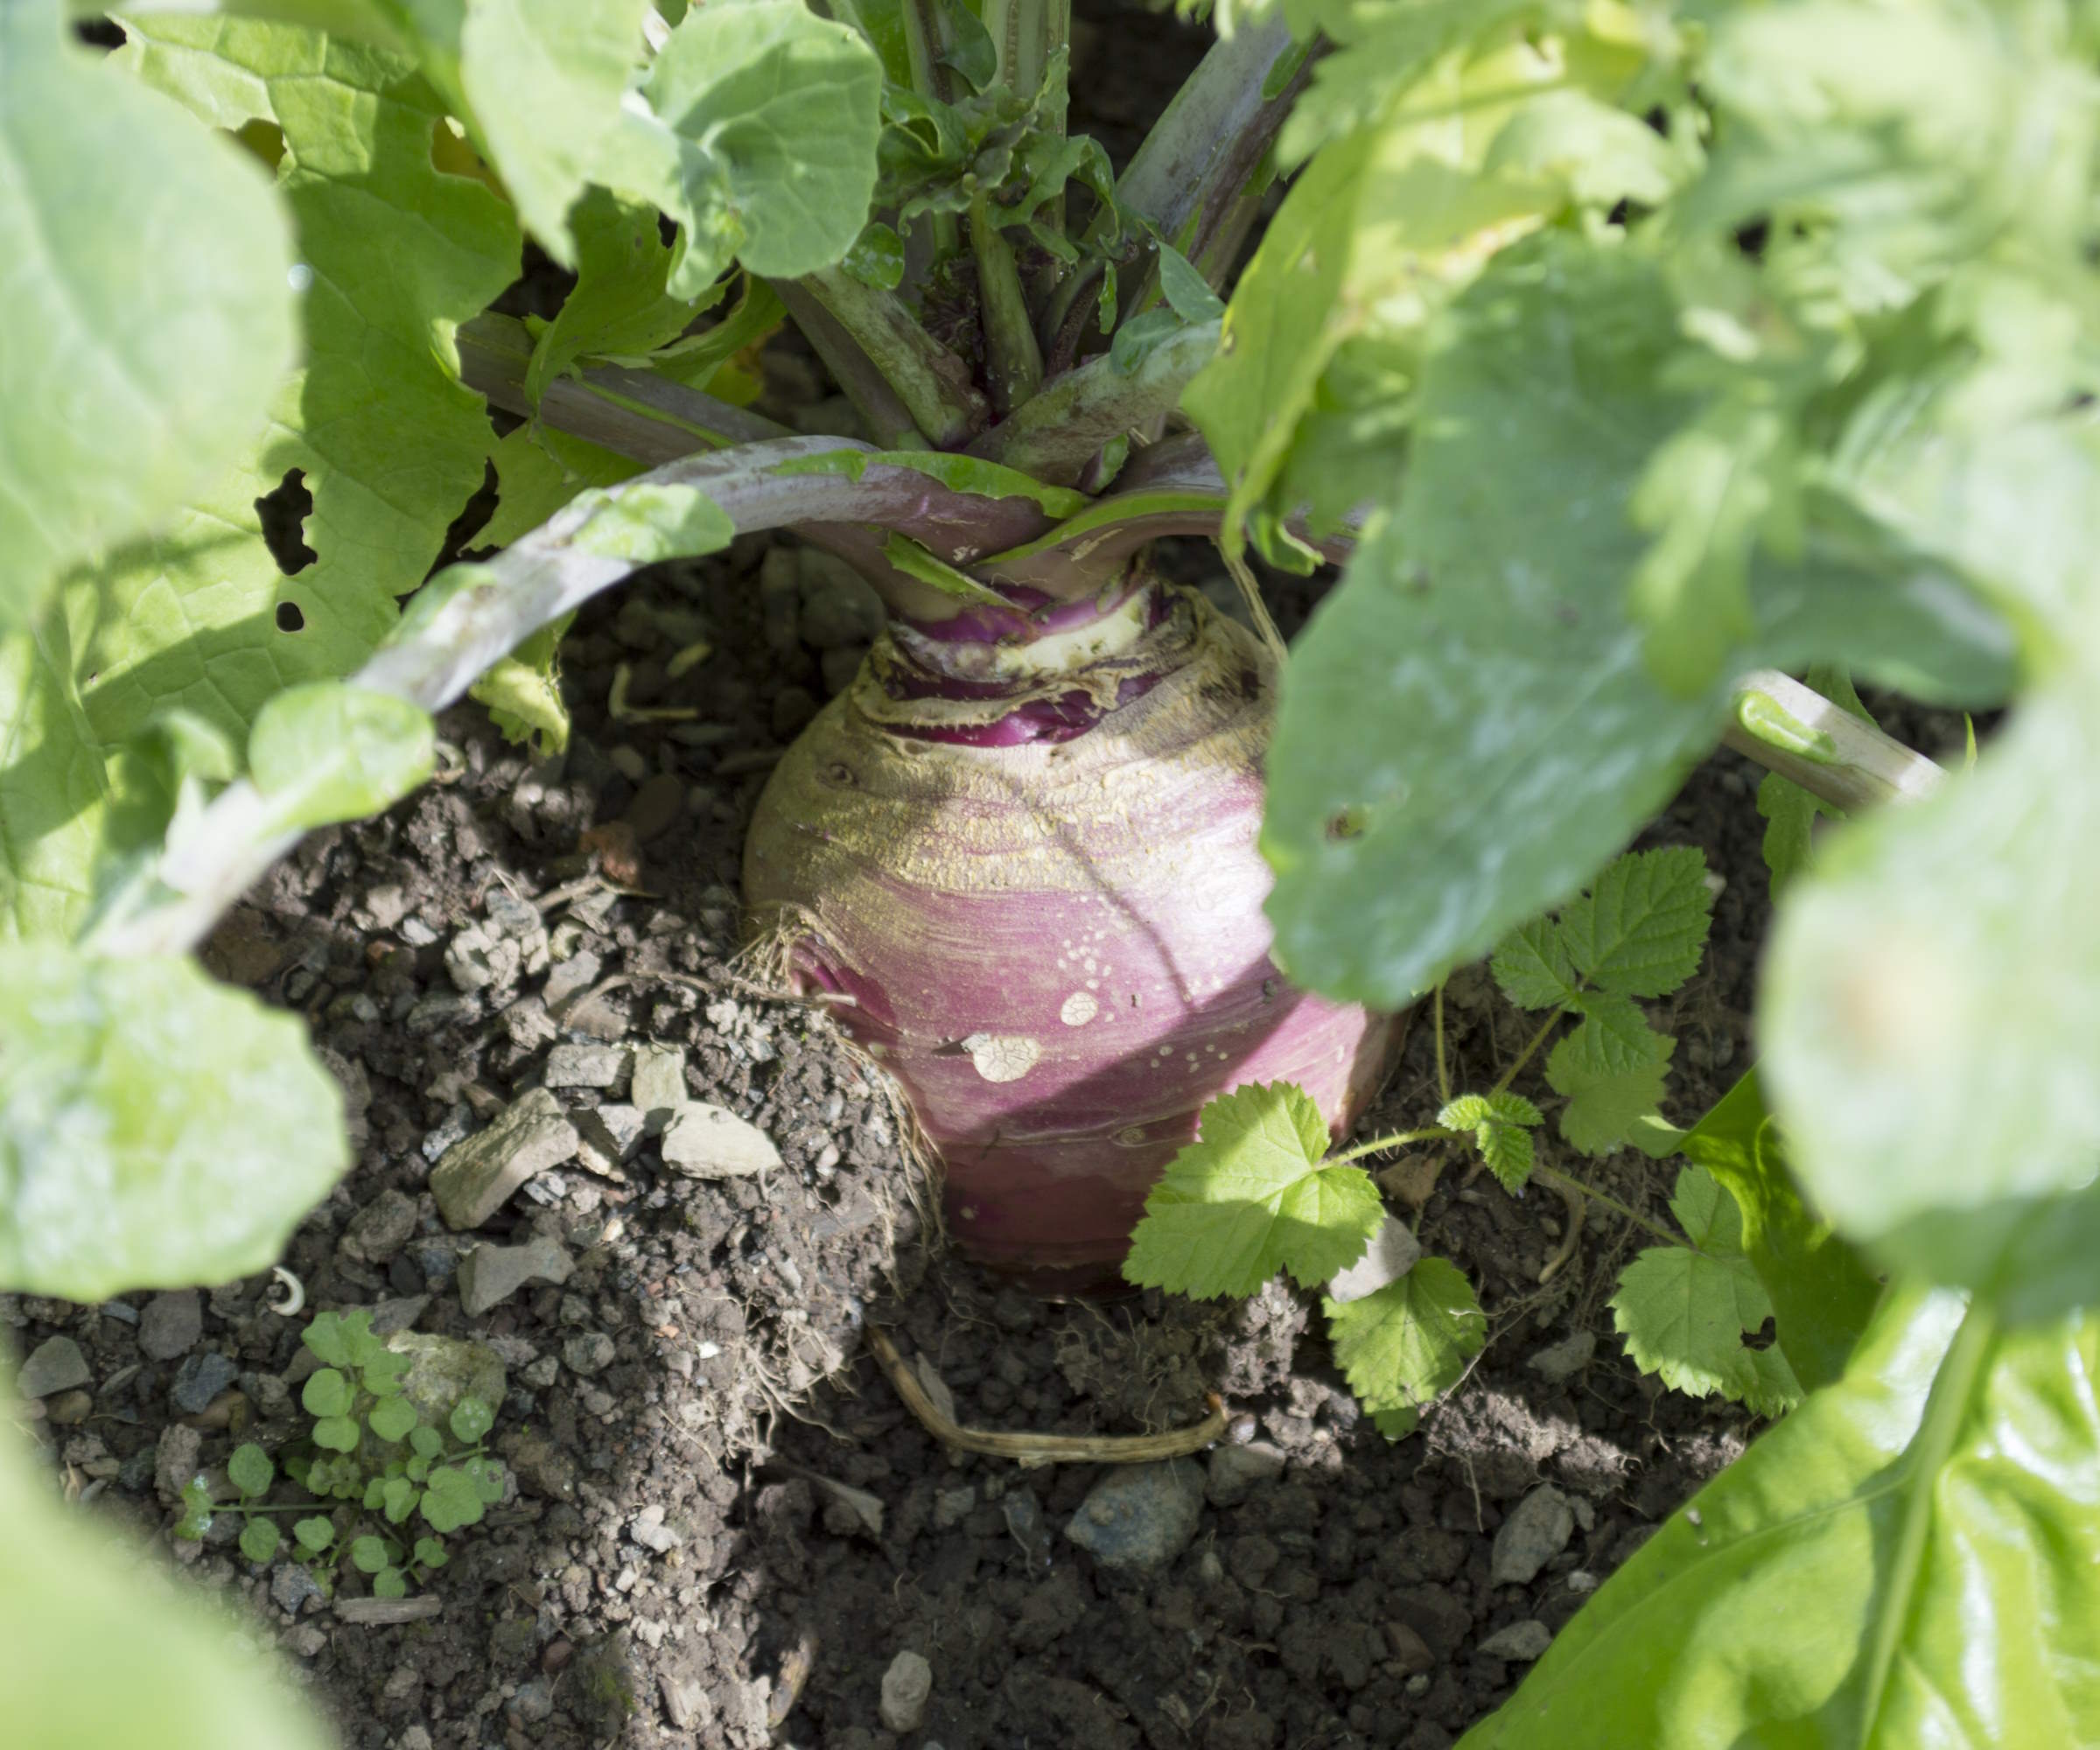
Rutabaga form flavorful bulbs that are best picked around 5 inches in diameter
Are turnips and rutabagas the same?
Turnips and rutabaga are both brassicas and people may struggle to differentiate between the two. There are many differences between the two crops. Turnips are smaller than rutabaga and tend to have white flesh, compared to the yellow or purple flesh of different varieties of rutabaga. There is also a difference in taste; rutabaga has a sweet flavor while turnips have a more bitter taste.
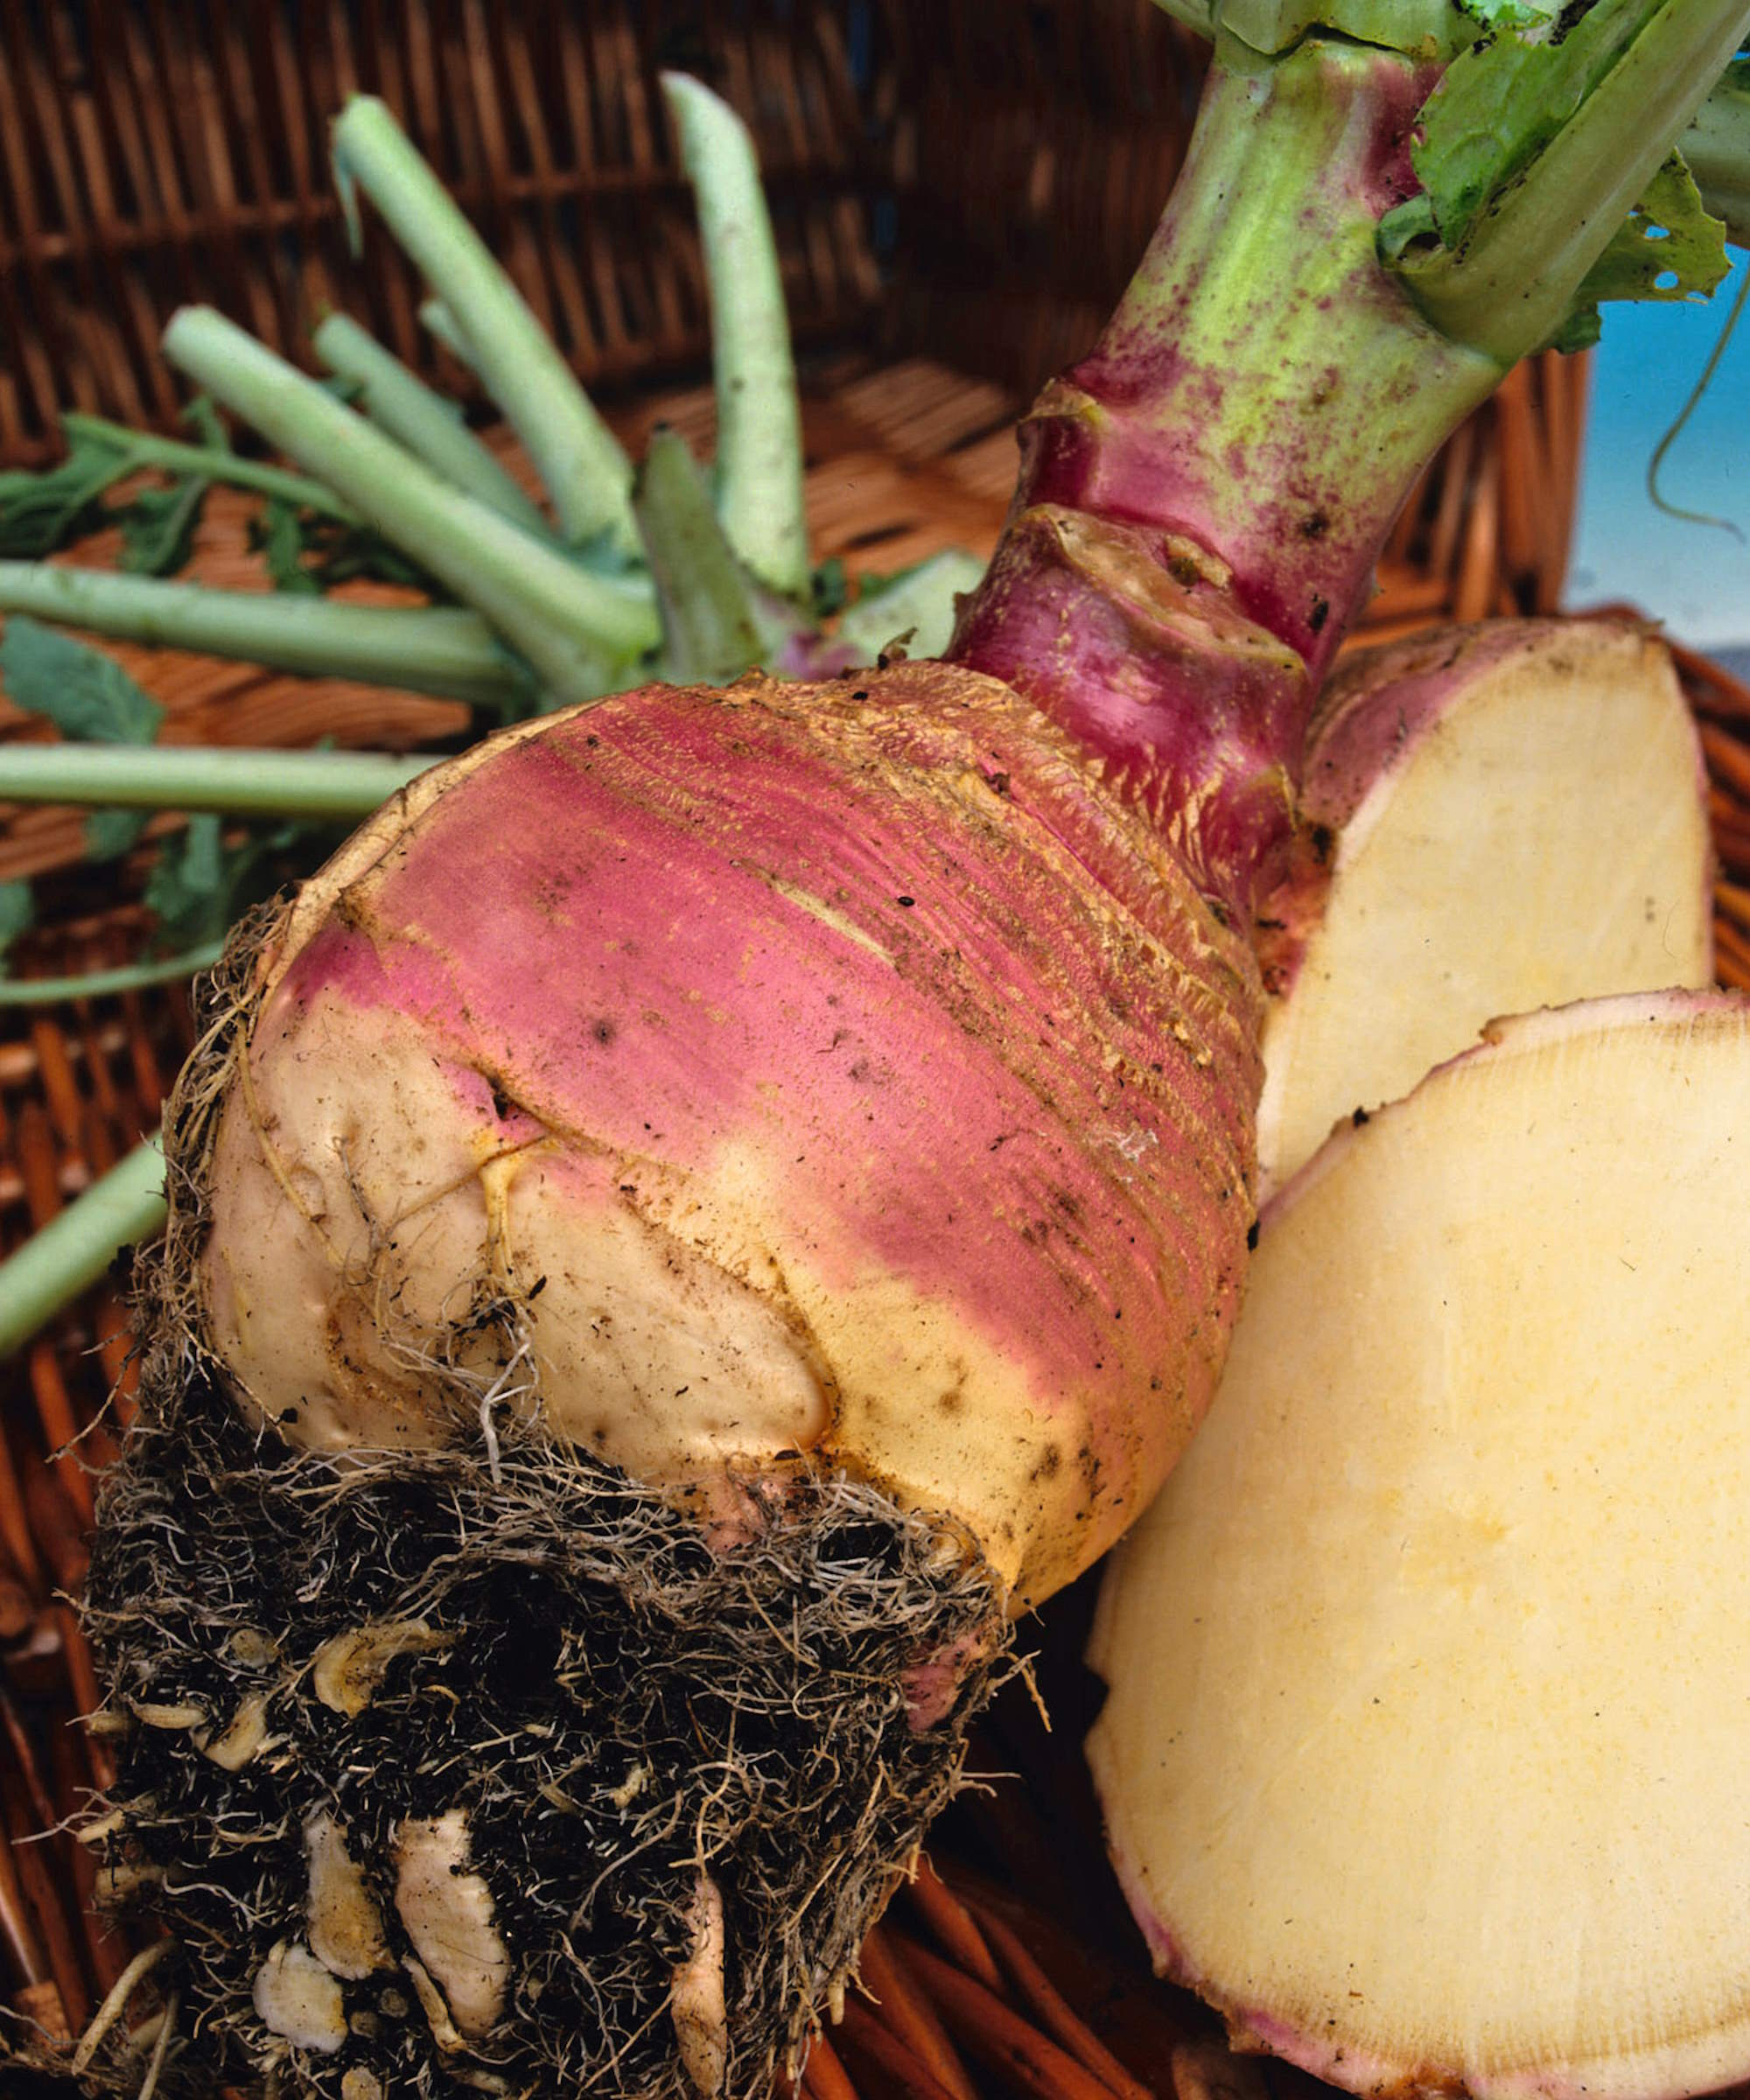
Rutabaga varieties are purple or yellow in color
How to grow rutabaga from seed
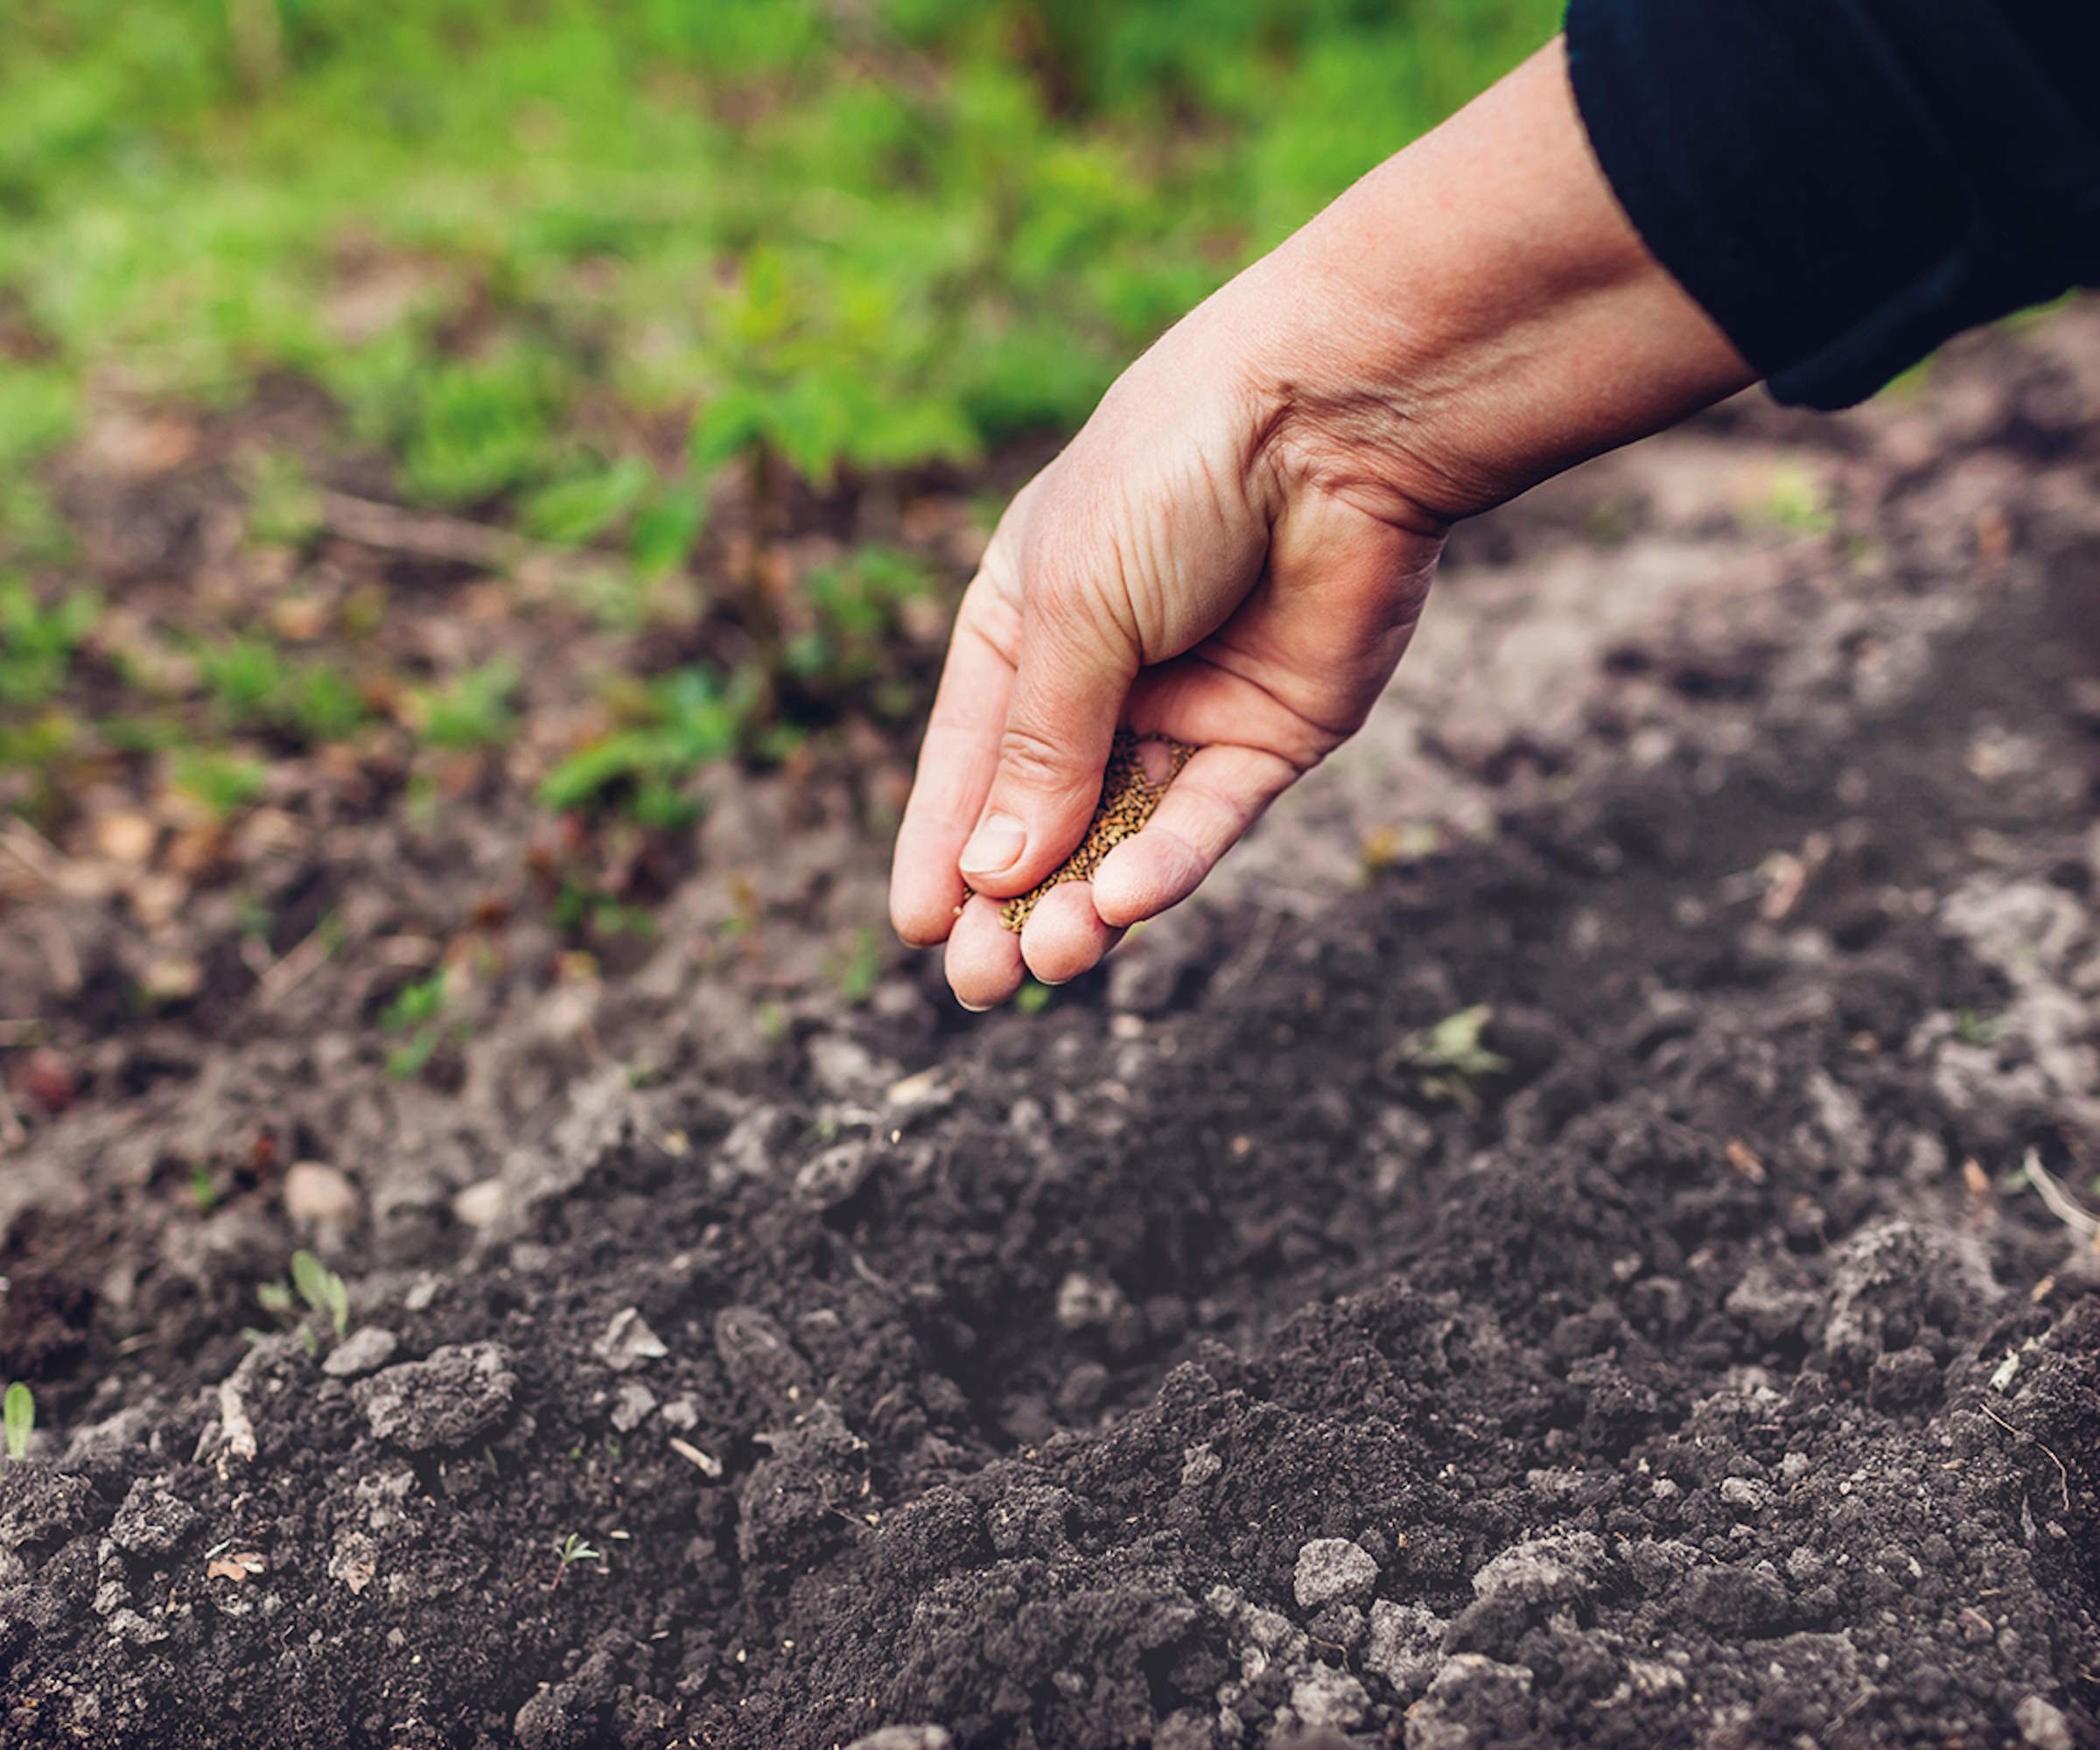
Growing rutabaga is commonly done by sowing seeds directly into the ground
Rutabaga is traditionally sown directly into the ground, starting in spring or early summer depending on your climate. Crystal Jarvis, garden consultant at Lettuce Grow Something, says your US hardiness zone will impact when to plant the vegetable, and also whether it is possible to enjoy two sowing seasons each year.
‘In the southern US (or warmer climates) there are two opportunities to grow rutabaga, first being early spring with a harvest before the heat of the summer and then second planting would be 90 days before the anticipated first frost of the fall,’ she says.
‘The best time to grow rutabagas is this summer to fall planting as a frost will help sweeten the flavor of the rutabagas. For our more northern friends it is best to plant in May or June for a fall harvest.’
When it comes to how to plant rutabaga seeds, sow them very thinly around half-an-inch deep in rows spaced 15-18 inches apart. Thin the seedlings in stages over time until your rutabaga seedlings are nine inches apart.
Katie Burdett, garden expert and owner of Growing With Gertie, claims that ‘because of the long growing season for rutabaga, using transplants is recommended’. While not a traditional method, I myself have started rutabaga indoors in module trays in a greenhouse.
To start these vegetable seeds indoors, fill a module tray - which is preferential to sowing into seed trays and potting up as it reduces the amount of root disturbance - with seed compost from mid-spring and sow two seeds per module, thinning out the seedlings to leave only the strongest. An example of trays you could use include these Seedling Starter Trays at Amazon that have large modules to help minimize any root disturbance.
Keep the compost moist and germination should be quick at temperatures above 52F. Transplant the seedlings out into the garden from late spring onwards.
You can see the range of rutabaga seeds at True Leaf Market

Crystal Jarvis is Owner and Garden Consultant of Lettuce Grow Something. They design beautiful raised bed kitchen gardens for the novice to expert gardener in Austin, TX and virtually all over the world. She is skilled in raised bed garden design and organic vegetable gardening.
Where to grow rutabaga
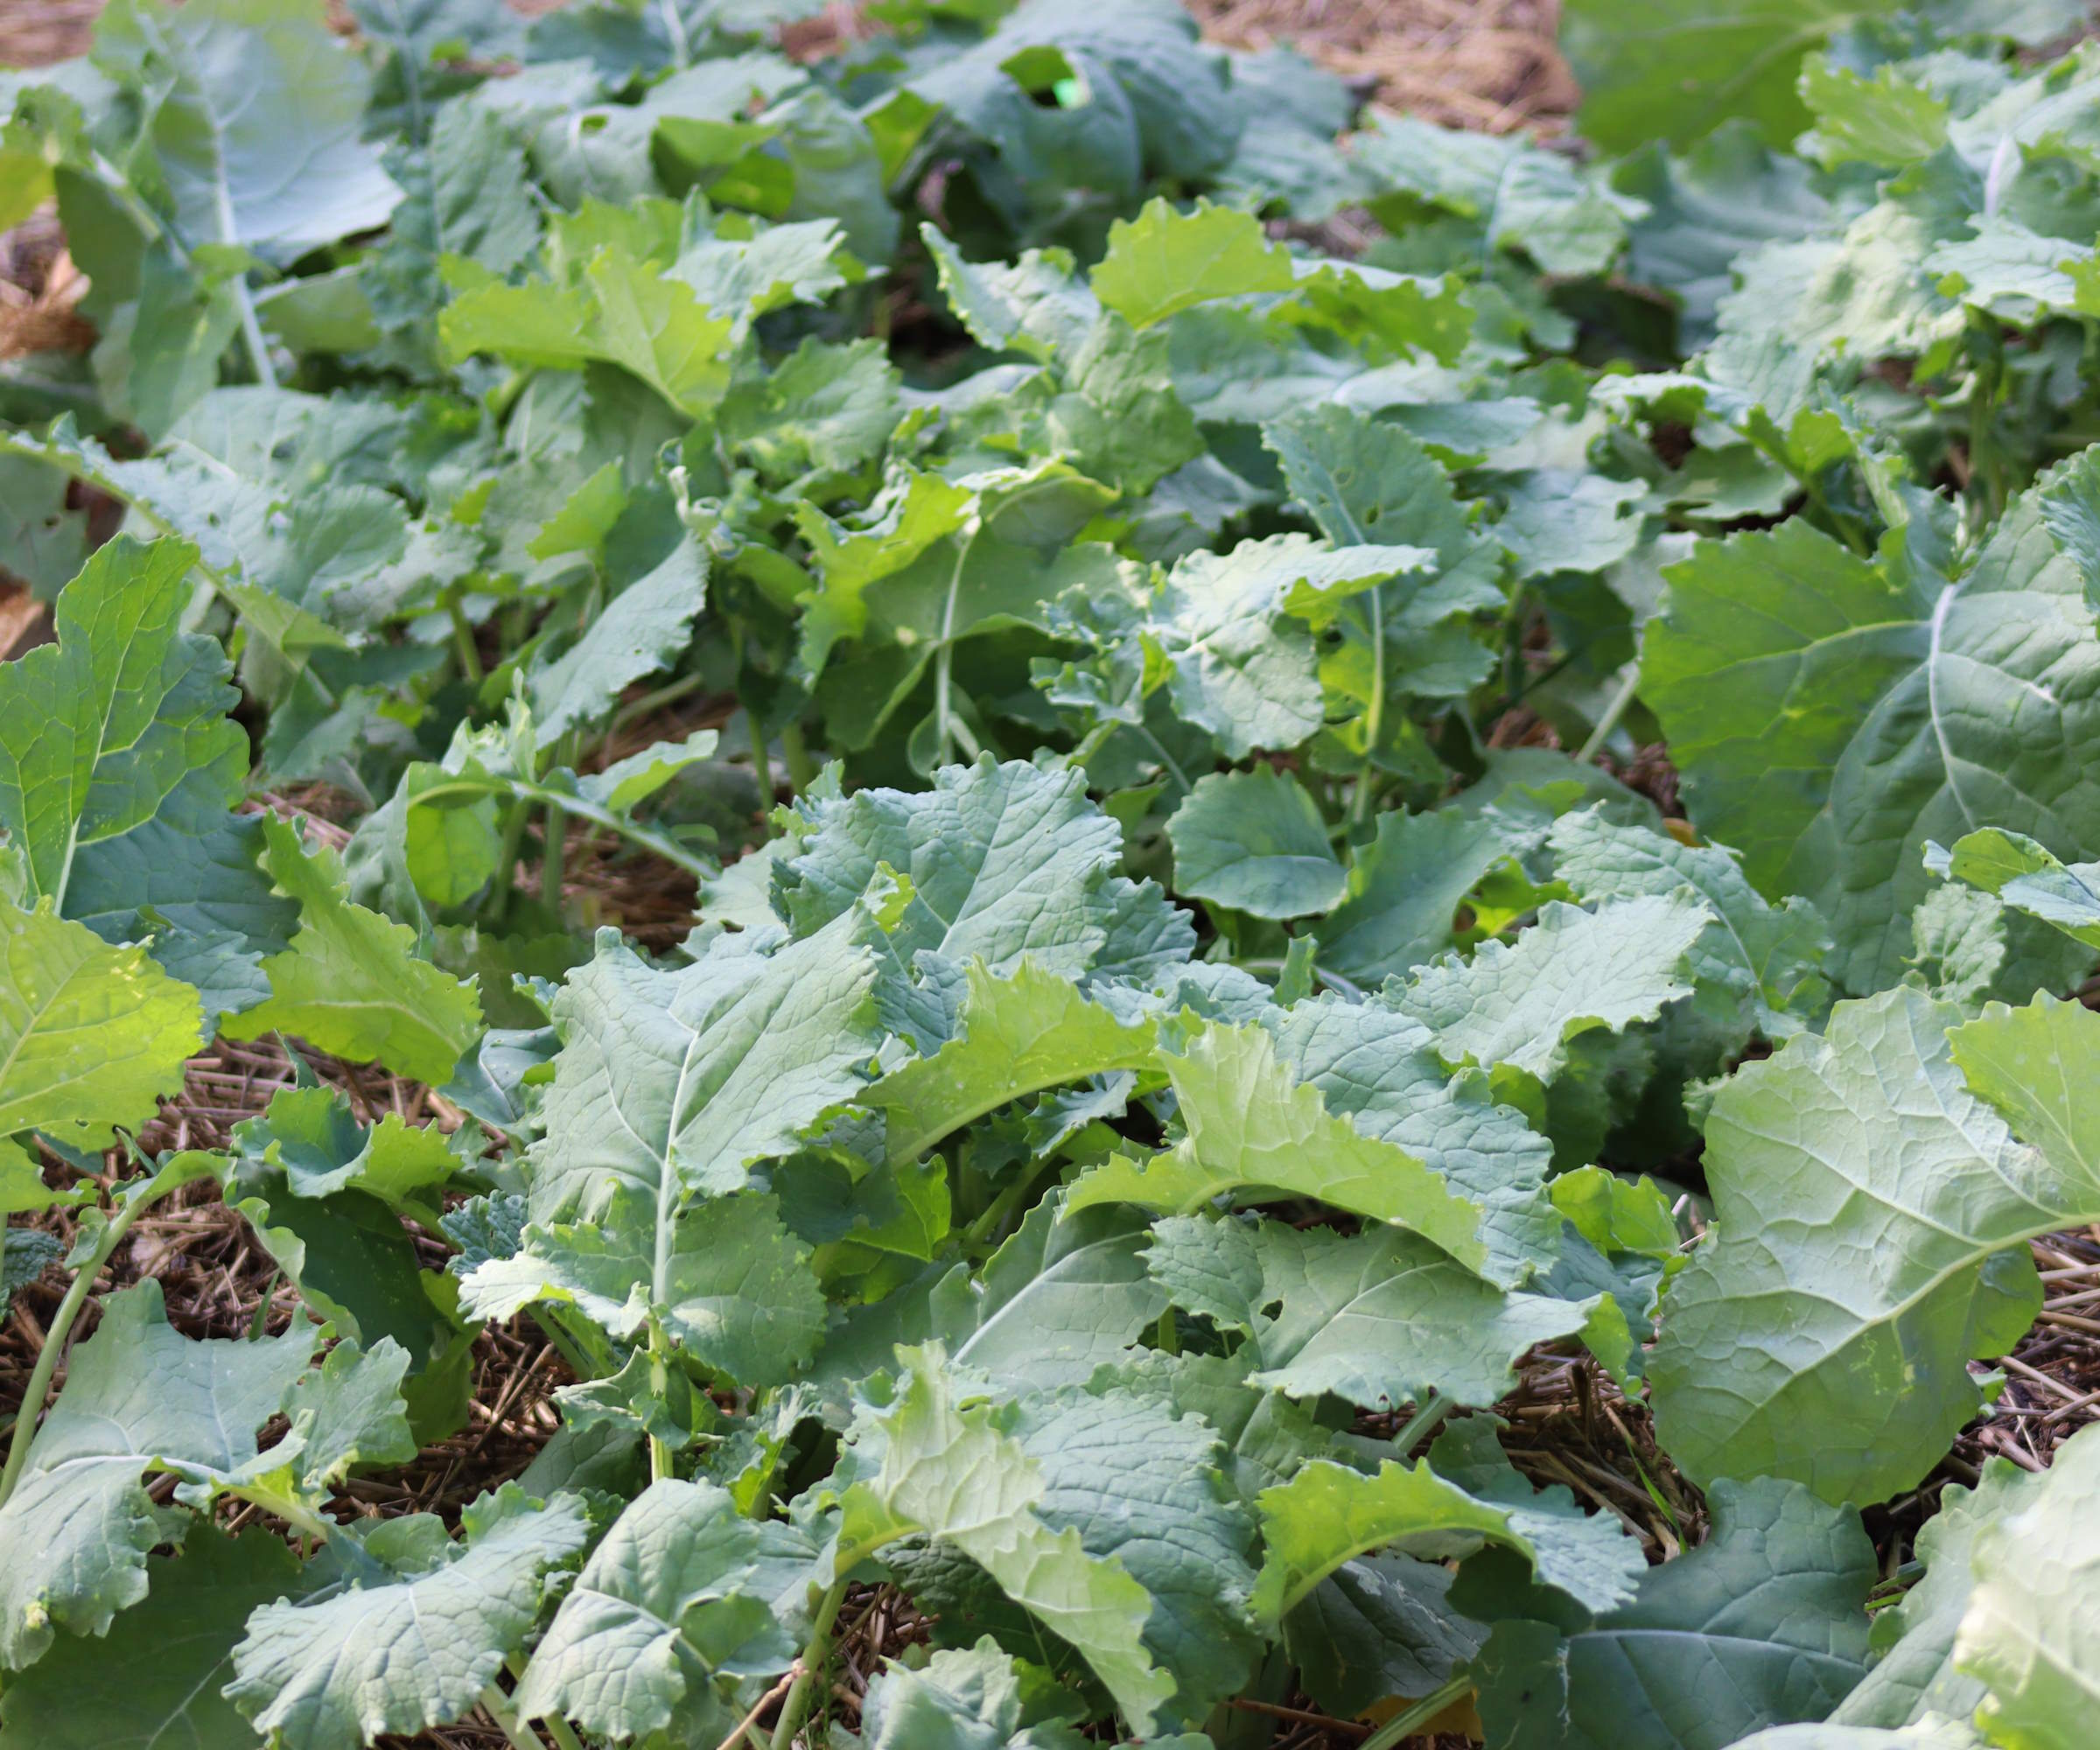
Rutabaga want to grow in a sunny position
Rutabaga are very versatile and one of the easiest vegetables to grow. They can succeed outdoors in the ground in a kitchen garden, grow in raised garden beds, or even work as part of a vegetable container garden. They are a crop that wants to grow in lots of sun and in a soil type that is fertile and well-draining.
The pH of the soil wants to be slightly acidic and it is advisable to do a soil test prior to planting. There are ways to make soil more acidic, but avoid decreasing the pH too much as rutabaga growing in soil that is very acidic is more at risk of clubroot. Adding some organic matter, such as compost or well-rotted manure, before planting can help to boost the soil fertility and structure.
As part of a crop rotation plan, do not plant rutabaga where you have grown brassicas in the last three years. Rotating crops helps prevent diseases building up in the soil and is hugely beneficial to the overall health of your soil.
Maintenance tips
Watering is crucial when growing rutabaga
Keep the crop well-weeded to reduce competition from unwanted plants. Regularly removing young weeds can be the quickest and most efficient approach, but take care when running a garden hoe around the rutabaga. The plants are very short-rooted and can be easily caught by the blade of the hoe.
It is important to keep a close eye on the crop for when to water plants. The plants ideally want one-to-two inches of water per week, either from rainfall or supplied by the gardener, and should not be allowed to dry out. If the crop does dry out, the growth will be checked and the bulb can become woody and bitter.
This makes watering plants in hot weather very important, as the small root systems mean they can’t search far for water. Use a soil moisture meter, available at Amazon, to keep a close eye on the levels in the soil and avoid getting too much water on the foliage, as it can cause powdery mildew. Using drip irrigation may be helpful in keeping the soil moist in summer and avoiding fungal issues.
Like all brassica crops, there are several pests that can cause issues by eating either the foliage or the bulb. Susan Mulvihill, author of ‘The Vegetable Garden Problem Solver Handbook’ identifies aphids, cabbage worms, and cabbage root maggots as ‘the three main insects’ that can devastate a rutabaga crop.
‘Rutabagas are prone to a few insects that can damage both the quality and your enjoyment of this delicious crop,’ says Susan. ‘As soon as you plant the seeds or seedlings, immediately cover the bed with fleece or a fine garden netting to prevent aphids and the adult cabbage butterflies or moths from gaining access to the plants.’
When it comes to root maggots Susan recommends, along with crop rotation, to: ‘Sprinkle food-grade diatomaceous earth on the soil around the base of your rutabaga plants to prevent the adults from laying eggs.’
Rutabaga have long growing seasons and tend to be ready to harvest around 90-110 days from being planted into the garden. The crop can be harvested as soon as they are large enough to use from late summer onwards. The exact time will depend on when you sowed the crop and the growing conditions, but the ideal size is when the bulbs are around 4-6 inches in diameter.
Rutabaga are harvested as-and-when required throughout fall and winter. You can overwinter vegetables through the colder months to pick when required, and a few frosts actually improve the taste, but the quality will start to deteriorate from mid-winter onwards.

Susan Mulvihill is the author of 'The Vegetable Garden Problem Solver Handbook', available at Amazon, and gardens on 5 acres in Spokane, Washington State. She has also been writing garden columns for the Sunday edition of The Spokesman-Review newspaper for nearly 20 years.
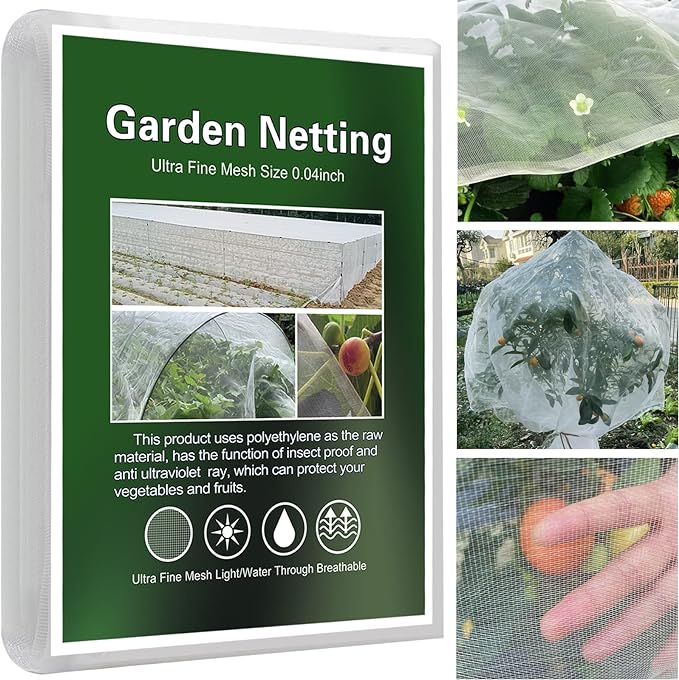
Ultra-fine garden netting with 0.8mm-1mm holes that can be put directly over plants as a barrier to protect them from pests
How to grow rutabaga in containers
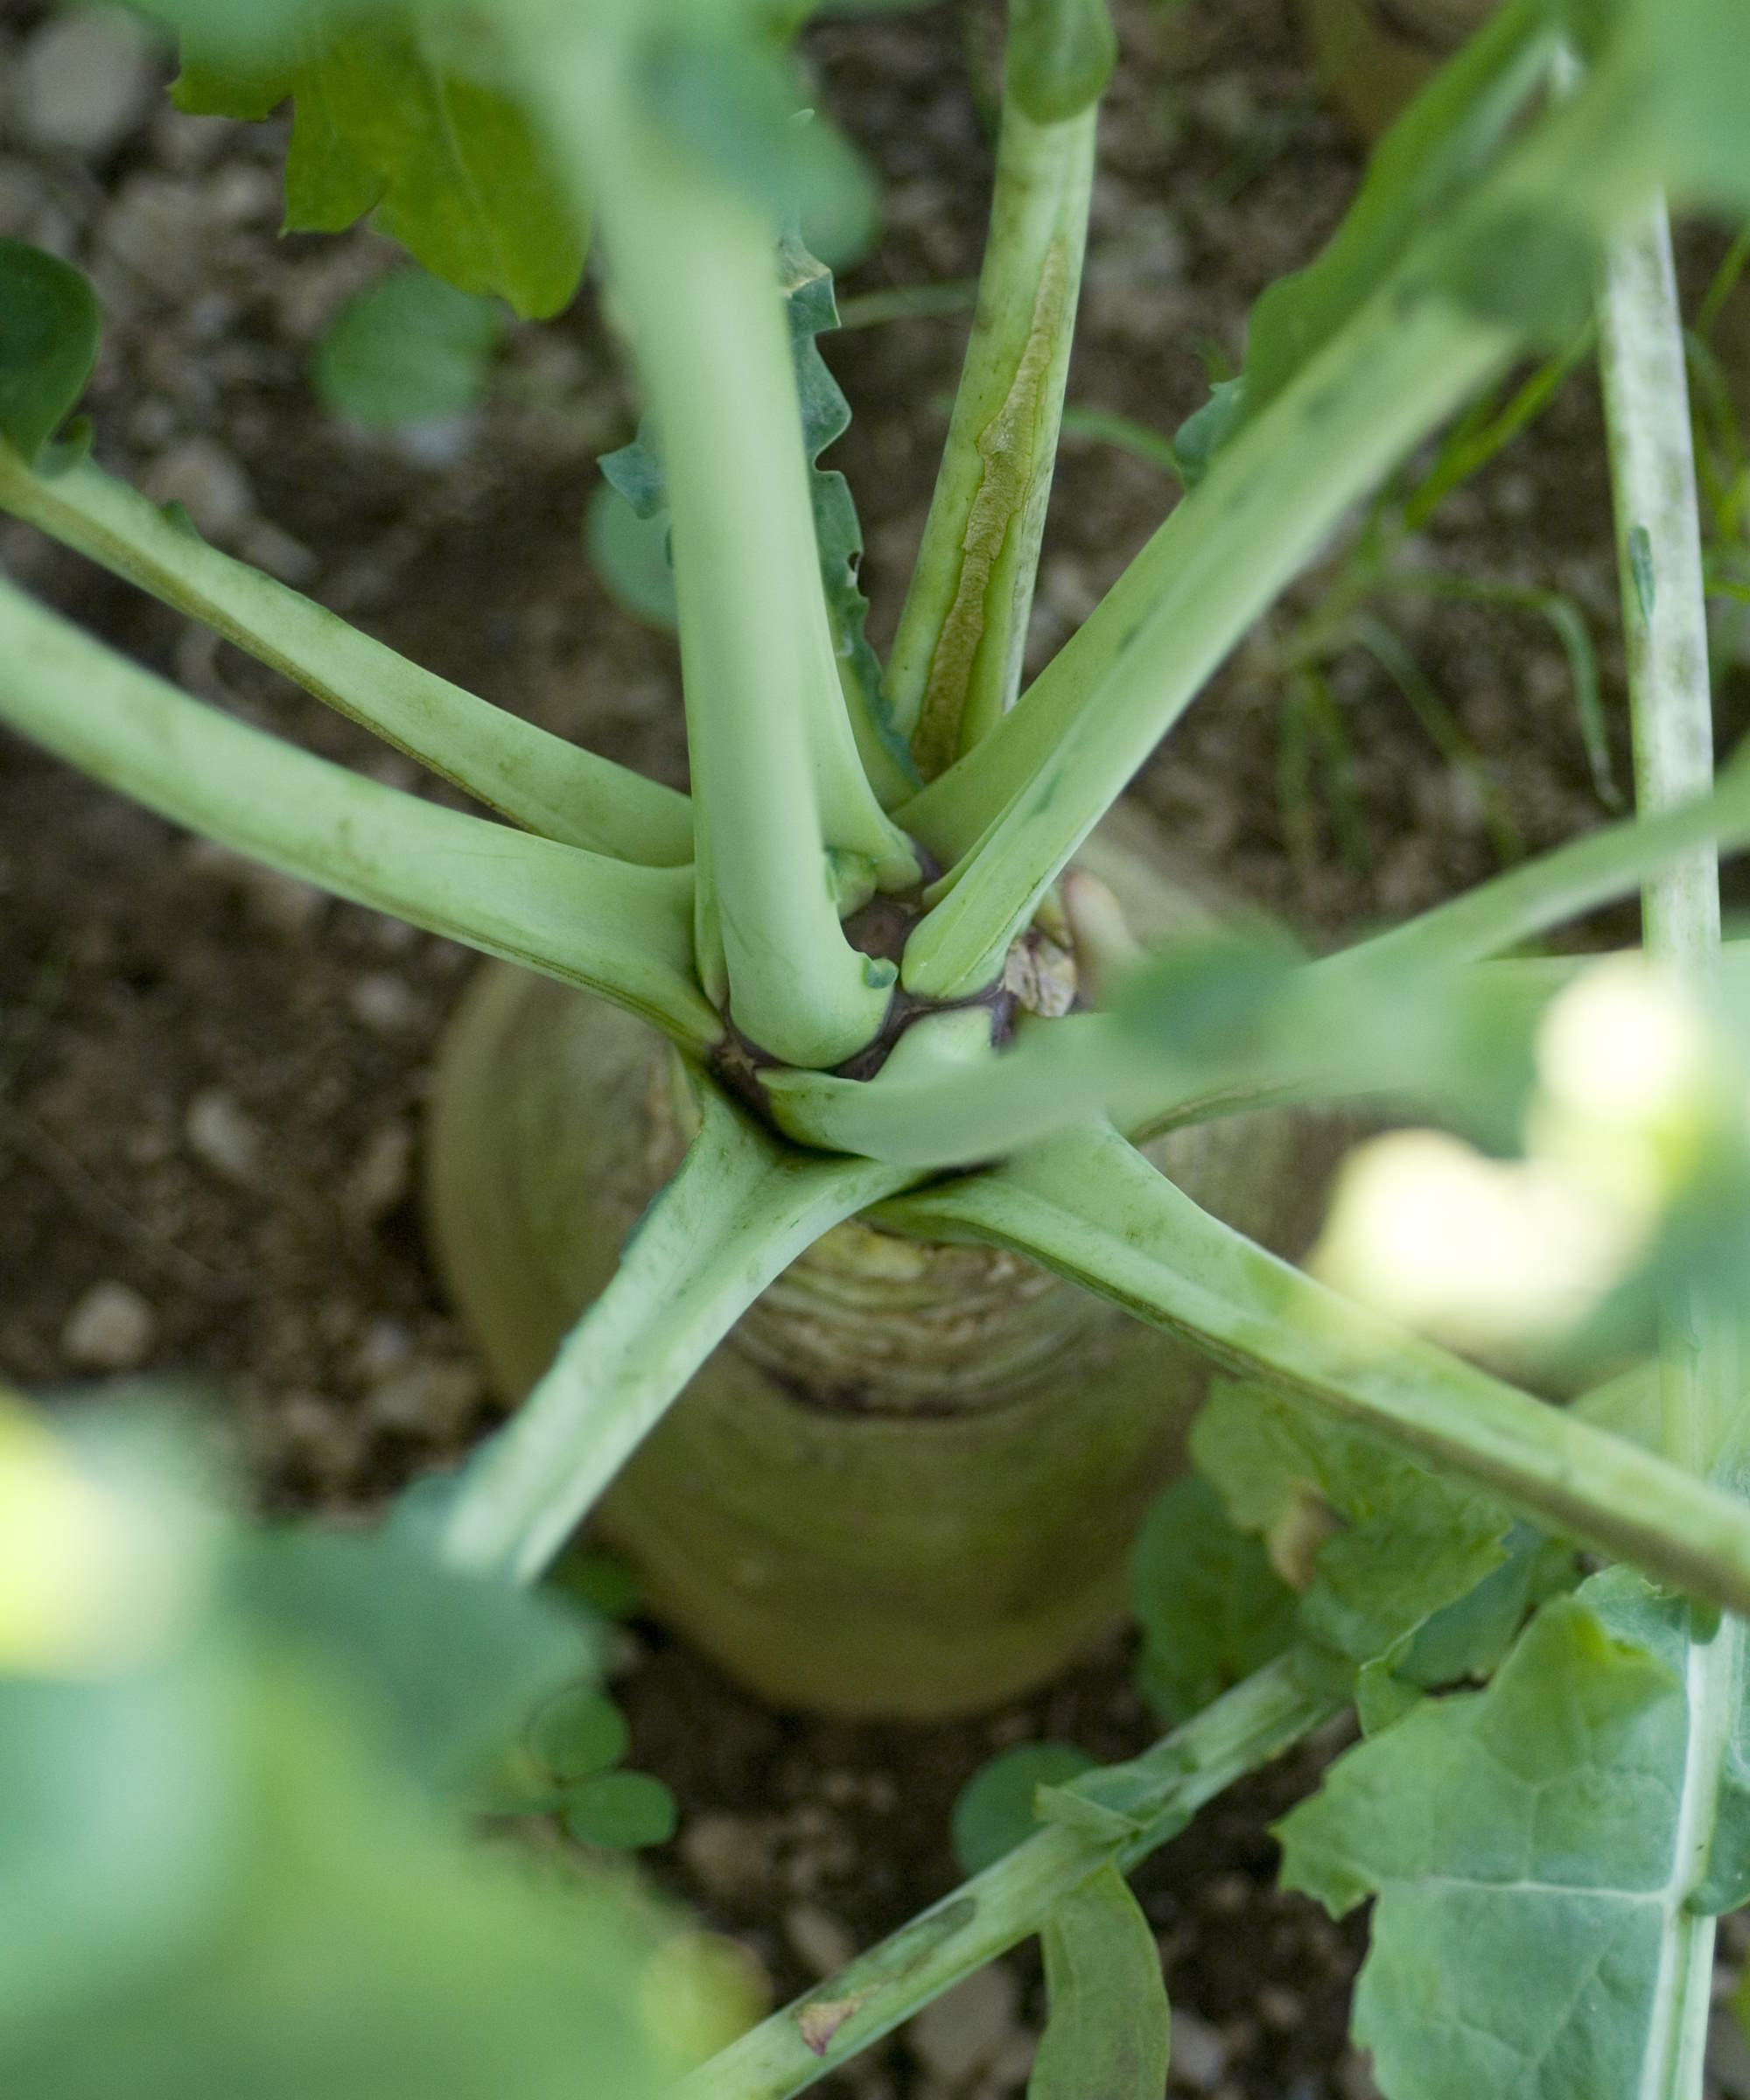
Rutabaga can be harvested before fully grown, and the leaves are also edible
It is possible to grow rutabaga in containers, however, crops grown in pots are best harvested when young rather than being grown to full maturity. Large containers or troughs will be required to grow rutabaga in, to give the bulbs sufficient space to swell to a usable size.
Make sure any pot or planter has holes in the bottom for drainage, and fill your chosen pot with a quality potting compost. Sow the seeds directly into the container, and thin the seedlings as required, or plant seedlings started indoors. Place the pot somewhere warm and sunny in the backyard.
Crops growing in pots will require keen observation to make sure they do not dry out and they will need more watering than crops grown in the ground. Use your fingers to check the soil a few inches under the surface when watering plants in containers. Harvest the bulbs once they get to a usable size.
FAQs
How long does it take rutabaga to grow?
Rutabaga is a crop that takes a long time to grow - this can mean many months from sowing the seed to getting that first harvest. It tends to take between 90 and 110 days from planting to cropping, depending on when you sowed the seeds and the growing conditions during the season.
Do rutabagas like sun or shade?
Rutabaga prefers growing in full sun. It is a crop that will tolerate some shade, but ideally wants at least six hours of sun a day
If you are looking for new vegetables to add to your garden this year, then why not consider growing kohlrabi, the name of which is German for ‘turnip cabbage’. These unusual vegetables develop swollen bulbs that can be eaten raw or cooked and have a sweet taste, but with a peppery kick similar to that of radish.
Sign up to the Homes & Gardens newsletter
Design expertise in your inbox – from inspiring decorating ideas and beautiful celebrity homes to practical gardening advice and shopping round-ups.

Drew’s passion for gardening started with growing vegetables and salad in raised beds in a small urban terrace garden. He has worked as a professional gardener in historic gardens and specialises in growing vegetables, fruit, herbs, and cut flowers as a kitchen gardener. That passion for growing extends to being an allotmenteer, garden blogger, and producing how-to gardening guides for websites. Drew was shortlisted for the New Talent of the Year award at the 2023 Garden Media Guild Awards.
-
 Experts say to only use homemade compost after testing it with this fail-safe method – they say it will guarantee healthy soil and support plant growth
Simply grab some fast-growing seeds and observe how they germinate in your compost
By Tenielle Jordison Published
-
 How safe are carpet deodorizers? As a seasoned vacuum tester, I urge you to try alternative methods
Natural cleaning is always the answer
By Dan Fauzi Published