How to grow paperwhites in a jar for Christmas – 4 expert steps for fragrant blooms
Discover how to grow paperwhites in a jar and you can fill your house with these heavenly scented blooms for weeks

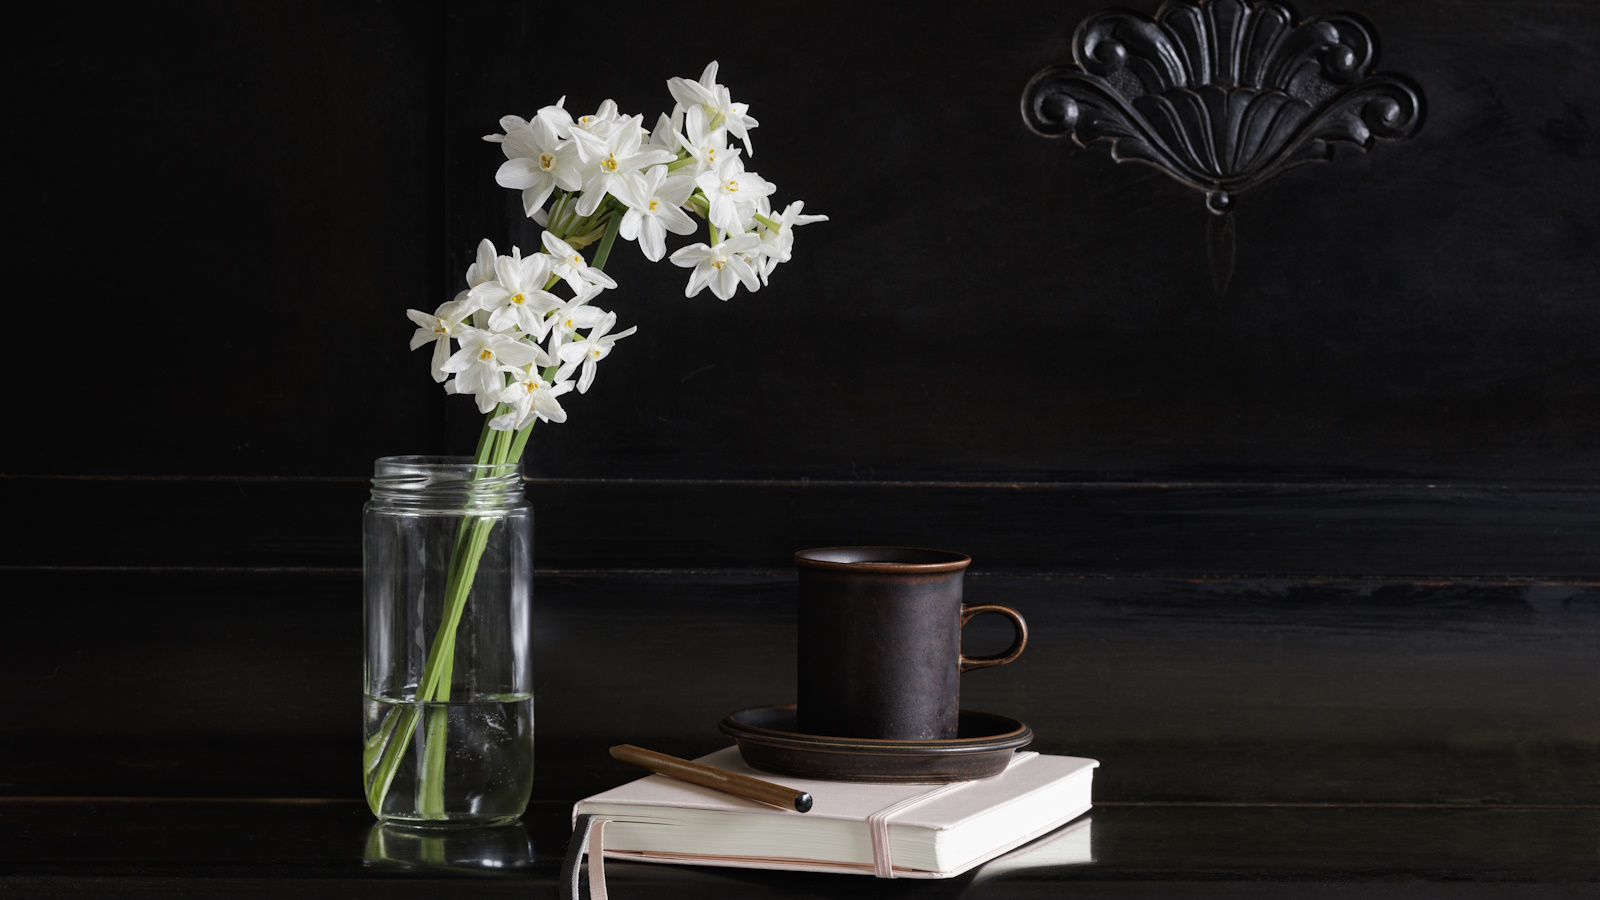
Learning how to grow paperwhite narcissi in a jar is a wonderfully mindful activity to try in the busy run up to the holidays. Their highly scented blooms will fill your house with delicate perfume, and make for an elegant floral display.
While paperwhite bulbs can be planted in soil, more often they're grown in glass vases or jars with an attractive layer of pebbles to anchor them in place. This means the bulbs and roots are on display as well as the flowers, which creates a lovely botanically-inspired look.
By learning how to force bulbs indoors for Christmas, you can enjoy a mass of these beautifully scented flowers in time for the holidays. Plus, if you repeat these steps every two weeks, you could carry on with a display of blooms right through until spring.
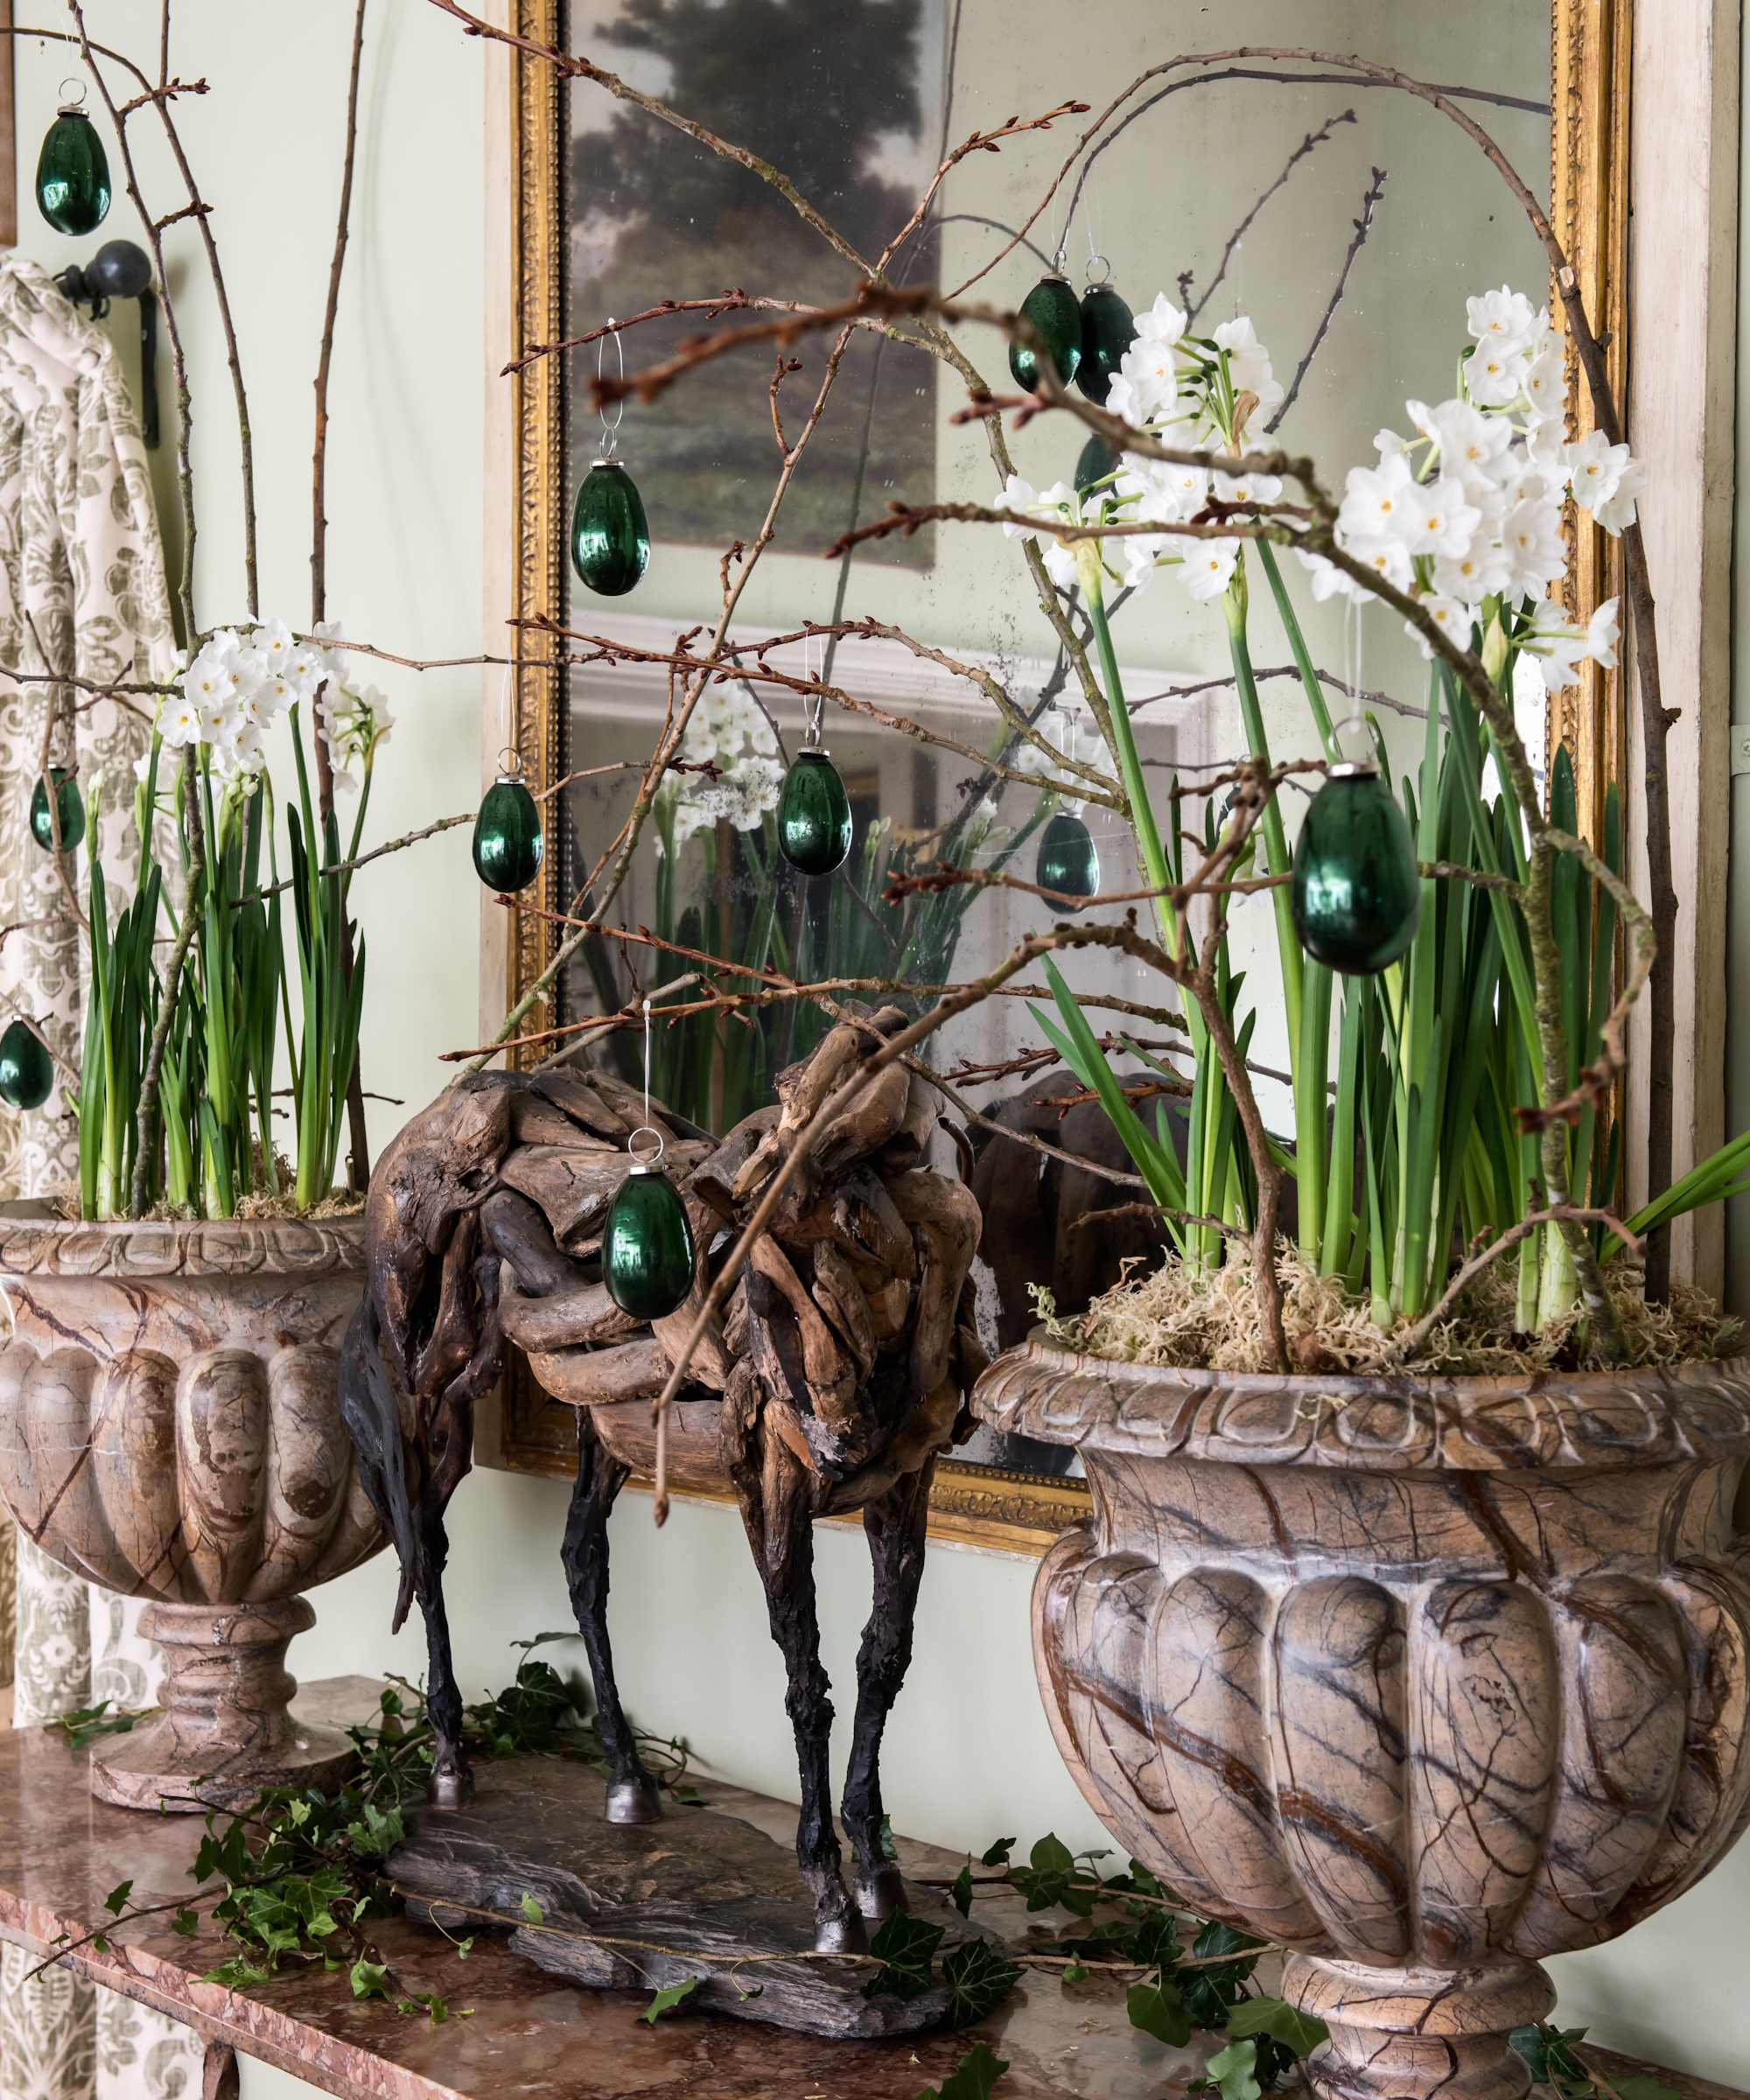
How to grow paperwhites in a jar in four simple steps
Paperwhites are one of the prettiest Christmas flowering bulbs you can choose and are typically available from fall through late winter. The bulbs can only be stored for a couple of months before they begin to deteriorate. So, make sure you don't buy your bulbs too far in advance of your bulb planting session.
With our easy step by step on how to grow paperwhites in a jar, you'll be able to add them to your Christmas plant collection and fill your home with seasonal scent for weeks on end.
1. Choose a beautiful glass vase or jar
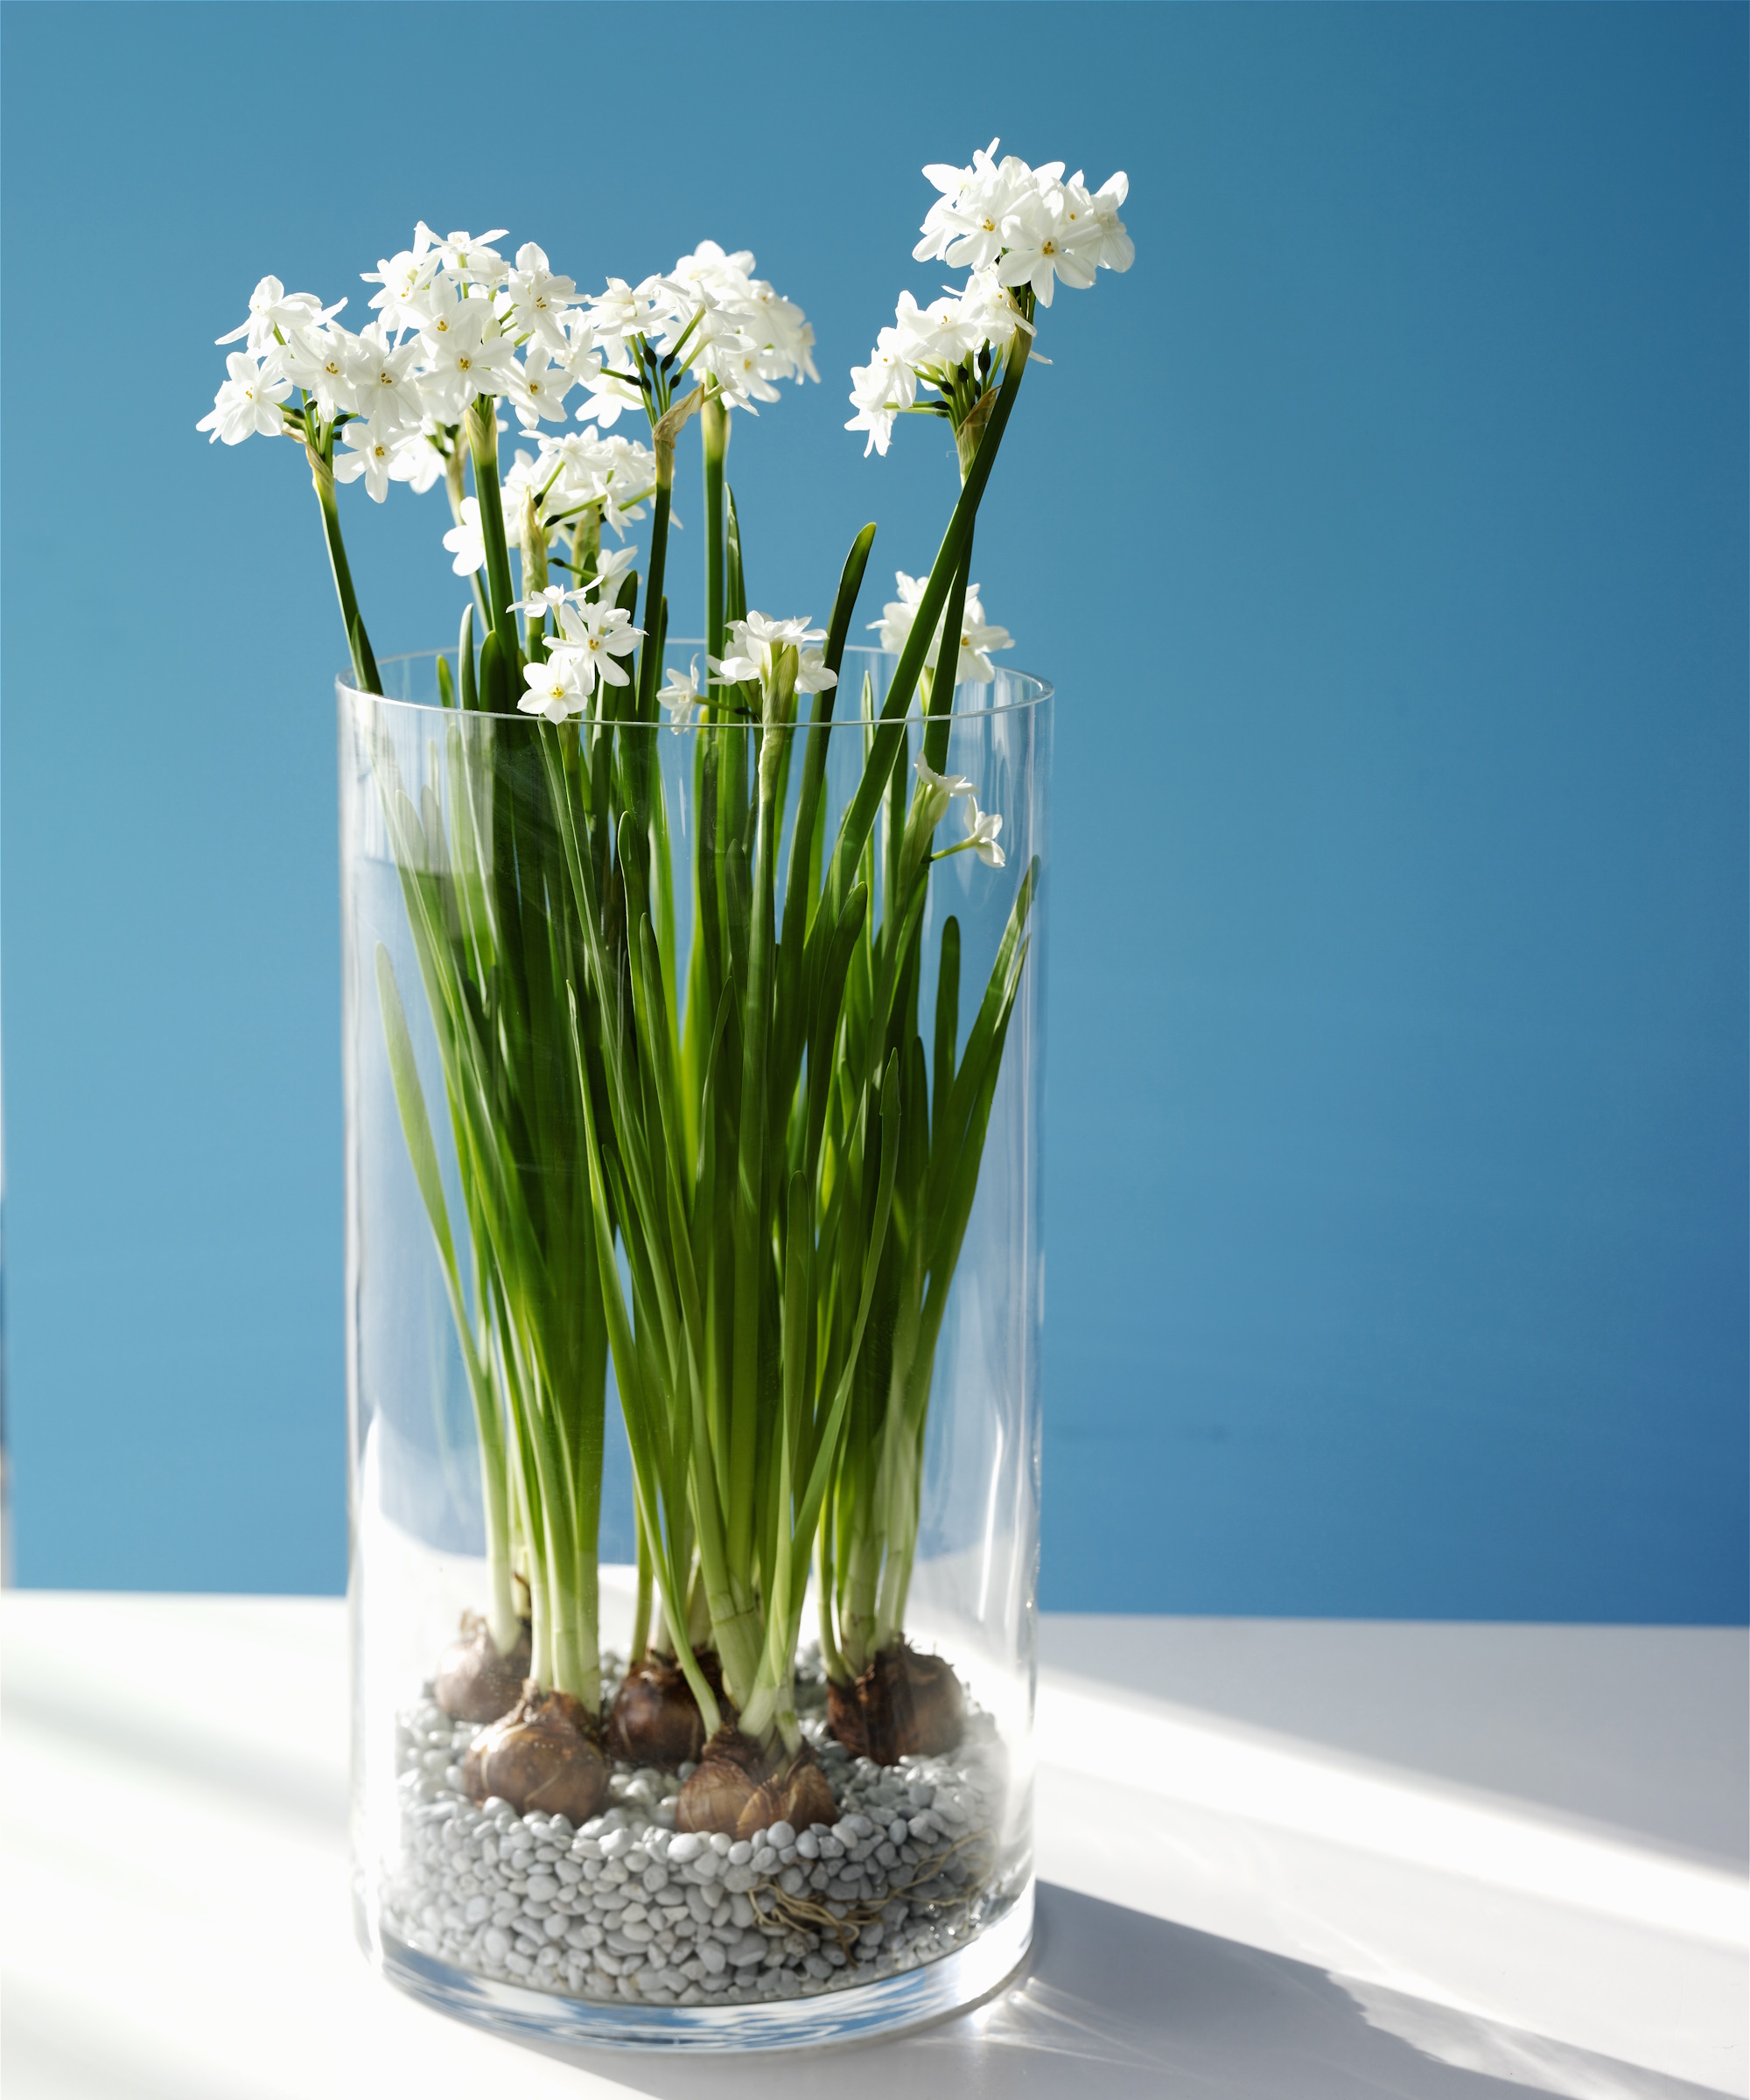
First decide on a tall glass or vase for your paperwhite display. Glass hurricane vases like these ones from Amazon work particularly well, as they will help to support the stems of the paperwhites as they grow. Paperwhites can become top heavy so the sides of a large hurricane vase will help to balance them.
Then add a layer of natural pebbles (we love these polished pebbles from Amazon) or shingle. Aim for a 2in layer for your bulbs to sit on.
Design expertise in your inbox – from inspiring decorating ideas and beautiful celebrity homes to practical gardening advice and shopping round-ups.
Alternatively, dispense with the gravel and choose a smaller bottle-neck style vase to grow bulbs individually. These work well as they keep bulbs clear of the water while allowing the roots to grow down into it. The look of the roots suspended in water is eye catching too. You could group a collection of individual paperwhites together to work the bud vase trend.
2. Add your paperwhite bulbs to the container
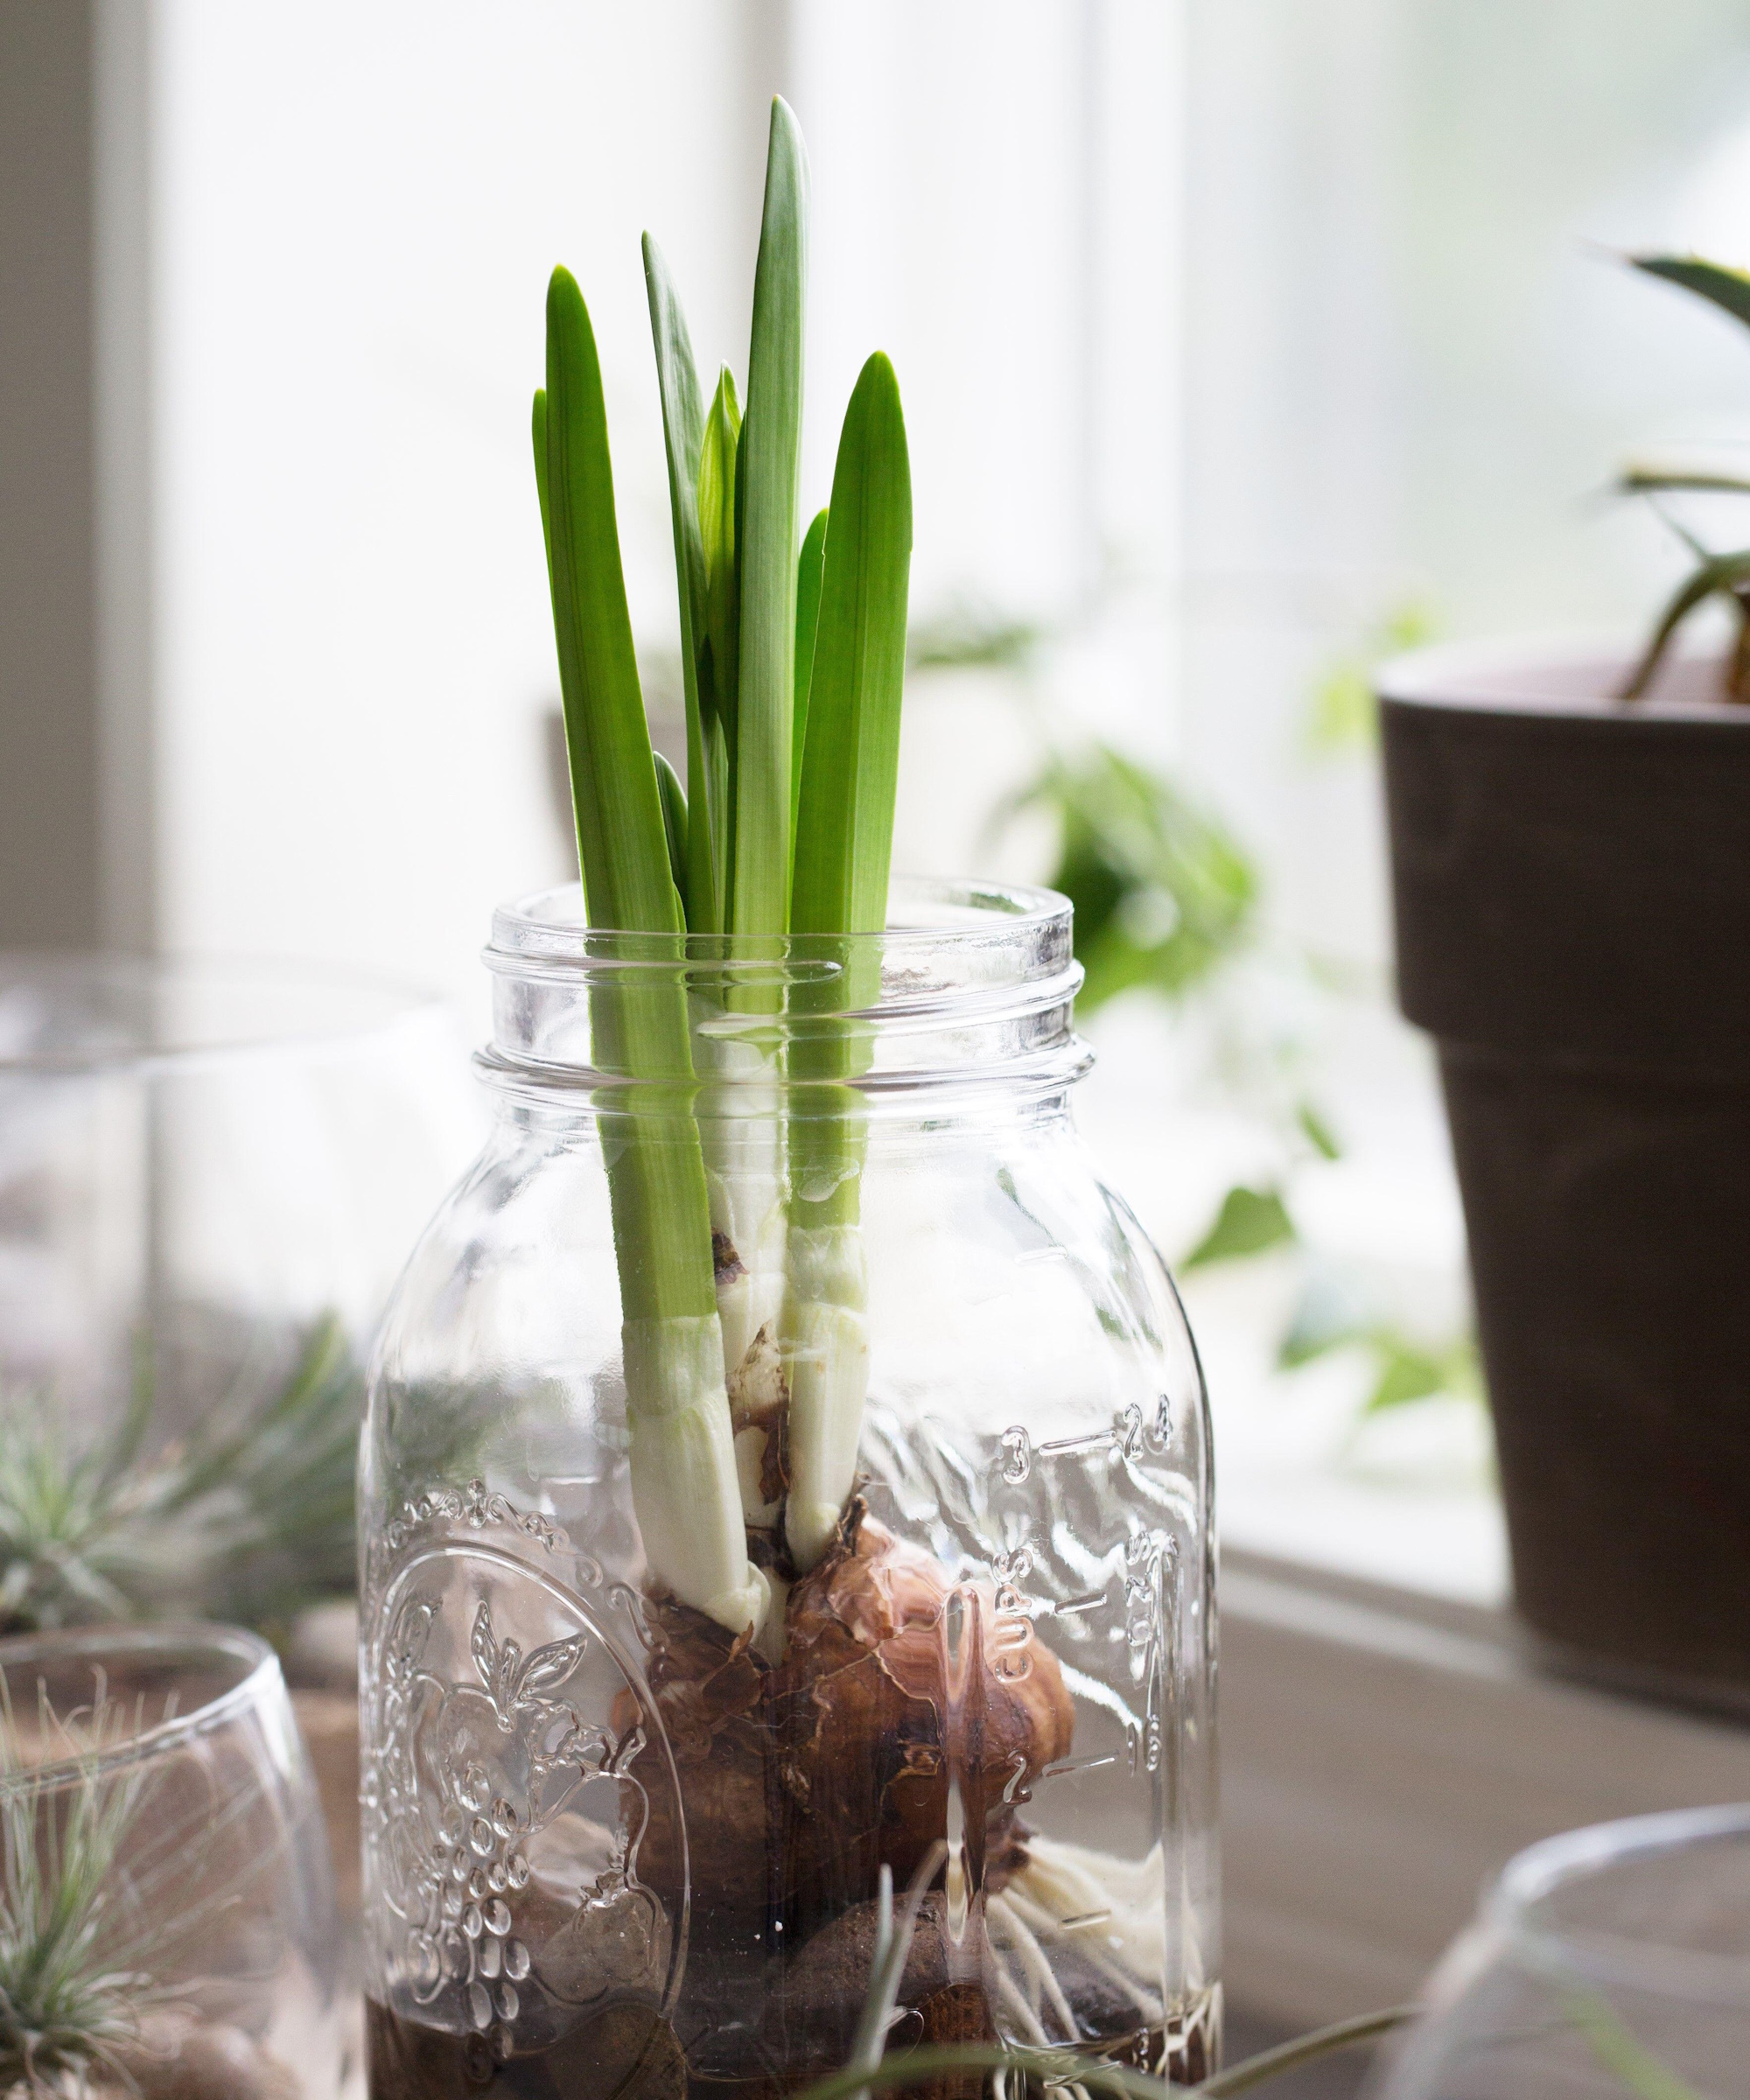
When picking out paperwhite bulbs at the garden center, choose ones that are as symmetrical as possible as they are less likely to lean to one side and wobble over once the shoots began to grow in the container.
Place the paperwhite bulbs on top of the pebbles, pointed side up and roots facing down, just as you would when planting bulbs such as tulips and alliums. Pack in as many as you want to create a full display, as it doesn't matter if they're overcrowded. You can fill in with more pebbles around the bulbs to help anchor them.
Put any spare paperwhite bulbs in a cool dark place.
3. Submerge only the roots in water
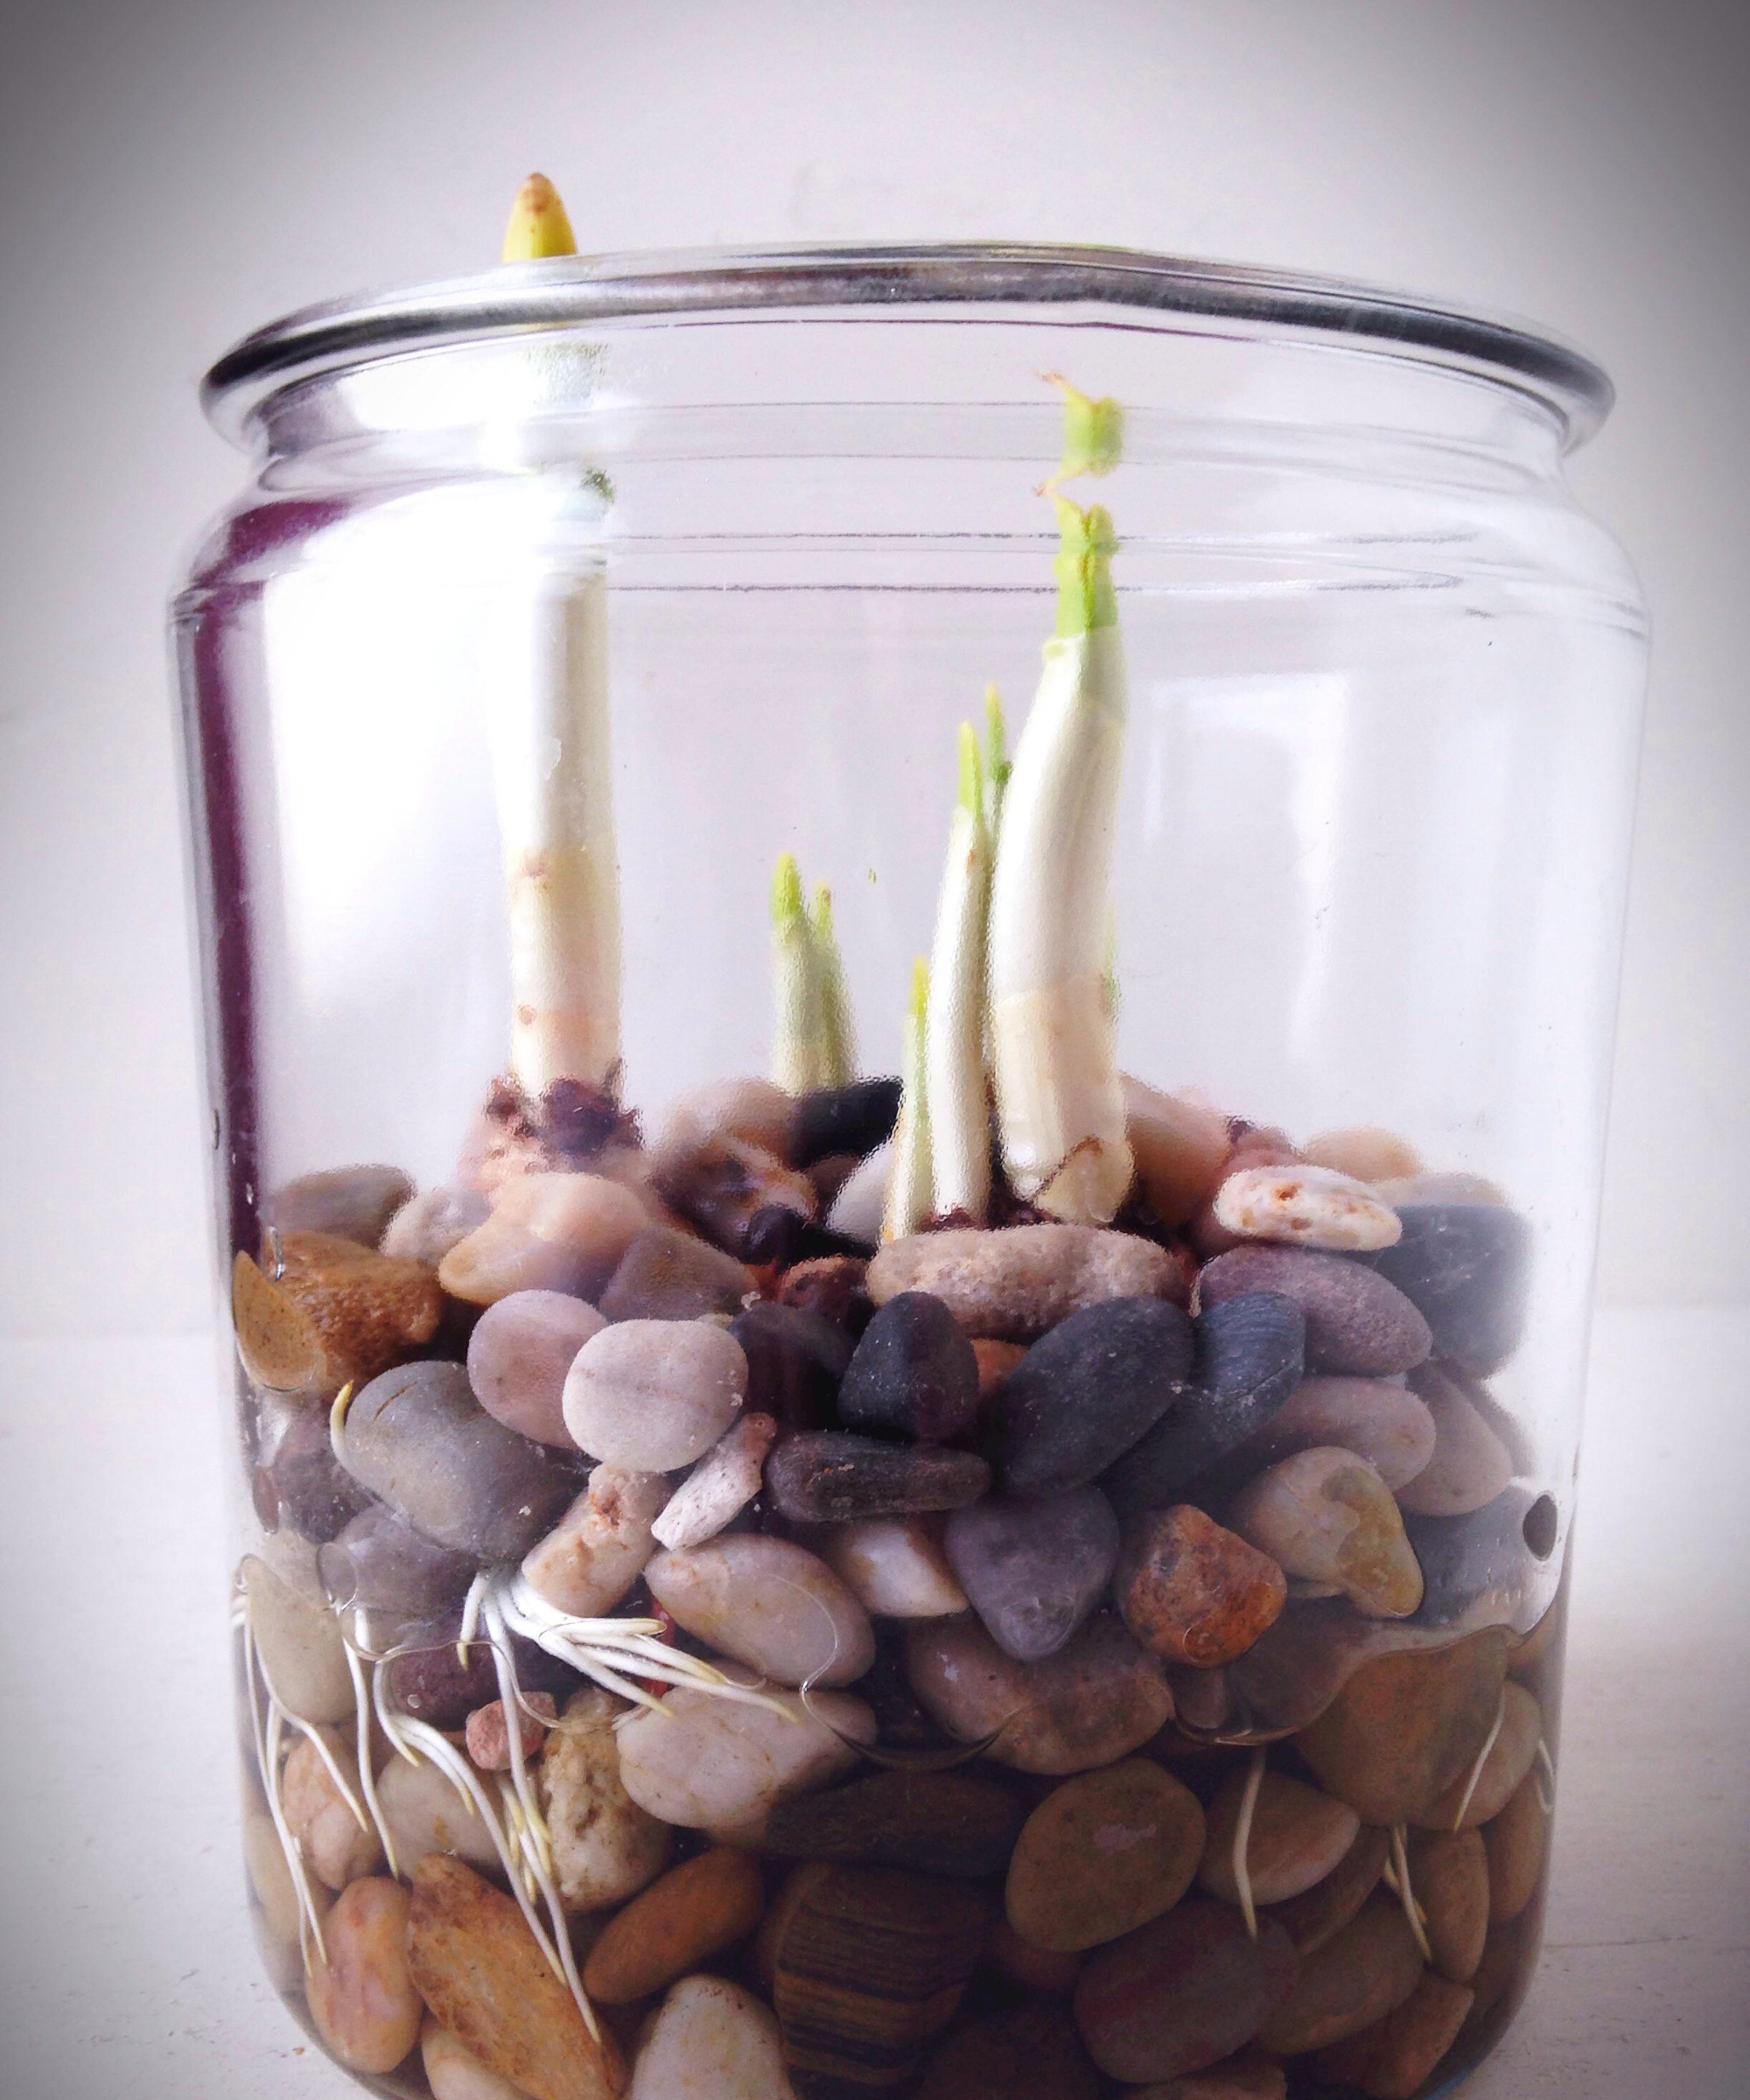
Add water to the vase or jar to just below the point where the bulbs are sitting. A common bulb planting mistake when growing paperwhites in this way is to sit the base of the bulbs in the water, which can lead to rotting. Instead, aim for just the roots to be submerged.
Over the next few weeks keep an eye on the water level and top up as necessary. Some evaporation will occur but even so you should only need to add the odd trickle of water to the container.
You can also grow hyacinth bulbs in water like this, as well as poinsettias.
4. Choose the right position for your paperwhite bulbs
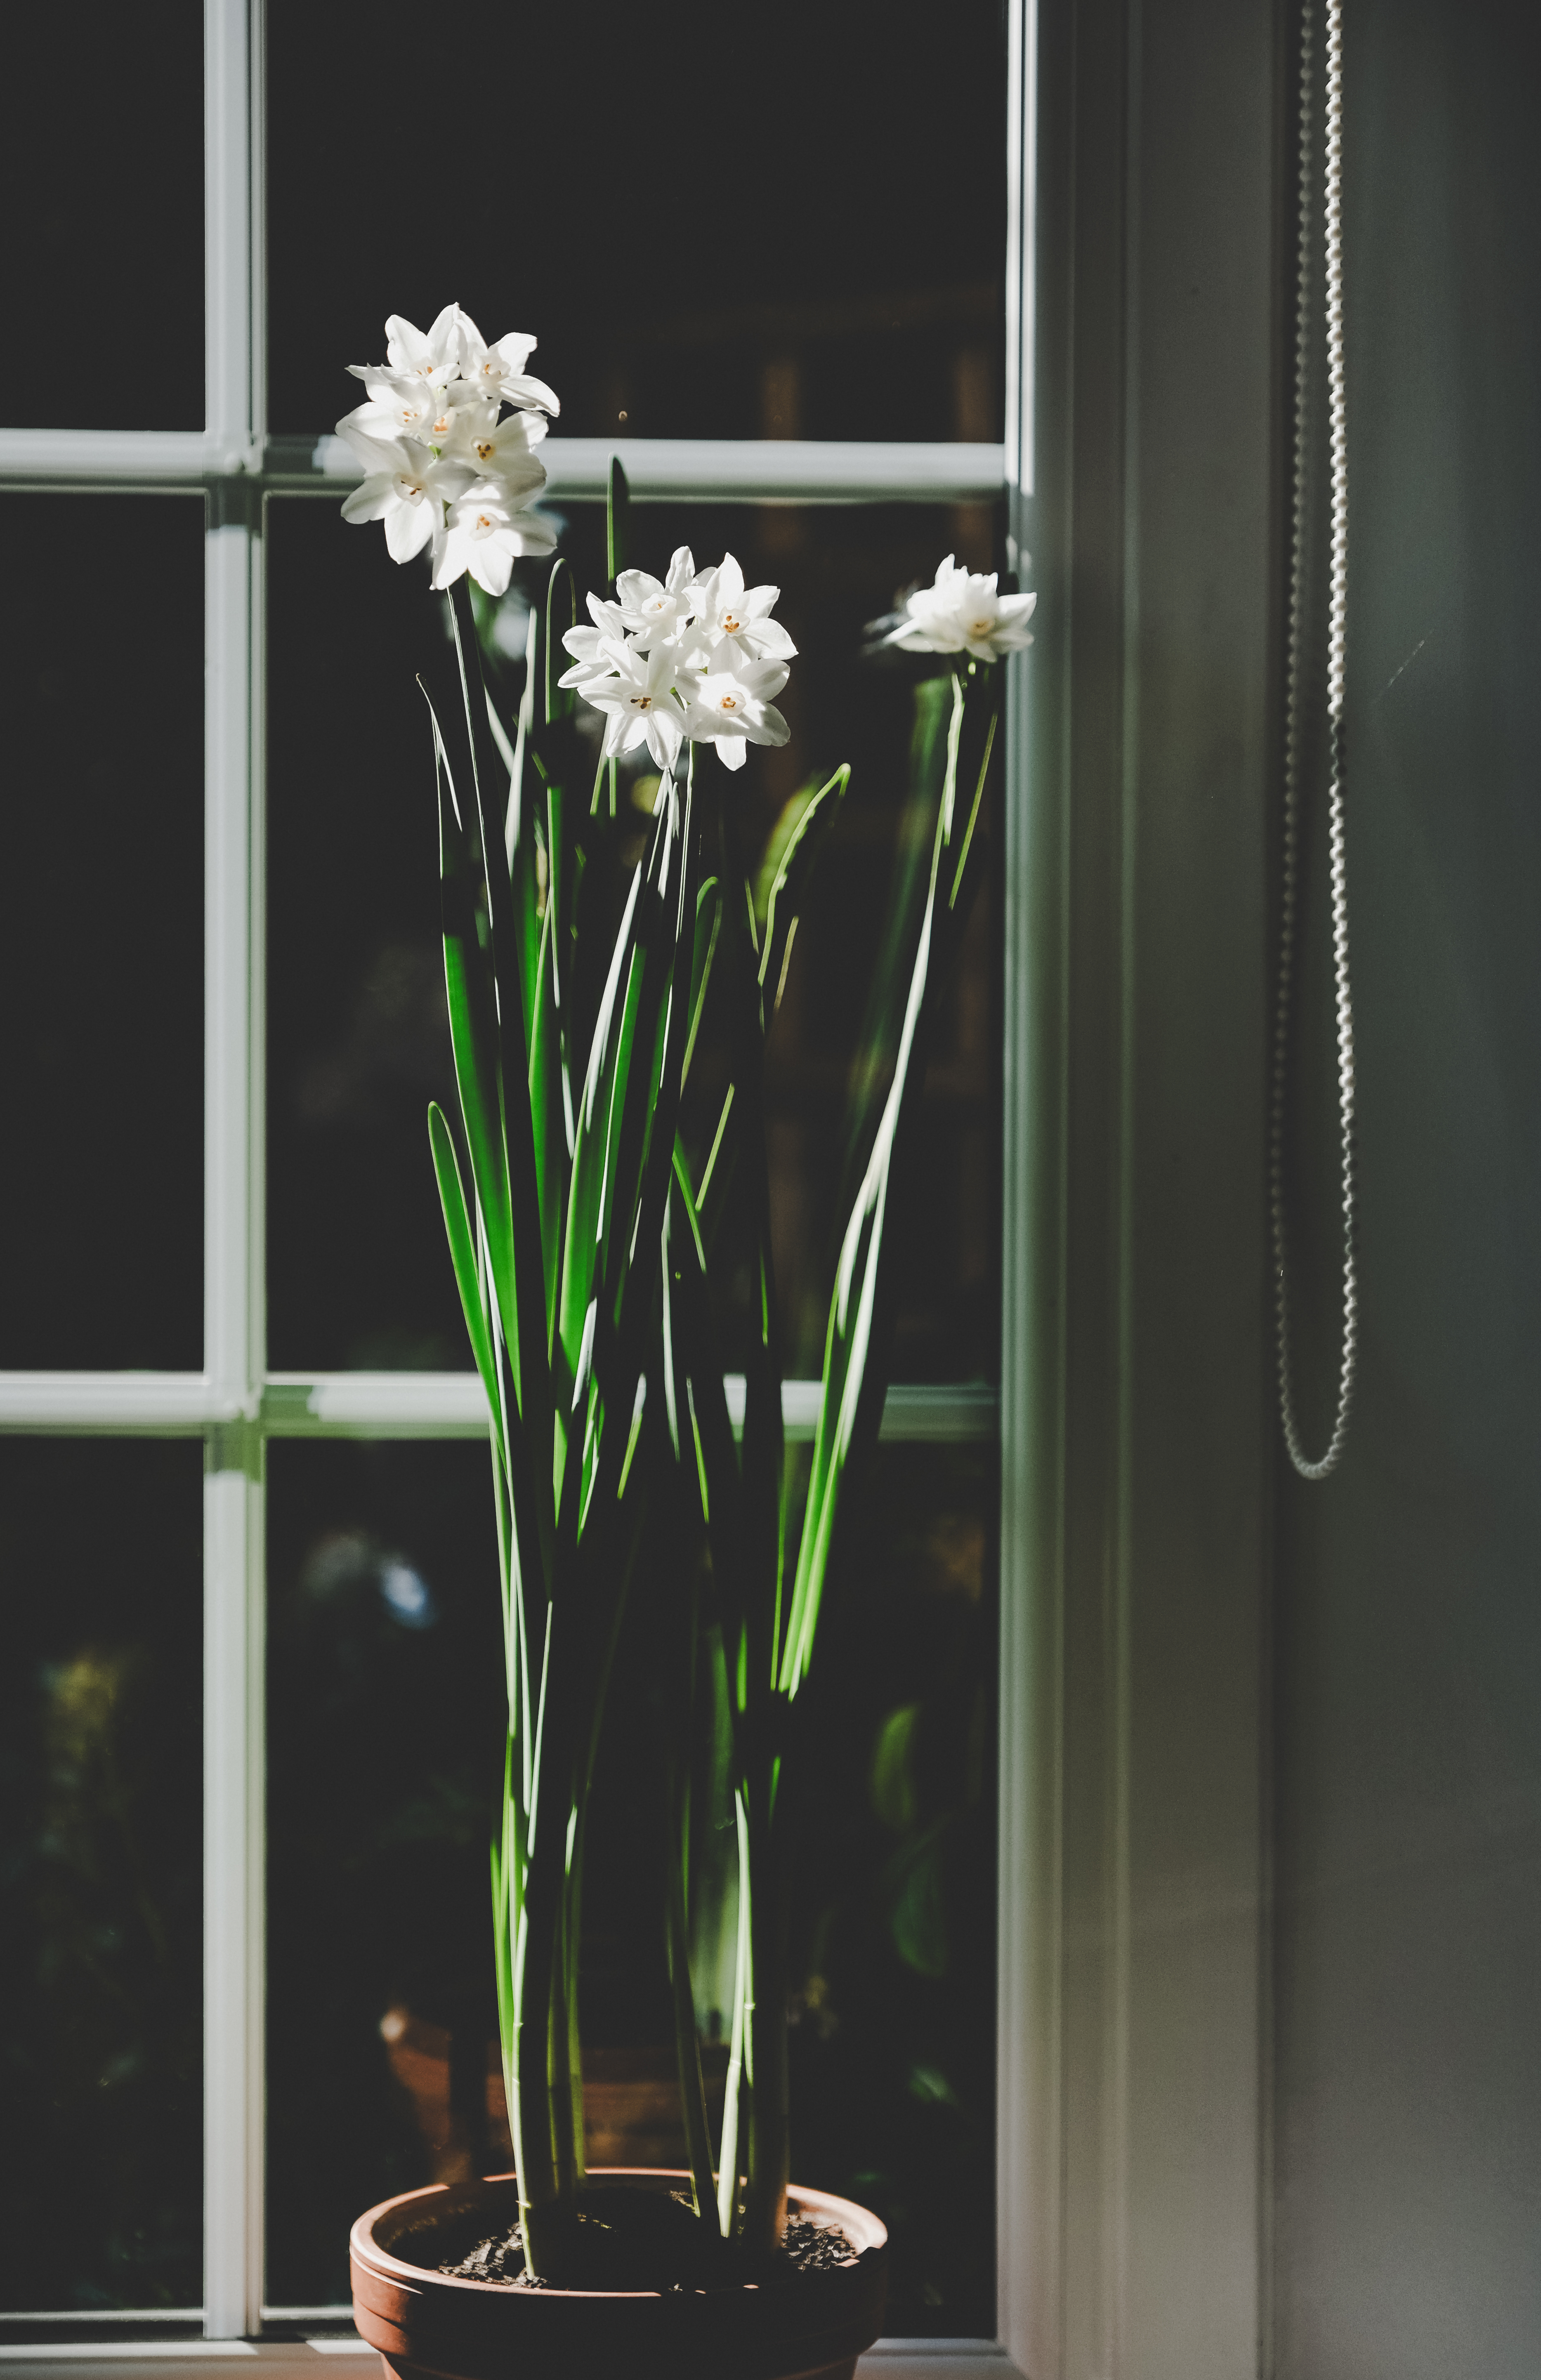
Transfer your vase to a cool location, as your paperwhite bulbs should be kept at around 65˚F. The bulbs don't need lots of light at this point. However, unlike some other bulbs, you don't need to keep your paperwhite bulbs in darkness.
Once you see roots growing strongly, and the top of the bulbs producing shoots, it's time to move your vase to a sunny windowsill. The more light they receive as they grow the less likely they will be to stretch and become leggy.
The bulbs will typically bloom around four weeks after you plant them. Timing will be dependent on the amount of sunlight they receive. Once the flowers appear, the blooms will last longer if you move the container out of direct sunlight to a cool spot. Paperwhites will bloom for a week or two before fading.
Once the flowers have faded remove them and put on the compost pile as they will not bloom again indoors.
You can, however, replant your vase with new bulbs to create a continuous show of fragrant bulbs blooming in your home throughout the holidays.
FAQs
How can I make sure my paperwhites flower in time for Christmas?
Once planted, paperwhites take three to four weeks to flower, and will last for up to two weeks. So, be sure to plant them at the end of November for a certain display of these delicate, fragrant blooms in time for the holidays.
Will paperwhite bulbs come back every year?
Paperwhite bulbs are treated as annuals, meaning once they have flowered they will not bloom again indoors the following year. In mild climates, they can be planted outdoors and will sometimes flower again, but as they are inexpensive, you will get better guaranteed blooms if you buy new bulbs every season.
You could grow stunning paperwhites alongside other seasonal indoor favorites such as a Christmas cactus or a kalanchoe plant for a truly festive display.

Lifestyle journalist Sarah Wilson writes about garden design and landscaping trends for Homes & Gardens. She has studied introductory garden and landscape design, and also has an RHS Level 2 qualification in the Principles of Plant Growth and Development. She is a regular contributor to Homes & Gardens and Livingetc. She has also written for Country Living, Country Homes & Interiors, and Modern Gardens magazines