How to grow chickpeas – all you need to know about garbanzo beans
Prepare to be amazed by a nutritious marvel that is full of goodness for the kitchen and garden
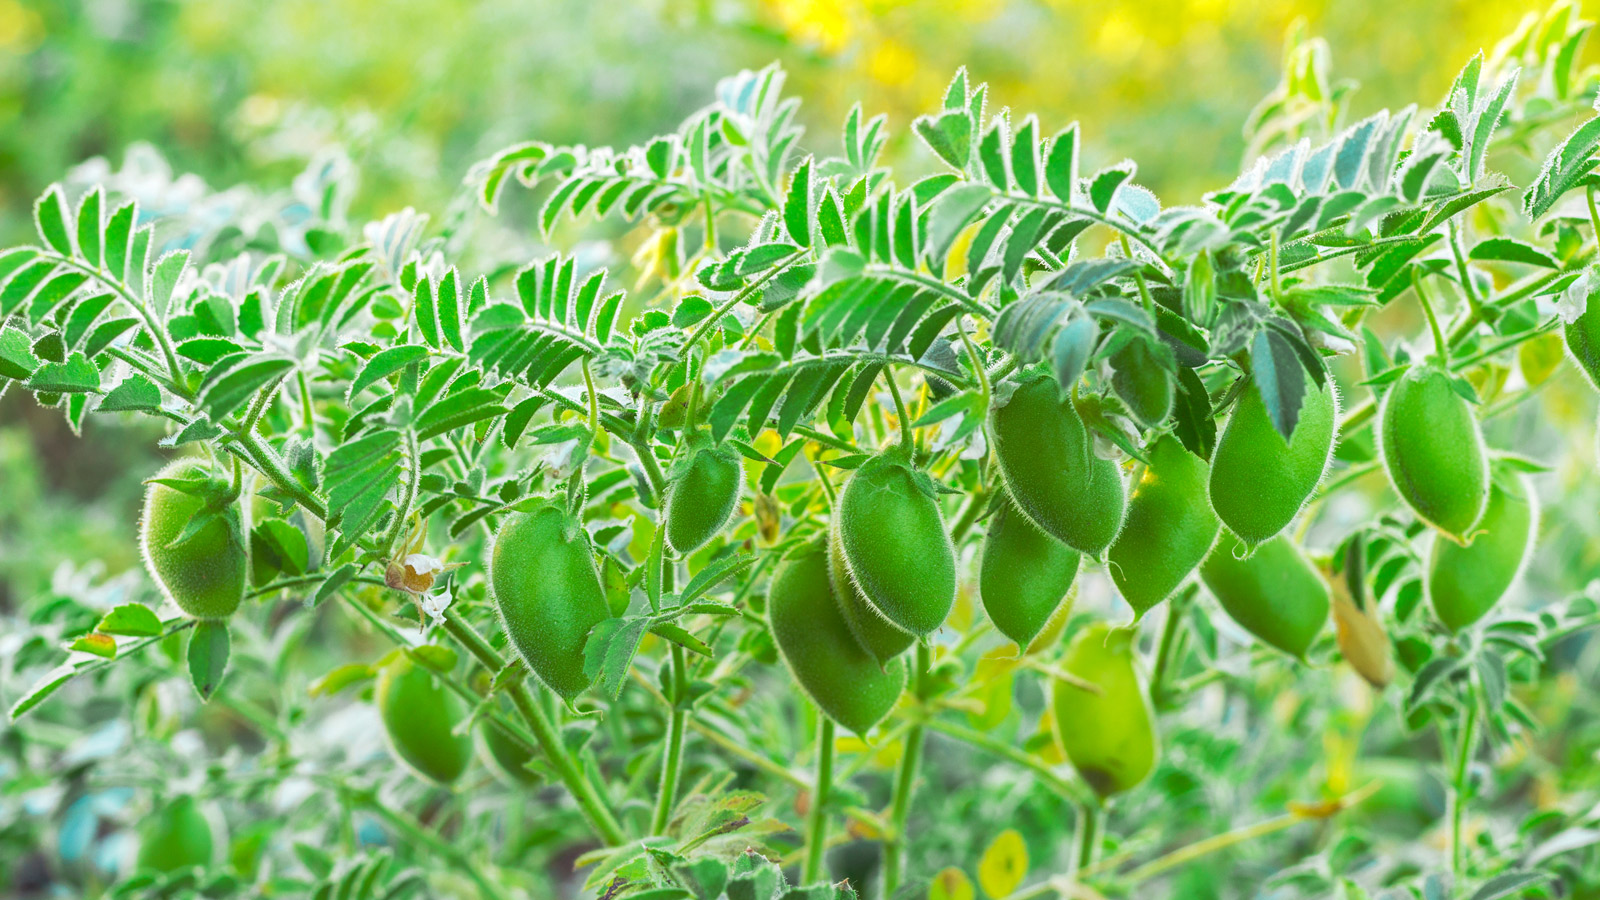

Learning how to grow chickpeas gives you a chance to broaden your gardening horizons with a crop that is easy to grow, drought-resistant, cool-hardy and packed with goodness. Also known as garbanzo beans, chickpeas (Cicer arietinum) are sun-loving annuals with a fascinating heritage, and they are said to be amongst the first crops ever grown. They were revered by ancient Romans who claimed that these plucky pods elevated a person’s beauty and well-being.
Garnering interest as a ‘superfood’, the modestly sized chickpea is packed with protein and loaded with zinc, folic acid, potassium, calcium, fiber and oodles of antioxidants. It lowers cholesterol levels, combats heart disease and promotes better sleep.
Growing chickpeas (aka Egyptian peas and Ceci beans) is delightfully straightforward and satisfying. They don’t need much ongoing care, they don’t require lots of water and, unlike other crops in the vegetable garden, they repel many common garden pests. They are also far more diverse than you might think – with crops that can be red and black as well as green and cream. So why not add a touch of the Mediterranean to your plot with the versatile garbanzo?
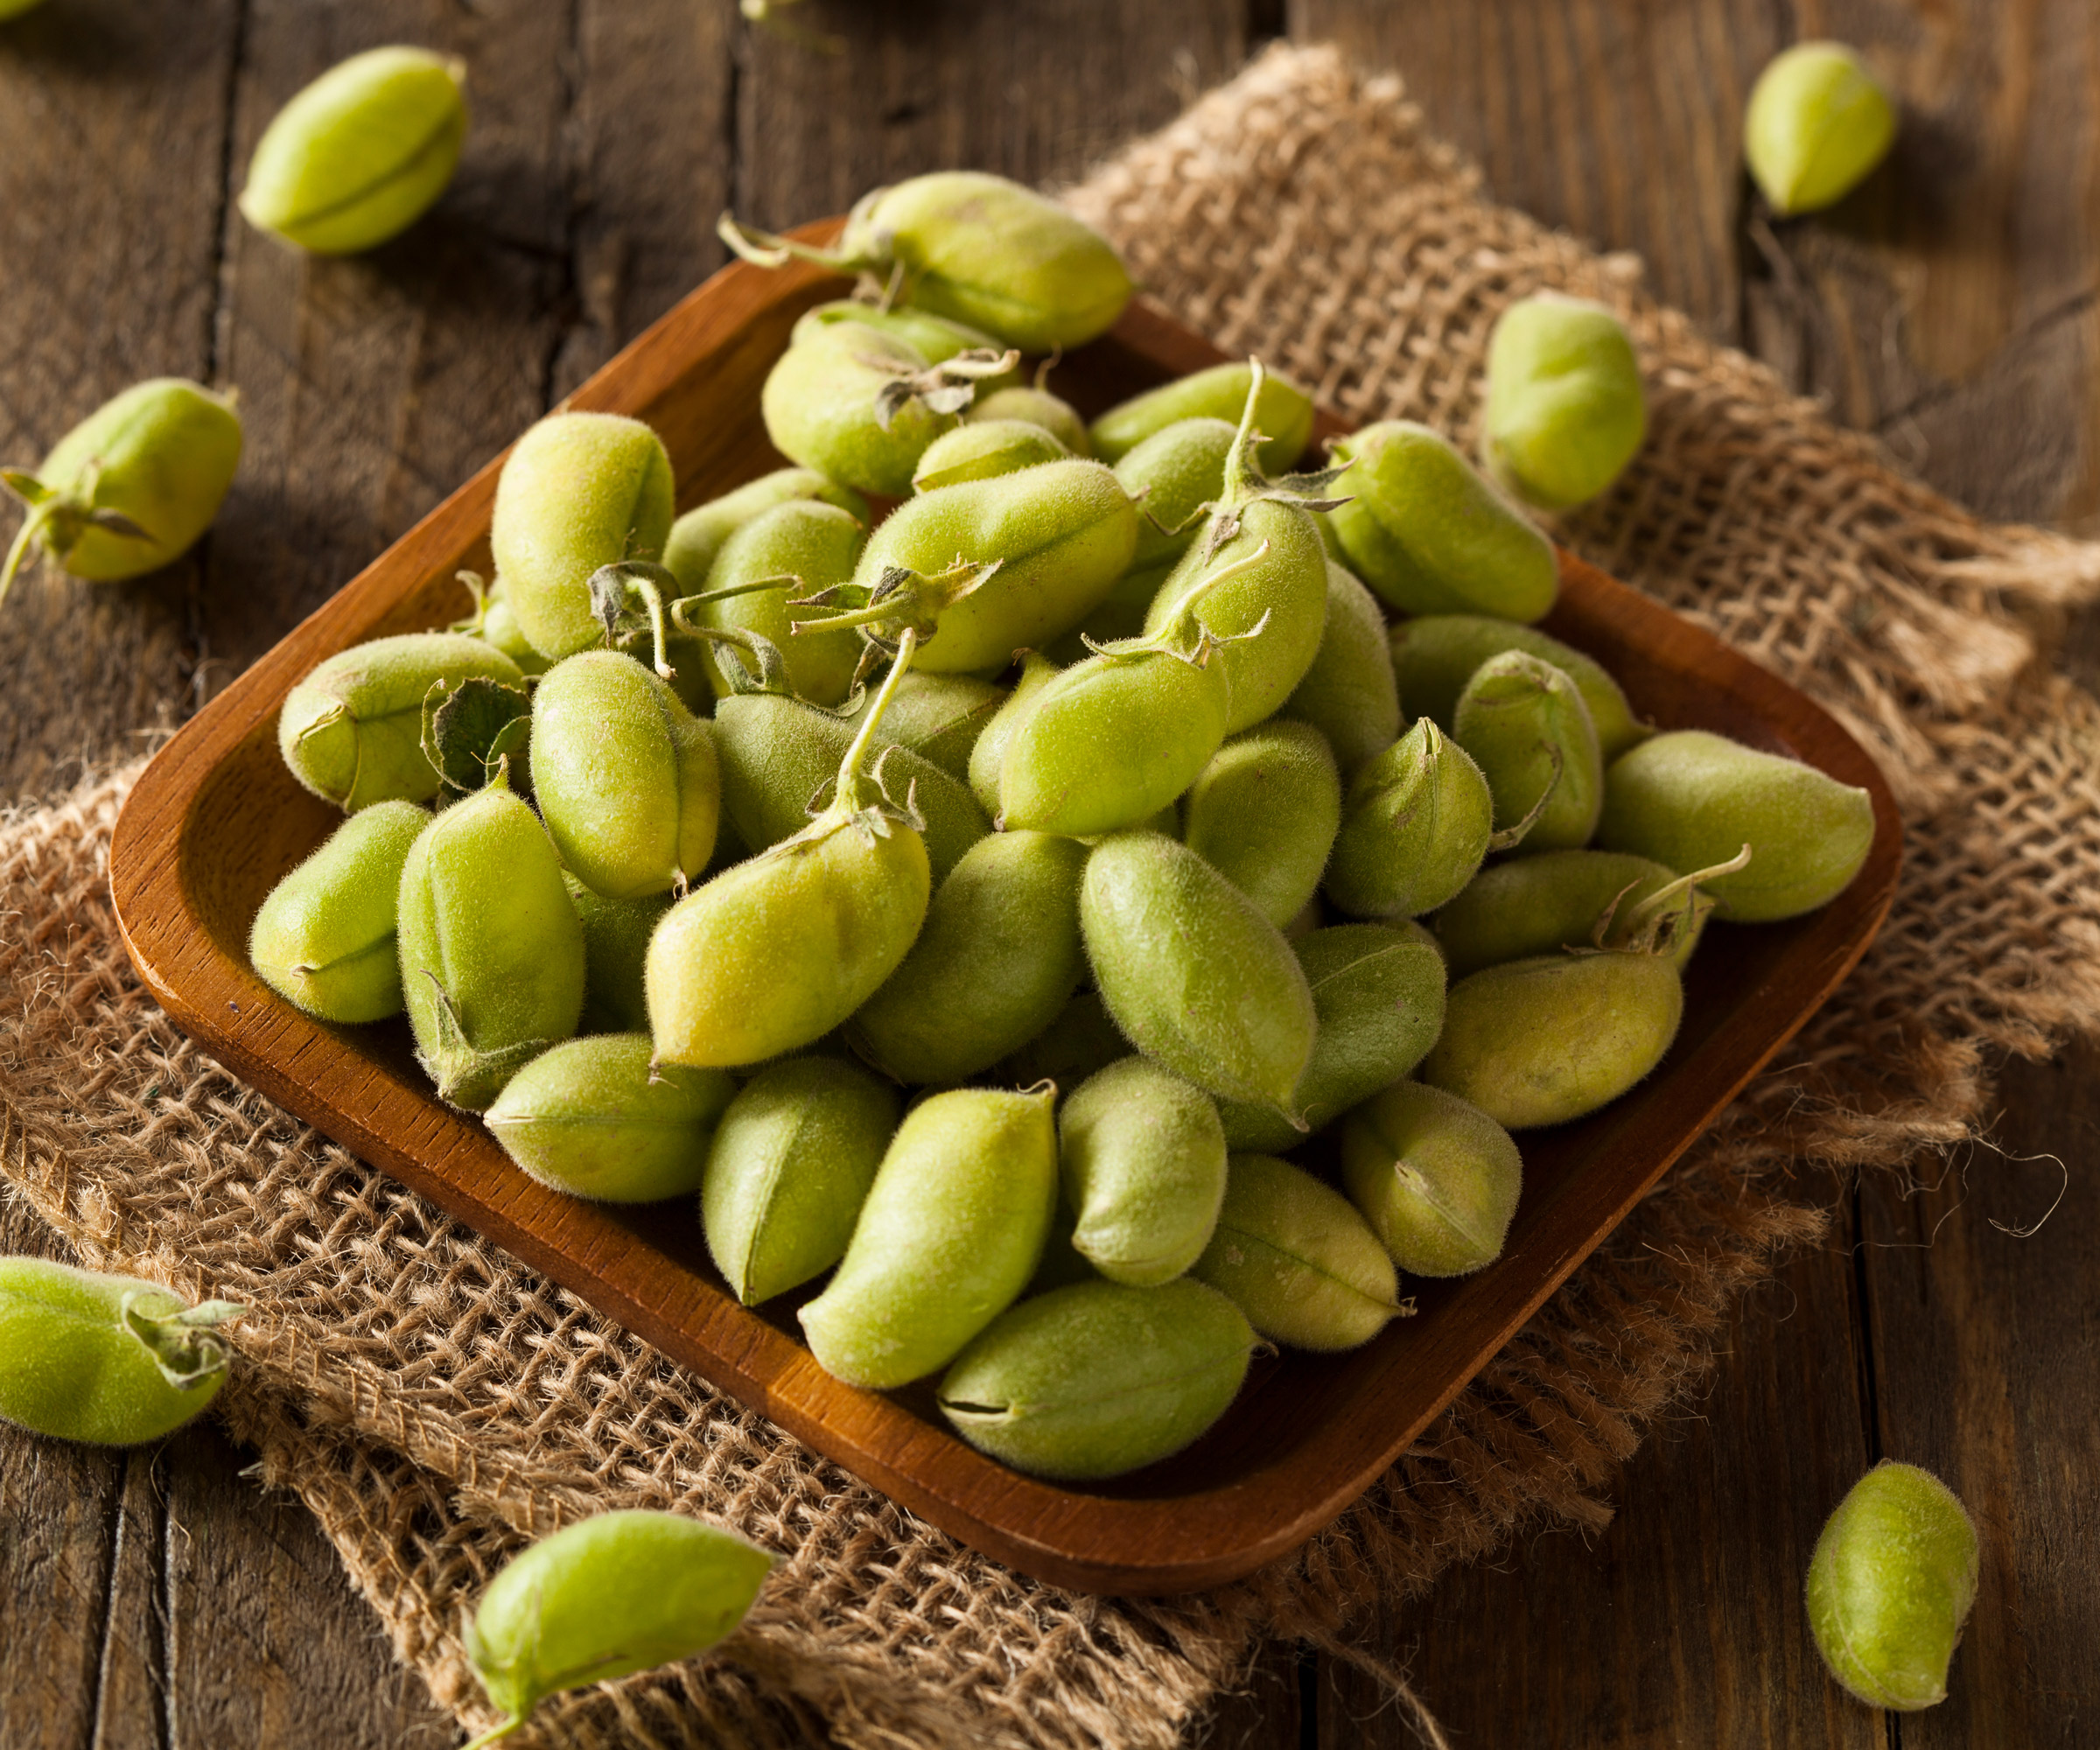
Chickpeas can be enjoyed as fresh greens and as dry pods
Ideal conditions for growing chickpeas
If you’re going to grow chickpeas successfully, the main requirement is sunshine. They might survive in partial shade but yields will be reduced. So give your legumes at least six hours of sunshine a day – they are best suited to south facing gardens of any size.
Beyond that, these are some of the easiest vegetables to grow and are unfussy about location. A sheltered site and a light support system can help, but since they will only reach 18in tall they are not too vulnerable. These annuals will thrive in a range of schemes, including raised bed gardens, potagers, drought tolerant planting schemes and small backyards.
Chickpeas do best in well-draining soils, so make sure any spot you pick has been dug over recently to remove debris. Although they can adapt to a range of soil types, they prefer slightly acidic or neutral conditions with a pH of 5-7. Add a few inches of aged compost, plus a little sand if your soil is heavy.
While chickpeas appreciate regular watering, seed expert Florence at Tomorrow Seeds urges you to check your planting site is not waterlogged. ‘Chickpeas do not tolerate wet soils or climates that receive over 30 inches of rain a year,’ says Florence. Avoid any areas where other legumes have grown previously – and you’re all set.
- Buy chickpeas from Amazon
- Buy chickpeas from Etsy
- Buy chickpeas from Tomorrow Seeds
- Buy chickpeas from Walmart
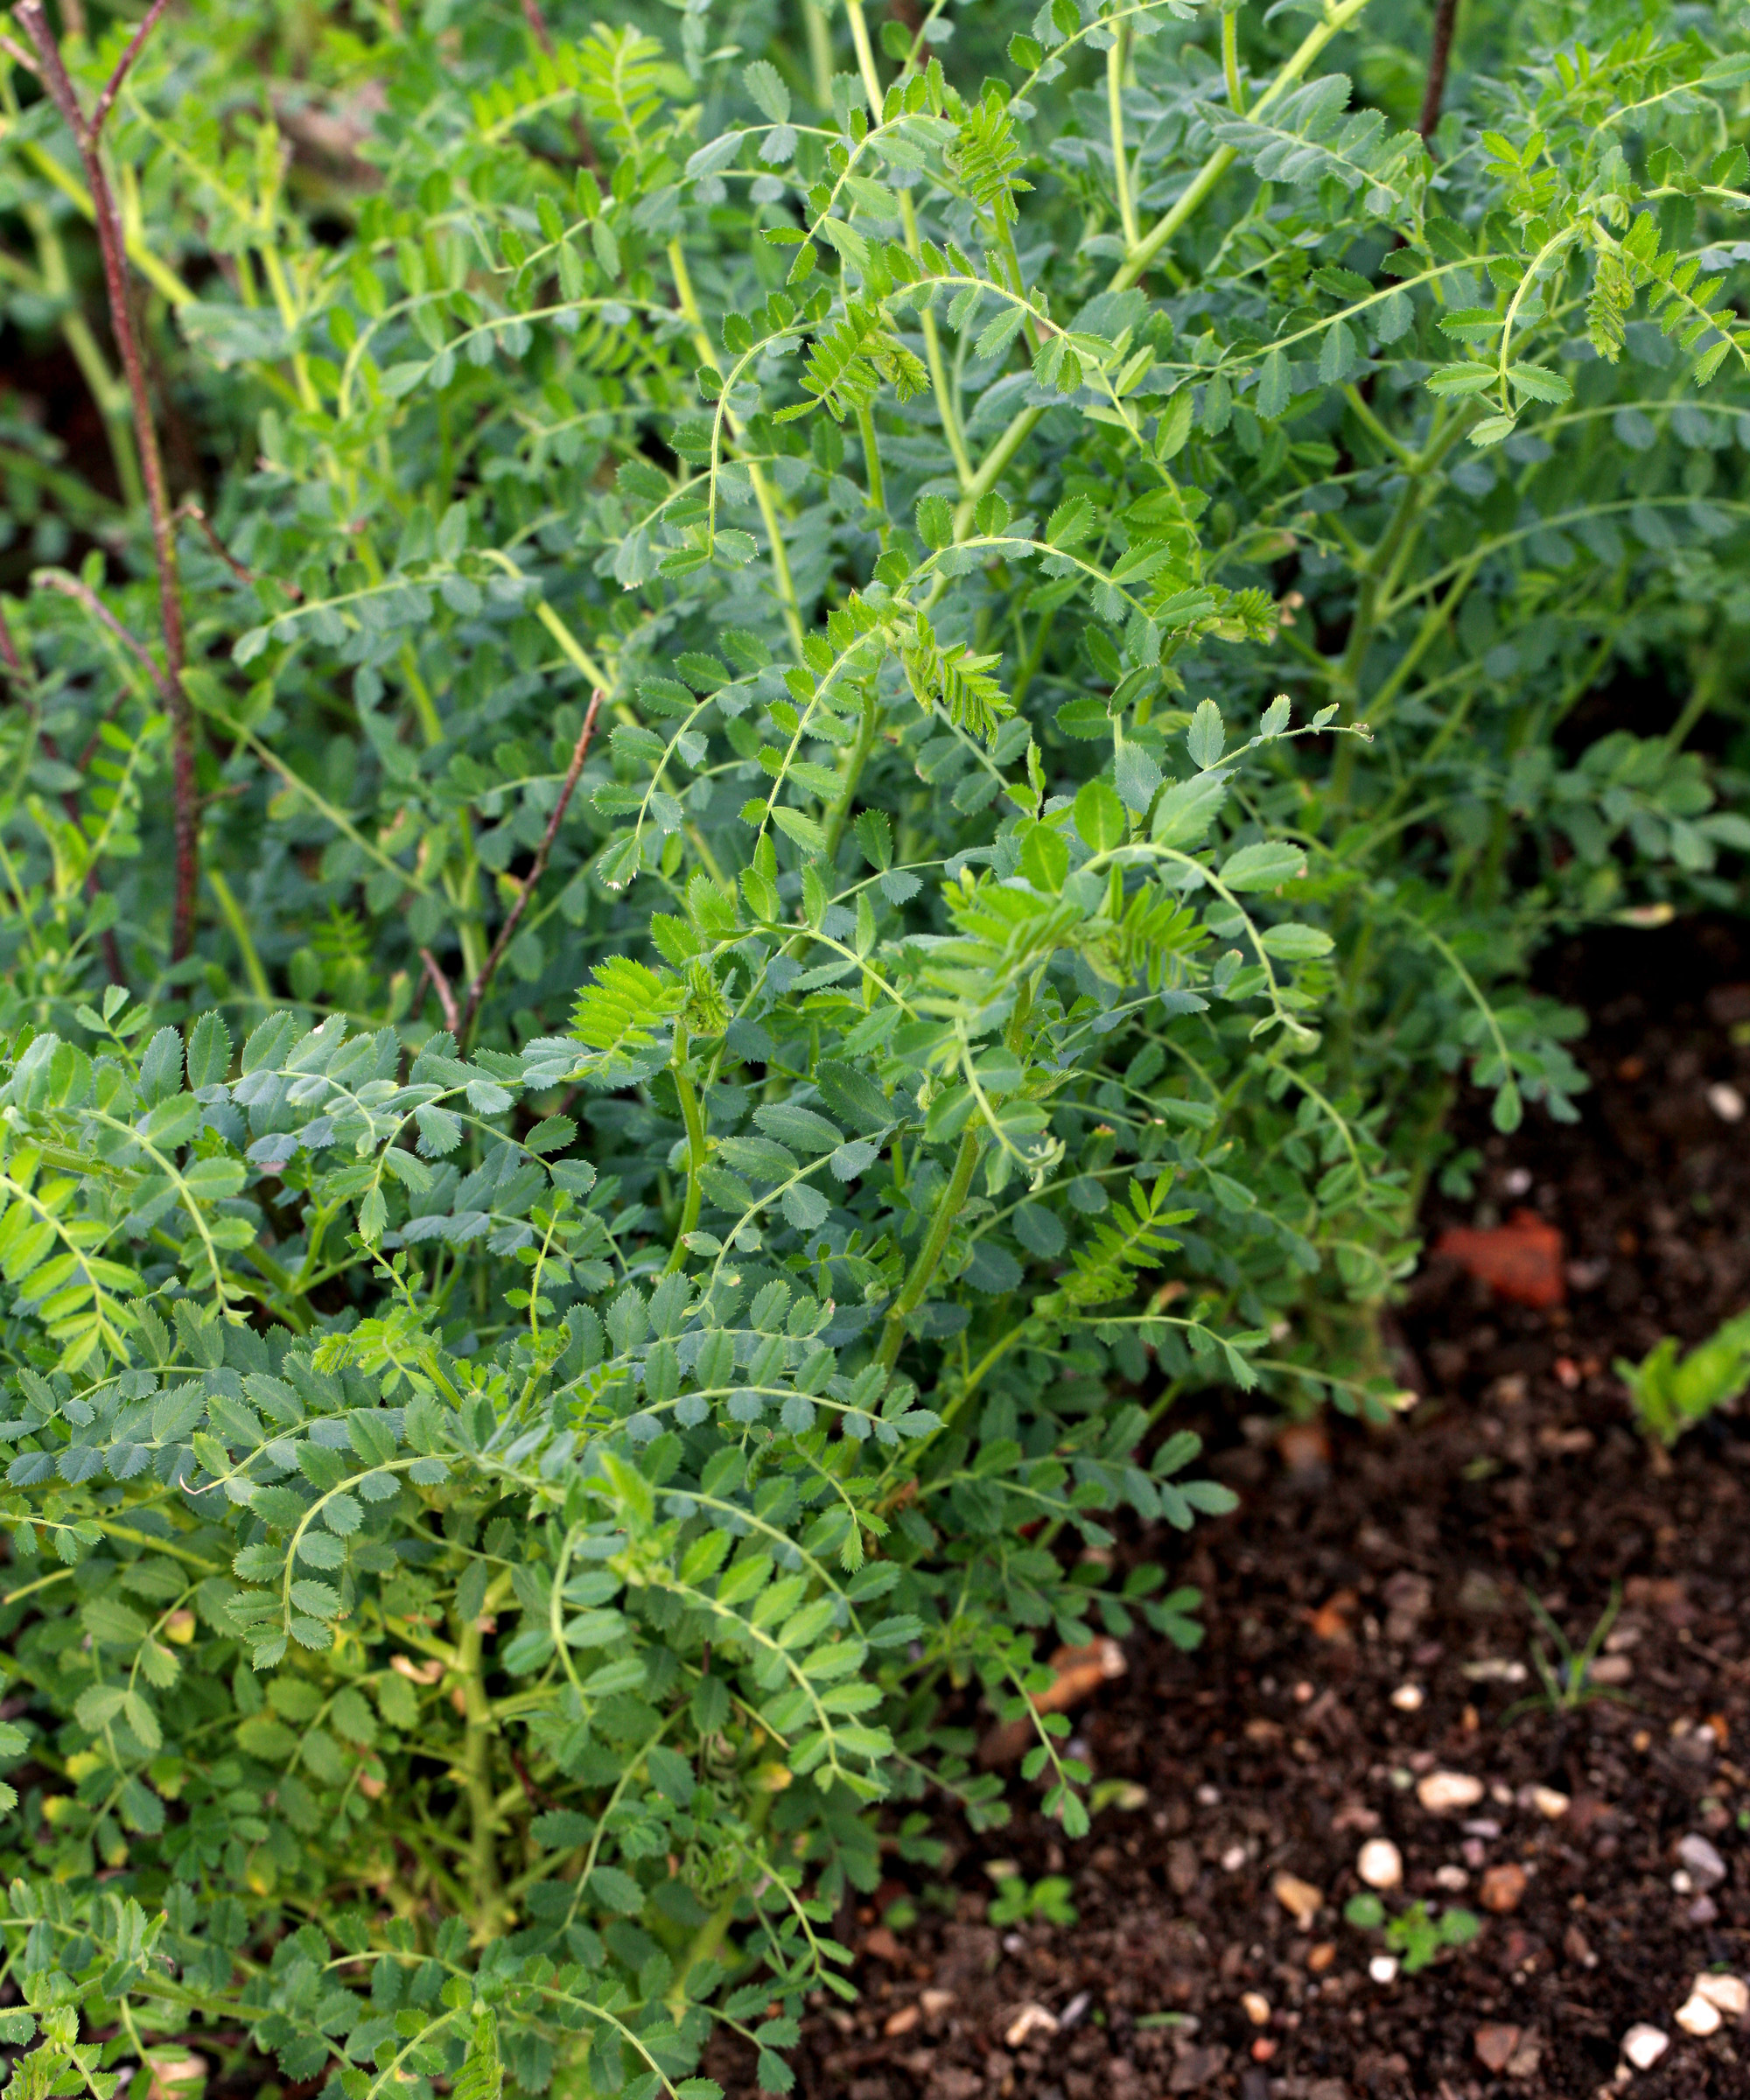
Grow in well-drained soil topped up with some aged compost
When and how to grow chickpeas
Growing chickpeas successfully is a balancing act between the need for sunshine and the need to avoid extremes of weather. As far as you can, make sure young plants won’t be exposed to frosts or extended periods of heat, which can stunt growth or stop plants in their tracks completely. They are cool-season crops and prefer temperate conditions.
Chickpeas need three months of growing time and are best sown in April or May. Protect plants from frost in the early stages by covering with a blanket on poles, a cold frame, or similar. These plants do best in USDA hardiness zones 3-9.
Chickpeas are best sown directly where they are to crop. However, if you want to eke out a little more growing time so plants get three months to mature, you can sow under glass a few weeks before the last frosts. Just sow into biodegradable pots so you can transplant seedlings without disrupting their delicate root systems.
If you do start indoors, transplant seedlings when they are 5in tall, and thin to one per pot by snipping at ground level. ‘Chickpeas yield best when daytime temperatures are 70-80˚F and nighttime temperatures are 65-70˚F,’ says Florence at Tomorrow Seeds. ‘You may seed them when soil temperatures reach 45˚F or warmer.’
There are two types of chickpea plant you can grow: kabuli and desi. Kabuli is most commonly grown in the United States, and these varieties tend to have white flowers and light seed jackets. Desi chickpeas are smaller and have a deeper-toned seed coat following purple flowers.
Great varieties for beginners to try include high-yielding ‘Kyabra’, resilient ‘Tyson’ and Italian ‘Principe’. If you need chickpeas with an especially high level of disease resistance, try ‘Sanford’ or ‘Sierra’.
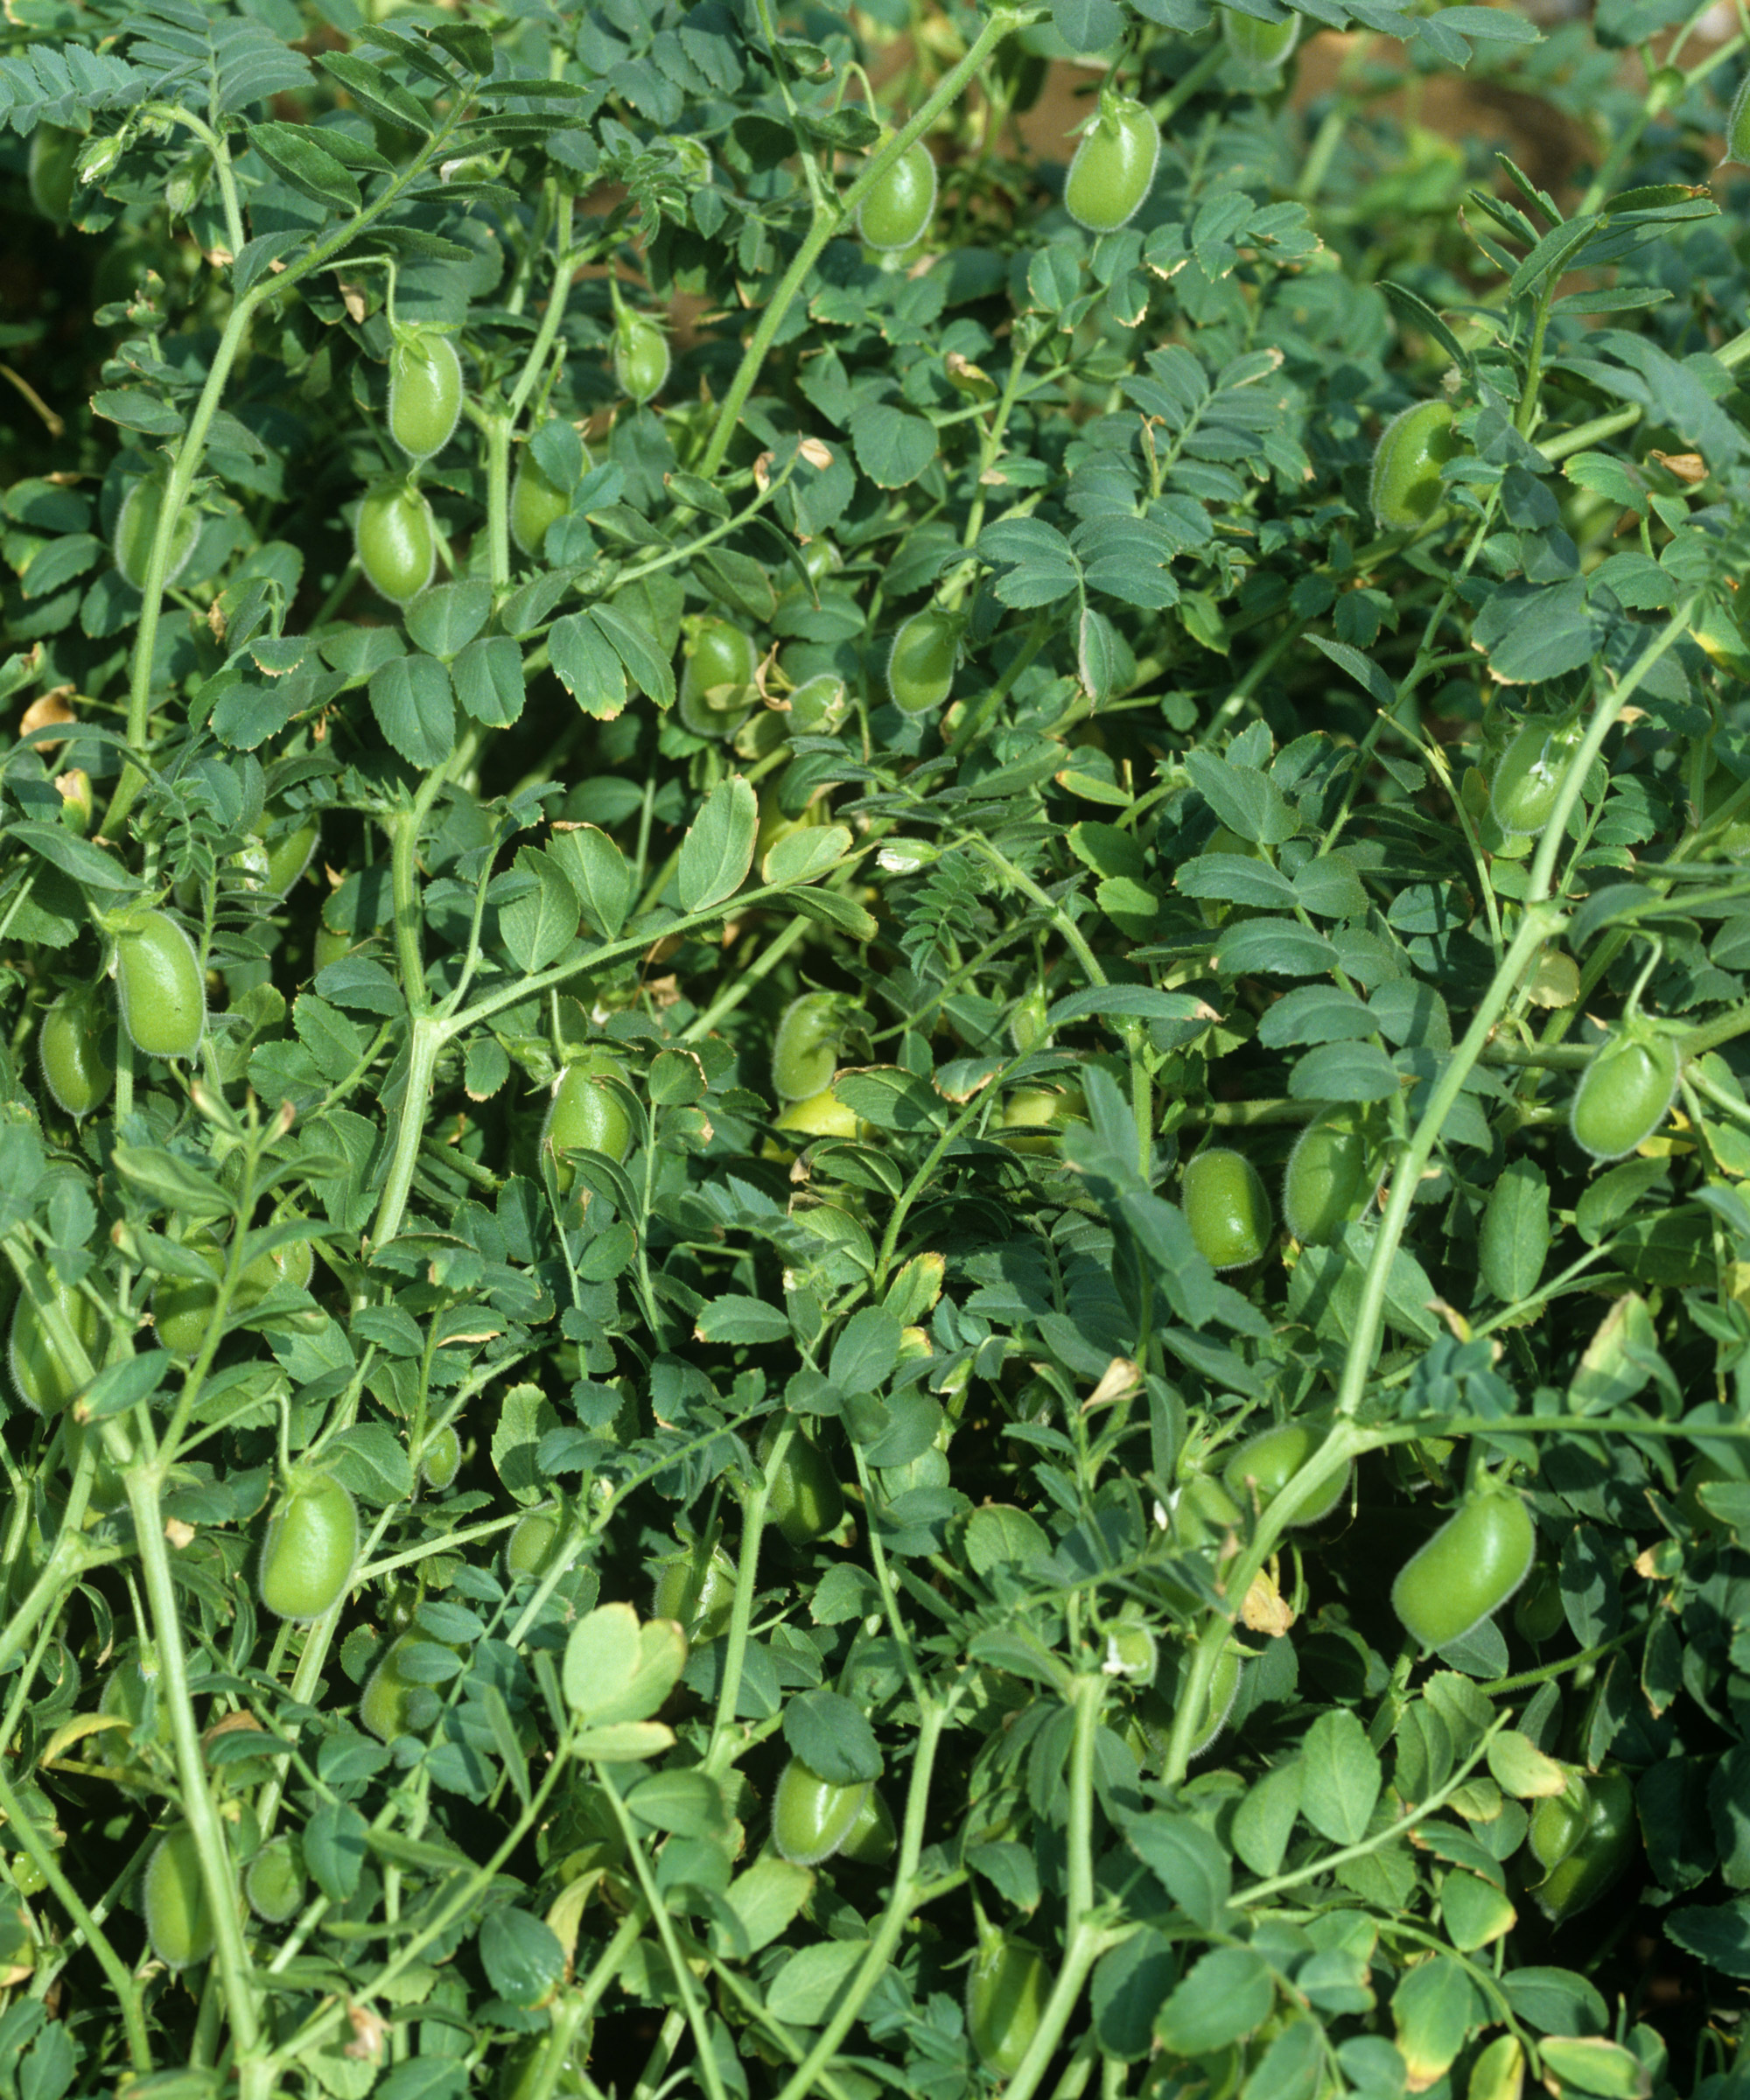
‘Tyson’ is a great variety for thick-skinned pods with dark seeds
How to plant chickpeas from seed
Although it is fine to start chickpeas under glass, these plants (and their roots especially) are sensitive to being handled. For that reason, you may prefer to just sow direct (or ‘in situ’) where they are to grow.
Lucy Chamberlain, a veg growing expert for Homes & Gardens, advises sowing in drills, much as you would for a garden pea. You should be able to avoid some of the worst seed sowing mistakes if you follow our guidance on timings and ground quality.
In terms of nearby crops, a word of caution: don’t plant near garlic, which produces a chemical that can diminish chickpea growth. You should also avoid growing near soybeans and potatoes, which are prone to some of the same diseases.
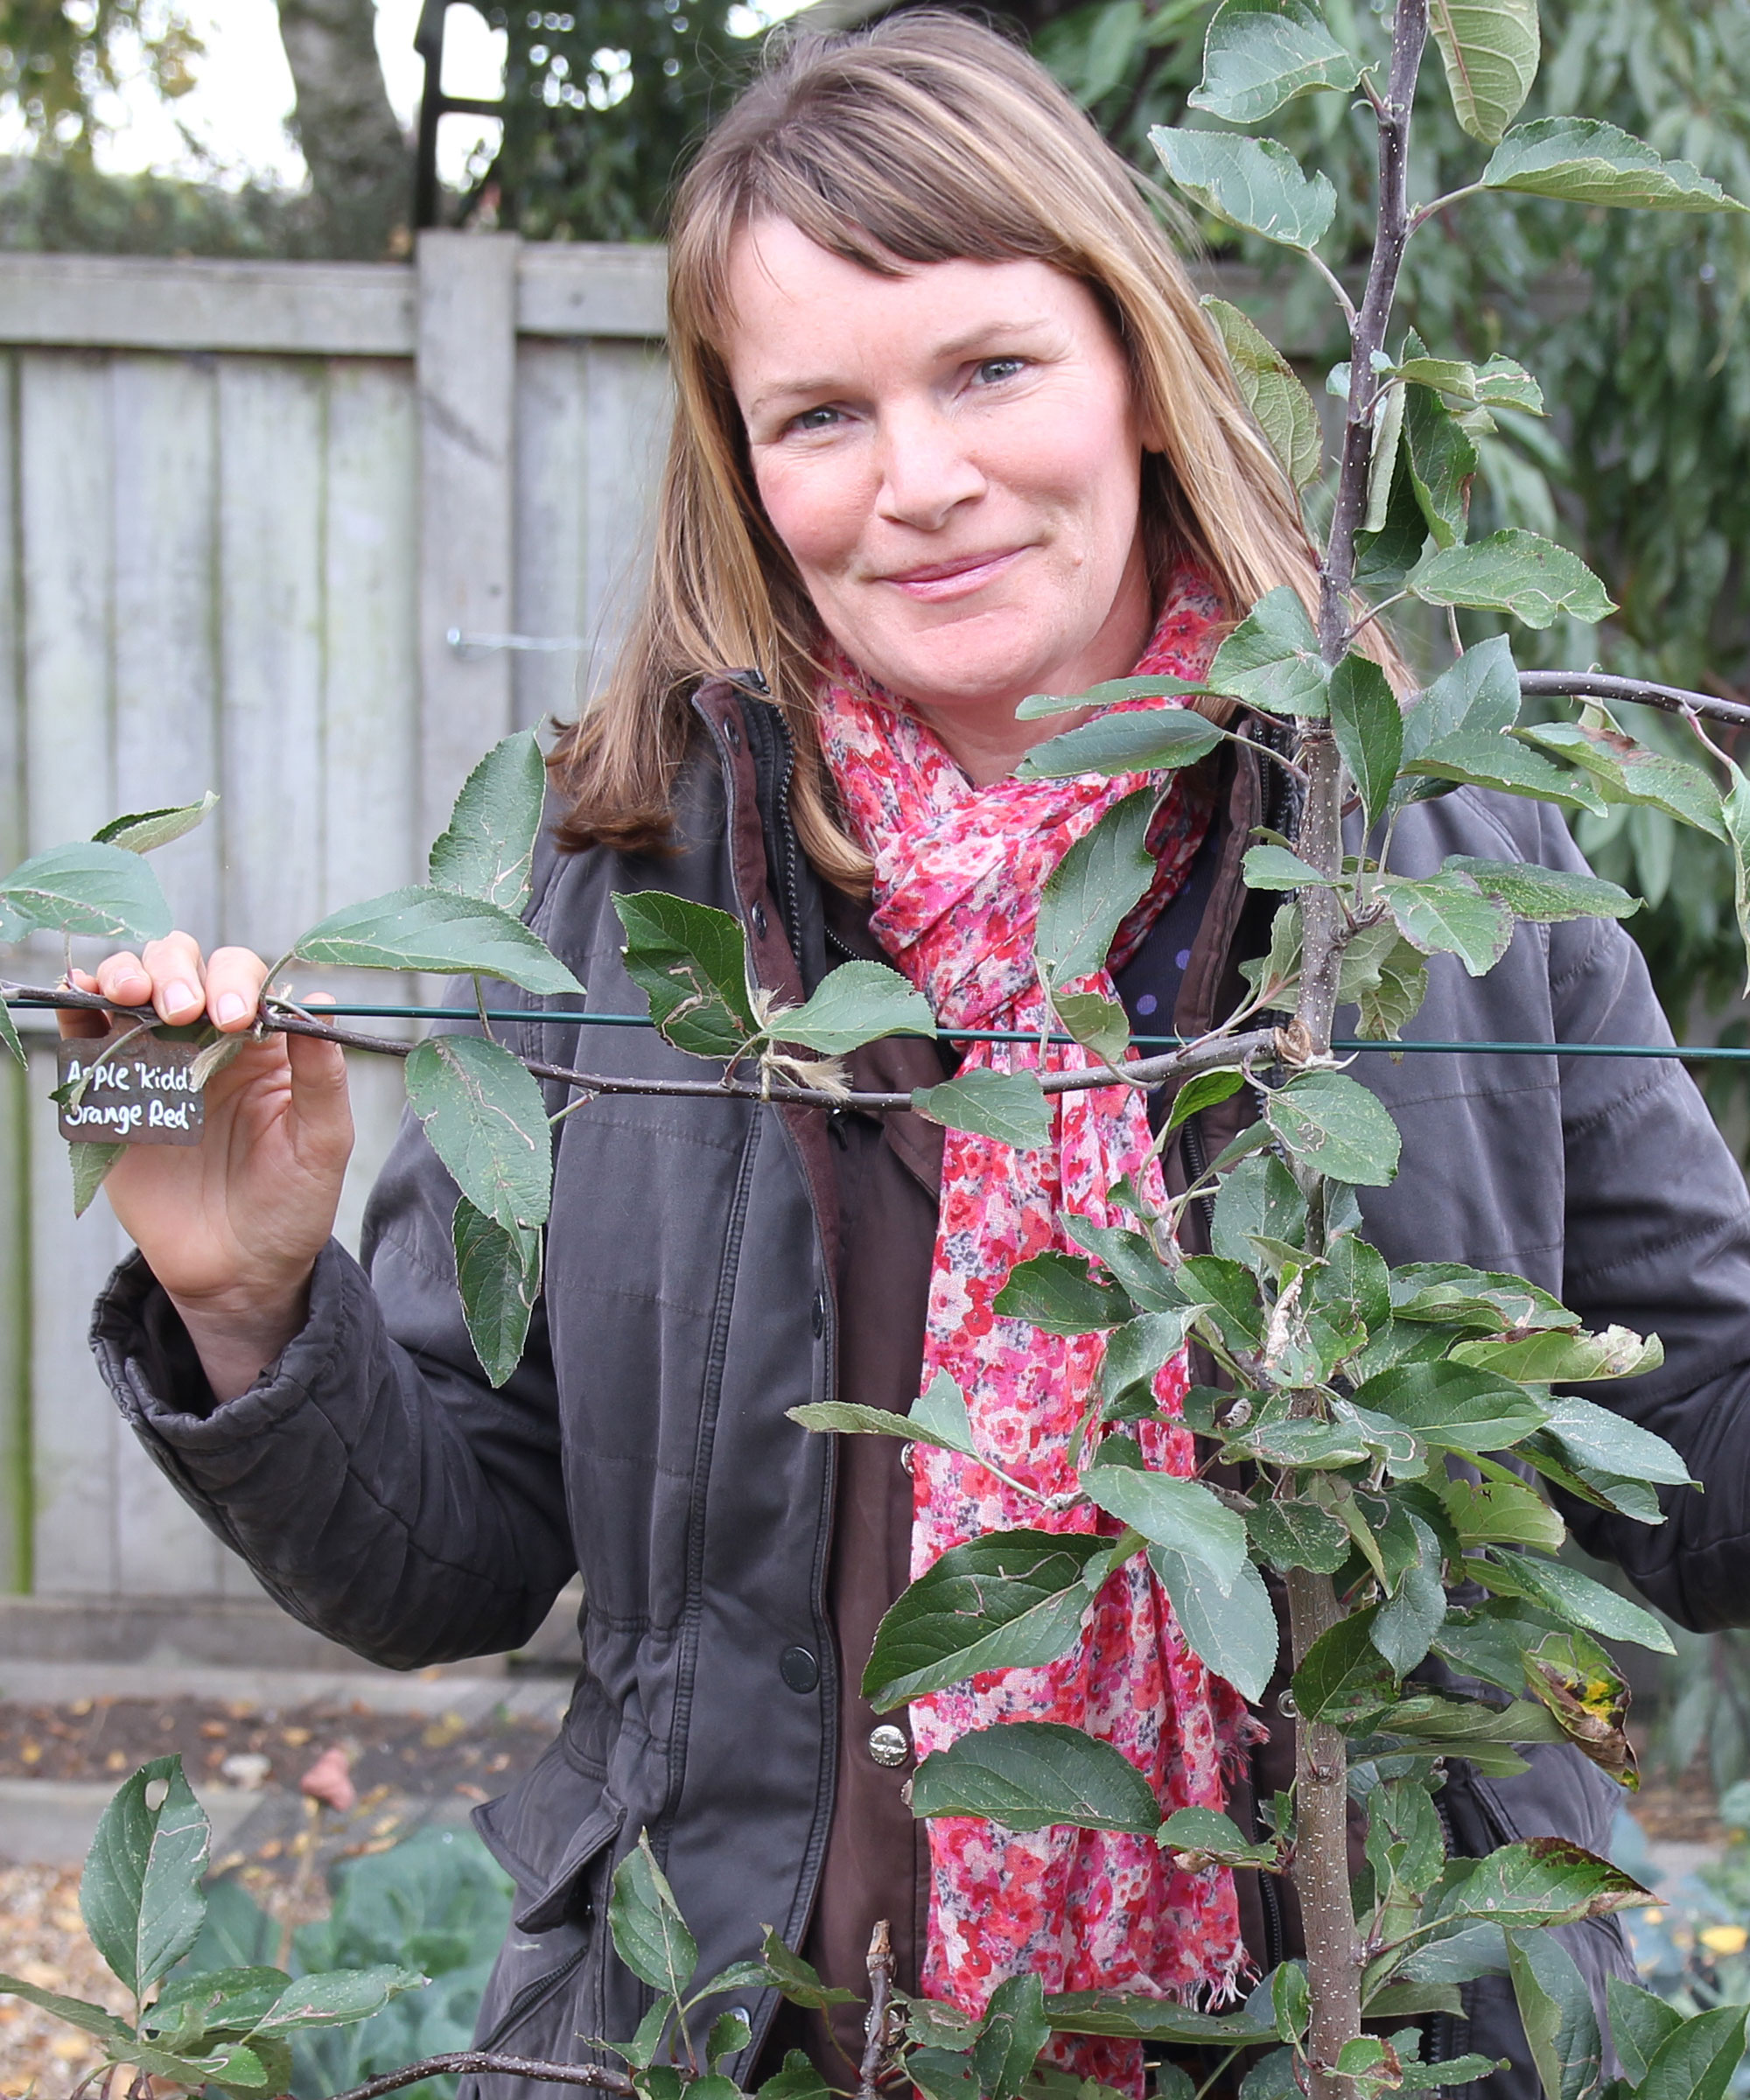
Lucy was a Horticultural Advisor at RHS Wisley and has been Head Gardener on a 100-acre estate in England for many years, but writes regularly for titles such as The Garden, Gardeners’ World, The Guardian and Amateur Gardening. She’s also the author of RHS Step by Step Veg Patch, available at Amazon, which covers 50 types of fruit and veg. Here are some of her top tips for direct-sowing chickpeas.
- Sow thinly, planting seeds an inch deep and spacing 3-6in apart. Make sure the earth is moist and cover with a light dusting of soil.
- Water well, and keep the soil moist. Add a layer of mulch so moisture levels are kept constant. Germination should occur in 10-14 days.
- Cover with an insulating glass or polycarbonate cloche for insulation. Remove any cloches and covers once the flowers start to appear.
- Thin outdoor sowings once you spot the first pair of true leaves, making sure the remaining plants are kept around 8in apart.
- Make successive sowings every three weeks to guarantee an extended season of harvests through to the fall.
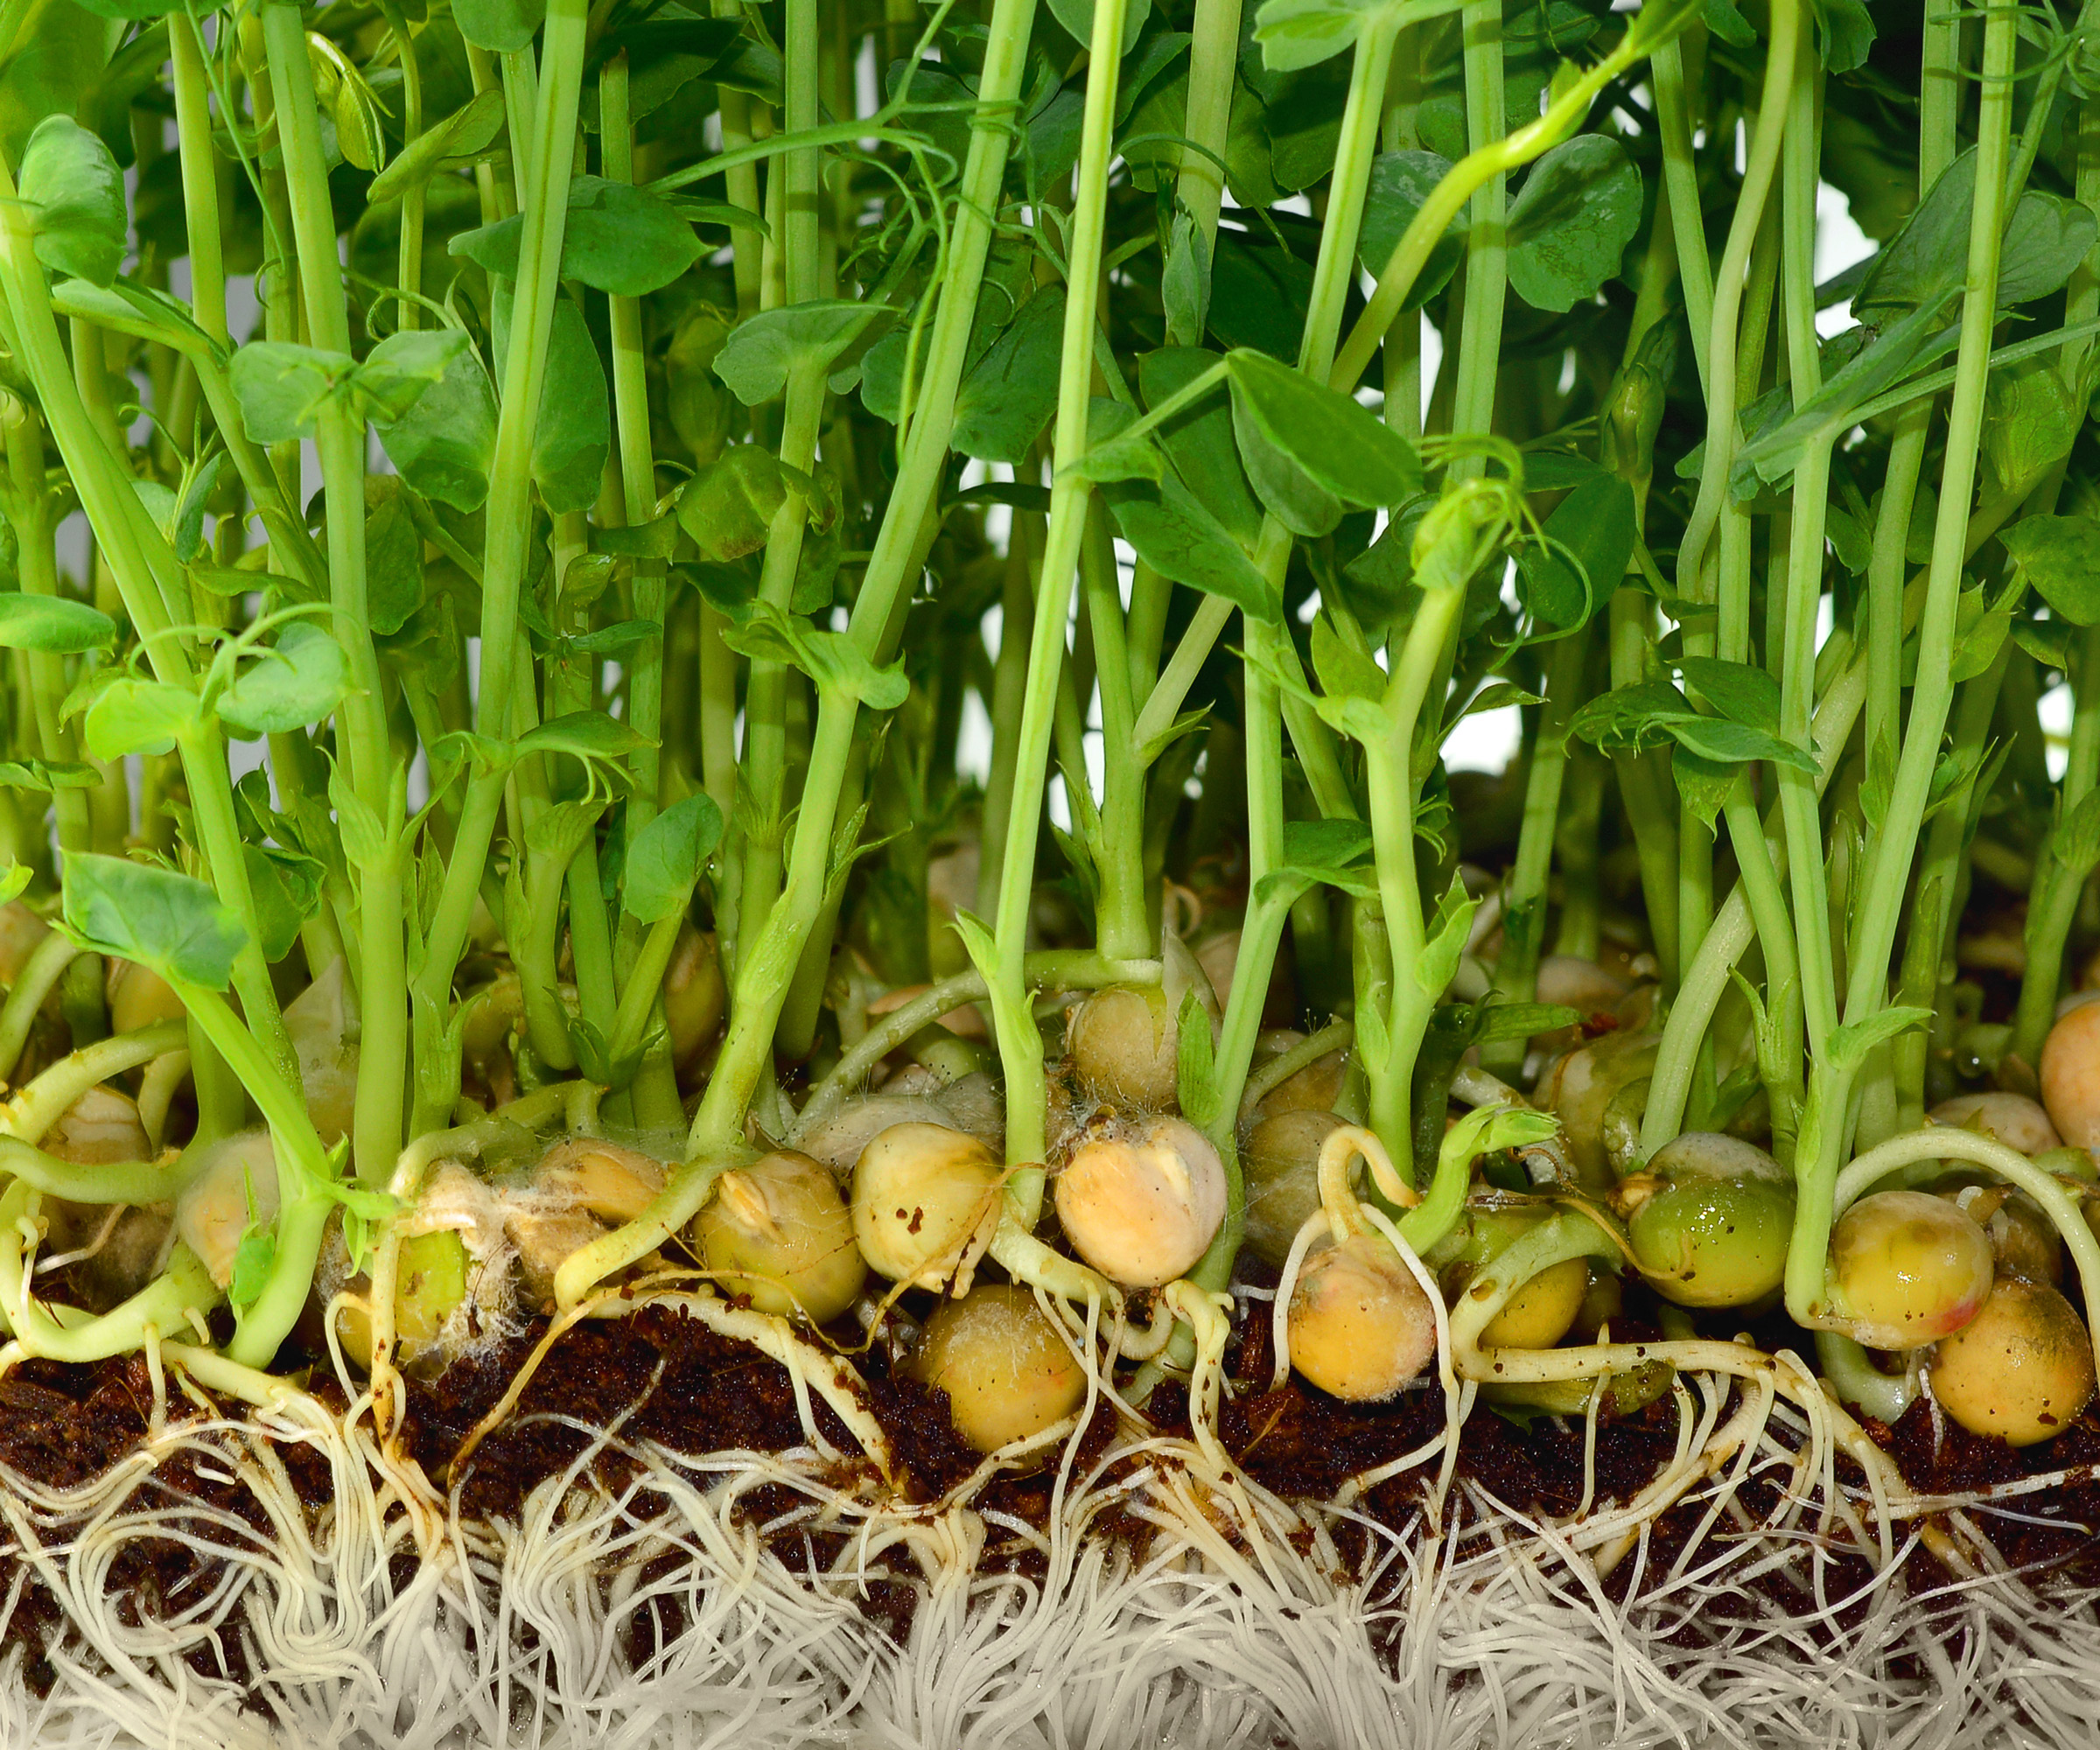
Chickpeas should germinate within two weeks of sowing
Growing chickpeas in containers
A couple of the most common planting mistakes when growing chickpeas are drainage and airflow. Good airflow is important for keeping plants healthy and resilient to infection, and drainage helps prevent waterlogging. For these reasons, chickpeas are not an obvious choice for container gardening ideas and might struggle if you are not careful. That said, it is possible to keep them in pots.
Select the largest containers you can; troughs or outdoor planters are good options. Depth is critical as you don’t want to compromise root development. So choose a pot that is 8in deep, and make sure it has ample drainage holes.
Maintain the same plant spacings as for standard plantings, so plants are 3-6in apart. You don’t need intricate support systems to grow chickpeas, but it can help to stake plants.
Container-based chickpeas need more regular watering than ground-planted plants; don’t let compost dry out completely. Add a fertilizer with a low level of nitrogen each month. Keep pots on a sunny patio or deck, but factor in partial afternoon shade on hot days and move under cover if extended periods of heat are forecast. A light mulch can help retain moisture.
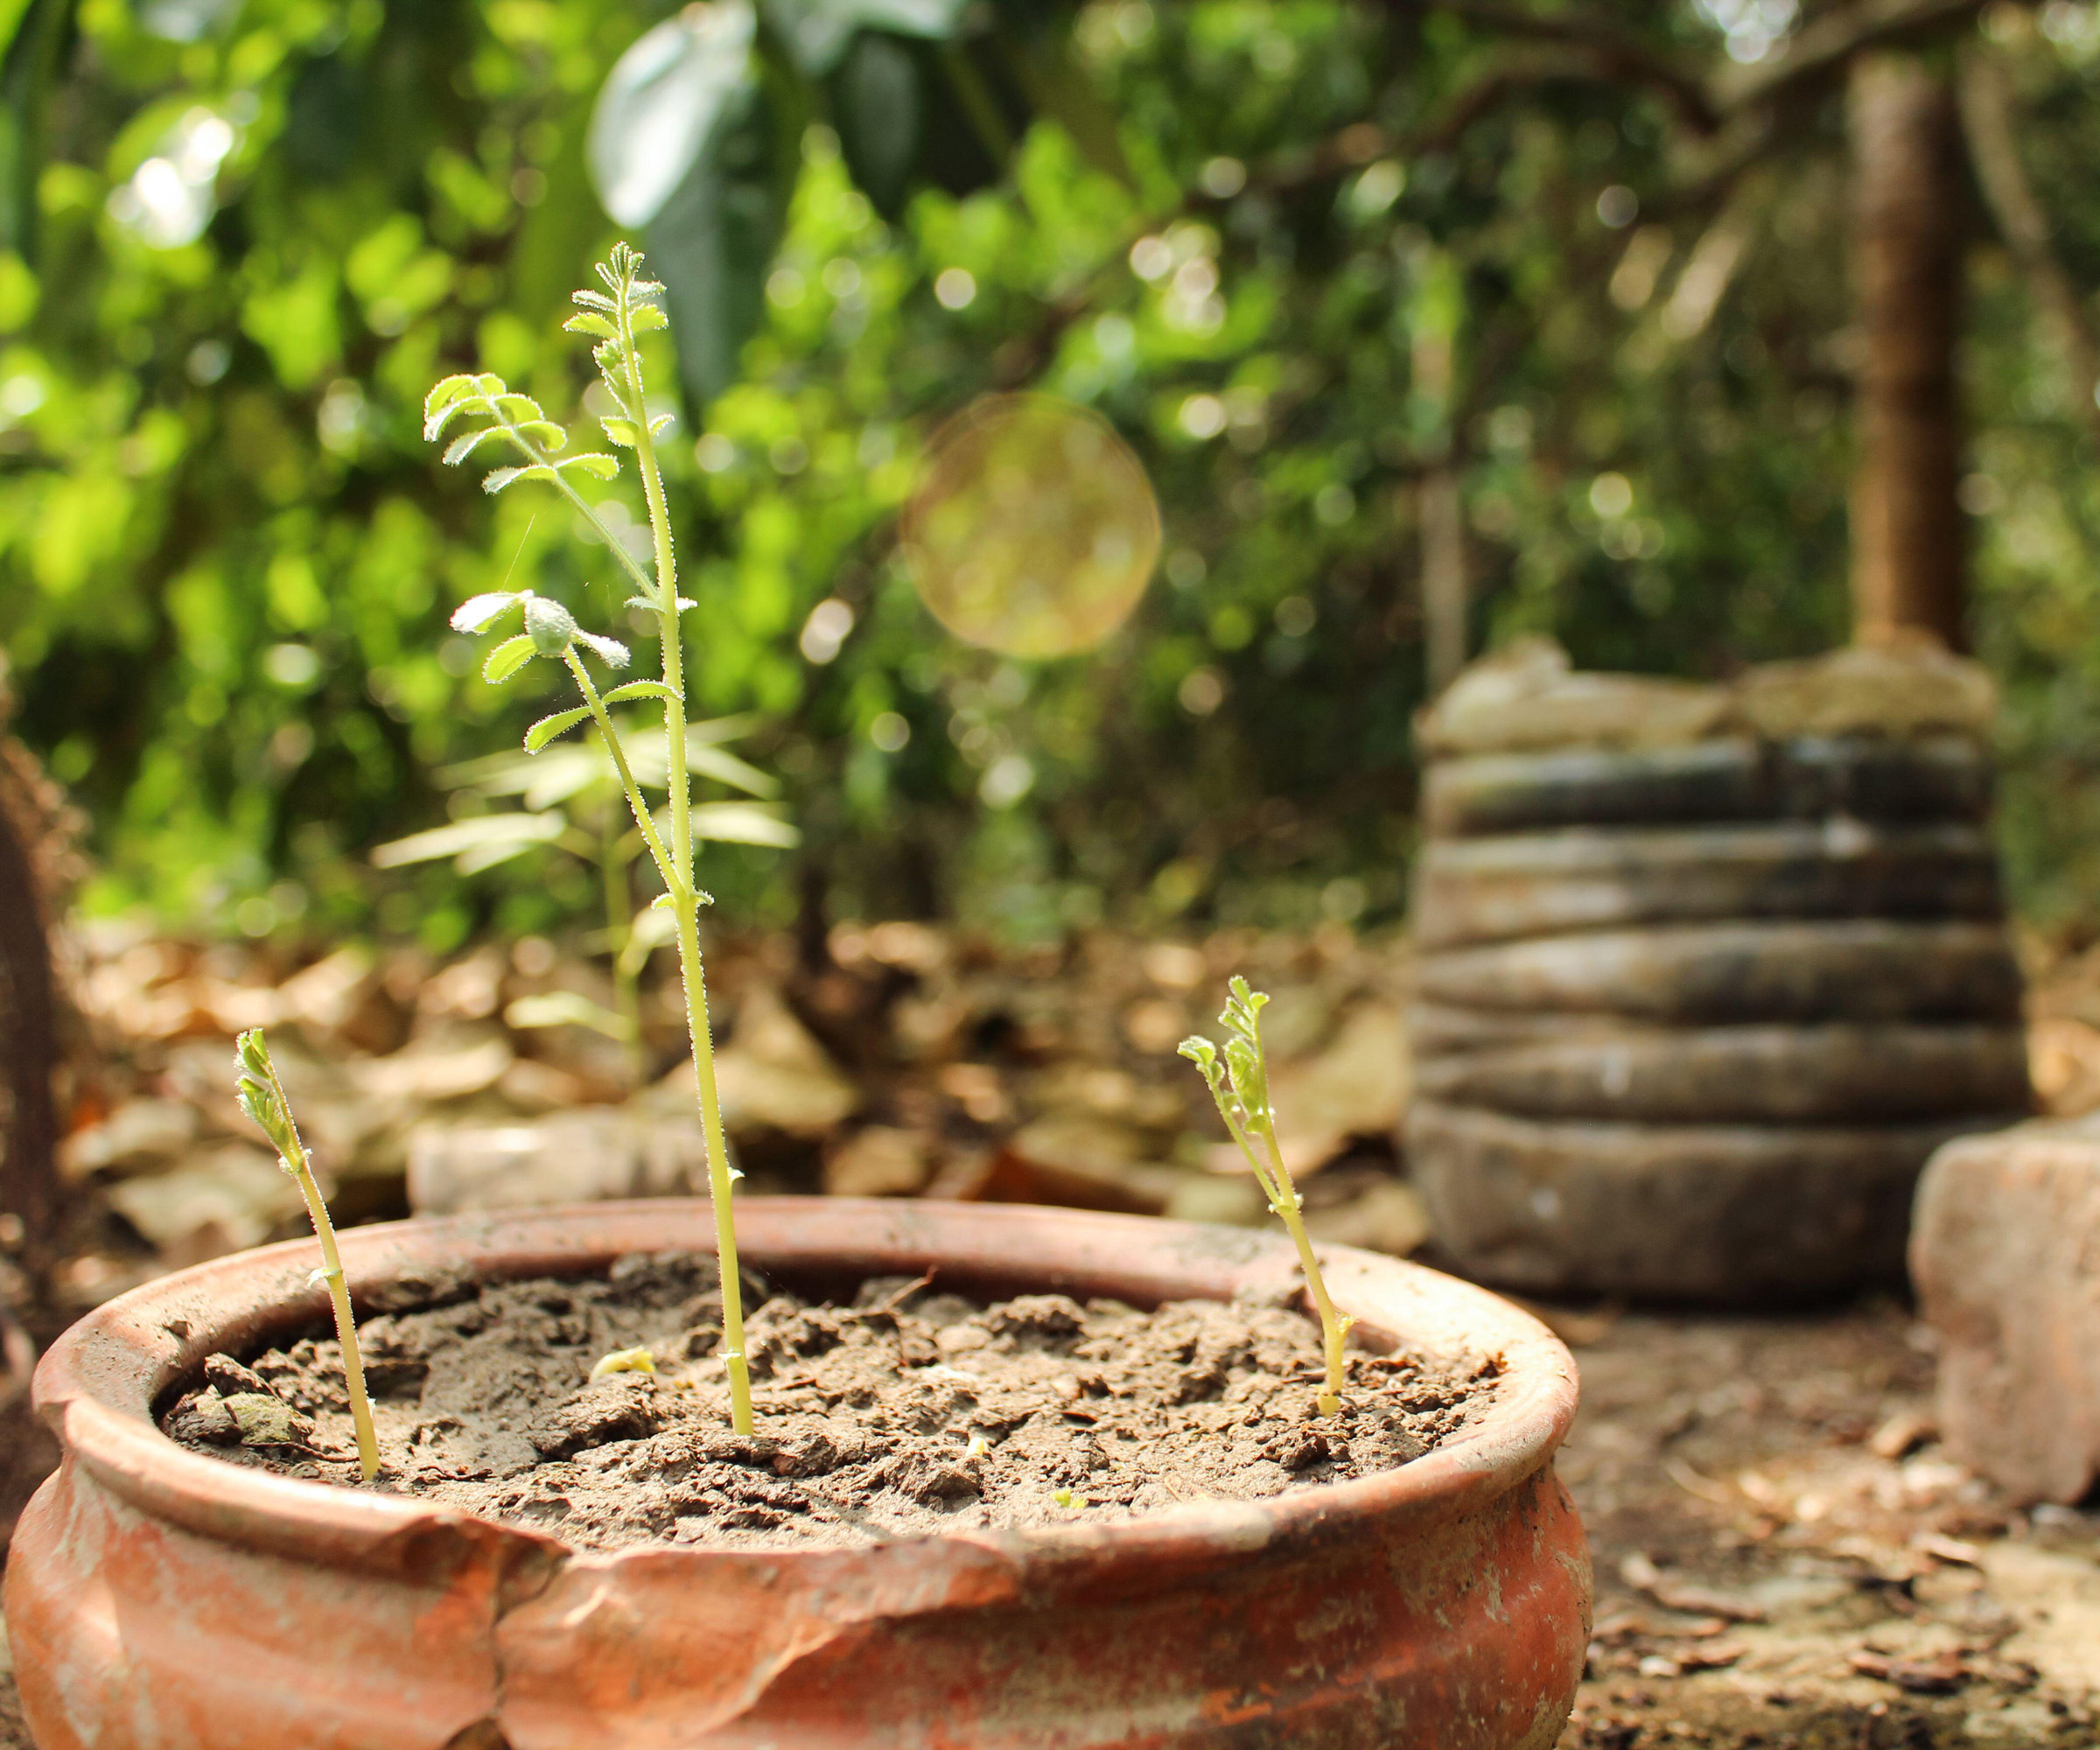
You can grow chickpeas in large pots with decent drainage if they are positioned in a sunny spot
How to grow beansprouts from chickpeas
If you are looking for the quickest way to enjoy the nutritional hit from these legumes, you can also grow chickpeas for their beansprouts. This is a fun way to guarantee a fast return from your sowings – and it cuts out all the bother of preparing soil, monitoring water levels, and the like.
For anyone looking to make the most of small vegetable garden ideas, they don’t come much more compact than this! And although mung beans or lentils may be the fastest for making beansprouts, chickpeas are a perfectly acceptable alternative – they just need a bit more time.
In this process, germination is not a means to an end: you get to feast on the results rather than planting them. Just germinate seeds that are intended for sprouting (as seeds sold for planting tend to be treated). Knowing how to grow chickpeas for beansprouts is simple:
- Measure out a small cup of chickpea seeds and rinse in cold water; drain, rinse, and repeat.
- Place in a bowl of water overnight (allow plenty of room for sprouting – a ratio of 1:3 is fine).
- Pop in a mason jar filled with water. Cover with muslim, secure with a band and place in a cupboard. At the 12-hour mark, drain and repeat.
- Once sprouted, rinse again. Spread on a paper towel, pat dry, and enjoy!
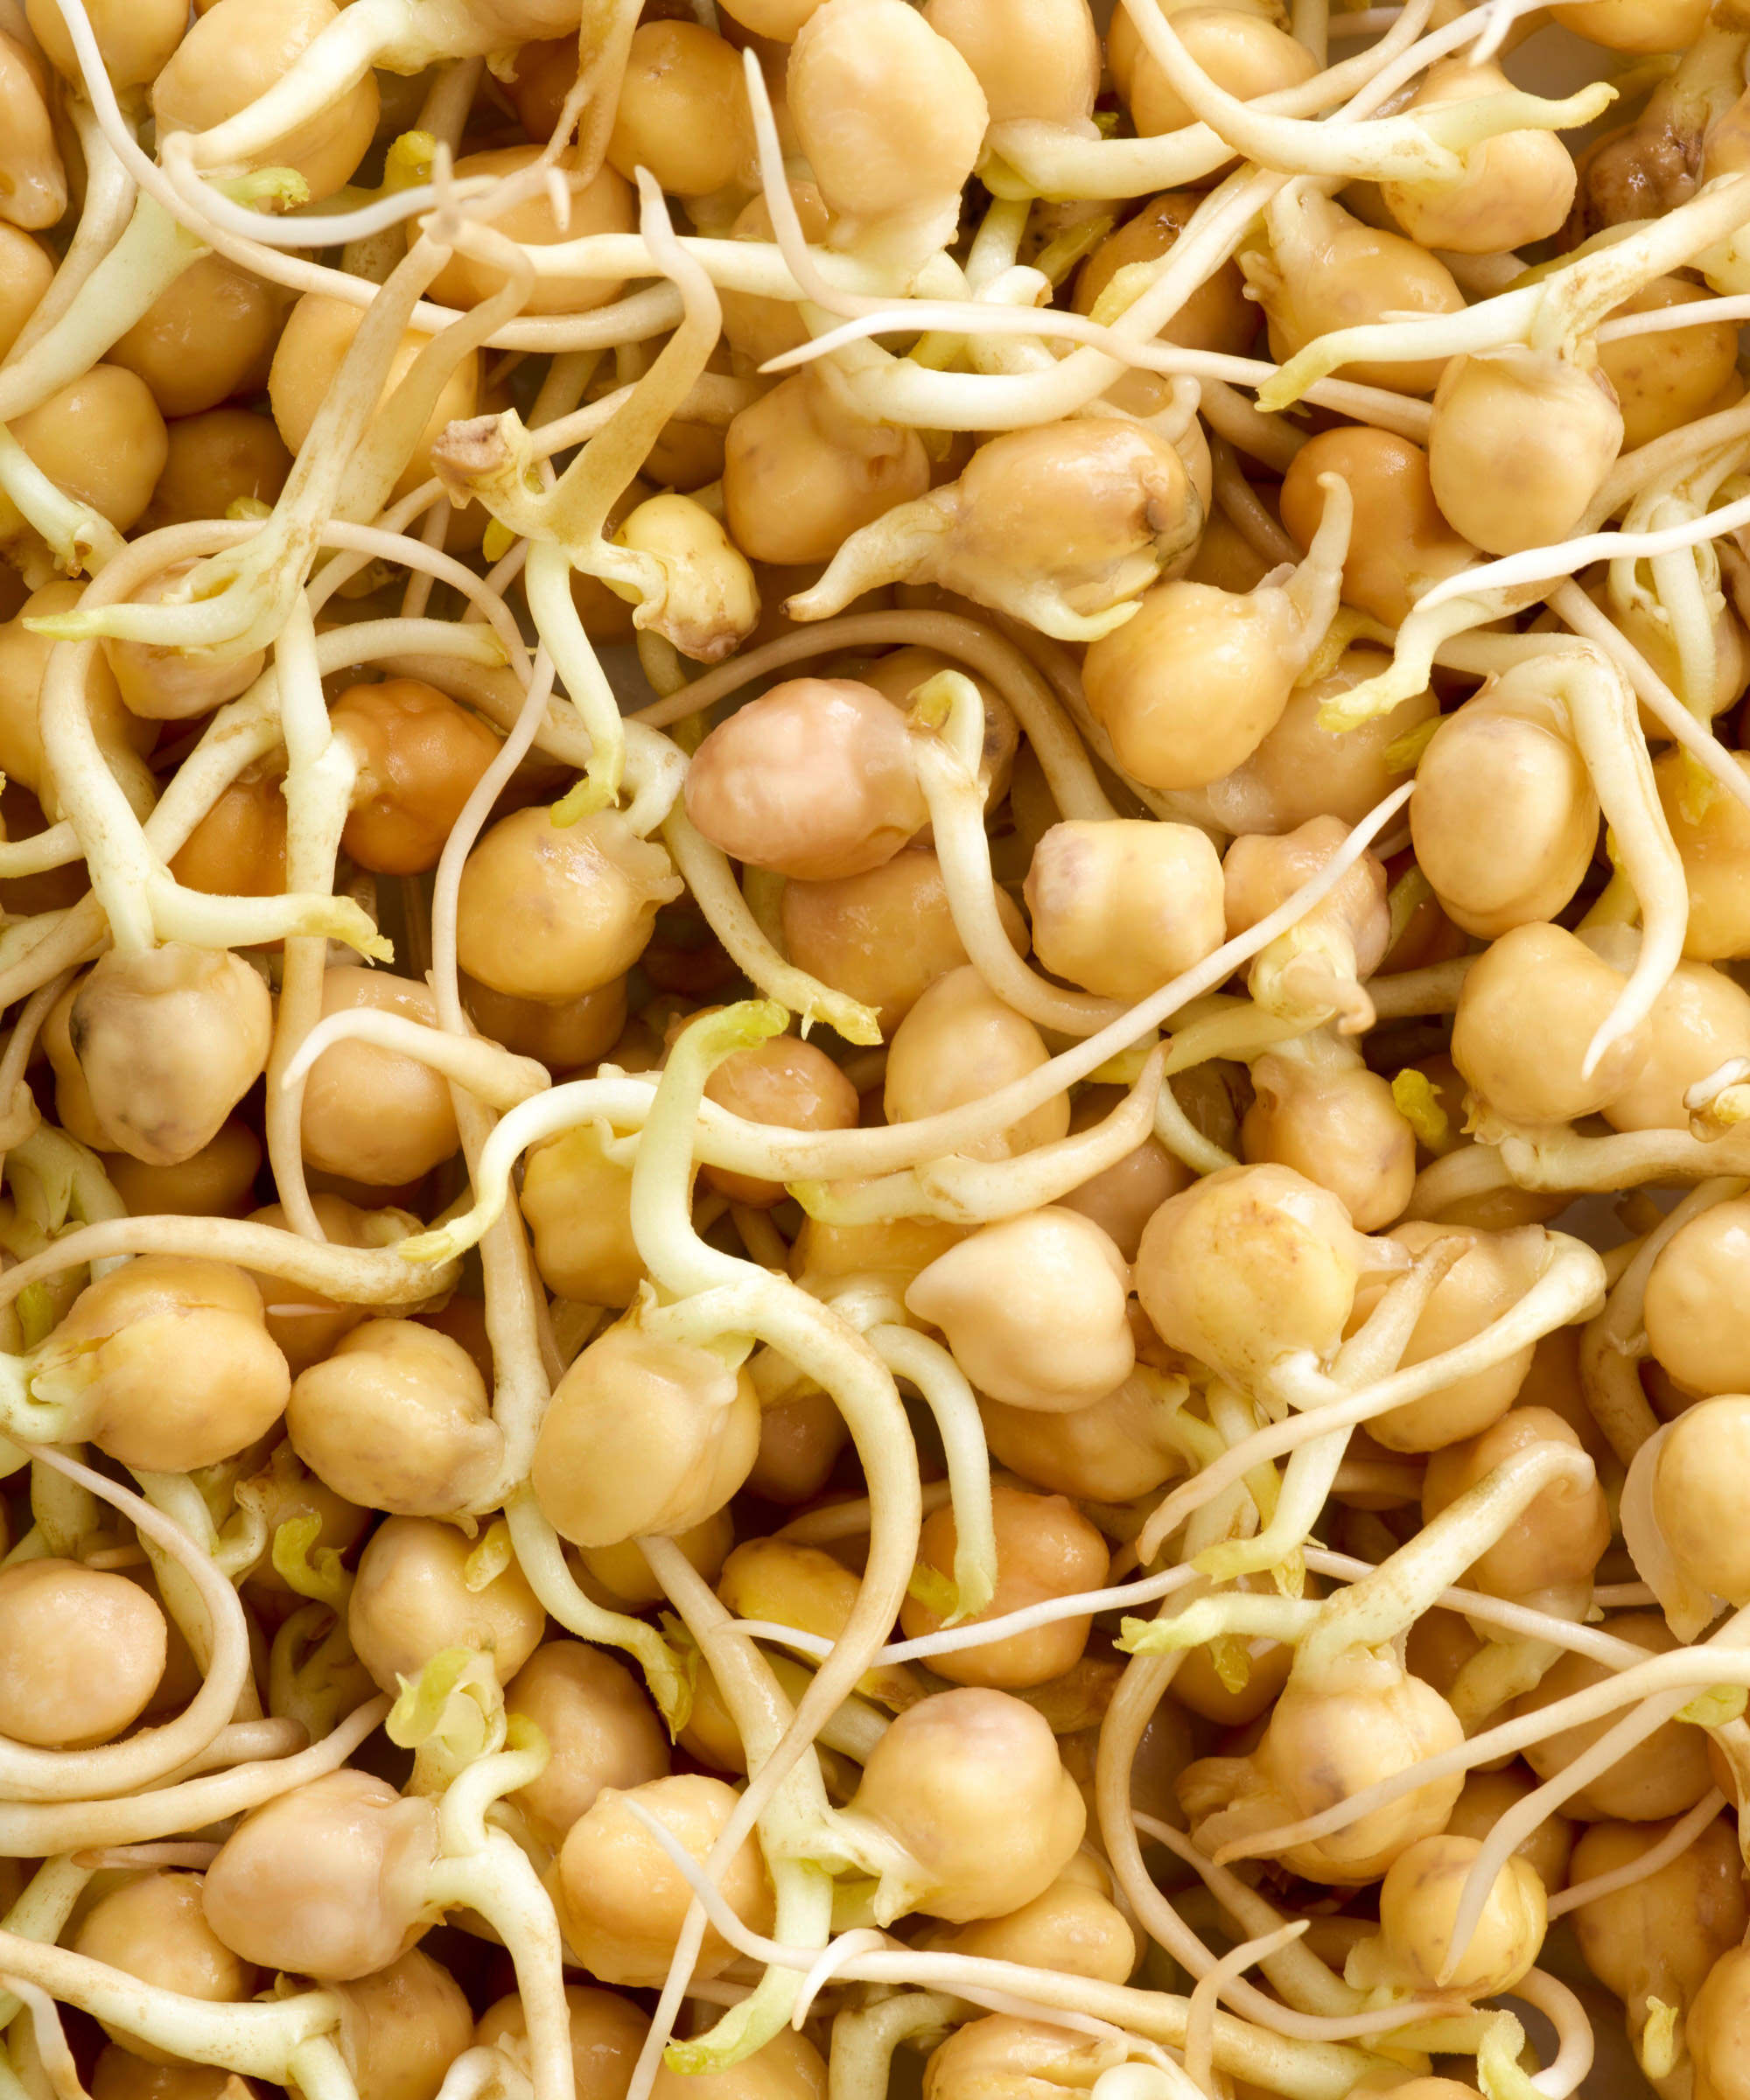
Growing beansprouts from chickpeas is a fun way to enjoy a quick nutritious boost from crops
Caring for chickpeas
Growing chickpeas is refreshingly simple in the weeks and months after planting. The main consideration is to make sure you water plants regularly, but not so much that the ground ever gets waterlogged. When watering, apply to the base of the plants and not from above, so as to reduce the risk of fungal diseases and rots. An inch a week is fine, and more in really dry periods. Water more frequently once plants start flowering in midsummer, and again when pods appear. Limit watering once pods mature to encourage the drying process.
A monthly liquid feed is fine. However, given the nature of these plants, avoid nitrogen-rich fertilizers which result in excessive foliage at the expense of pods. Instead, opt for a seaweed or fish-based feed. Top up with a light mulching to help maintain moisture levels and keep weeds in check. If you do need to get rid of weeds in the summer months, go gently around these plants so you don’t upset the roots. Once chickpea plants get bushier, this will become less of an issue.
As Lucy Chamberlain points out, as long as your plants are spaced 3-6in apart, they should have ample space as they grow. A little crowding is not a problem and can help to support mature plants. That said, staking can prevent floppiness, especially if you grow chickpeas near other crops. Lovers of companion planting will find chickpeas work well with cucumbers, strawberries, celery, melon and savory. The only other thing to consider is some sort of protective covering on hot days; a blanket on poles is fine.
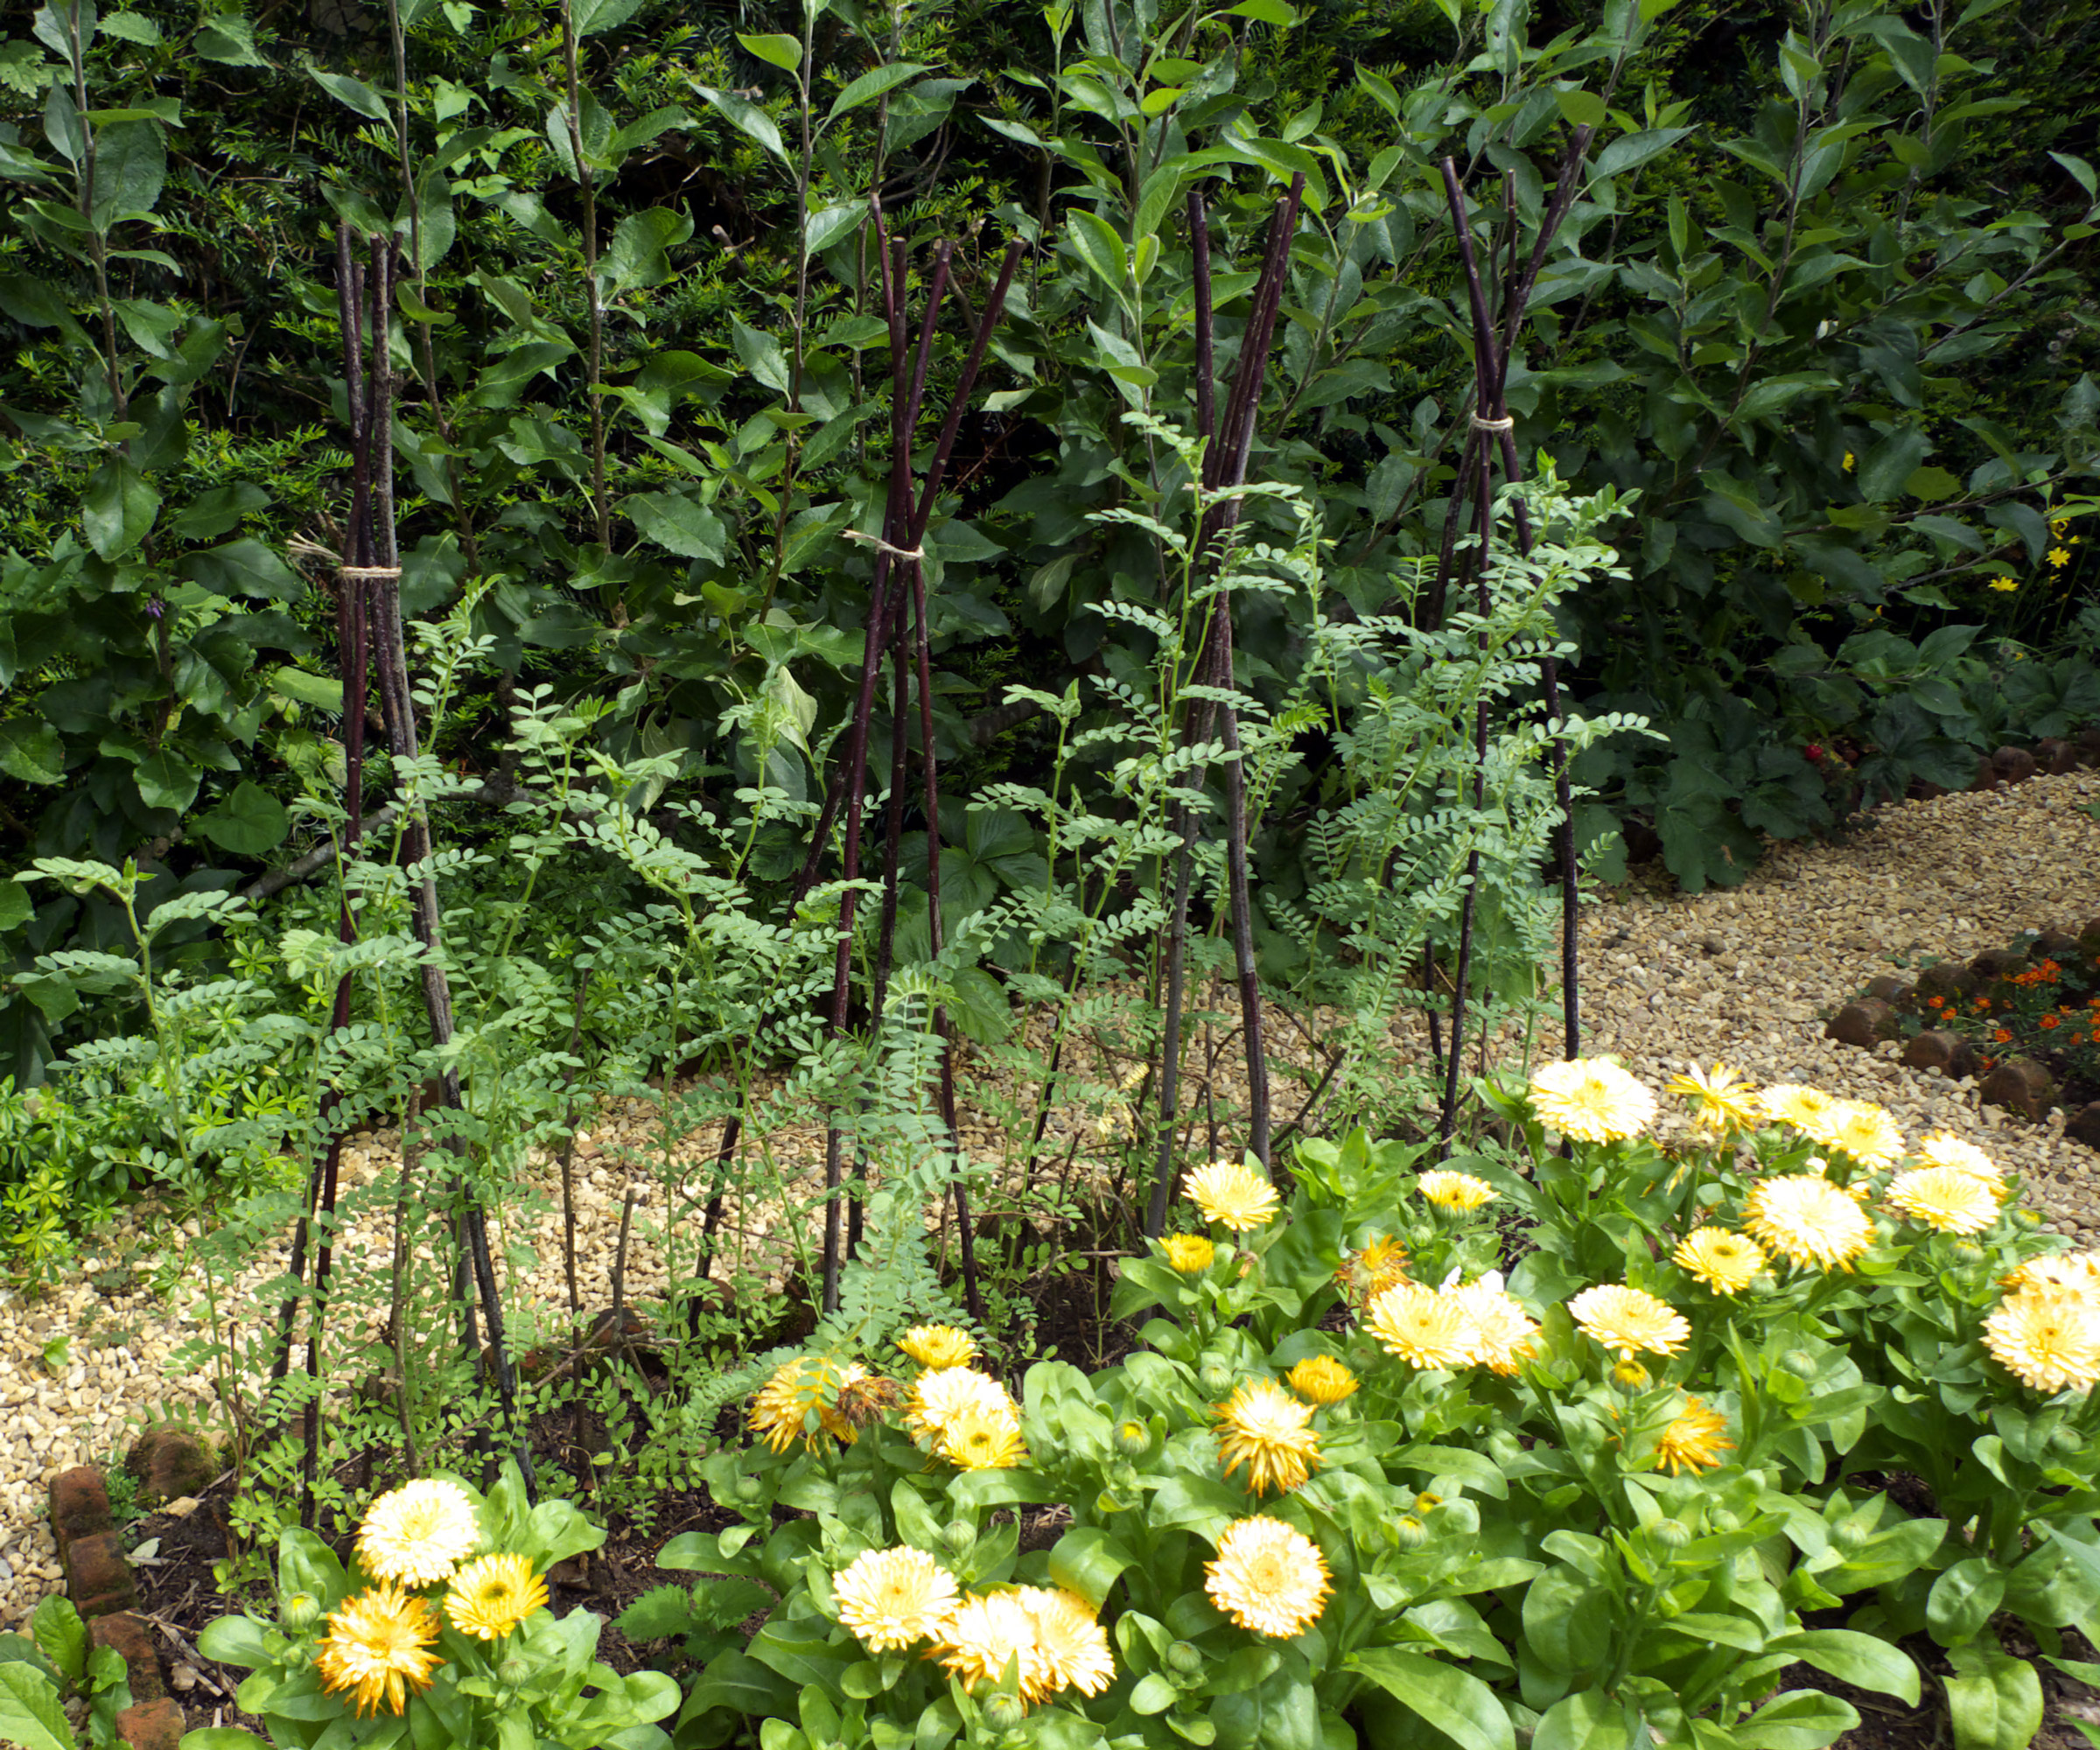
It’s a good idea to give chickpea plants supports if growing near other plants
Problems growing chickpeas and how to tackle them
Here’s a surprising fact you will learn when you grow chickpeas: they contain a natural agent called malic acid that keeps many common garden pests at bay. Pods and stems also have a fuzzy coating that helps serve as a barrier to severe infestations.
There are, however, a few issues to look out for in order to maintain the healthiest chickpea plants:
- Powdery mildew: The tell-tale sign is a flour-like covering that dusts foliage. Reduce the risk of powdery mildew with good airflow and choose disease-resistant varieties. Also, water at the base of plants.
- Chickpea leaf miner: These pests leave distinctive trails in foliage as they feed. Removing leaves and applying neem oil can reduce numbers. Row covers of mesh or similar can prevent adults from causing damage.
- Ascochyta blight: If you see brown marks or black spots on leaves, this is the likely culprit. The best way to combat the risk of this problem is to grow disease-resistant chickpea varieties.
- Aphids: Look out for yellow, distorted leaves. Aphids can also spread mosaic bean virus, which is fatal. Get rid of aphids with predators like lacewings and ladybugs, and by spraying soapy water on the leaves.
- Fusarium wilt: You can usually spot this one by the drooping of the leaves, split stems and perceptible stunting. Reduce the risk of this disease by following sensible crop rotation.
Other chickpea pests that might cause issues include leafhoppers, flea beetles and cutworms. While we can’t assure you that these won’t be an issue, you can reduce the risks by rotating crops, using horticultural coverings, selecting disease-resistant chickpea varieties and deploying companion planting.
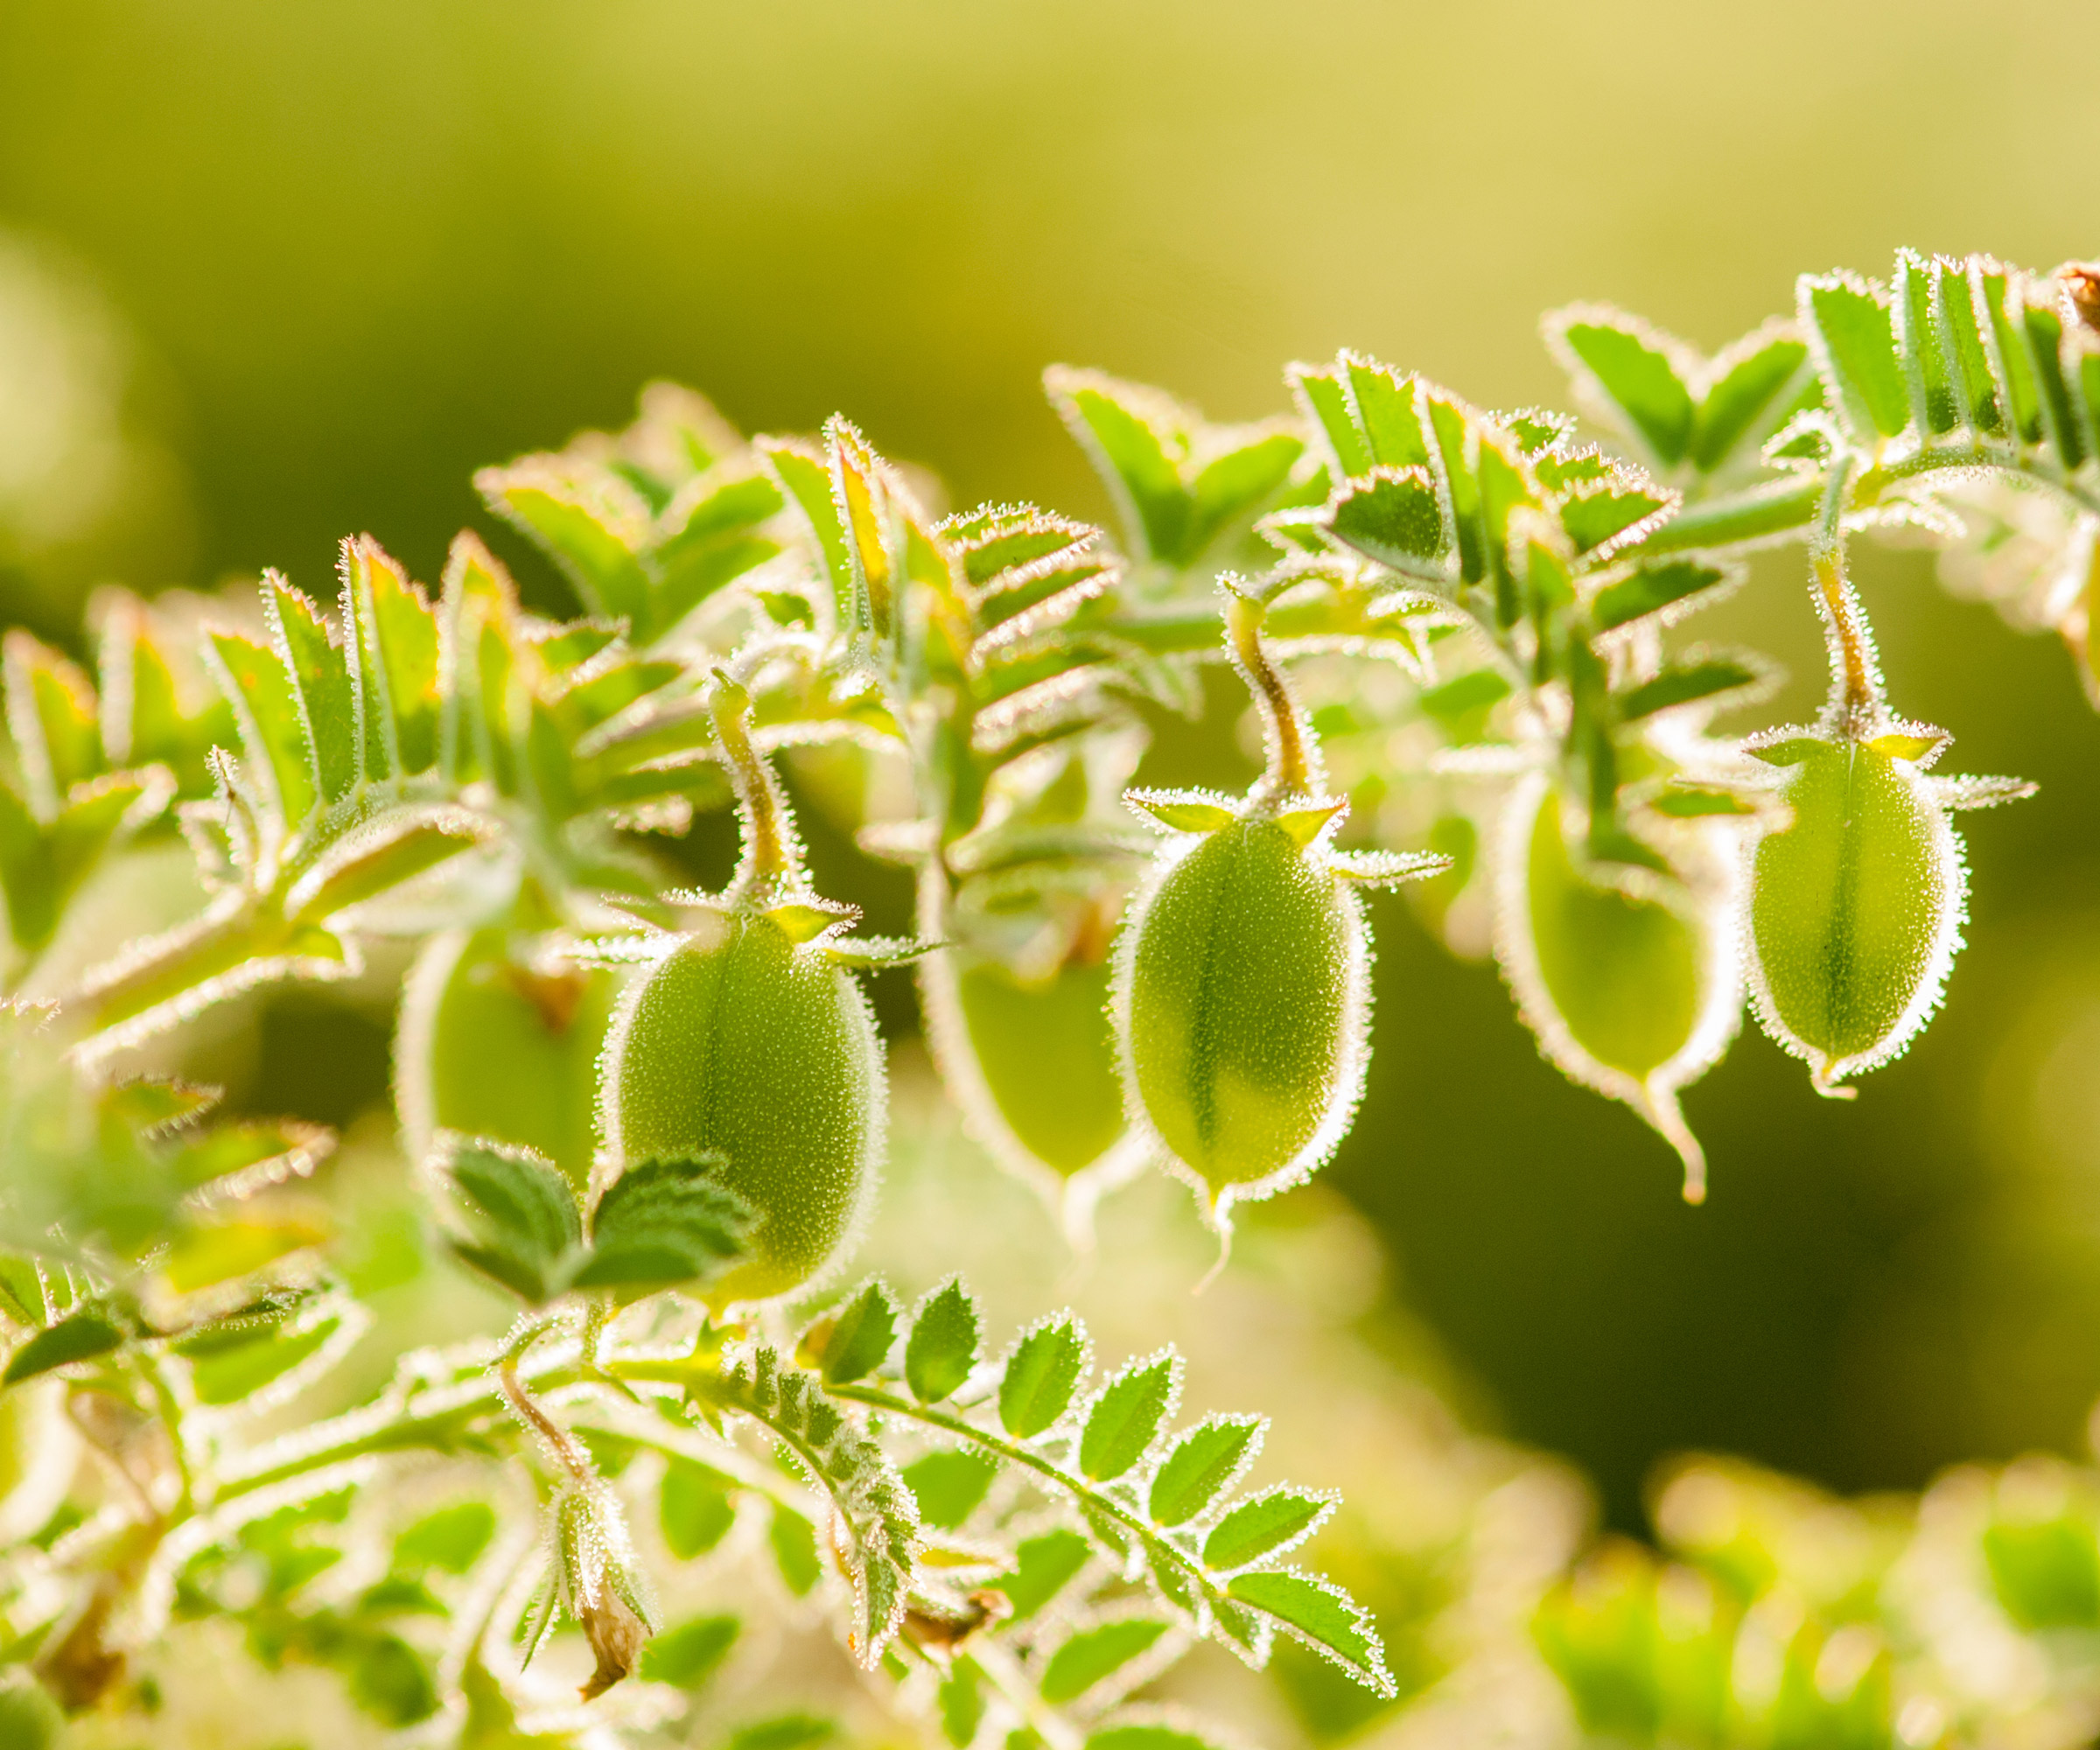
The fact that chickpeas have a fuzzy coat helps keep lots of common pests at bay
Harvesting your chickpeas
There are a couple of options in terms of harvesting your chickpeas. Although they require around 100 days to reach full maturity, you can harvest them sooner if you pick them ‘green’. Once the pods are about an inch long, they are ready to eat. At this point, you can harvest them in the same way as you would if you grow peas or sugar snaps.
As Lucy Chamberlain points out, your crops may not have time to dry out over an especially short summer, but green chickpeas are delicious. So this harvesting option is great if you live in a cooler, damper growing region or if summer hasn’t panned out as you’d hoped.
If you prefer to harvest chickpeas when they are dry (and you live in a warmer region), wait for the plants to turn brown. It might sound counterintuitive to wait for plants to wither, but this will ensure that the crops are at their best.
Depending on how dry or damp conditions are on the plot, you can relocate plants inside, keeping in a warm, airy spot to finish drying. Collect the seeds once the pods split open, then store in an airtight container until needed.
Whichever harvesting method you use, cut the plants at root level and leave the roots in the soil to deliver their goodness back into the soil. Finally, don’t forget to keep some chickpeas separate from the kitchen table so you can plant them the following year!
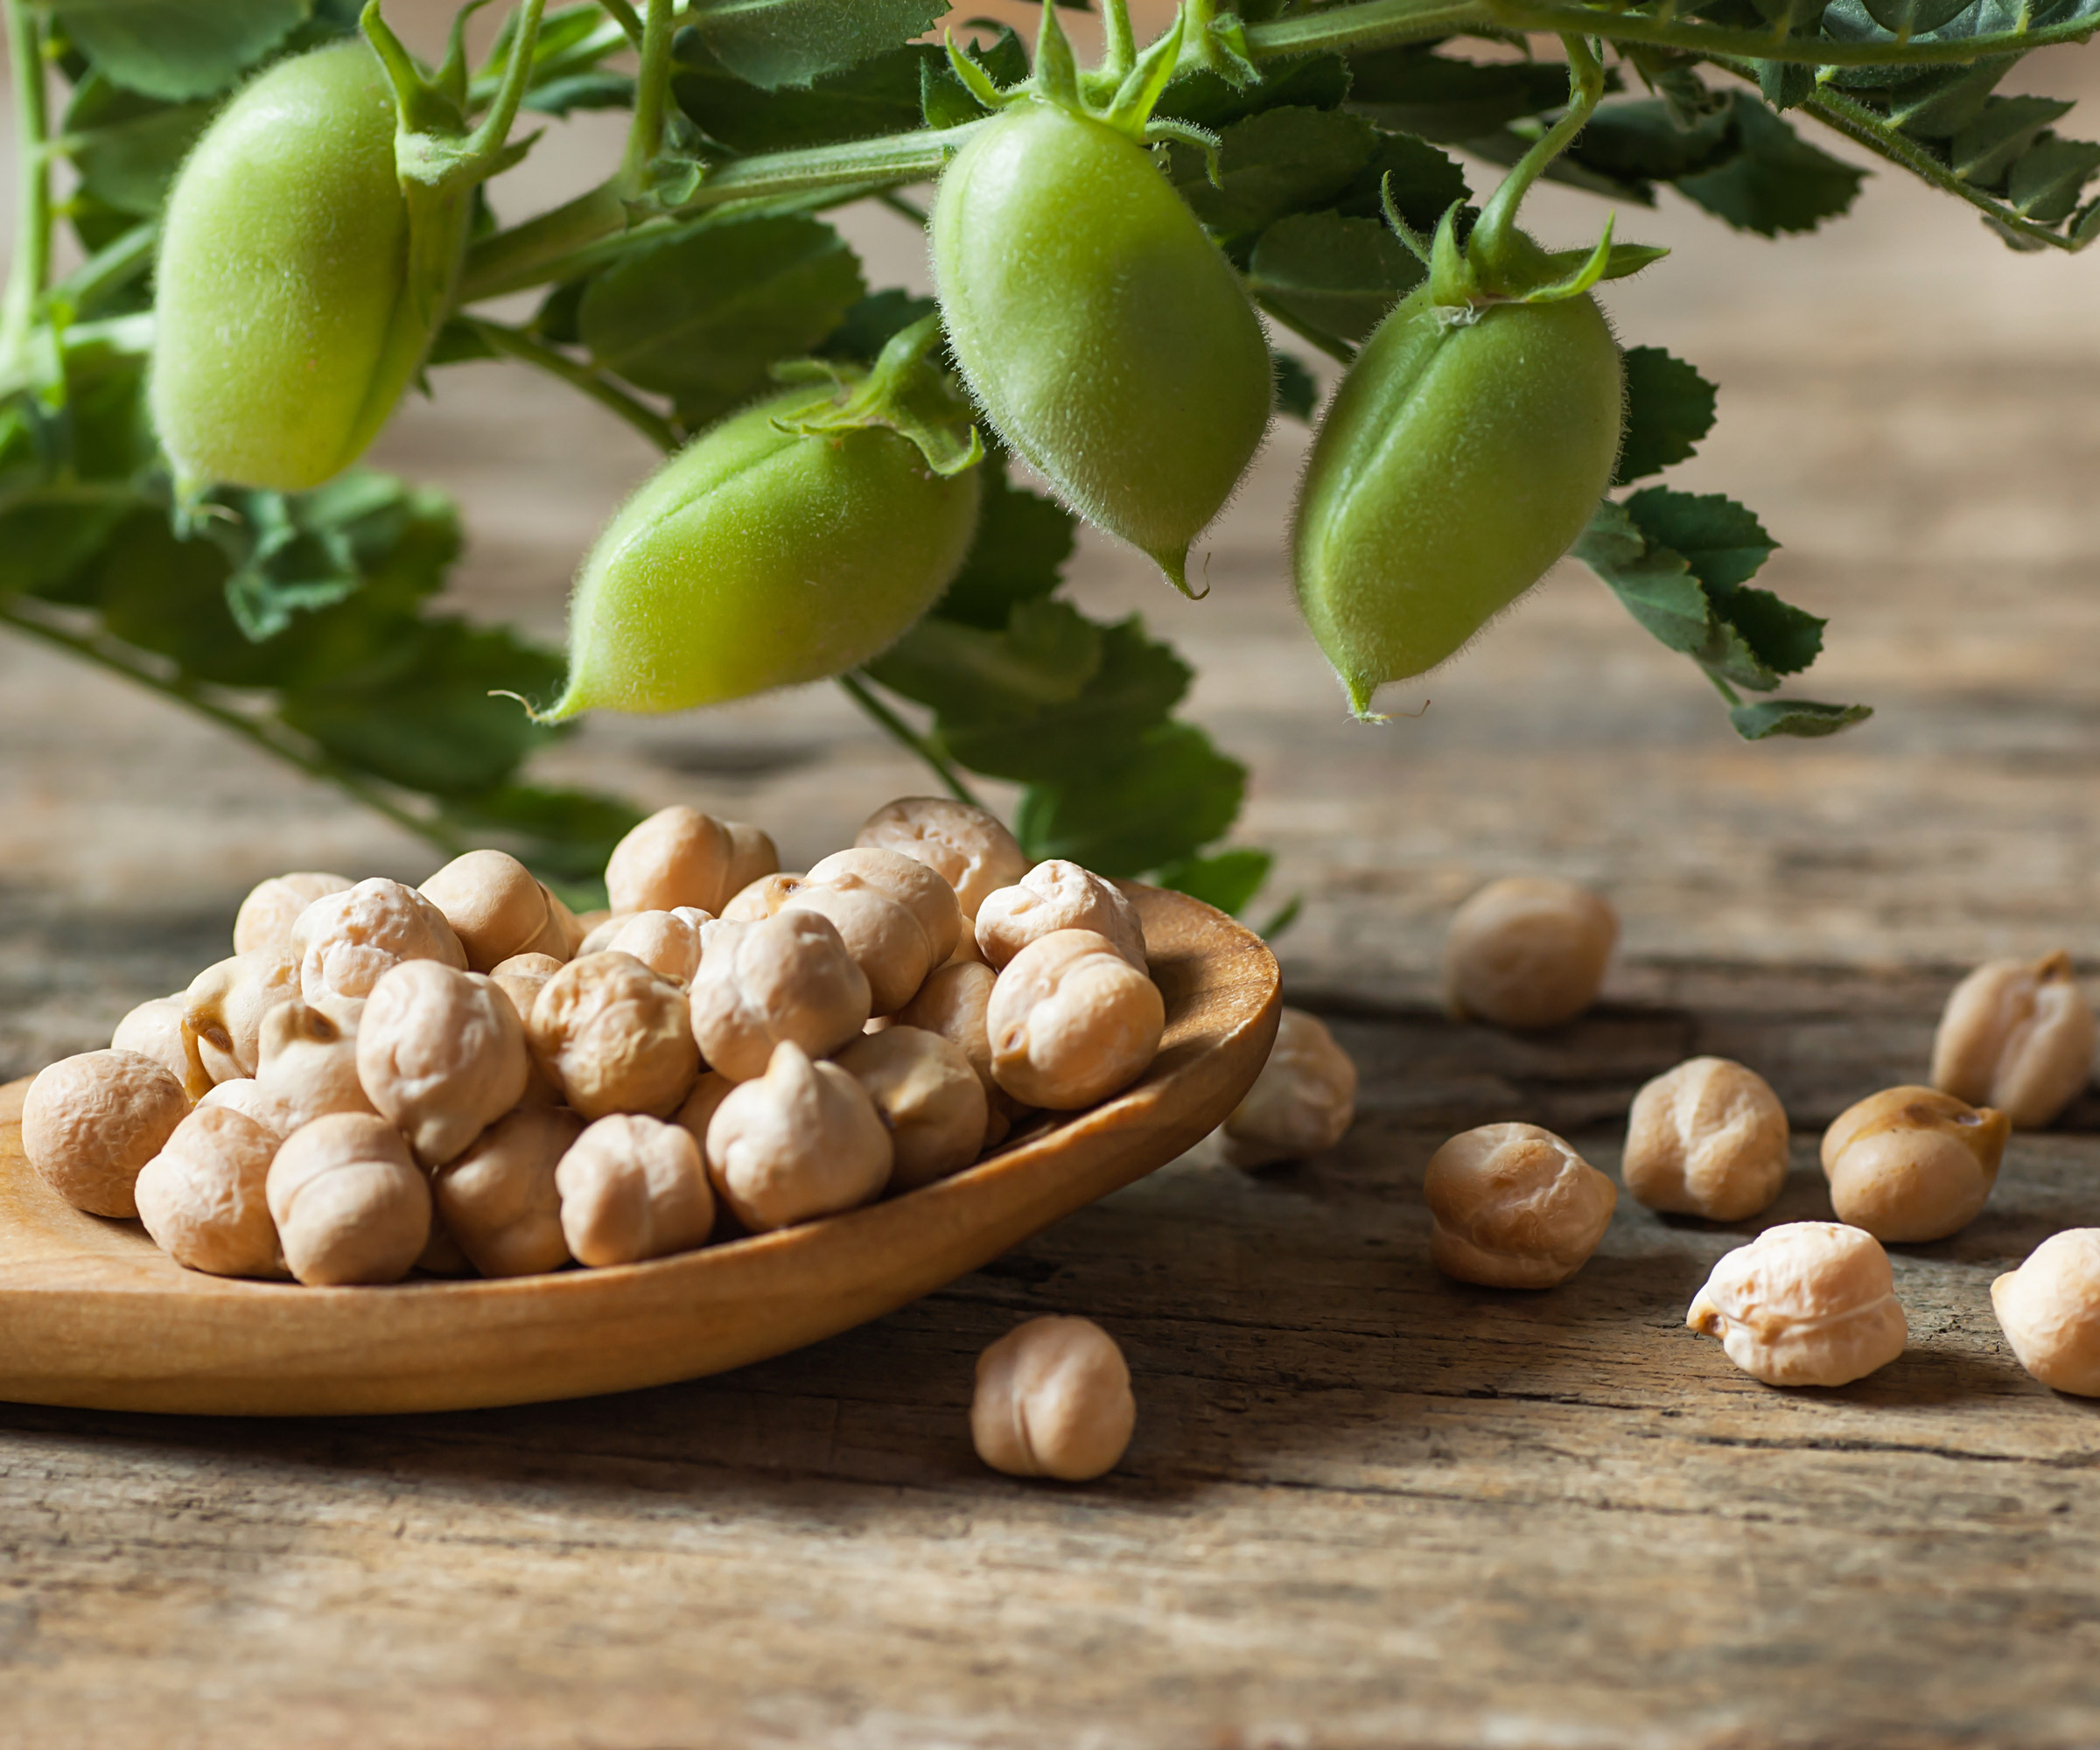
You can harvest green pods early, but for dry crops wait for plants to turn brown and wither
FAQs
Can you grow chickpeas indoors?
Chickpeas make easy indoor plants if you wish to grow beansprouts. You can also start plants indoors if you are worried about your growing window and want to make the most of the season.
However, for the best yields, chickpeas need exposure to sunshine and well-draining soil. Keeping plants indoors, they are likely to become leggy and weak. Find a sunny spot outdoors once plants are a month old. You can grow chickpeas in large pots if you want to move plants around.
Do homegrown chickpeas need treating?
Growing chickpeas to eat fresh, much as you would eat snap peas, is a lovely way to enjoy them after harvesting, and no special preparation is needed. And if you want to make hummus from these crops, all you would do is blend the fresh peas. However, if you are cooking previously dried chickpeas, just soak them overnight before cooking. Submerge in a good few inches of water as they will swell up. Then just strain, rinse and enjoy.
Can chickpeas be used as a cover crop?
Knowing how to grow chickpeas isn’t just great news for your kitchen garden. These plants are also an ideal resource for improving the quality of the earth. Experts at West Coast Seeds say this plant is a perfect cover crop if you’re keen on preparing garden soil ahead of a new planting year.
‘As legumes, chickpeas are excellent nitrogen fixers,’ experts reveal. Grow some ahead of the new season, then dig into the soil as a green manure before planting new crops, to replenish weary earth and give new crops a boost. ‘Taking advantage of nitrogen-fixing cover crops is sustainable and environmentally sound,’ they note.
As you can see, there are so many benefits to growing chickpeas, not least because of their diversity in the kitchen. These cool-season legumes, the main ingredient in hummus, can be consumed fresh as a green veg and as a dry crop in recipes as diverse as fritters, curries, salads, tacos and falafels.
If you're planning to start a vegetable garden this year, make sure you consider them for your planting list.
Sign up to the Homes & Gardens newsletter
Design expertise in your inbox – from inspiring decorating ideas and beautiful celebrity homes to practical gardening advice and shopping round-ups.

As assistant editor of Amateur Gardening magazine, Janey's gardening passion was fostered from an early age, when her amazing mum had her deadheading hydrangeas, mulching roses, and propagating strawberry plants from runners for school open days. She's also taken part in lots of conservation and rewilding projects for the RHS and TCV as a way of exploring her horticultural horizons.
-
 Extend the lifespan of your appliance with 5 simple but crucial washing machine maintenance tips
From cleaning the filters to keeping the door open, experts reveal the washer tips they swear by
By Andy van Terheyden Published
-
 These are the 6 must-have colors to decorate with in April 2025
What do retro-inspired yellows and beautiful blues all have in common? They're on our hot list for the season ahead
By Sophia Pouget de St Victor Published