How to grow black-eyed peas – tips for success with this heat-loving vegetable
Black-eyed peas are best started from seeds sown directly into the ground
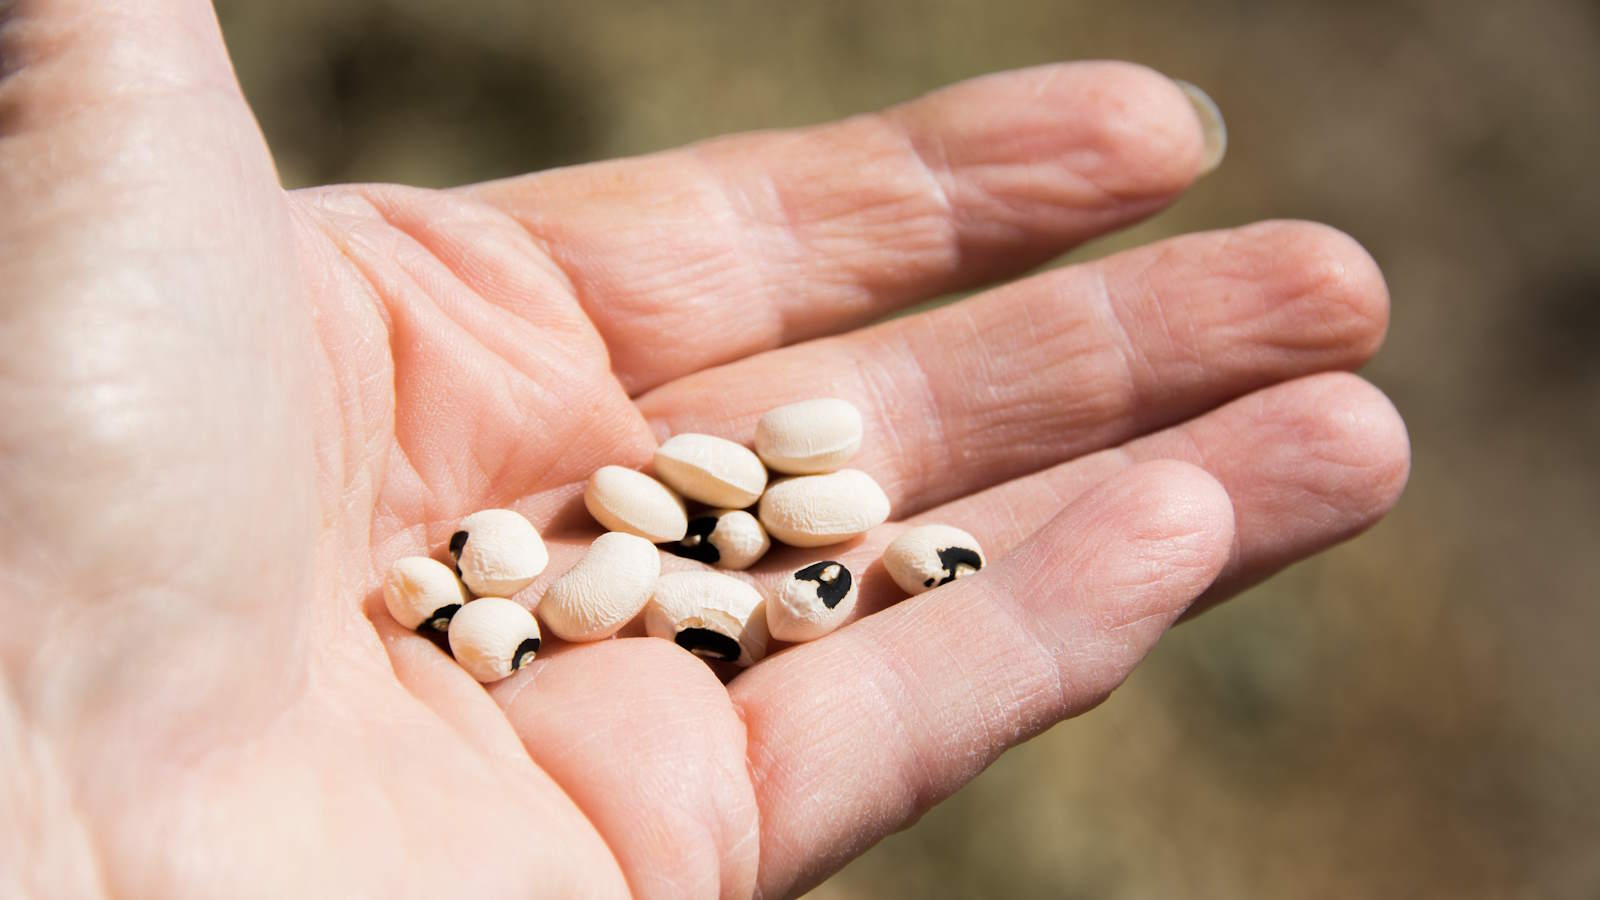
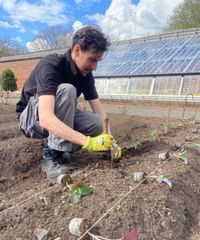
Black-eyed peas are actually beans rather than peas, related to the likes of pole beans and bush beans that are commonly seen in vegetable gardens worldwide. Also referred to as cowpeas or southern peas, the crop is known for its distinctive black spot, and can come in both bush and climbing varieties.
It is regarded as being lucky to eat black-eyed peas on New Year’s Day, but if you grow your own you can have a big and long harvest for all your needs. The immature pods can be picked to be eaten whole, or the beans grown to be shelled or dried for an extended storage life.
Growing black-eyed peas is more common in warmer US hardiness zones, as the plants need a long growing season of frost-free weather to produce a good crop. The good news is the plants can be low-maintenance and with the right conditions you can get a strong crop without too much fuss.
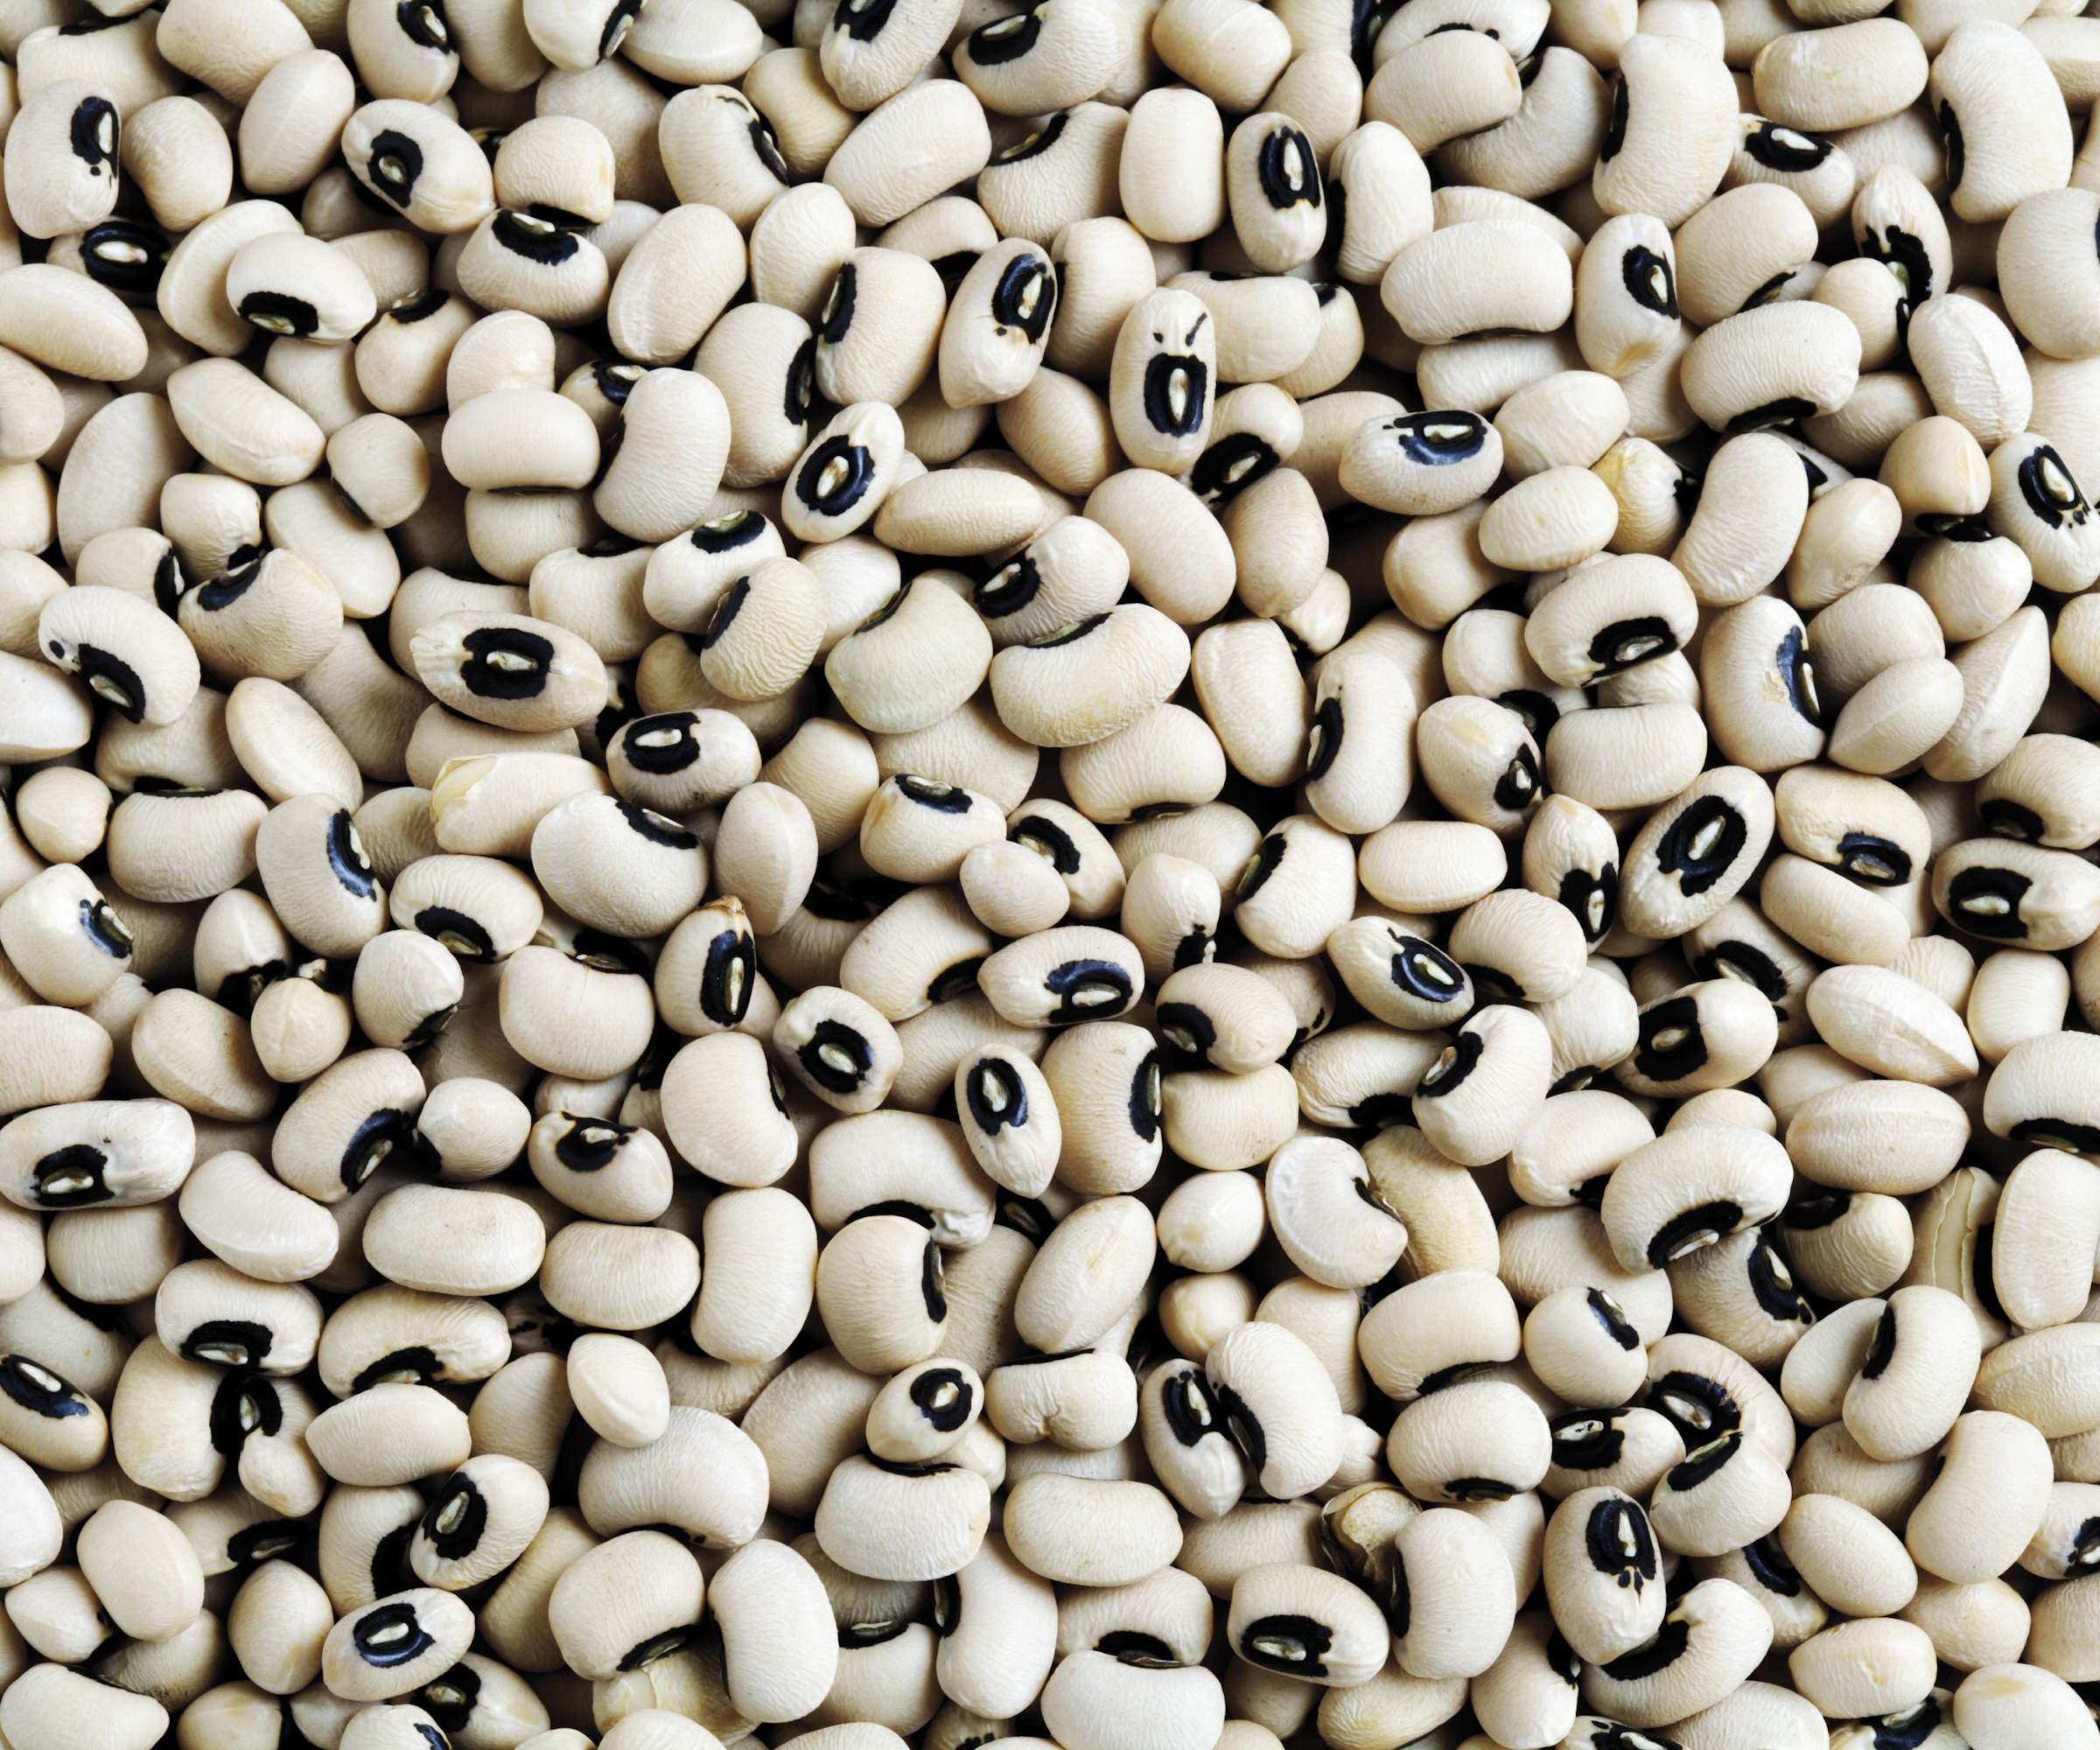
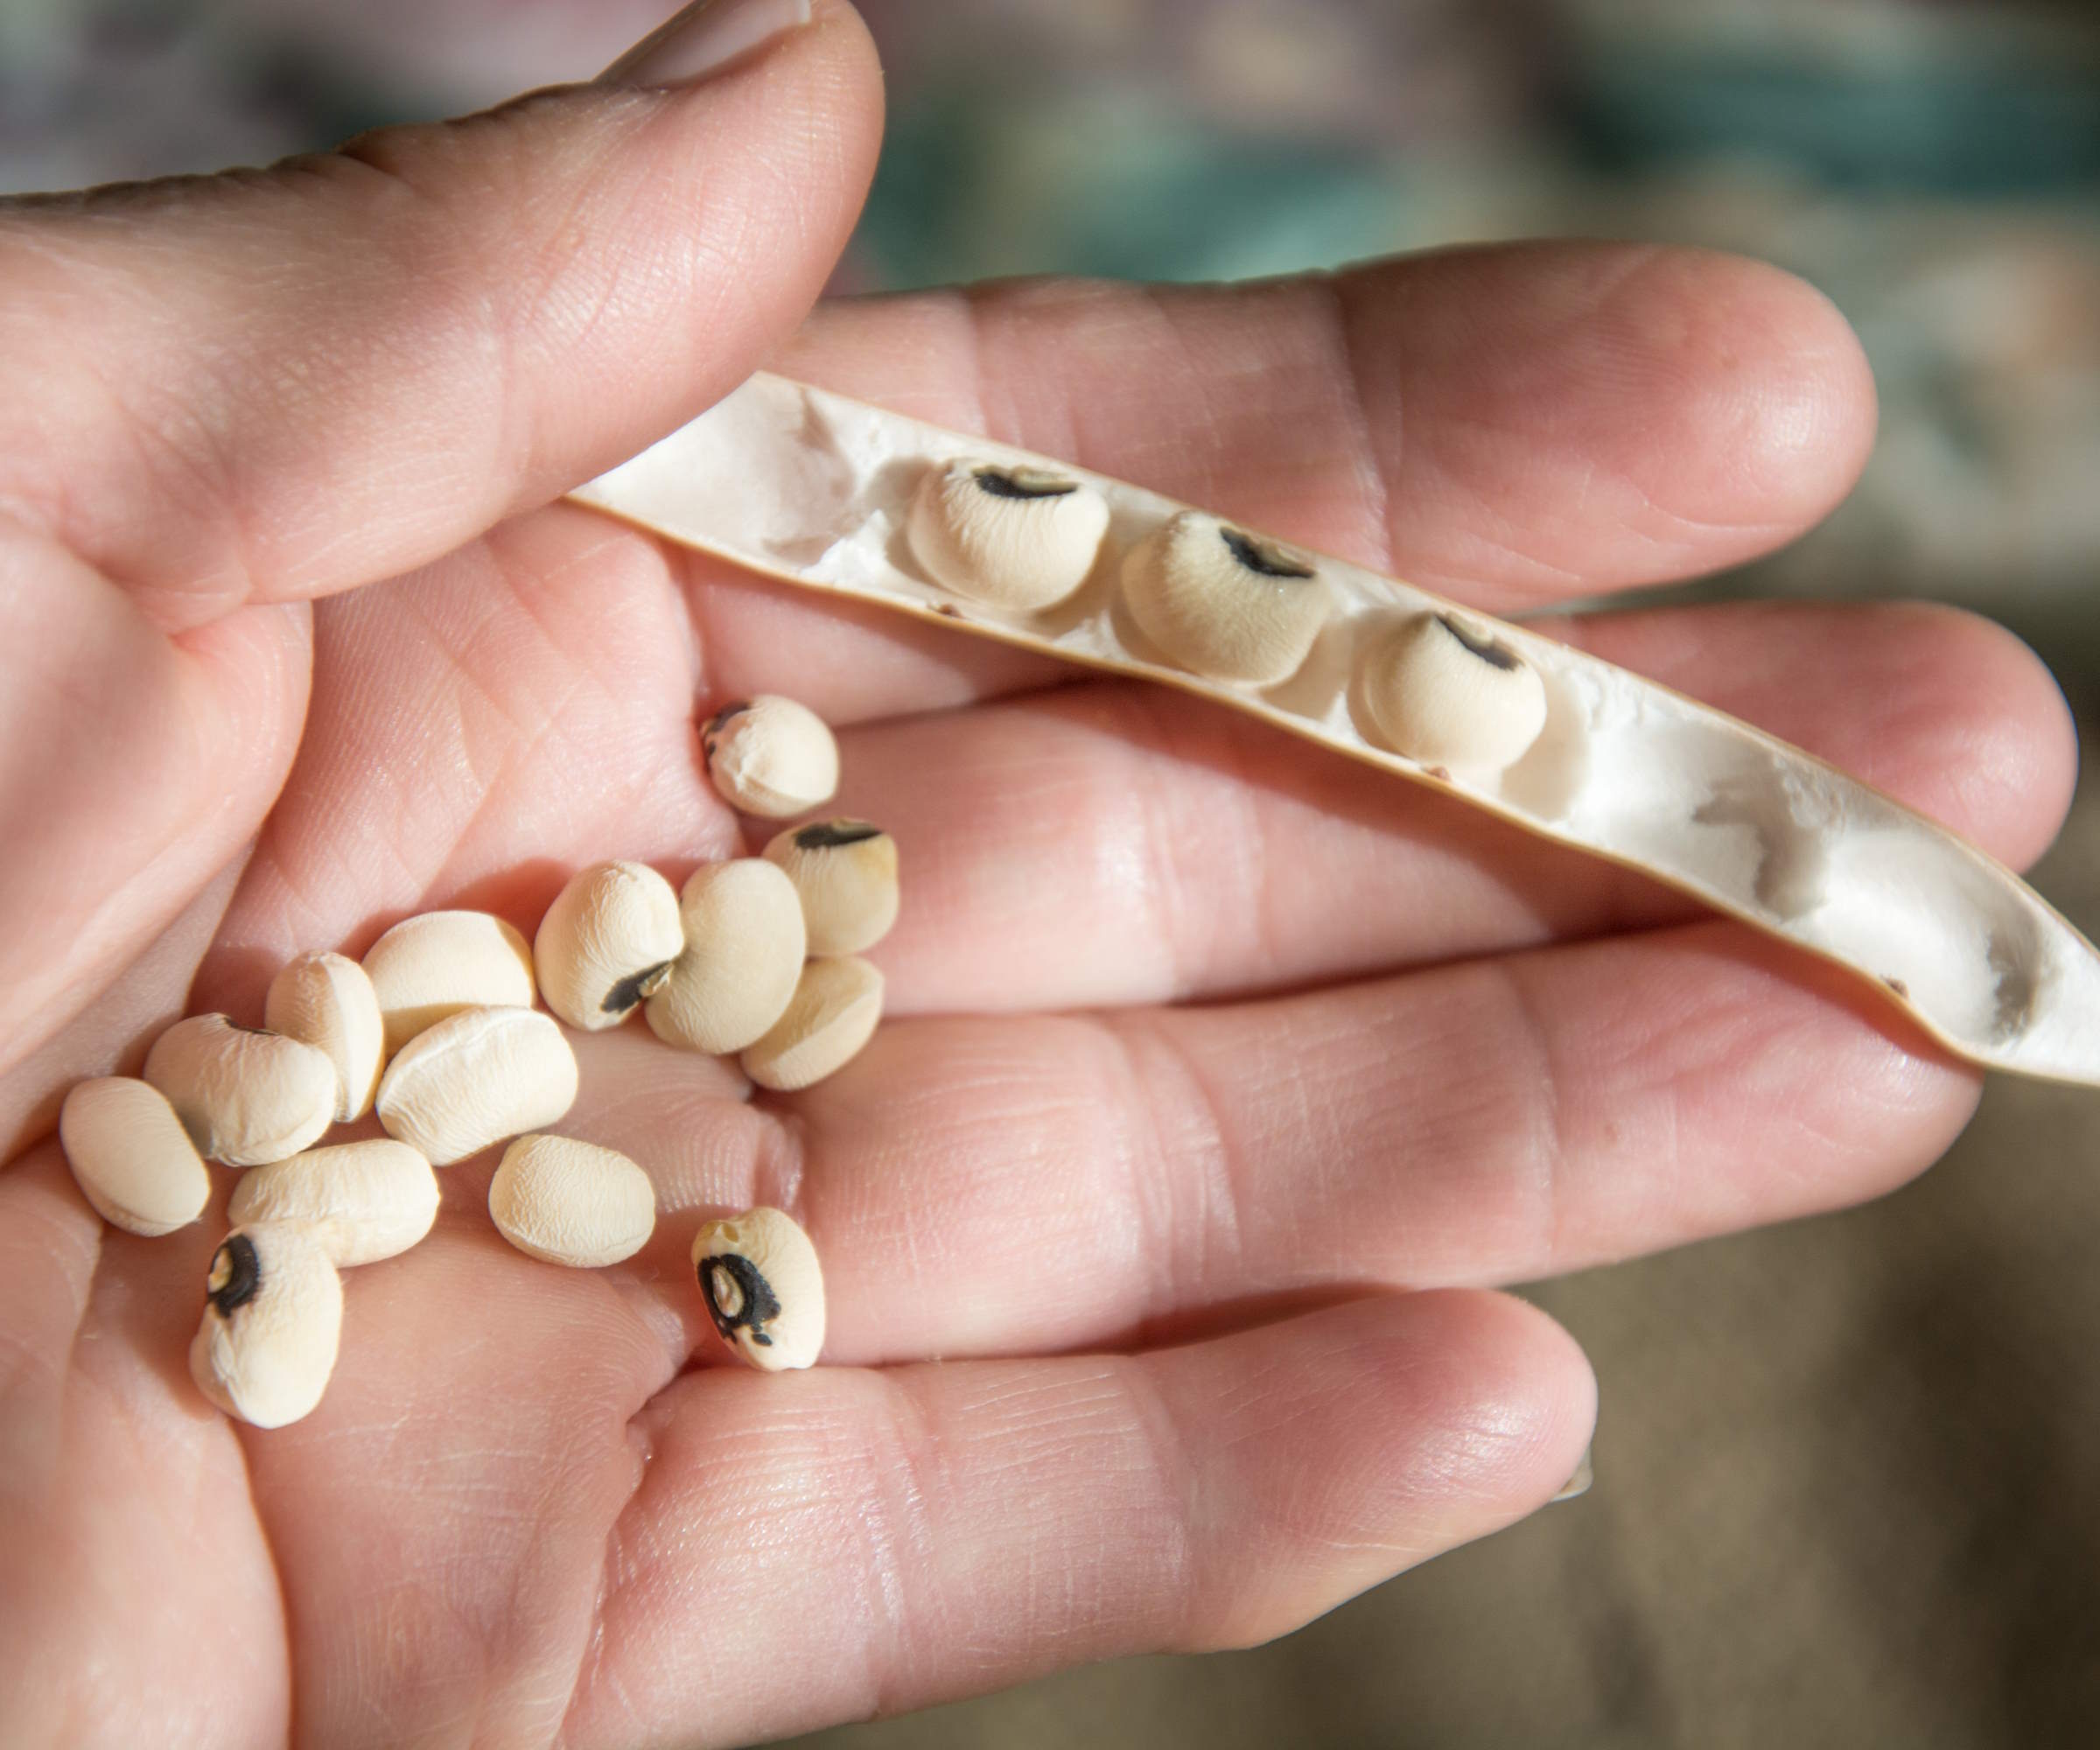
Black-eyed peas are named for their black spots
How do you grow black-eyed peas?
Black-eyed peas are a very versatile crop that can be grown in vegetable gardens or in pots as part of a vegetable container garden. Vining types are grown vertically and that is valuable as a space-saving way to grow crops in a small vegetable garden.
Black-eyed peas are also a useful cover crop to grow as, like planting fava beans and other legumes as a cover crop or green manure, they can improve the quality of soil thanks to nitrogen-fixing nodules on their roots.
You can start plants from seed in spring, or buy young black-eyed pea plants from nurseries or garden centres to be planted out into the kitchen garden once the soil temperature warms.
Growing black-eyed peas from seed is the most advised method of raising this crop. The 'Phenomenal' variety of black-eyed pea, available at Burpee, is an example of a great variety to grow, and it can produce up to 12 beans in each pod.
Design expertise in your inbox – from inspiring decorating ideas and beautiful celebrity homes to practical gardening advice and shopping round-ups.
Where to grow black-eyed peas
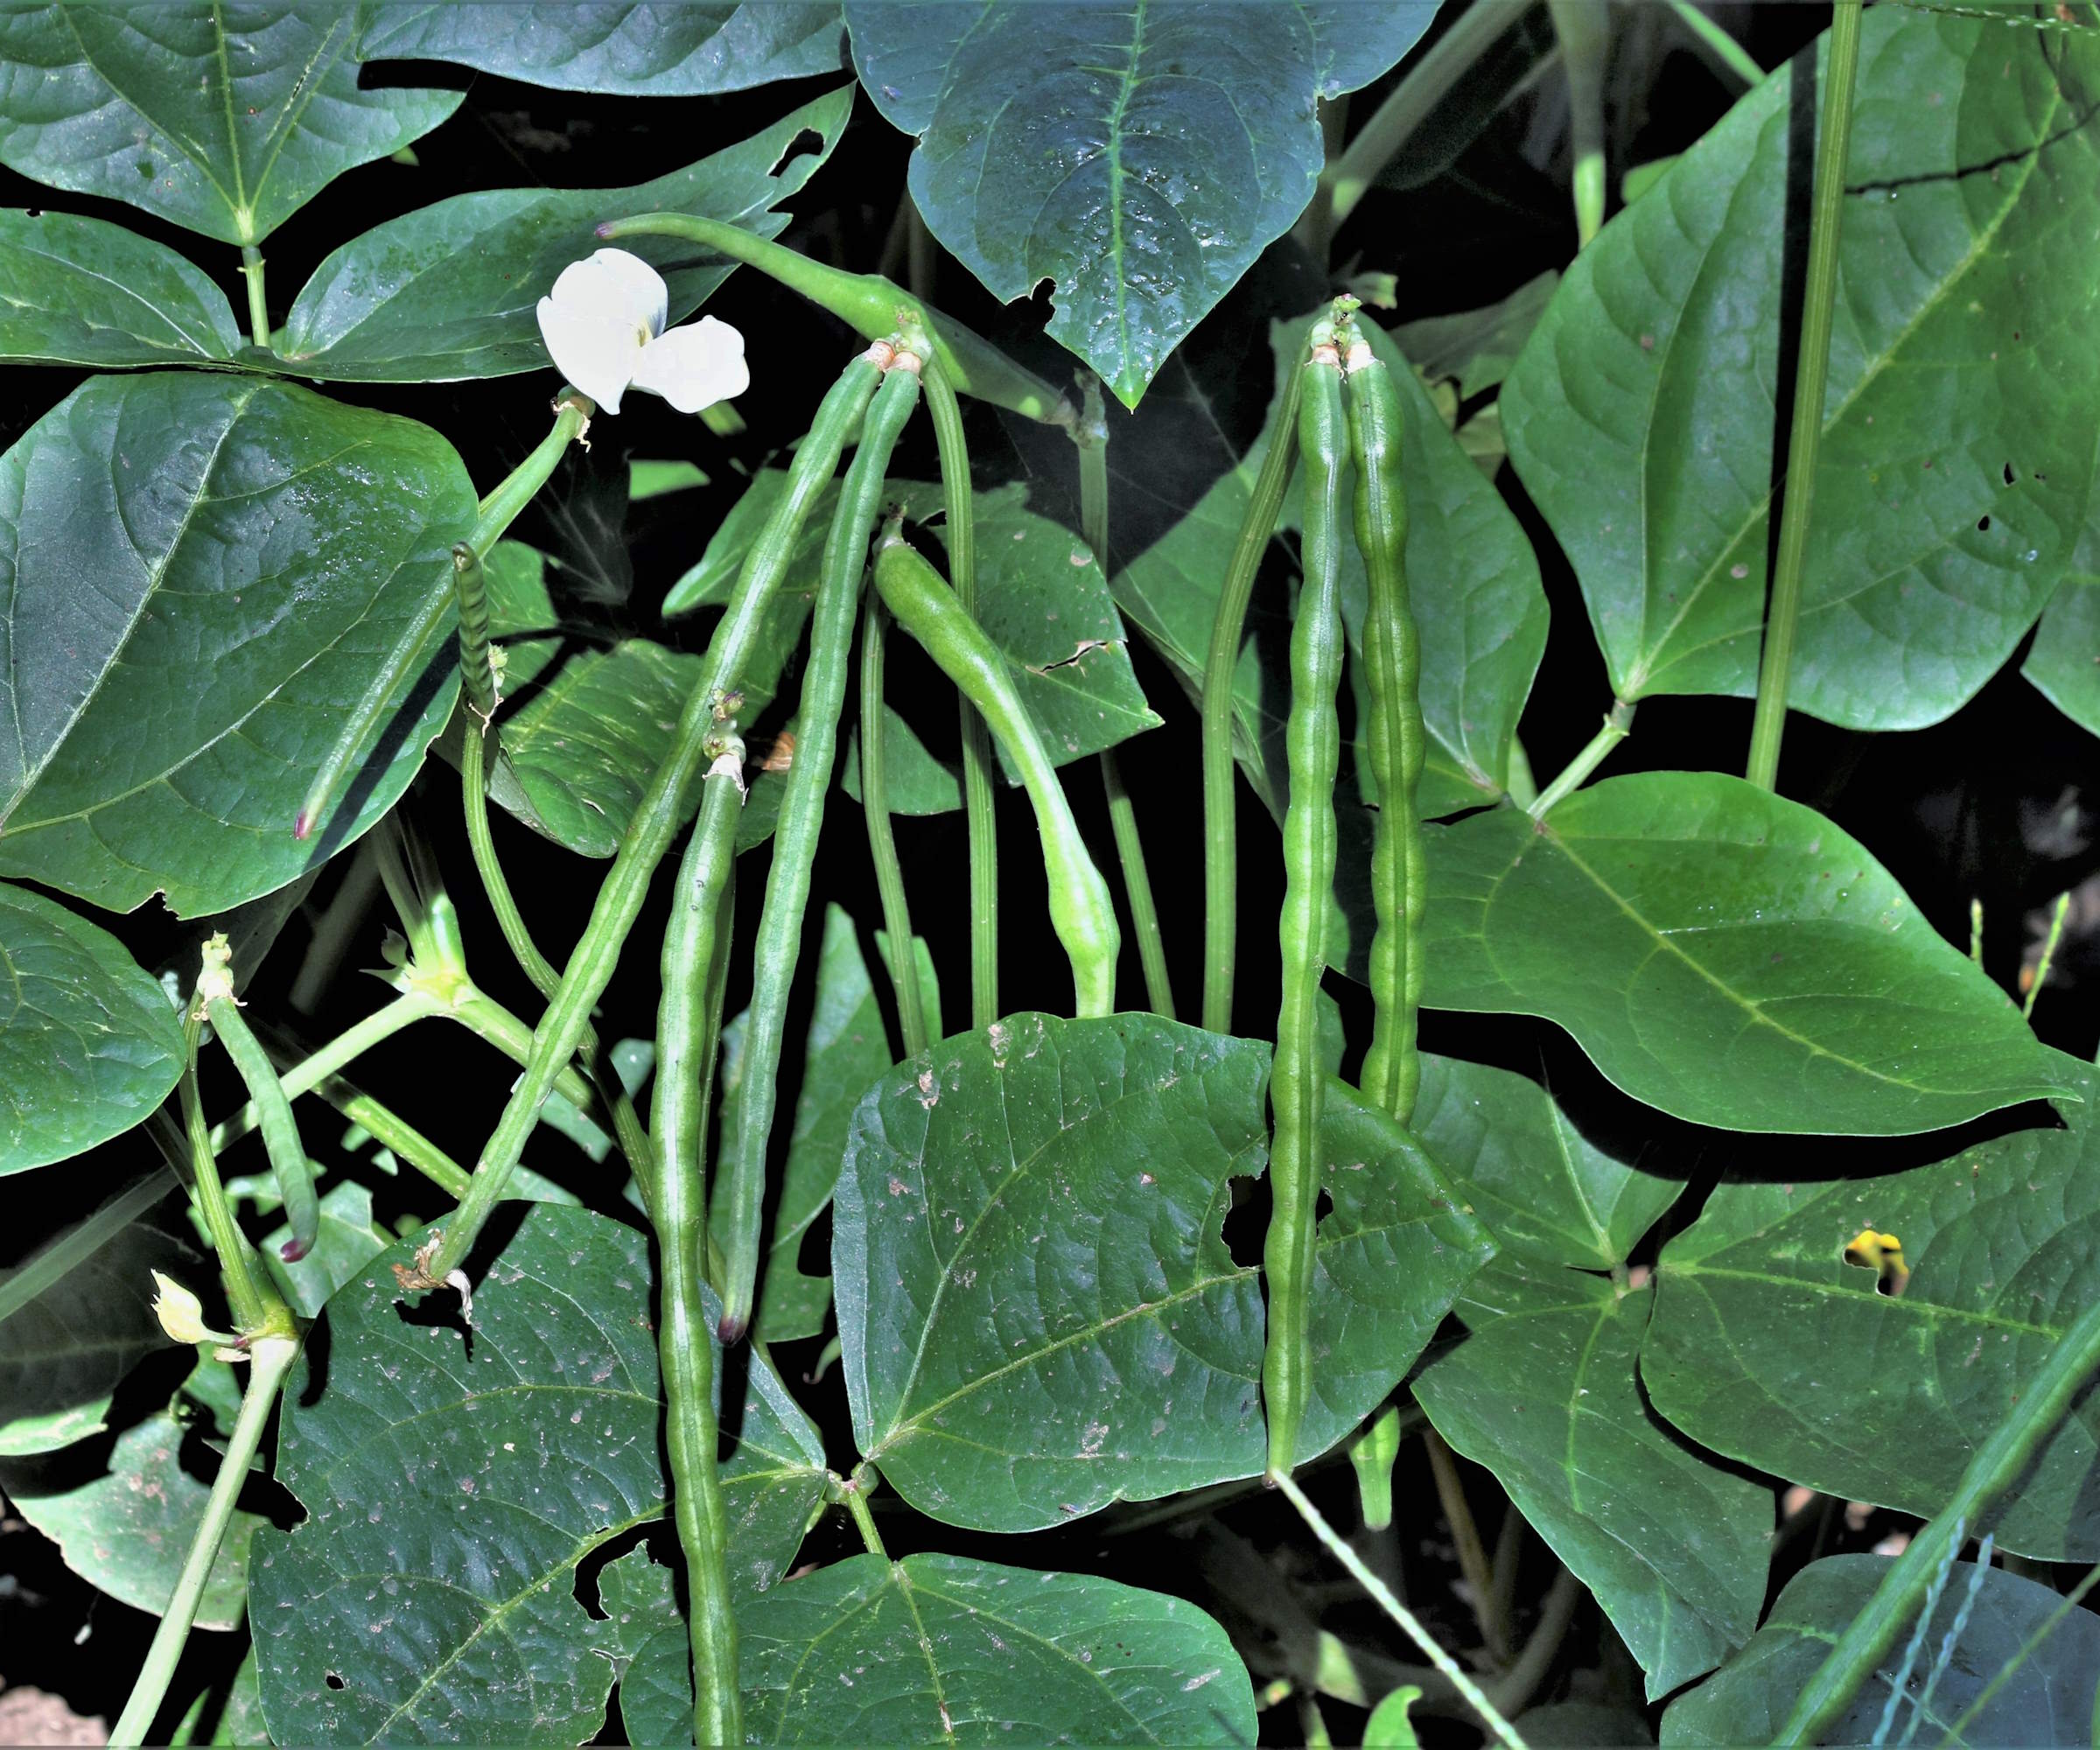
The peas are produced in long pods
Black-eyed peas prefer a sunny spot, ideally one that gets at least eight hours of sunlight each day. The more sun the plants get, the bigger the harvest will be. As part of a crop rotation plan, it is not recommended to plant black-eyed peas in a spot where you grew legumes for the last three years.
The plants want a soil type that is fertile and free-draining, with a pH of 5.5-7. It can be beneficial to add lots of organic matter, such as compost or well-rotted manure, to the planting spot ahead of planting. The addition of a soil inoculant, such as DYNOMYCO Premium Mycorrhizal Inoculant available at Amazon, before planting can also help improve the plant’s growth and the resulting yield of peas.
How to grow black-eyed peas from seed
The amount of sun and heat will impact the final yield
Black-eyed peas are a crop ideally planted directly into their final growing position. While many crops can be sowed indoors earlier in a greenhouse with a view to transplanting seedlings out into the ground, black-eyed peas do not respond well to being transplanted.
You do need to wait until the risk of frost has passed and the soil temperature reaches at least 65°F - another reason they perform best in warmer climates where they can benefit from the longest frost-free growing season.
When it comes to how to plant black-eyed peas, Kate Russell, edible plant expert and author of Stop Wasting Your Yard, recommends sowing seeds of bush varieties in holes that are around three inches apart and one to one-and-a-half inches deep. She adds that the plants ‘germinate rapidly’ and you benefit from being ‘protected from birds until they sprout, which can happen in as little as four days’.
In terms of exactly how far apart to plant black-eyed peas, it will depend on the type. Vining types of black-eyed peas do require a much wider spacing than the bush types, around two feet apart rather than a matter of inches. And they do need to be given some form of vegetable garden trellis or structure to climb up as they grow. It is beneficial to have the structure in place prior to planting, to avoid damaging your plants by installing it at a later date.

Kate Russell helps others make the most of a landscape by incorporating delicious, attractive edible plants. She is the author of Stop Wasting Your Yard!, available at Amazon, and helped design and install an educational garden at Martial Cottle Park in San Jose, CA.
How to care for black-eyed peas
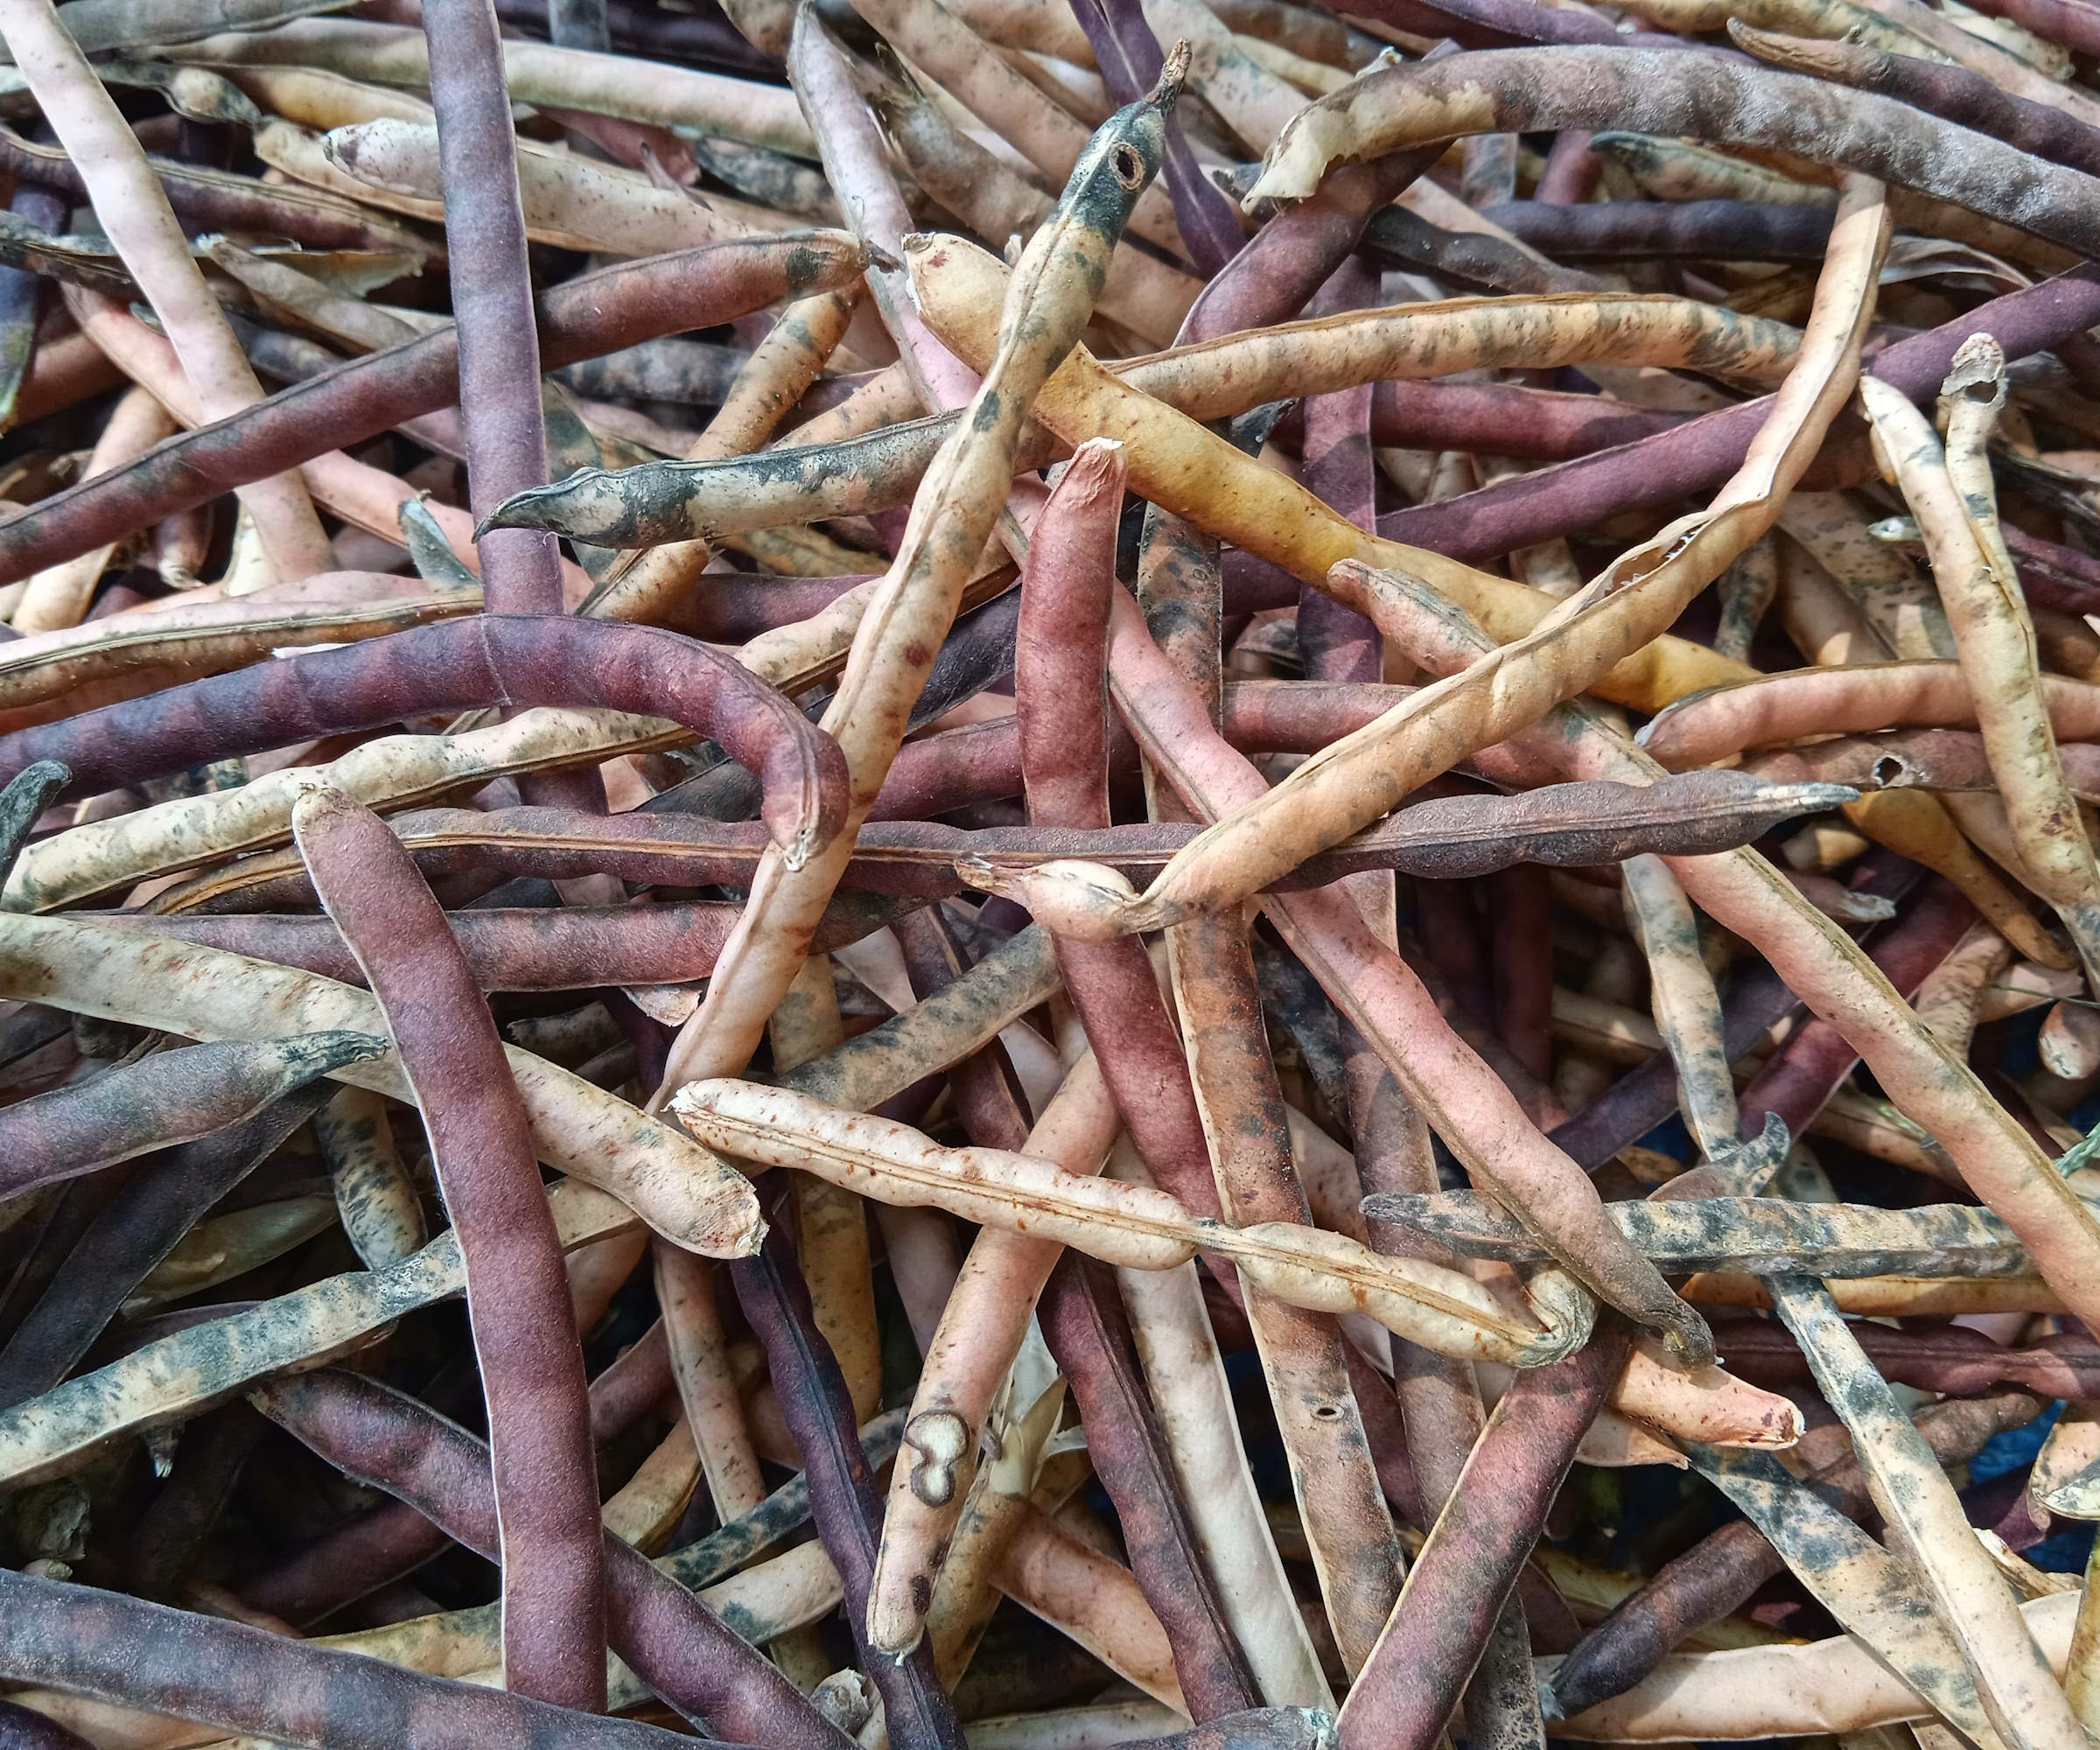
You can save dried black-eyed peas to use as seeds for next year
Water plants well immediately after planting and keep the soil moist throughout their growing season. Black-eyed peas can tolerate warm and dry conditions, but would prefer the ground to be moist. However, they do not respond well to sitting in soggy conditions.
It is especially important to keep them well-watered while the plants are flowering. The use of a soil moisture meter, available at Amazon, may be beneficial to measure the moisture levels a few inches down in the soil and ensure that plants have access to sufficient water.
When you do water your crop, make sure to water the soil and not the foliage. Soaking the leaves is a garden watering mistake that can make the plants susceptible to fungal problems, such as powdery mildew.
Keep the area free of weeds by regularly inspecting the site and removing any unwanted plants as required. Mulching around young black-eyed peas with a layer of organic matter can help to reduce weed competition and retain more moisture in the soil.
Black-eyed peas tend to not need additional fertilizer throughout their growing season. The addition of compost, well-rotted manure, or an inoculant prior to planting to boost the fertility of the site should be enough. Poor soil types may benefit from an addition of a nitrogen fertilizer, however, adding nitrogen should be done with care as excess quantities of the nutrient can lead to lots of leafy growth and few actual peas developing. It may be best to conduct a soil test prior to planting to get an idea of the nutrient make-up and identify deficiencies that may need to be addressed.
There are a few potential pest problems to keep an eye out for. Aphids can cause issues for plants and transmit bean mosaic virus - an untreatable disease that causes patterned patches of foliage and requires plants to be destroyed. There are simple ways to get rid of aphids, including spraying them with soapy water, using companion planting to attract predators, and putting down diatomaceous earth around plants. Leafhoppers, like aphids, can suck sap and weaken plants, though they can also be treated with insecticidal soap, such as the Garden Safe Insecticidal Soap available at Walmart, or neem oil.
How to harvest black-eyed peas
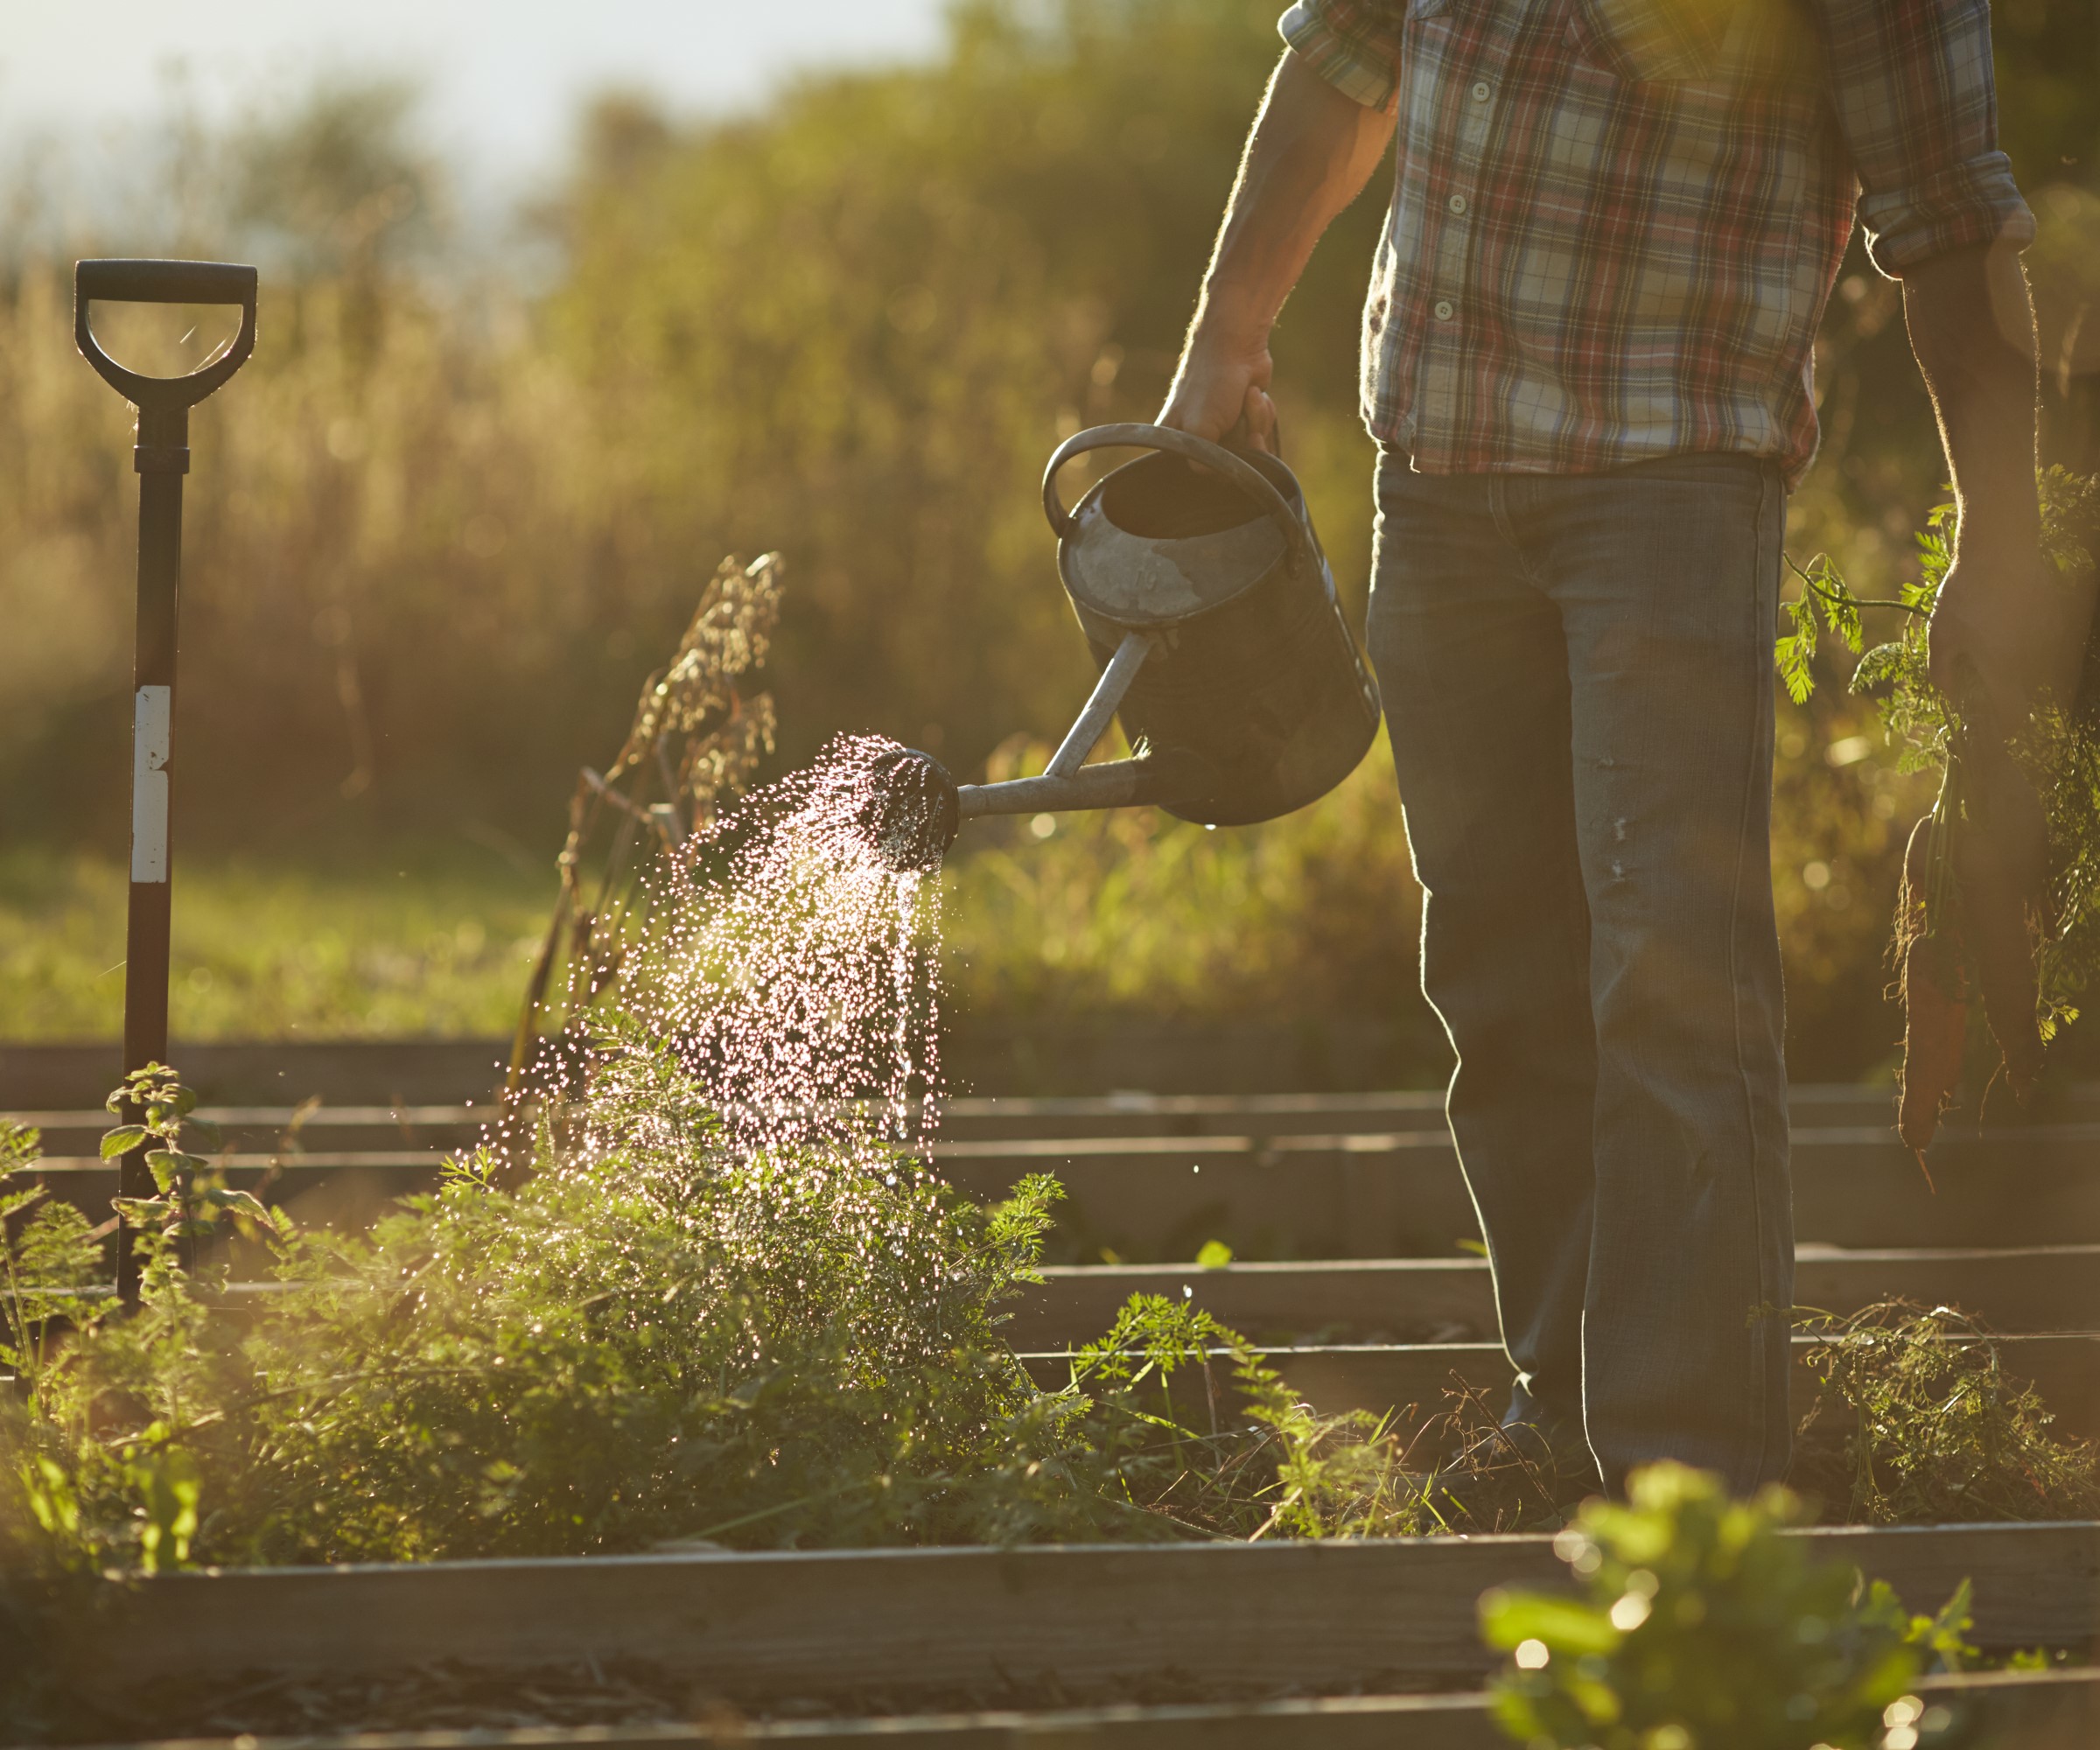
Always try to water the soil rather than a plant's foliage
As mentioned previously, the entire pods can be picked before they fully mature as snap beans, or the peas can be left to swell inside the pod to be podded. The seed packet for your variety will give you an indication of how long that type should take to mature.
‘Harvest snap beans around 60 days after germination or dry beans after about 90 days,’ says Alexander Testel from Frugal Frontier. ‘Harvest when pods are full, or leave to dry on the vine for dry beans.’
The pods want to be full and the beans completely swollen if you are picking them to shell. Or wait until the pods dry one the vine and turn brown, yellow, and brittle. Alexander recommends ‘save some seeds from a successful harvest for the next season’.
Take care when picking the pods. Carefully remove individual pods from the stem rather than pulling at them hard, as this can be a vegetable harvesting mistake that has the potential to pull the entire plant out of the ground.

Alex Testel is an avid gardener and horticulture expert. At Frugal Frontier, his approach to gardening is anchored in eco-conscious and efficient methods. He specializes in sustainable and practical gardening solutions, empowering others to cultivate their own thriving gardens.
FAQs
Can you grow black-eyed peas from dried peas?
You can grow black-eyed peas from beans that you have grown and dried, as long as they were stored correctly and show no signs of mold or rot. It is not recommended to grow dried peas from a grocery store. This is because there is no guarantee how old the peas are, how viable or healthy they are, or if they have been treated to stop them sprouting. Dried peas could also have been imported and be harbouring diseases.
Do you soak black-eyed peas before planting?
Soaking black-eyed peas before planting can help to improve the speed of germination, though it is not absolutely necessary. The peas can benefit from being soaked for around 8-12 hours prior to being planted to absorb water and start the germination process. However, do not leave them for over 24 hours in water, as this could lead them to rot.
As well as a way to combat pests, companion planting can also attract beneficial insects to encourage pollination. By adding flowering plants nearby, such as growing sweet peas, it will not only add to the overall beauty of the area, but help to ensure a good harvest of peas.
Drew has worked as a writer since 2008 and was also a professional gardener for many years. As a trained horticulturist, he worked in prestigious historic gardens, including Hanbury Hall and the world-famous Hidcote Manor Garden. He also spent time as a specialist kitchen gardener at Soho Farmhouse and Netherby Hall, where he grew vegetables, fruit, herbs, and cut flowers for restaurants. Drew has written for numerous print and online publications and is an allotment holder and garden blogger. He is shortlisted for the Digital Gardening Writer of the Year at the 2025 Garden Media Guild Awards.