How to grow a plum tree from a plum – start now for future yields
Discover the simple steps to growing and nurturing this sweet, juicy fruit tree
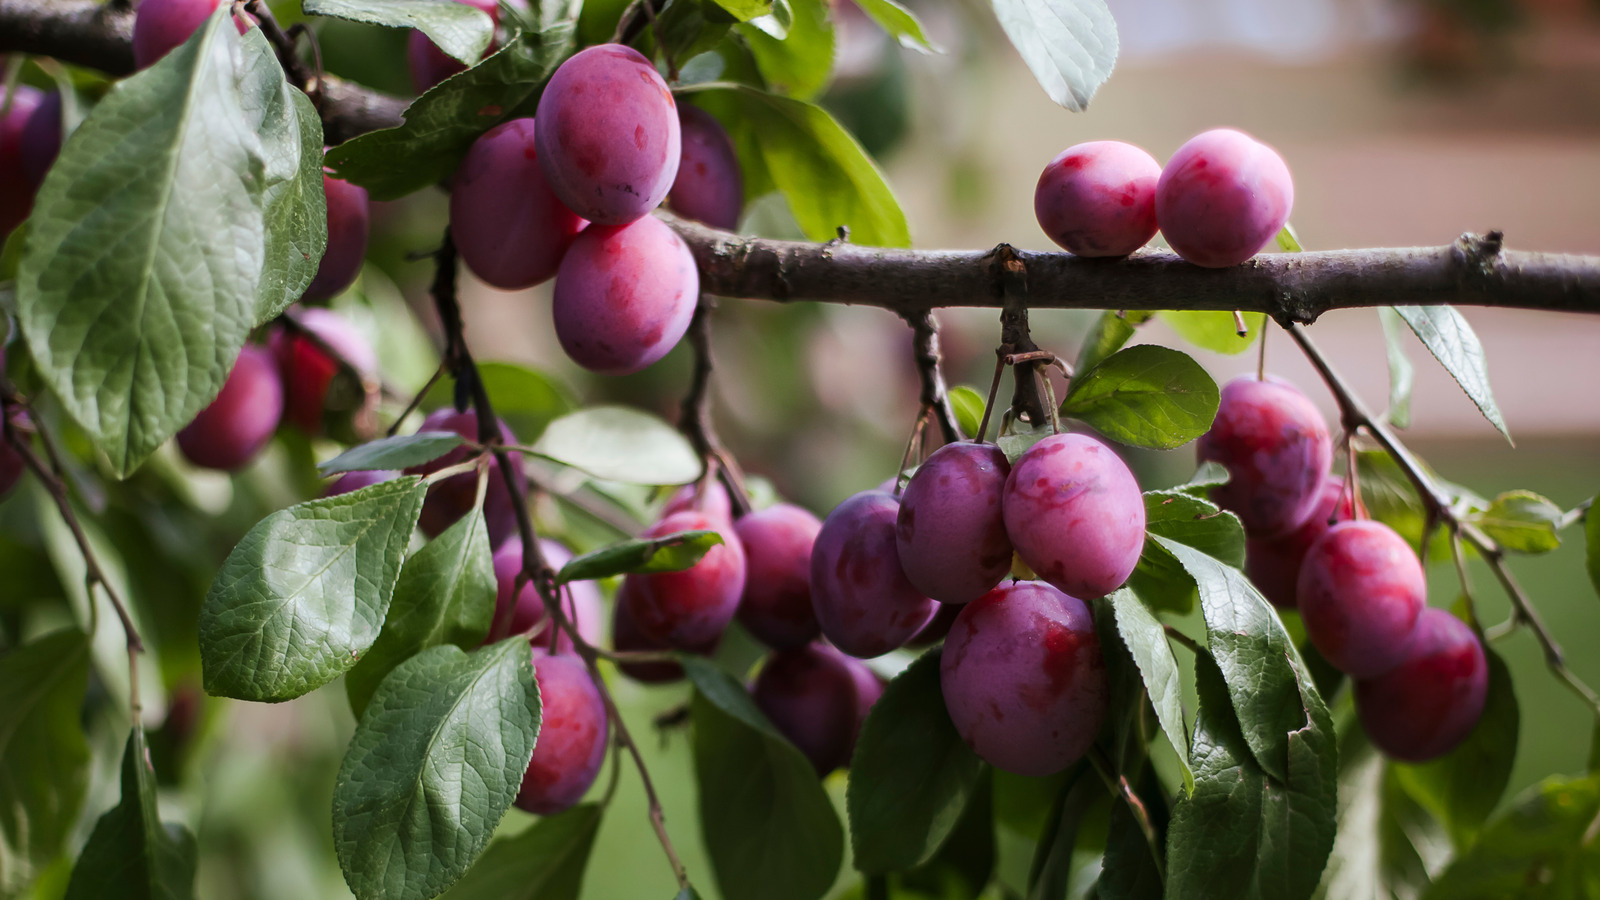

Knowing how to grow a plum tree from a plum stone is surprisingly easy. It simply requires patience, and some care and attention.
The satisfaction of a bumper harvest is just reward when growing your own crops, particularly when your chosen vegetable or fruit has been grown from seed. It's even better when that harvest was produced from something you'd ordinarily throw in the compost, like a fruit pit or stone. Although plum trees are one of the best fast-growing fruit trees to grow, when starting a tree from a stone it will take between three to five years before it will bear any fruit.
It requires patience, but the reward will be great as you watch your plum tree grow from seed. If you want to encourage young ones to know where their food is from, it's a fun activity for gardening with children too. We spoke to some expert growers to find out exactly how to do it.
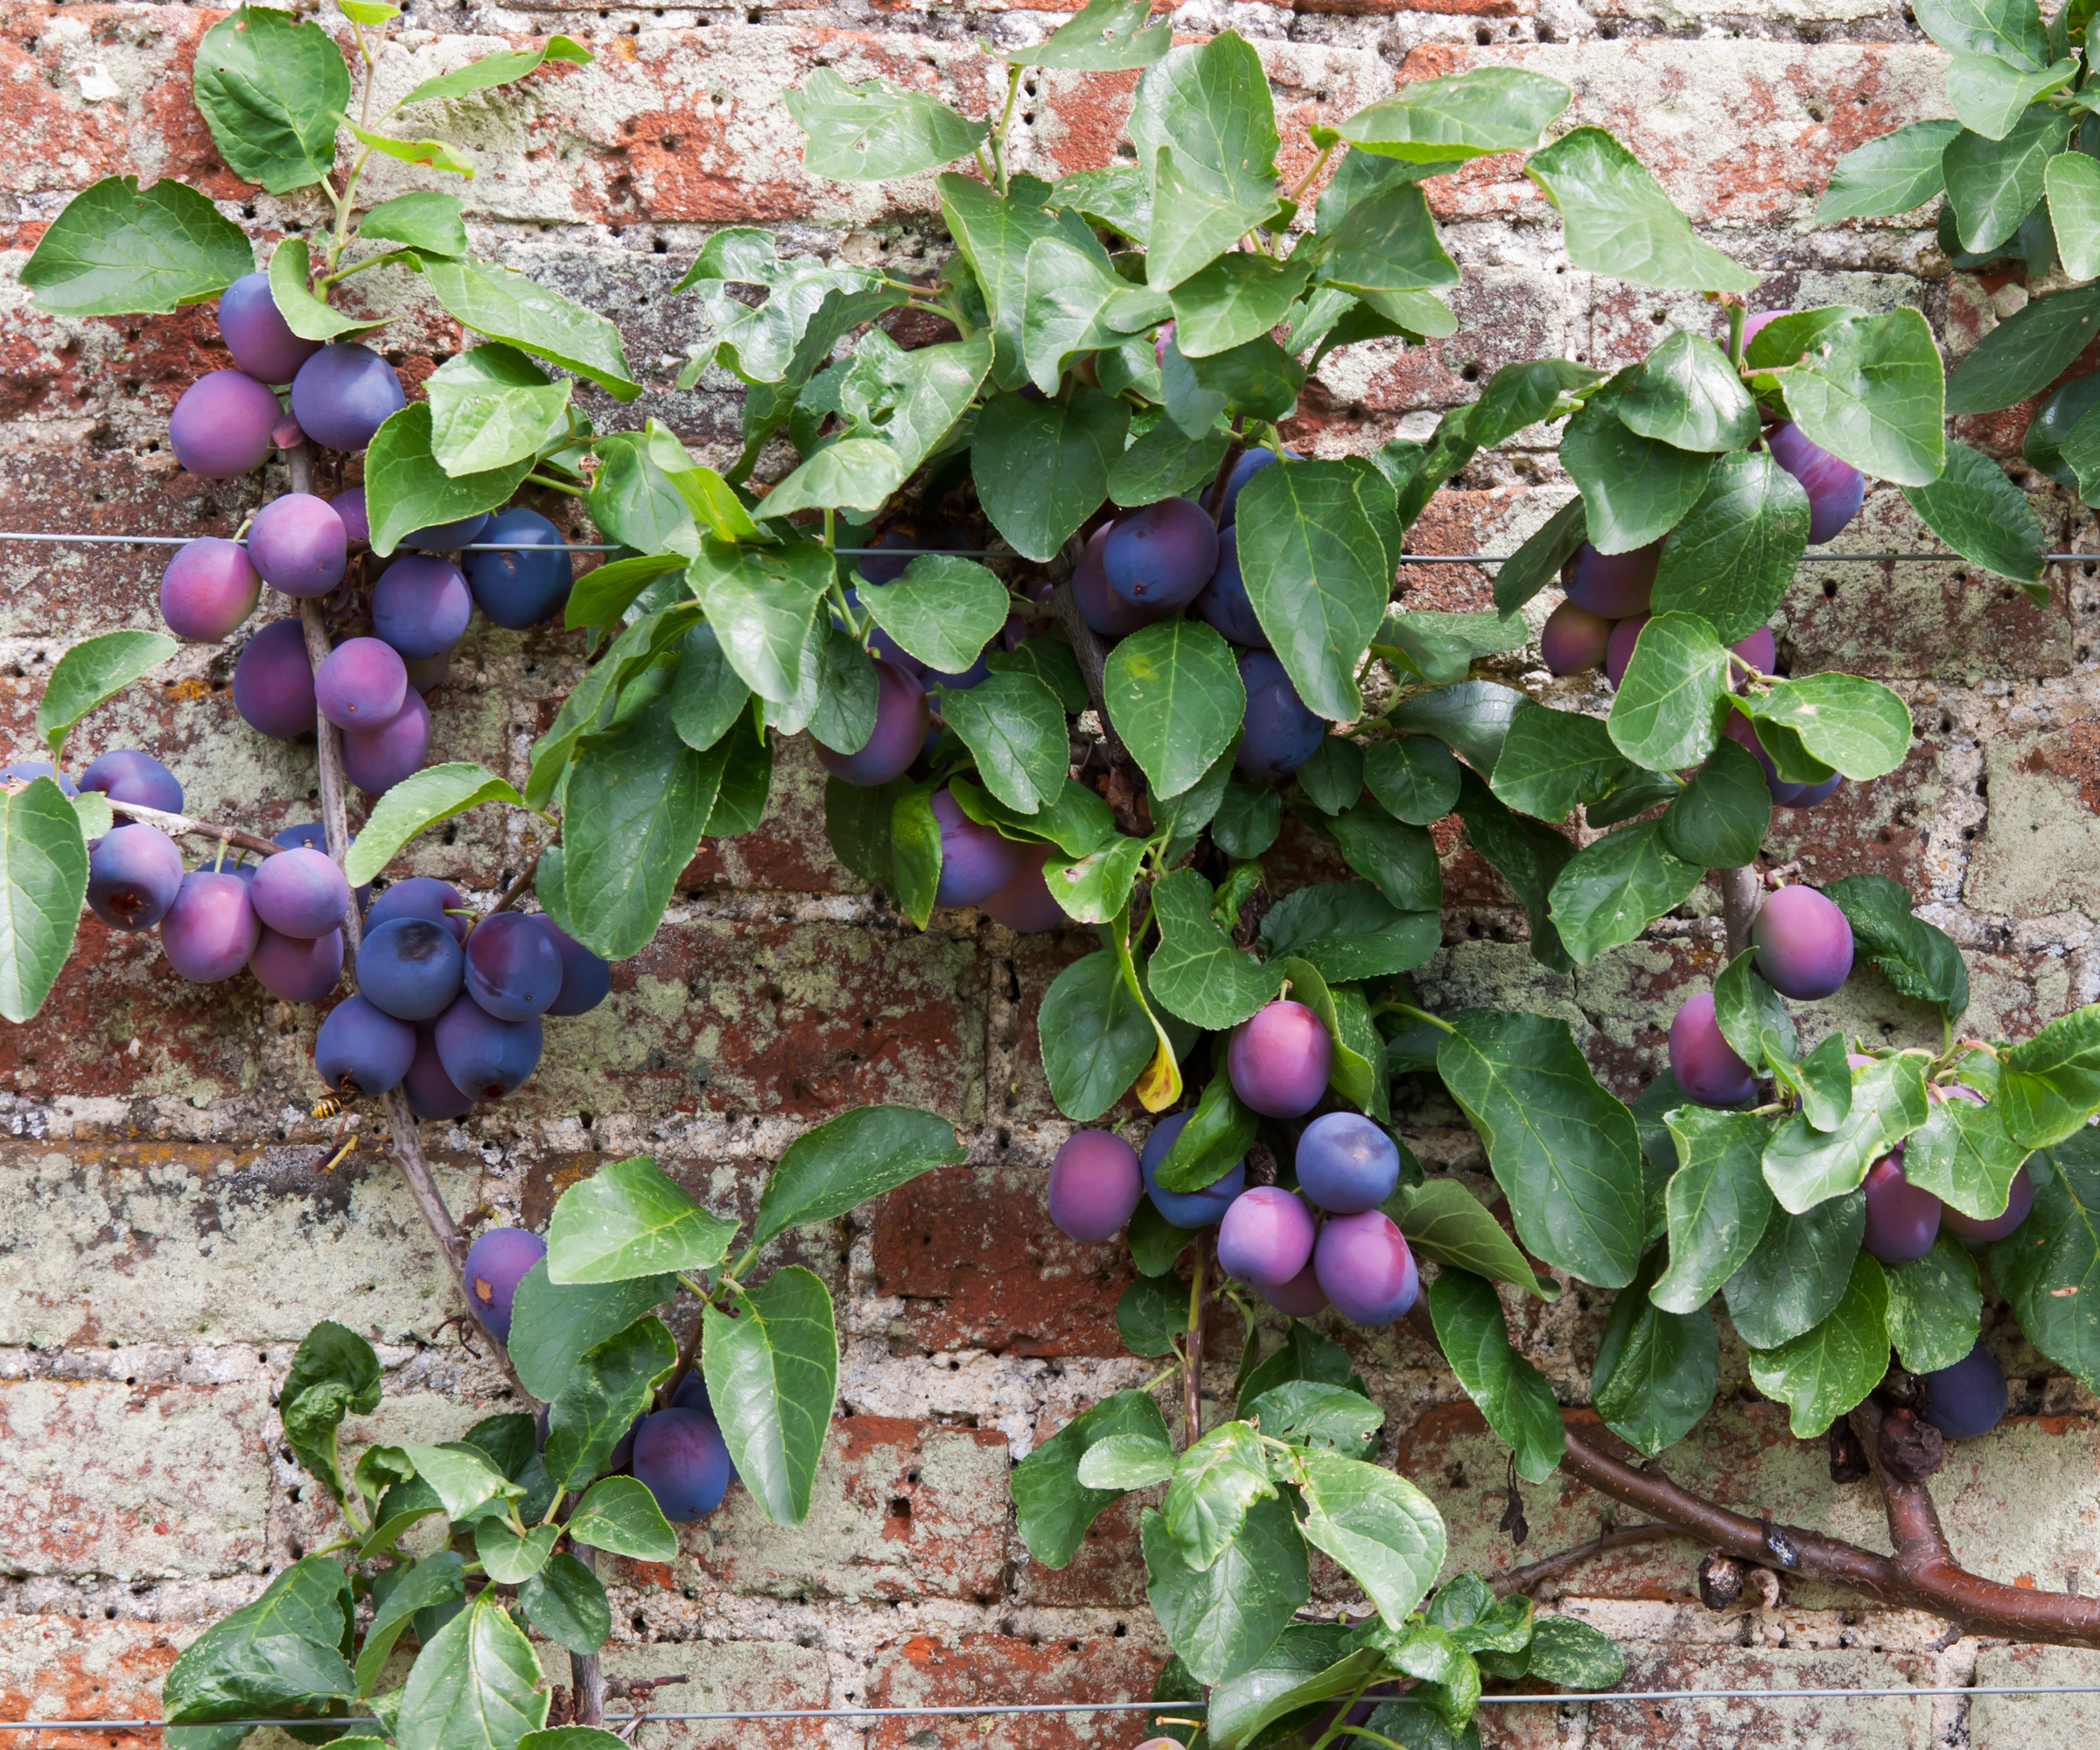
How to grow a plum tree from a plum stone - two methods
Kim Stoddart, author of The Climate Change Resilient Garden, available at Amazon, shares some pointers for getting started in a way that mimics nature.
'If you already have existing plum trees that are growing well, try growing more by planting some of their fruit stones. You can process the stone in a more labor-intensive way, but directly planting the stones outside at the end of the year replicates nature.
'This is what happens with fruit trees in the wild, and there is resilience with trees that are able to adapt and flourish in tougher conditions, so don't pamper the seed. Plant the stones in a few places and see what emerges the following year.
'You can also save your stones and plant them in a pot outside, so they can experience the cold of winter. Hopefully, they will come to life in spring. This is another low-maintenance option.
Design expertise in your inbox – from inspiring decorating ideas and beautiful celebrity homes to practical gardening advice and shopping round-ups.
'If you don't have any plum trees yourself, see who does in your area. It's a great excuse for some barter and exchange. Only work with plump, healthy fruit that is disease-free and full of vitality and flavour,' cautions Kim.
Of course, if you prefer a more hands-on approach, and don't want to leave it until next year to spot any signs of sprouting, there is a more watchful way of growing a plum tree from a stone too.
The method will also be different if you live somewhere without cold winters, as the stones need to experience 'winter chill' and you'll need to replicate this artificially through seed stratification.

Kim Stoddart is an expert gardener, author and journalist. She teaches and runs courses on climate change savvy growing from her training gardens in West Wales and for many others including The National Botanic Gardens of Wales, Garden Organic, The RHS and The Centre for Alternative Technology.
1. Collect some plum stones

Collecting some plum stones to sow is a crucial part of the process. As outlined already, choose stones (also known as pits) from healthy fruit. To increase your chances of success, it's worth gathering several stones, even if you only want one or two fruit trees.
'Start by selecting ripe, organic plums from a variety known to do well in your climate,' says Robin Phelps, founder, Sow Many Plants. 'Some common varieties include ‘Victoria,’ ‘Damson,’ and ‘Green Gage'.
’With many Asian and American plums, you will need more than one variety for pollination. Although most European plums are self-pollinating, you'll get a better crop if you grow several varieties, provided they are in the same color group.'

Robin Phelps is a Gardening and Preserving Coach, with a passion for nurturing green spaces and preserving the bounties of nature. With over 20 years of experience in gardening, Robin began her journey in a small apartment with a balcony and has since expanded to growing on 3 acres. She has evolved into an expert gardener and is eager to guide others on their gardening journey.
2. Clean the stones and test them for viability
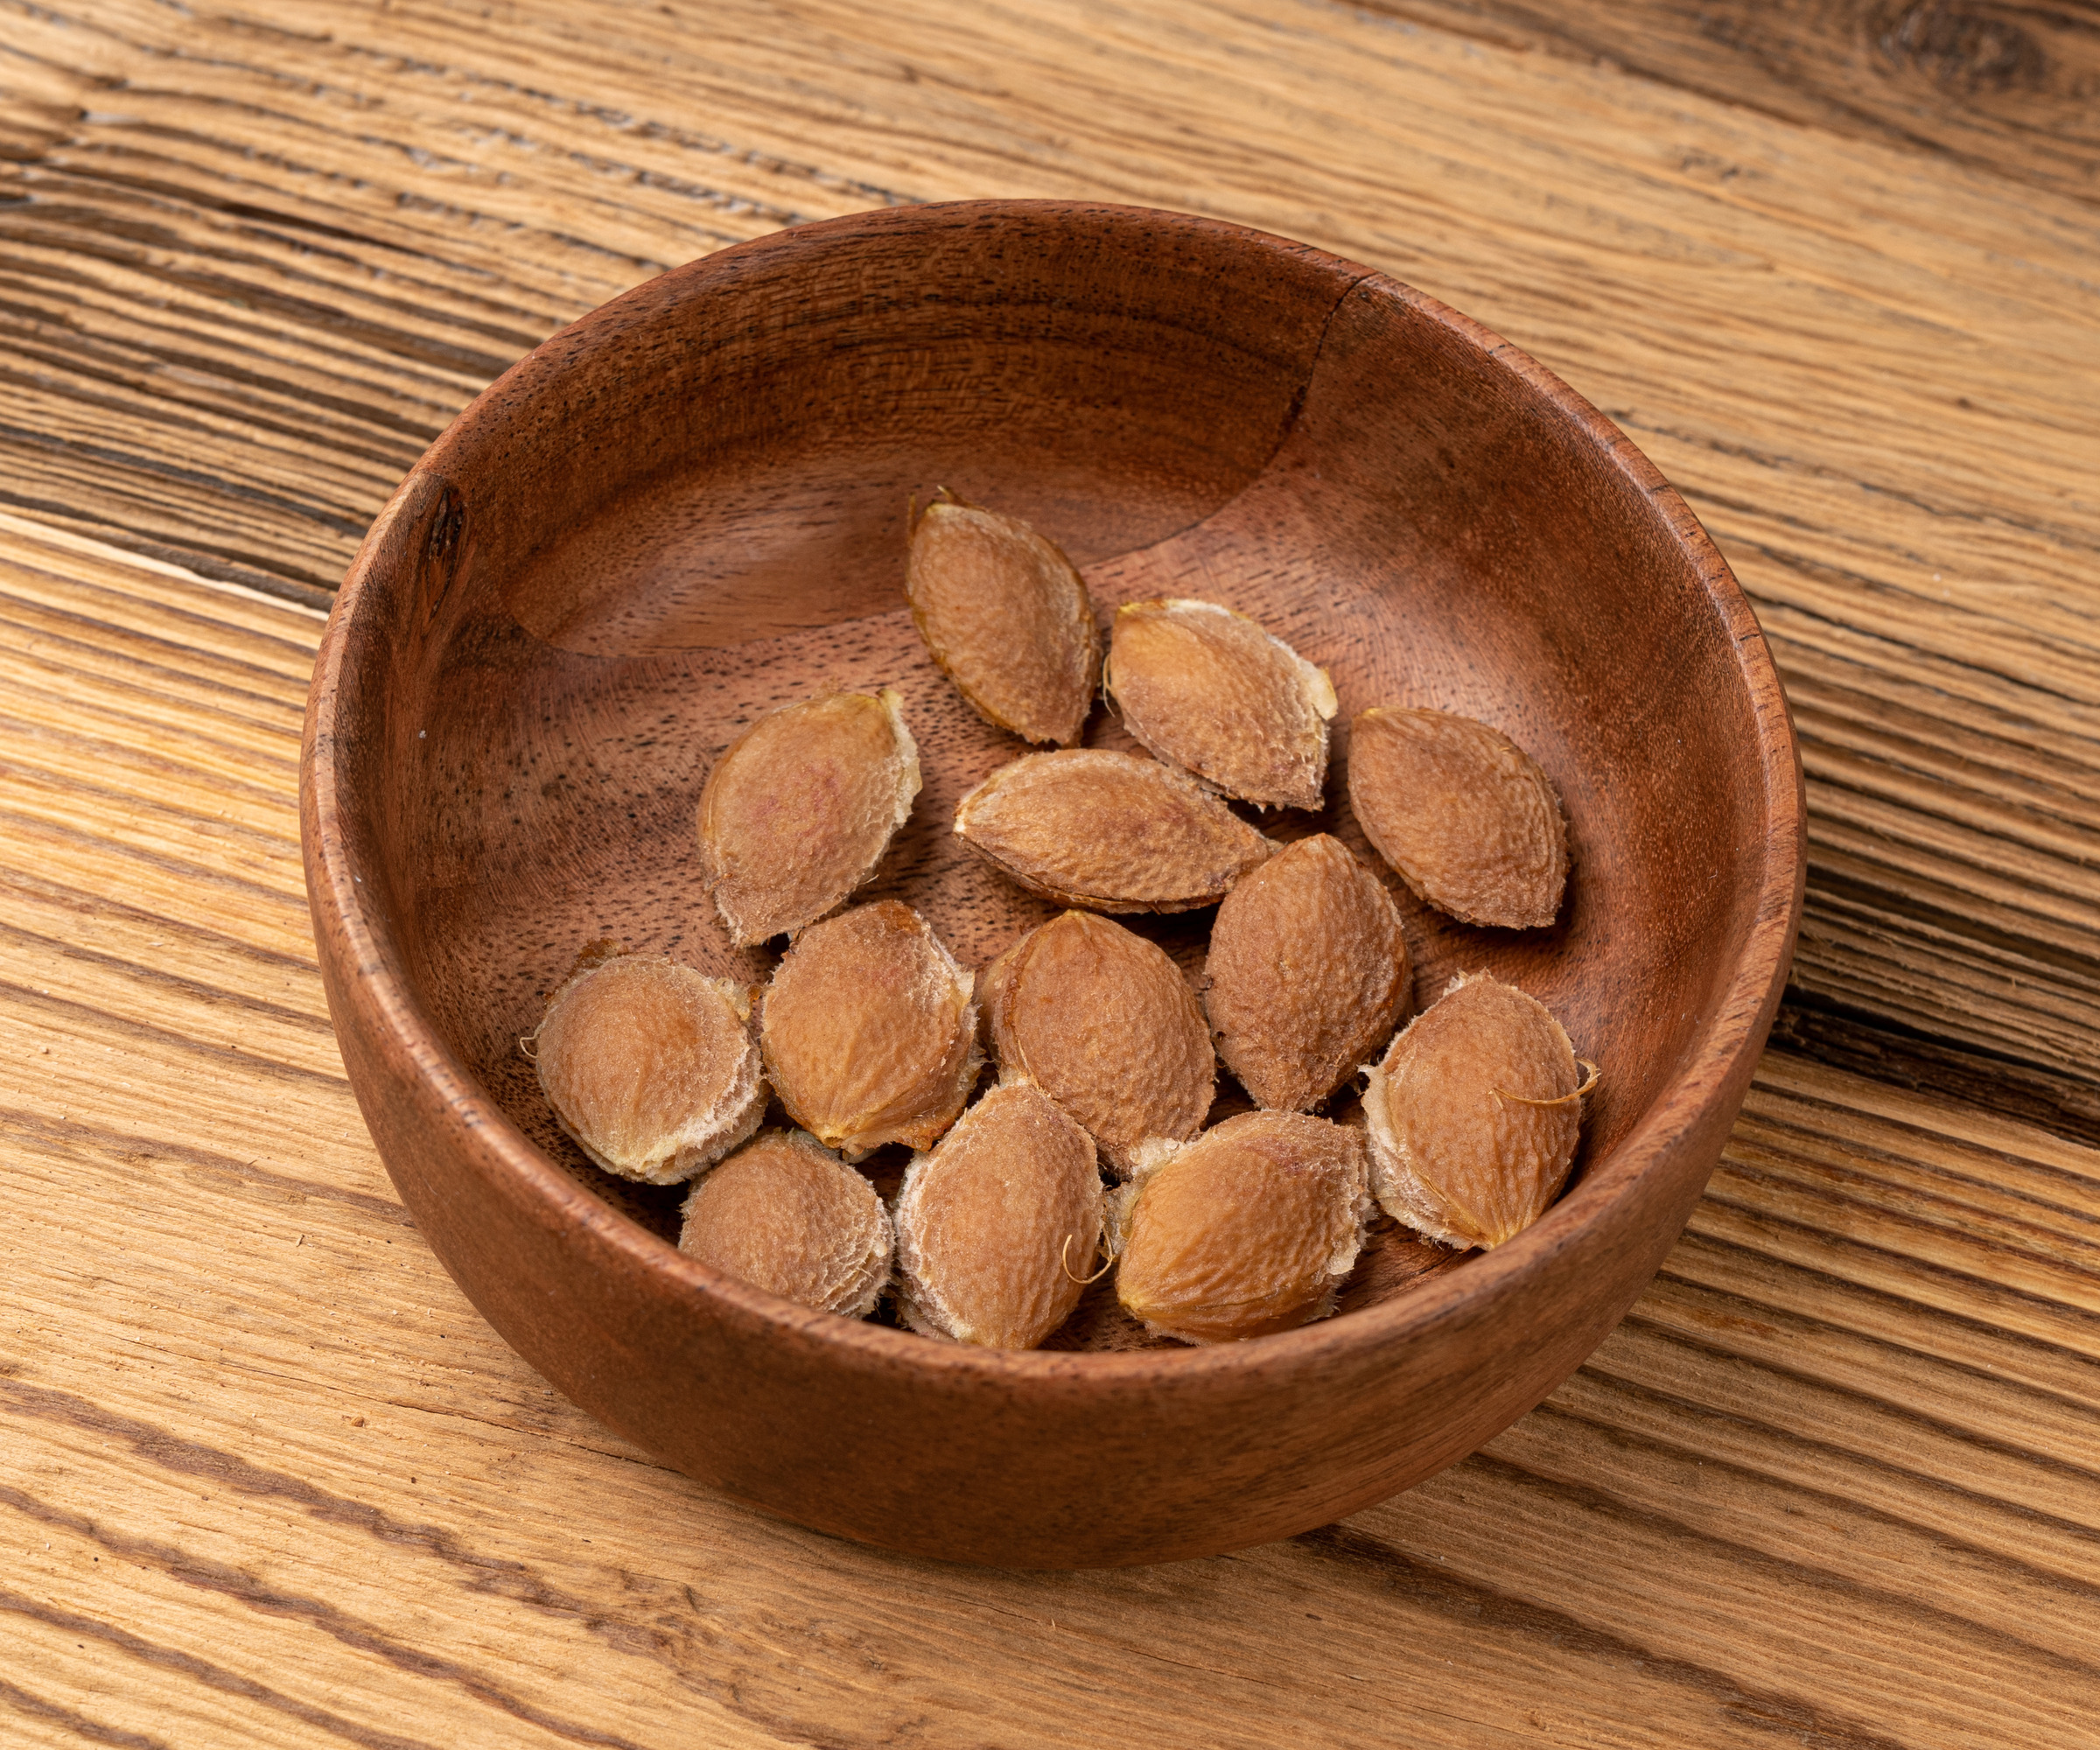
Once you've eaten the fruit and saved a few stones to plant, clean off any fruit residue. 'If there is remaining flesh, it can promote mold growth during the stratification process,' explains Robin.
Once the stones are clean, you can check if they are viable for planting, and eventually moving into a kitchen garden. To do this, place the stone in a bucket of water and see if it floats or sinks. 'If it floats, the stone is no good and shouldn't be planted,' says Robin. 'If it sinks, the stone should be viable.
'You can also let the stone dry for a few days in a cool, dry place. This step is optional but it can help the stone crack more easily when it’s time for it to sprout.'
3. Subject the stones to a period of stratification
The next step is seed stratification, which essentially is exposing the stone to cold treatment, as it would if it was self-seeding in nature. This is especially important if the stone is to be started inside.
'Plums need a period of cold stratification to break dormancy and encourage germination,' explains Robin. 'This process mimics winter conditions.
'Place the cleaned and dried stone in a plastic bag with slightly damp compost or a paper towel. Seal the bag and place it in the refrigerator (not the freezer) for 6-8 weeks.
'If you live in an area with mild winters, cold stratification in the fridge is very important. You can skip this step, in colder climates if you're planting the plum stone directly outside in late fall.'
4. Check for sprouting
After the stratification period, check the stones for any signs of sprouting. If you see a root emerging, it’s ready to plant.
'If you want to speed up germination, you can carefully crack the stone using a nutcracker or hammer to expose the seed inside,' says Robin. 'Although, be very gentle to avoid damaging the seed.'
5. Plant the stones
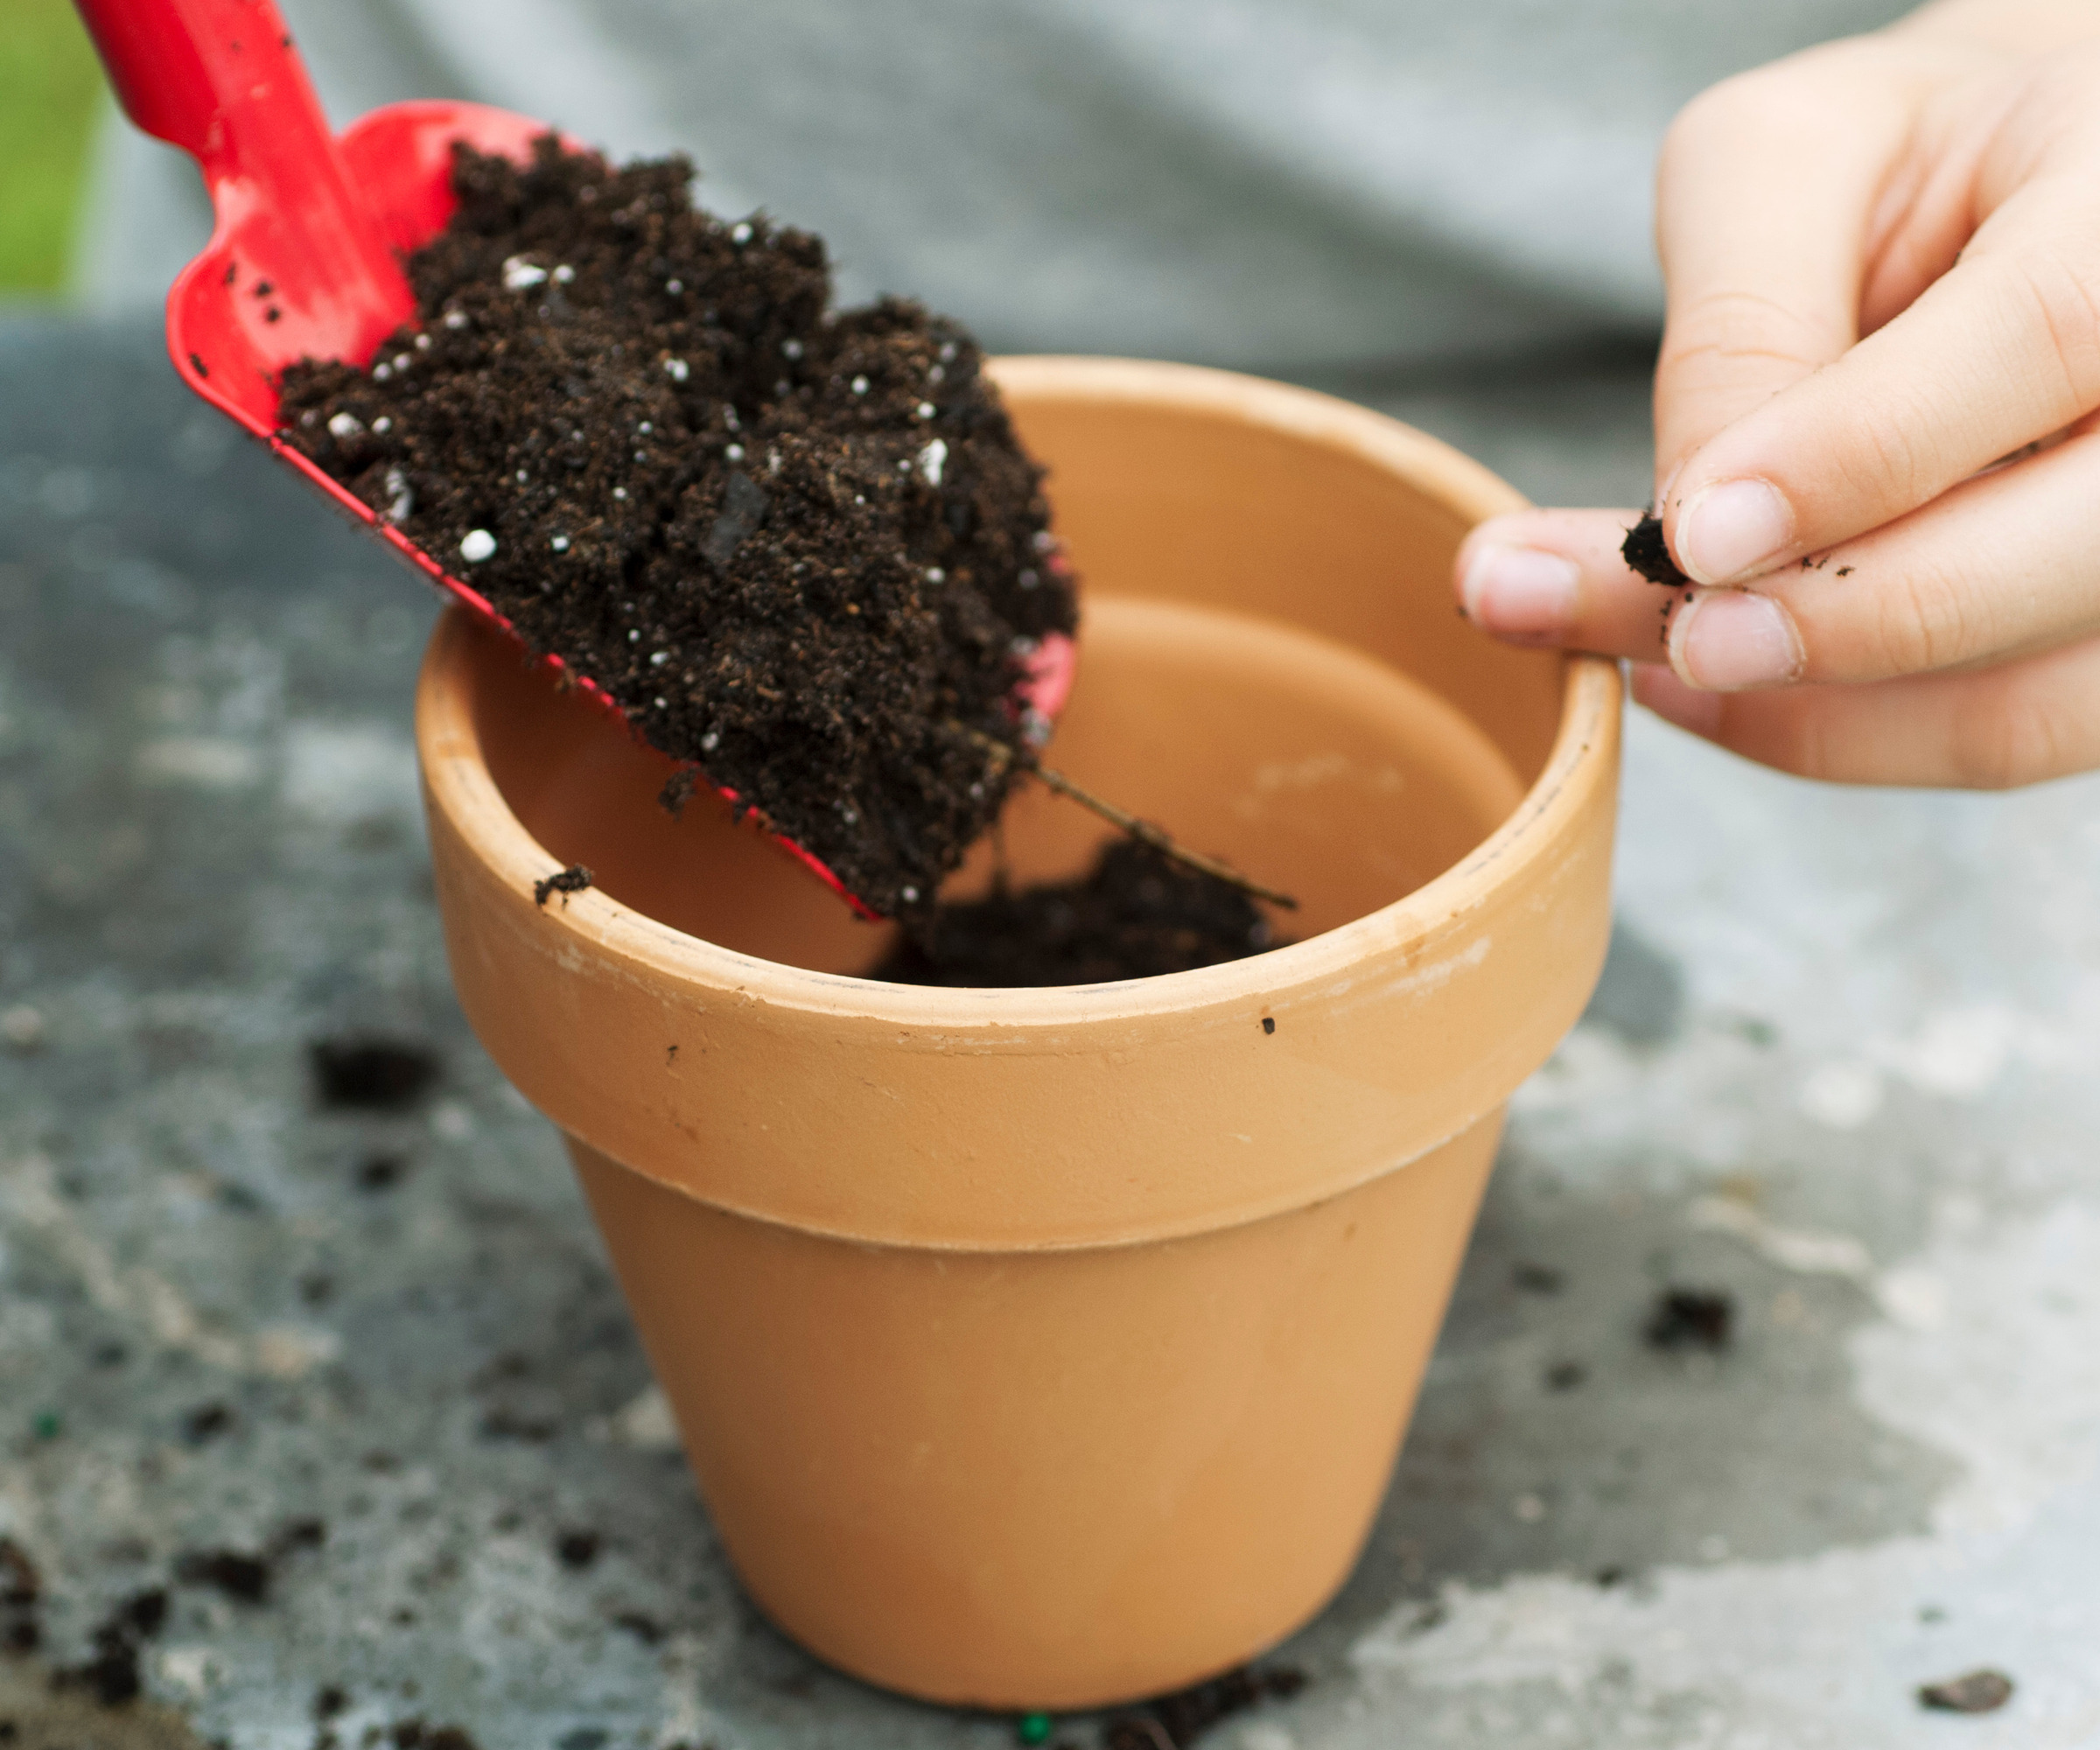
Once it's sprouted, or showing signs of germination, the plum stone is ready to plant. Ensure good soil health by preparing an appropriate mix.
'I recommend starting the stone in a pot to control the environment better,' says Robin. 'Use a pot at least 6 inches deep to accommodate root growth. Use well-draining, loamy soil with a pH between 5.5 and 6.5. A mix of garden soil, compost, and sand works well.
'Plant the stone about 1-2 inches deep in the soil. Then water the soil lightly, ensuring it’s moist but not waterlogged.
'Plant at least 3-5 stones in separate pots to increase the chances of successful germination. Make sure to plant different varieties to assist with pollination in the future. If planting in the ground, space them about 8-12 inches apart.'
6. Watering and after care
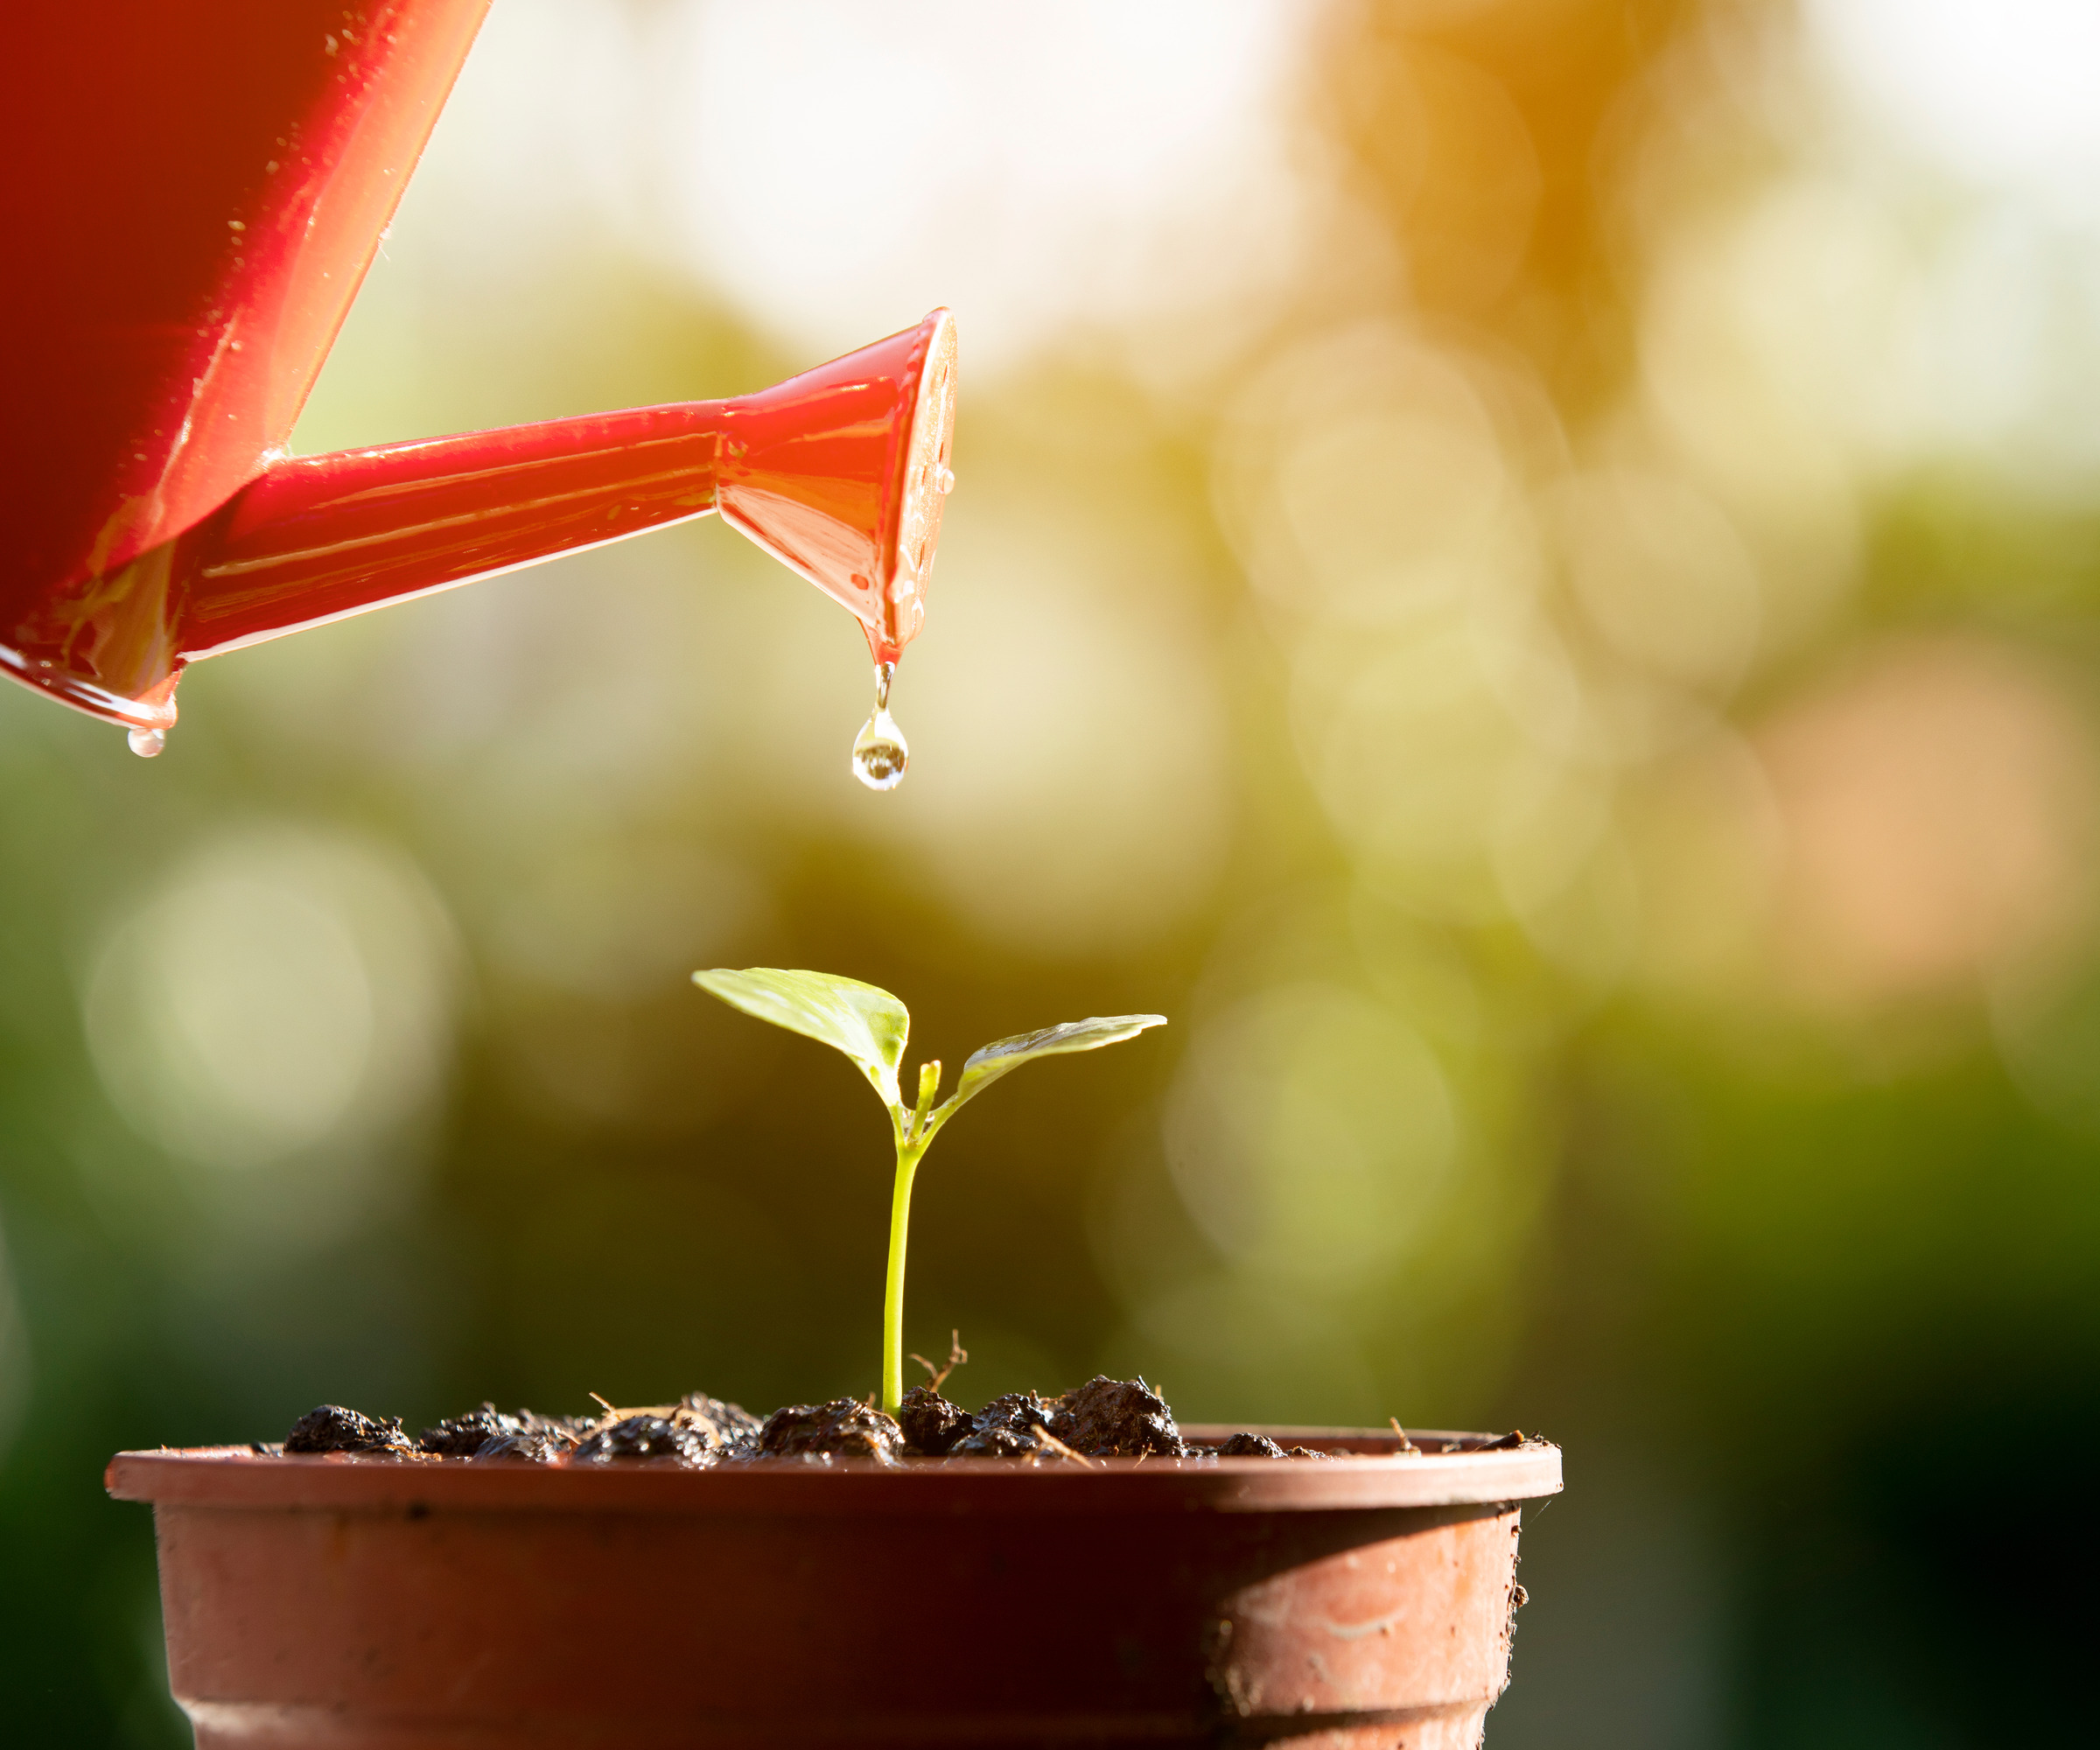
All plants and seedlings in pots will need to be watered. As a rule, it's best to keep the soil consistently moist but not soggy. A soil moisture metre like this one from True Leaf Market can help you gauge when a plant needs to be watered and prevent garden watering mistakes.
'Overwatering can cause the seed to rot, while underwatering will prevent it from germinating,' says Robin. 'Water whenever the top inch of soil feels dry to the touch.
'Place the pot in a location with plenty of sunlight, ideally 6-8 hours a day. If you do not have a sunny location you can place the pot under grow lights. And maintain a warm environment, ideally between 60-75°F (15-24°C).'
7. Potting up
Once your plum seedling starts to grow it will get to a size when it outgrows its starter pot and needs to be repotted in a larger container. Coco fibre starter pots like these from True Leaf Market are a good choice, as they are available in increasing sizes and can eventually be planted straight into the ground.
'If the seedling is started in a small pot, repot it once it reaches about 6 inches in height or if roots begin to grow out of the drainage holes,' says Robin.
'You may need to repot it every year as it grows, gradually moving to larger pots until it's ready to be planted in the ground. Plum seedlings typically take 1-2 years to grow large enough to be transplanted into their final location.'
8. Transplanting
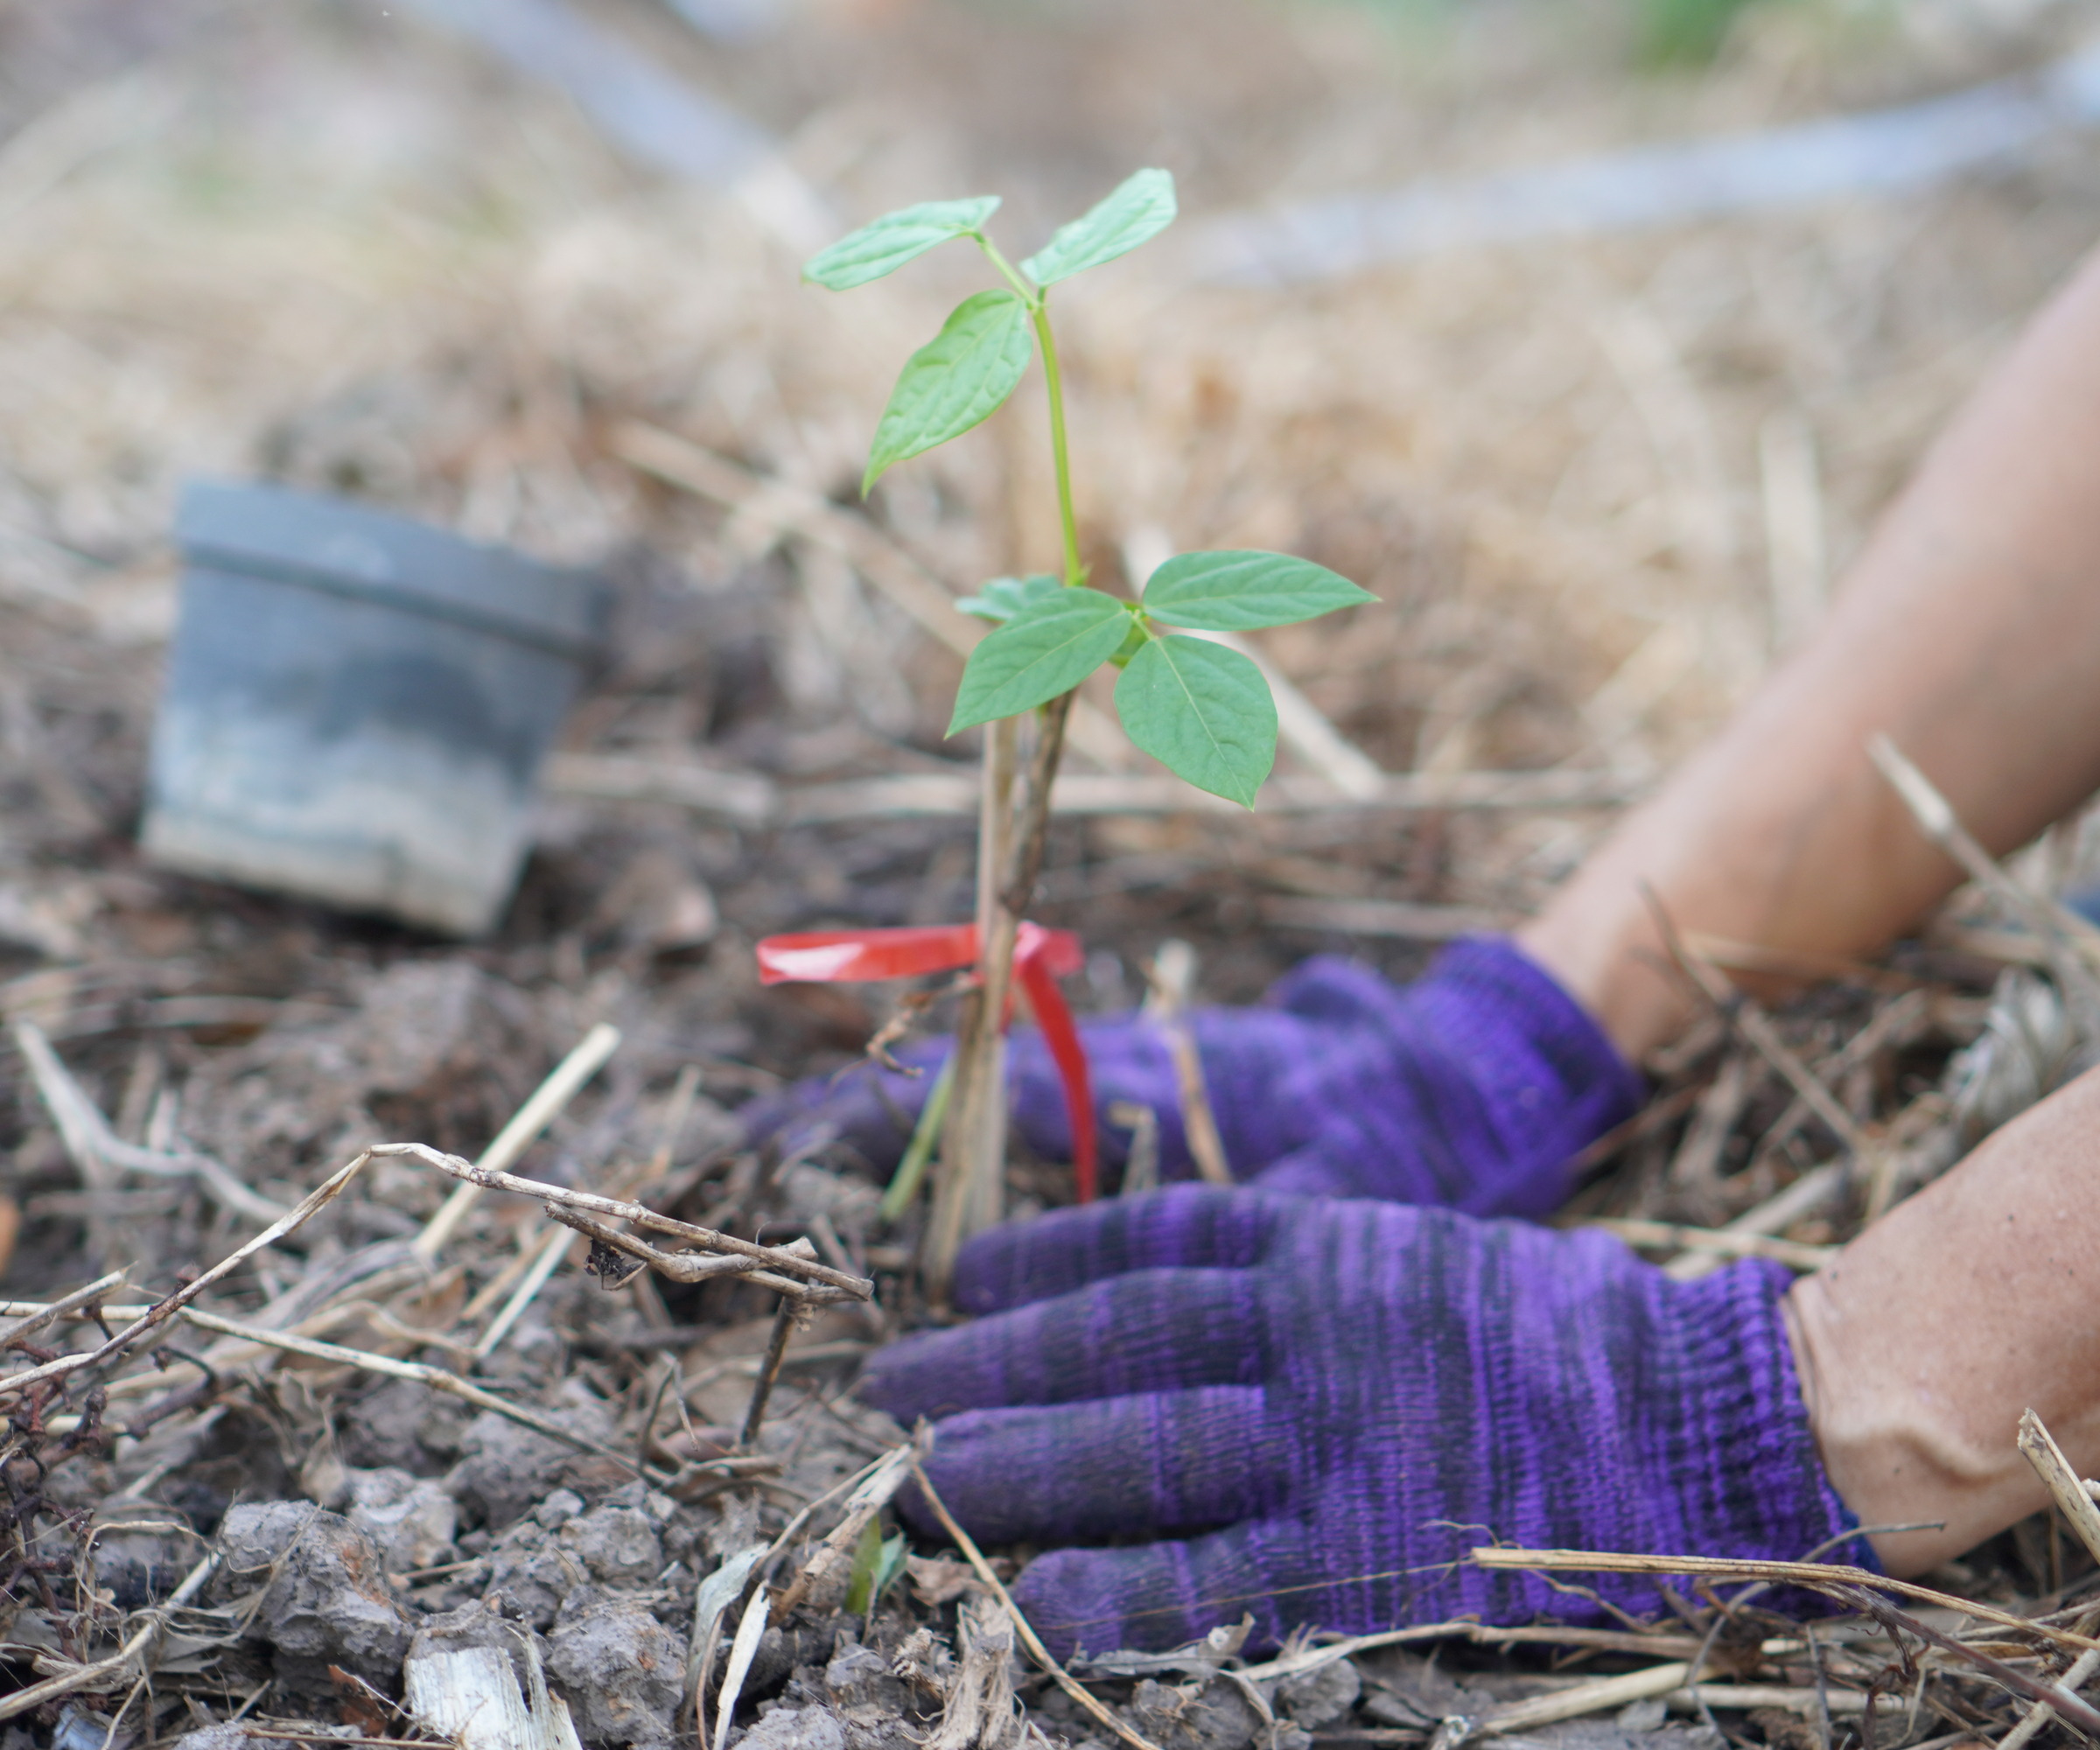
Once the seedling is 1-2 feet tall and has a strong root system, it can be planted in its permanent location outside in your yard.
'Spring or early fall is the best time for transplanting,' says Robin. 'Plant plums in full sun and away from any frost pockets. Since plums bloom early, it's best to plant them where the soil will warm up slowly in spring. That way, flowers will not appear too soon that they will be frost-nipped.
'If planting multiple trees, space them at least 15-20 feet apart to allow for future growth. Water them regularly, especially during dry spells, until the tree is well established.
'Afterwards, plum trees are relatively drought-tolerant. Although, make sure the trees have adequate water at the time they are flowering and fruiting. The soil around the tree should be moist but not waterlogged. So water deeply once a week if rainfall is insufficient.
'Apply a layer of mulch around the base of the tree to retain moisture and suppress weeds. Young trees can be fed with a balanced, slow-release fertilizer in early spring.'
Growing plums from a stone may result in a very different variety from the original, but either way, the feeling of seeing the first fruits appear on your home-grown plum tree will be wonderfully gratifying.
If you live in an apartment or are short on outdoor space, growing indoor fruit trees brings a whole other dimension to nurturing trees, especially ones that can provide us with a tasty harvest.
Jacky Parker is a freelance lifestyle journalist and writer, producing a wide range of features for magazines and websites. She has written for Homes & Gardens and its sister titles, Livingetc and Country Homes & Interiors for more than 15 years, both as a freelance contributor and staff member, regularly reporting on the latest interiors, gardens and lifestyle inspiration, speaking to experts in their respective fields and discovering the newest tips.
