How to force bulbs in water – a step-by-step guide for early indoor displays
Forcing bulbs in water is a fabulous way to brighten your home – and with these expert tips, it's easy
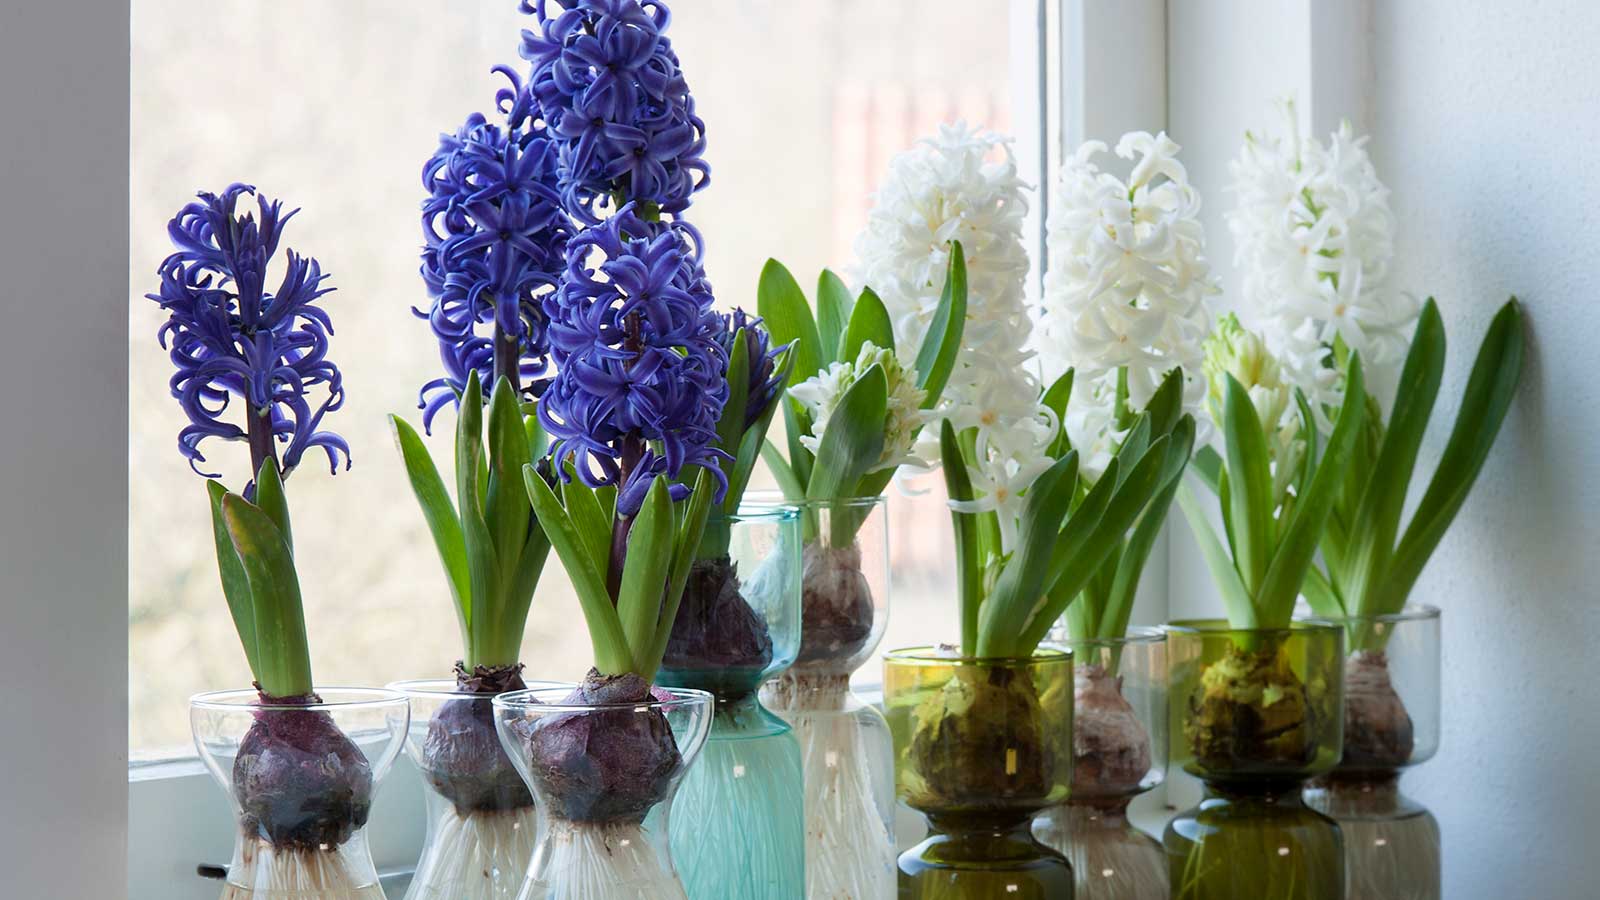

Forcing bulbs in water brings a touch of spring into our living spaces – despite wintry weather outdoors. Many of us are craving bright color during the colder, grayer months, so a jar of sweetly-scented hyacinths, daffodils, or other early blooms is a more than welcome sight.
While forcing spring bulbs in pots of soil indoors is often a go-to approach, forcing bulbs in water has its benefits.
Nastya Vasylchyshyna, a resident botany expert at Plantum, says, 'This growing method requires relatively few materials, little space, and minimal effort compared to the usual cultivation in soil.' It's also cleaner, due to not having to deal with a potting mix, she adds.
Plus, if you use a clear container, watching the roots grow is gratifying, for all ages. As Althea Wiles of Rose of Sharon Floral Design Studio highlights, 'Forcing bulbs in water can be an excellent educational activity for children to learn about plant development and care.'
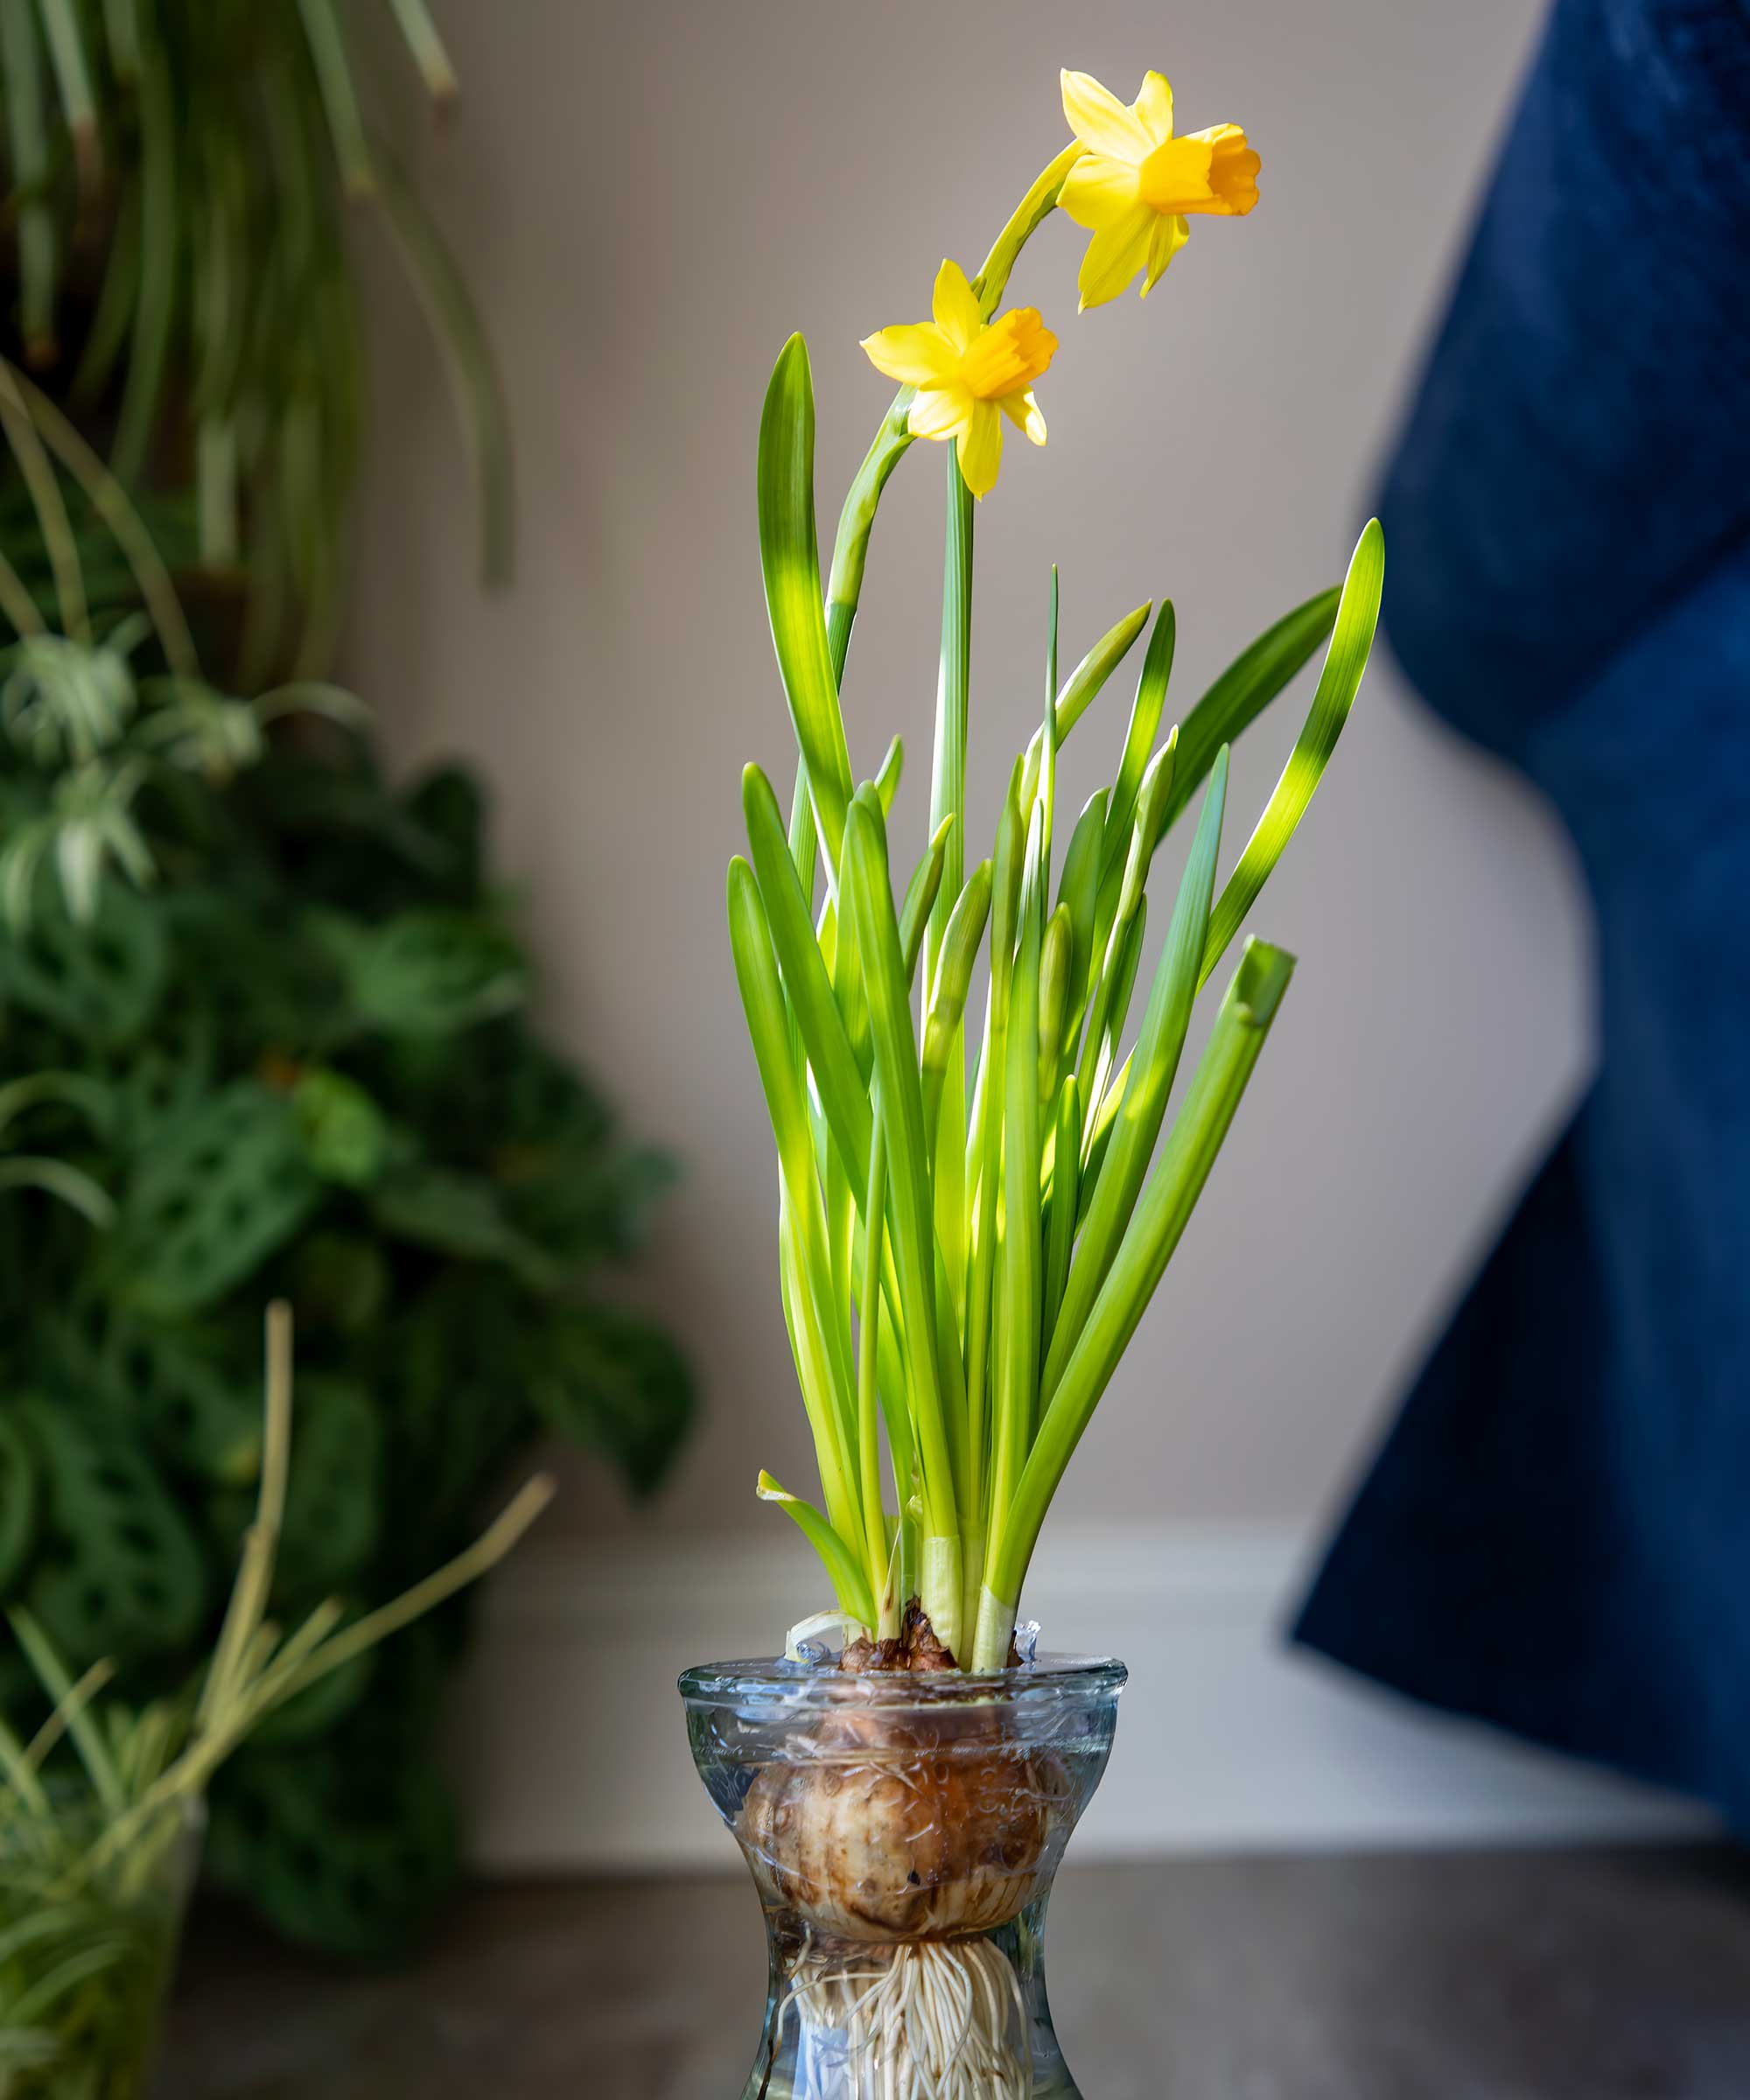
Forcing bulbs brings the joy of spring indoors

Nastya is a professional botany expert for the Plantum app that helps identify plants and plant diseases and provides care recommendations. Her specialization is plant morphology, phytopathology, and plant physiology.

Althea Wiles is the owner and creative director of Rose of Sharon Floral Design Studio in the Ozark Mountains region of the United States. She is also the founder and education director of J Althea Creative, a florist education consulting program. Althea earned her Bachelor of Arts degree from Hendrix College and then completed her Arkansas Master Florist Certification. Her design studio takes part in 75-100 weddings and events annually and has been recognized by national and regional publications.
How to force bulbs in water for a stunning display
With the following expert advice, you can enjoy an early dose of springtime cheer. It's easy with the right know-how.
Types of bulbs to force in water
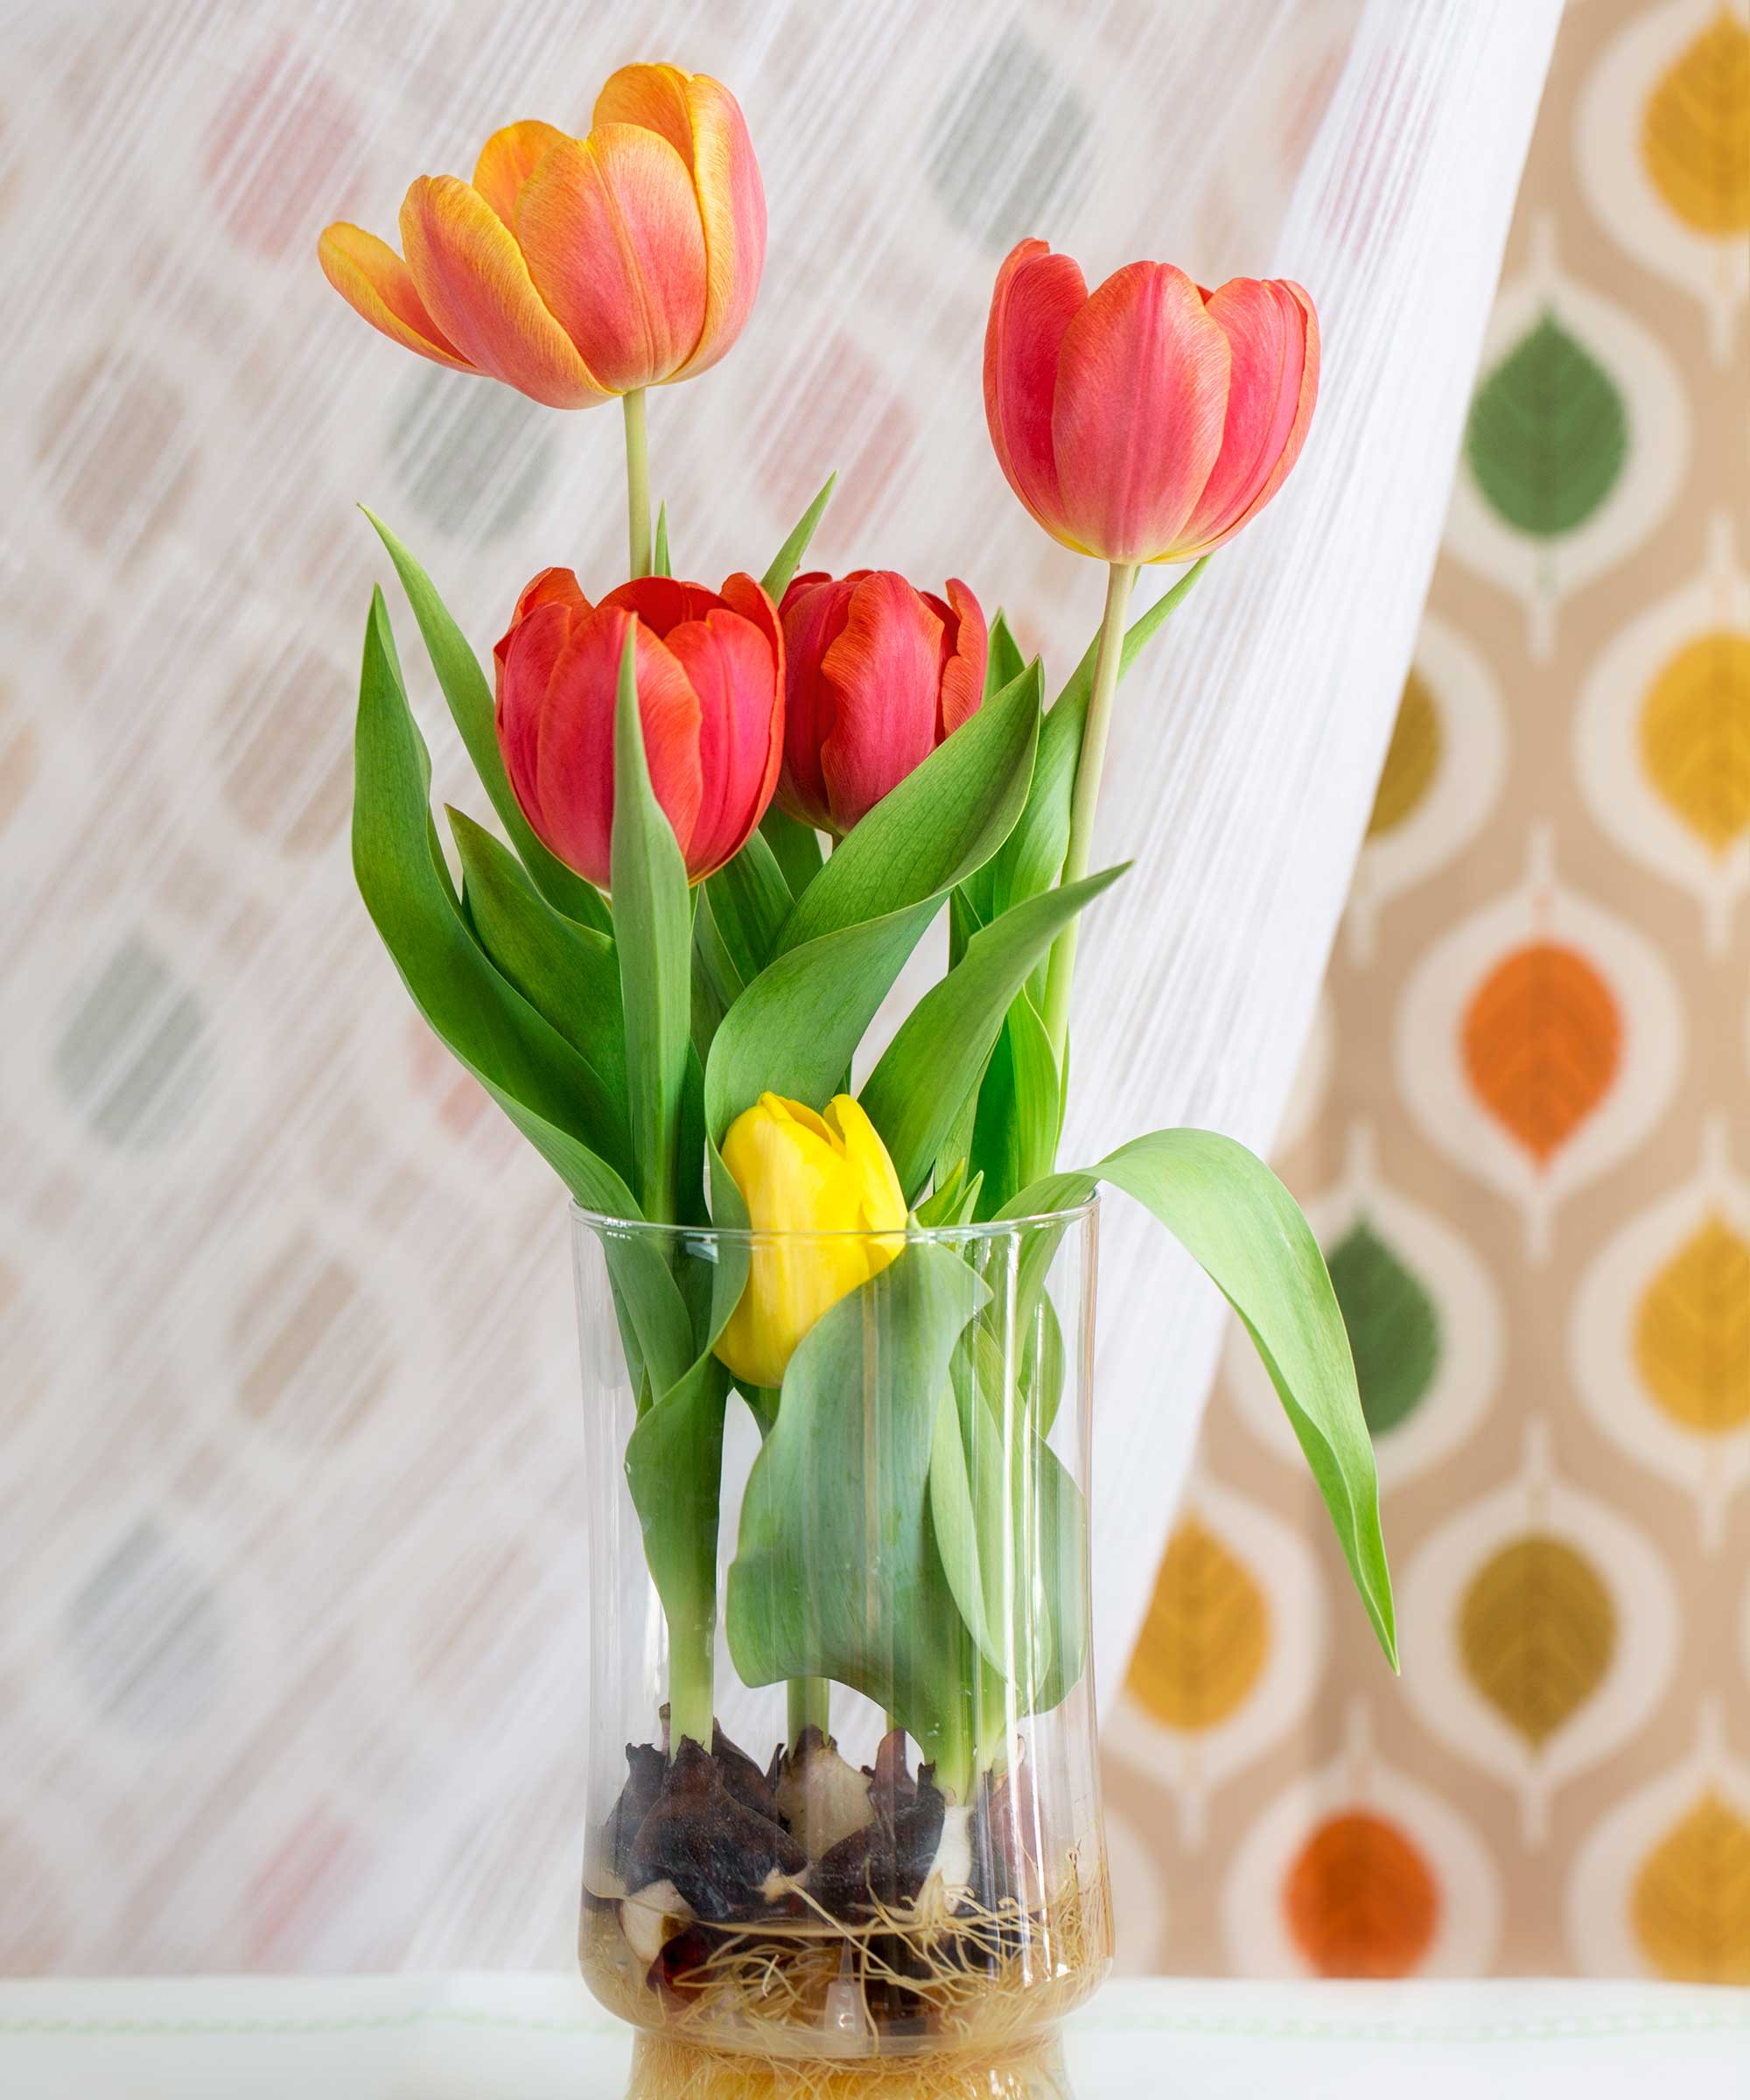
Various bulbs can be grown in this way
'There’s a great variety of bulbous flowering plants you could grow in water,' says Nastya. 'Tulips, snowdrops, hyacinths, crocuses – anything goes, so long as their bulb can remain stable above the water line.'
Remember that stratification is a key step when growing most bulbs indoors. This is when they're kept somewhere cool and dark for some time – either in their glass containers or, if you don't have the space, in paper bags beforehand.
Anna Ohler, the owner of Bright Lane Gardens nursery, says, 'Different bulbs have different chilling requirements, so be sure to check the specific needs of the bulbs you choose.' It averages 8–12 weeks, but can sometimes take longer, she adds. It's important to bear this in mind when planning your timings, as you may need to start chilling your bulbs in the fall for an early spring display. 'Neglecting to provide the necessary chilling can result in failed growth,' warns Autumn Hilliard-Knapp, a plant expert from Perfect Plants Nursery.
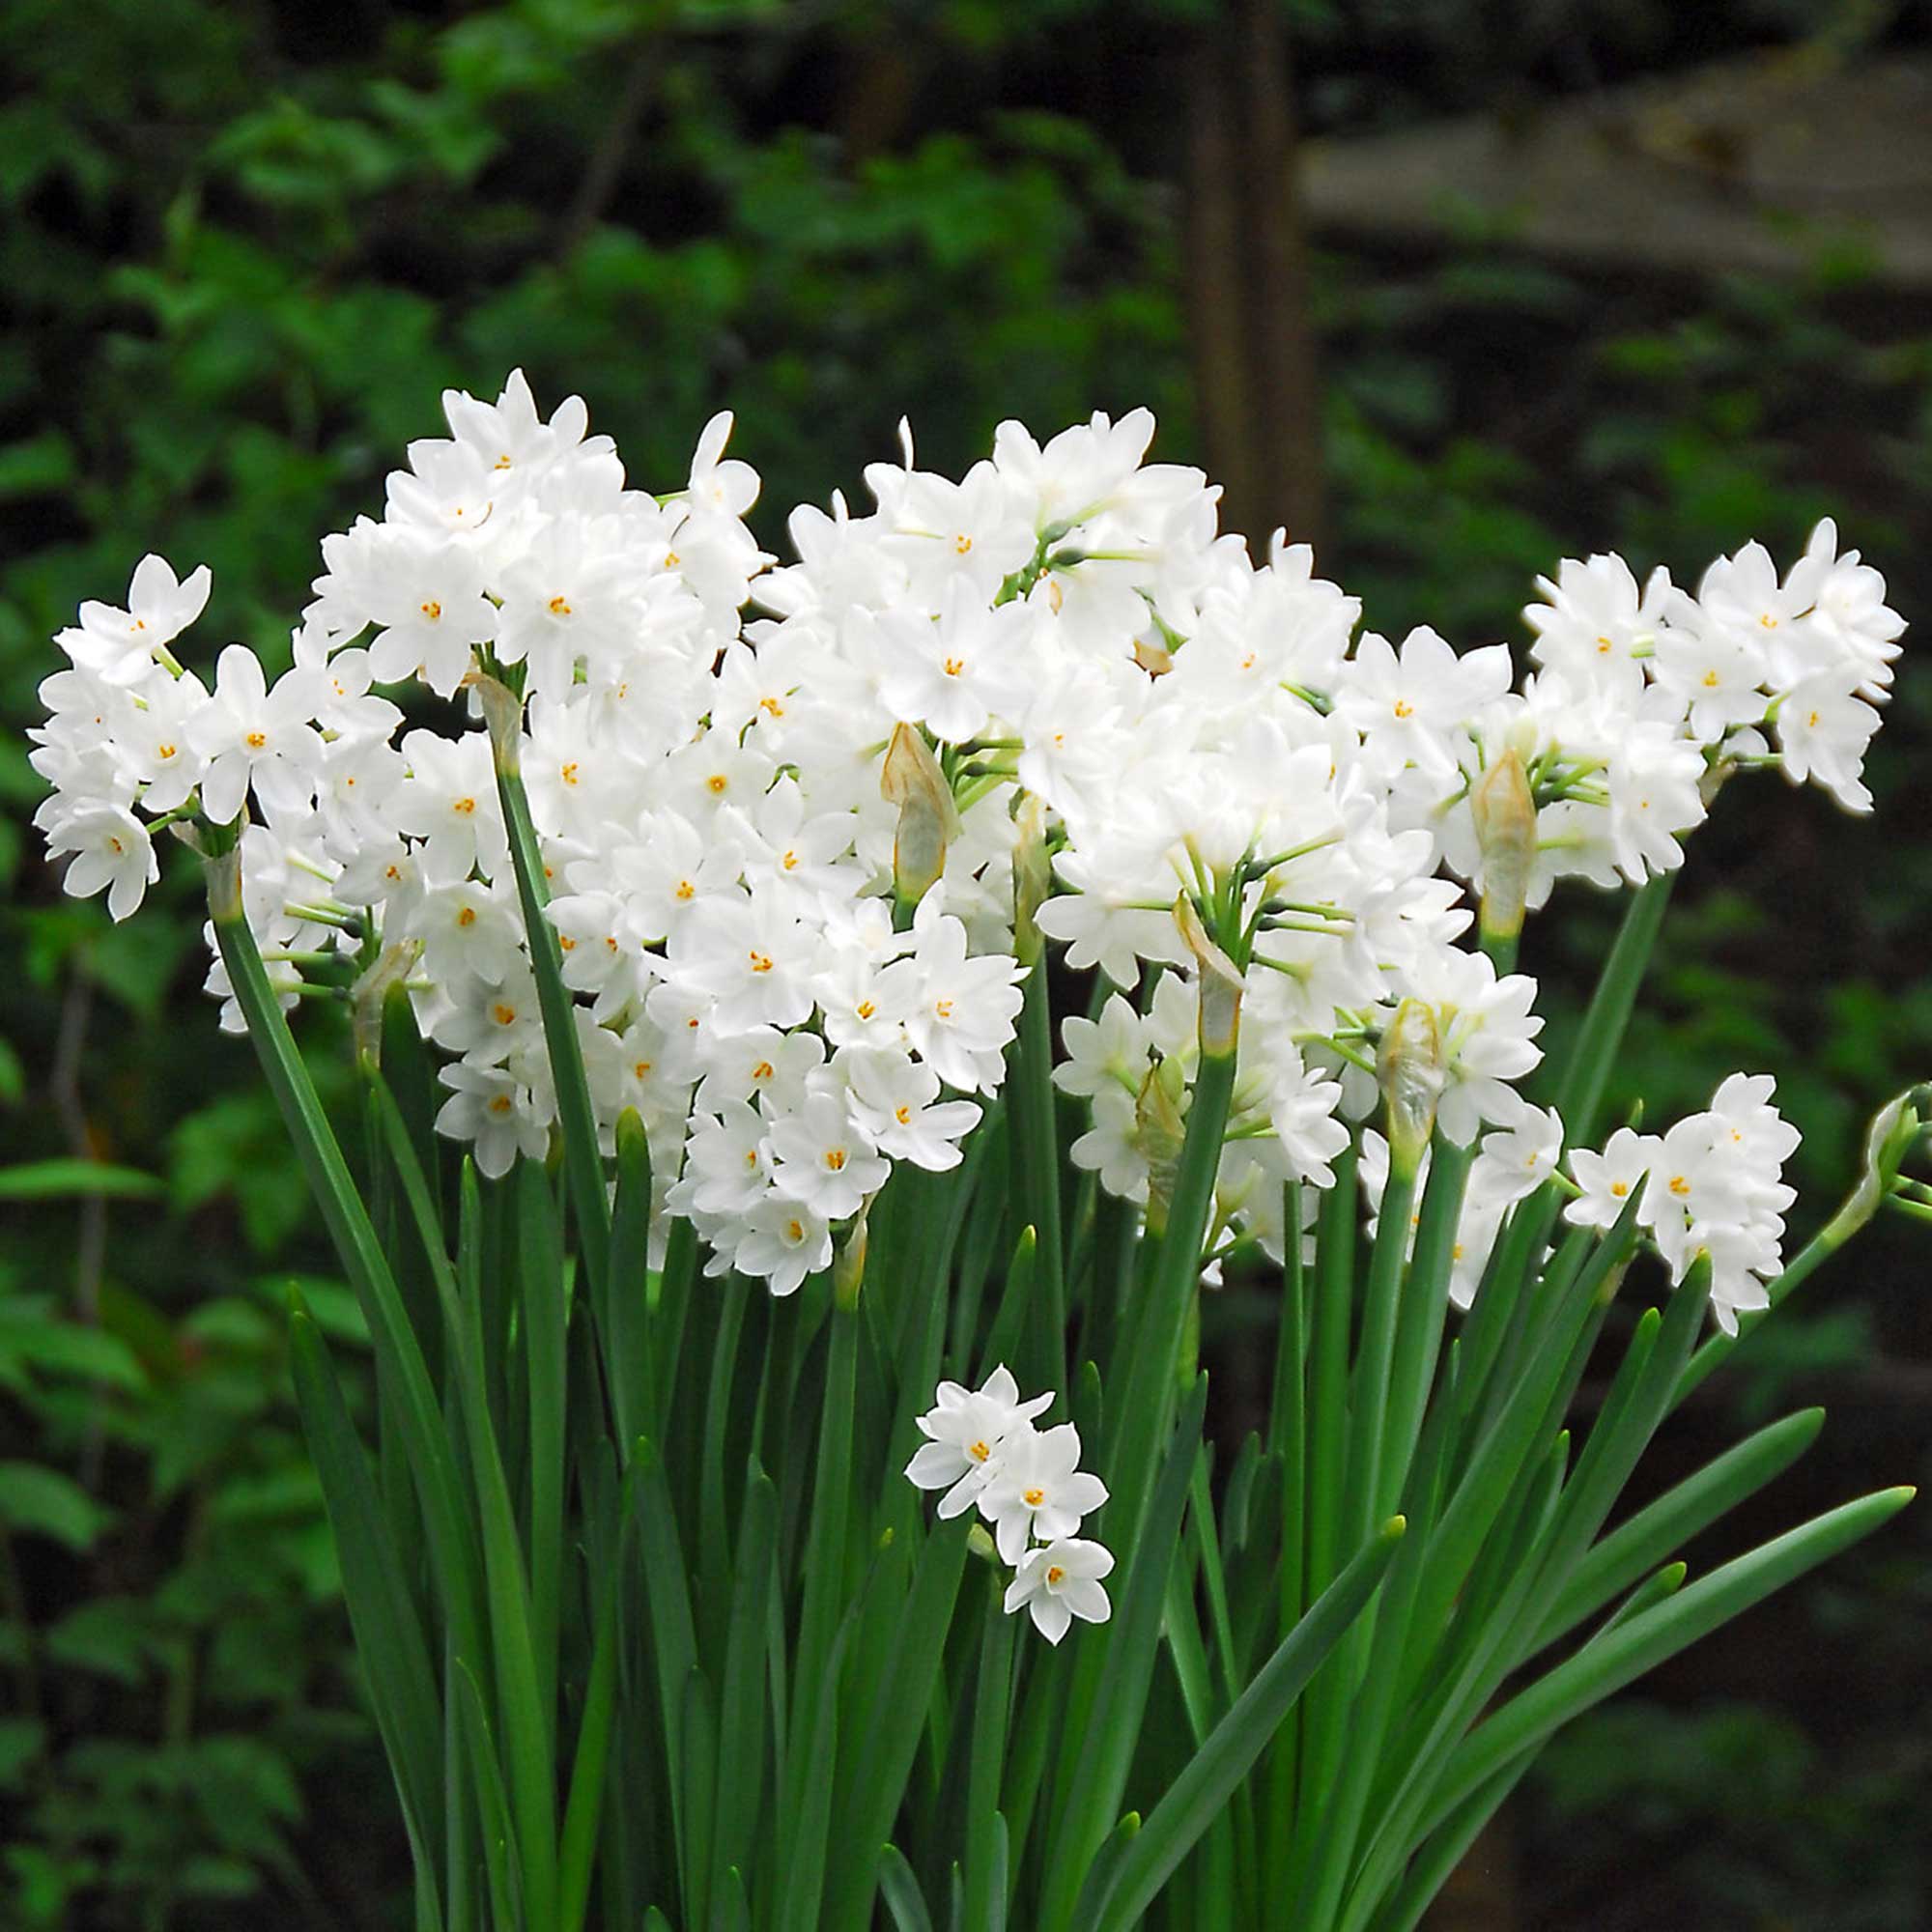
However, Nastya points out that amaryllises and paperwhites don't require stratification, so are particularly easy to grow in this way. In fact, they are popular choices for forcing in time for Christmas. You can also buy bulbs that have already been pre-chilled and are ready for forcing – prepared hyacinths are most commonly found.
The quality of your bulbs is important, whatever variety you choose. 'Select healthy, large bulbs from a reputable source,' Anna advises. Remember to check they feel firm and are free of mold and blemishes, too, before you add them to your container. Otherwise, they may not grow.
Anna is an avid plant hobbyist and the owner and operator of Bright Lane Gardens, a boutique plant nursery in Northern Michigan. With over a decade of experience in gardening and landscaping, she takes every opportunity to share her knowledge on all things plant-related. She also runs the company's YouTube channel, which is full of practical advice.
A step-by-step guide to forcing bulbs in water
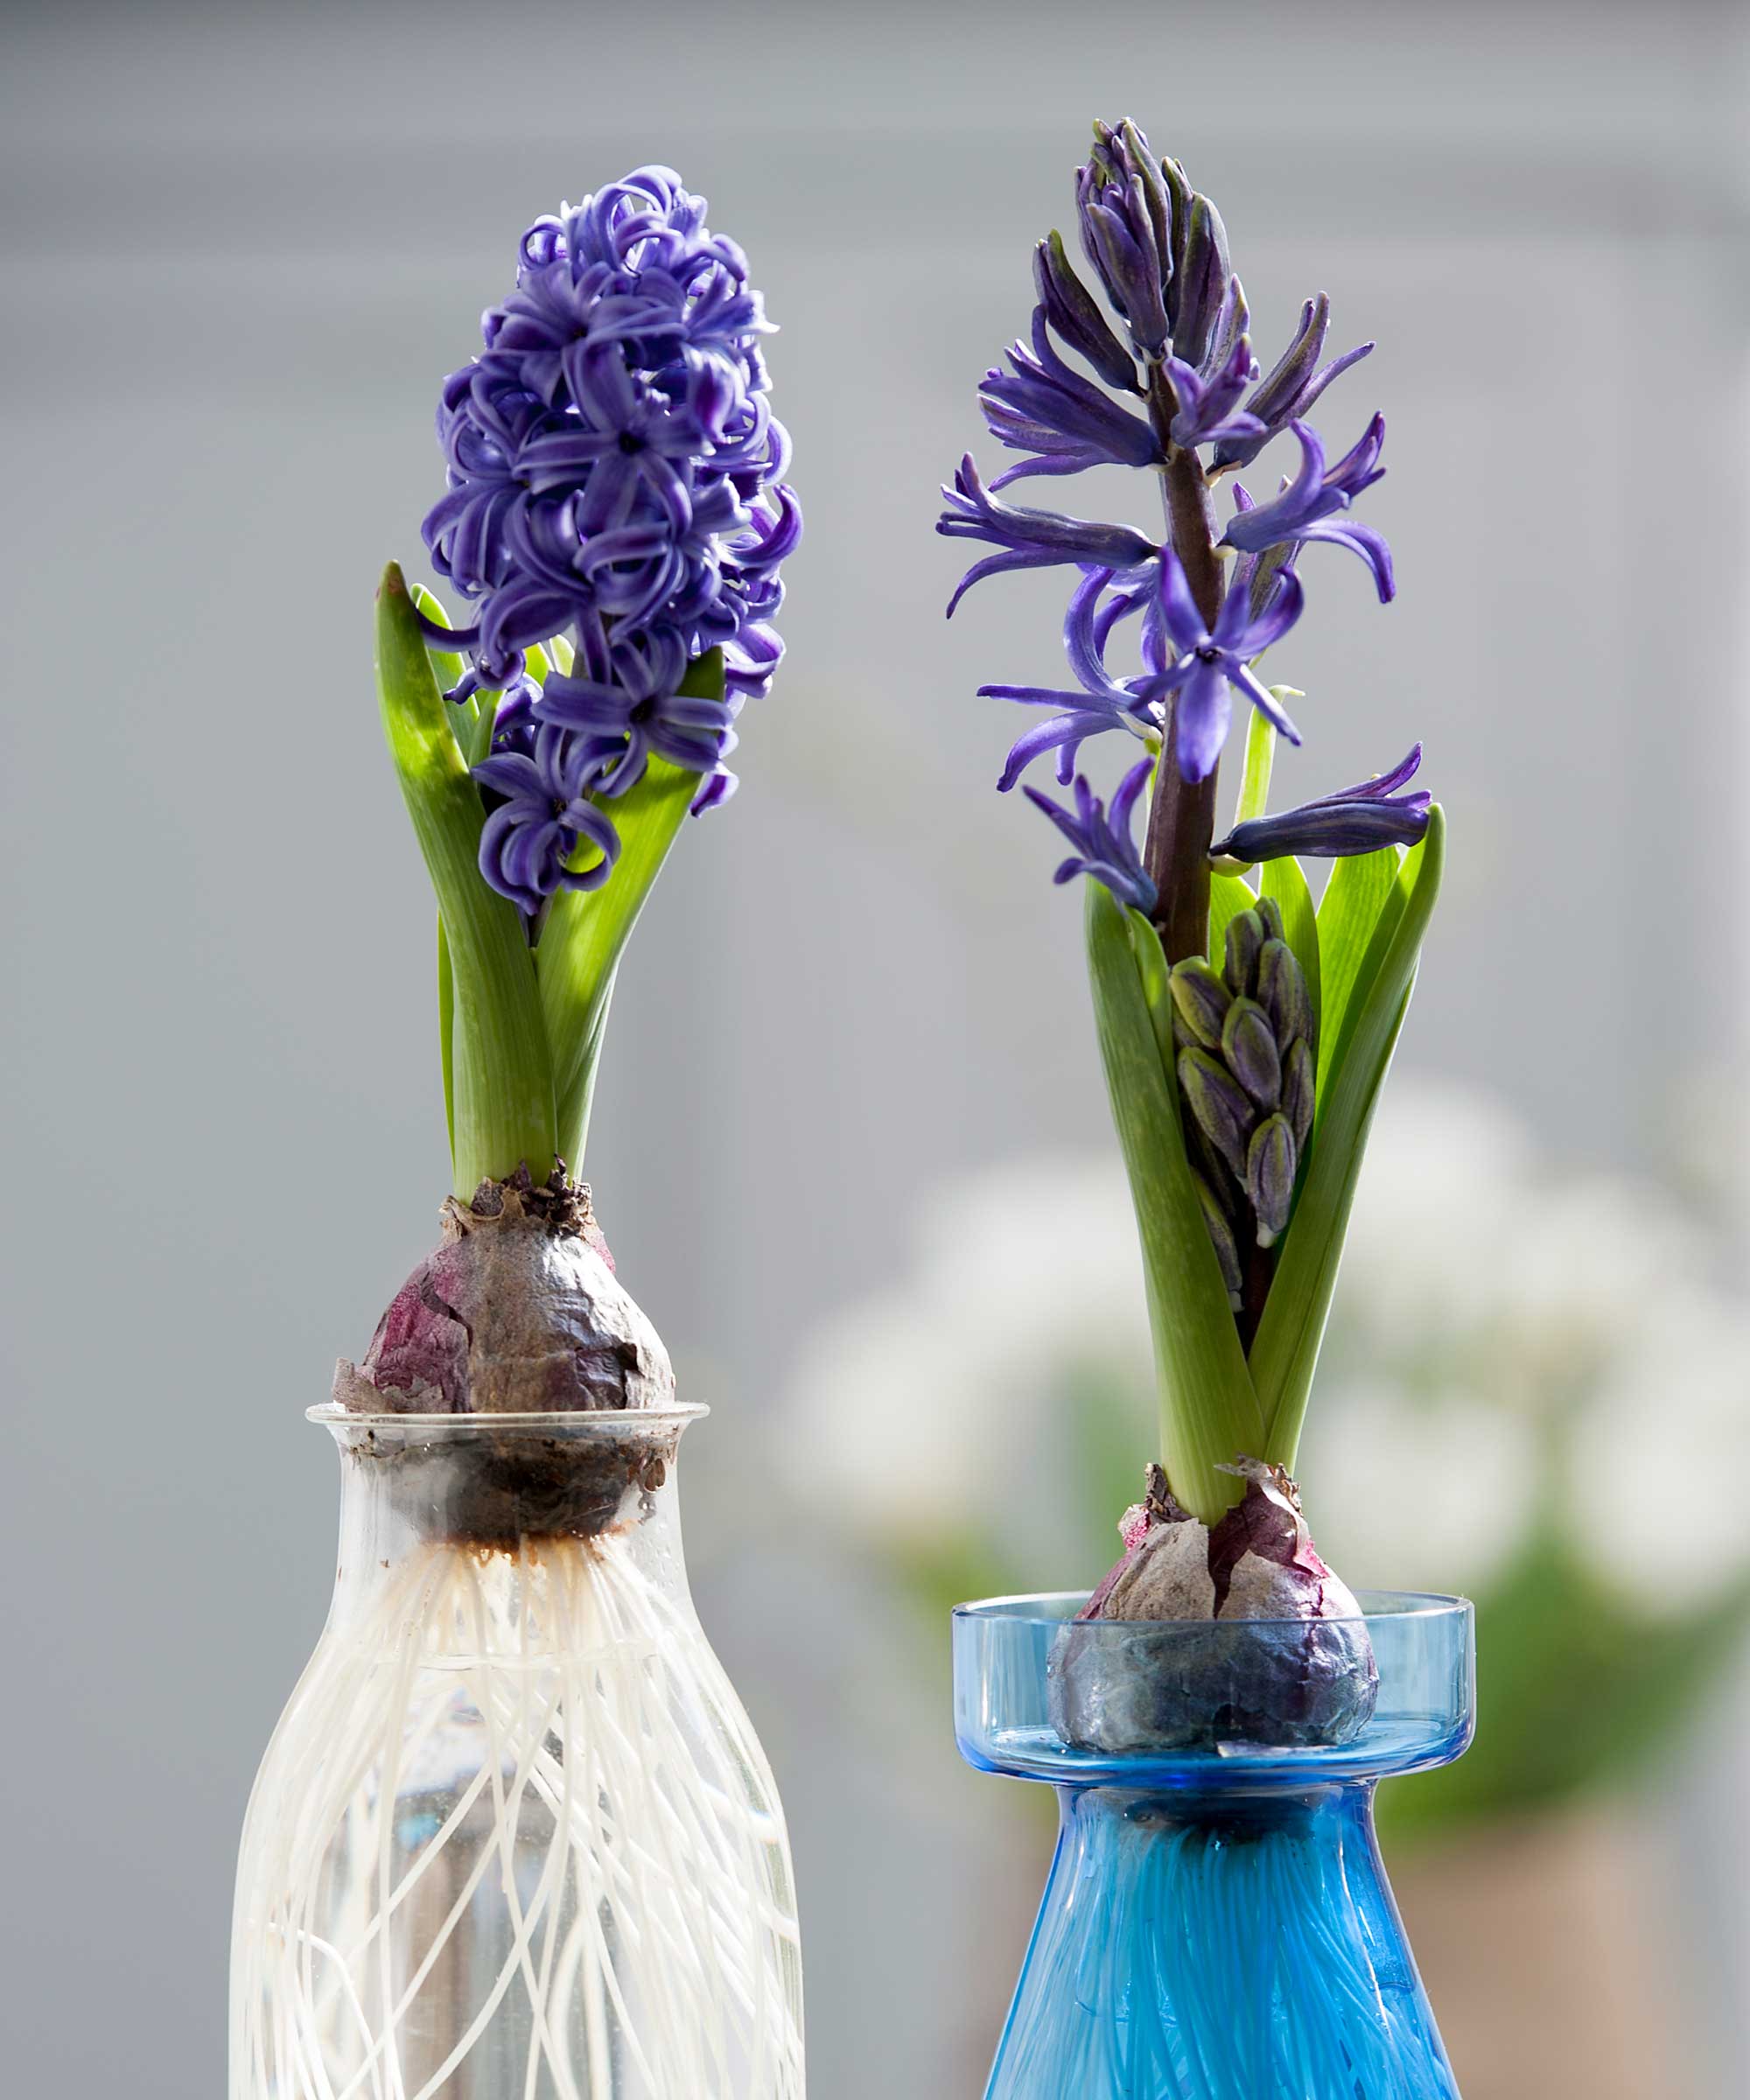
Using clear containers makes it easy to watch the roots grow
Follow these expert tips for a beautiful display:
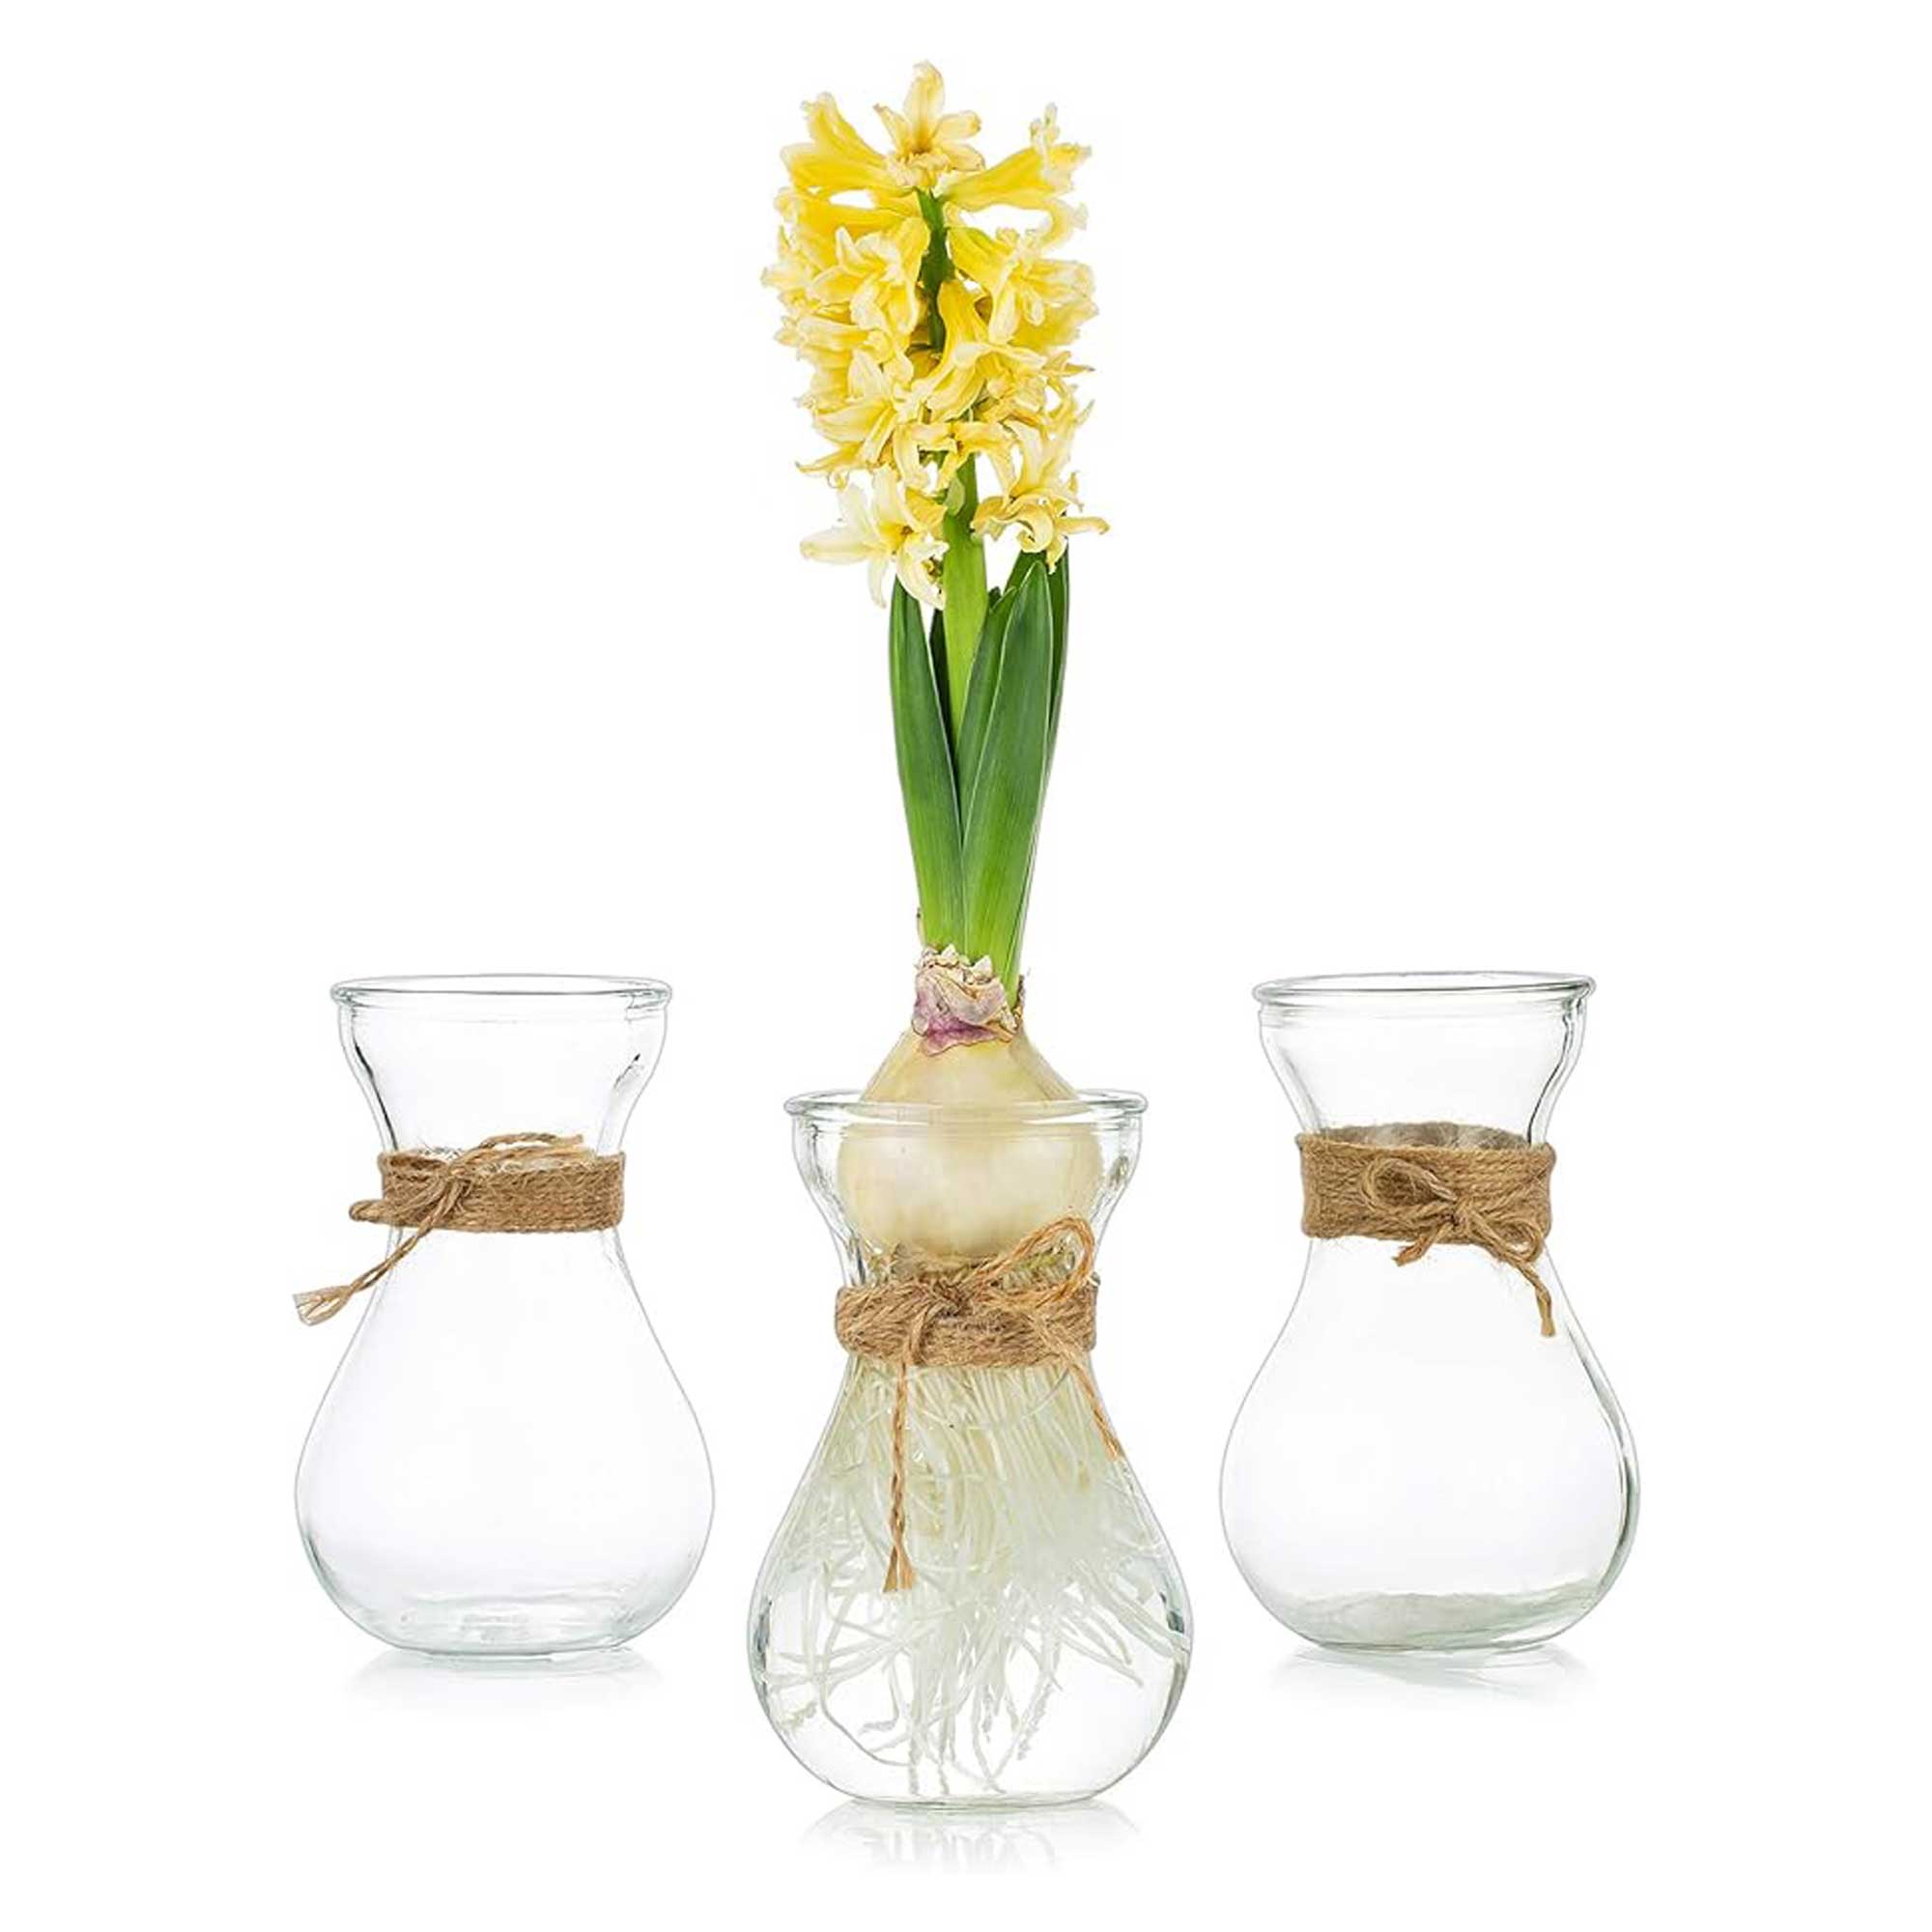
- Prepare your container: Use a bowl or vase with no drainage holes, says Anna. 'Make sure it's clean.' A clear glass container will allow you to watch the roots grow, she adds. Nastya also notes that you can get hourglass-shaped vases specialized for bulb forcing.
- Provide support: Next, you'll need to add support for the bulbs, Anna says. To do this, she suggests placing a layer of clean pebbles or stones at the bottom of the container. 'This will provide stability for the bulbs and help keep them above the water.' You won't need to do this in bulb-forcing vases, as the bulbs will sit snugly in the tops.
- Add your bulbs: 'Place the bulbs on top of the pebbles, pointy side up,' Anna continues. 'You can fit multiple bulbs in the same container, as long as they don't touch each other.'
- Carefully pour in water: 'Add enough water to the container to reach just below the base of the bulbs,' Anna says. 'The bulbs should not be sitting in water but should be close enough for the roots to grow down into it.' If the bulbs are constantly wet, they may rot. If you are using a bulb-forcing vase, add the water before your bulb, so that it stays dry.
- Chill the bulbs, if needed: If you haven't already, and it's necessary for the type of bulbs you've chosen, you can now stratify your bulbs by placing the containers somewhere dark and cool (Anna suggests temperatures of around 40-48°F), for the appropriate amount of time. 'After the chilling period, you should start to see roots forming and the bulbs beginning to sprout. Once you see significant root growth and the shoots are about 2–3 inches tall, it's time to move the container,' Anna says.
- Place the container in its final position: This needs to be somewhere bright. 'Avoid direct sunlight, as it can cause the flowers to wither quickly,' Anna says.
- Maintain the water: 'Keep the water level consistent, ensuring it remains just below the base of the bulbs,' Anna advises. 'Replace the water if it becomes cloudy or has an odor.'
Shop the essentials for forcing bulbs in water
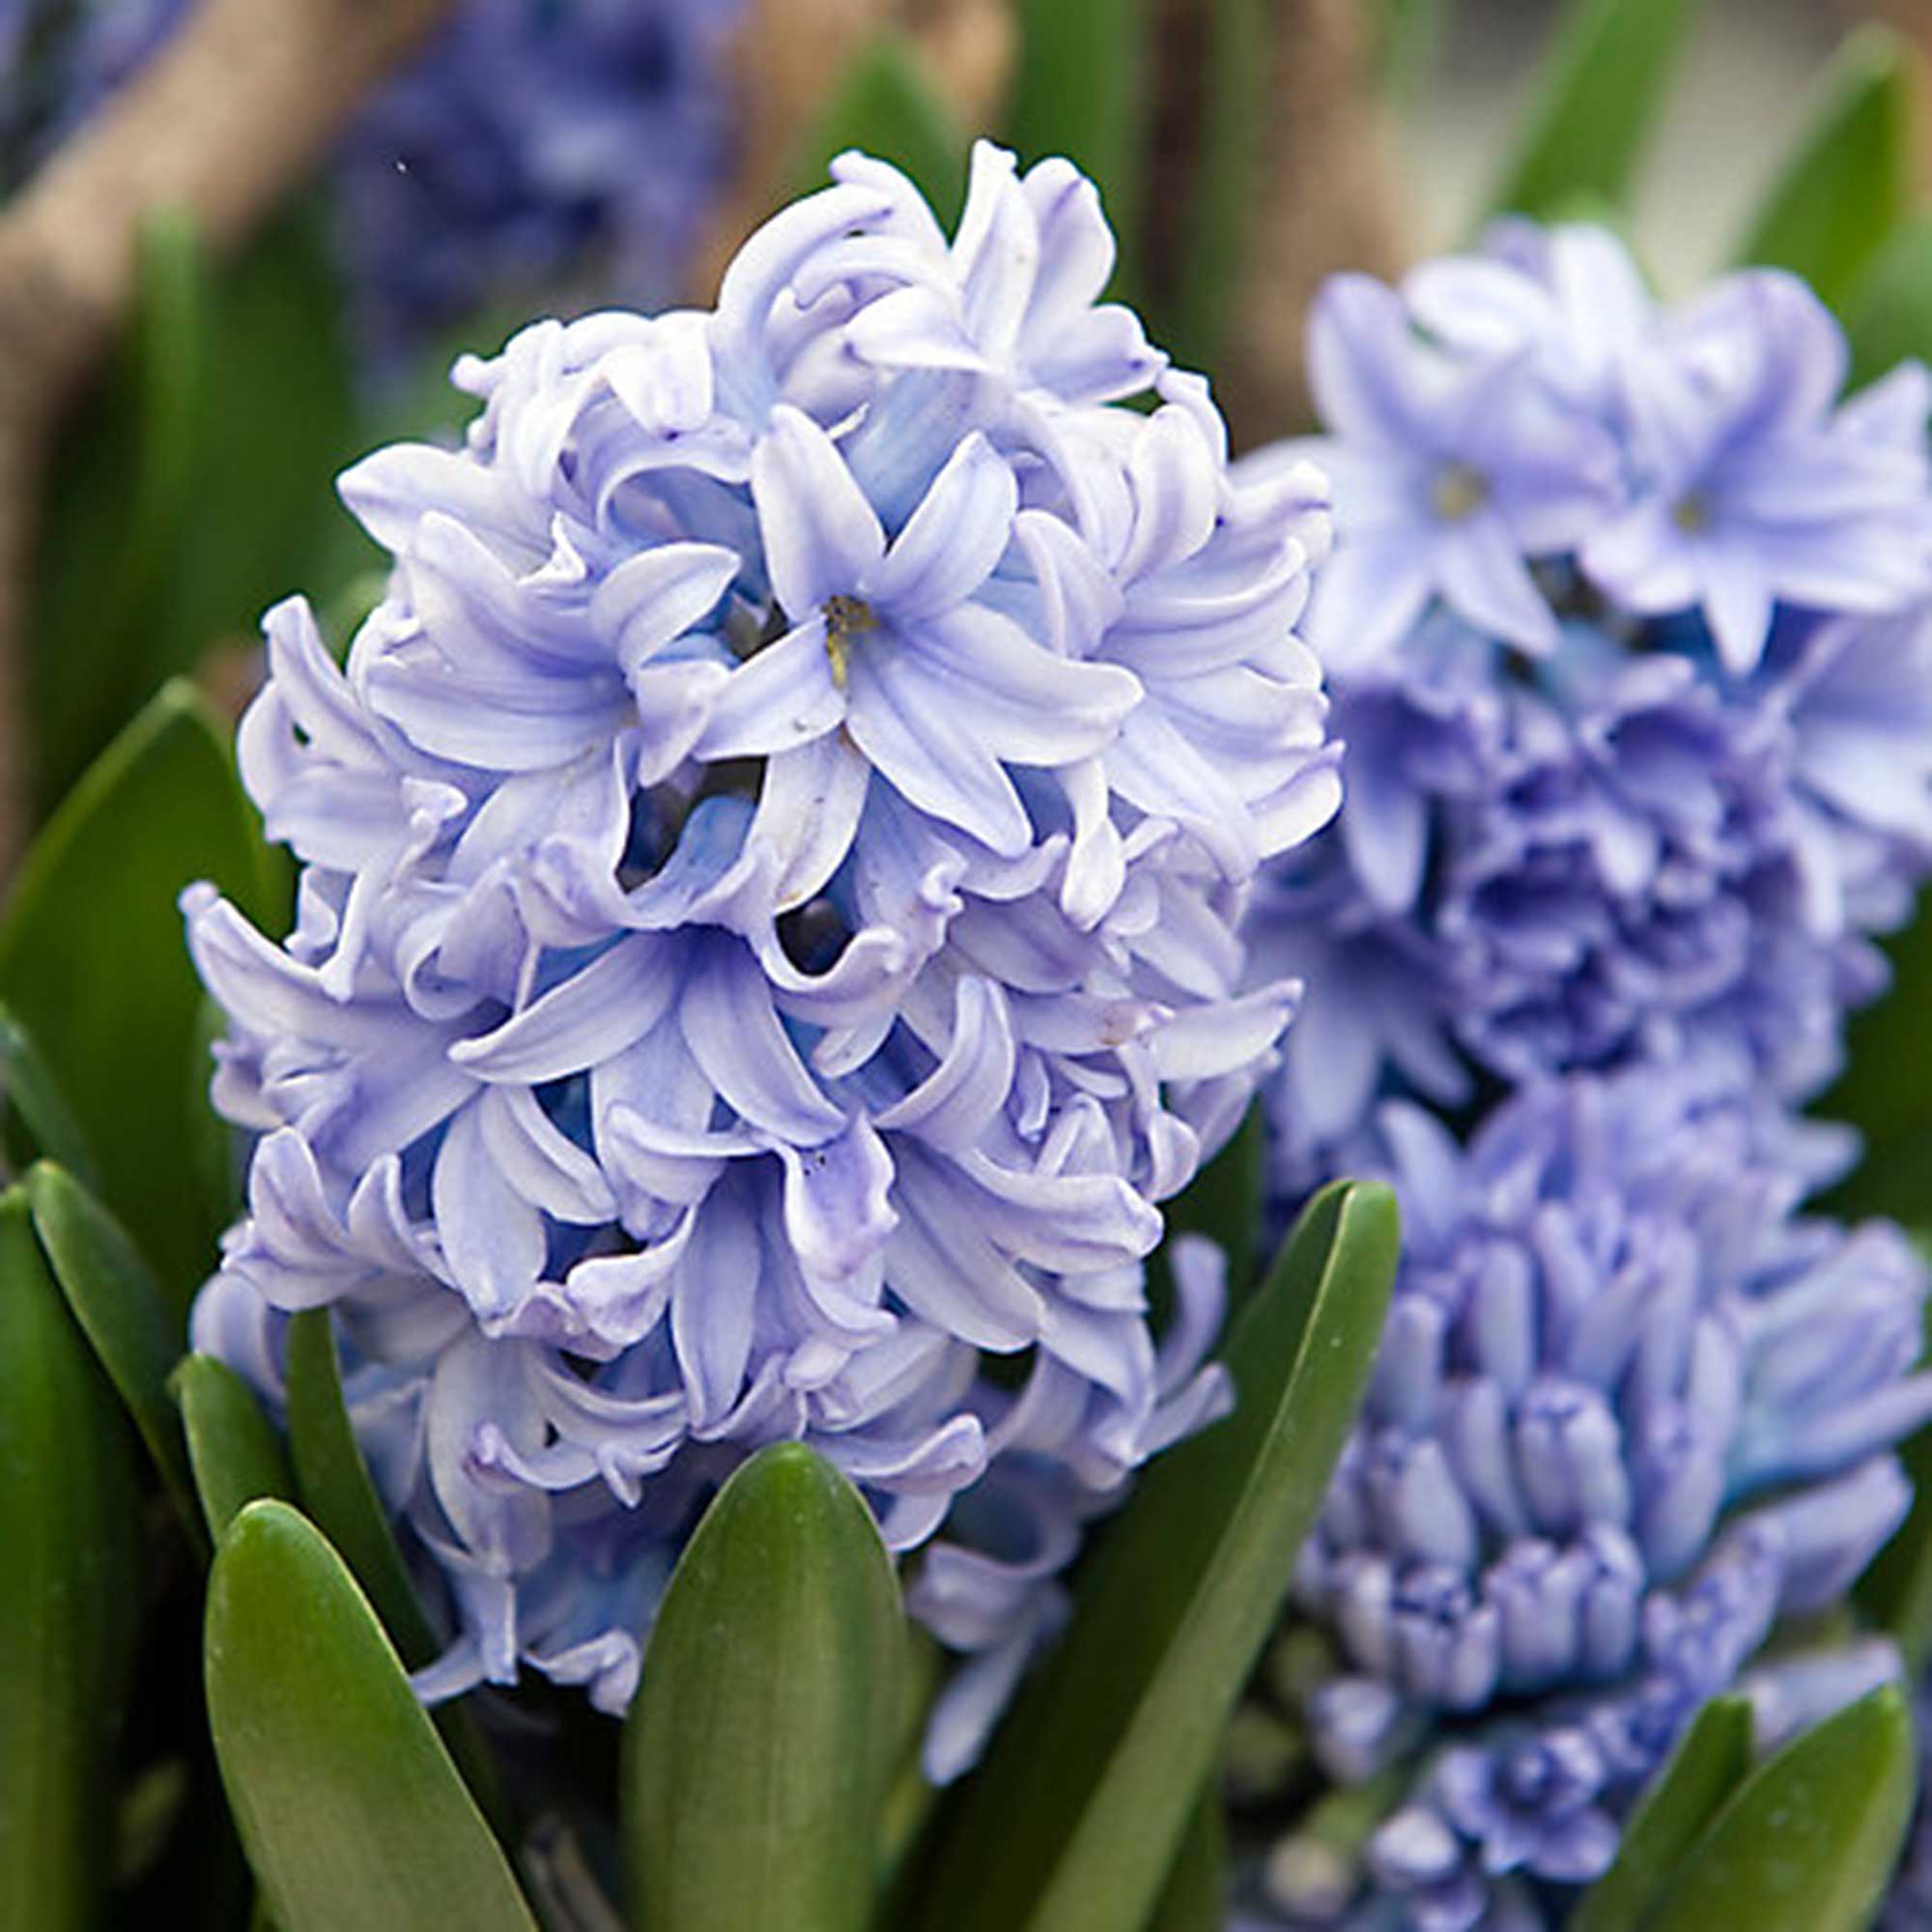
These bulbs (you get three in a pack) are pre-chilled, so you won't need to wait long for them to produce their fragrant, light blue blooms.
Extra tips for forcing bulbs in water
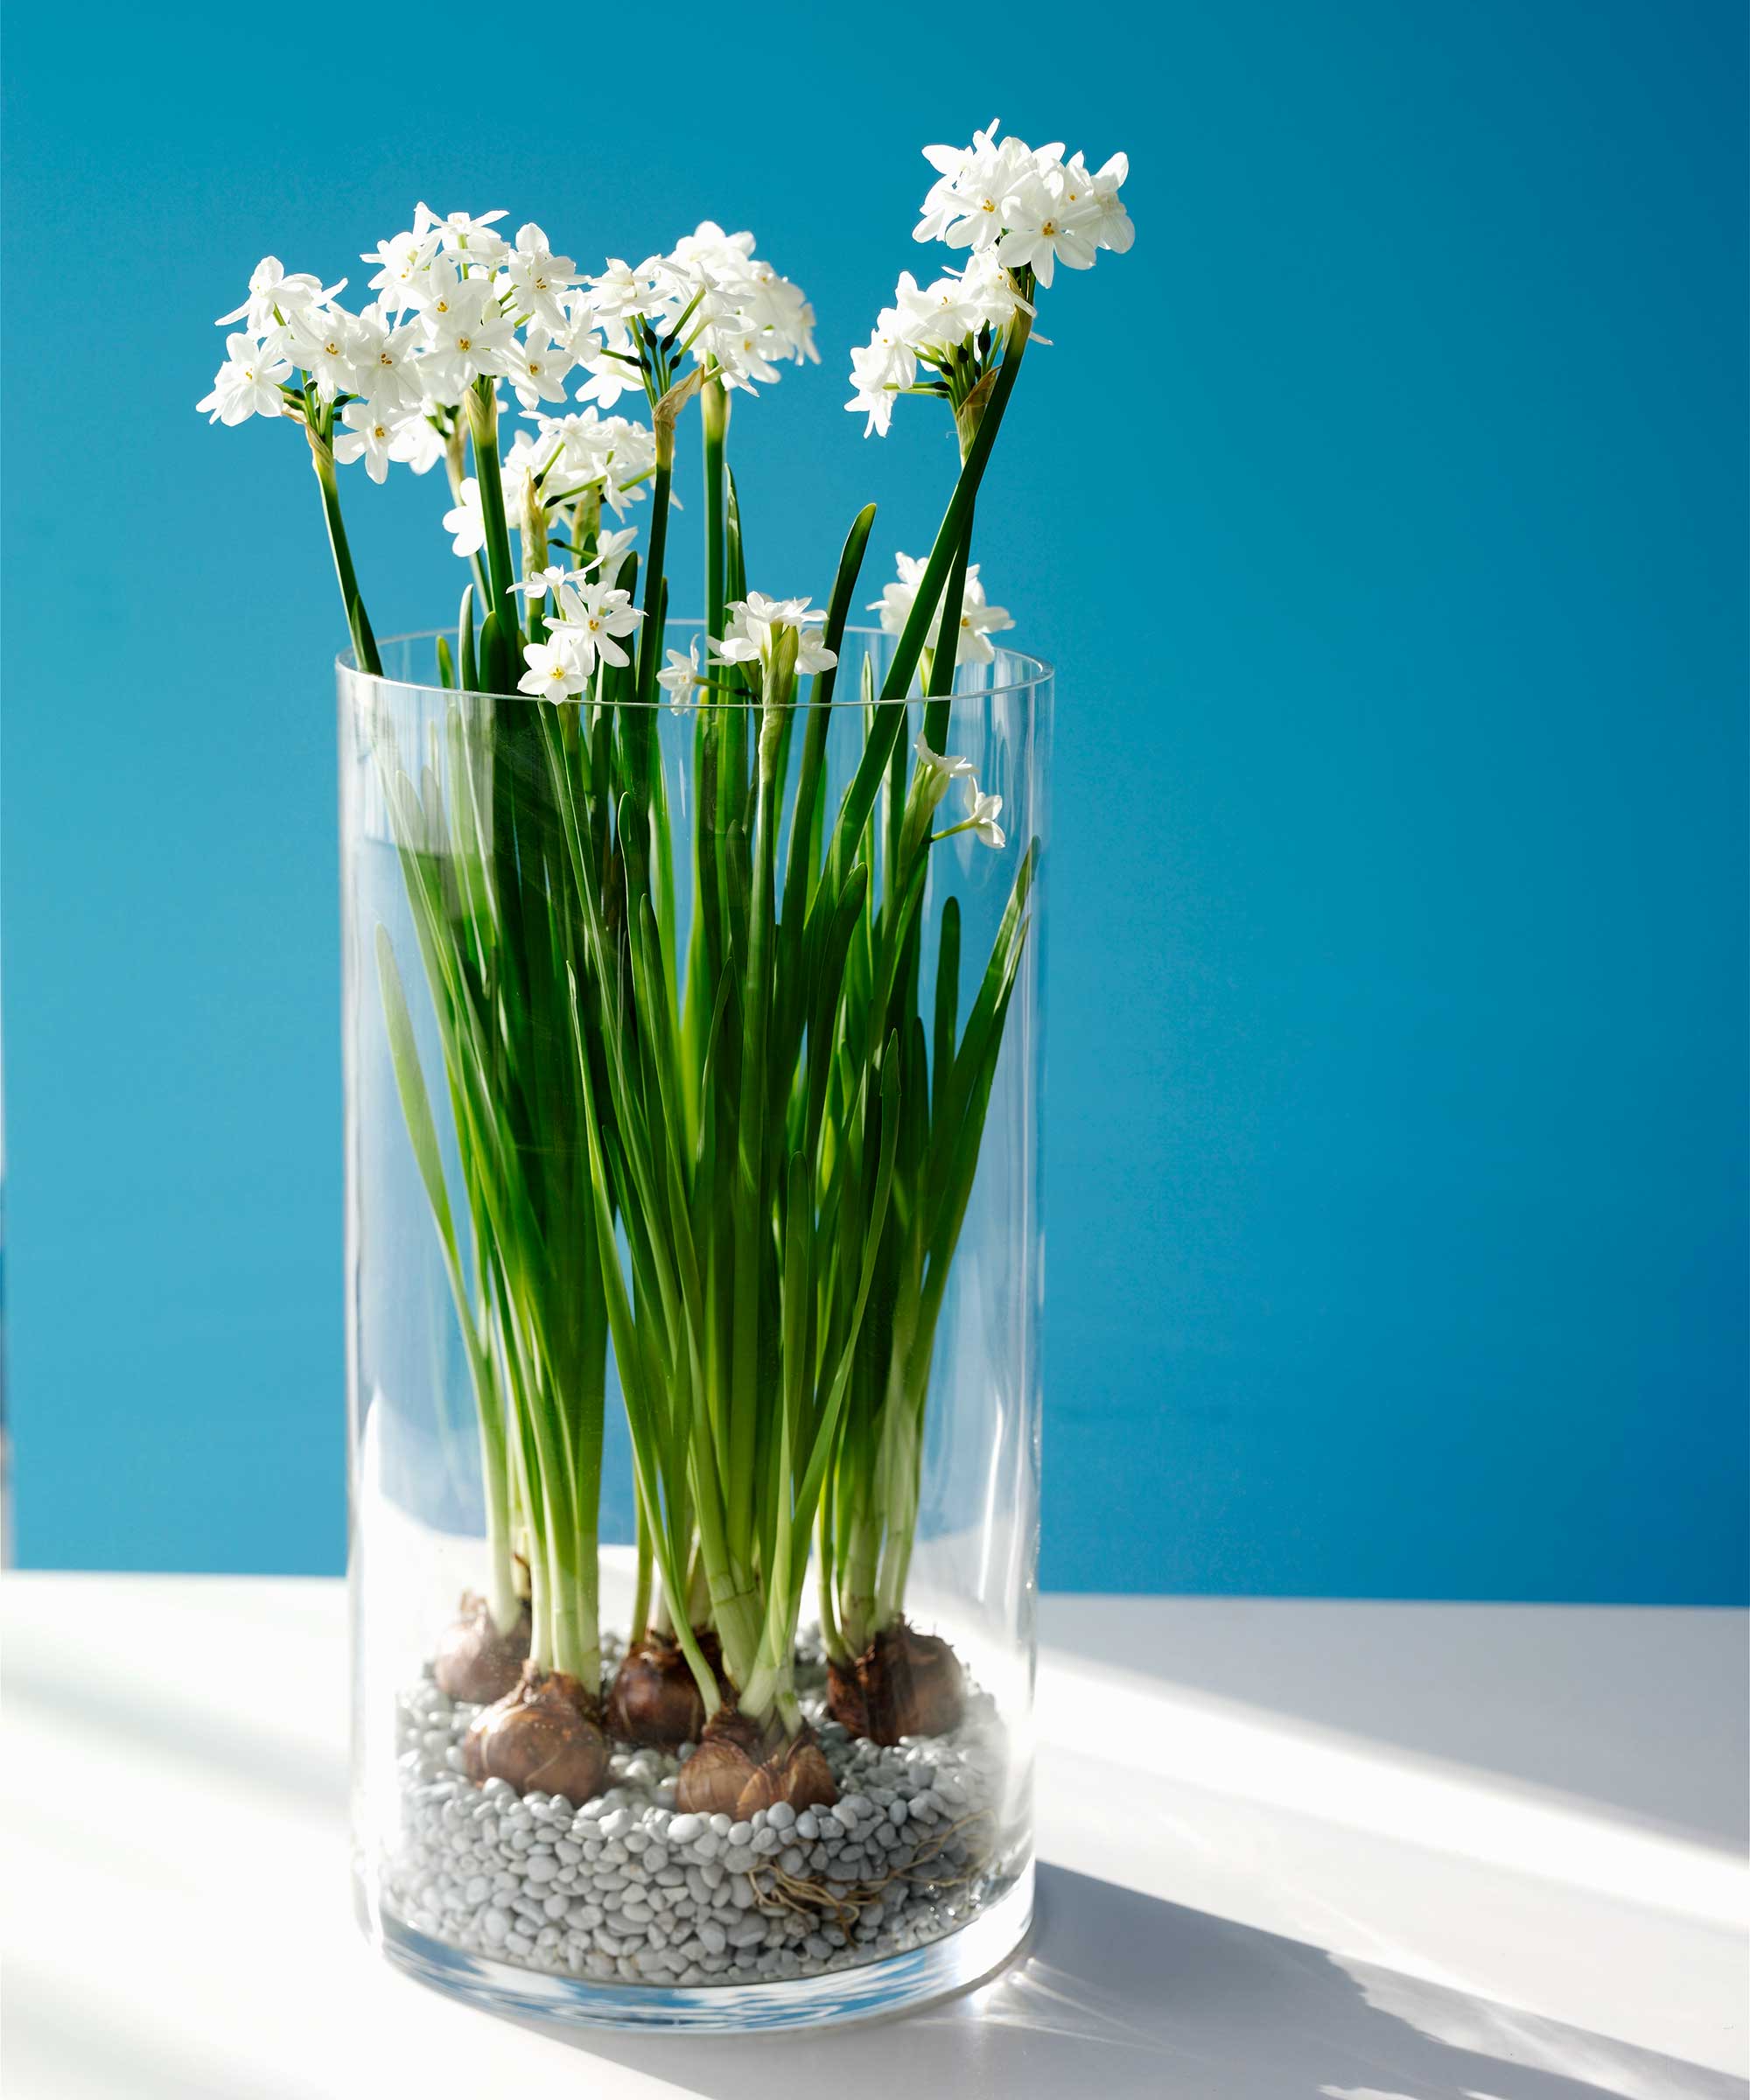
Paperwhites can be grown in a large container filled with gravel or pebbles
Choose your container carefully. Autumn points out that a common mistake is selecting a vase that is too shallow or narrow. 'Opt for a vase that provides enough depth and width for the bulbs to comfortably grow their roots,' she says. If you're growing lots of bulbs together, a tall container will help support their stems.
'Consider adding a few drops of liquid fertilizer or a small amount of charcoal to the water to promote healthy growth,' recommends Althea. 'Placing a few pieces of cinnamon stick or cloves near the bulbs can help deter mold formation and add a subtle, pleasant aroma to the surroundings,' she adds.
'Another helpful tactic is to occasionally rotate the container, to ensure even growth and stability in the growing process,' Althea notes. Like houseplants, indoor bulbs tend to grow toward the sun.
Remember that spring bulbs are toxic to pets, as well as humans, so keep them safely away from your four-legged friends and unsupervised children. It's best to wear gardening gloves when handling bulbs, too, as they can irritate the skin.
FAQs
Can you replant bulbs that you've forced in water?
'Forcing the bulbs in water usually makes them unable to flower again afterward,' says Nastya. This is because growing them in this way takes a lot of energy from the bulbs.
However, if you have the space outdoors, you can still try your luck by planting them in a border with well-draining soil, once frosts have passed. Leave the foliage to die back naturally. You may be surprised by new blooms in a couple of years' time.
How long will bulbs forced in water take to flower?
Once they've completed their chilling period and are moved to a brighter location, bulbs growing in water won't take long to bloom. It can take up to around a month, but sometimes they'll flower in as little as two weeks.
Learning how to force bulbs in water is just one way to look ahead to warmer days and celebrate a seasonal change. Even in late winter, there are plenty of jobs you can get on with to prepare the garden for spring. Plus, now's a great time to start growing flowers from seeds indoors.
Sign up to the Homes & Gardens newsletter
Design expertise in your inbox – from inspiring decorating ideas and beautiful celebrity homes to practical gardening advice and shopping round-ups.

Holly started writing about gardening five years ago, and she is a regular contributor to Homes & Gardens. She has also written many gardening features for Woman & Home and Real Homes, too. She has previous experience as a professional gardener, where she helped to plant and maintain private gardens. Holly has also looked after allotment plots over the years and loves to grow her own flowers and veggies from seed. In her spare time, she enjoys visiting local gardens, botanical drawing, and tending to her ever-growing collection of houseplants.
-
 Zooey Deschanel and Jonathan Scott's breakfast nook is an innovative, effective use of kitchen space – it turns a 'dead area' into a cafe-style corner
Jonathan and Zooey have situated an eccentric yet elegant dining area in what may have been an otherwise underused corner
By Hannah Ziegler Published
-
 6 things you should never throw in the trash – and what to do for safe disposal instead
From batteries to space heaters, experts reveal what not to throw
By Andy van Terheyden Published
