How to edge a lawn – 6 professional steps for an elegant, flawless finish
Whether you go for straight or curved lines, edging a lawn correctly will give your backyard a smart look
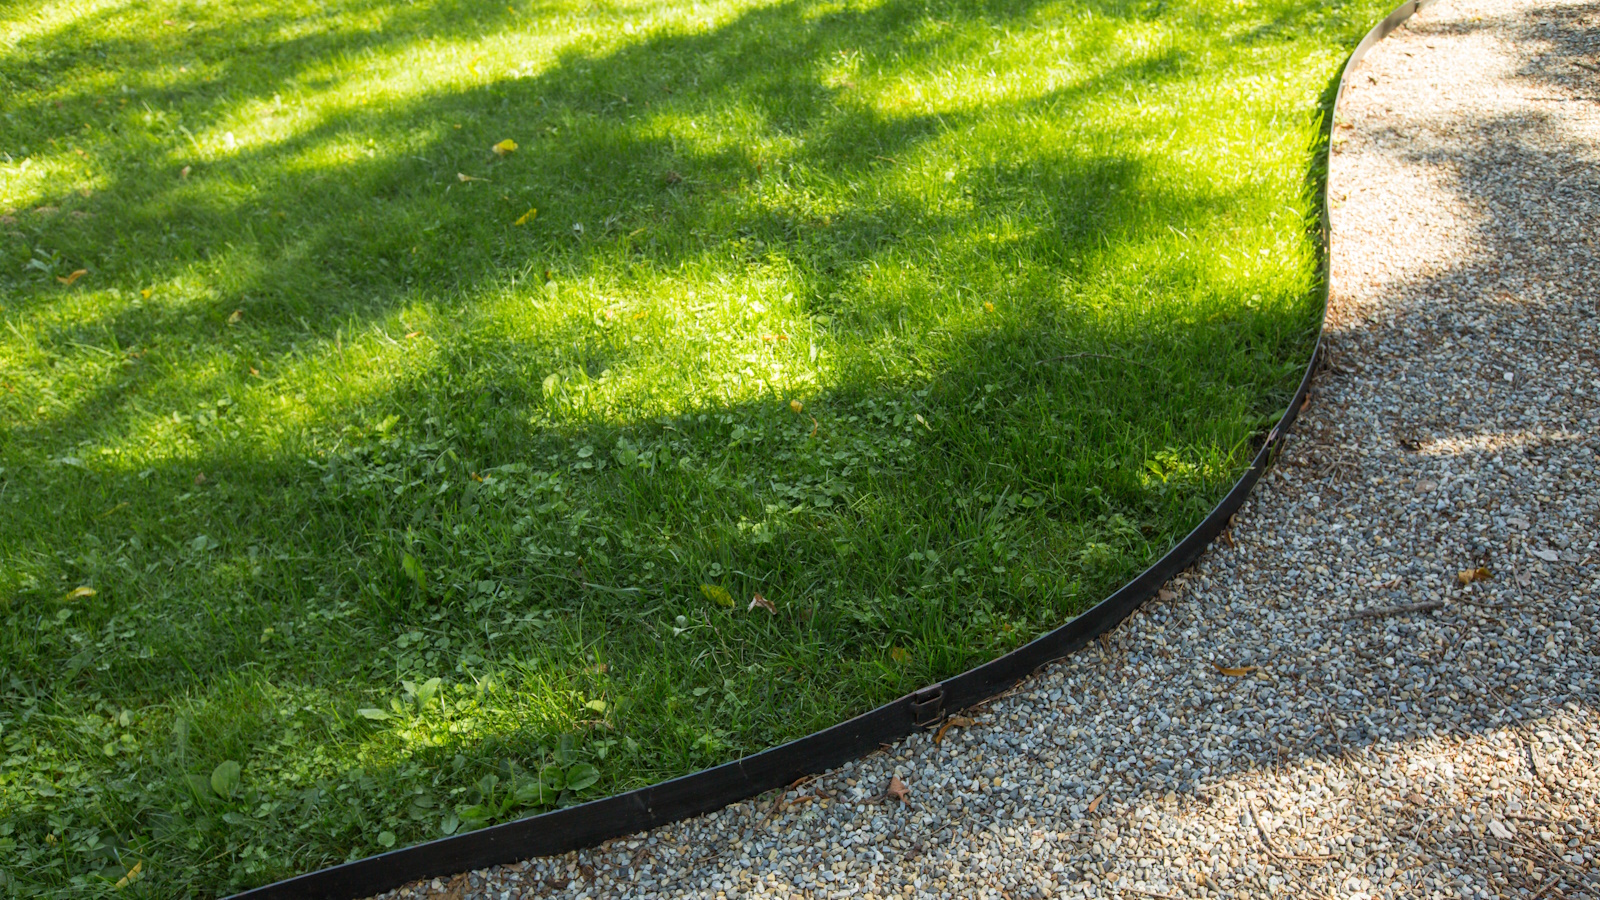

Edging a lawn is an easy and effective way of shaping your plot. A simple and therapeutic task, the results can hugely transform the look of your outside space and enable you to create borders, patios and paths with a smart, professional finish. It can also make ongoing maintenance and jobs such as weeding and mulching borders easier and quicker to do.
Whether you are starting from scratch cutting borders from a lawn, redesigning existing ones or just smartening up your lawn edging ideas already in place, there are a few reasons why it's worth spending the time getting it right.
Edges define each area of the garden, whether that is flower and vegetable beds, paths, and seating areas, but it is lawns that are often affected by poor definition. Their flat nature leads your eye to the edges in search of form, and if the edges are not sharp it will show. We have got the low down from gardening professionals, to give you an in-depth step-by-step guide to getting it right.
How to edge a lawn
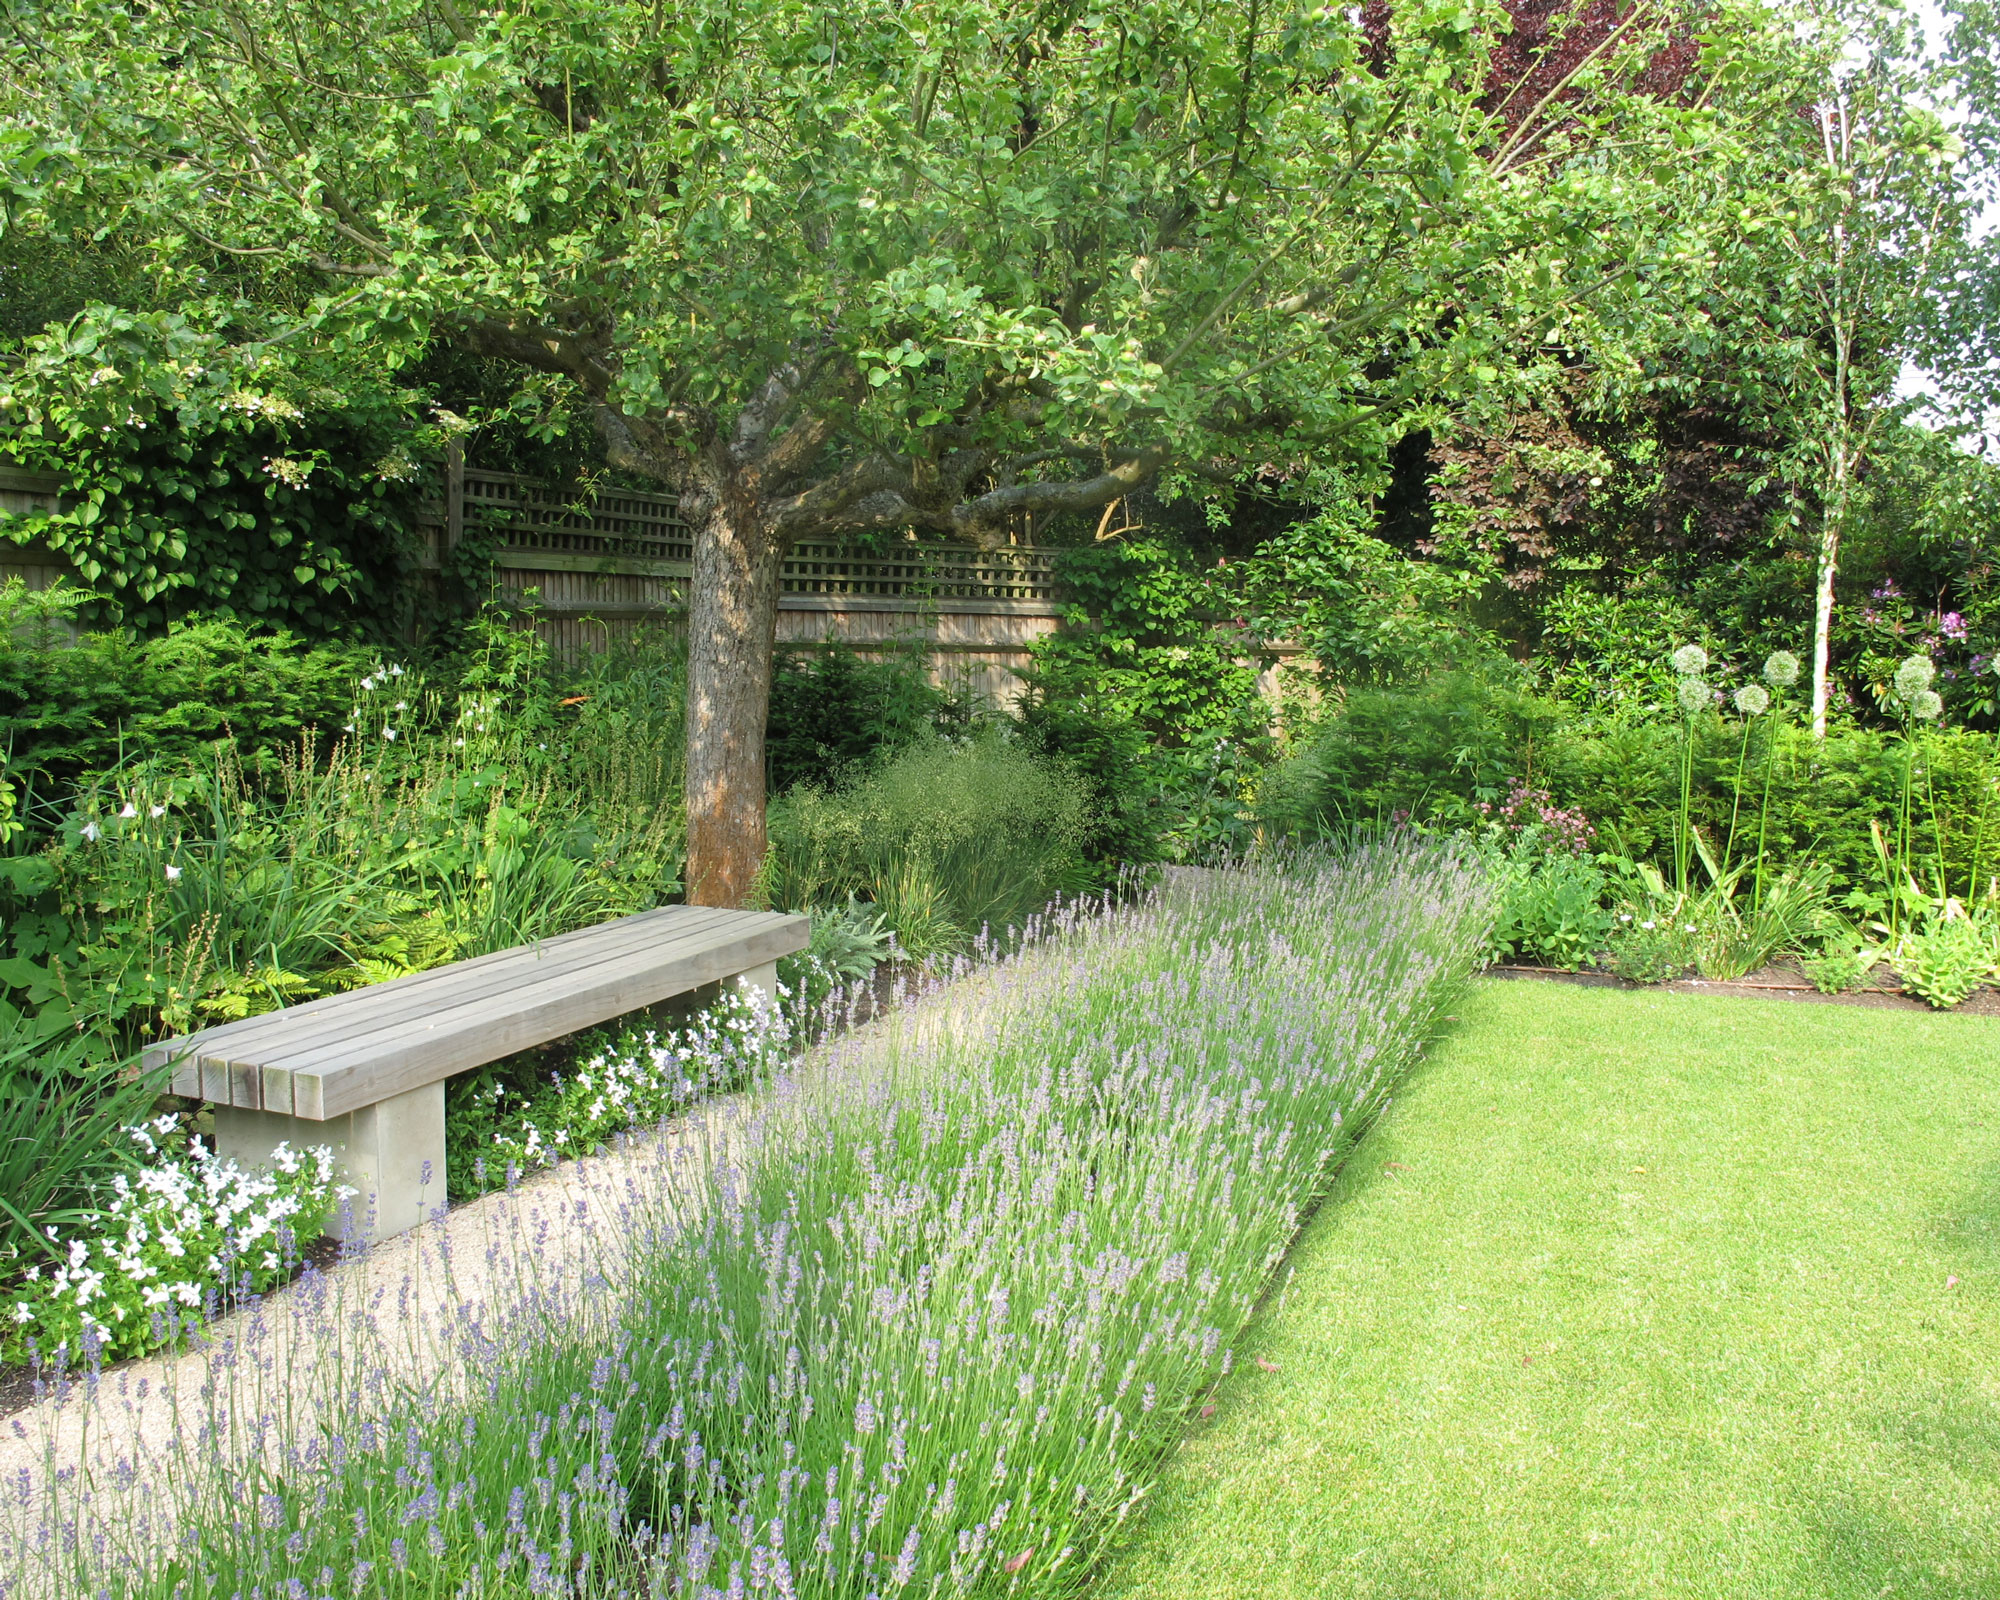
Whatever condition your lawn is in, smartening up the edges will make it look so much better. A crisp, smooth defining line between grass and surrounding soil or backyard pavers, will accentuate the space, highlight planting and show off the overall plot design. Here's how to edge a lawn in six easy steps.
1. Decide on the shape of the lawn before you start
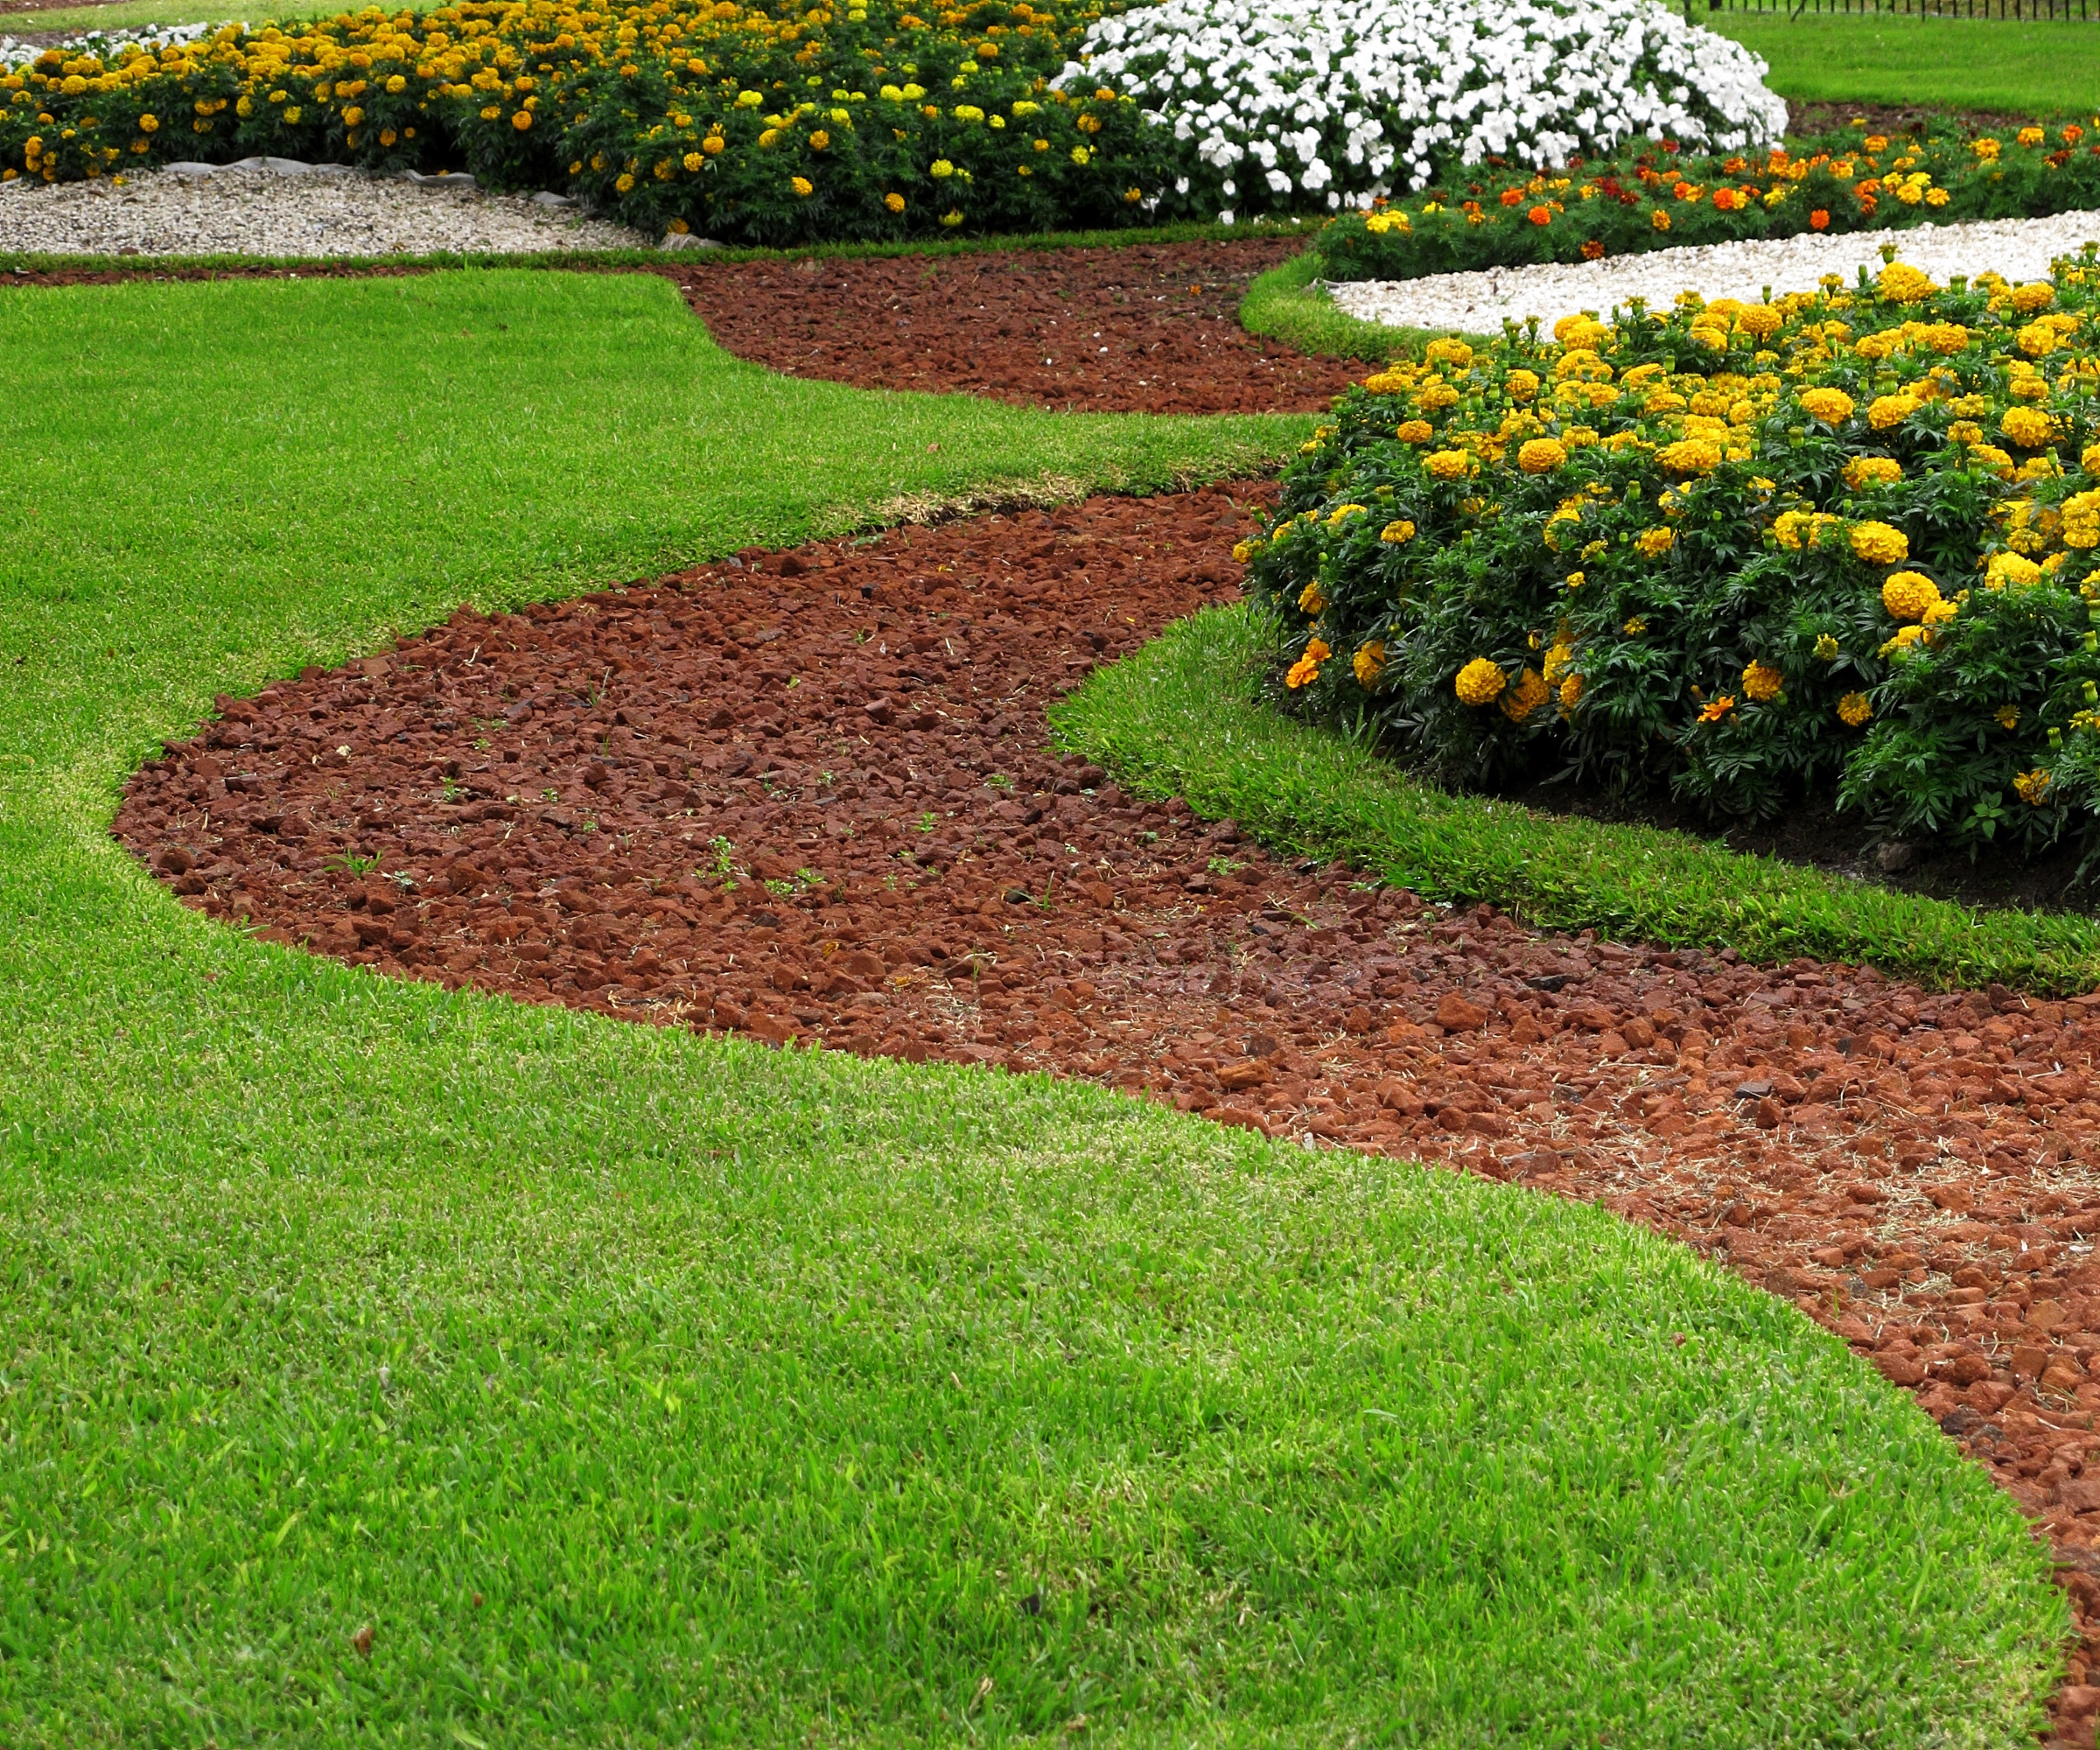
Changing the shape of your lawn and its surroundings can dramatically alter the look and feel of a backyard. While straight edges create a formal feel, more irregular, sweeping lines introduce a sense of movement and lend a much softer mood.
Start by looking at areas of lawn where there is no edge. Where shrubs and other plants or objects throw shade on the lawn the grass often retreats, allowing the border soil to advance. You can reduce the amount of shade by cutting back plants or moving objects, or by re-cutting the edge line deeper into the lawn, expanding the flower border.
‘You can also use shapes to create optical illusions: straight borders down either side of a garden can make it look smaller, whereas a sweeping curve can make it feel bigger than it actually is,’ says Rainer Schubert, managing director at garden tool specialist Burgon & Ball.
When it comes to planting a new flower bed or redefining existing beds and borders, a maximum distance of around 3ft deep is ideal. This will allow enough space for plants to intermingle without the border proving too awkward to weed or maintain.
2. Mark out a new lawn edge
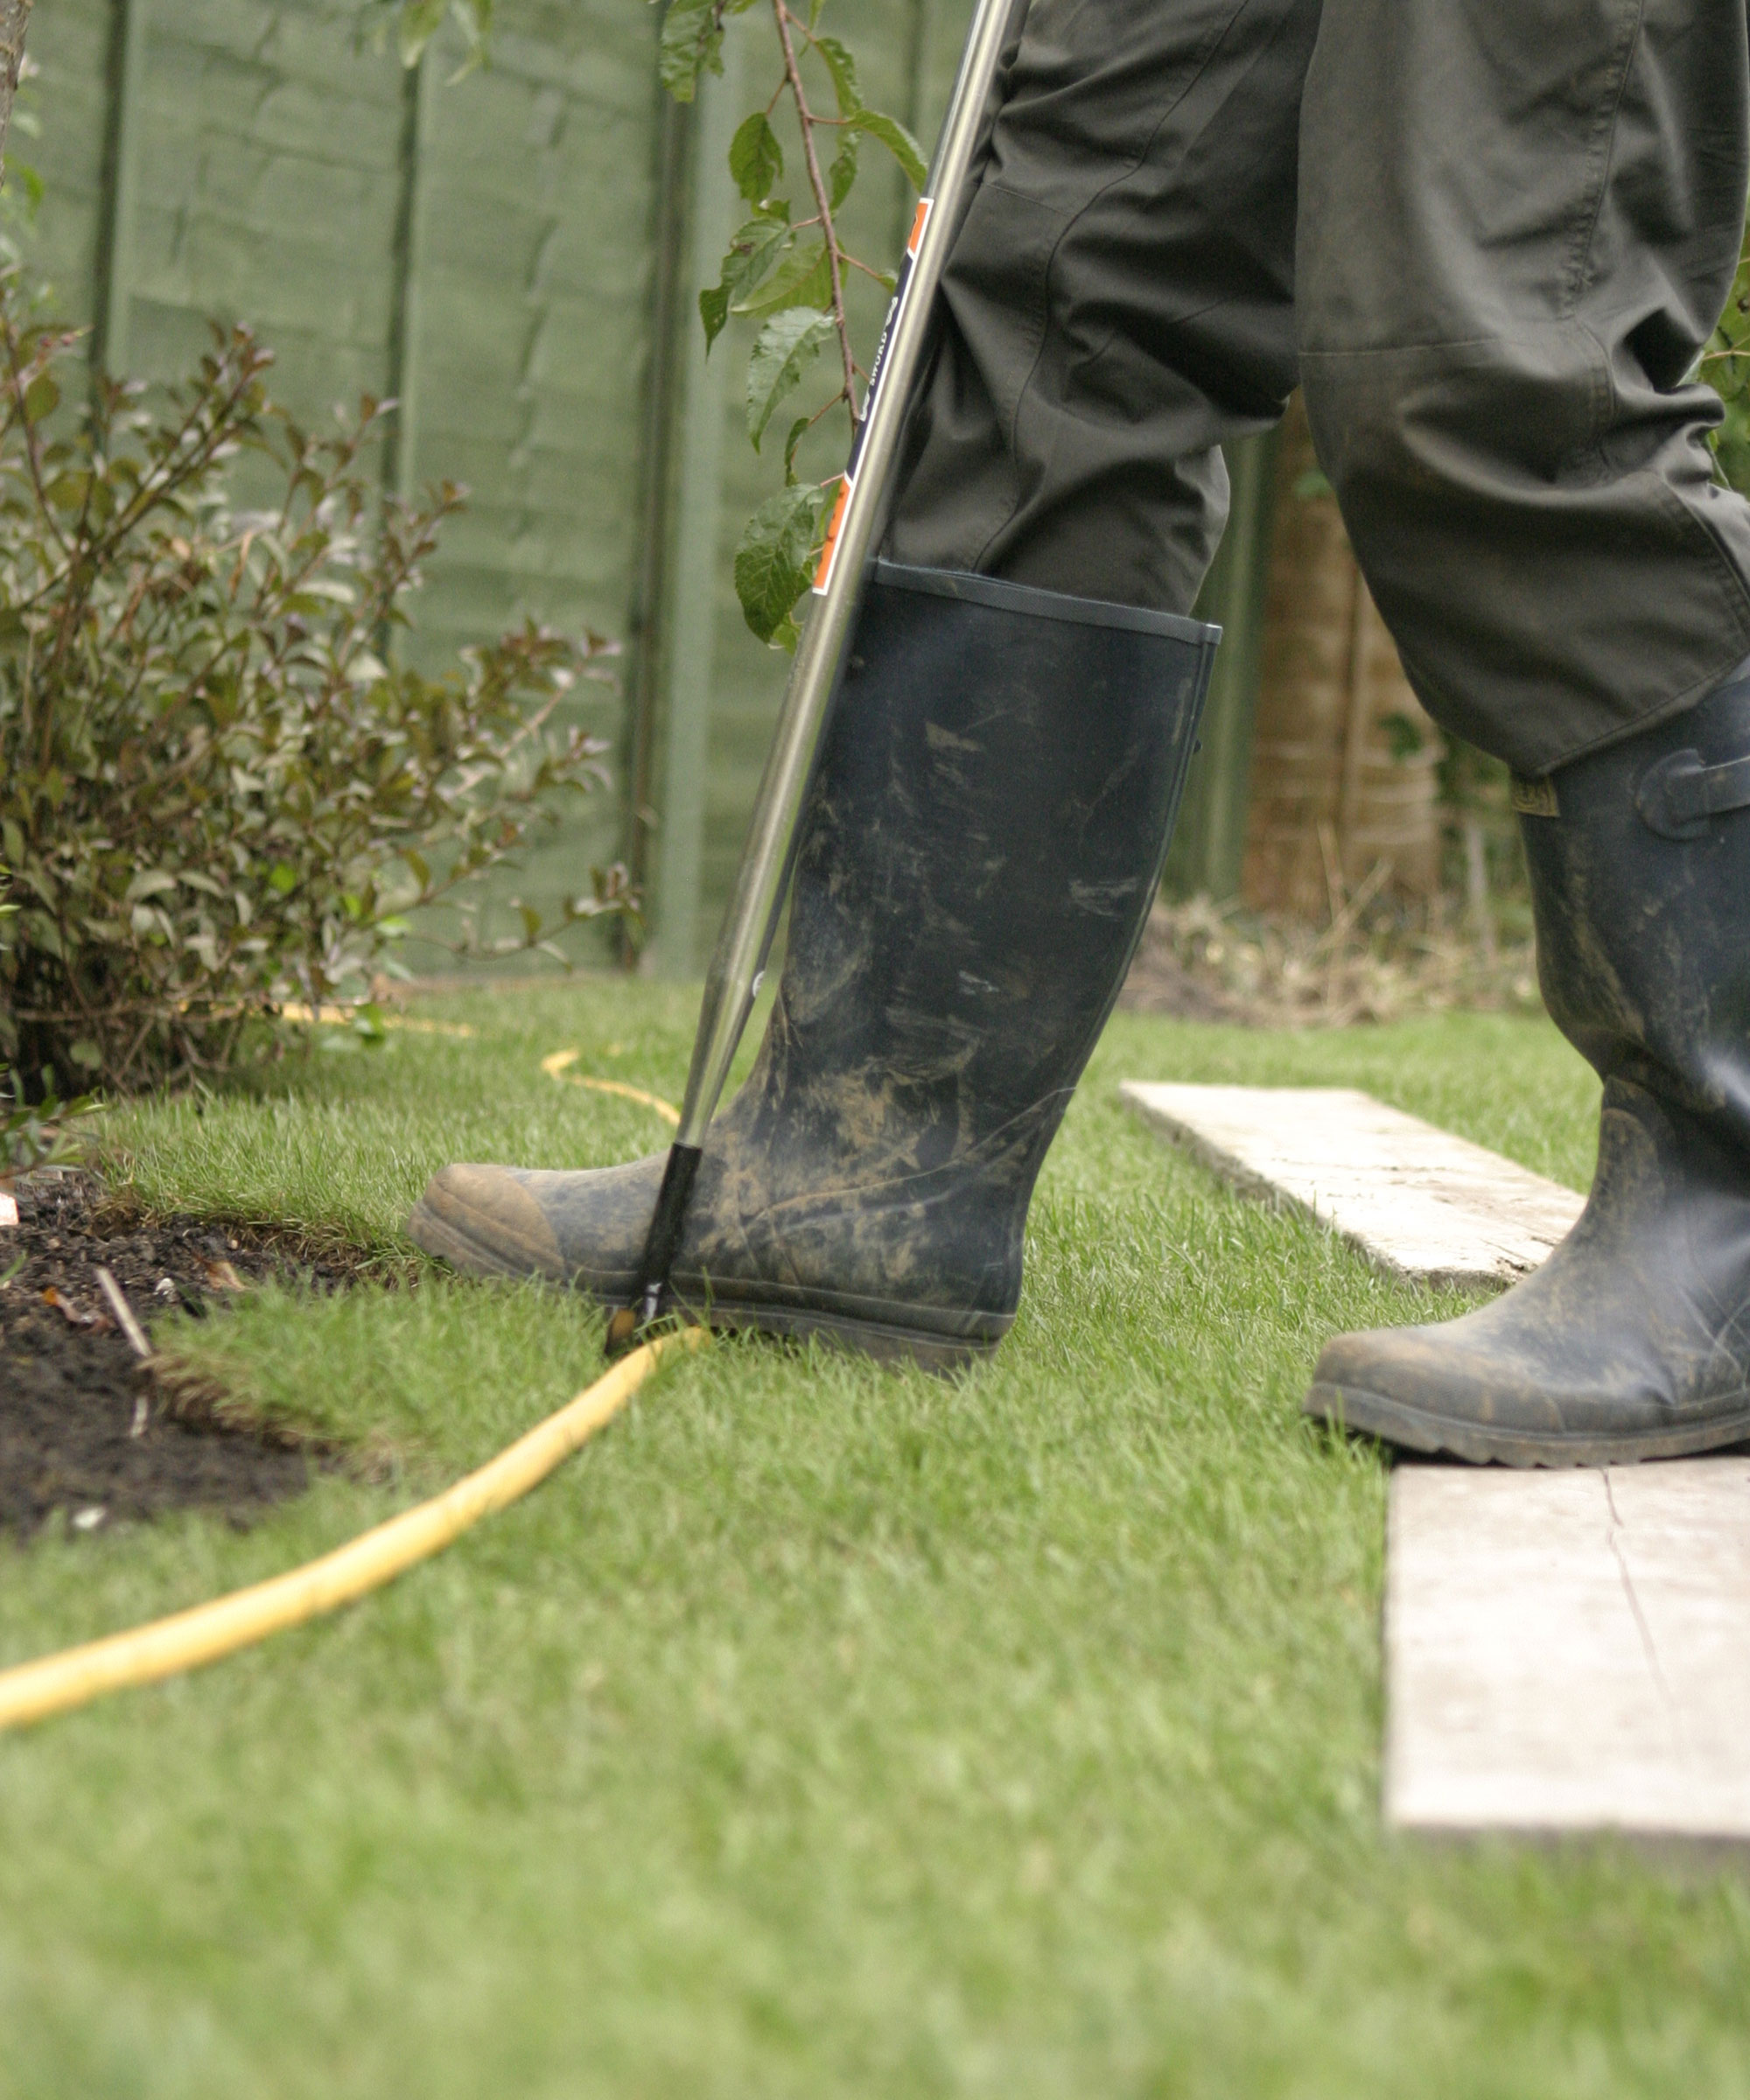
You can use a hose as a guide for cutting a curved lawn edge
‘It’s really important to mark out your flower bed before you start cutting, to give you a line to follow,’ Schubert continues. ‘It’s really not a good idea to try to do it by eye. For straight lines, use string stretched between two canes. For a perfect circle, use string tied to a stake in the ground at the center point, then walk around it, holding the string taut, using marking paint on the ground.’
If you want to create a curved lawn edge, a top tip is to lay a hose exactly along the line you want to cut. Peg it down with tent pegs on the lawn side so it holds its shape, then using a half-moon edger, cut carefully along the outside edge of the hose. Follow through with the border spade removing waste turf or flicking soil into the border until you’ve got a clearly defined edge to the lawn with a vertical drop-away into the border at least 2in deep.
Many professional landscapers use grass landscaping paint, such as this Seymour temporary marker paint from Amazon, to draw their designs out. Coming in an easy-to-use spray can, simply spray the cutting line on the grass redrawing any corrections if needed. Most paints wash away after spraying with a hose or rainfall. Creating an outline with handfuls of sand also works well and can be hosed or brushed away once the edge is cut.
3. Use the right tools for edging your lawn
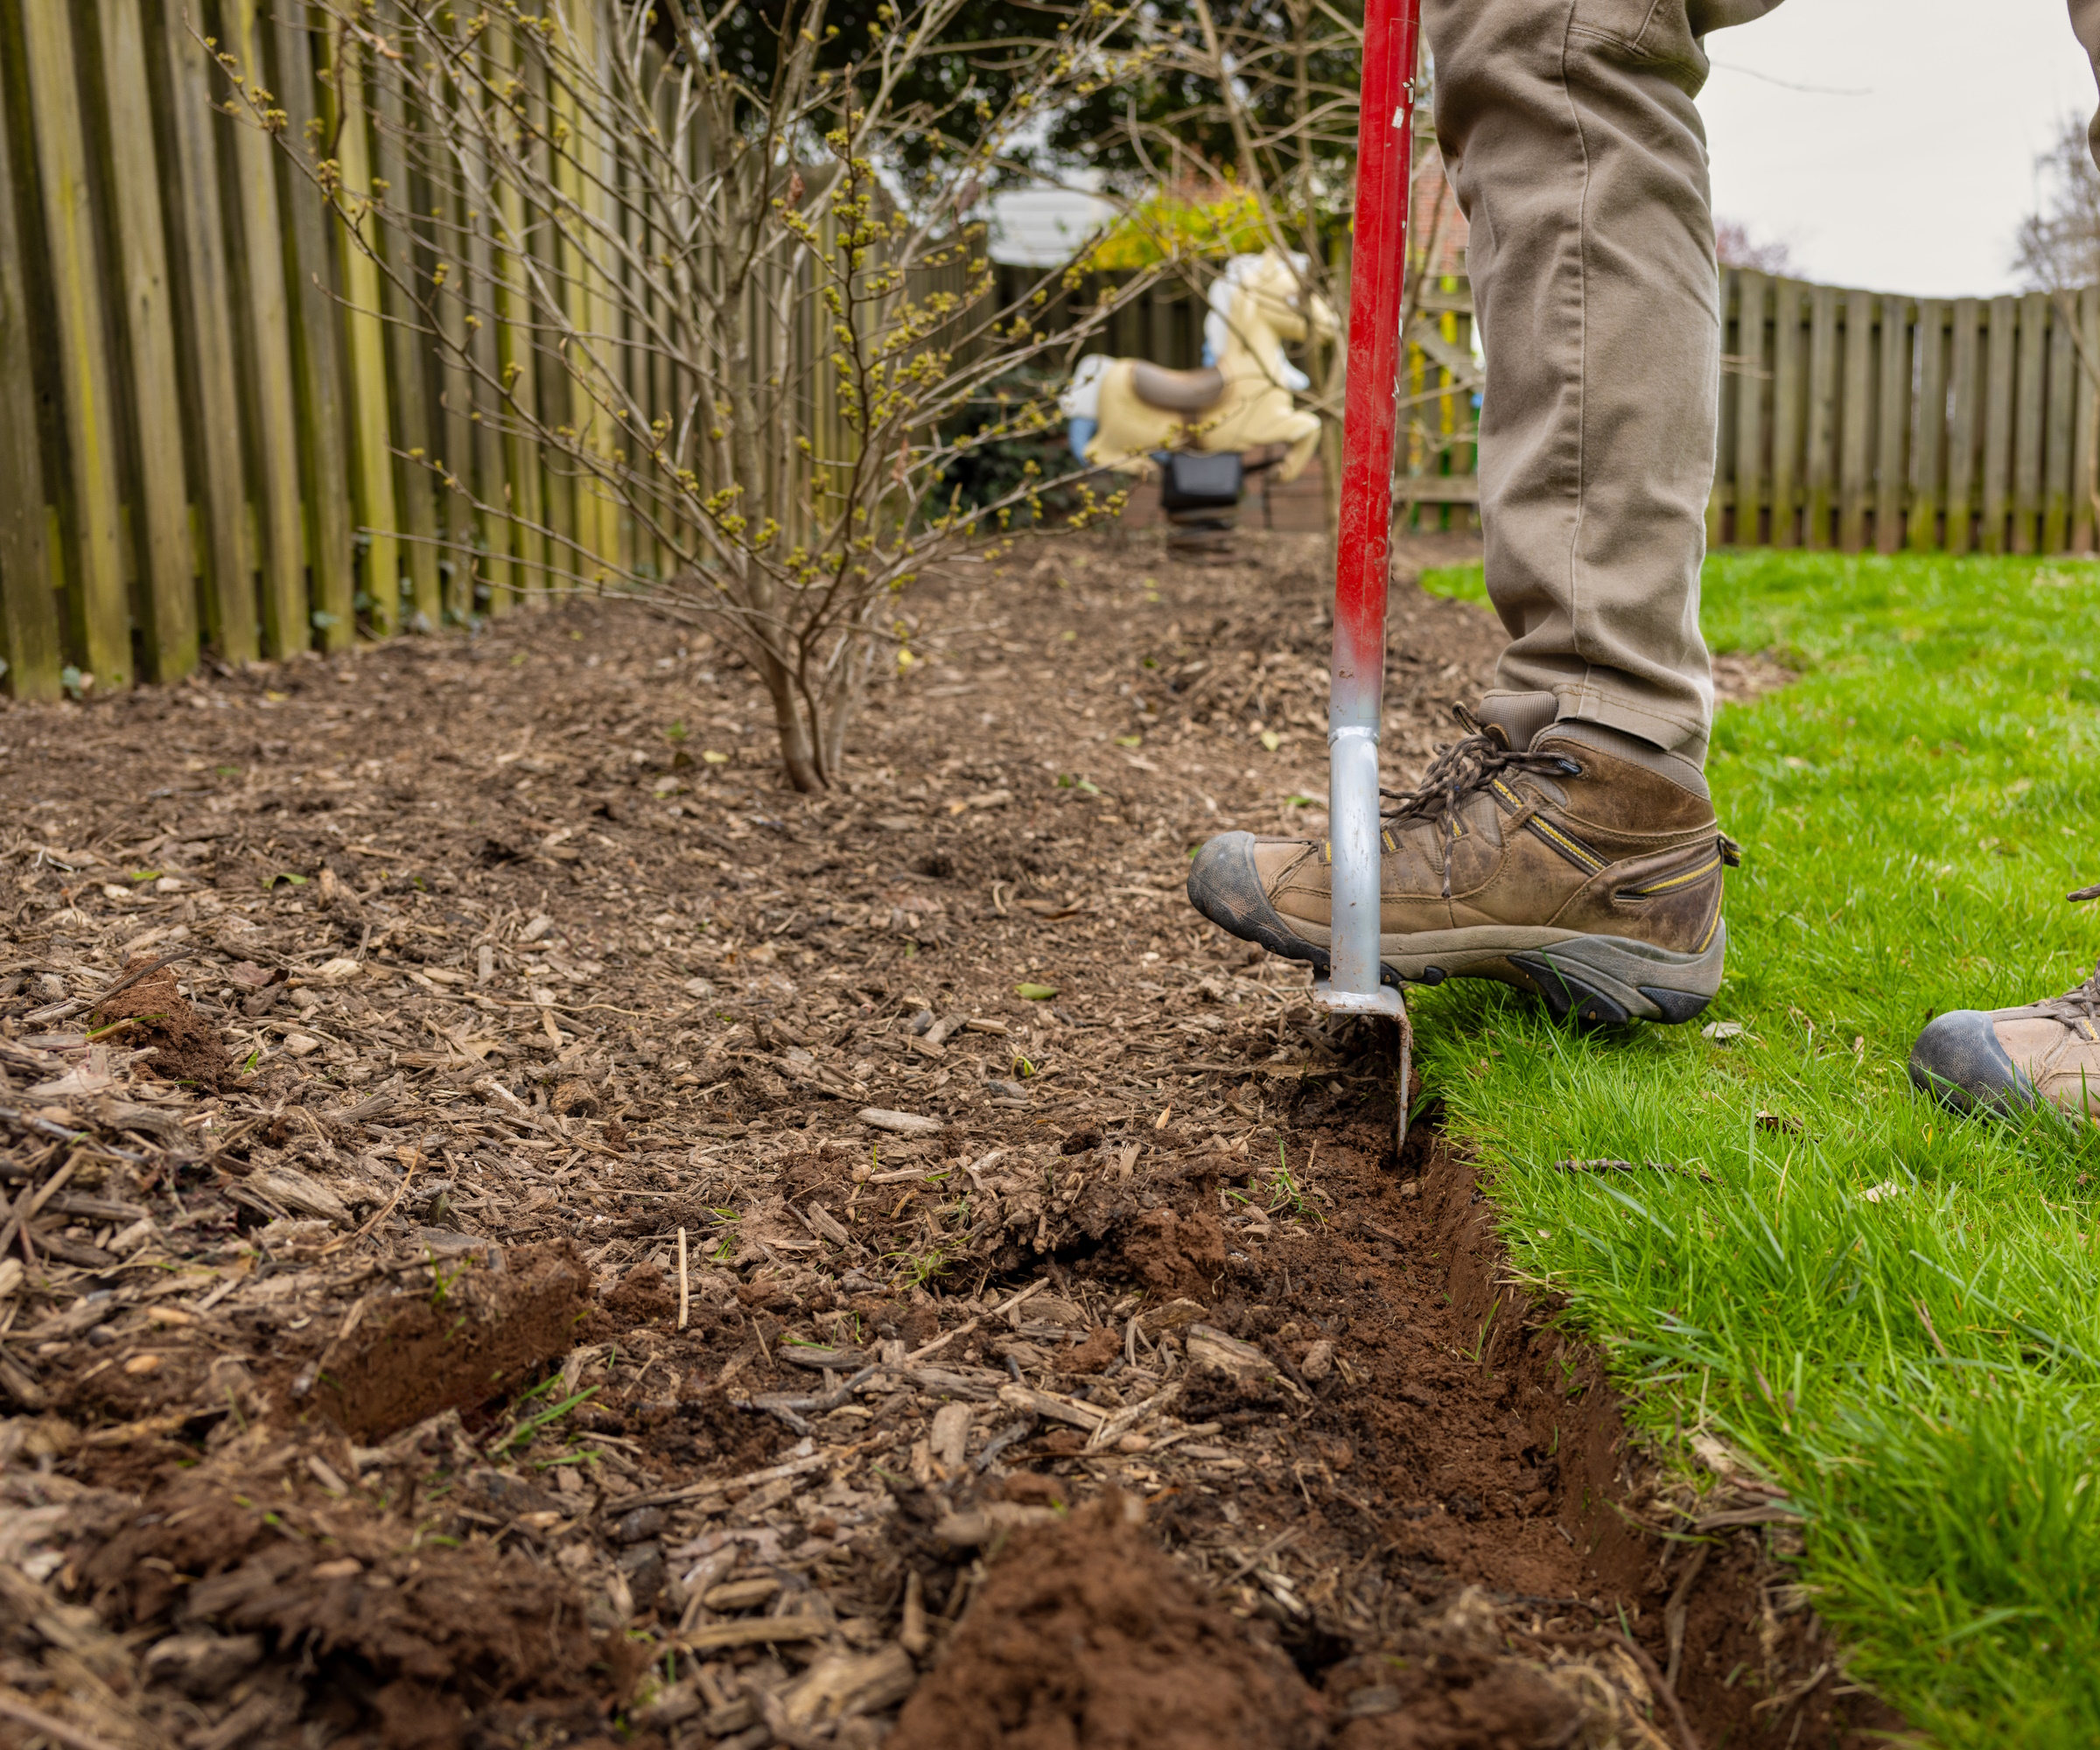
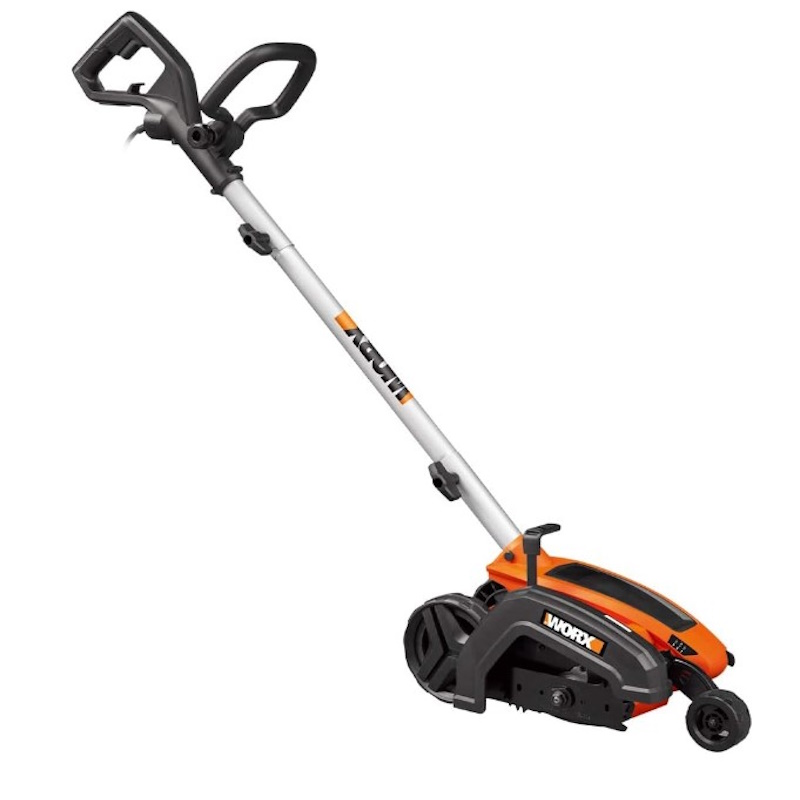
You can choose from manual and automated edging tools. From side attachments available for petrol and electric lawn mowers, to cordless edgers with rotating circular blades there are plenty of powered tools that will handle the job competently. These really come into their own when maintaining a newly created edge or at least cutting fresh growth from a regularly trimmed outline.
If you are looking to cut a new edge into a lawn or significantly change its shape a manual edger will give neater and more precise results.
The ideal manual tool for cutting crisp lines in turf is a half-moon lawn edger, also known as a step edger. Long handled with a semi-circular blade – sometimes with a serrated edge – it is designed to be stood on with one foot and pushed cleanly into turf to create a clean cut.
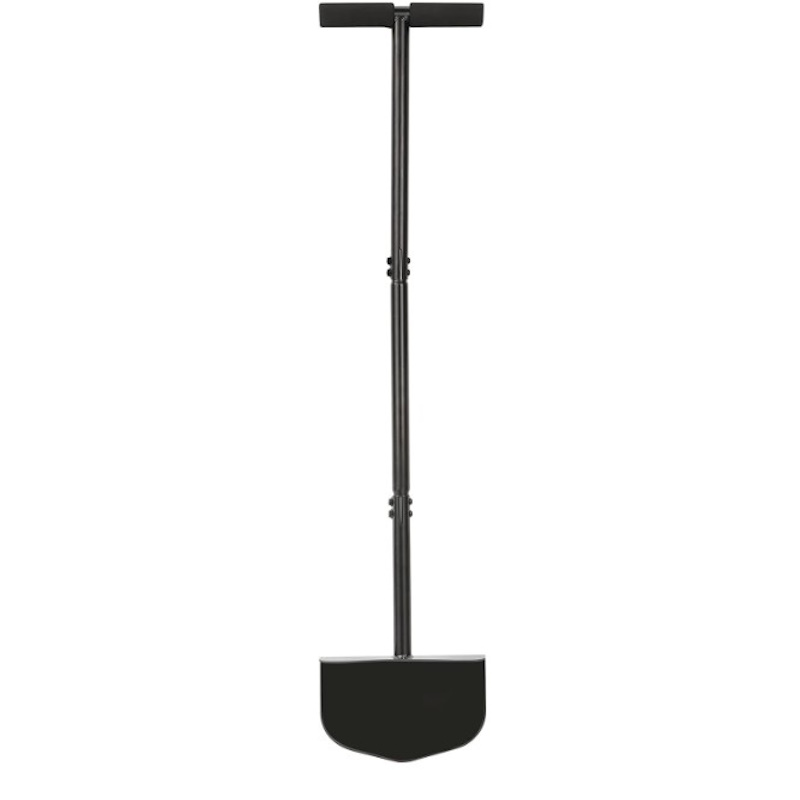
This 43 inch edger lawn tool has a sturdy metal blade, which is hard enough to withstand tough soil in a lawn.
4. Cut the edge
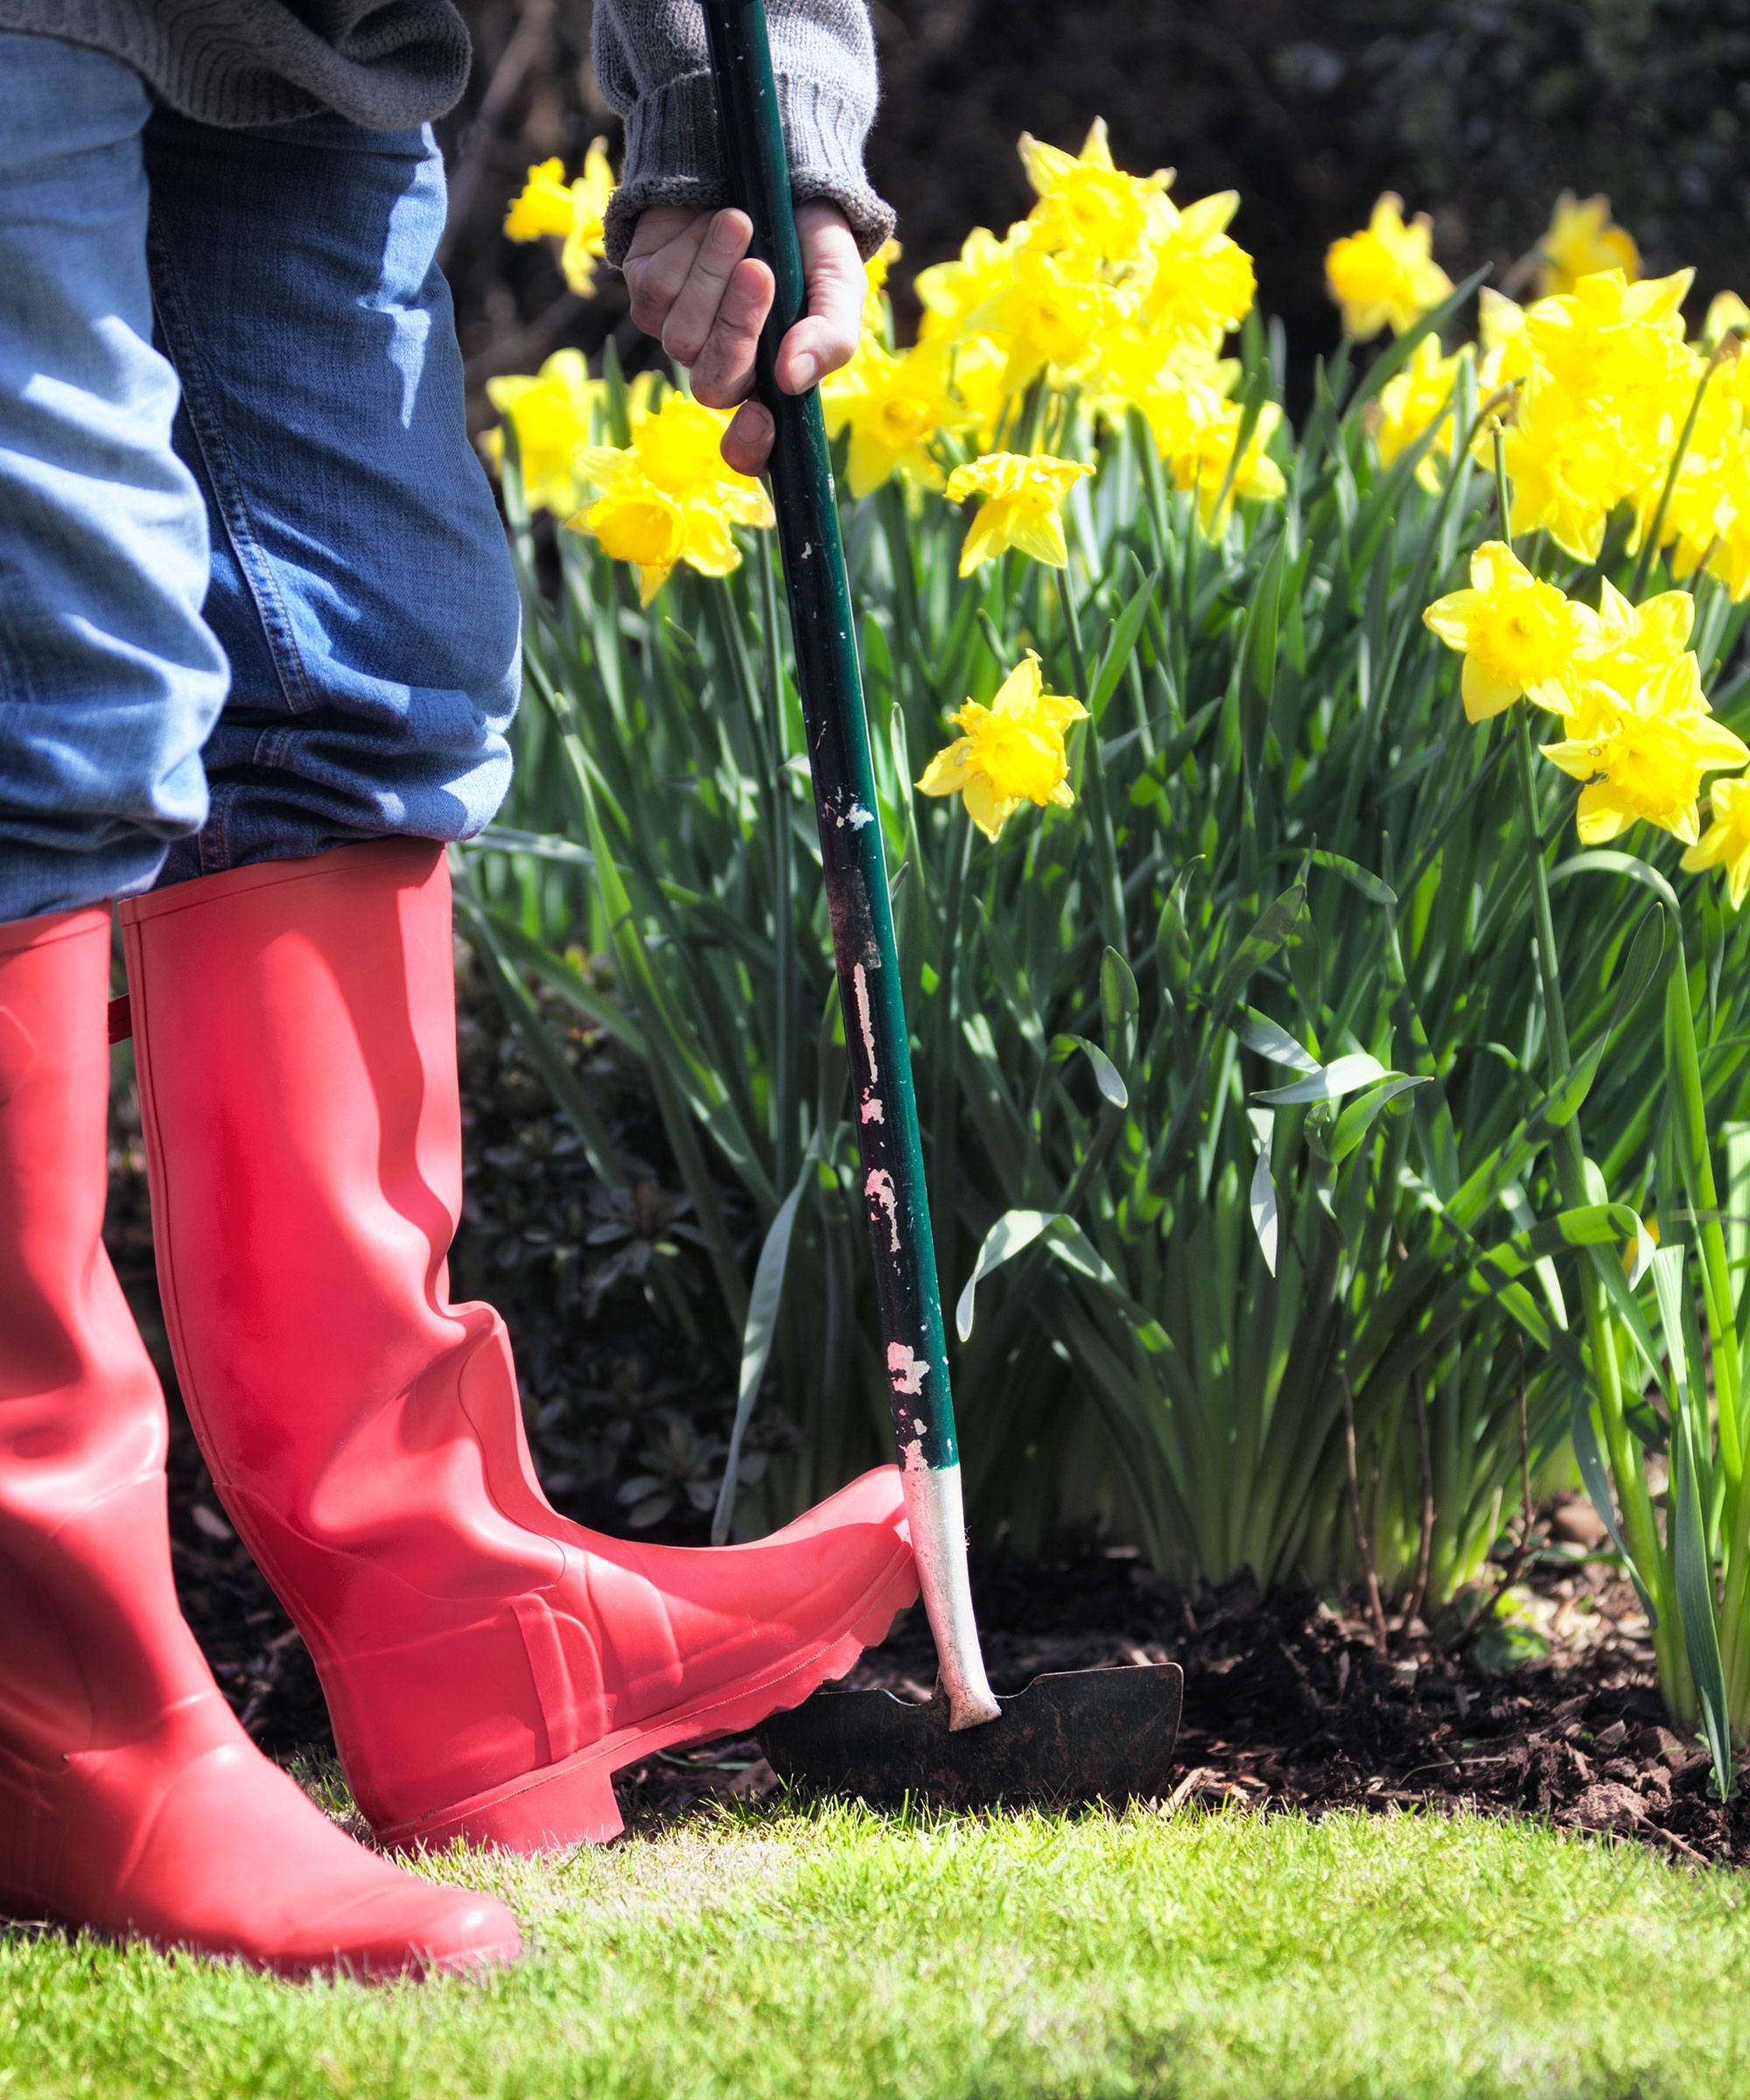
A manual edging tool is an efficient way to create smart lawn edges
Edging a lawn with a manual half-moon lawn edger can take a while, depending on the size of the lawn but is very satisfying. Work at a 90 degree angle to the grass to create a straight downward edge.
The team at lawn experts Rolawn add: ‘Place the edging tool roughly 2 inches in from the edge and dig into the lawn about 2 inches deep. As you lift the edging tool, the excess lawn and soil should lift with it. This can be dropped into a bucket for removal to your compost bin, or local garden waste facility.’
Continue your way around the lawn, closely following the guideline, to create a smooth, jagged-free edge.
You may come across some resistance when cutting your lawn edge. If you do, it’s important to identify the obstruction, so you know how to deal with it before pressing ahead.
Irrigation pipes, electrical cables and substantial roots are all likely causes and should not be cut through. The best solution, if they can’t be moved is to adjust the direction of the edge if possible or skip over the obstacle and pick up the cutting line on the other side.
5. Correct and perfect your line
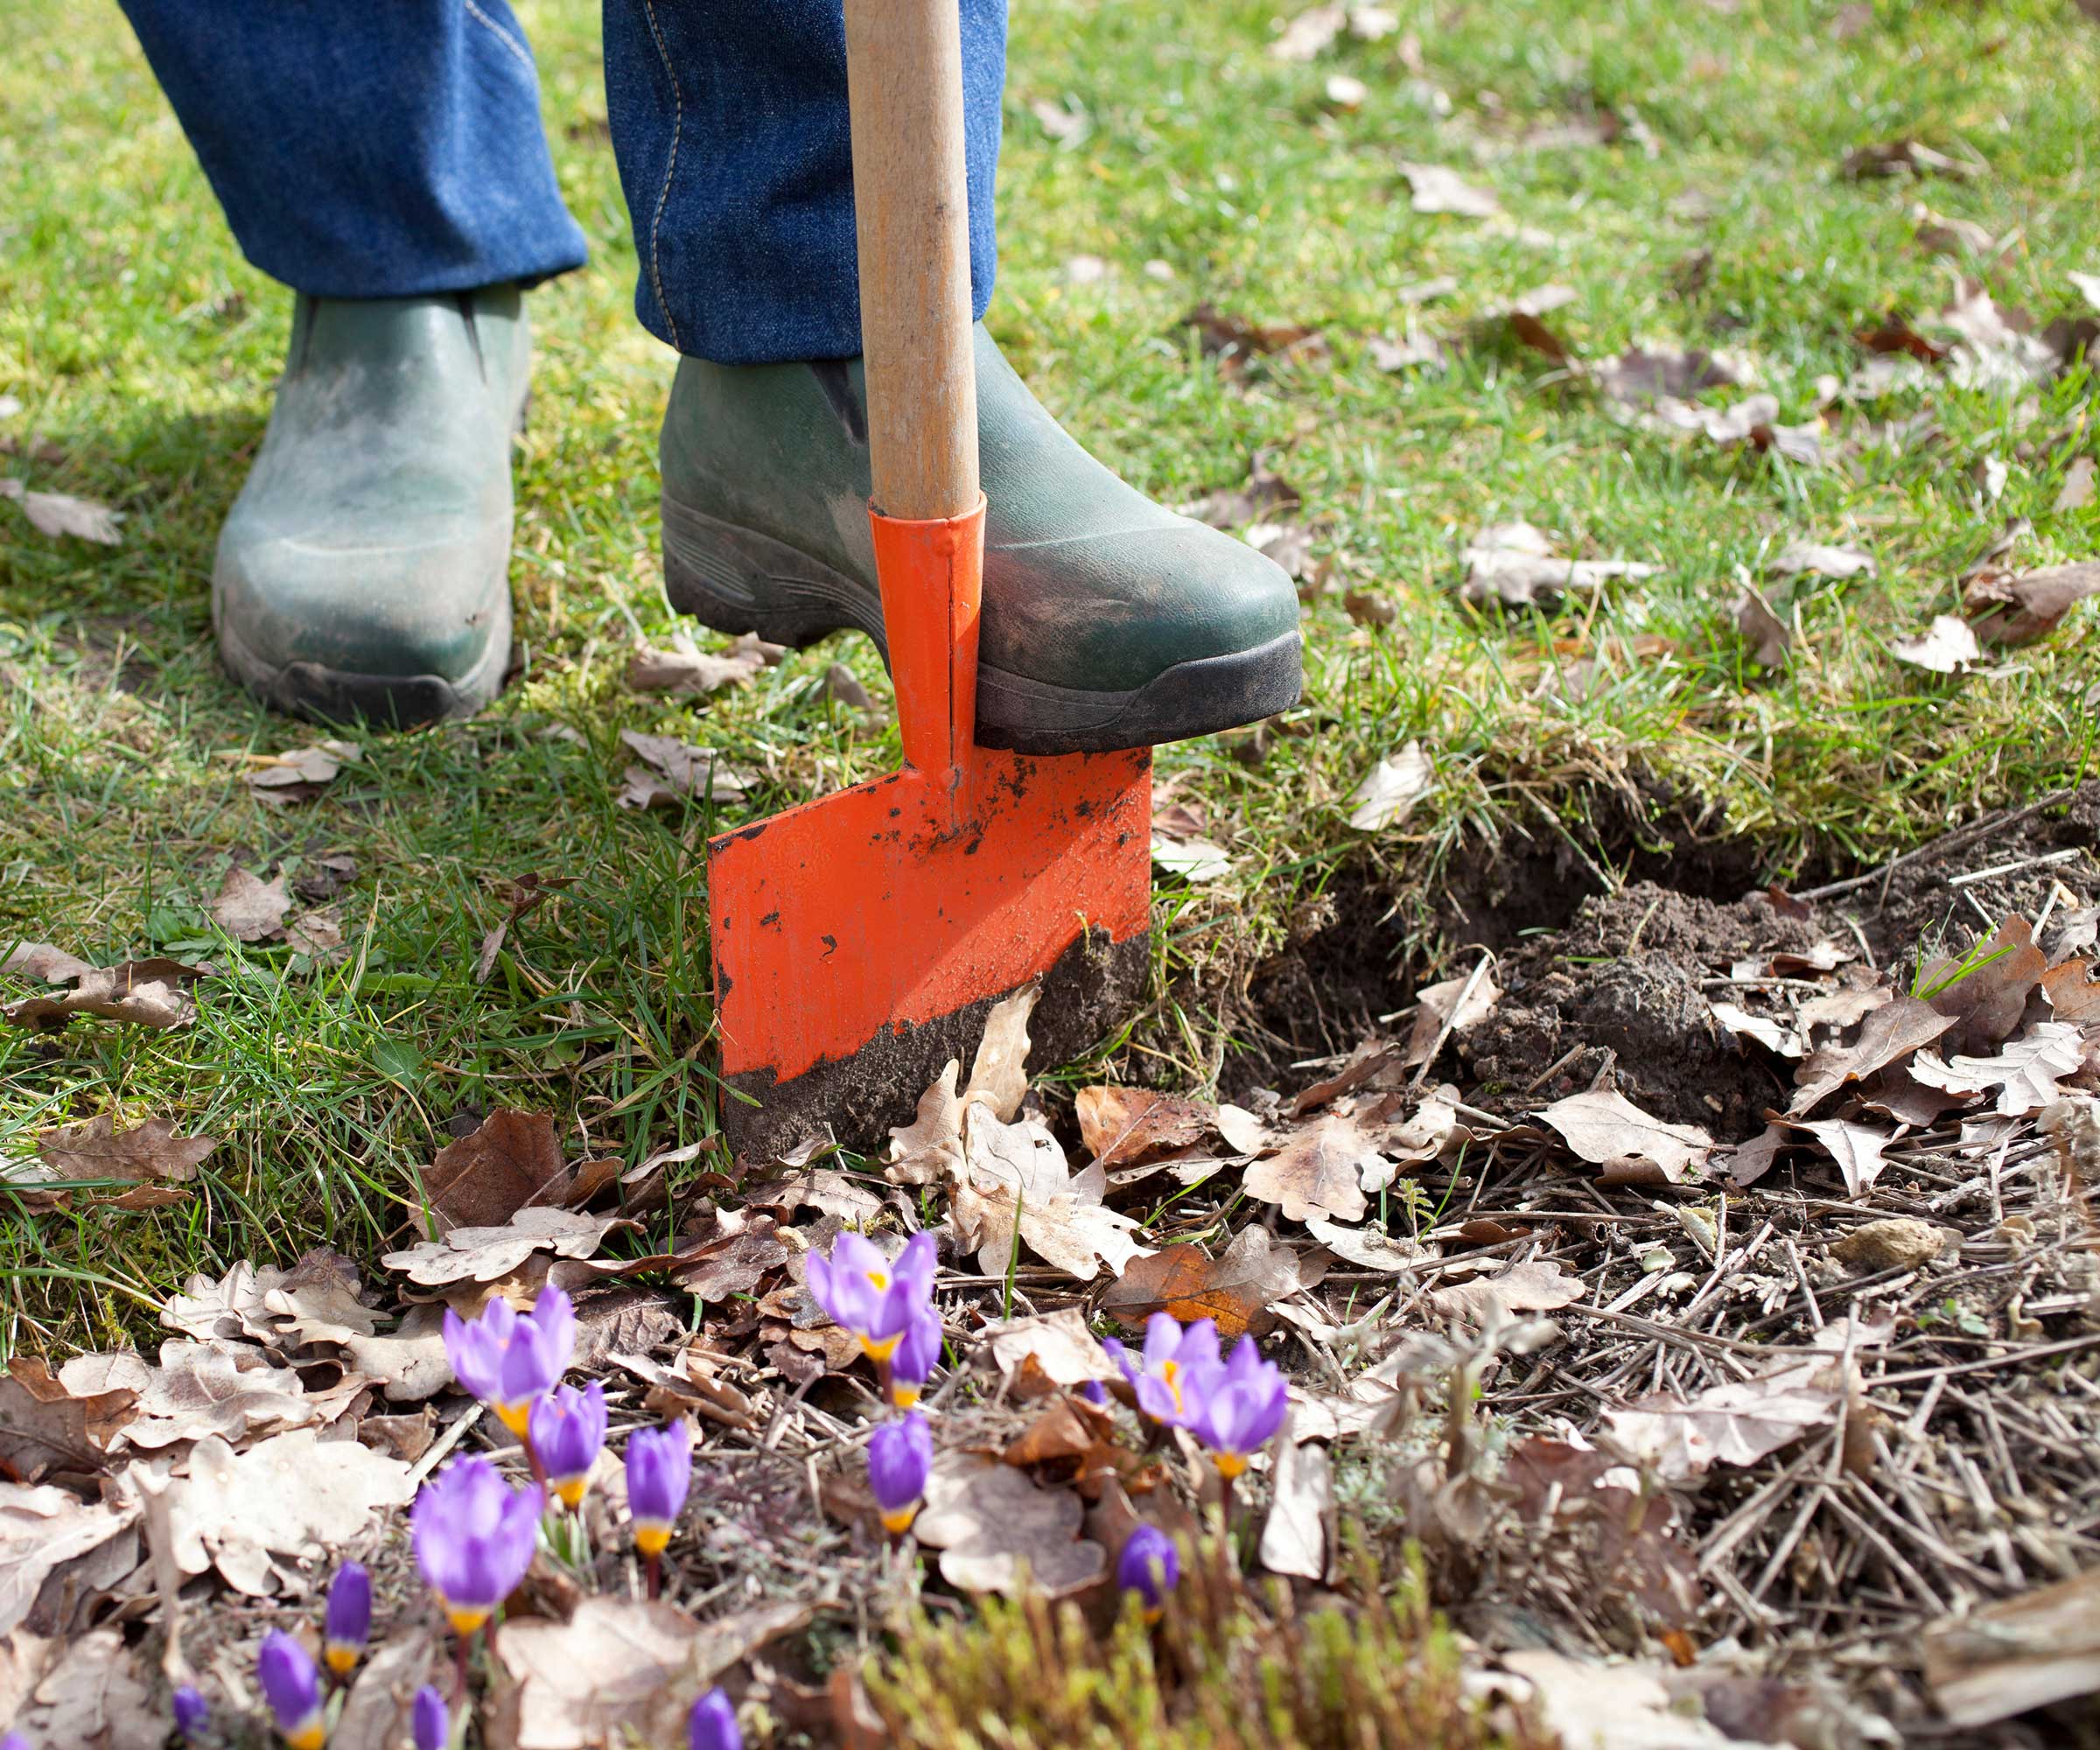
If you need to redraw your cutting line, simply mark over the existing one – as clearly as you can – and be mindful when you come to cutting in this area. It often helps to stand back and take a fresh look at your proposed outline just so you be confident in your decision.
If you do have to alter a line that’s already been cut, then – depending on where you want your new line to go – you can leave the surplus turf in place and fill the cut with compost and by planting grass seed, or move the line back into the existing lawn before re-cutting.
Narrow cuts in a lawn should be able to repair themselves given a few weeks and moist, warm weather conditions. Similarly, if a section of lawn edge has become too damaged to successfully create a firm edge in line with the rest of the lawn, you can repair it.
If you have a broken open edge in your lawn (if one of the edges does not extend right to the border for a short distance), it's best to cut out a square section of turf that contains the broken edge using your edging iron or garden spade. Under-cut the turf to remove it, then turn it 180 degrees and re-lay so that the straight edge aligns with the lawn edge.
Repair the damaged section by filling with topsoil and reseeding. The best time to plant grass seed is either in spring or fall, depending on the type of grass you are growing.
6. Achieve a smart finish
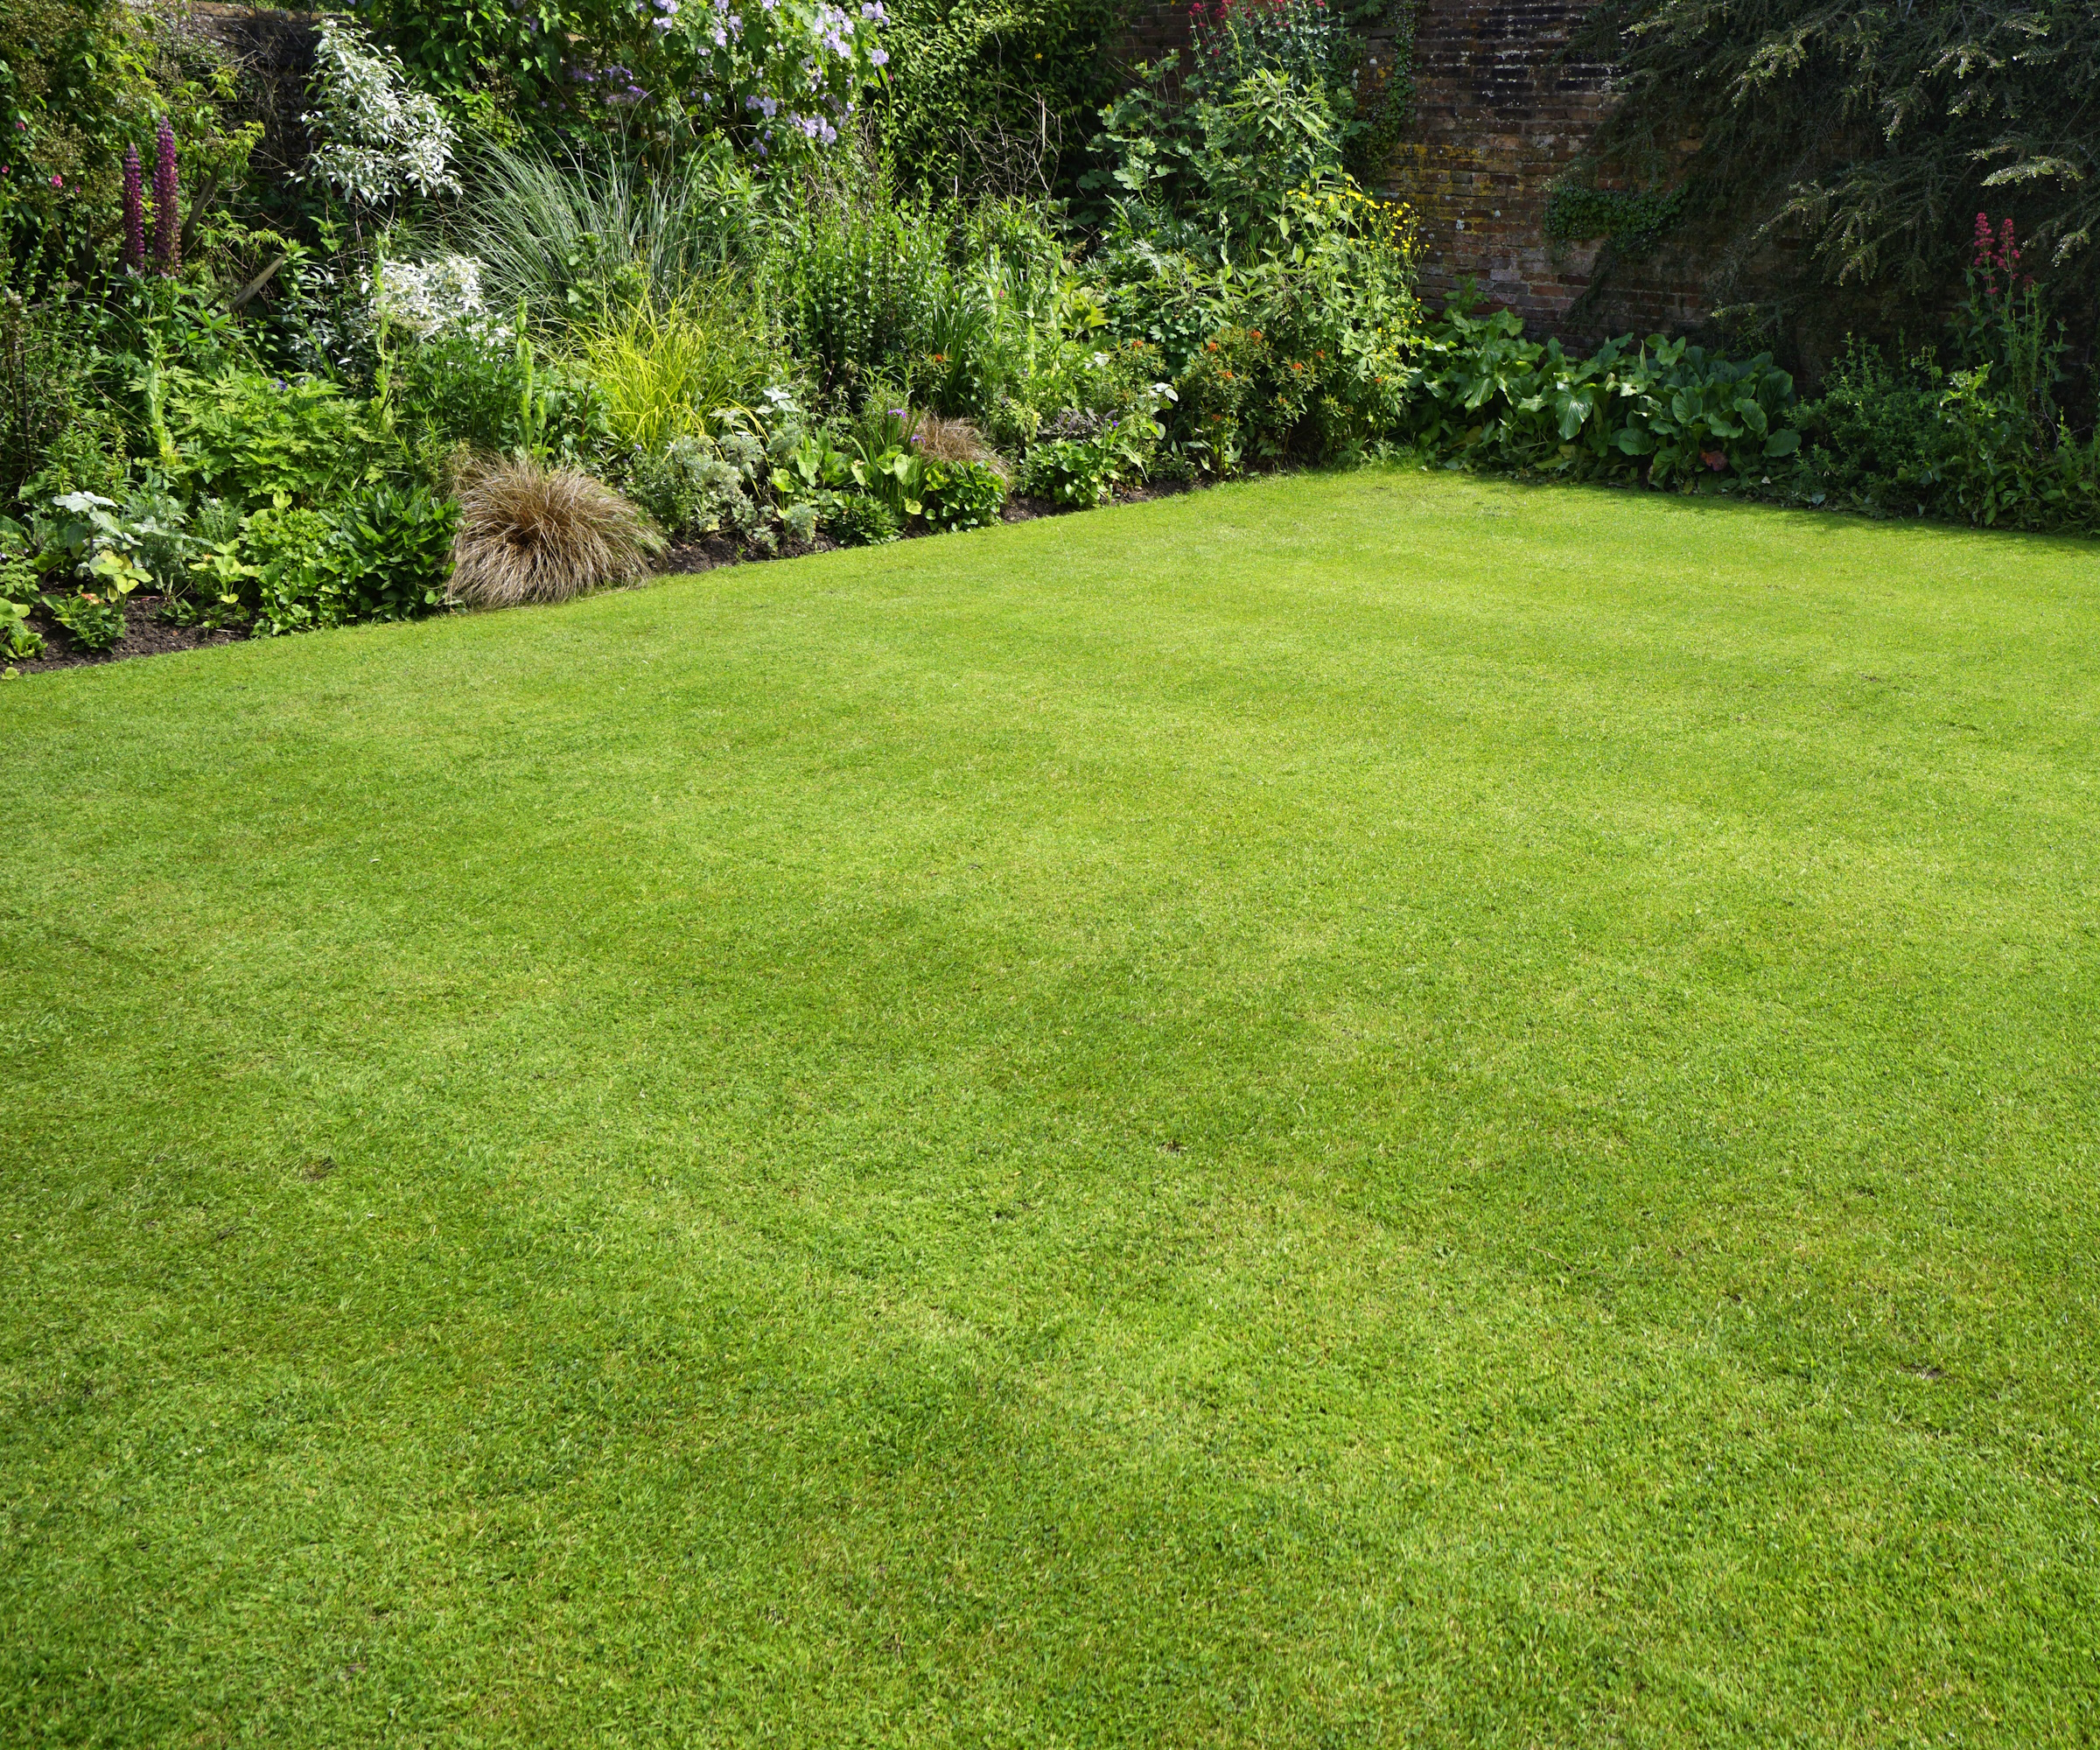
Once you’ve established a crisp, vertical edge to a lawn it is important to trim it regularly. During warm growing periods, such as spring and early fall, this may need to be done weekly.
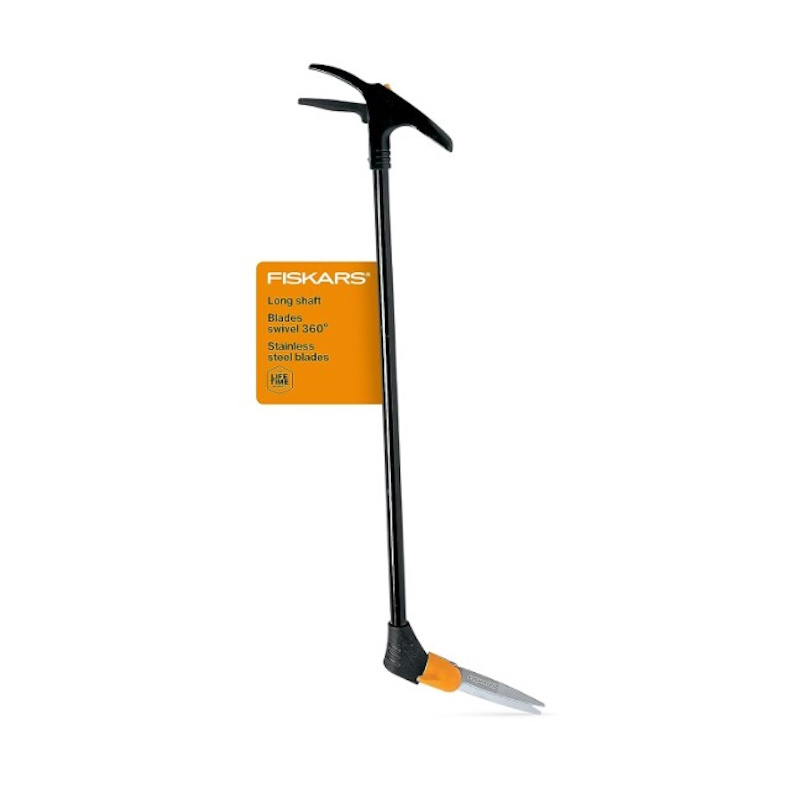
Once a sharp lawn edge has been established, keep it looking its best by trimming with long handled shears once a week. Grass tends to grow horizontally so it is important to clip off any of these spreading rhizomes and any long, straggling blades to prevent them invading neighboring borders.
Stand on the lawn, facing the border and work your way along the lawn edge with the shears. Hold the side of the shear’s blade against the soil edge as you snip to maintain an even cutting line, and be careful to avoid nicking chunks out of the lawn edge with the tips of the blades.
FAQs
When is the best time to edge a lawn?
Spring is undoubtedly the best time to edge a lawn, as during this time the grass is growing steadily and the underlying soil is soft enough to cut into. It will also give any newly added sections or repaired lawn edges time to regrow and establish before the heat of the summer takes hold.
If you're also mowing the lawn at the same time, make sure you know the correct mower height for spring so you can keep the rest of the lawn looking just as smart as your new edging.
How do you edge a lawn without an edger?
A clean, sharp, straight spade is a good alternative to any lawn edger. Ensure the blade is as flat as possible, many spades are slightly concave which can lead to unsightly, scalloped edges. Use a wooden board for neat straight lines or a rope (or hose) as a guide for sweeping curves.
Step on to your spade and push it down into the soil 2-3 inches and pull the blade backwards and forwards slight, to create a groove. Repeat along the line and once the groove is completed, carefully remove the surplus turf by sliding the spade underneath.
Should you mow before or after edging?
There is some debate as to which is the best practice, but it is good practice to mow the lawn first, before clipping the edges with long handled shears. This way the results tend to be neater and more even and there’s less chance of compressing newly cut edges with the lawn mower.
Edging your lawn is an easy way to elevate the look of your grass, creating sharp, clean lines so that the edges of your flower beds or paving are clearly defined.
Although it might seem like a lengthy task the first time, once your edges have been created, maintaining them is relatively straightforward if you make it part of your regular lawn care routine.
Sign up to the Homes & Gardens newsletter
Design expertise in your inbox – from inspiring decorating ideas and beautiful celebrity homes to practical gardening advice and shopping round-ups.

Journalist Jill Morgan has spent over 20 years writing and editing gardening, interior and property features. Titles she has worked on include The English Home, House Beautiful, Ideal Home, Houzz and Modern Gardens and she writes regularly for H&G as a Contributing Editor. Whilst she is a dab hand at renovation projects and DIY, she is happiest when out digging in the garden or planning a new border.
-
 Zooey Deschanel and Jonathan Scott's breakfast nook is an innovative, effective use of kitchen space – it turns a 'dead area' into a cafe-style corner
Jonathan and Zooey have situated an eccentric yet elegant dining area in what may have been an otherwise underused corner
By Hannah Ziegler Published
-
 6 things you should never throw in the trash – and what to do for safe disposal instead
From batteries to space heaters, experts reveal what not to throw
By Andy van Terheyden Published
