How to dry basil – and store this aromatic, versatile herb
A step-by-step guide to drying and preserving your homegrown basil

Rachel Bull
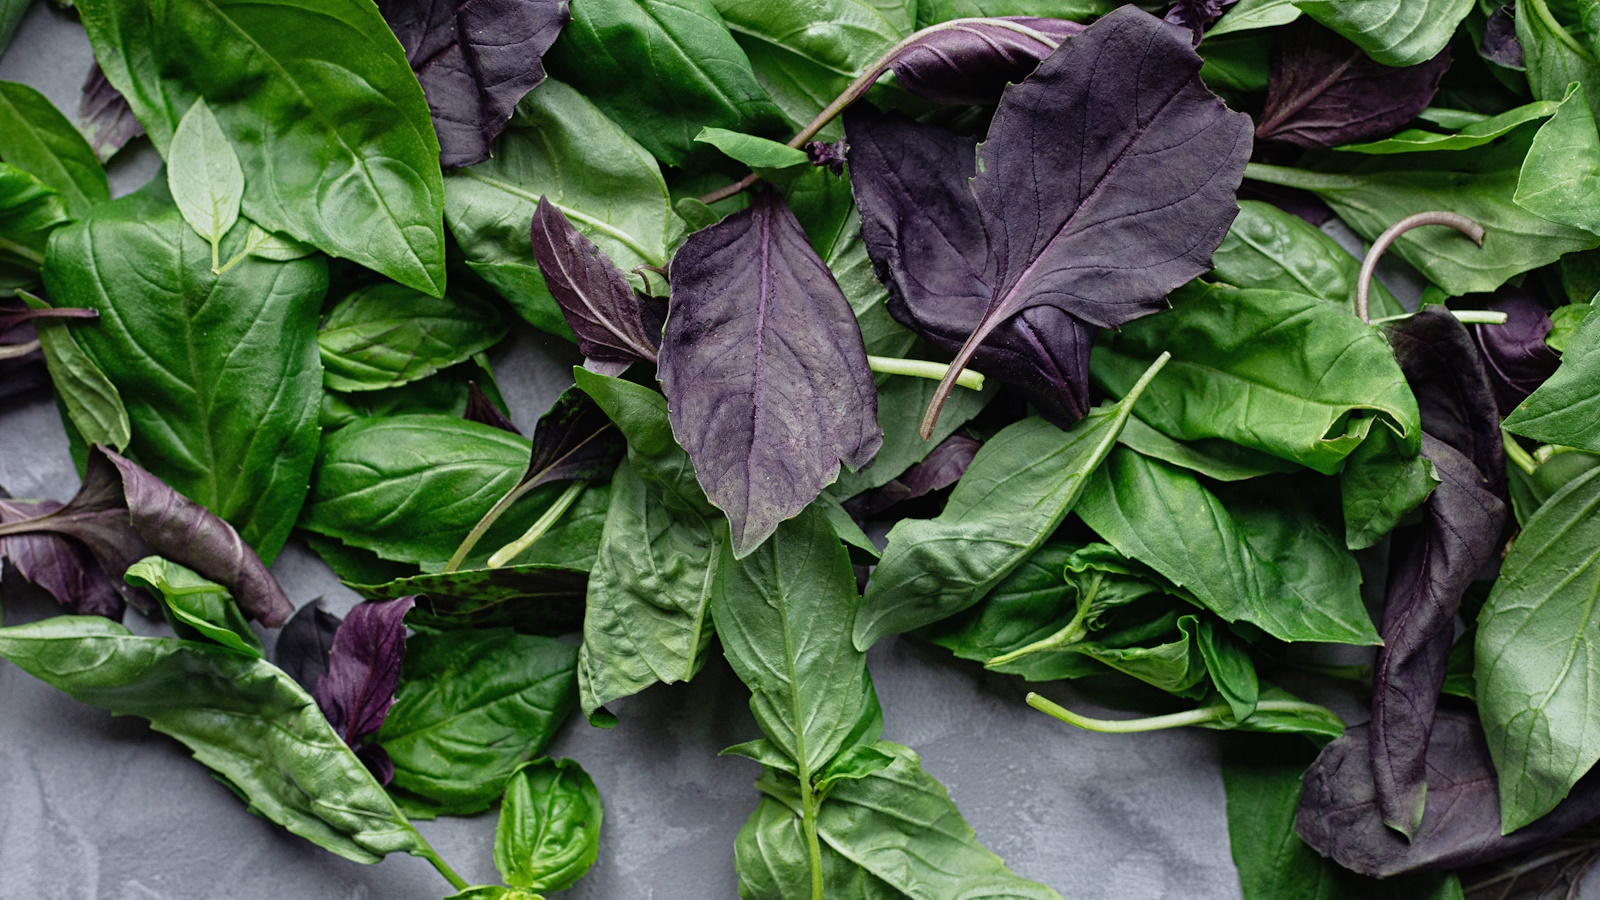
One of the many simple pleasures I get from my kitchen garden is being able to snip off a sprig or two of aromatic basil to toss into a tomato salad, or onto a homemade pizza.
Invariably, I plant and grow more basil than I can use. Not wanting my homegrown herbs to go to waste, earlier in the year I began the process of drying a bunch to ensure my harvests last much longer. Dried basil holds a stronger, and more savoury flavor compared to fresh basil leaves, and can be added to so many Italian-inspired dishes.
I've spoken to growing experts to find out if my methods for drying and storing basil are the best ones, and what tips and advice they have for preserving your homegrown aromatic herbs.
How to dry basil in 4 expert steps
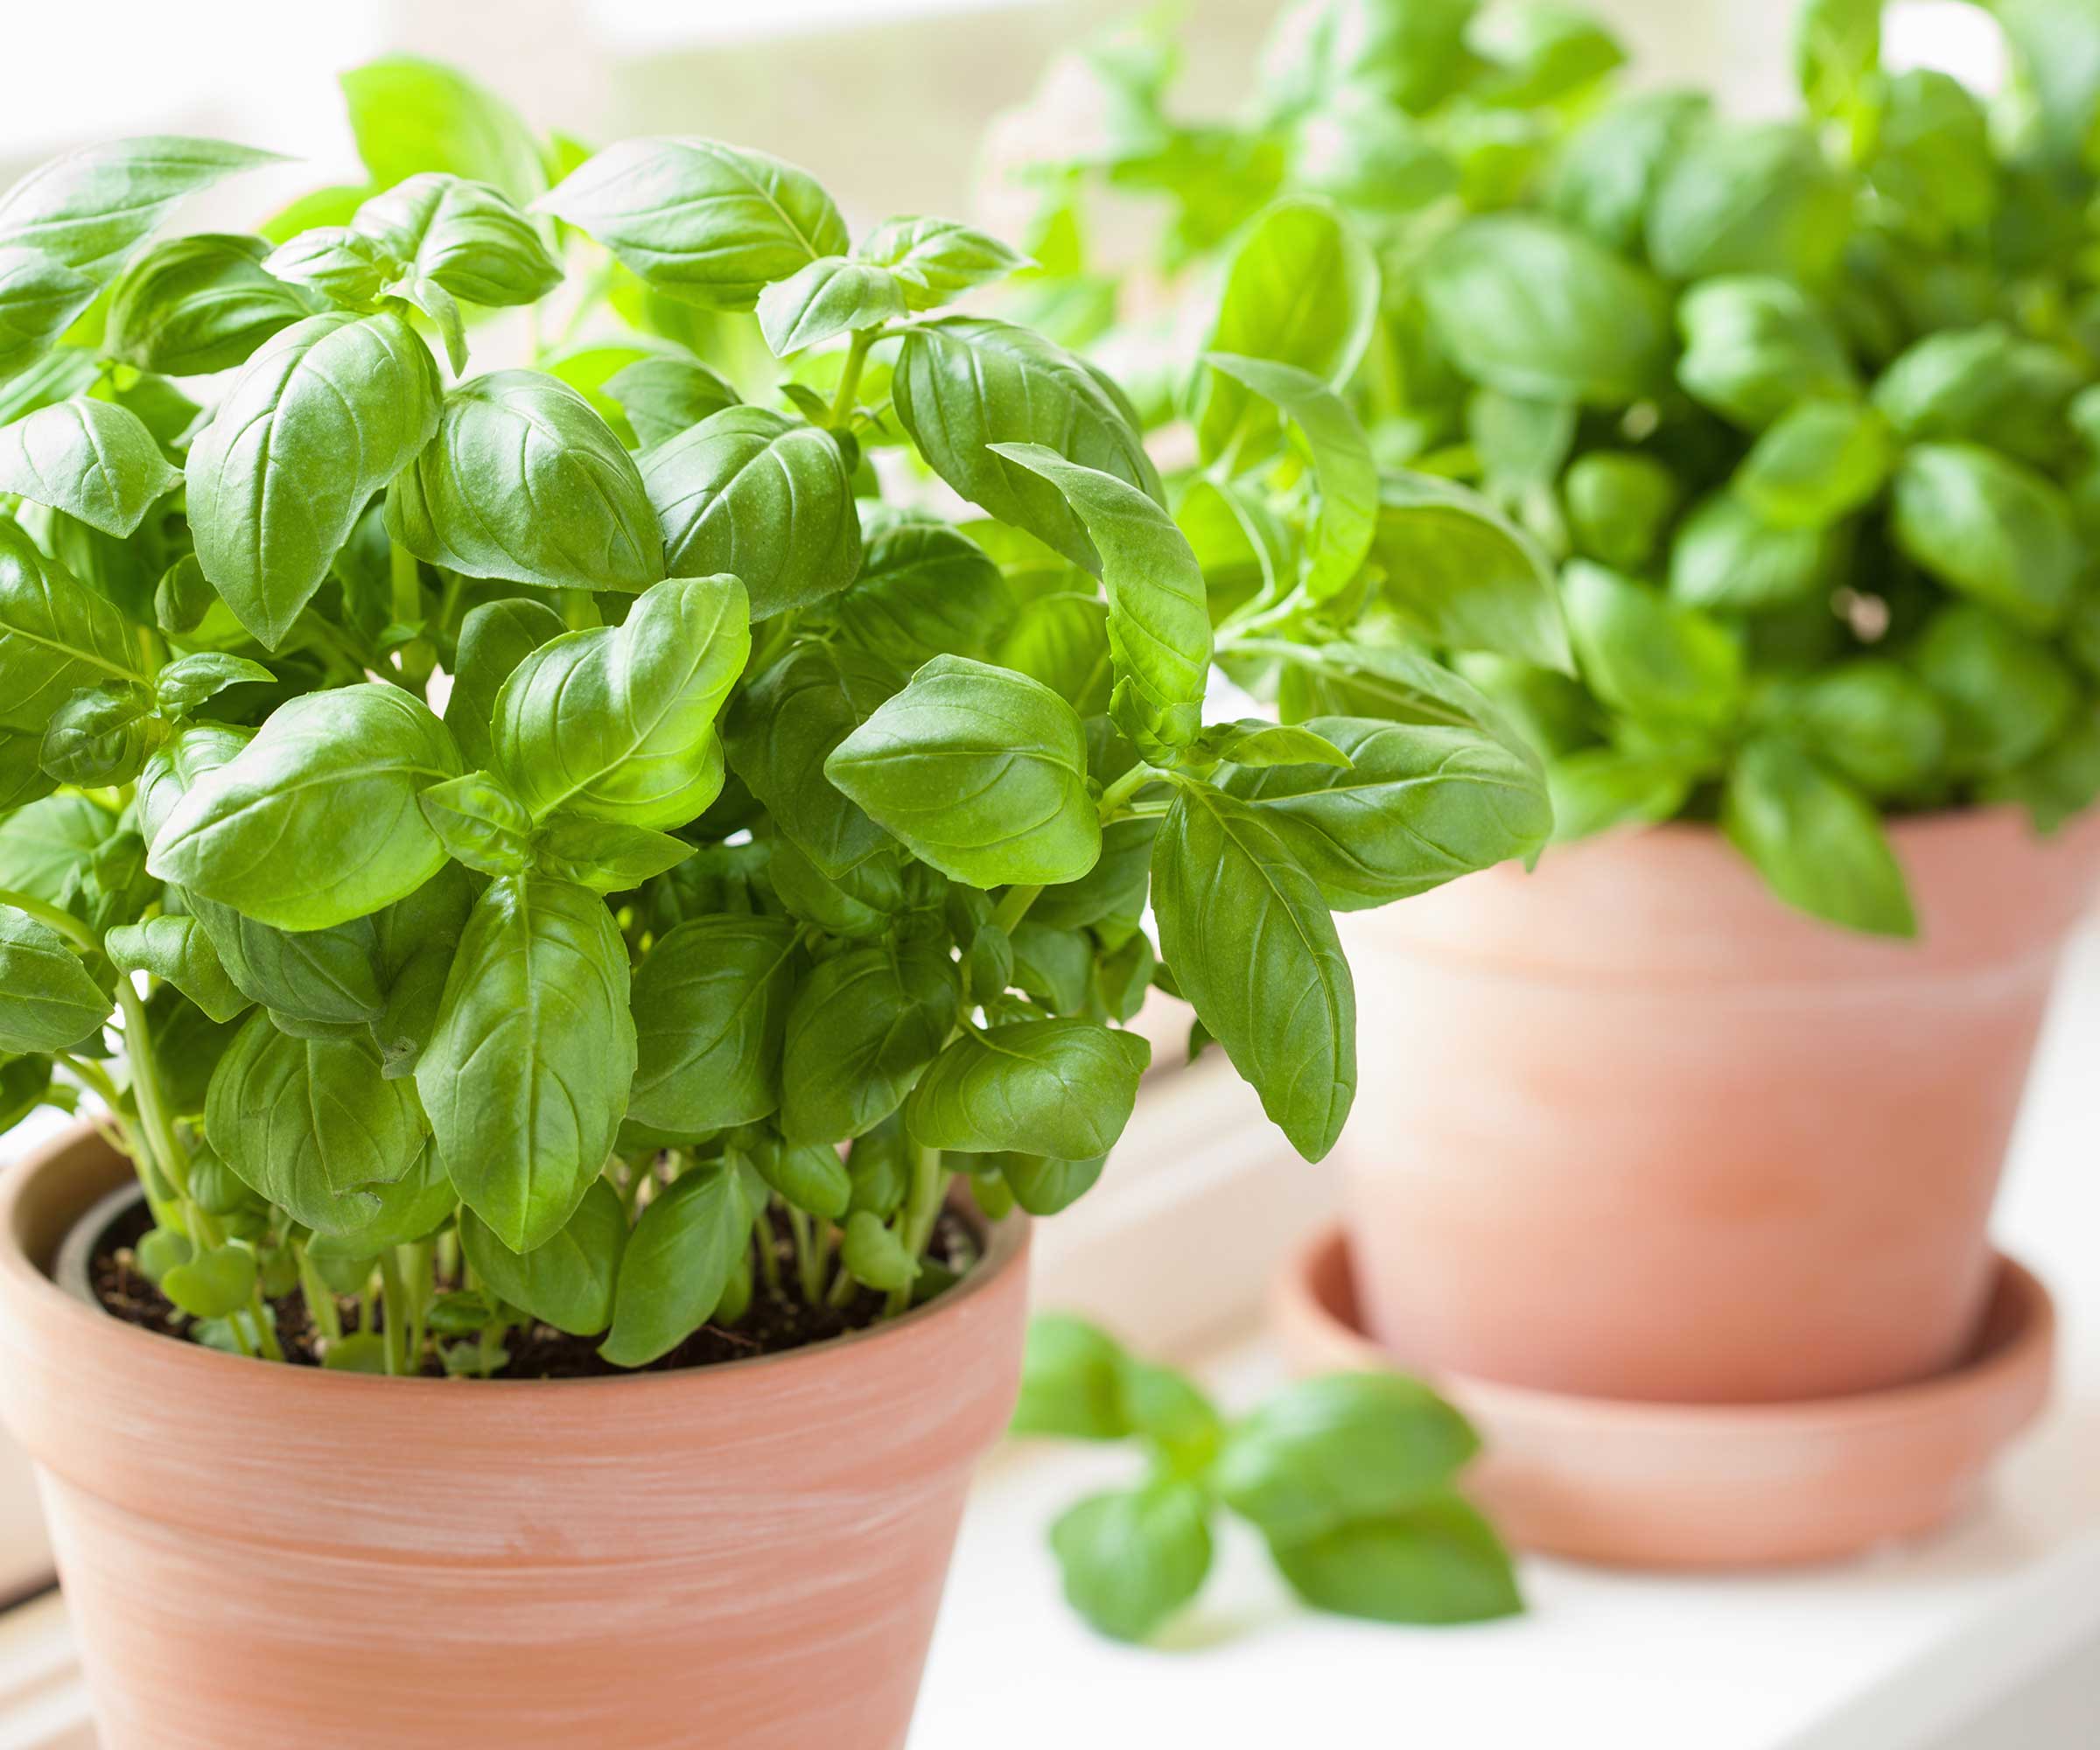
Whether you are harvesting from your own basil plant or one you have bought from the store, knowing how to dry and store basil allows you to preserve your yield and prevent it from going to waste.
Step 1: Harvest Basil at the Right Time
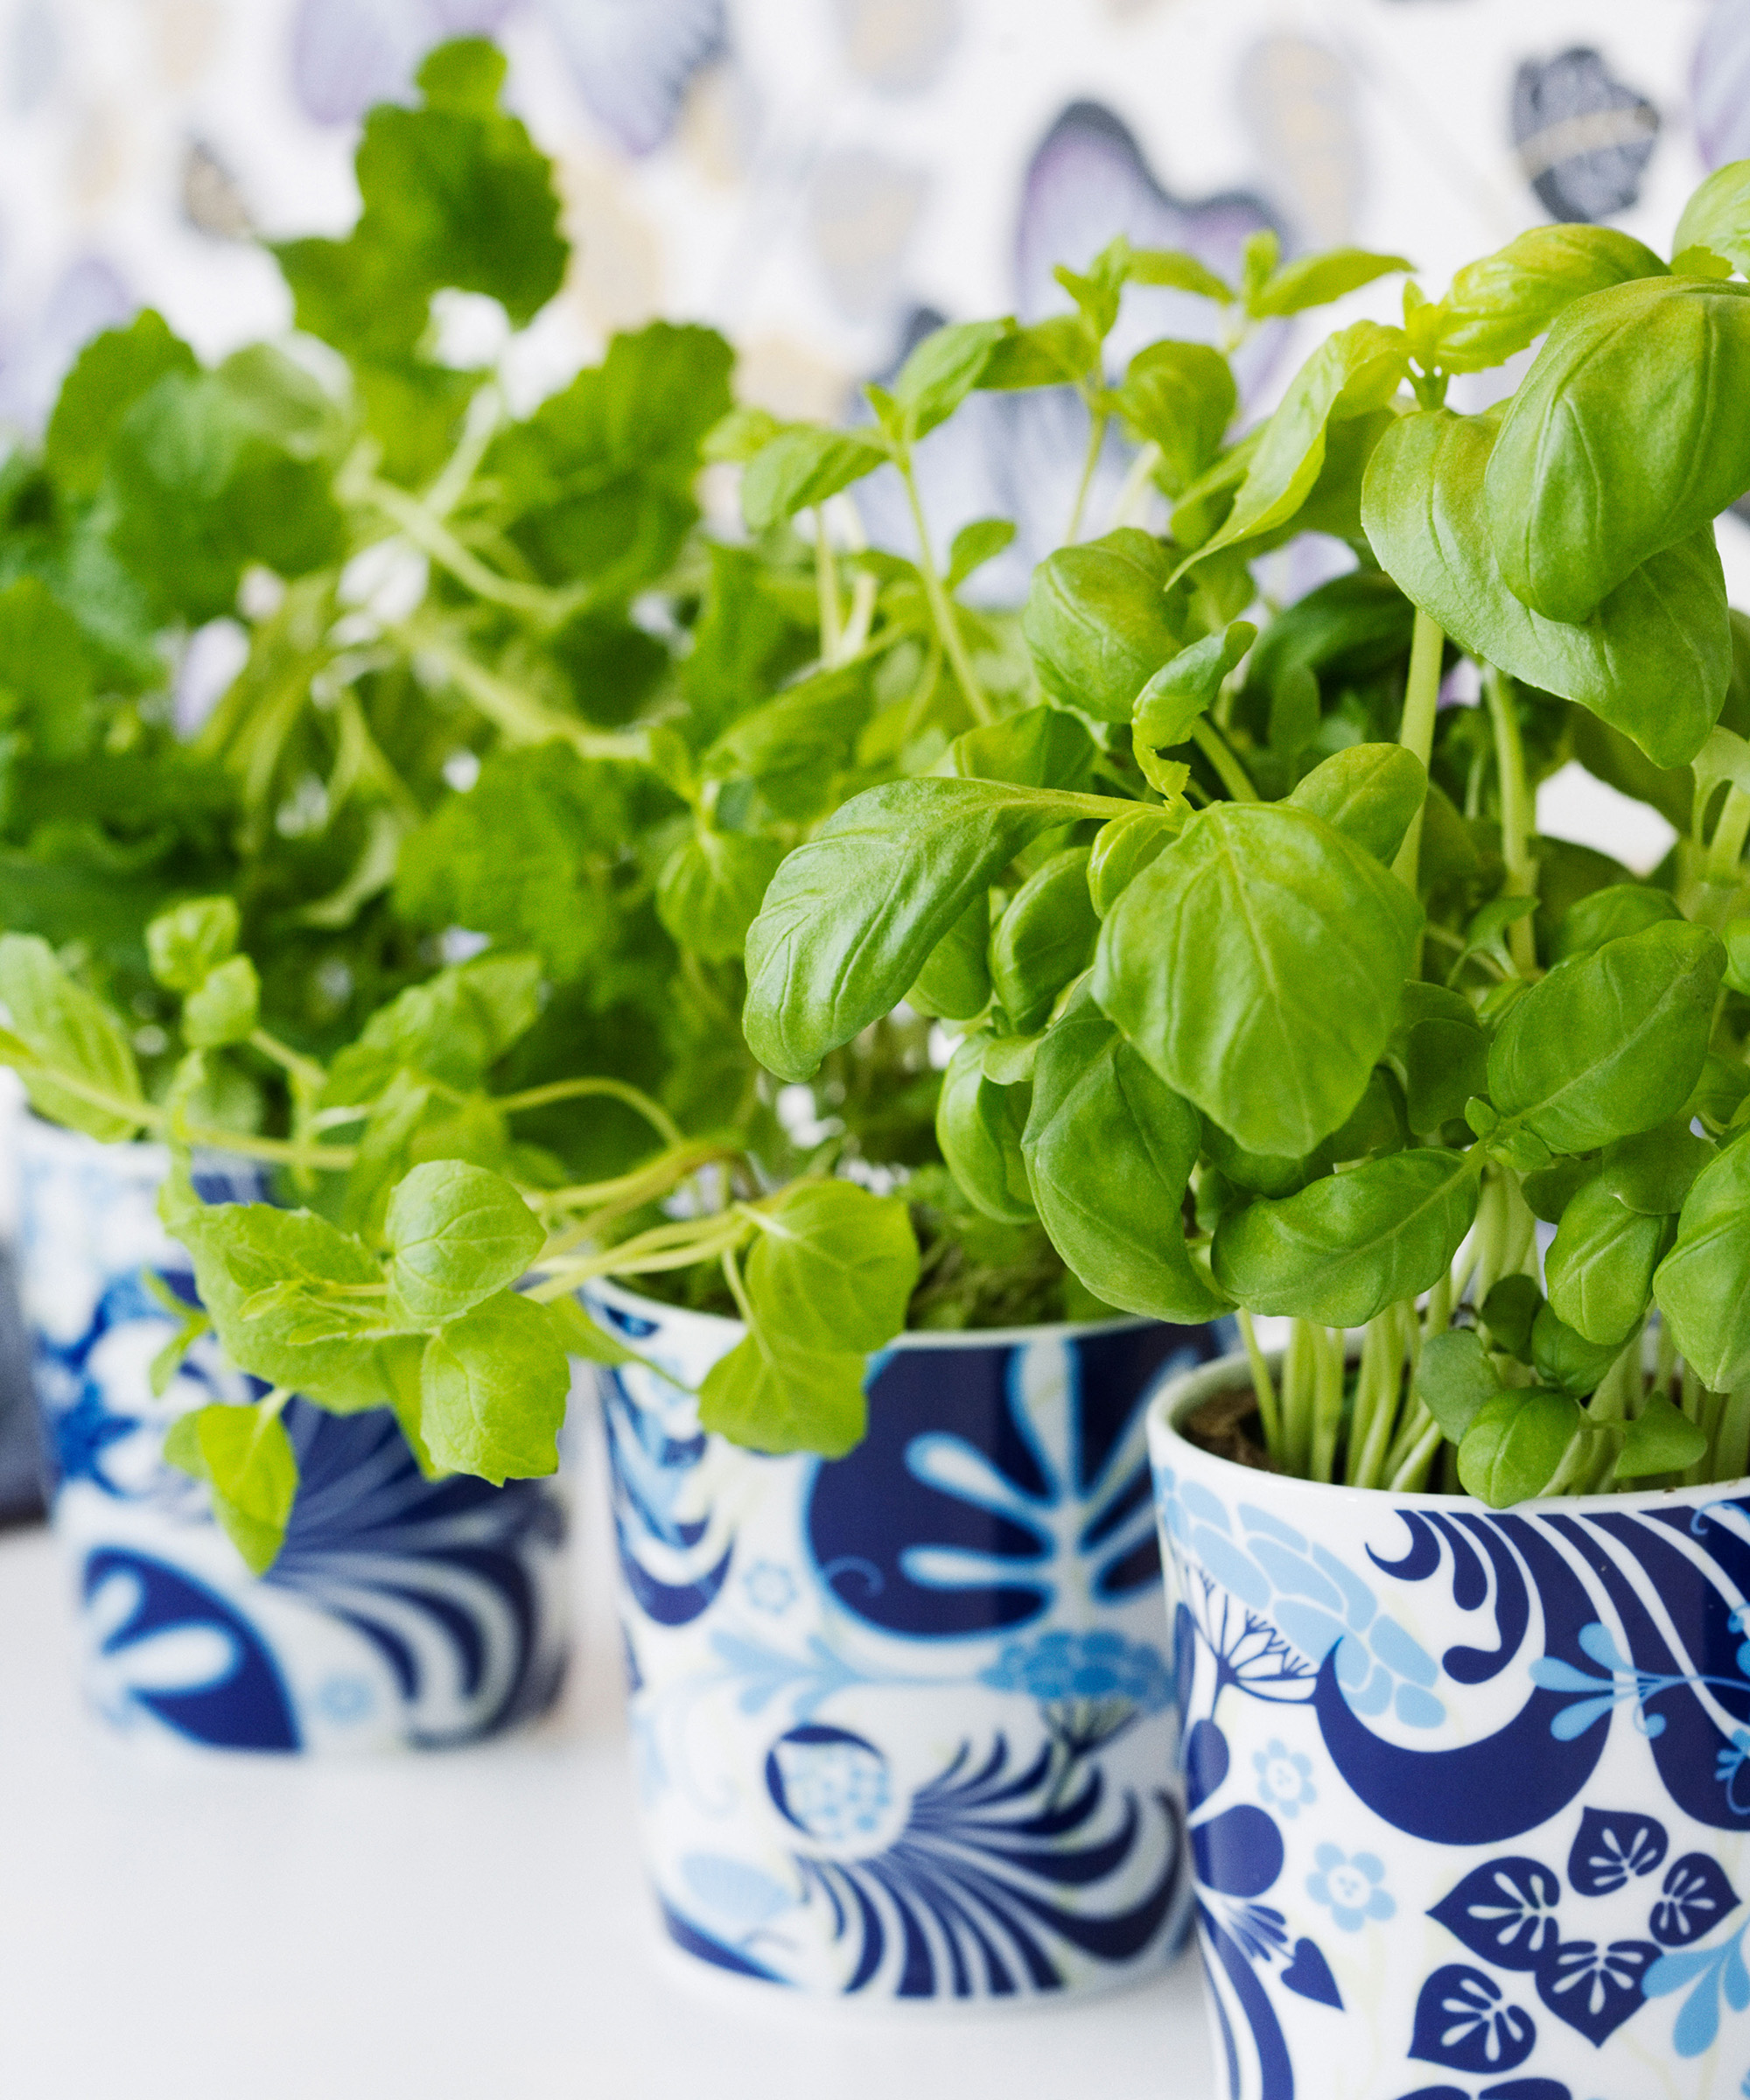
When learning how to dry basil, the first step to ensuring you get the best flavor is to harvest it at the right time. ‘Ideally, you want to pick basil in the morning after the dew has dried but before the sun is too intense,’ says Robin Phelps, Gardening and Preserving Coach at Sow Many Plants.
‘This preserves the essential oils in the leaves, which are the reason behind basil’s taste and aroma. Look for leaves that are vibrant and free from any damage or discoloration.’
Use clean pruning shears or snips to cut the stems just above the node, where new leaves will grow. This will not only help you harvest the leaves but will also encourage the plant to produce more leaves, keeping your basil bushy and healthy.
Design expertise in your inbox – from inspiring decorating ideas and beautiful celebrity homes to practical gardening advice and shopping round-ups.

Robin Phelps is a Gardening and Preserving Coach at Sow Many Plants, with over 20 years of experience in the gardening industry. She specializes in growing fruit and vegetables, with a dedication to teach others how to preserve and keep what they grow.
Step 2: Wash and Dry the Leaves
Once you've harvested your basil, it's crucial to wash the leaves gently. Fill a bowl with cool water and submerge the leaves, moving them around to remove any dirt, soil or insects.
Then, lay the leaves out on a clean kitchen towel or paper and pat them carefully. Any excess moisture can lead to mold during the drying process.
Step 3: Choose a Drying Method
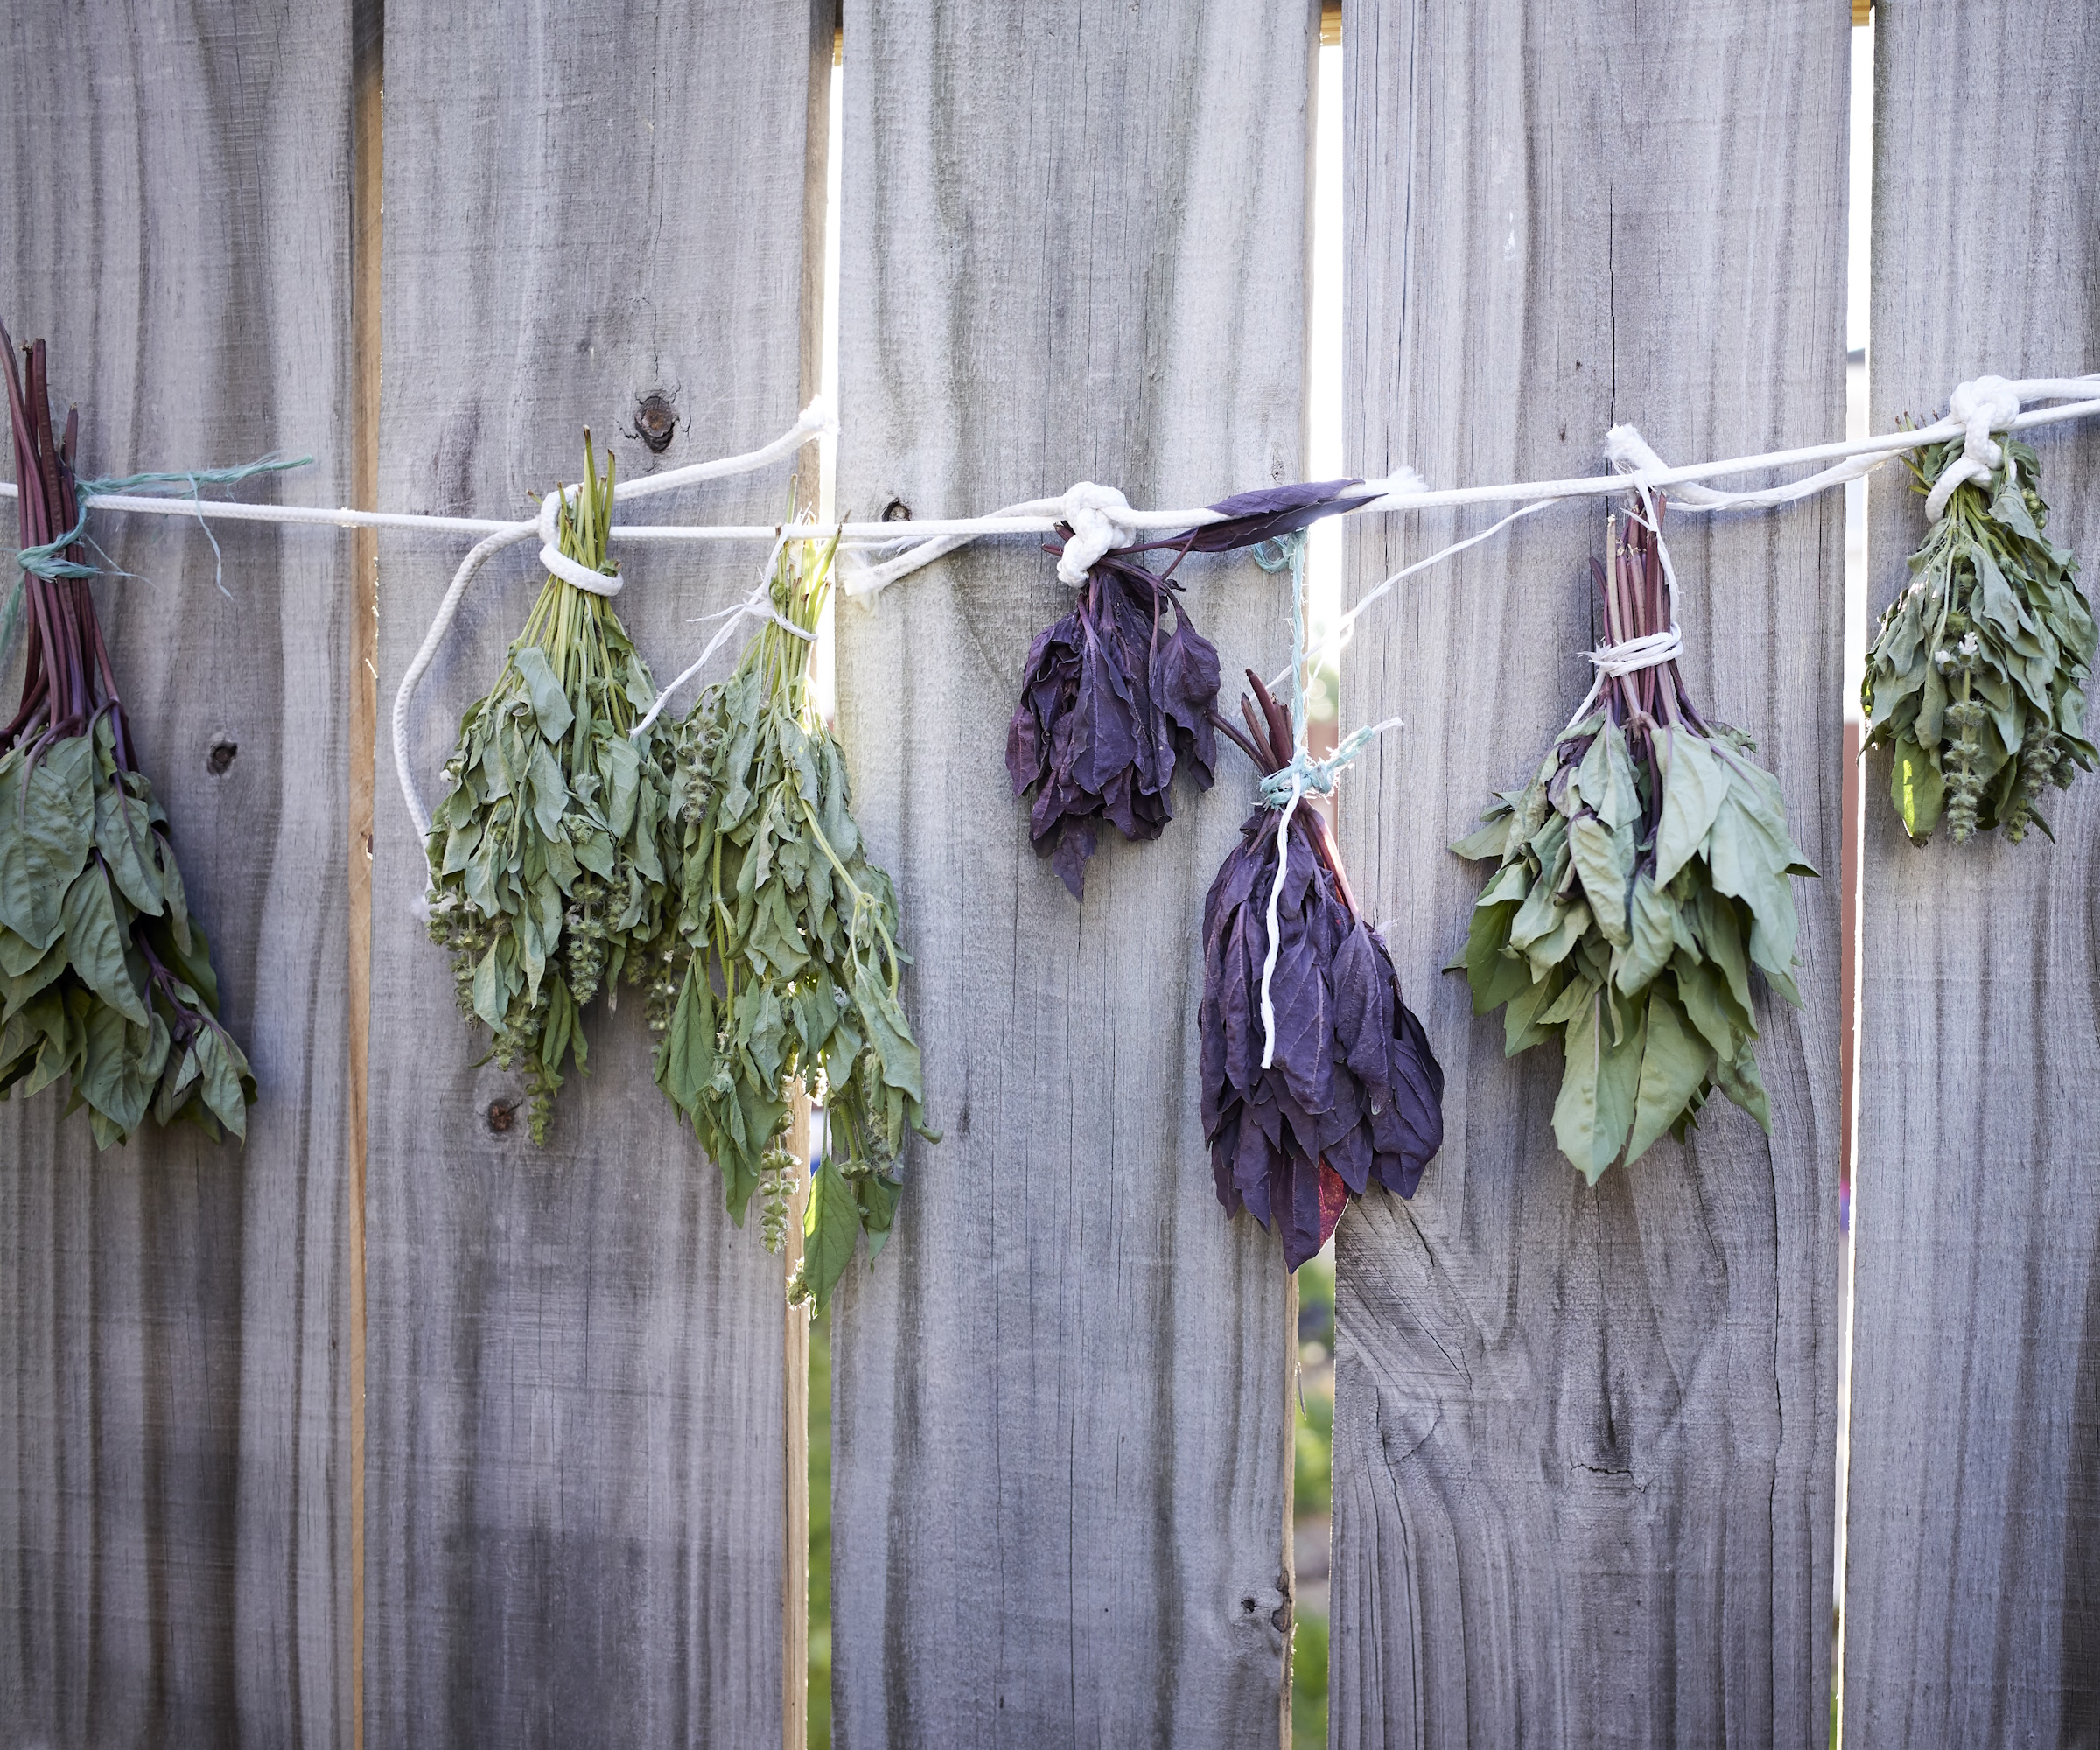
According to Tony O'Neill, gardening author and the creator of Simplify Gardening, there are a few methods you can use to dry basil, and choosing the right one depends on your preference and resources:
Air drying: ‘This traditional method involves tying small bunches of basil together with string and hanging them upside down in a cool, dark, and well-ventilated area, says Tony. ‘Ensure the bunches are not too large, as they need good air circulation to dry evenly.’
Make sure there is good air circulation around the leaves to prevent mold growth. This method can take several days to a week, but it’s a simple and effective way to dry basil.
Using a dehydrator: If you have a dehydrator such as the Tribest Sedona Express food dehydrator from Amazon, this can be a quick and efficient way to dry basil. Lay the leaves in a single layer on the trays, making sure they don’t overlap. Set the dehydrator to a low temperature (95-115°F) and let it run until the leaves are crisp.
Oven drying: Preheat your oven to its lowest setting, usually around 170°F. Place the basil leaves in a single layer on a baking sheet lined with parchment paper. Keep the oven door slightly open to allow moisture to escape, and check the leaves regularly until they are completely dry.

Tony O'Neill is a gardening expert, author, and educator. With a thriving YouTube channel boasting 405,000 subscribers and over 1.4 million monthly views, along with his award-winning website Simplifygardening.com, he shares his passion for gardening and sustainability. He has also authored Composting Masterclass, Your First Vegetable Garden, and Simplify Vegetable Gardening, empowering individuals to cultivate their own green spaces.
Step 4: Storing your Dried Basil
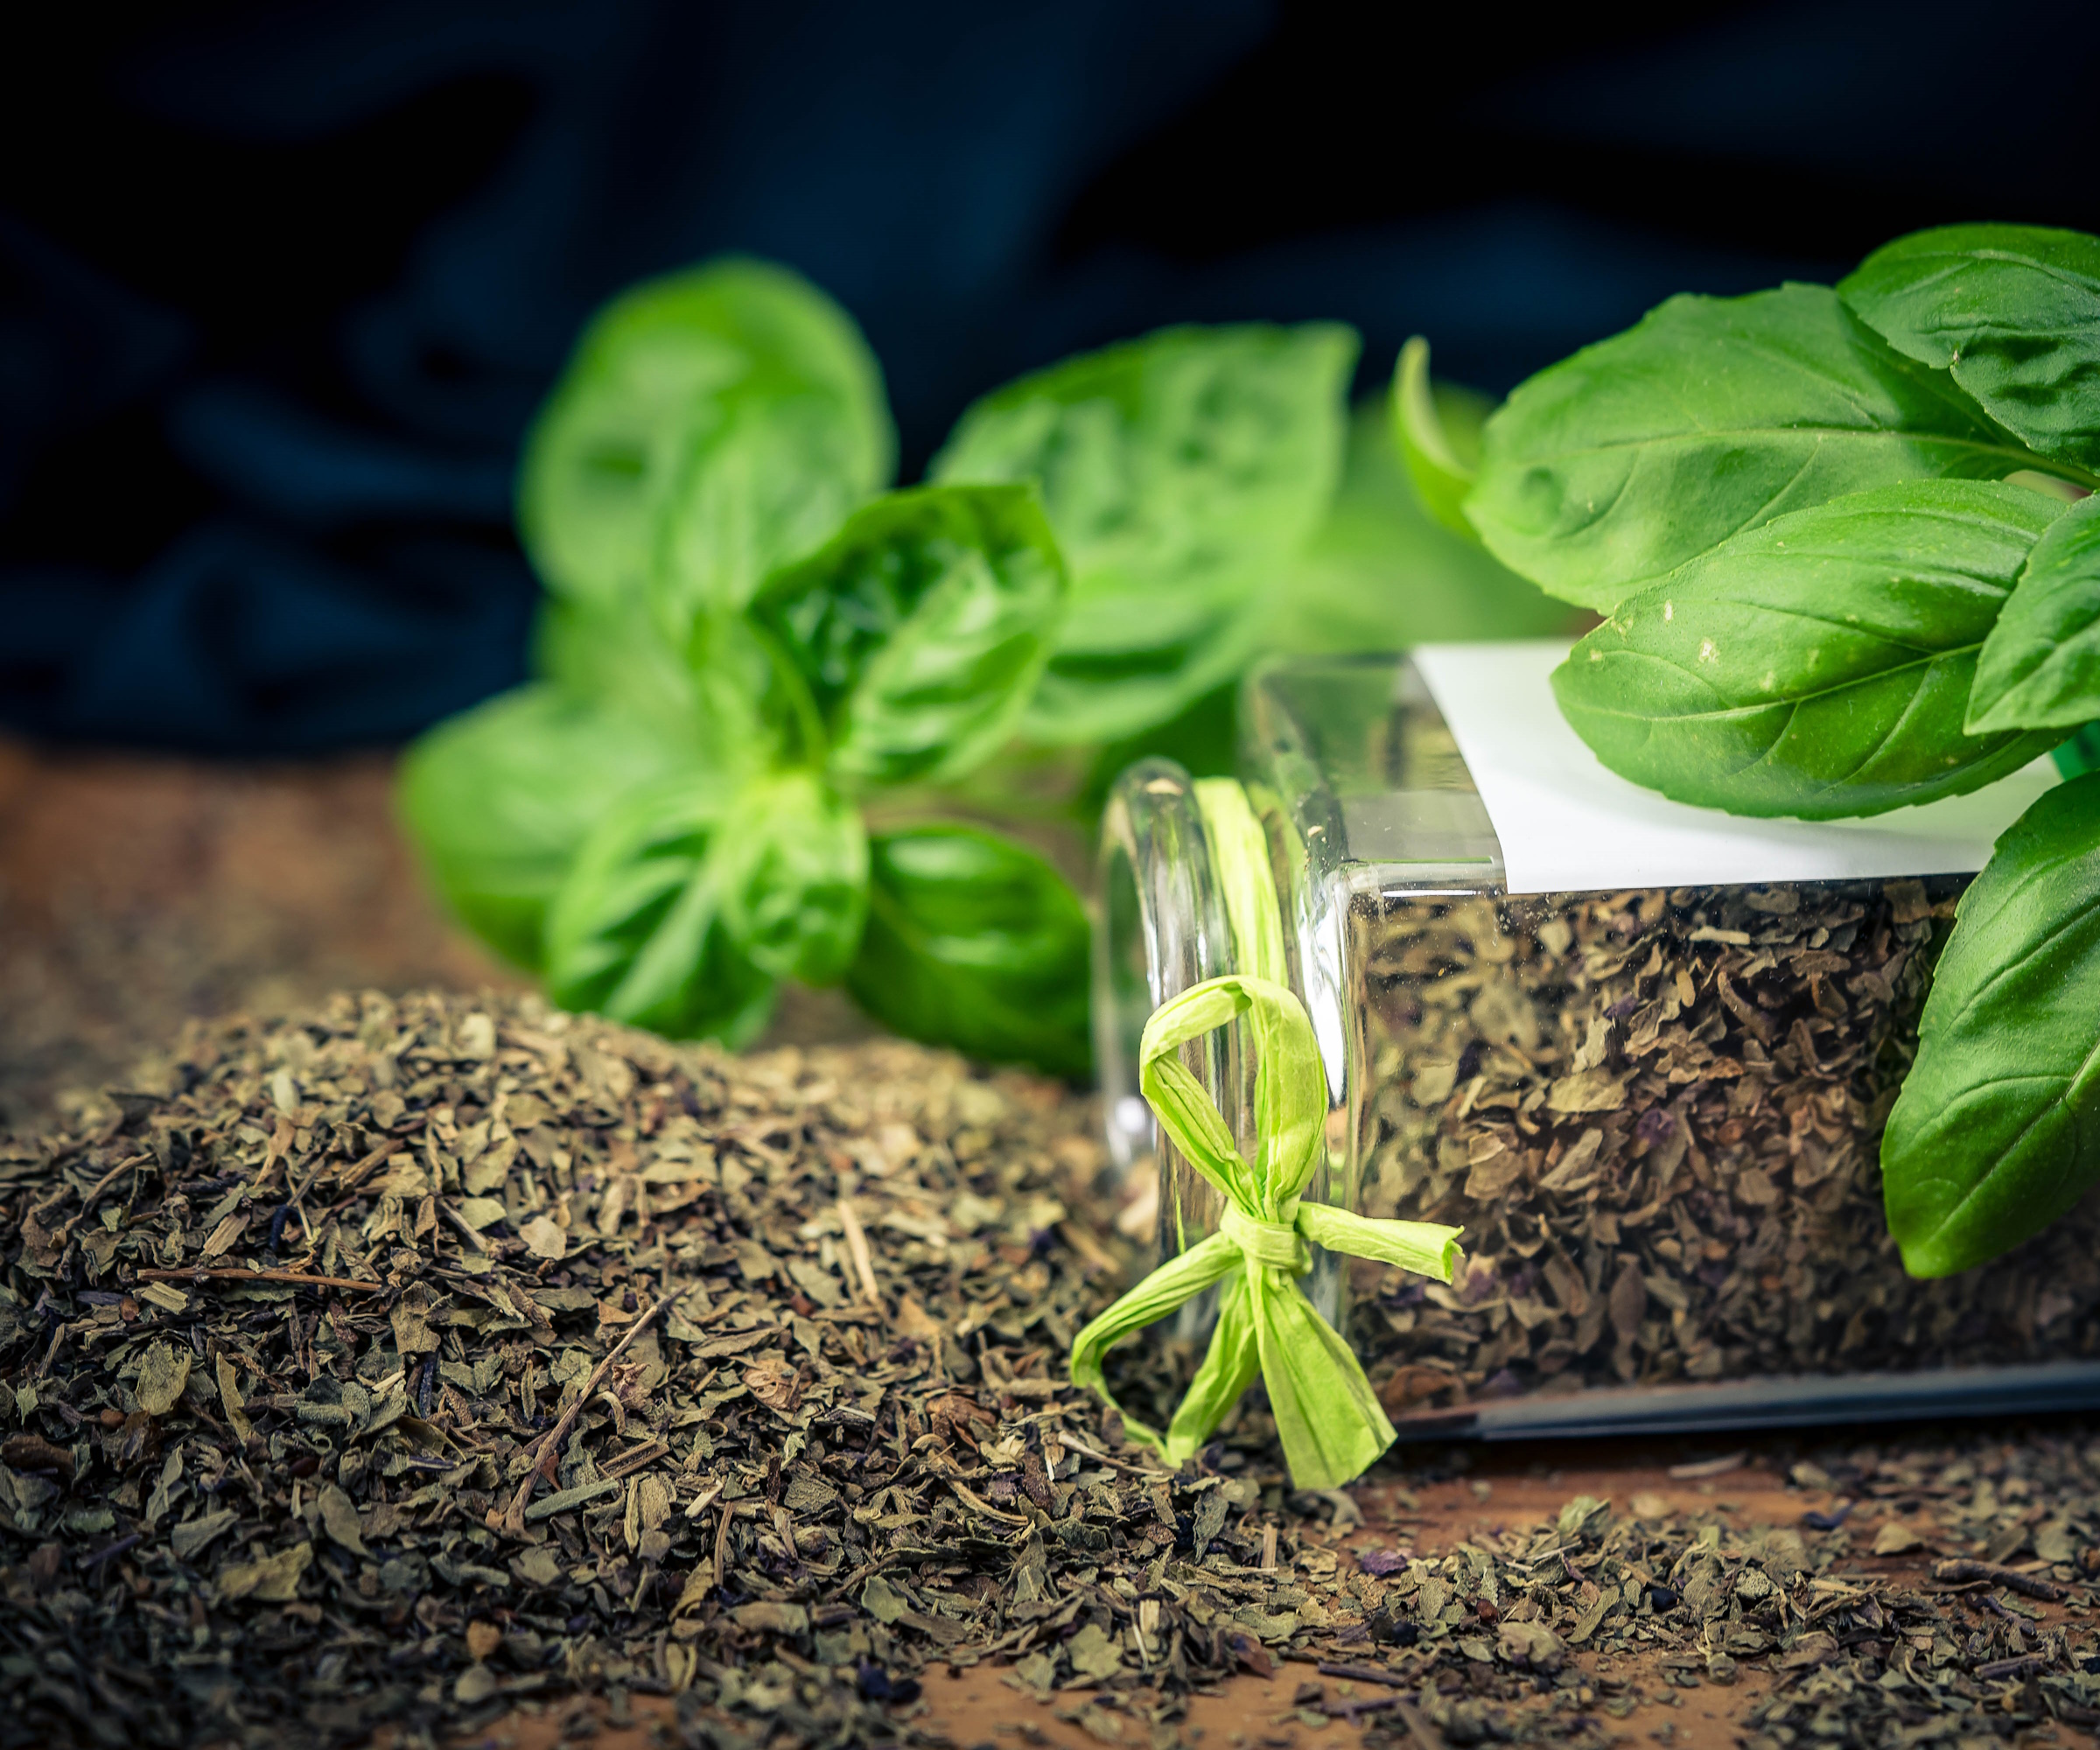
After your basil leaves are completely dry, it's important to store them properly to maintain their flavor. There are a variety of different ways you can do this:
Glass jars: Store your dried basil leaves in clean, dry glass jars with tight-fitting lids from Amazon. This prevents moisture and contaminants from getting in, keeping your basil fresh.
Vacuum sealing: For even longer freshness, use a vacuum sealer to remove excess air from the jar before sealing it. This method can help maintain the basil’s flavor for an extended period.
Freezing: If you have an abundance of dried basil, you can freeze it in an airtight container or freezer bag. This is an excellent method for long-term storage.
If you would rather ground basil, gently crush the leaves with your hands or a pestle and mortar, such as this from Amazon, but don’t grind them into a fine powder. Store the crushed basil in an airtight container, and keep it in a cool, dark place.
The great thing about basil, is that it regrows quicker the more frequently you harvest it. Regular pruning promotes bushier plants and prevents flowering, which can diminish flavor. Basil is a half-hardy annual, which means it completes its life cycle in one year, and you will need to sow new seeds in the spring for a fresh crop. To cultivate a healthy herb, ensure it receives ample sunlight - ideally 6 to 8 hours daily.

Seraphina is a contributing editor at Homes & Gardens, writing Solved features on organizing and storage. She loves to decorate and also grow her own produce from her home in London. Her previous experience includes working at Women's Health and Fabulous Magazine.
- Rachel BullHead of Gardens