Now is the time to divide dahlia tubers that are planting ready – discover how to multiply your exquisite summer blooms for free, before it's too late
Multiply your dahlia collection for free with this step-by-step guide
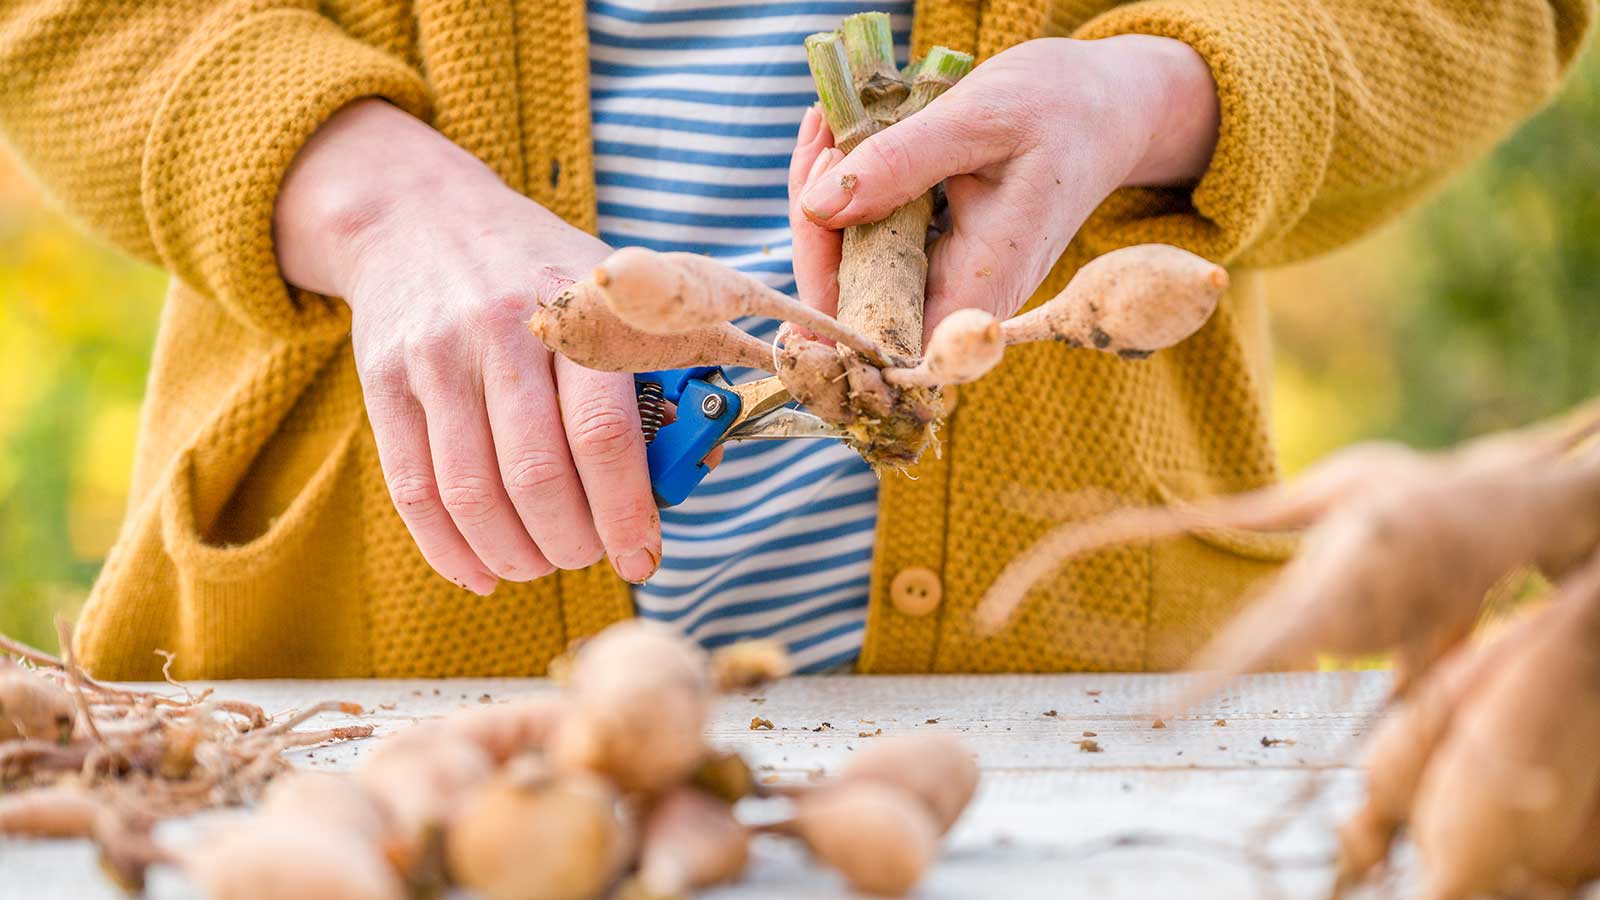

Dividing dahlias is a quick and easy way to propagate them, meaning you'll get more plants for free. And, as one of the best summer bloomers, boasting a stunning spectrum of colors and forms, who wouldn't want to multiply their stock?
Dahlias produce more of their fleshy tubers each growing season, resulting in often-large clumps. Every year or two, healthy sections can be carefully cut apart and replanted. It can be a little more fiddly than dividing other plants, but you'll be rewarded with lots more flower power for your borders and pots.
Below, you'll find a practical guide on how to try this trick at home, with lots of expert insights from horticulturist Peggy Anne Montgomery from Flowerbulb.eu. Whatever types of dahlias you're growing, it's definitely worth giving it a go.
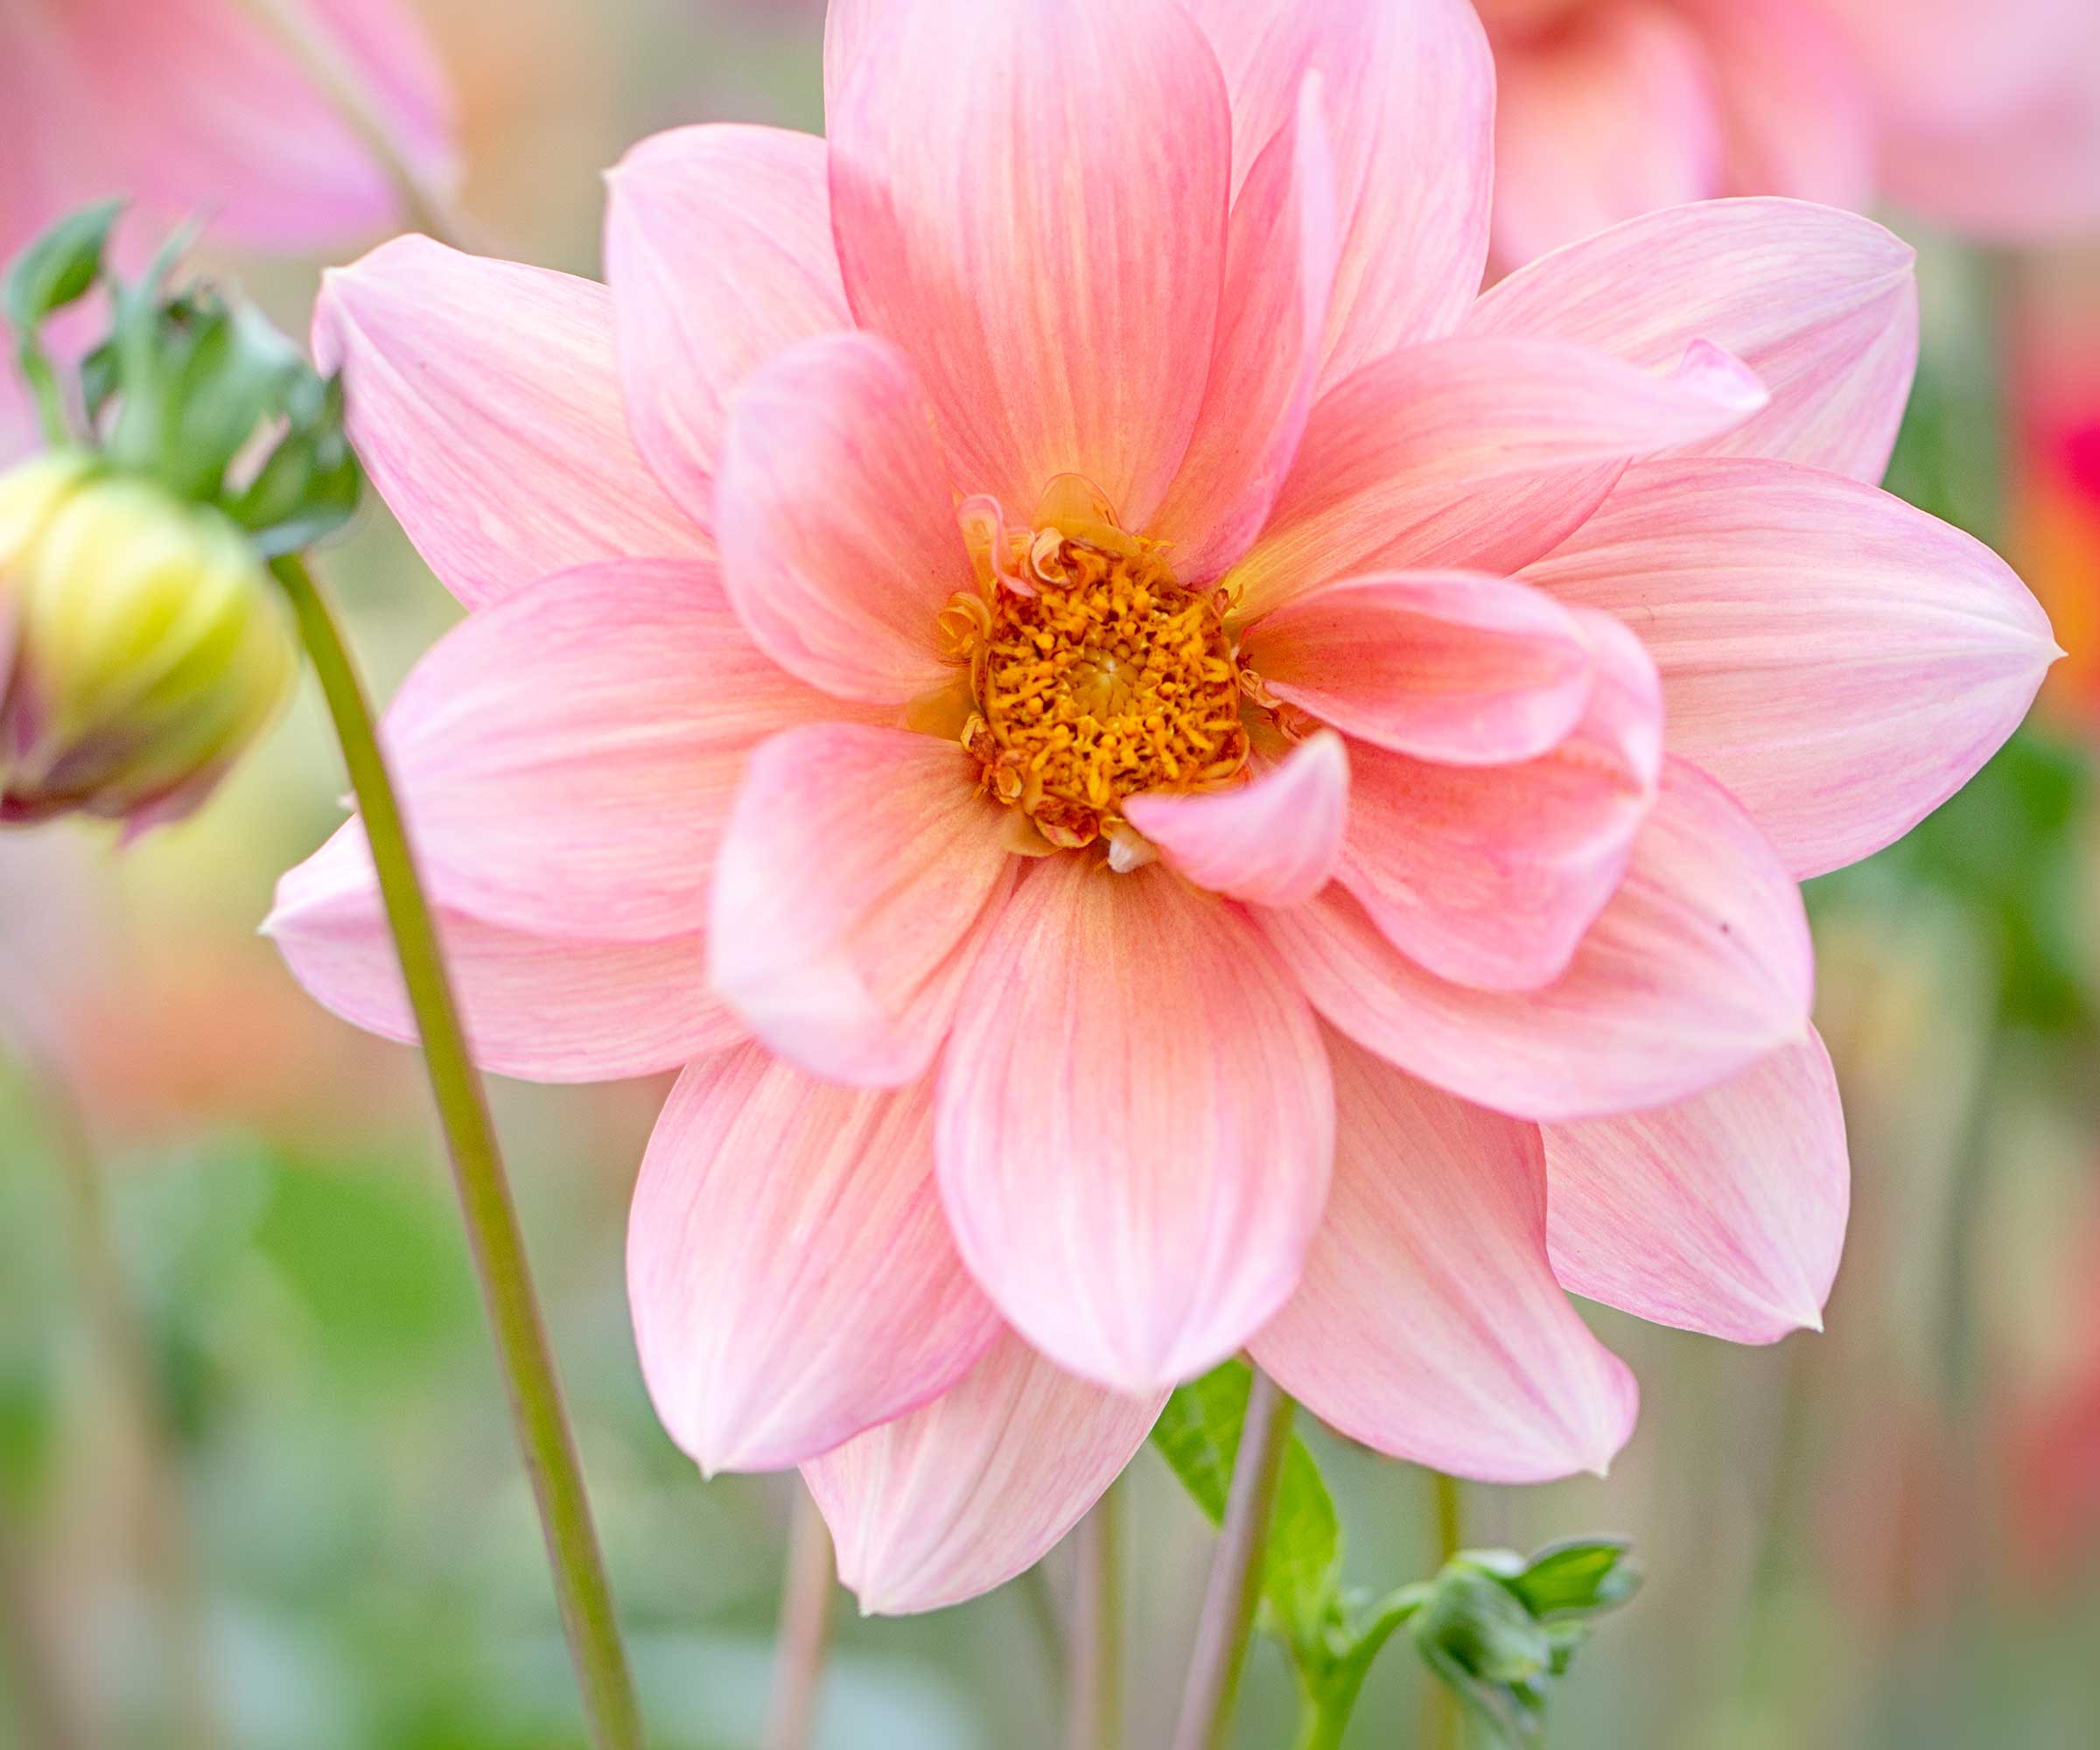
Dahlias are the perfect choice for a cutting garden
A step-by-step guide for dividing dahlias
If you're looking for spring gardening tasks, be sure to add this to your list. According to Peggy Anne, the best time to divide dahlia tubers is in the spring - just before planting.
1. Dig up your dahlias
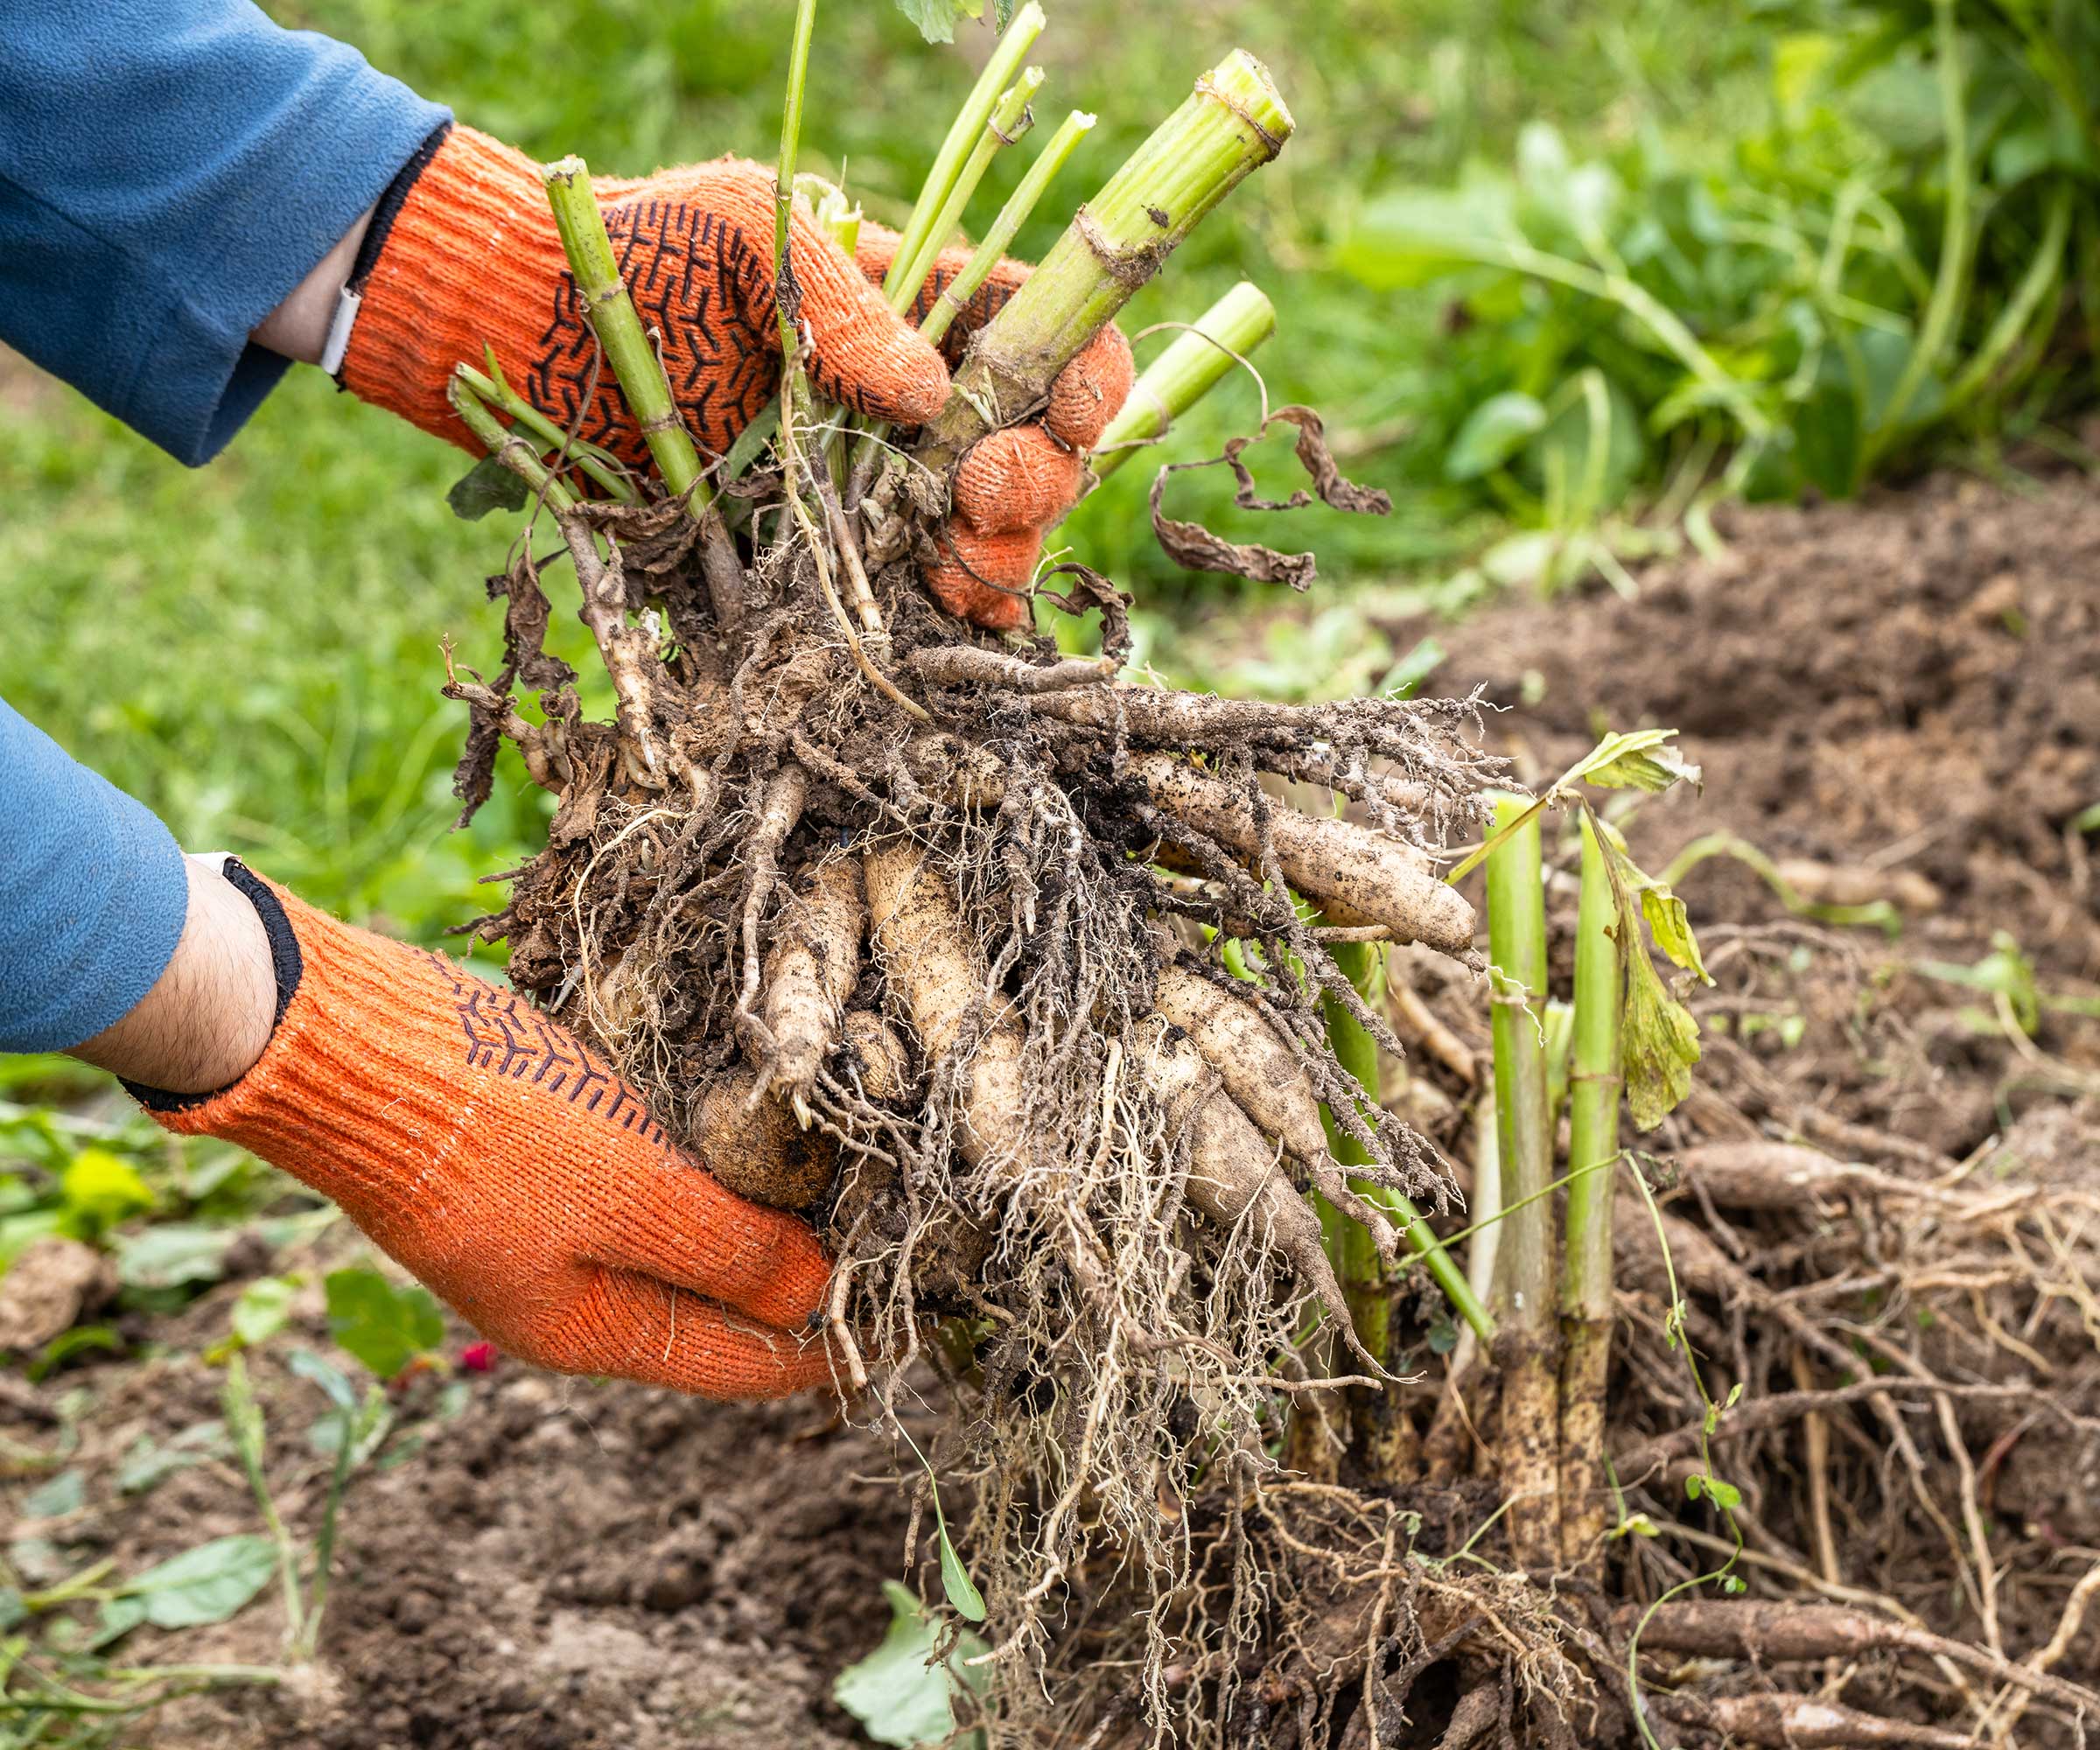
Be careful not to damage the tubers as you lift them
The first step in dividing dahlias is to dig them up from the ground. You may have already done this. If you experience cold winters where you live, you will need to do this in the fall anyway to overwinter them. This is because they are tender plants that are easily damaged by freezing temperatures and wet soil.
Peggy Anne says to wait until the first frosts have blackened the foliage, and then cut the stems down to about six inches. 'Use a garden fork or shovel to carefully dig around the plant, lifting the entire clump without damaging the tubers. Remember that they have grown since you planted them, so give yourself plenty of room when digging.'
Once you've retrieved the bundle of dahlia tubers from the ground, Peggy Anne recommends shaking or brushing off the excess soil, or rinsing them with water. After this, let them dry in a well-ventilated, shady area for a day or two.
Design expertise in your inbox – from inspiring decorating ideas and beautiful celebrity homes to practical gardening advice and shopping round-ups.

Peggy Anne Montgomery is a horticulturist with more than 35 years of experience in the industry in the Netherlands and the U.S. Her home garden has appeared on television, in several gardening books, and in many magazines. Today, she is an executive account manager at the Garden Media Group, where she represents Dutch Royal Anthos, the largest consortium of Dutch bulb growers and exporters in the U.S. and Canada.
2. Locate the right points to split your tubers
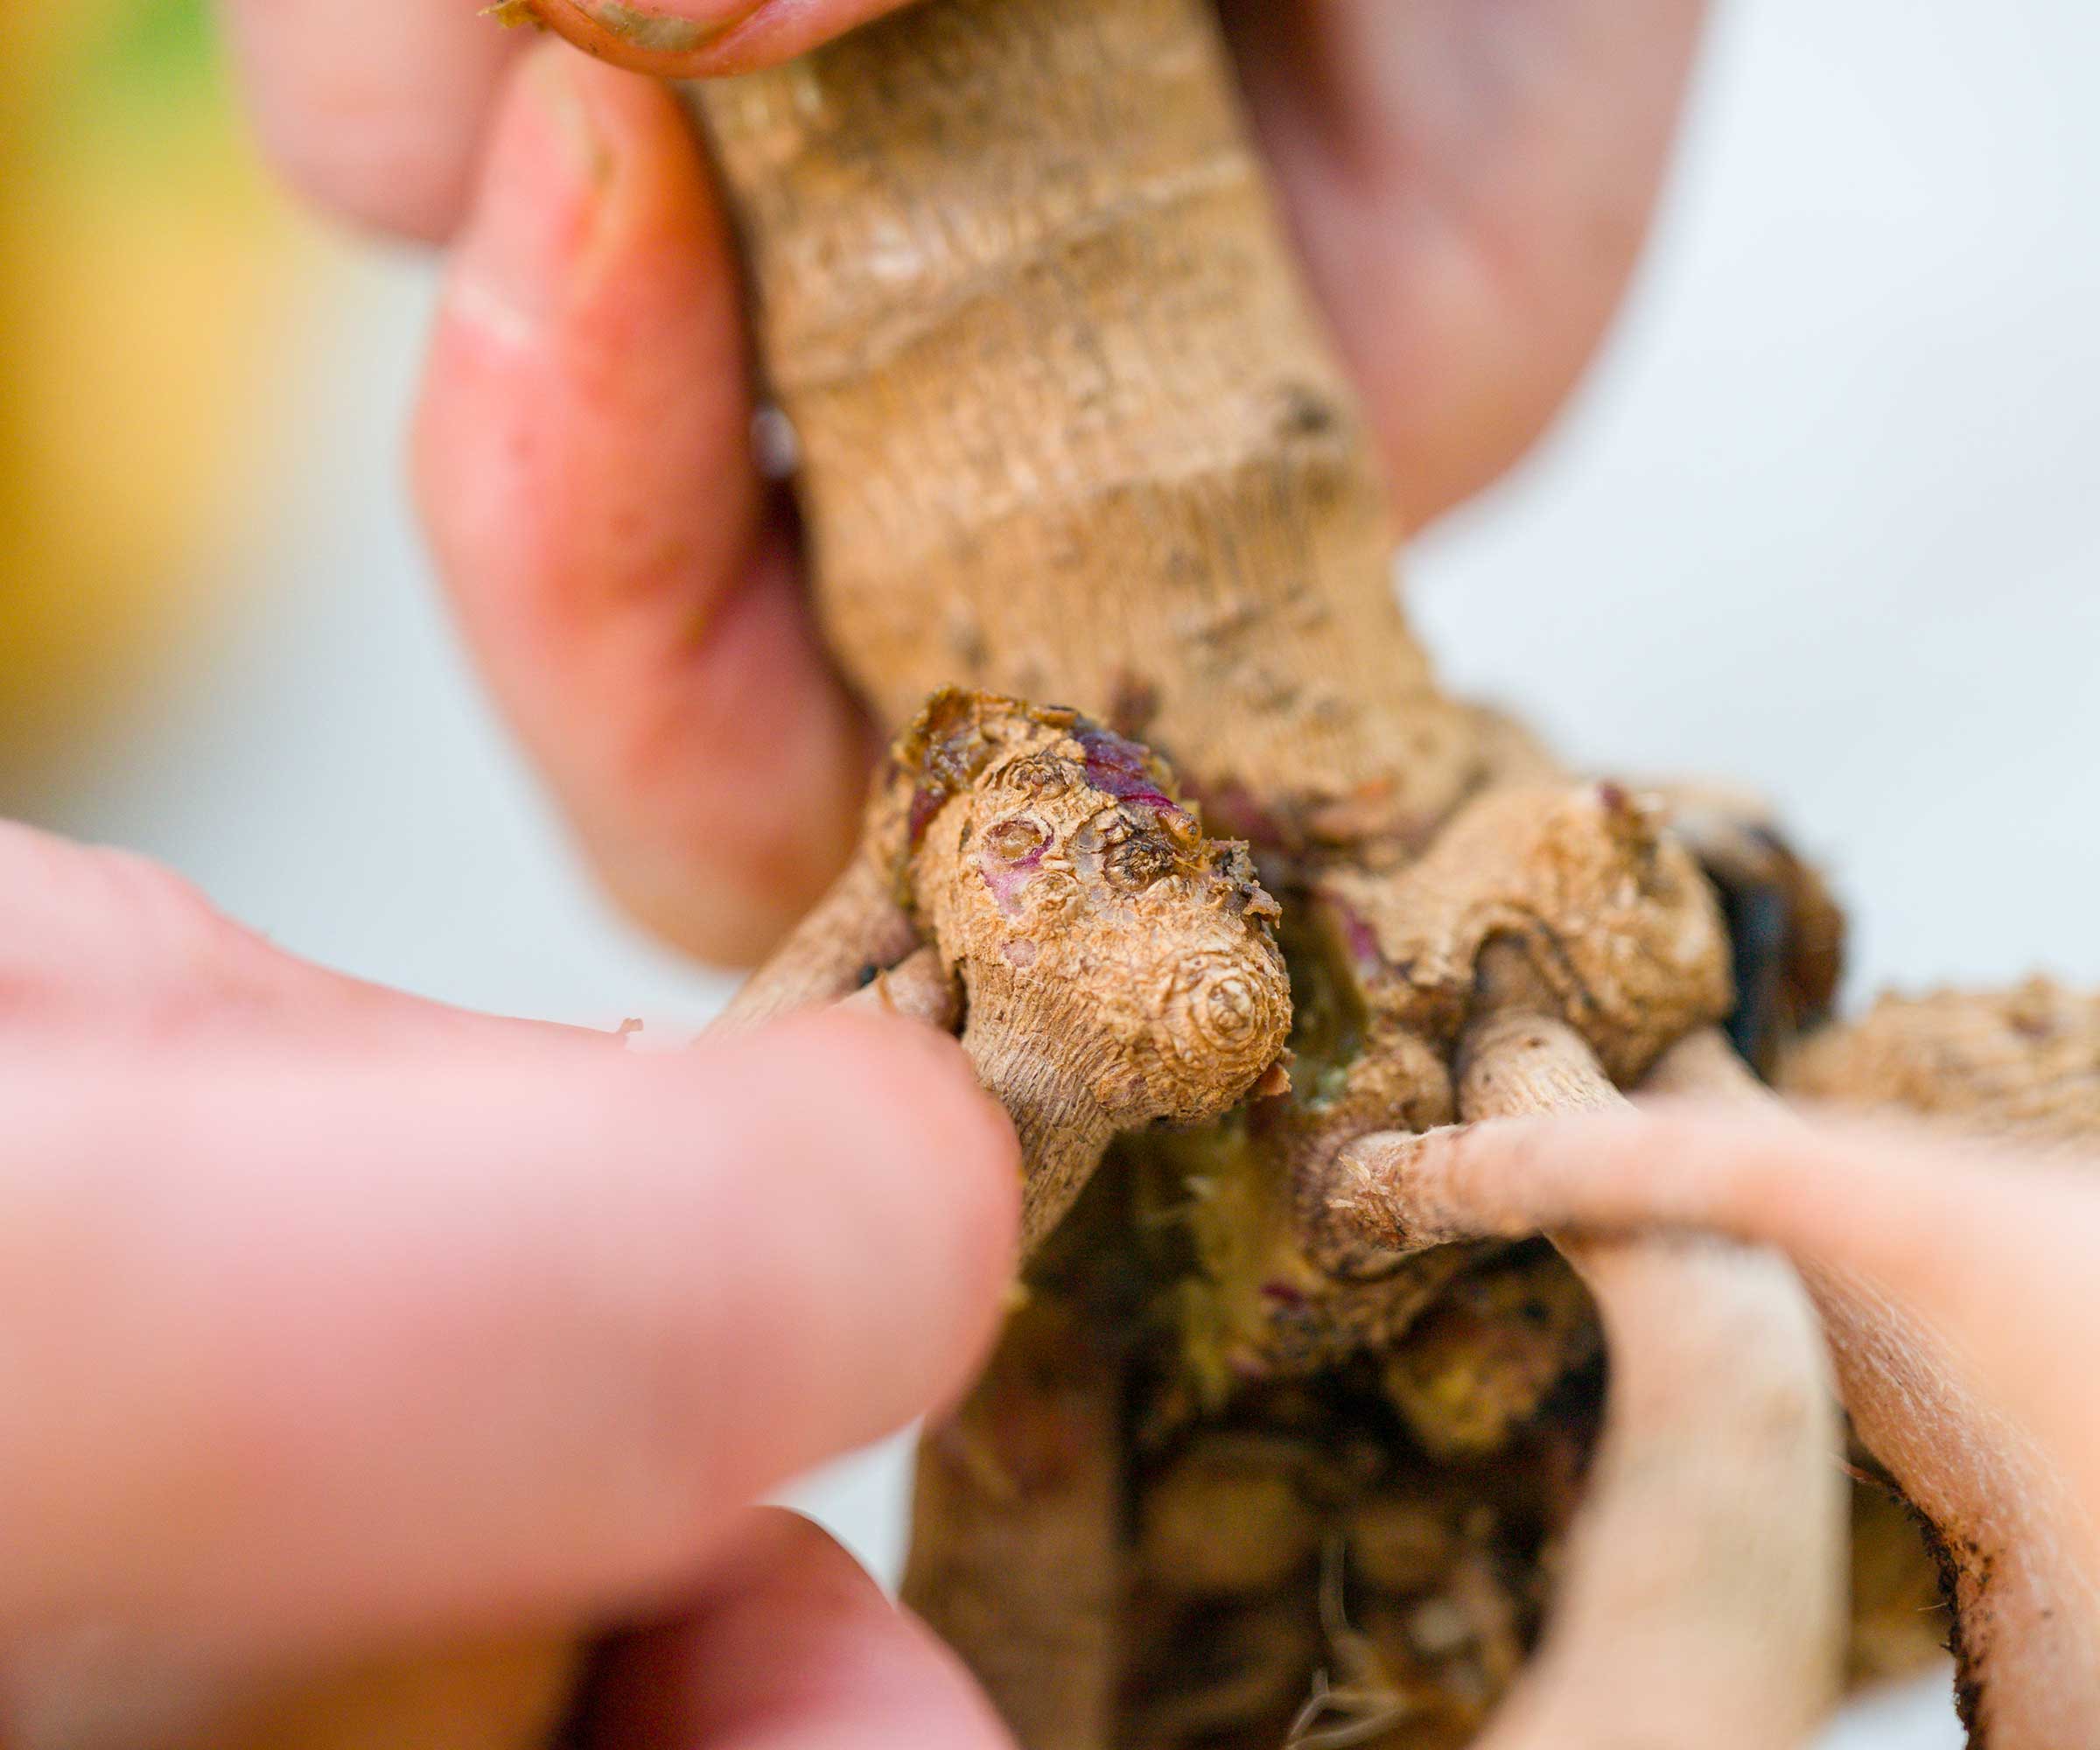
Dahlia 'eyes' can be various colors, including purple or brown
It's important to split your dahlias at the right points. To do so, Peggy Anne says to locate the 'eyes' on the tubers, which are small growth nodes where new shoots emerge. 'They are on the stem where the tubers attach,' she says, highlighting how each divided tuber must have at least one eye to grow into a new plant.
You may end up with some singular tubers, and some small clusters. 'It is far better to make fewer divisions if it's difficult to see the "eyes",' Peggy Anne adds.
3. Divide the tubers using a sharp tool
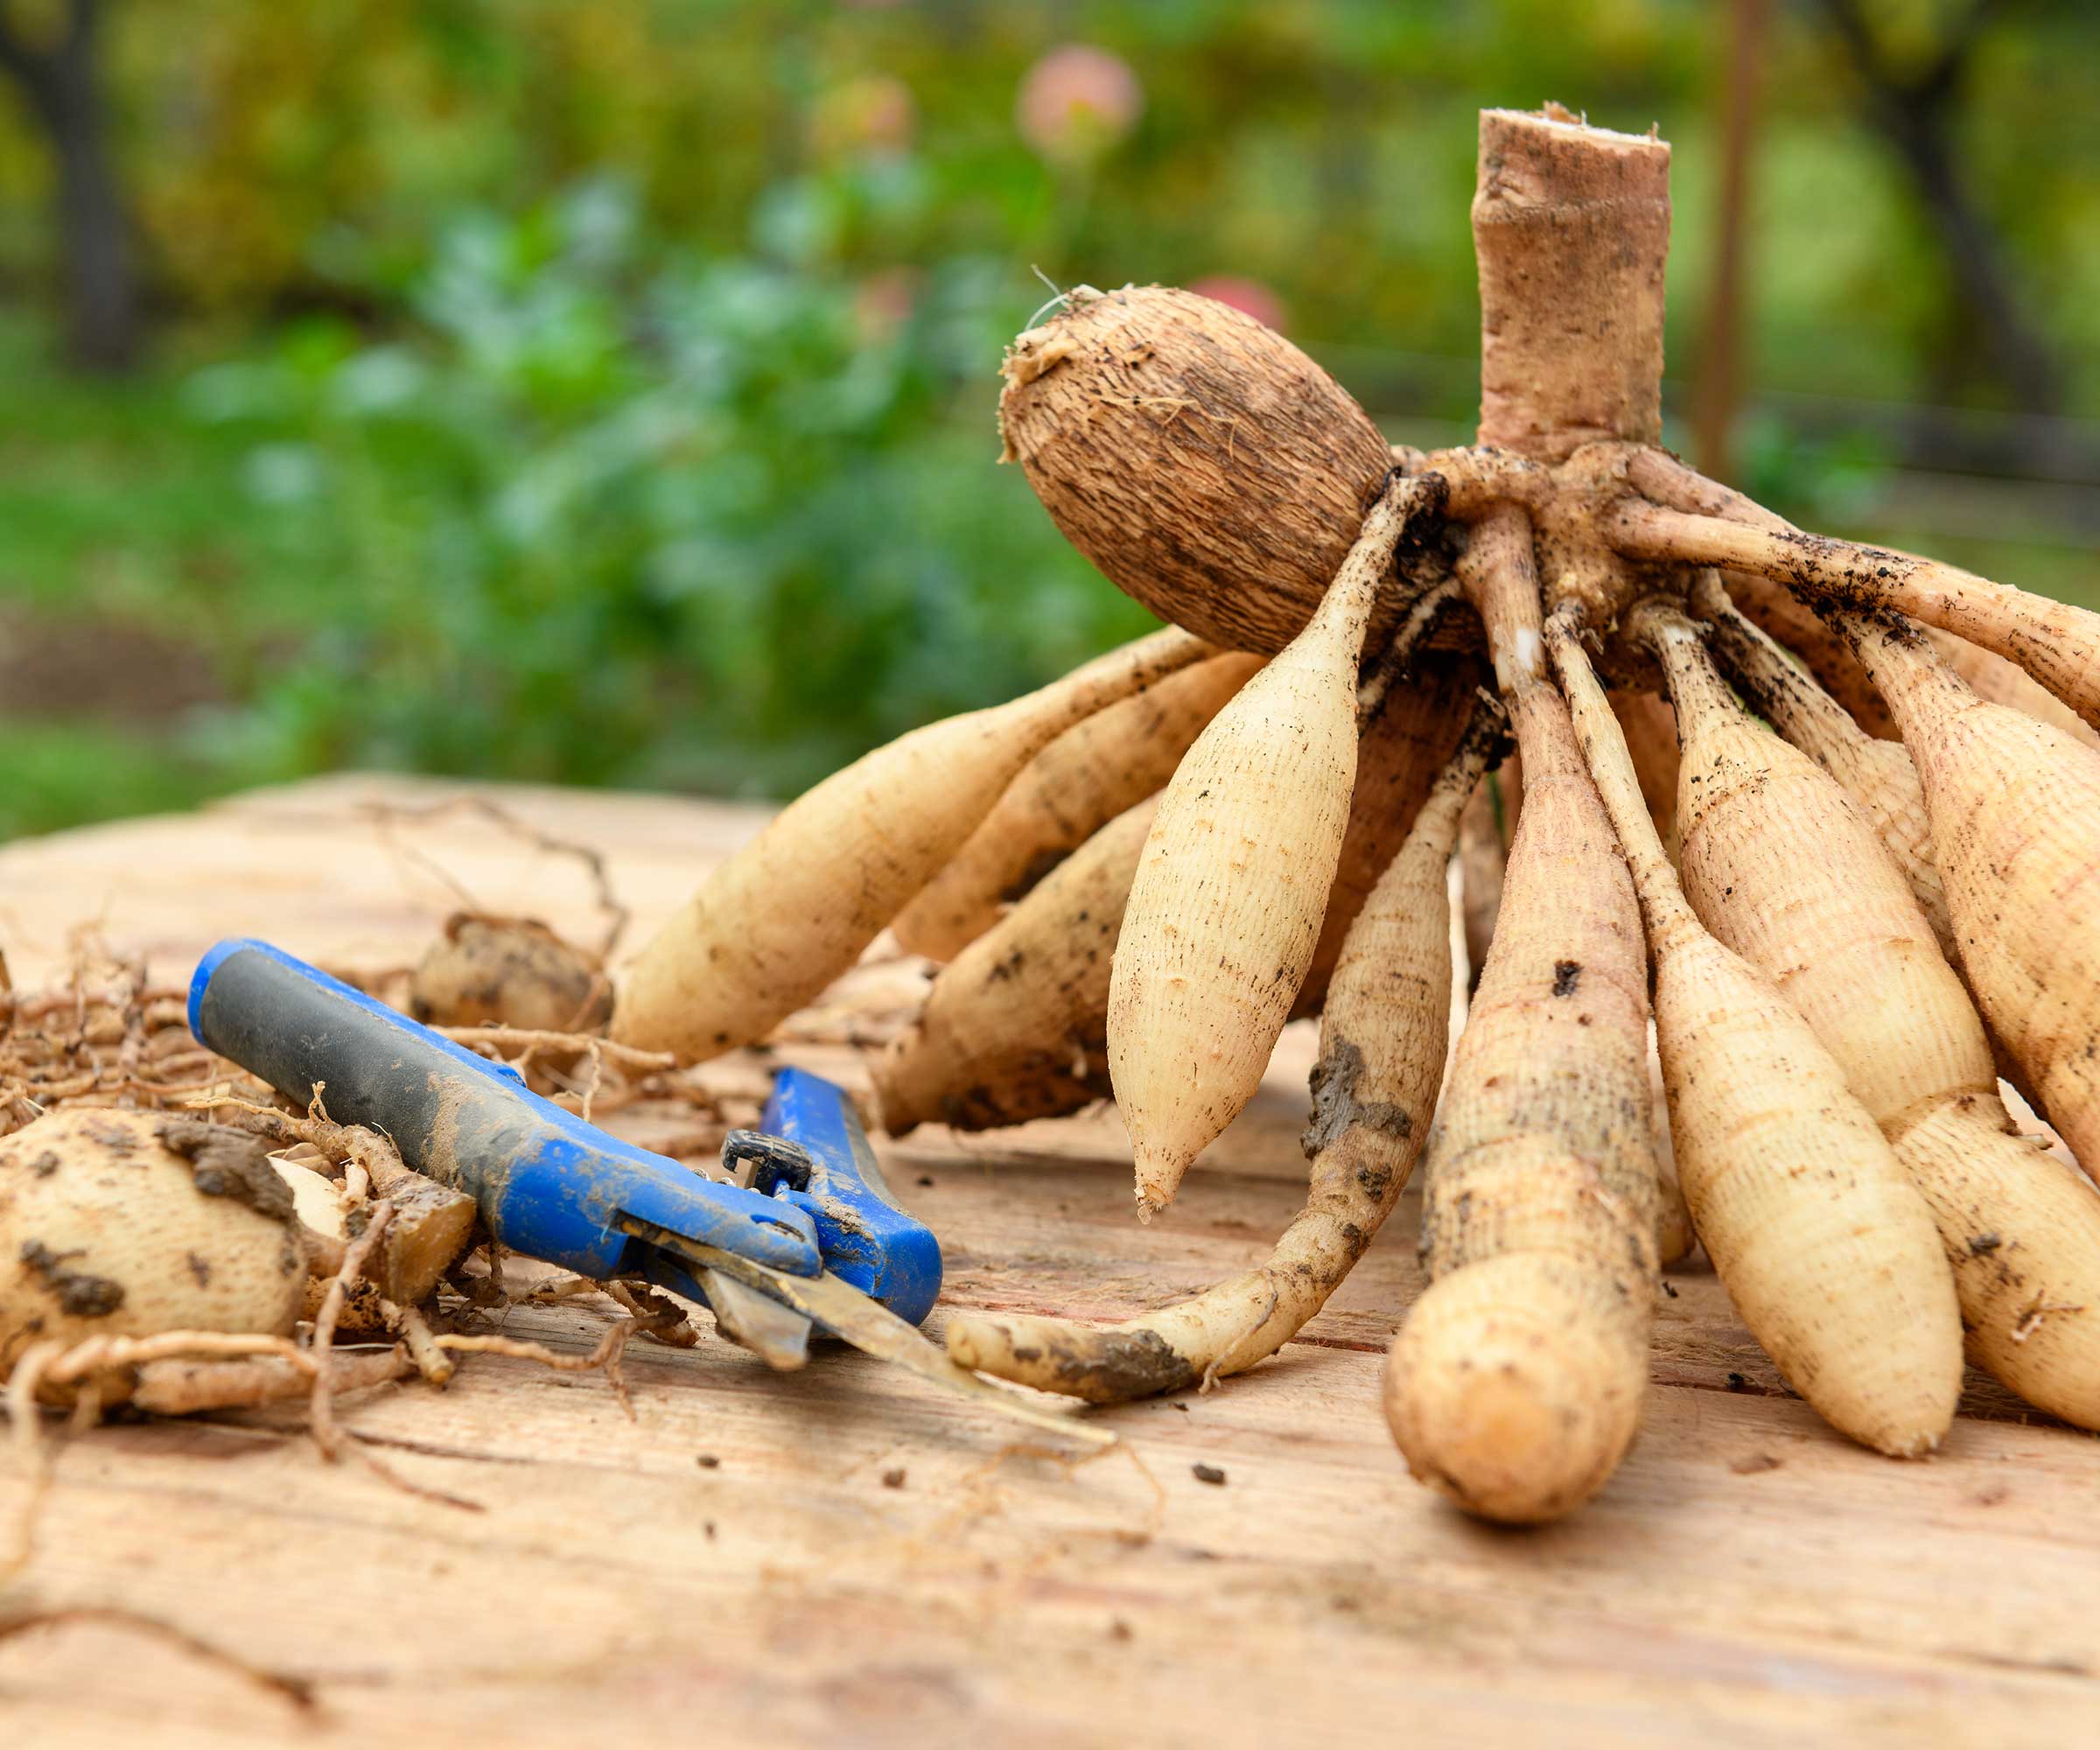
Cut the clusters of tubers apart carefully
Once you're confident on exactly where to divide your dahlia tubers, you can start making the cuts.
'Use a sharp, clean knife or pruning shears to cut tubers apart at natural divisions,' says Peggy Anne. To prevent spreading any dahlia diseases, it's best to disinfect your tool between cuts (Peggy Anne recommends dipping pruning shears in alcohol, and you can do this with your knife, too).
Remember to check the quality of the tubers as you go. Any shriveled, rotting, or damaged ones can be removed.
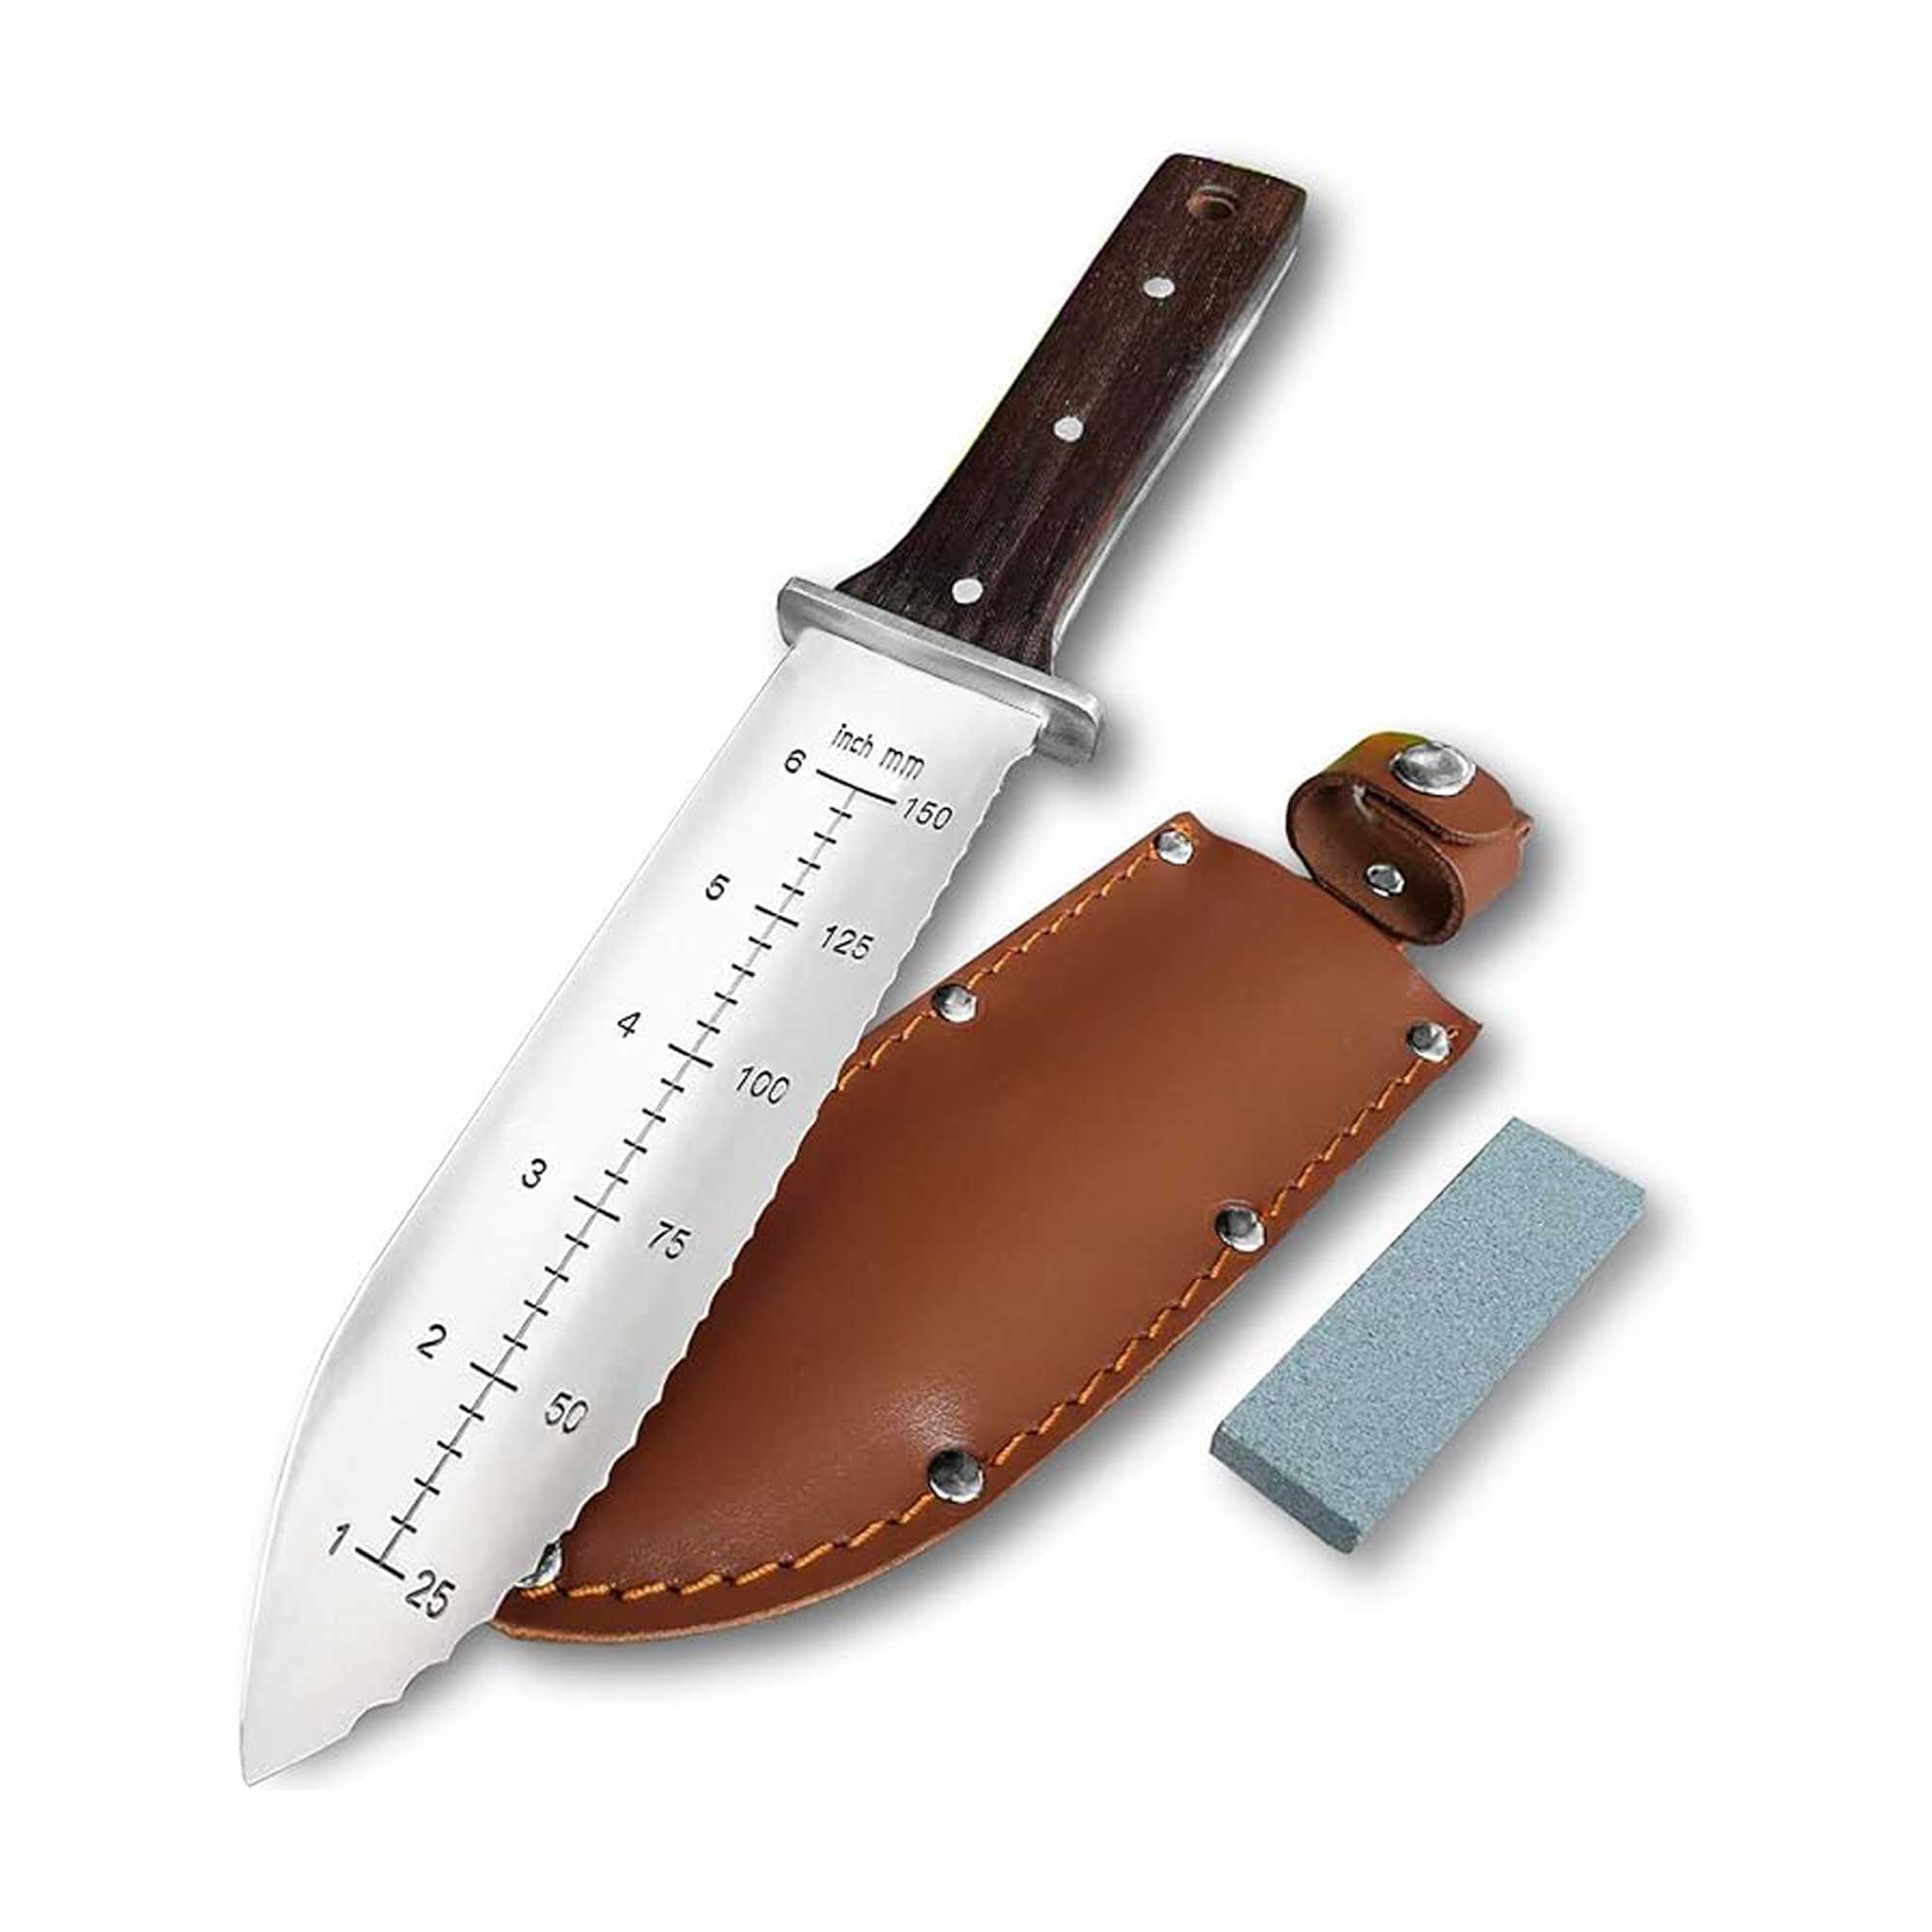
This well-rated gardening knife with a rust-proof, stainless steel blade is a popular buy amongst customers. One edge is serrated while one is straight, and there are also depth markers, making it a super versatile tool. A sharpening stone is also included.
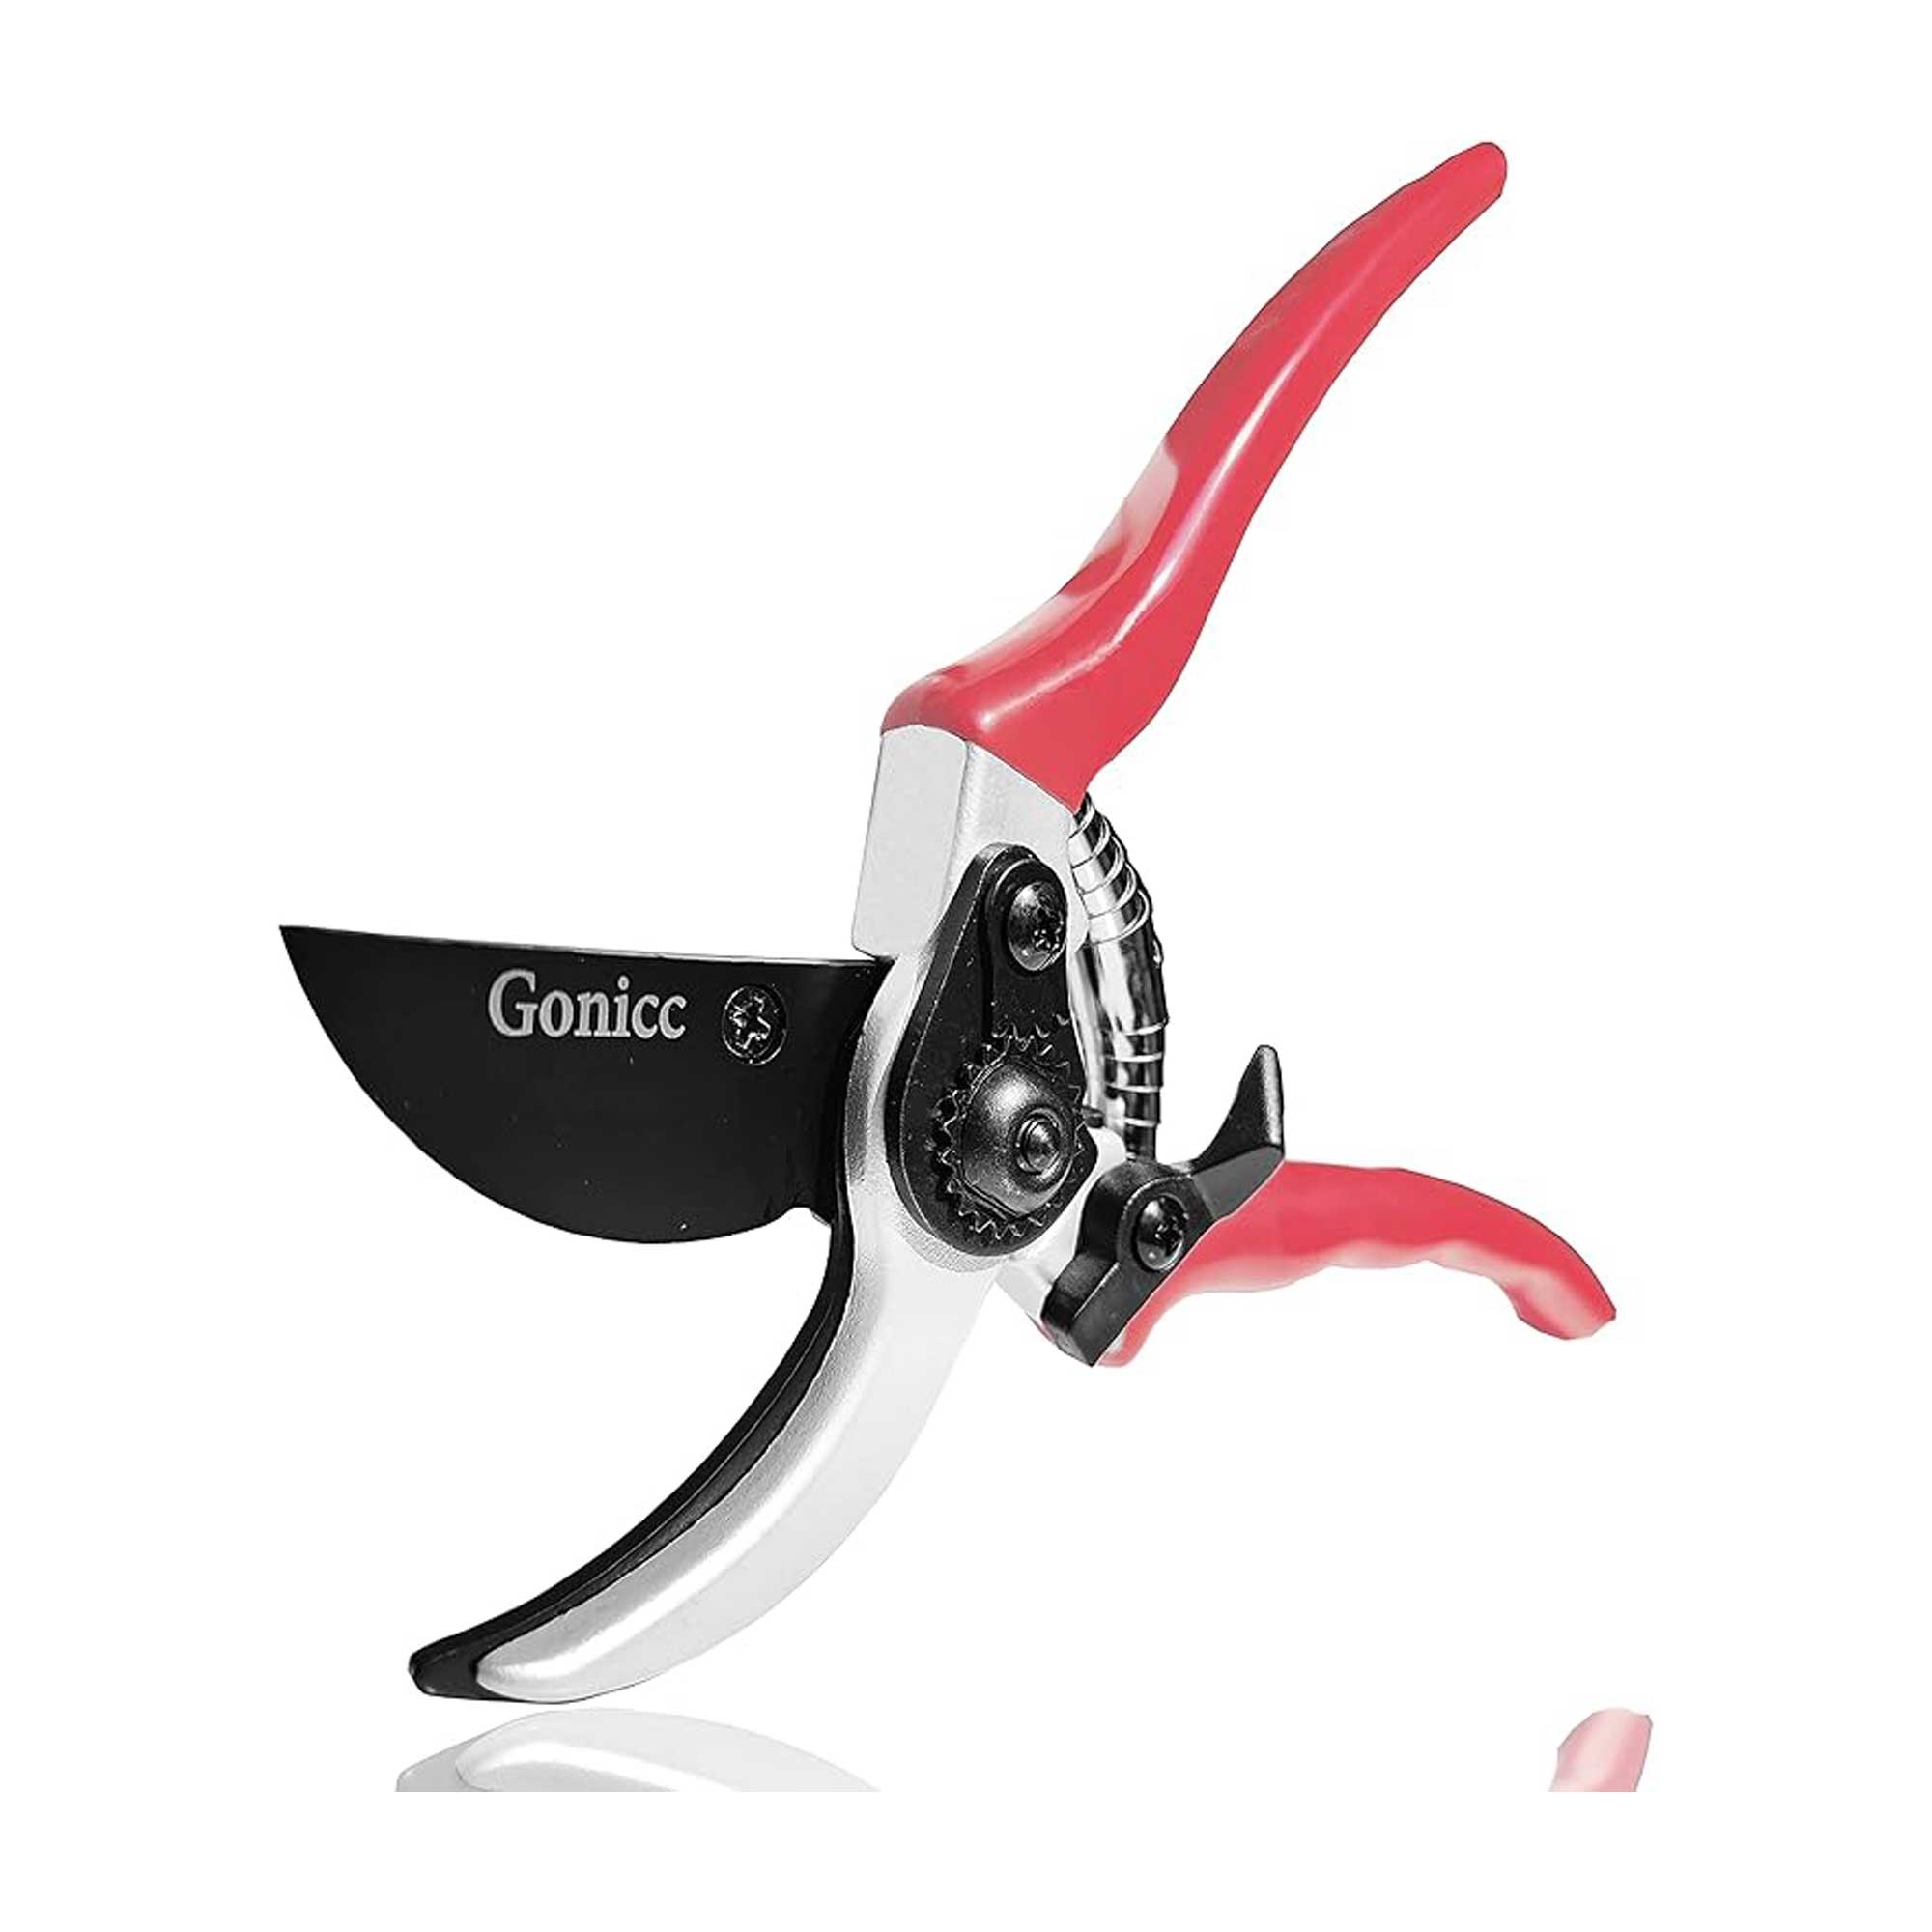
Whether you need to divide your dahlia tubers or deadhead their spent flowers in summer, pruners are an essential tool for any gardener's kit. These ergonomically designed, highly-rated ones with a high carbon steel blade are a great choice.
4. Store or plant, depending on the time of year
The best time to plant dahlias is in the spring. Many gardeners start them off undercover, then plant them outdoors once frosts have passed. If you're planting your tubers straight after dividing them, Peggy Anne recommends allowing the cut surfaces to dry for a few hours to prevent rot. Each division can then be planted into its own pot, and kept somewhere frost-free for growing on. Don't forget to harden them off before moving them into your yard.
If, however, you're storing the tubers for the winter, Peggy Anne says to place them somewhere cool (40-50°F) and dry, in vermiculite or sawdust, until spring.
'Label tubers if you're growing different varieties,' she adds. If you're looking for plastic alternatives for your garden, you could try these bamboo plant labels from Amazon.
FAQs
What should you do if you can't see the 'eyes' of your dahlia tubers?
If you're trying to divide your dahlia tubers in the fall but are unsure where the 'eyes' are, Peggy Anne recommends waiting until spring, when they become more visible.
How many plants can you grow from a dahlia tuber?
This depends on the size of the clump – as long as each division has an 'eye', you may be able to split it five or more times, resulting in plenty of new plants.
Dividing dahlias may seem daunting at first, but it's worth the effort. Plus, as Peggy Anne says, 'Doing is learning; you will become better at it every year.'
Continue caring for these plants correctly, including keeping an eye out for dahlia pests and deadheading them when they start to bloom, and you will have a beautiful – and bigger – summer display.

Holly started writing about gardening five years ago, and she is a regular contributor to Homes & Gardens. She has also written many gardening features for Woman & Home and Real Homes, too. She has previous experience as a professional gardener, where she helped to plant and maintain private gardens. Holly has also looked after allotment plots over the years and loves to grow her own flowers and veggies from seed. In her spare time, she enjoys visiting local gardens, botanical drawing, and tending to her ever-growing collection of houseplants.