How to clean pruning shears – expert tips for tools that look as good as new
Protect your pruning shears and keep them in good working order with these expert cleaning tips
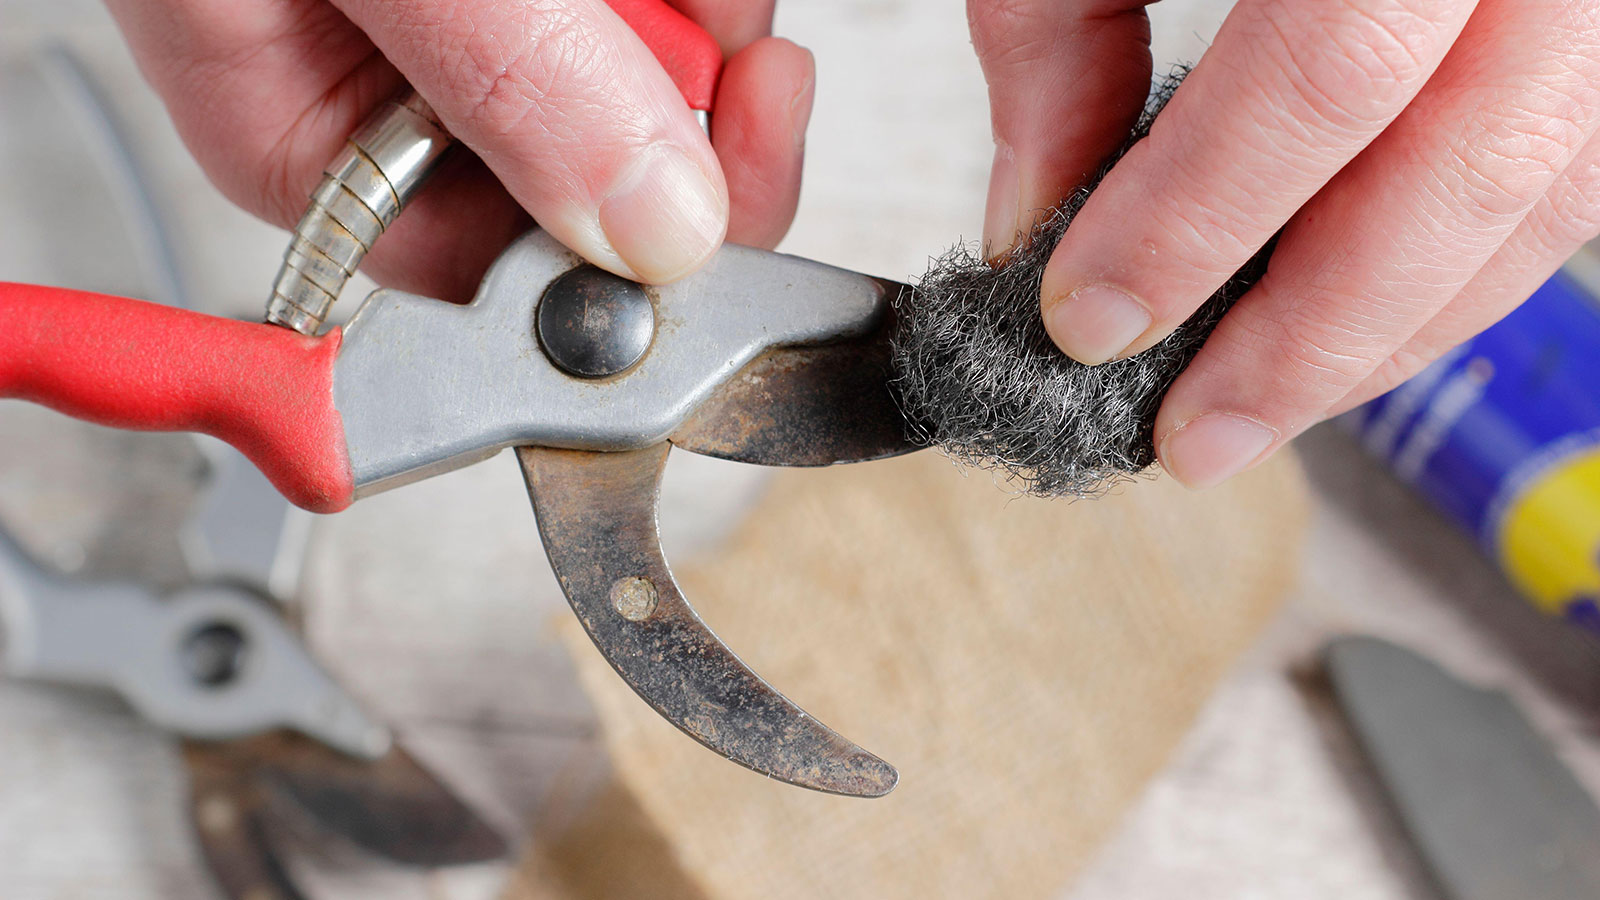

Cleaning your pruning shears is a task that should be completed on a regular basis if you want to ensure these essential tools stay sharp and in good working order. By maintaining your tools properly they should last you a good number of years, but let them go rusty and gather dirt and you risk having to replace them on a more frequent basis.
Pruning shears (or secateurs as they are also known) are an essential piece of gardening kit, helping you to tackle everything from deadheading flowers to pruning branches on shrubs and trees. Over time, these hand pruners can quickly get clogged up with dirt, plant sap and other gardening debris, preventing the blades of your shears from cutting cleanly and efficiently.
This can cause plants to be left with ragged cuts that can lead to infection. What's more, if soil and grime get into the moving parts of your shears, they will cause excessive wear and allow rust to develop. Cleaning garden tools doesn't have to be tricky or time consuming, however, as our step-by-step guide shows.
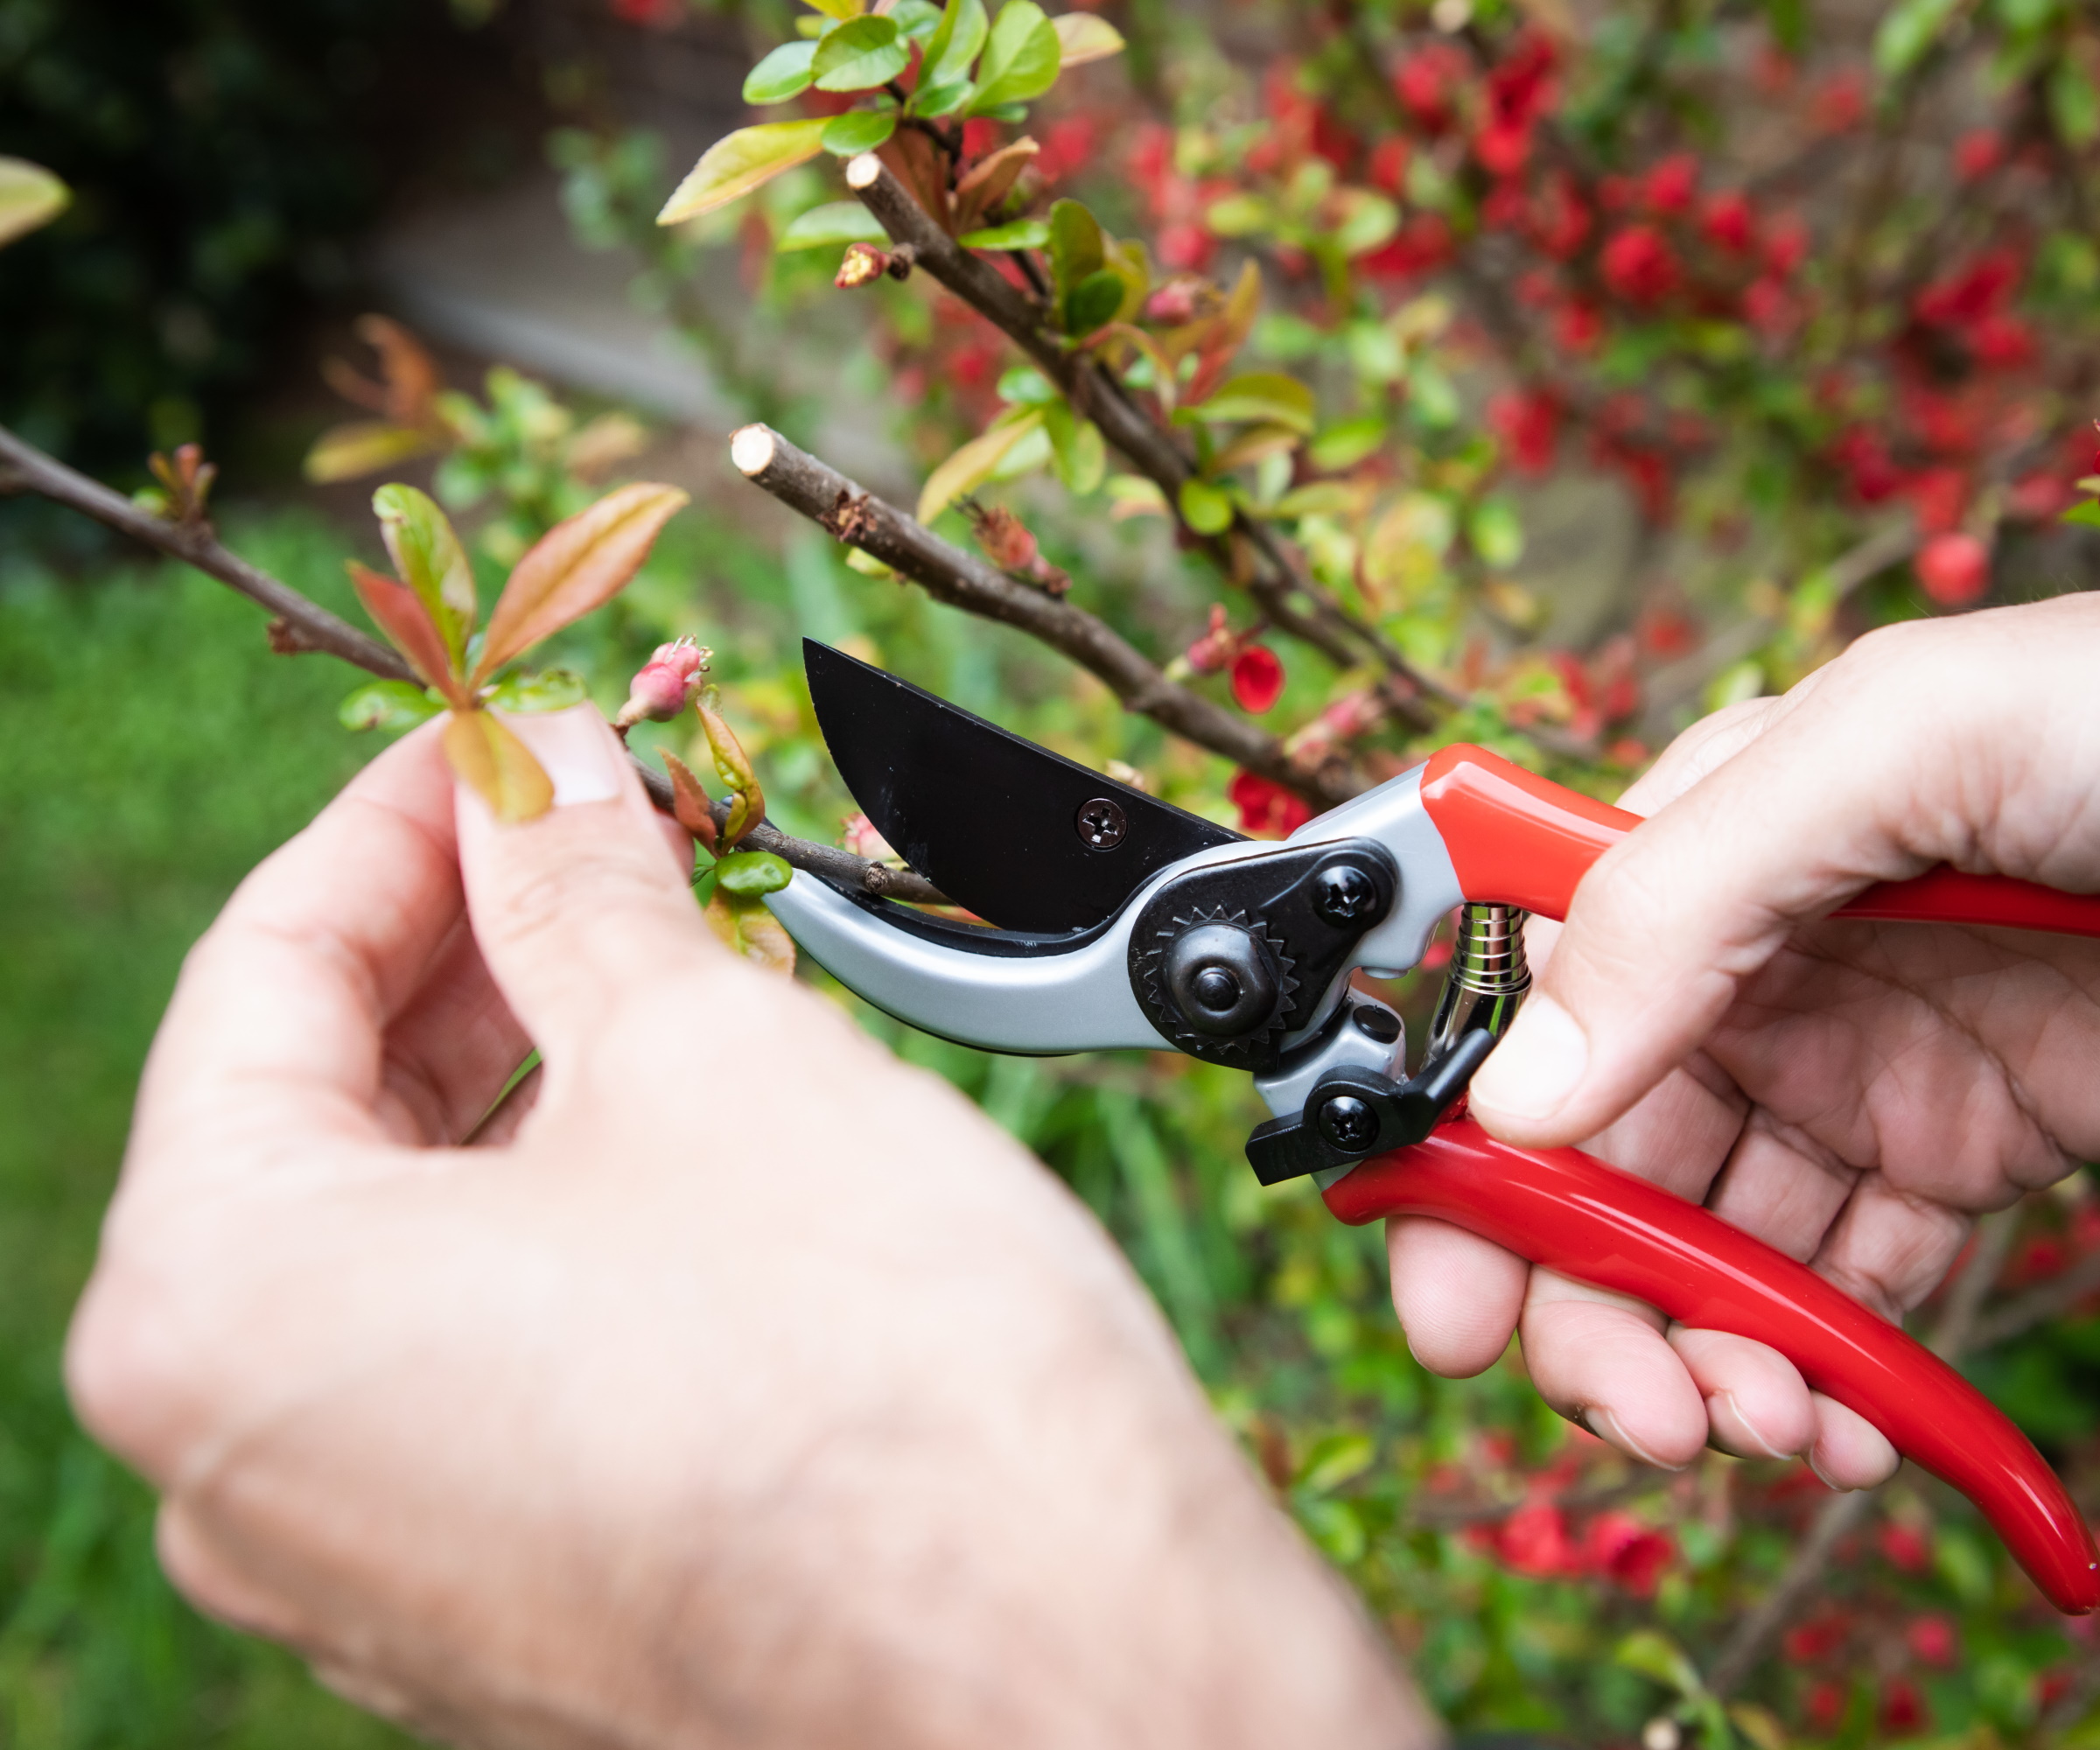
How to clean pruning shears in 5 easy steps
Whether you're about to prune roses and want to make sure your tools are in the best possible working order, or you're needing to give them a good clean after a weekend pruning your forsythia or other shrubs, it's worth doing it properly.
Although cleaning your pruning shears with a clean cloth and soapy water can be a quick and easy way to remove dirt, there are occasions when it's better to spend a little more time giving them a deep clean to prevent them from rusting or malfunctioning.
'Giving pruning shears a proper overhaul is a relatively quick and easy job that pays massive dividends,' says Ruth Hayes, gardening expert and H&G gardens writer. 'Several of mine become stiff over time so I often spend a pleasant morning cleaning them up and getting them moving again.'
1. Dismantle the pruning shears
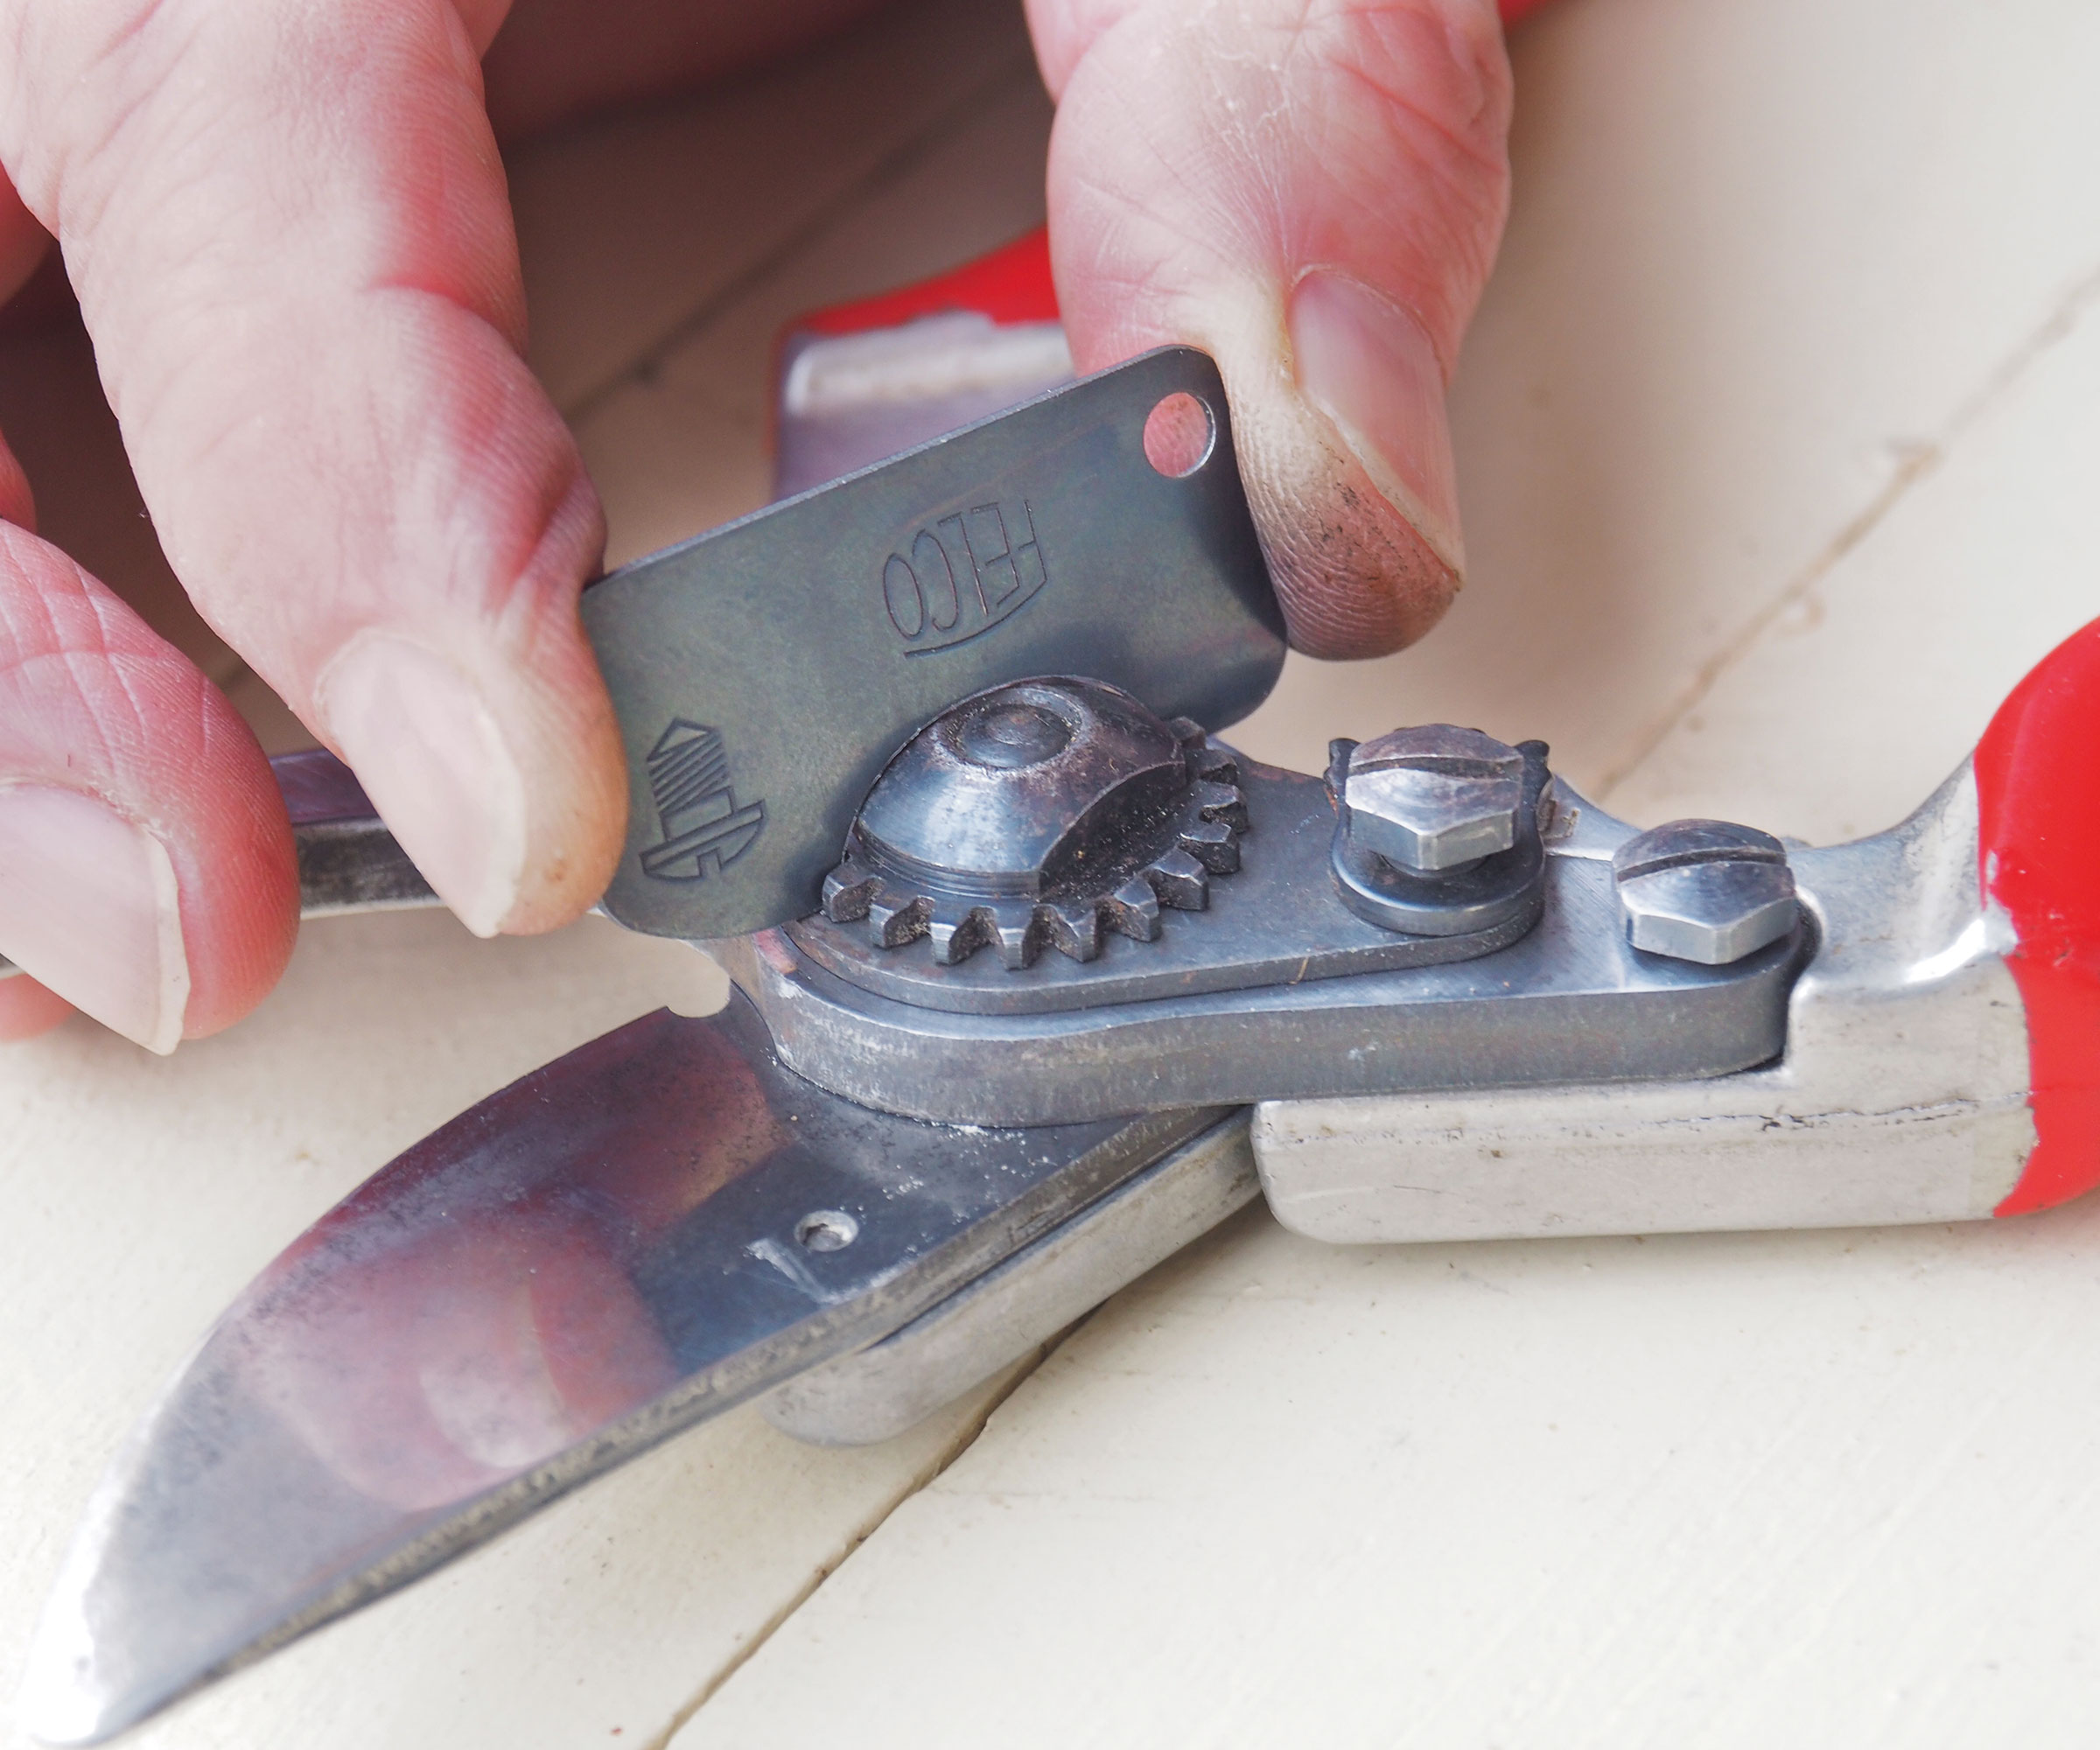
It's easiest to give your pruning shears a proper clean once they have been taken apart
Using the key provided, start by carefully dismantling the pruning shears, stripping them down to their component parts and laying them out in order on a clean dry surface.
If you don't have a key for doing this, Ruth Hayes suggests you can also a spanner or allen key.

Ruth Hayes is an expert gardener, and formerly gardening editor of Amateur Gardening magazine. She is horticulturally trained, with a qualification from the Royal Horticultural Society, and now regularly shares her expertise with Homes & Gardens.
2. Clean the blades
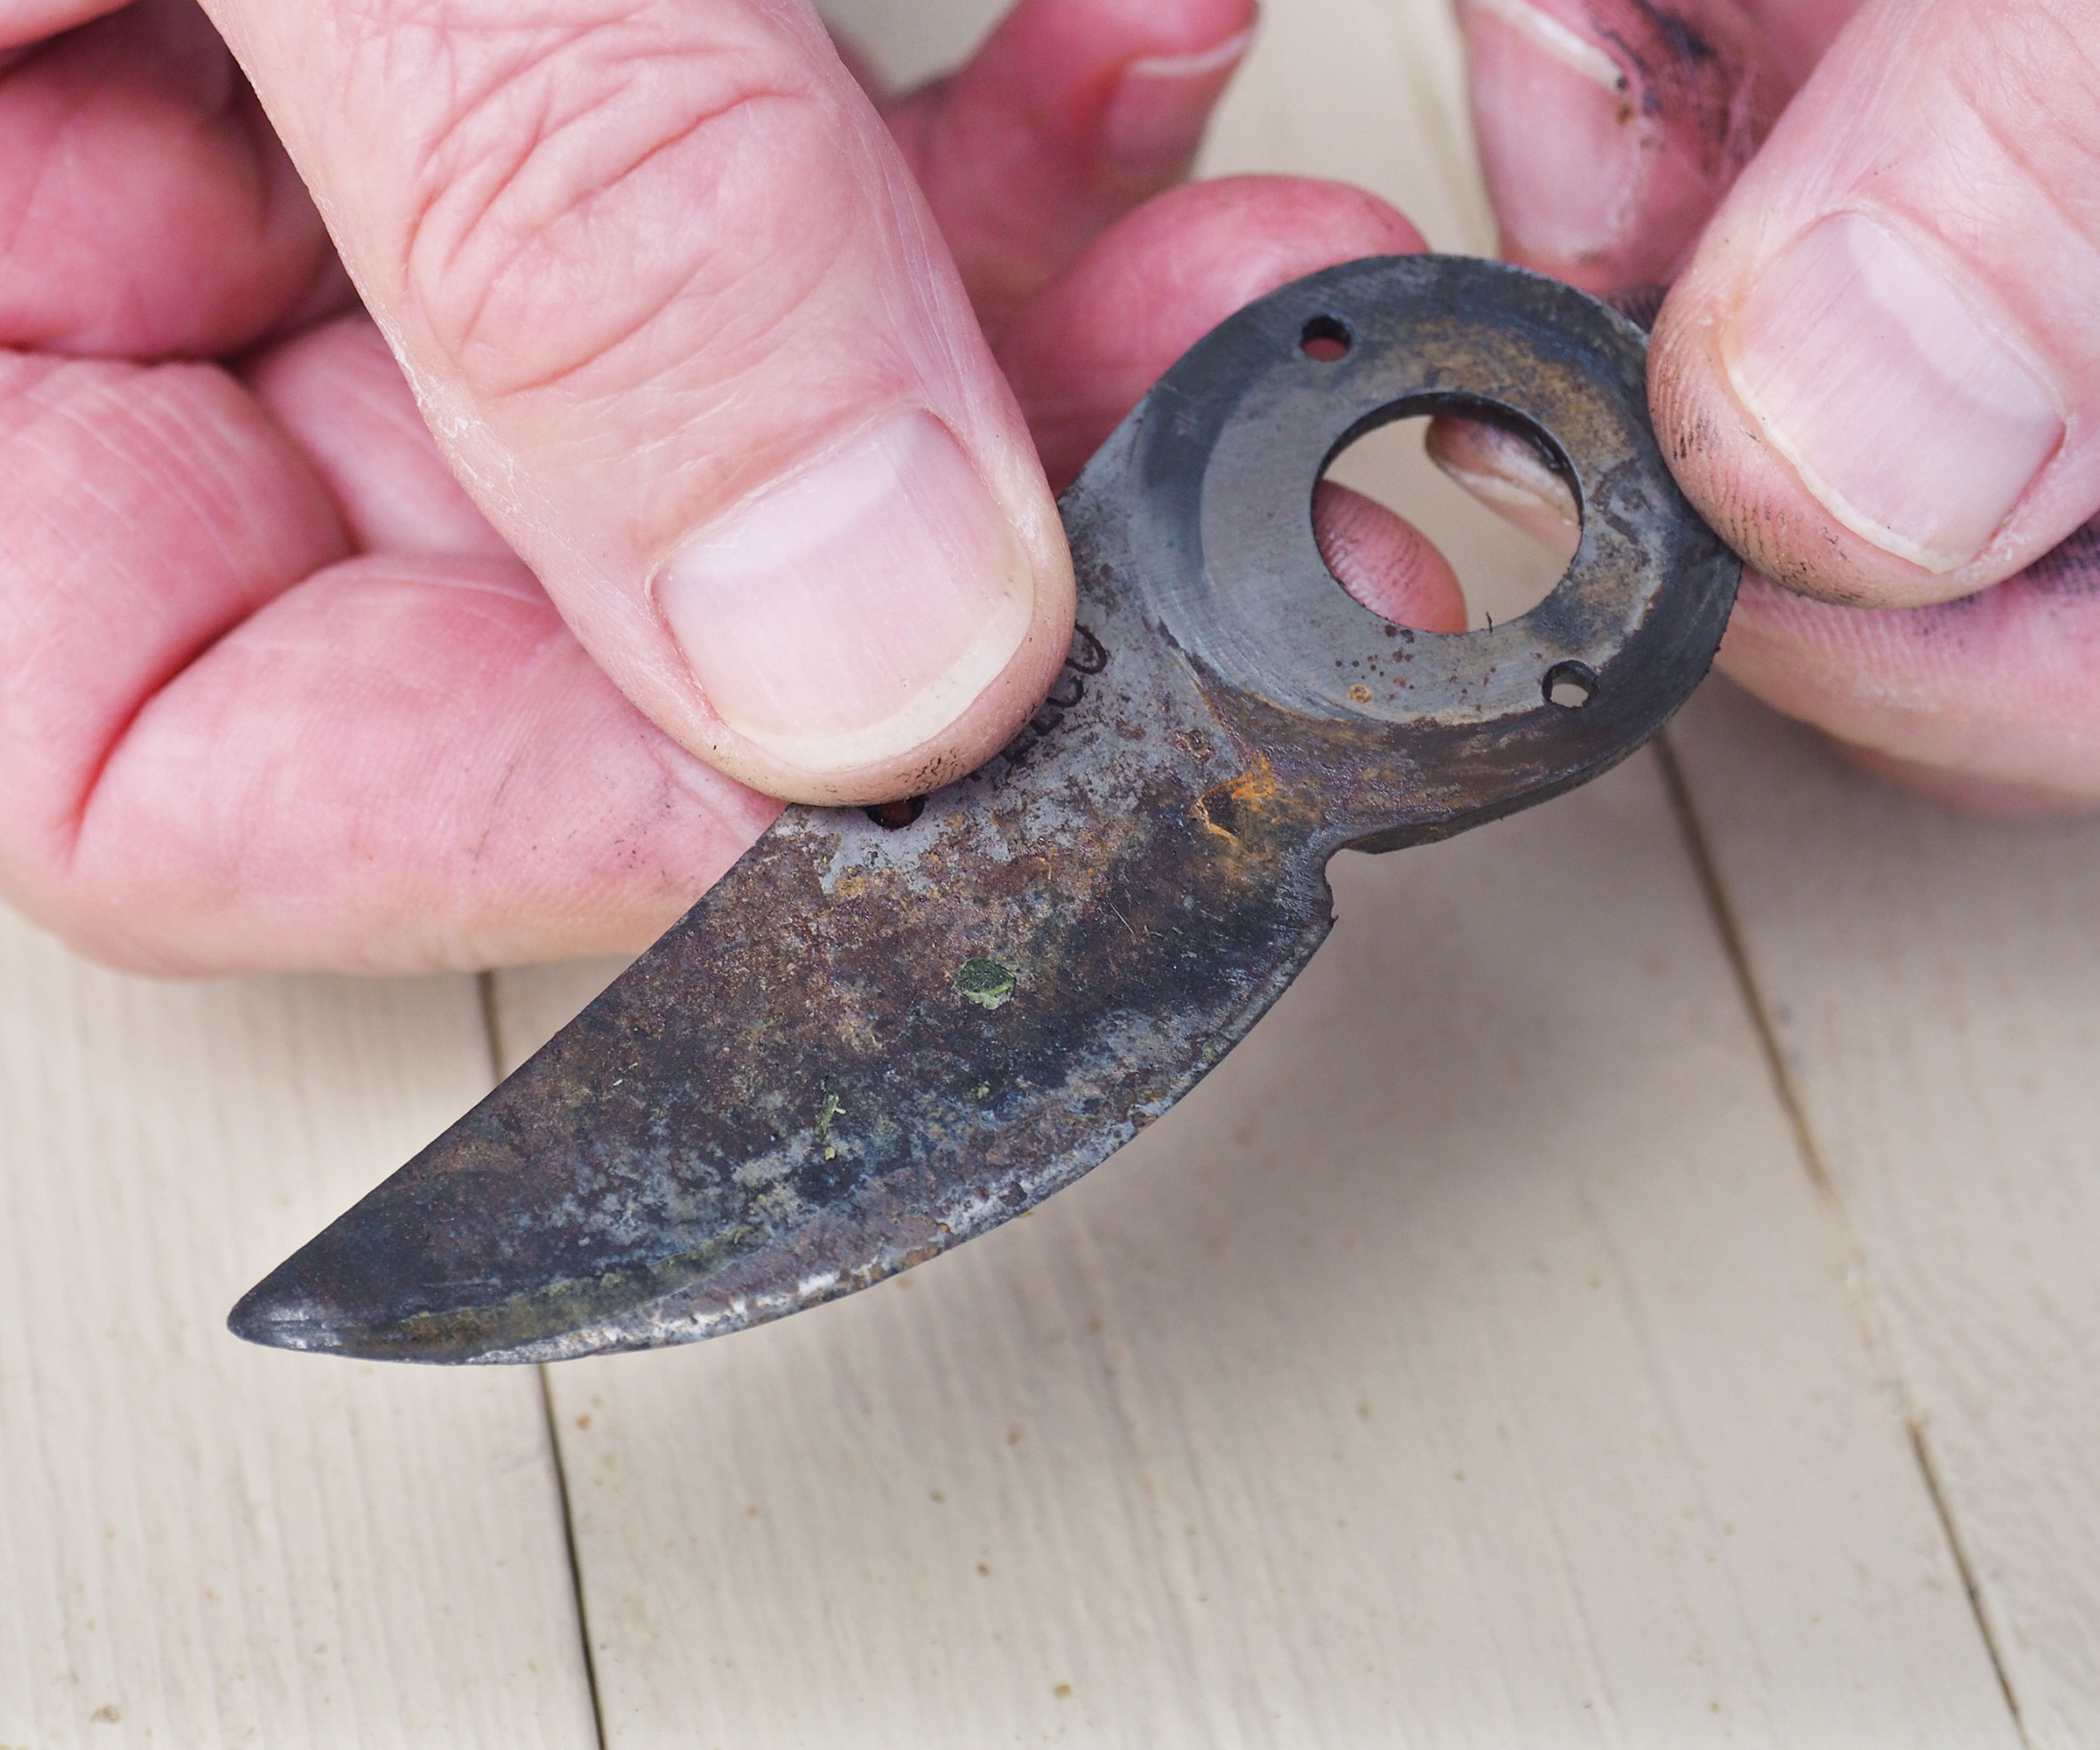
The blades are a key area you will need to focus on when cleaning your pruning tools
Inspect and clean the various parts, paying particular attention to the blades, which are much easier to clean when removed from the handles.
'To remove any rust, you can use wire wool (available from Amazon) to get rid of it, then wipe the blades clean,' adds Ruth.
Top tip: If the blades are very dirty they can be covered with brown sauce or steak sauce and left overnight. In the morning the mixture can be removed with a damp cloth to reveal cleaner blades without any scraping, which could damage the cutting surface.
3. Use sandpaper if necessary
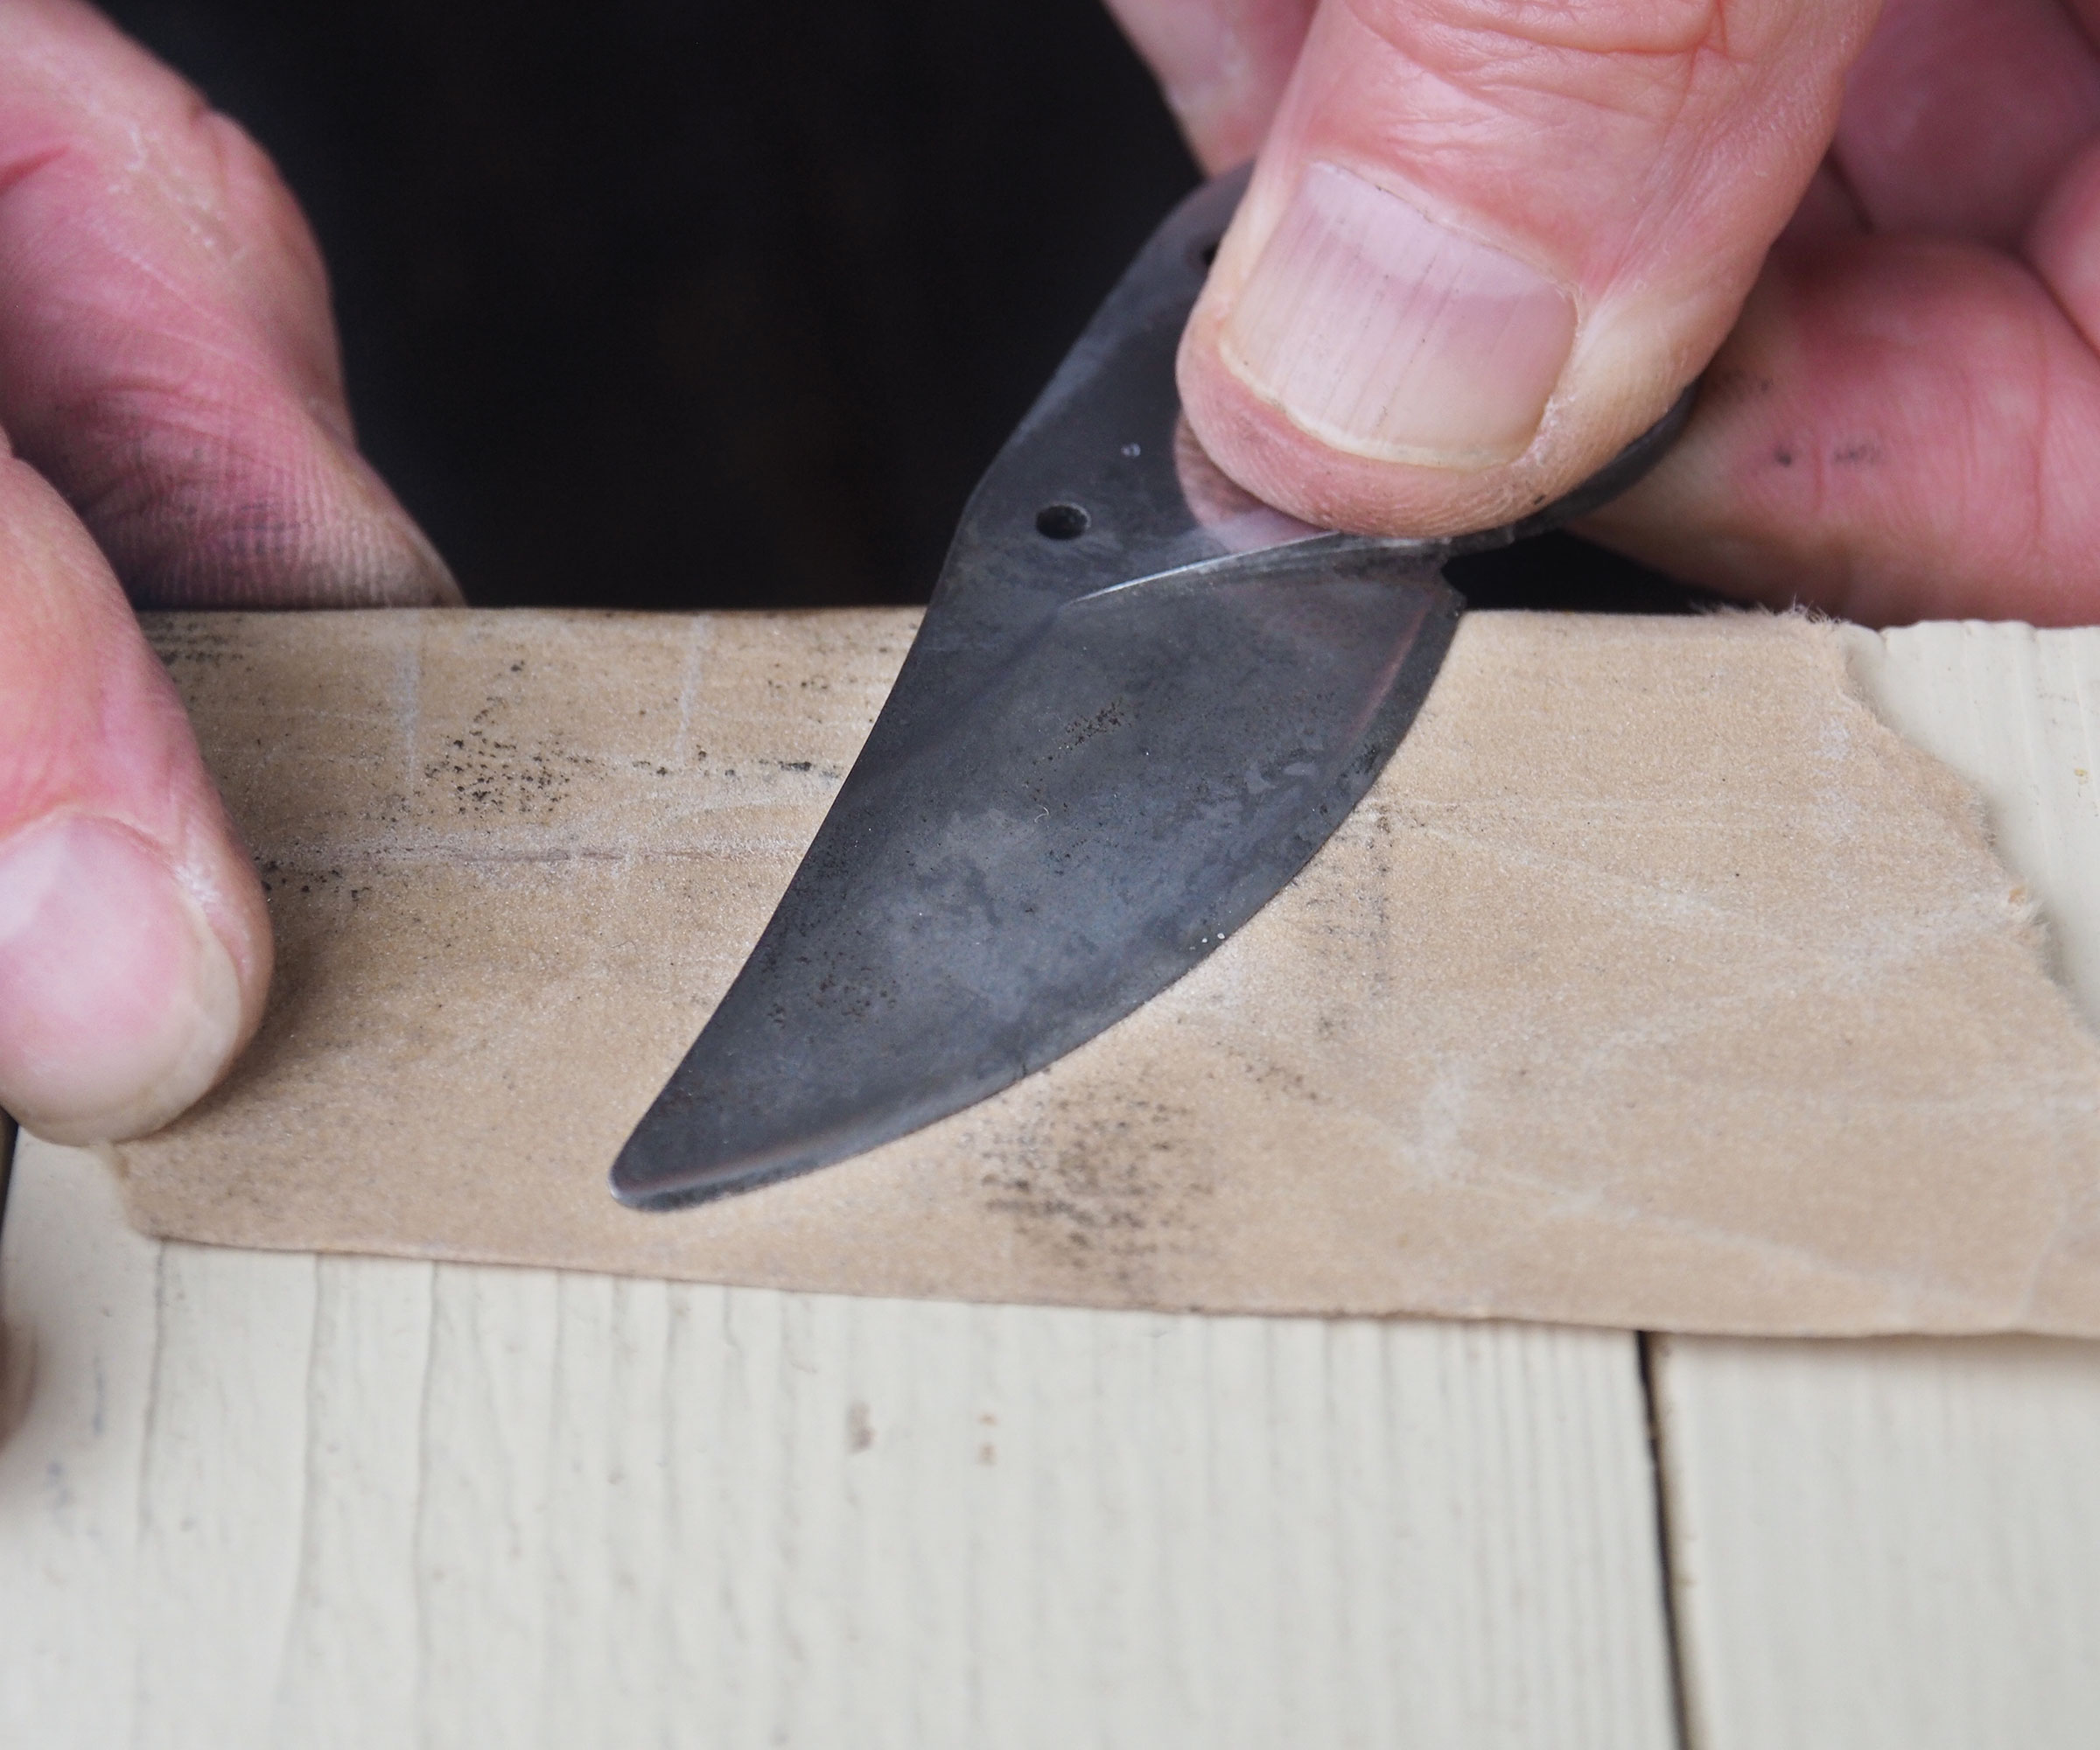
Sandpaper can be used to get rid of dirt that is proving difficult to remove
If you find that there are traces of persistent grime along the blades that don't come away using the above steps, you can use a piece of sandpaper to help.
Simply place a piece of fine sandpaper on a flat surface and rub the blade gently over the sandpaper to remove the dirt.
4. Clean the pivot area
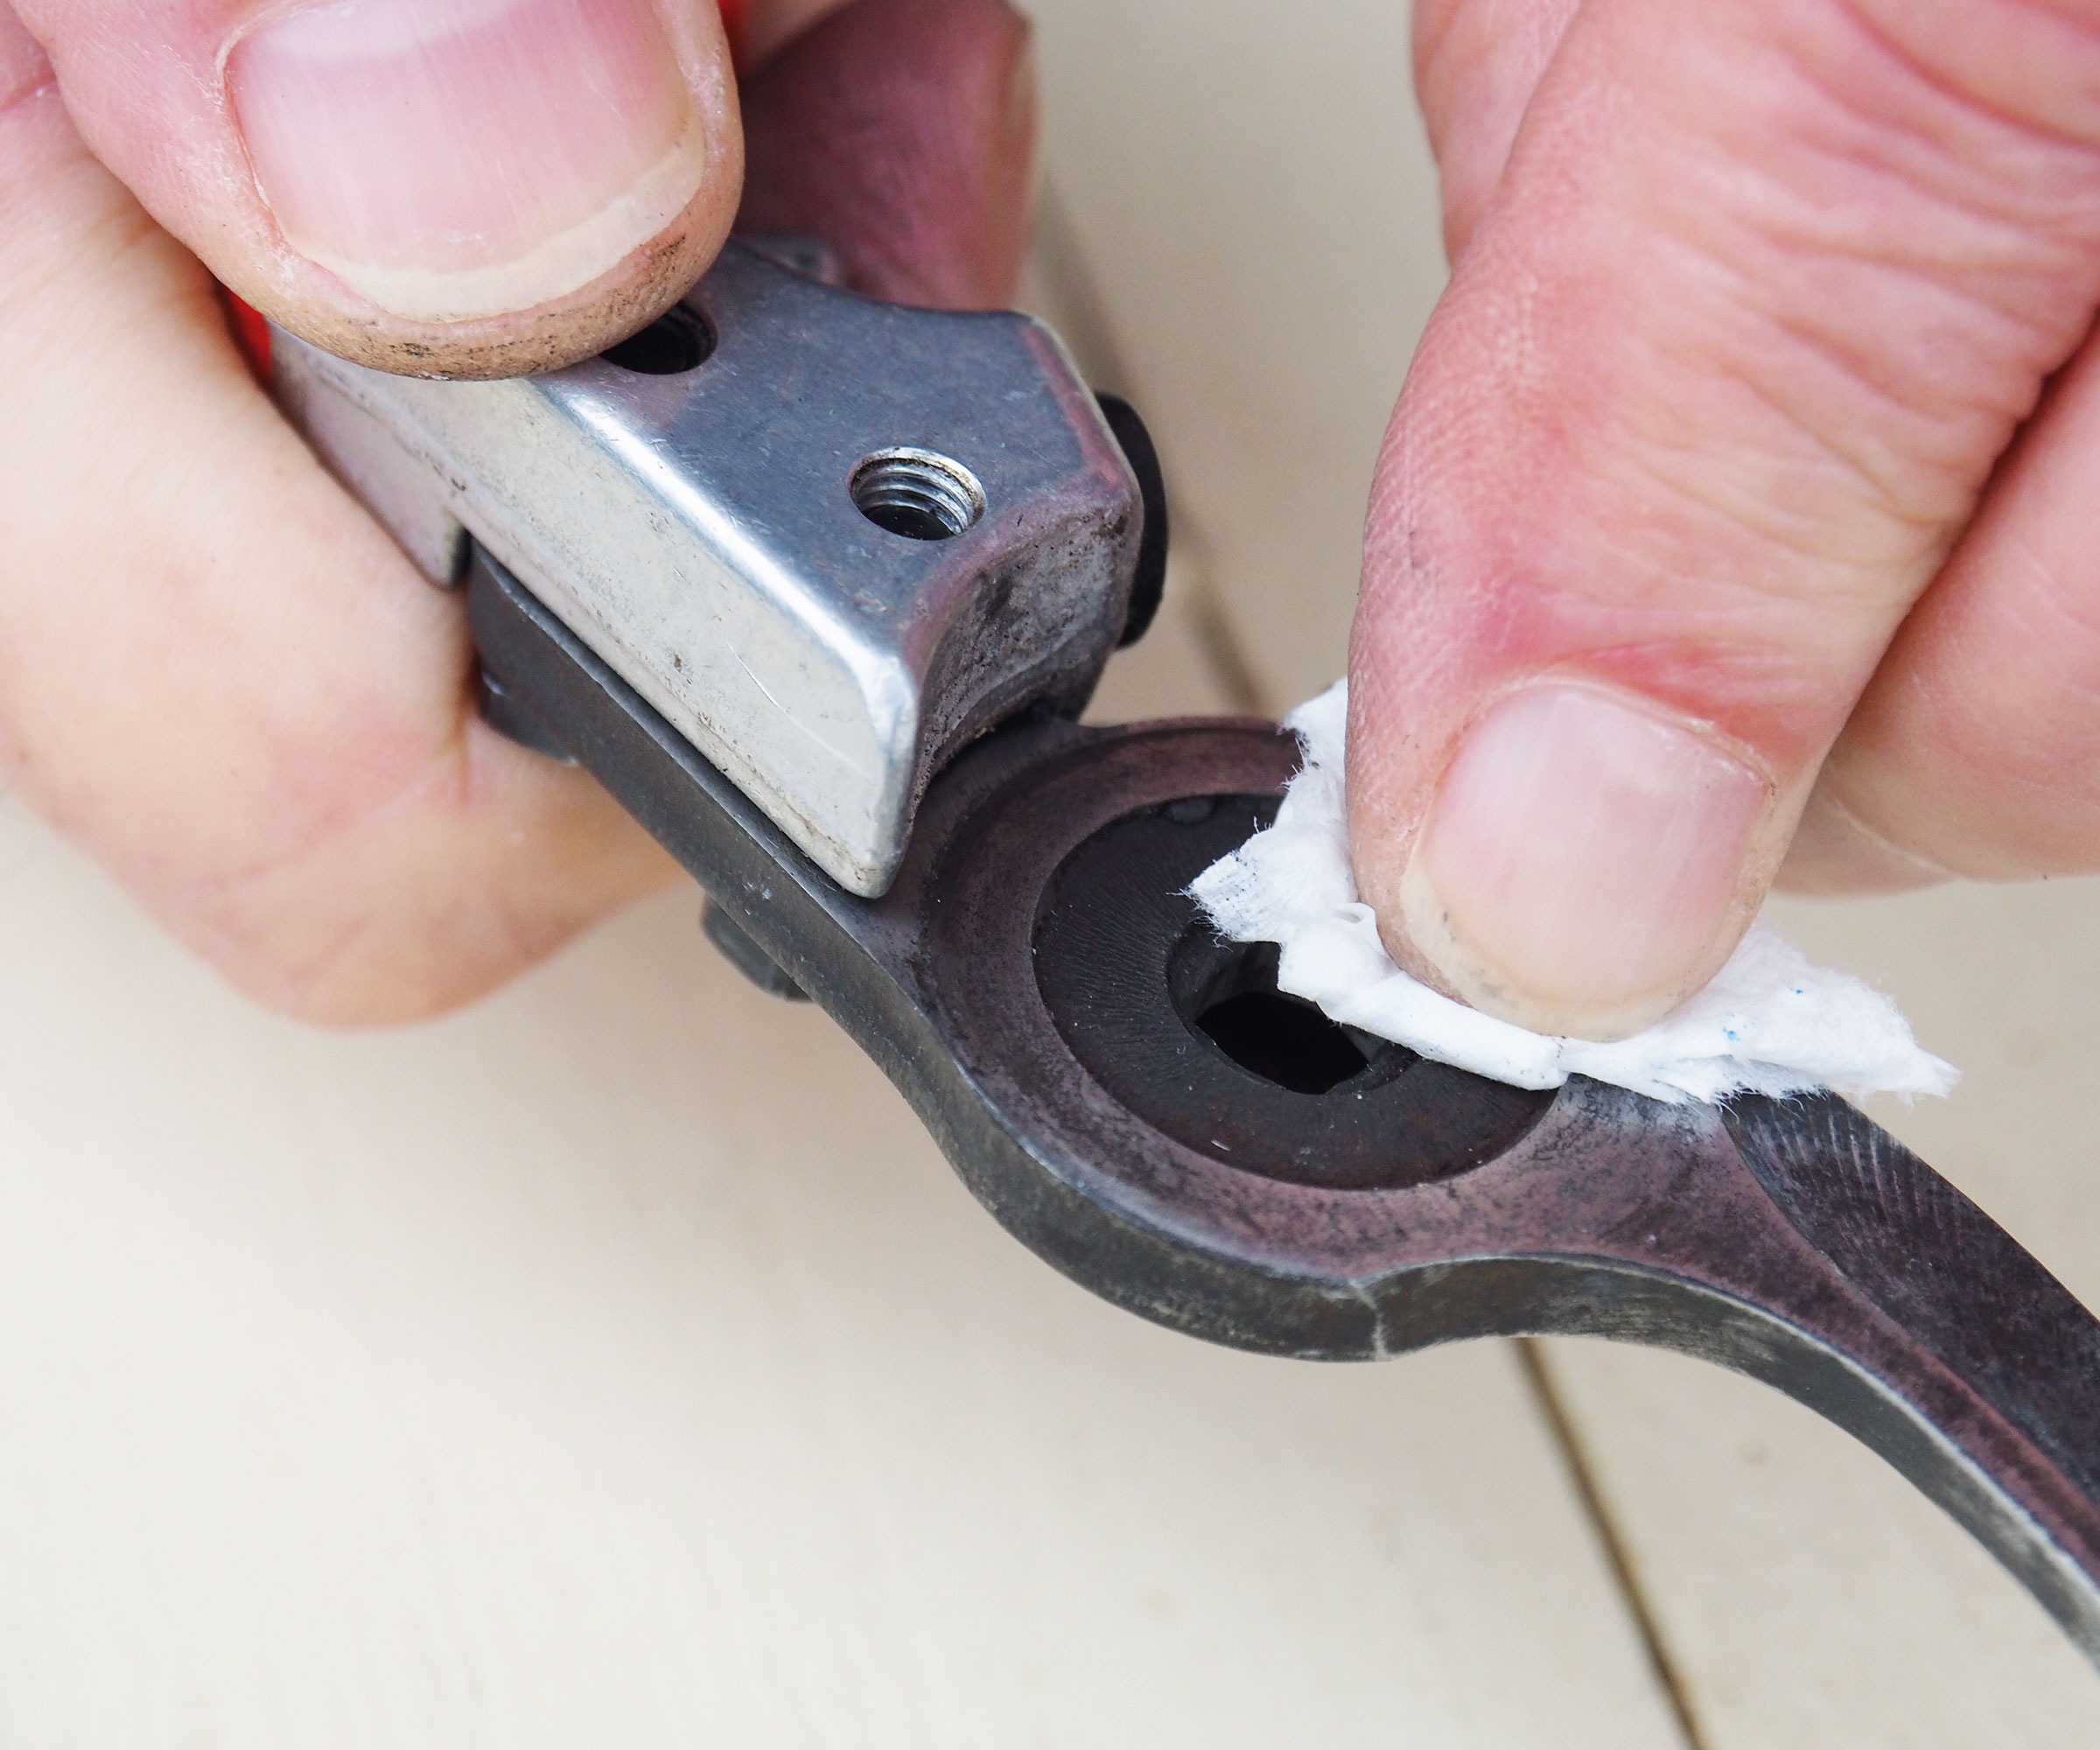
Clean the areas where parts of your pruning shears lock together to ensure they can move freely once reassembled
Using a clean piece of cloth, clean the pivot area where the top and bottom handle will be reconnected, removing any excess grease and dirt as well as any rust particles.
5. Reassemble the pruning shears
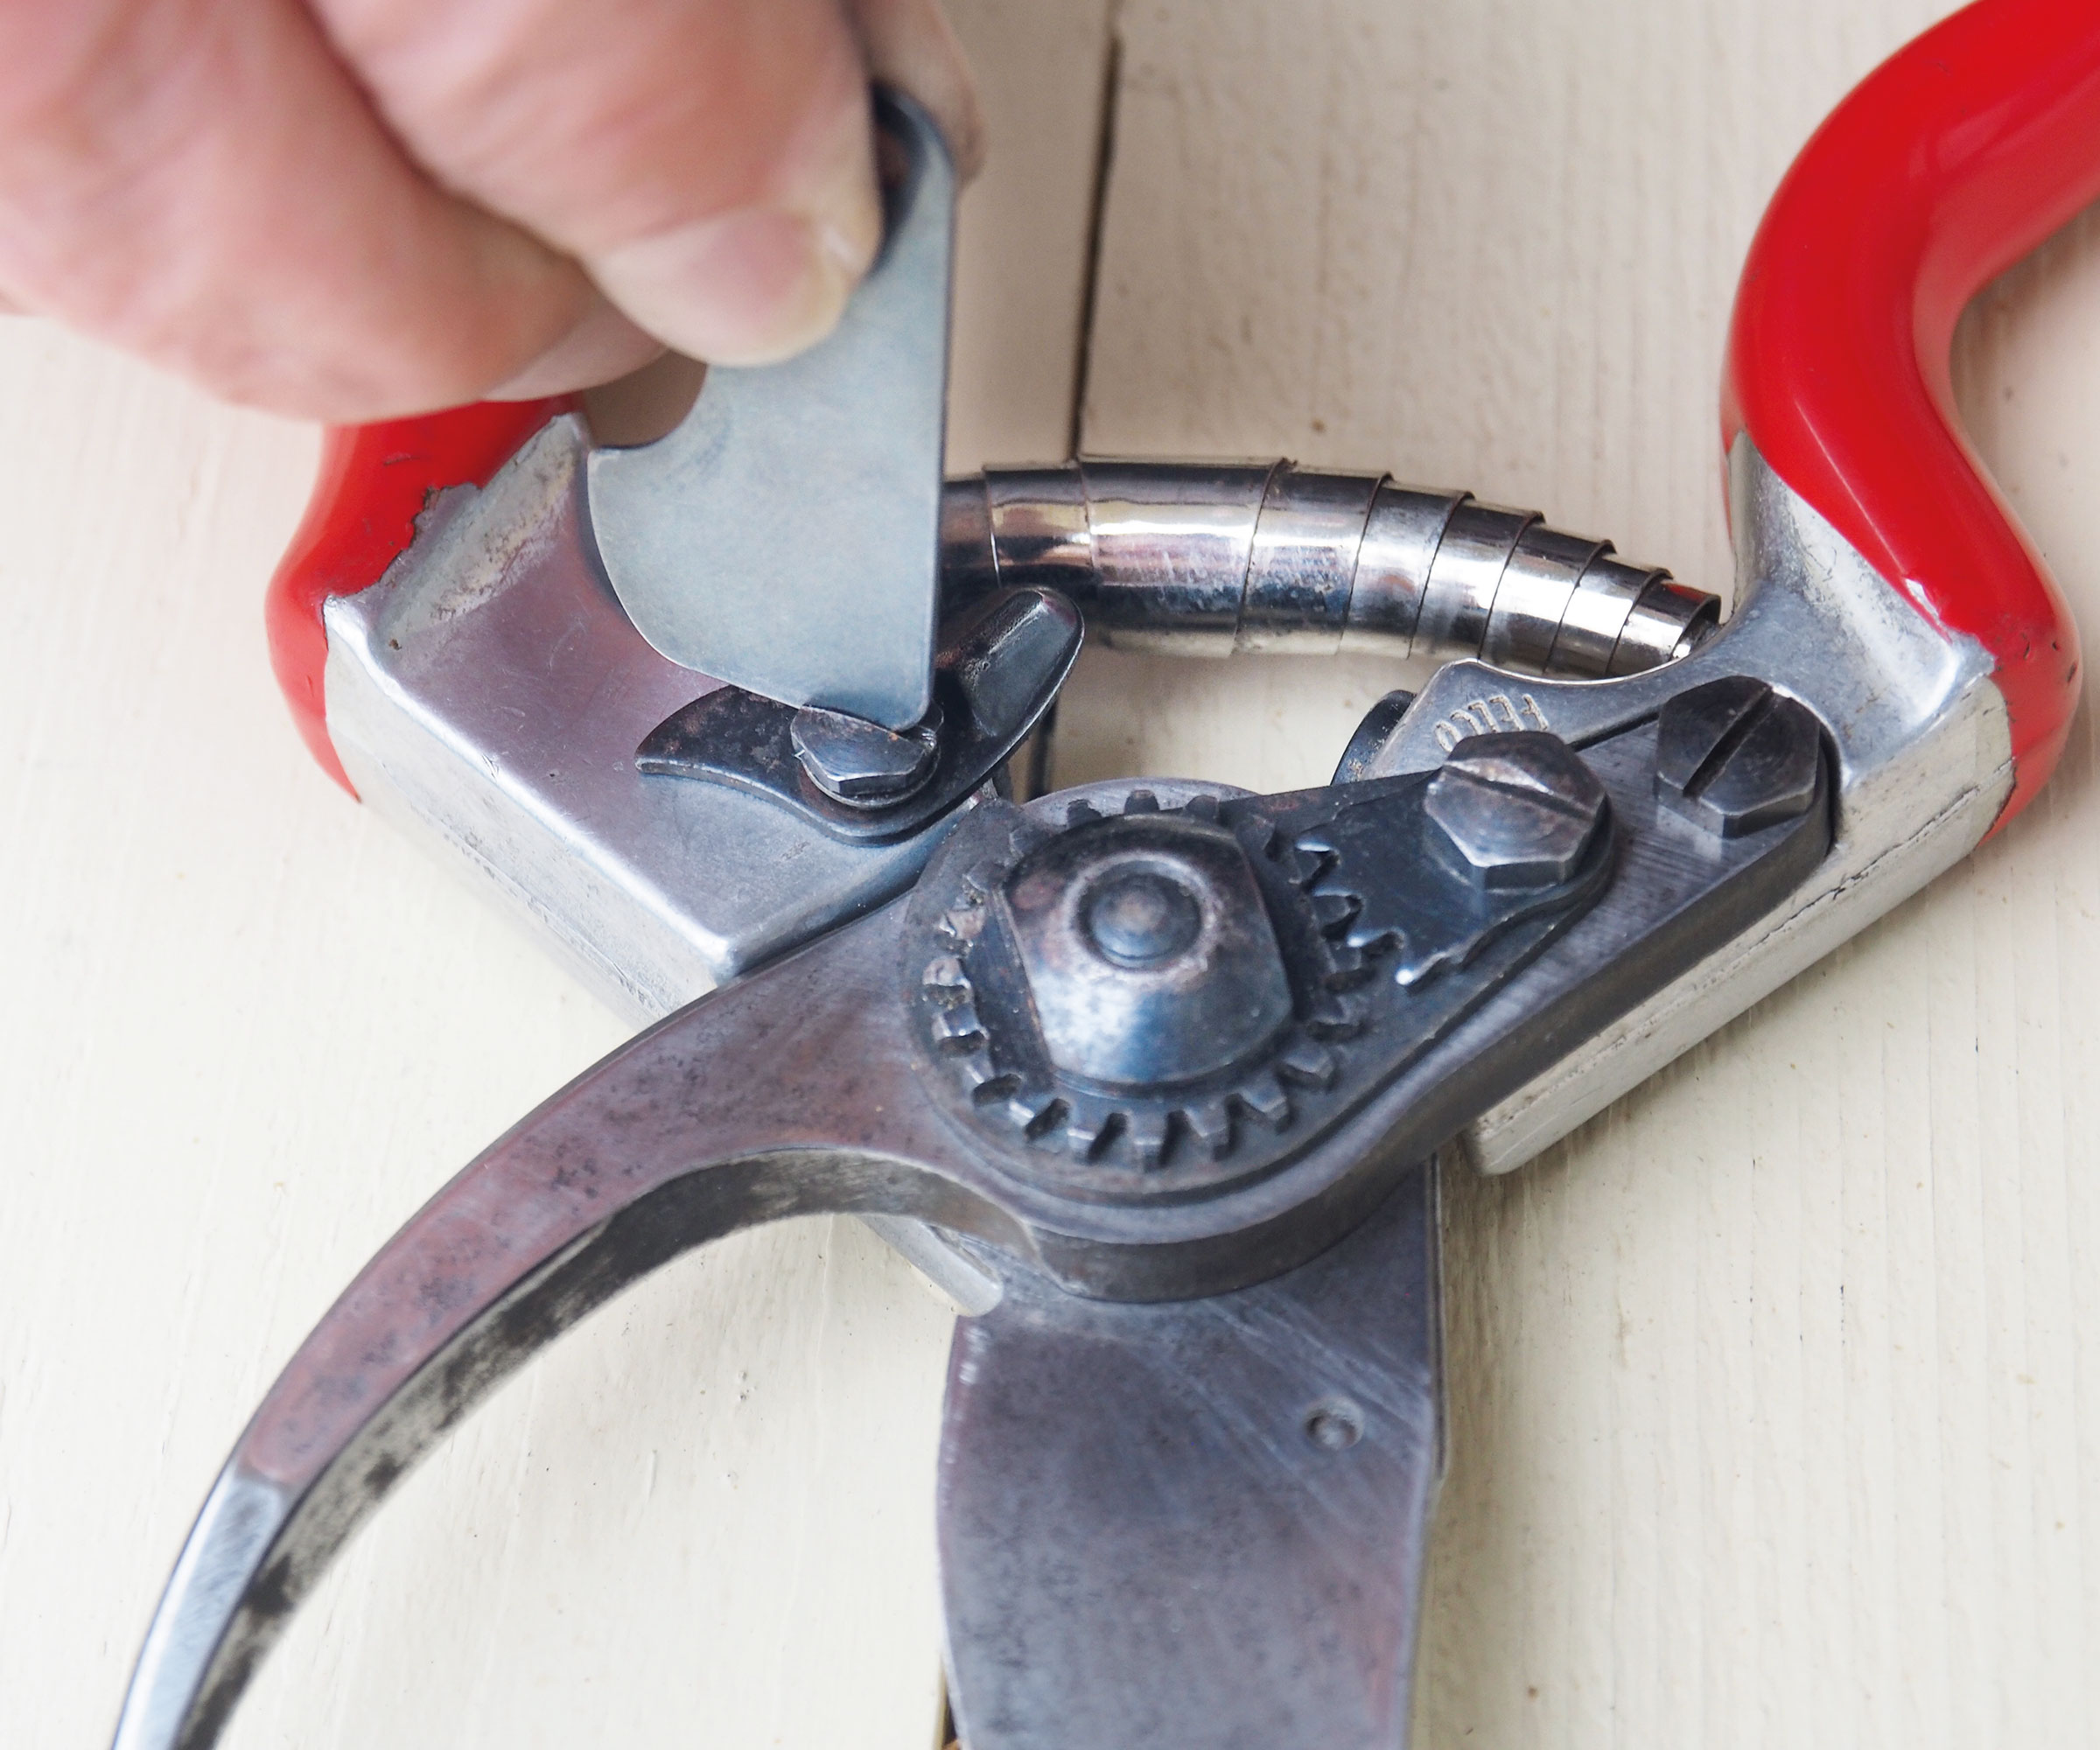
Once all parts have been thoroughly cleaned you can begin to reassemble your pruning tool
Start to reassemble the secateurs, fitting the blades back into the handles before fixing the handles together using the pivot bolt and locking nut.
The locking nut should be tightened until the spring can just force the blades to open. At this point the locking cog can be fixed into position and the secateurs are then ready to use.
Your essential kit for cleaning pruning shears
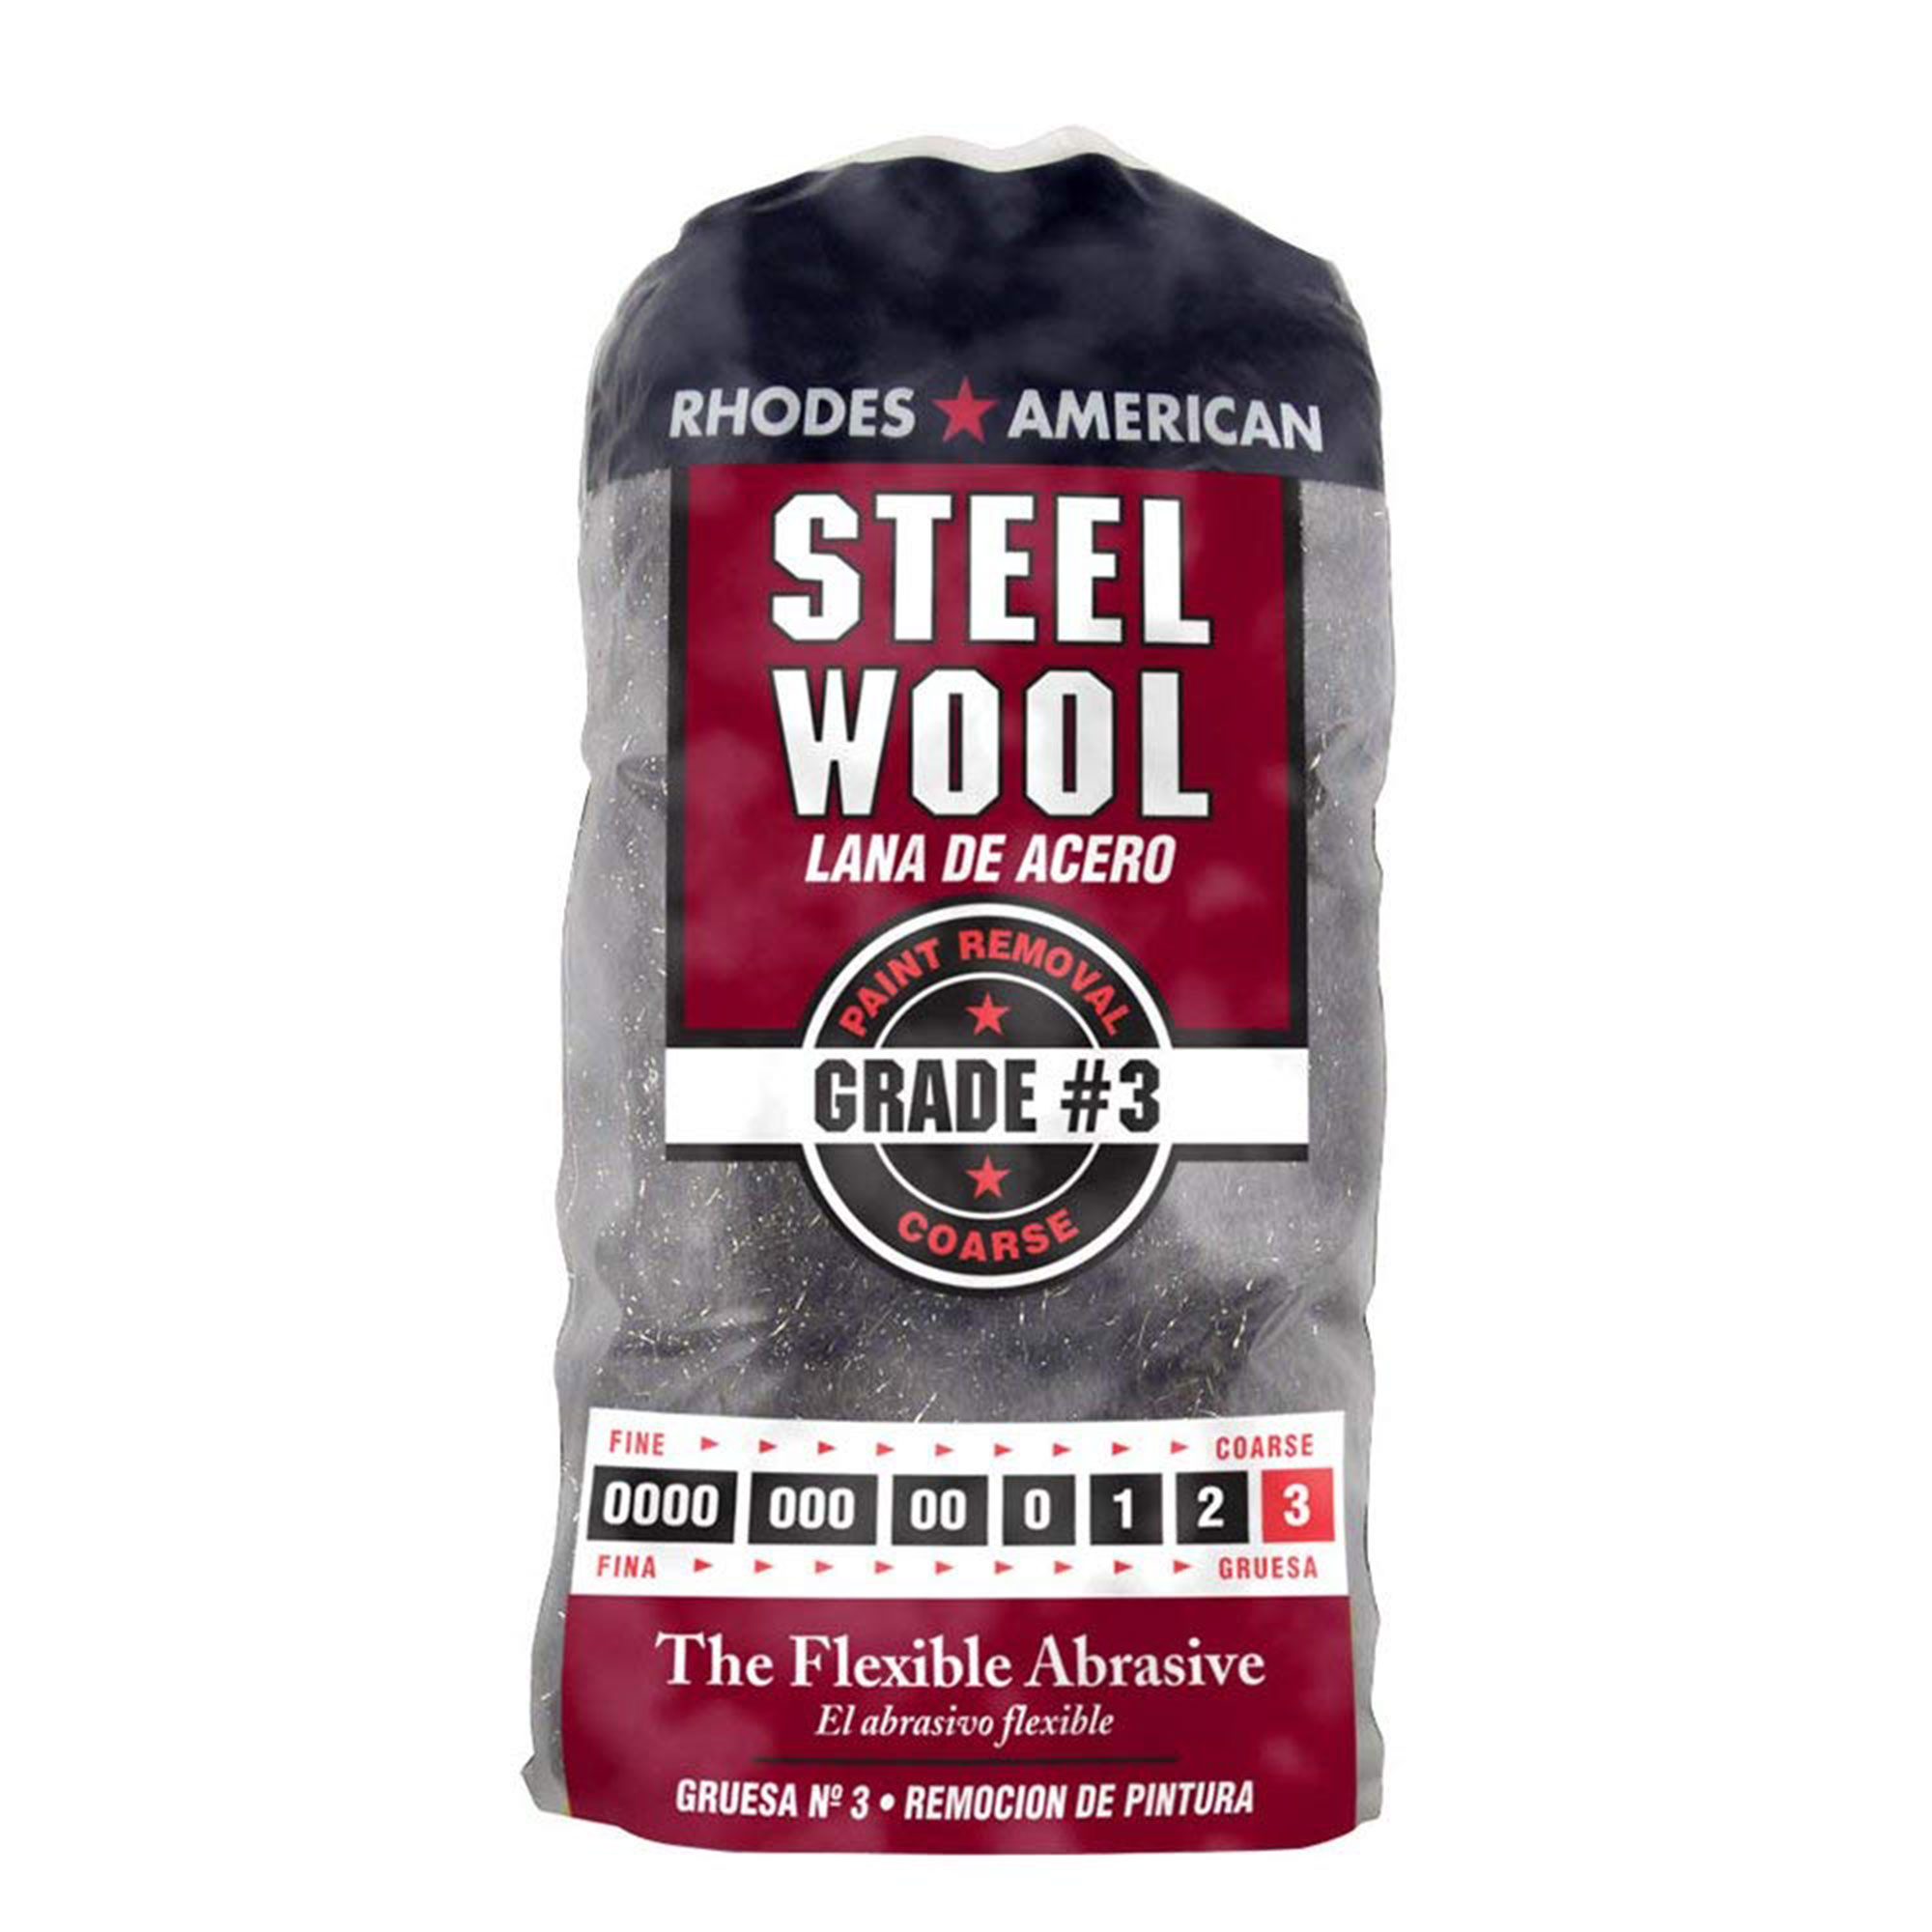
Remove any dirt, debris and rust from your pruning shears with this steel wool. Available in a range of different grades to suit the surface you are cleaning, although Grade 3 is recommended for metal and stone surfaces.
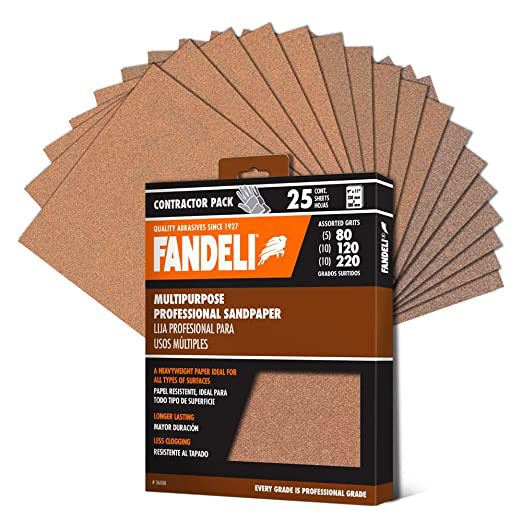
Containing a mixture of different sandpaper grades, this pack will suit a wide range of DIY tasks. Opt for the finer grade sheet to help remove any stubborn dirt from your pruning shears or other garden tools.
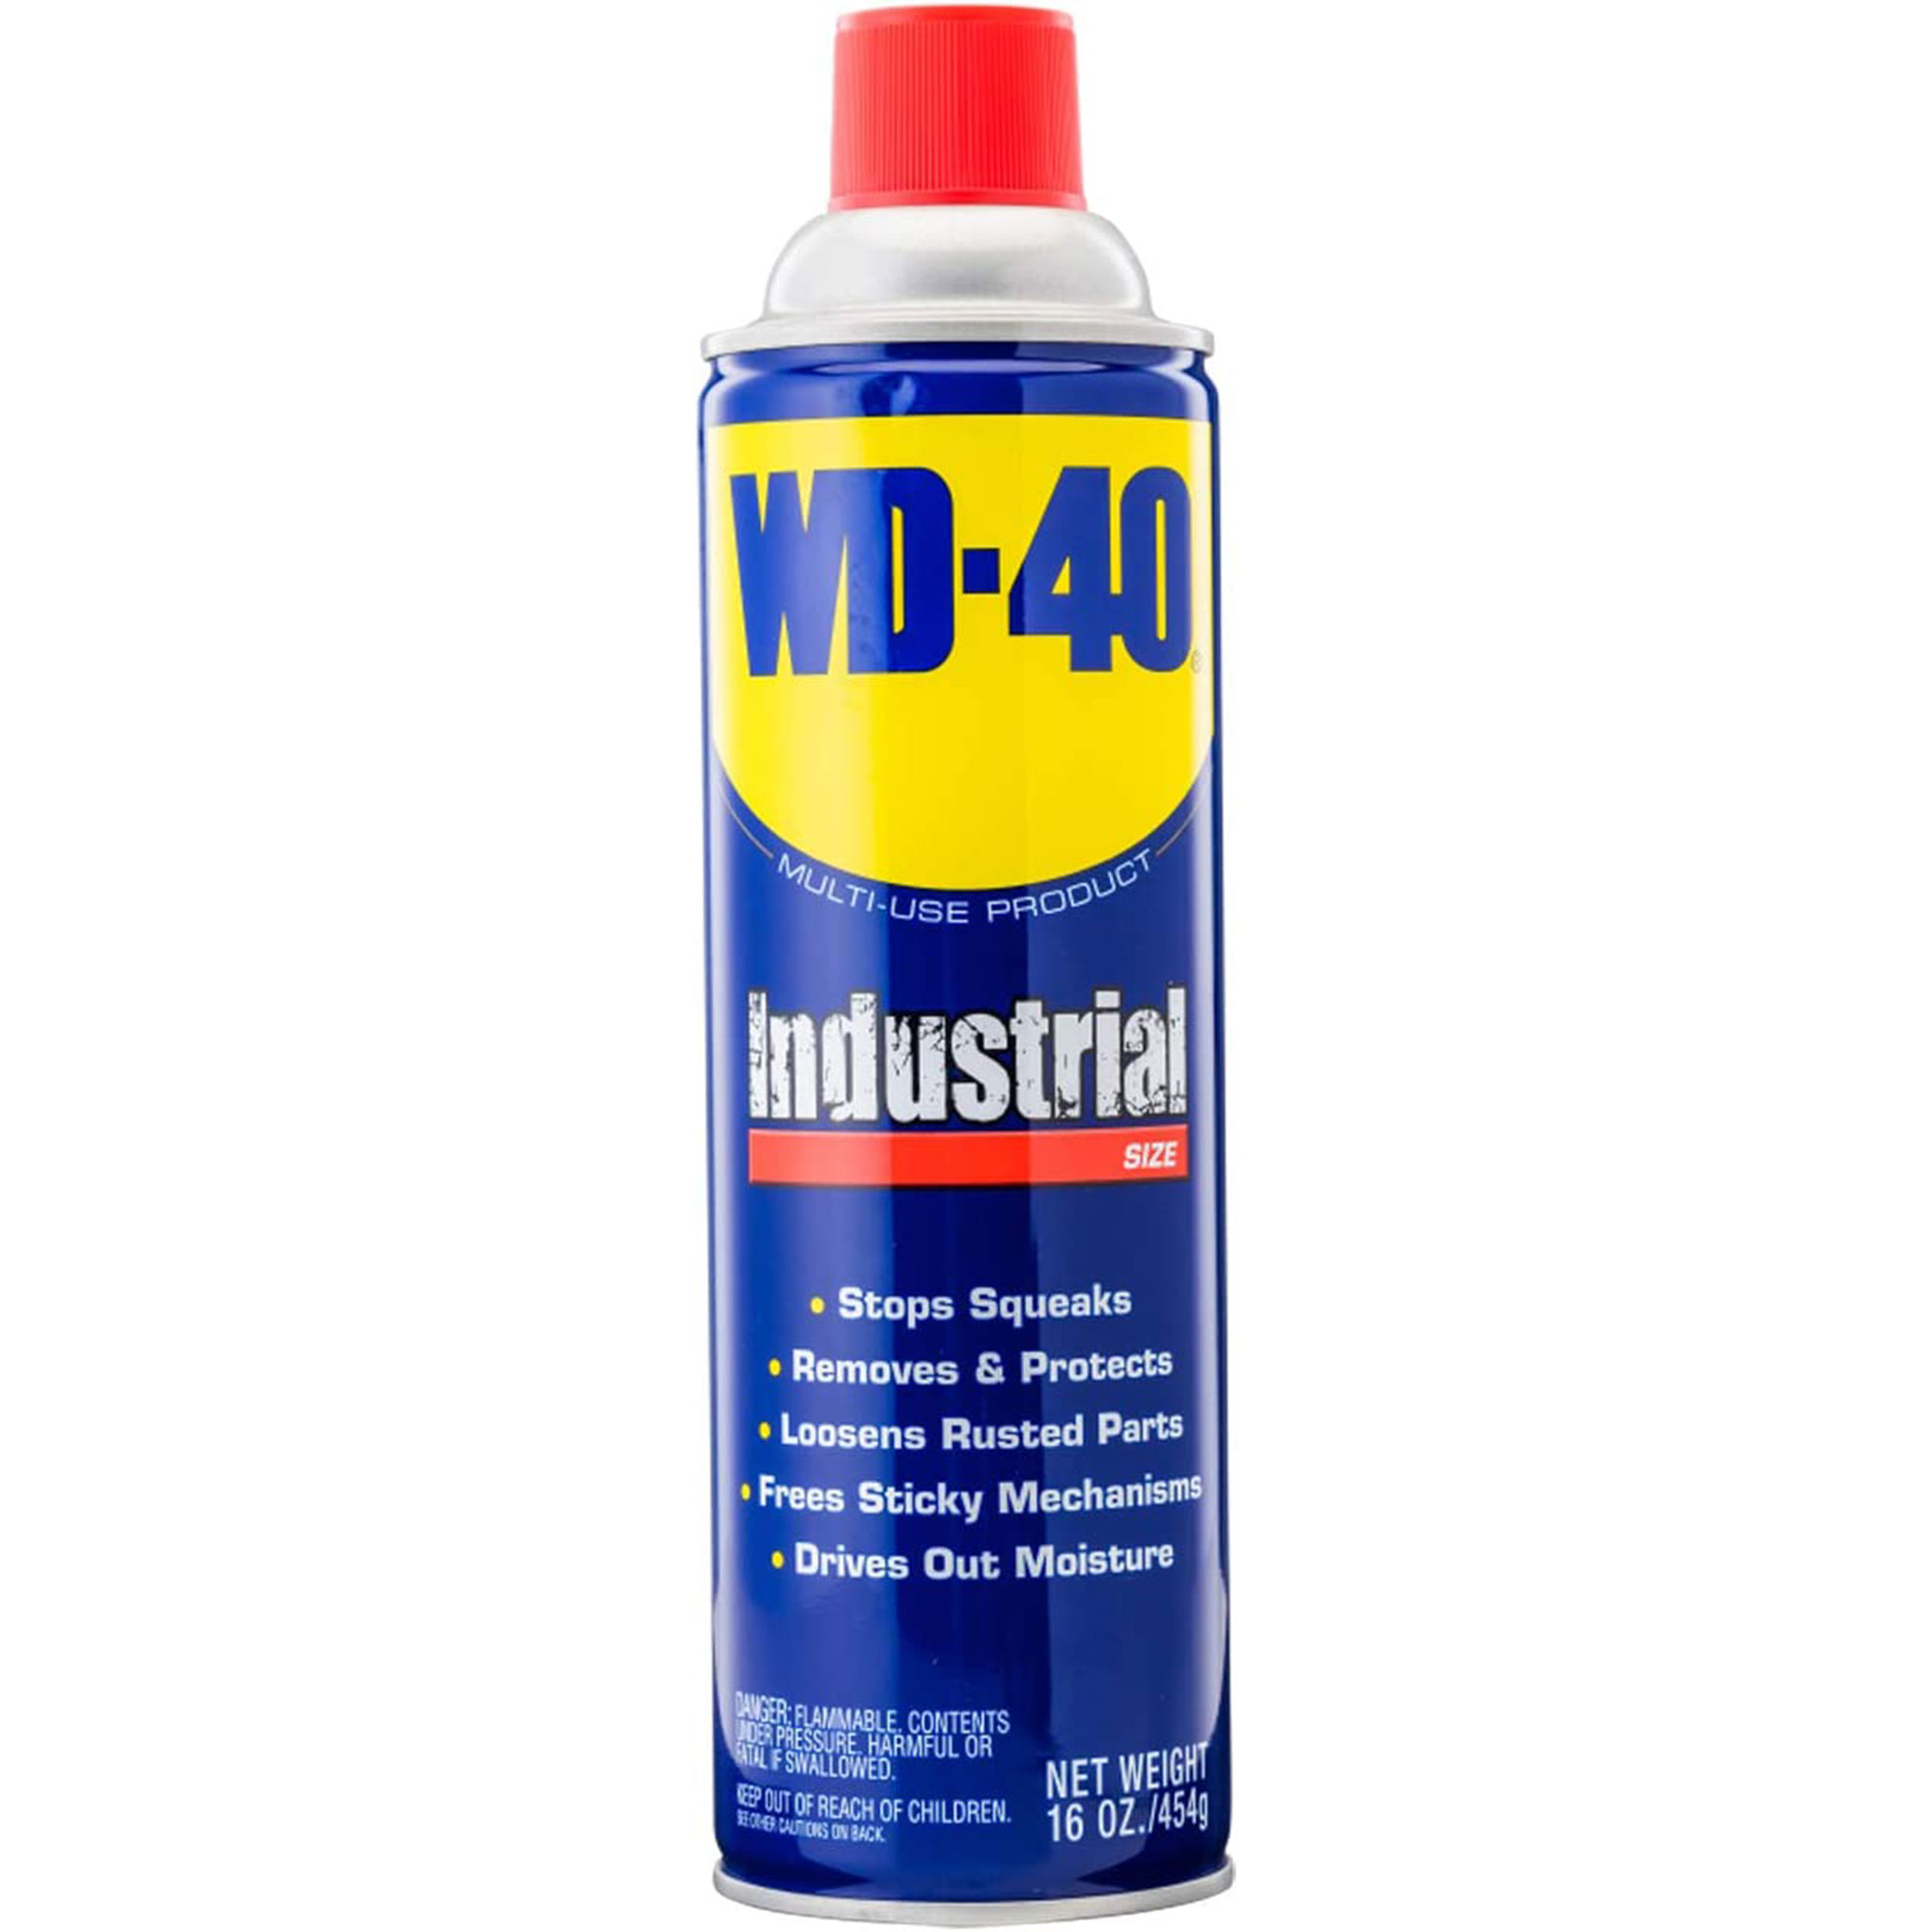
All of the gardens team at Homes & Gardens have a bottle of WD-40 in their sheds to keep their garden tools in good working order. Once your tools are clean, simply add some of this lubricant to keep the parts moving well and free from rust.
FAQs
Why is it important to clean pruning shears?
Regularly cleaning pruning shears is essential to prevent the build up of plant material, dirt and sap, which can cause the blades to stick and not cut as cleanly or efficiently as they should.
What's more, dirty pruning shears can potentially transfer diseases from one plant to another, so it's essential to reduce this risk with a regular cleaning routine.
Having the right backyard storage for your garden tools can also be an effective way to prevent them getting dirty in between uses.
How often should you clean pruning shears?
'Pruning shears should ideally be cleaned after every use,' says Drew Swainston, a former professional gardener and content editor for Homes & Gardens. 'Wipe any soil, sap or debris off the shears to both keep them in prime condition for use and also to combat potentially spreading disease around your plants. This can be as simple as scrubbing them in soapy water.'
How can you get rid of sap from pruning shears?
Pruning can often leave your shears covered in sap from the plants, which can make your tools become sticky and less effective. A simple way to get rid of it is to simply spray a light alcohol solution on your shears and then wipe it off with a clean cloth.
Ruth Hayes, the H&G contributing editor, favors the method of cleaning hers with a spot of sterilizing liquid which she then wipes off with a cloth. This removes any plant sap and also sterilizes them for the next use.
Sign up to the Homes & Gardens newsletter
Design expertise in your inbox – from inspiring decorating ideas and beautiful celebrity homes to practical gardening advice and shopping round-ups.

For the past 20 years, Beth has worked for and contributed to a number of leading magazines and websites in the UK, including Real Homes, Ideal Home, Period Living and Grand Designs. She was the Editor in Chief of Gardeningetc.com for nearly three years and is now the the Head of Gardens at Homes & Gardens. Beth's own garden is a really important part of her family's home, and she loves spending time tending to her veg patch or entertaining friends and family at a summer BBQ or alfresco pizza night.
-
 Garden experts warn against overcrowding flower beds – why this on-trend look is the worst thing you can do
It's tempting to create an abundant, overflowing garden bed, but it can limit your plants in more ways than one
By Tenielle Jordison Published
-
 Grace Kelly's former living room set the blueprint for quiet luxury – you can explore her NYC penthouse (listed for $3.25 million)
A unit in the storied Manhattan House, where Grace Kelly, Benny Goodman, and Shirley Jackson have lived, has hit the market – it's a masterclass in neutrals
By Hannah Ziegler Published