How to buy a trail camera – a pro photographer reveals how to buy the perfect gift for gardeners
This is all you need to know to bust trail camera jargon
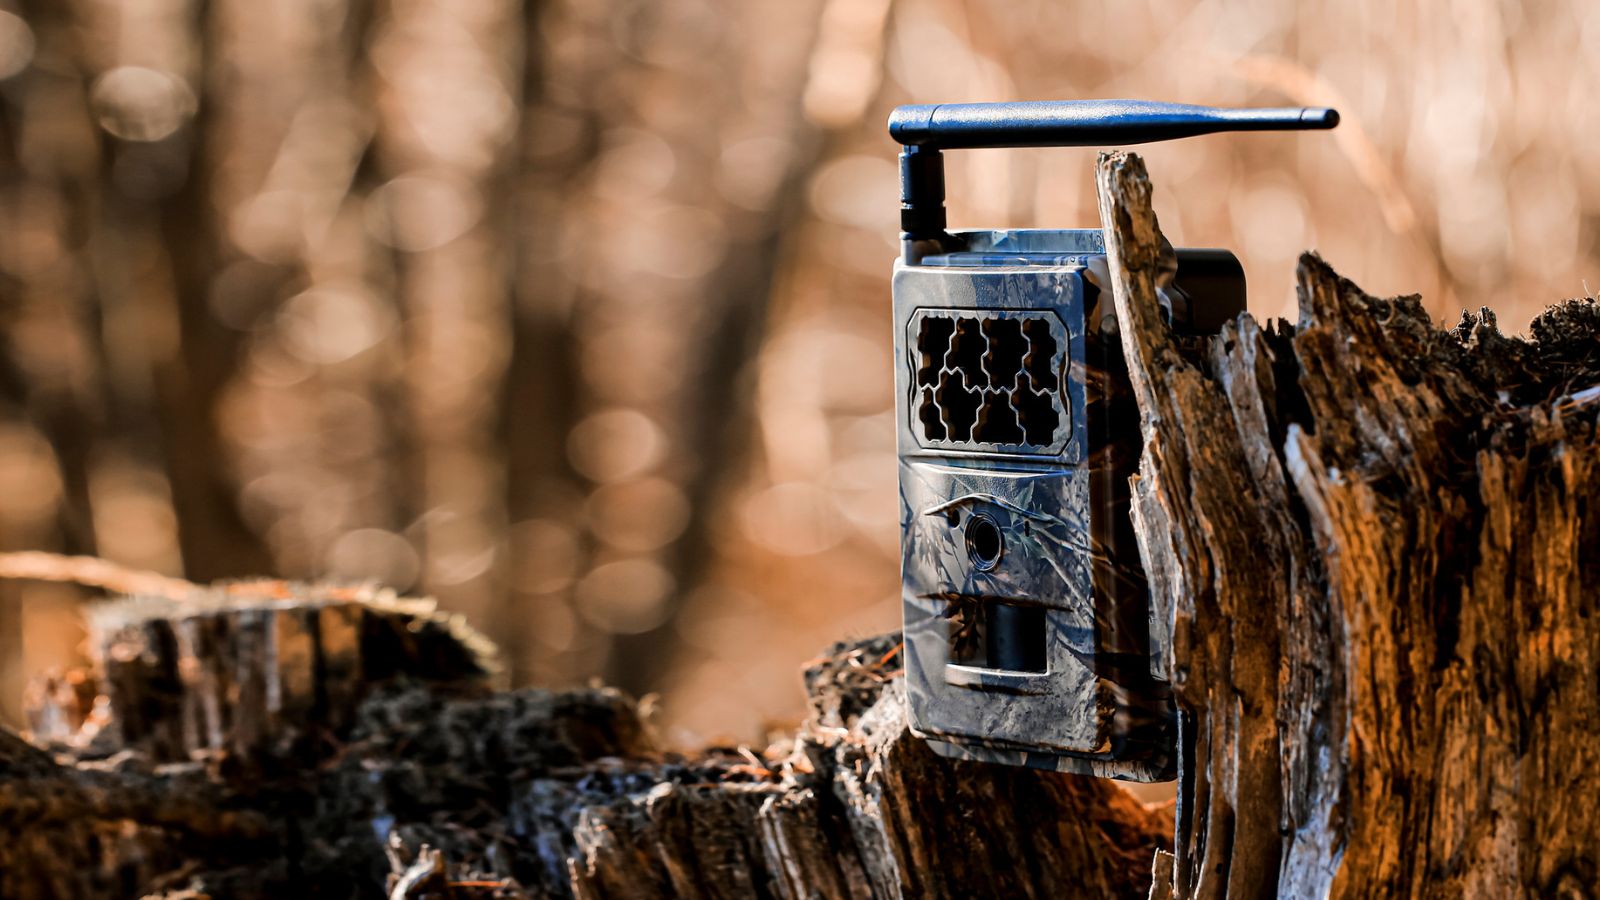

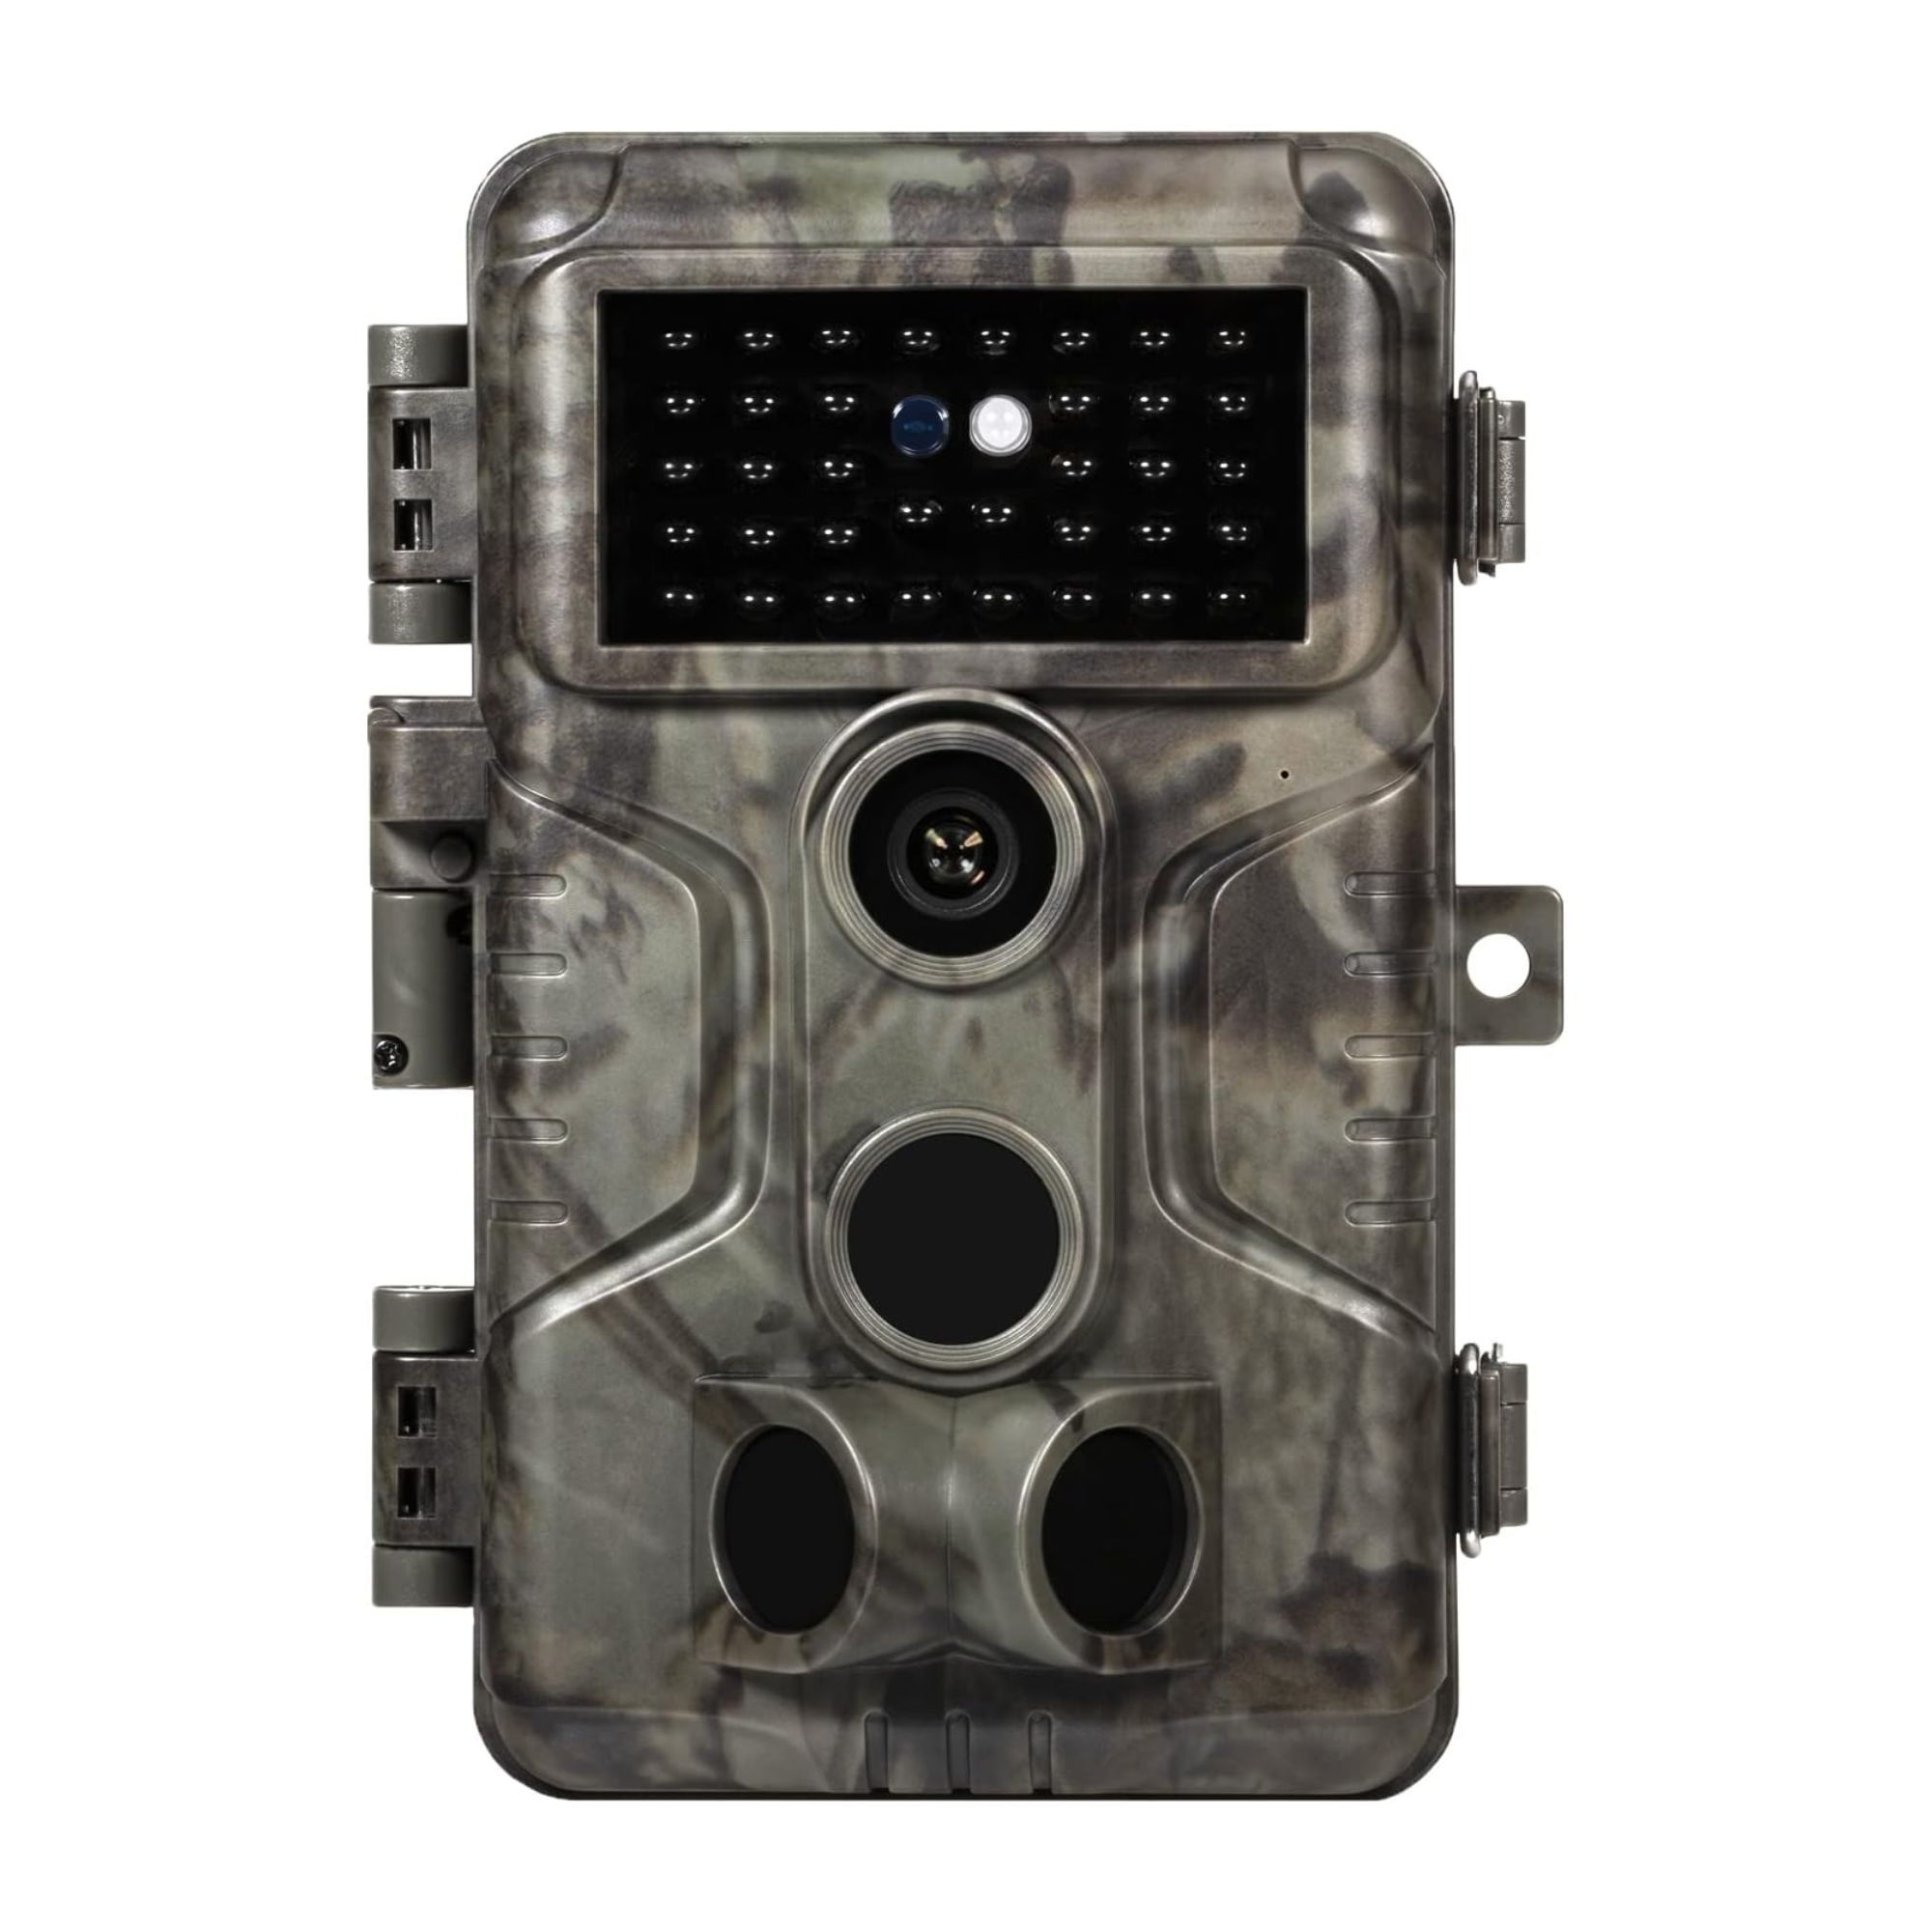
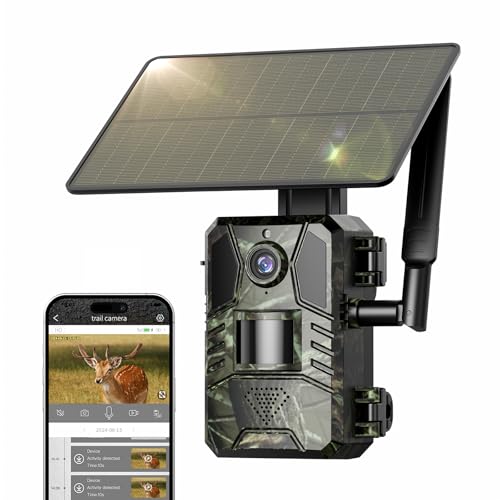
Trail cameras are a perfect gift for a gardener. They make it easy to keep on eye on critters coming and going through your yard, whether you want to work who is eating your grass seed or just want to get closer to nature.
However, these cameras are marketed with a lot of jargon and technical language. If you don't know what you're looking for, you could overpay for the wrong camera.
I've tested a few of these wildlife cameras, so I know exactly what to look out for - and I spoke to a professional photographer about what else to look out for.
PIR sensors
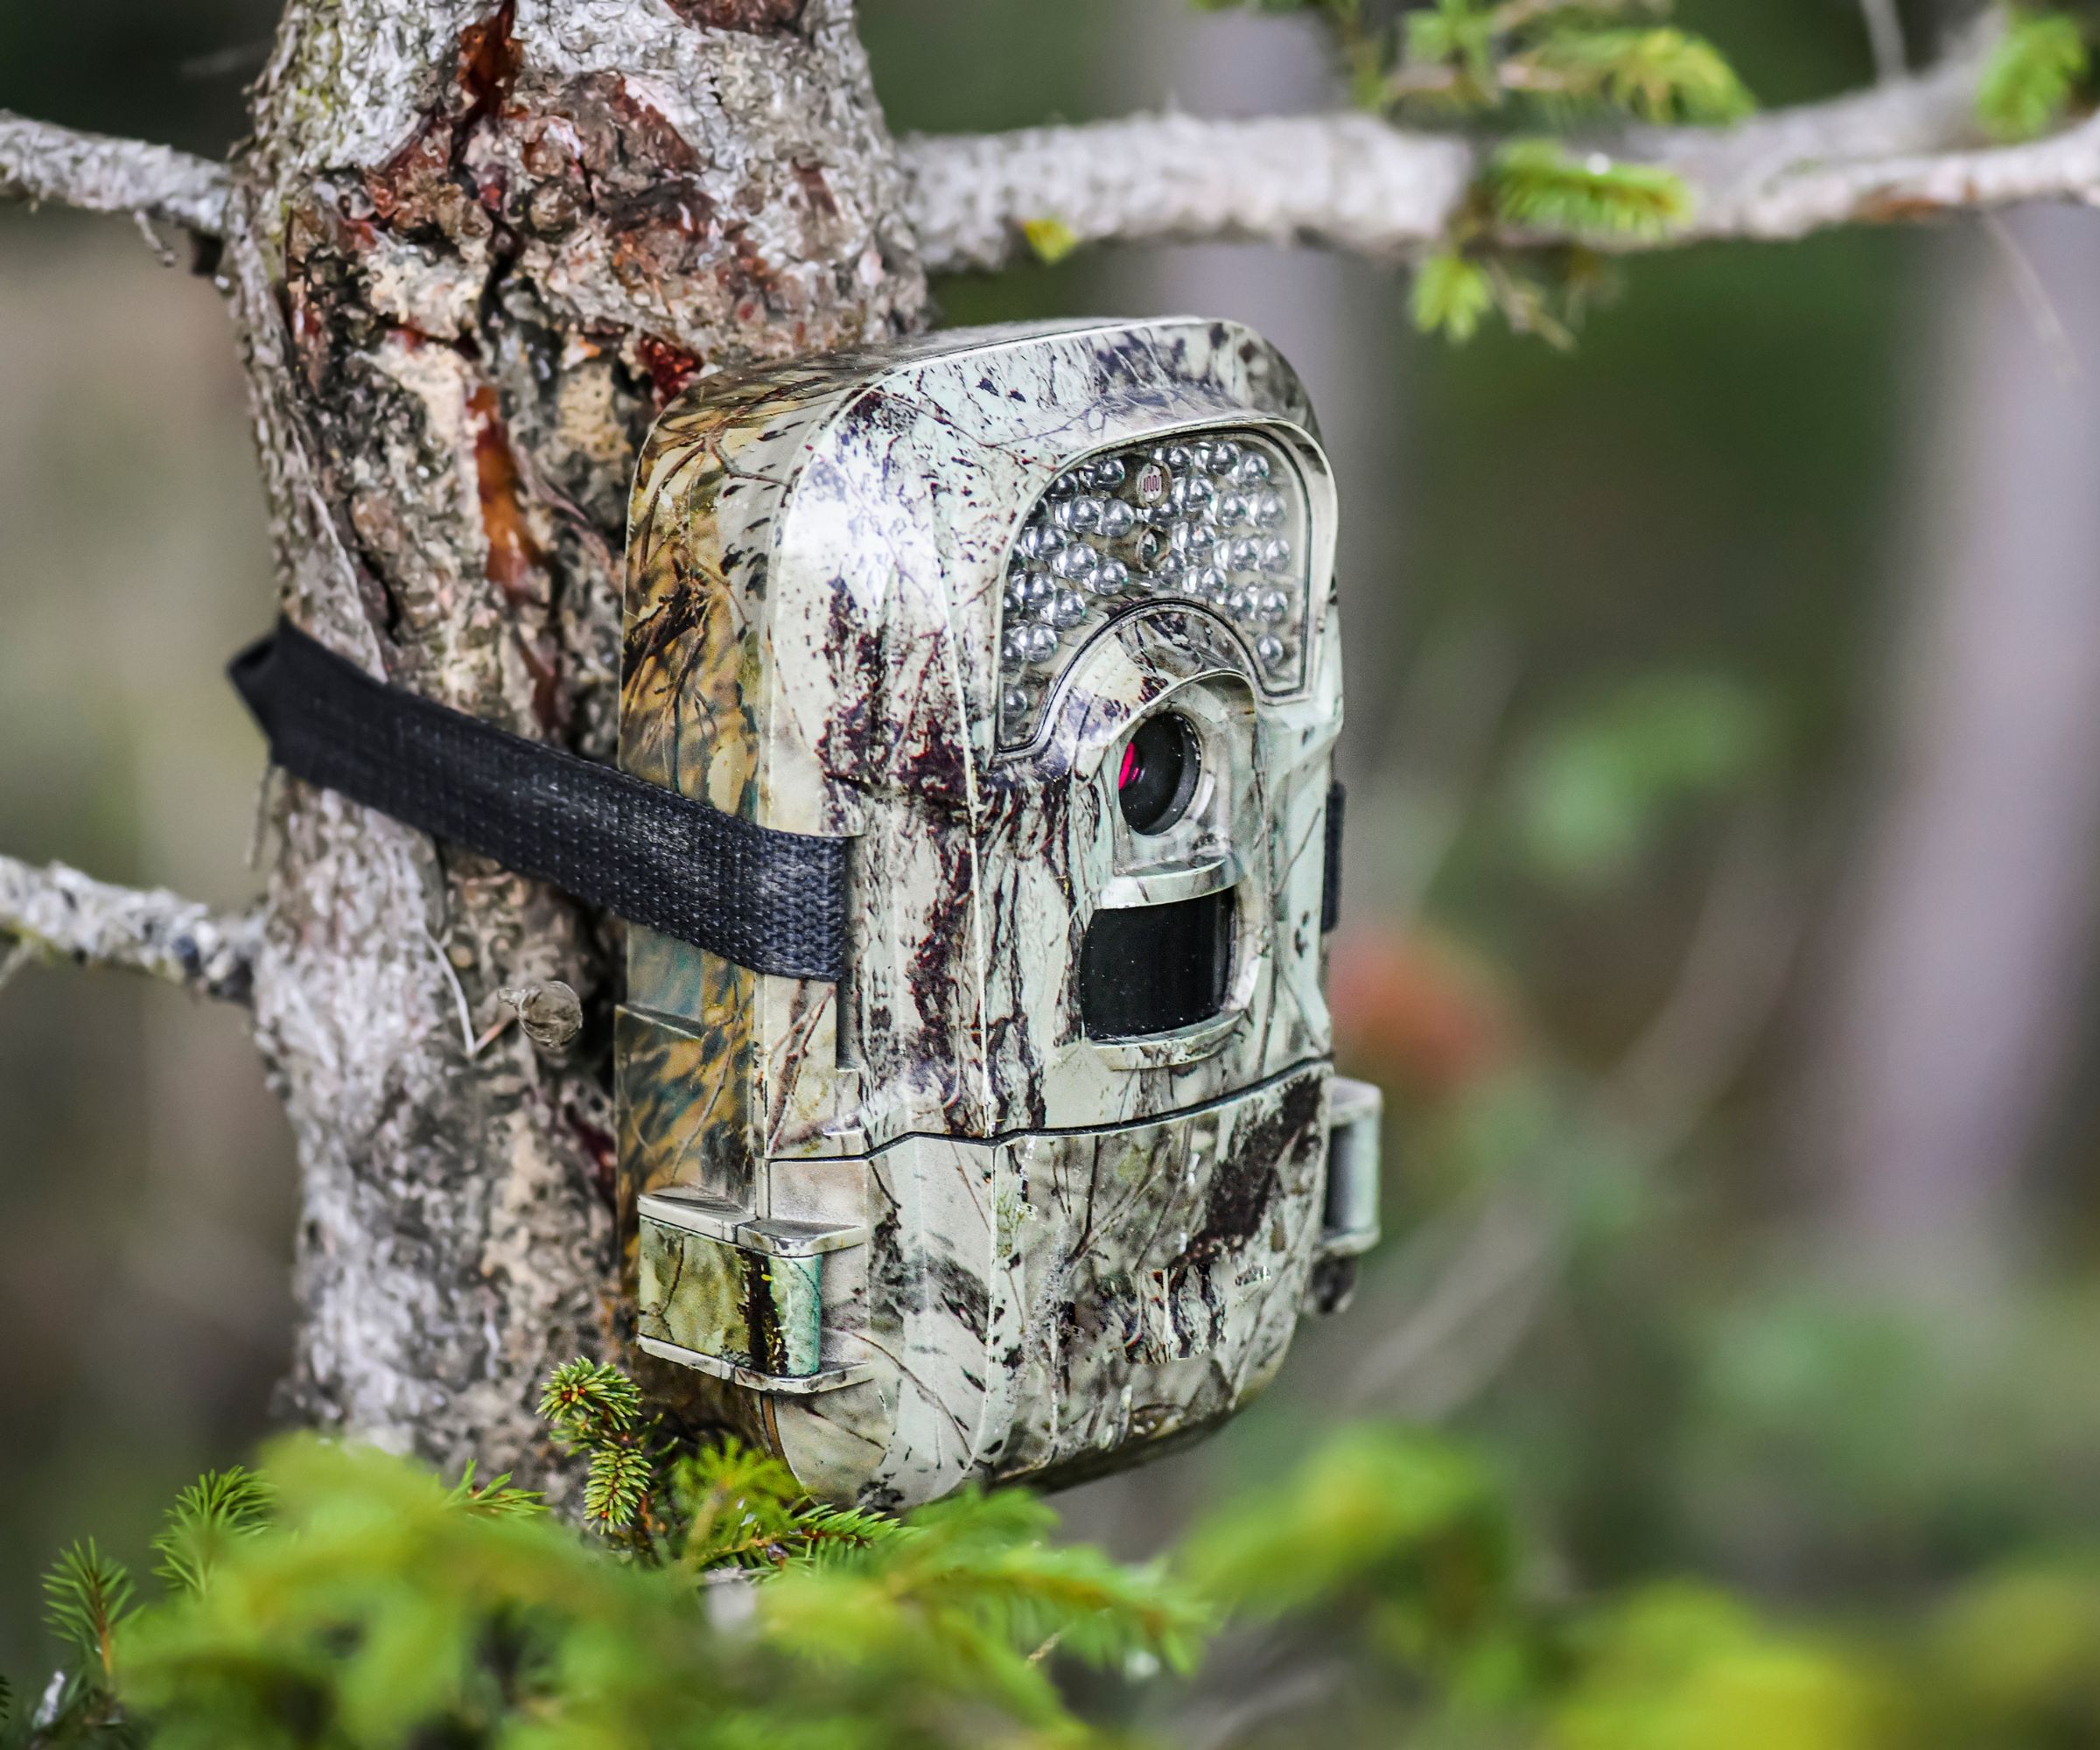
Trail cameras work using PIR sensors. PIR - or passive infrared - is a motion detection. The trail camera fires a beam of infrared light into the nearby surroundings. The sensors detect this light, but if anything blocks it - a fox, for instance - the sensors detect the break. This triggers the camera to start recording.
This feature is usually combined with a delay timer. Photography expert Don Orkoskey says 'PIR sensors are essentially motion detectors. A lot of top-quality wildlife cameras or trail cameras let you choose to delay your shot by a few seconds and set the sensitivity of your sensor. This is great, especially if you've placed the camera in an area where there are leaves that might trigger it.'
However, the delay feature isn't essential. It often means that you miss the animal - fast-moving animals can trigger the camera and leave the area before the shutter closes, leaving you with lots of photos of an empty patch of ground. If it's particularly sensitive, it will be triggered by falling leaves or waving branches.
Don says 'Personally, I never use the delay feature. I'm just careful where I place my camera so that there are fewer false starts from falling leaves or other non-wildlife triggers turning the camera on.'

Don is a professional photographer and photography teacher from Pittsburgh, PA. He photographs events and provides headshots and other business photography, including commercial photography like advertising and marketing. He is passionate about conservation and nature and spends a great deal of time photographing nature, as well as teaching others how to do the same.
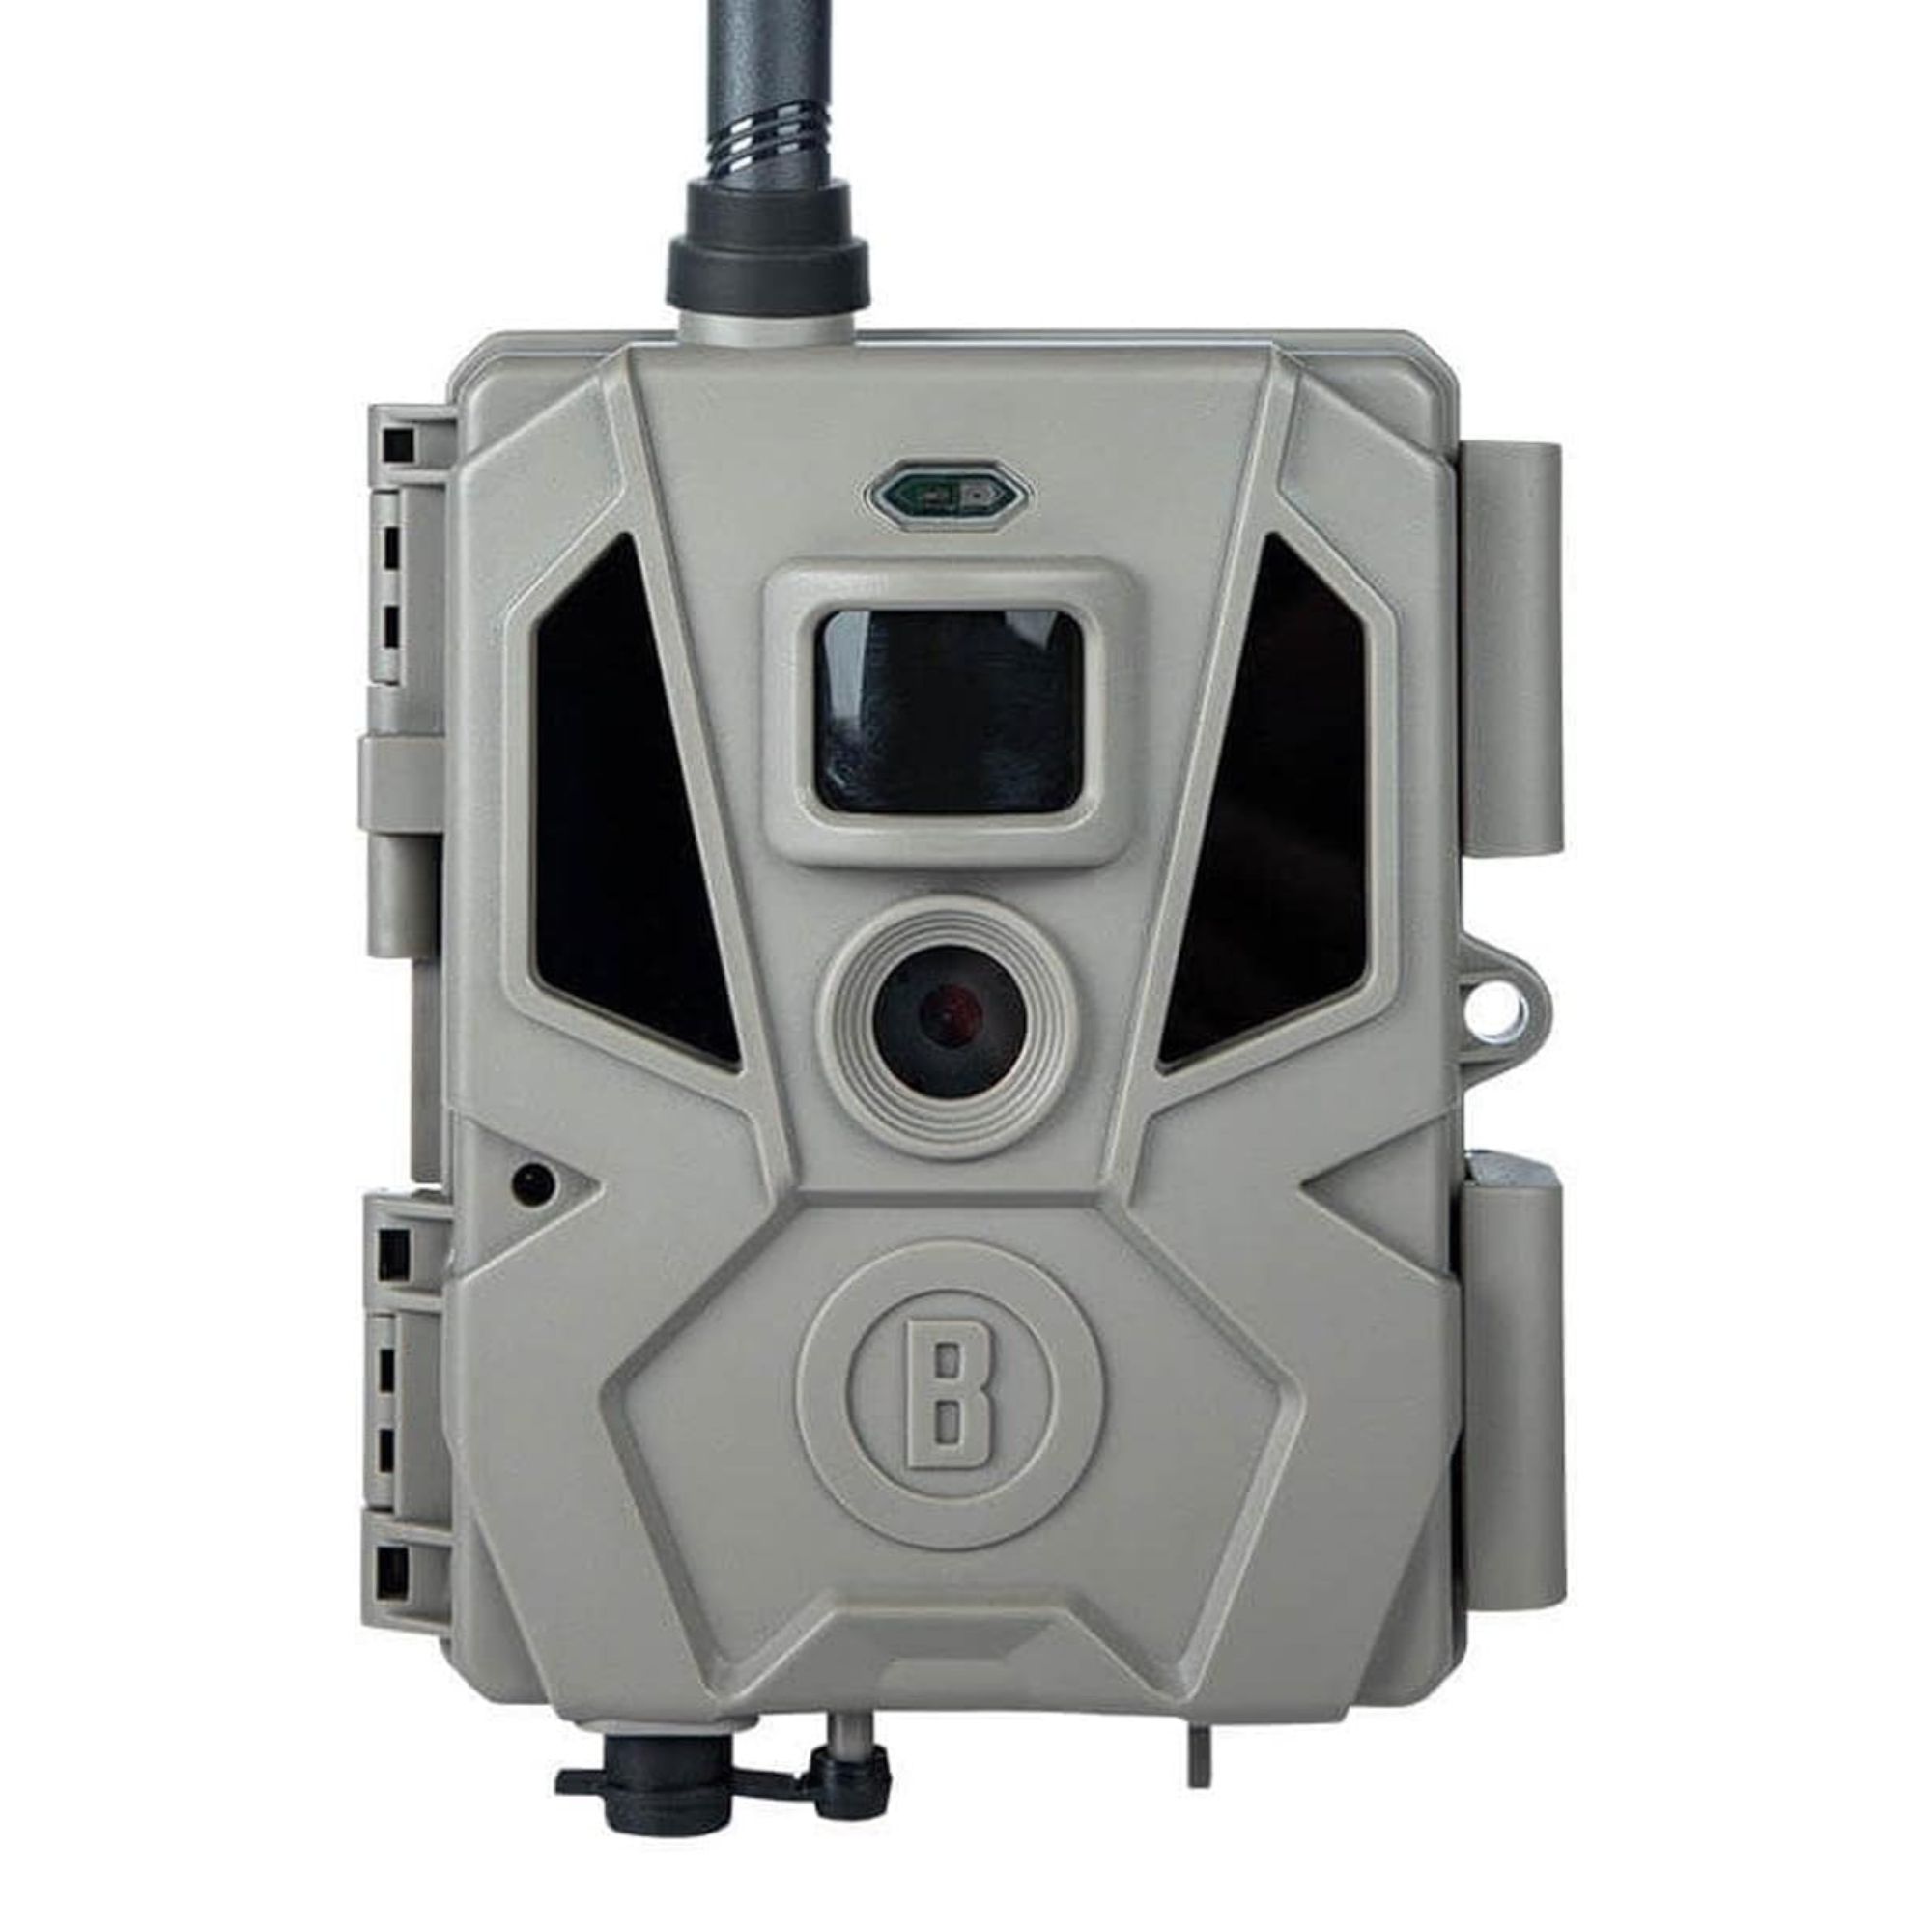
Don says that this is the camera he uses. 'As long as you're in an area with cell coverage you can check on the camera live. The low-light (infrared) capabilities in this line are great, you can record up to 1080p high-definition video, and they also capture audio which is really helpful if you're trying to ID a bird and can't quite figure it out. Having that song will really help.'
Low-glow vs no-glow
You may also see cameras advertised as low-glow or no-glow. This jargon refers to the flash used to illuminate the animals. Unlike a normal camera, which can use a bright flash of light to illuminate a subject, wildlife cameras must use infrared light as a flash or else they'll scare off the animals.
The pay-off for this is that, while the infrared light won't scare off the animals, the cameras give off a tiny glow in the dark which can warn animals away.
To this end, you can buy no-glow trail cameras, which do not illuminate the animals, but the trade-off here is that the images will look a little blurry.
Detection angle
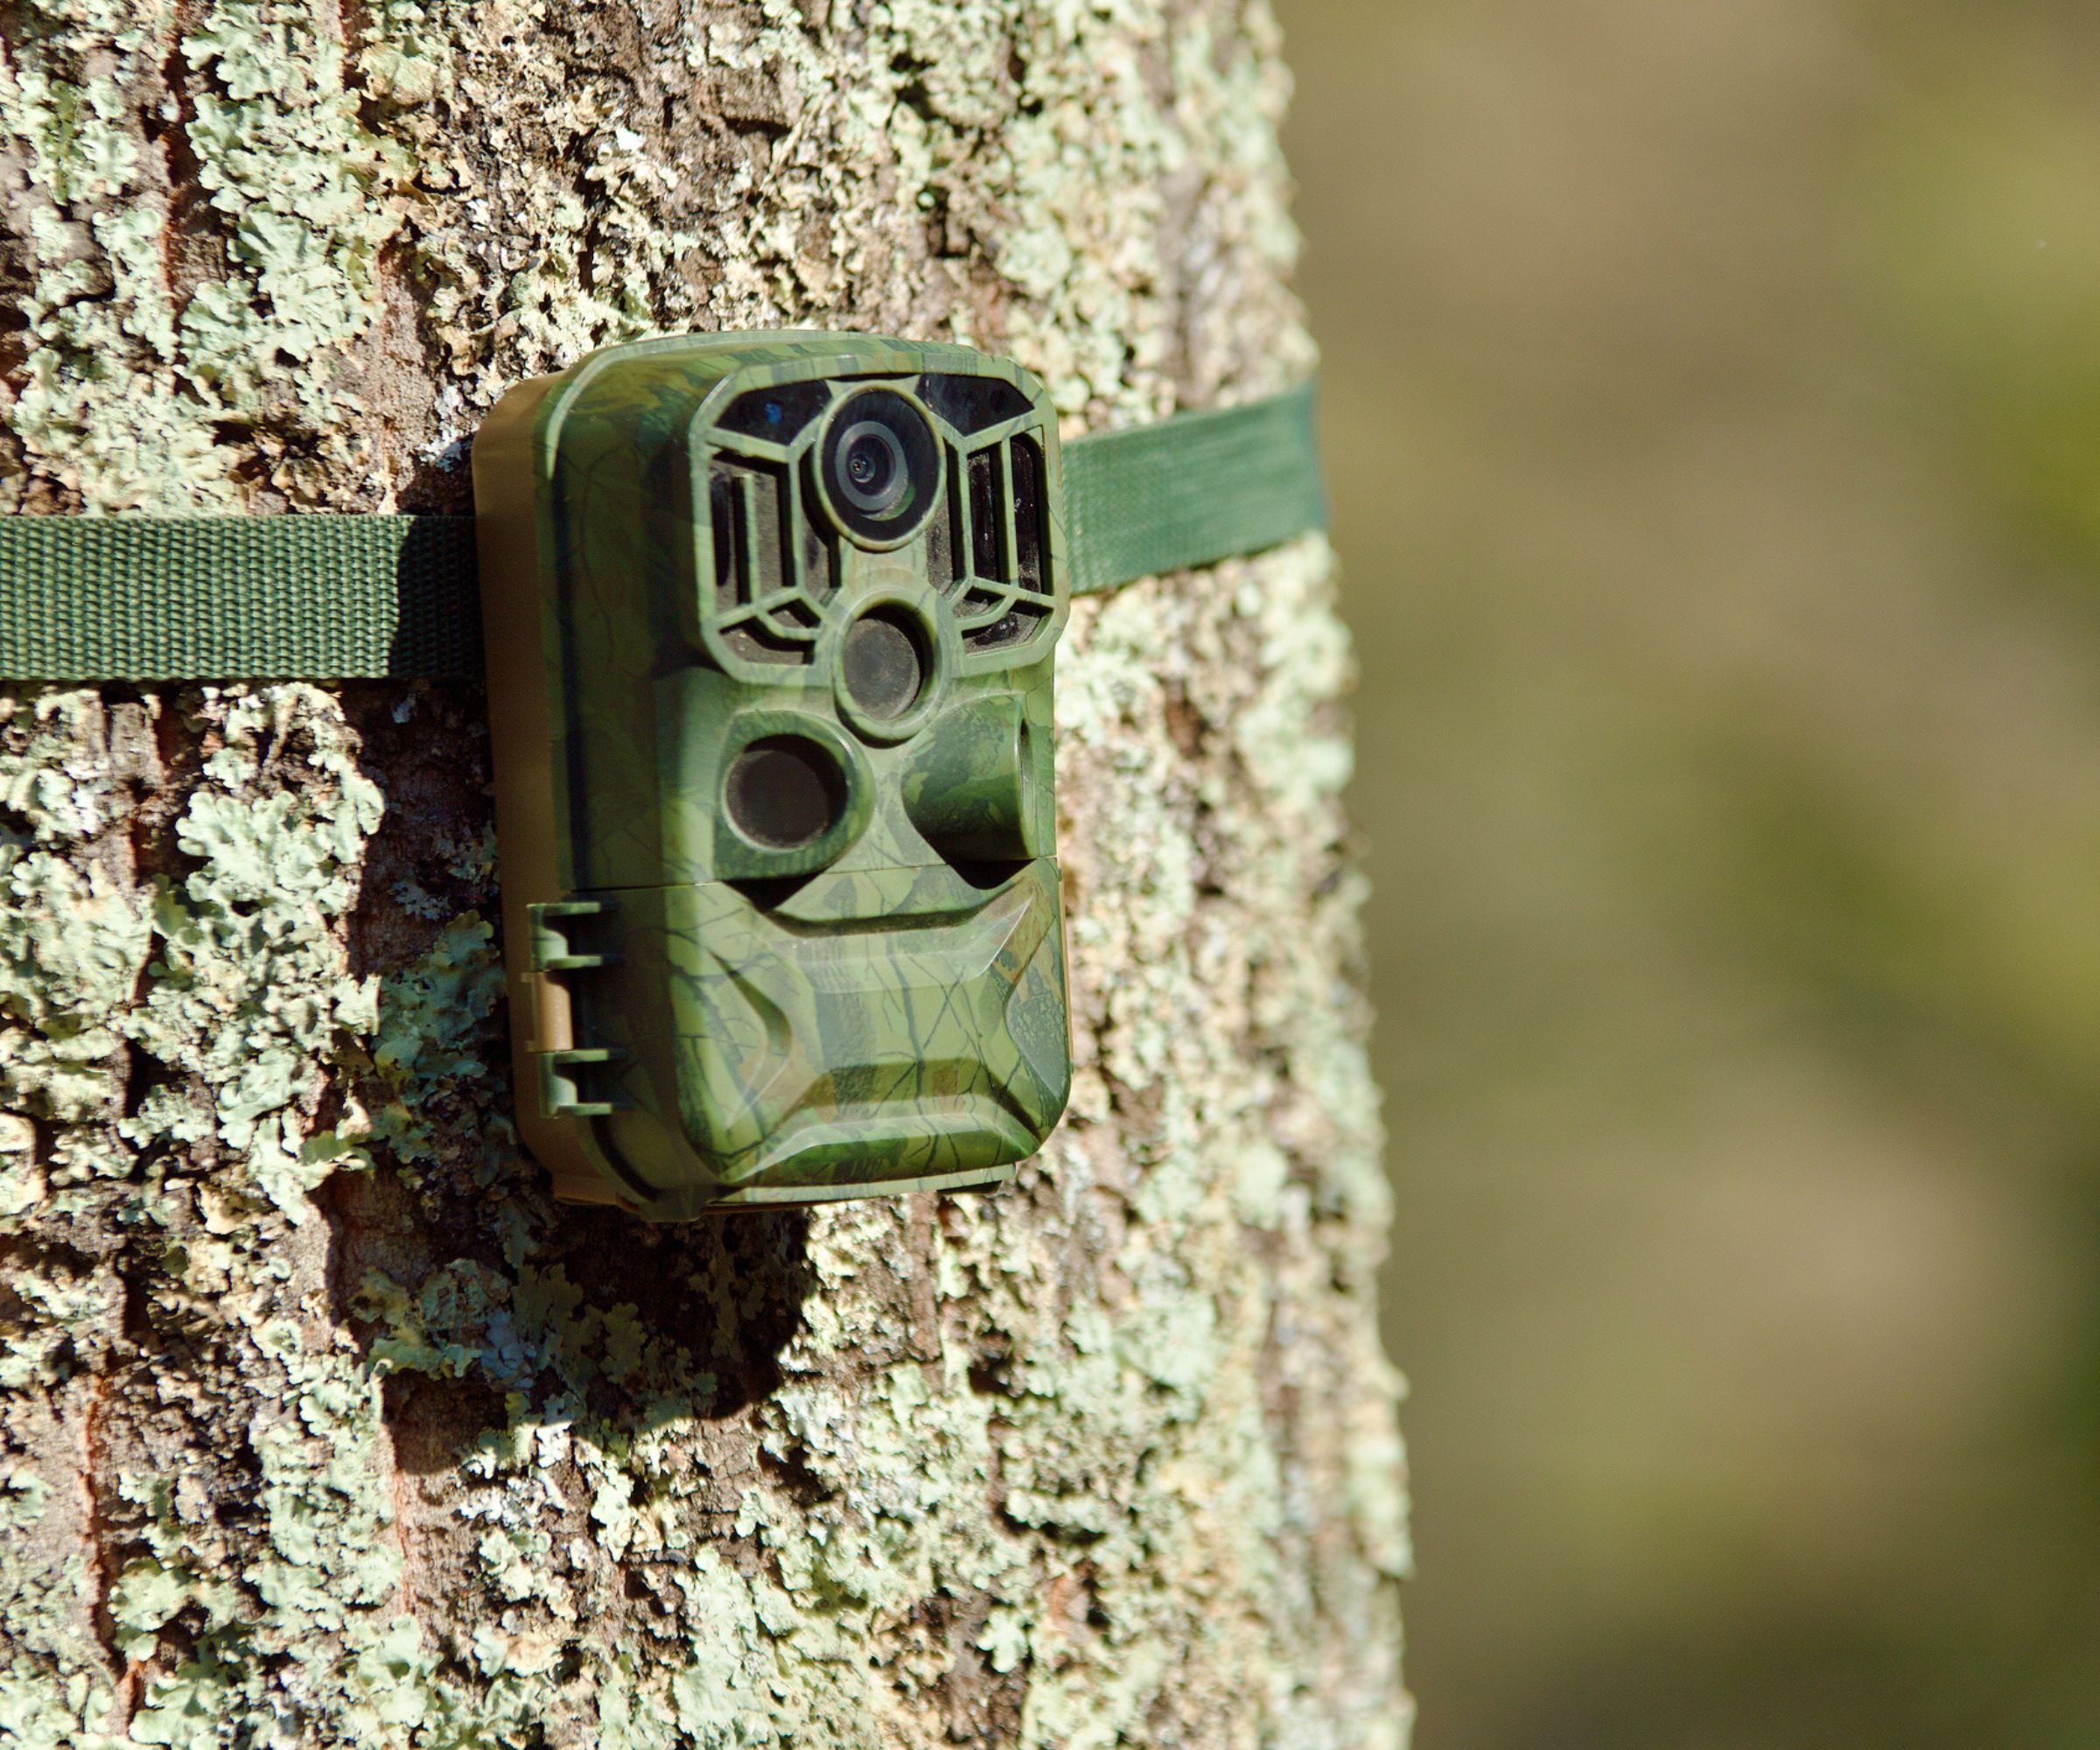
The detection angle is the angle of view from the camera in which the camera can be triggered. If the animal is outside that angle, the camera won't trigger and take the shot.
It feels tempting to buy a camera with the widest detection angle possible - the wider the detection angle, the more animals you capture. However, don't be tempted to buy a wide detection angle.
Don explains 'You want a detection angle which is going to capture anything that your camera can see. Basically, the detection angle should match the camera's field of view. This is commonly just above a 45-degree angle. The reason the angle is this narrow is that a wider angle camera would warp the image in the same way your passenger side mirror does on a car. In other words, it would make things appear farther away which can make them harder to ID.'
That said, it can be wise to buy a camera where the detection angle is slightly wider than the camera's field of view. If you have a delay, this means the animal can trigger the camera just before it walks into view, creating a perfect shot. However, this won't always work - it's just as likely that an animal will trigger the camera and then wander off in a different direction, ruining the shot.
Timers
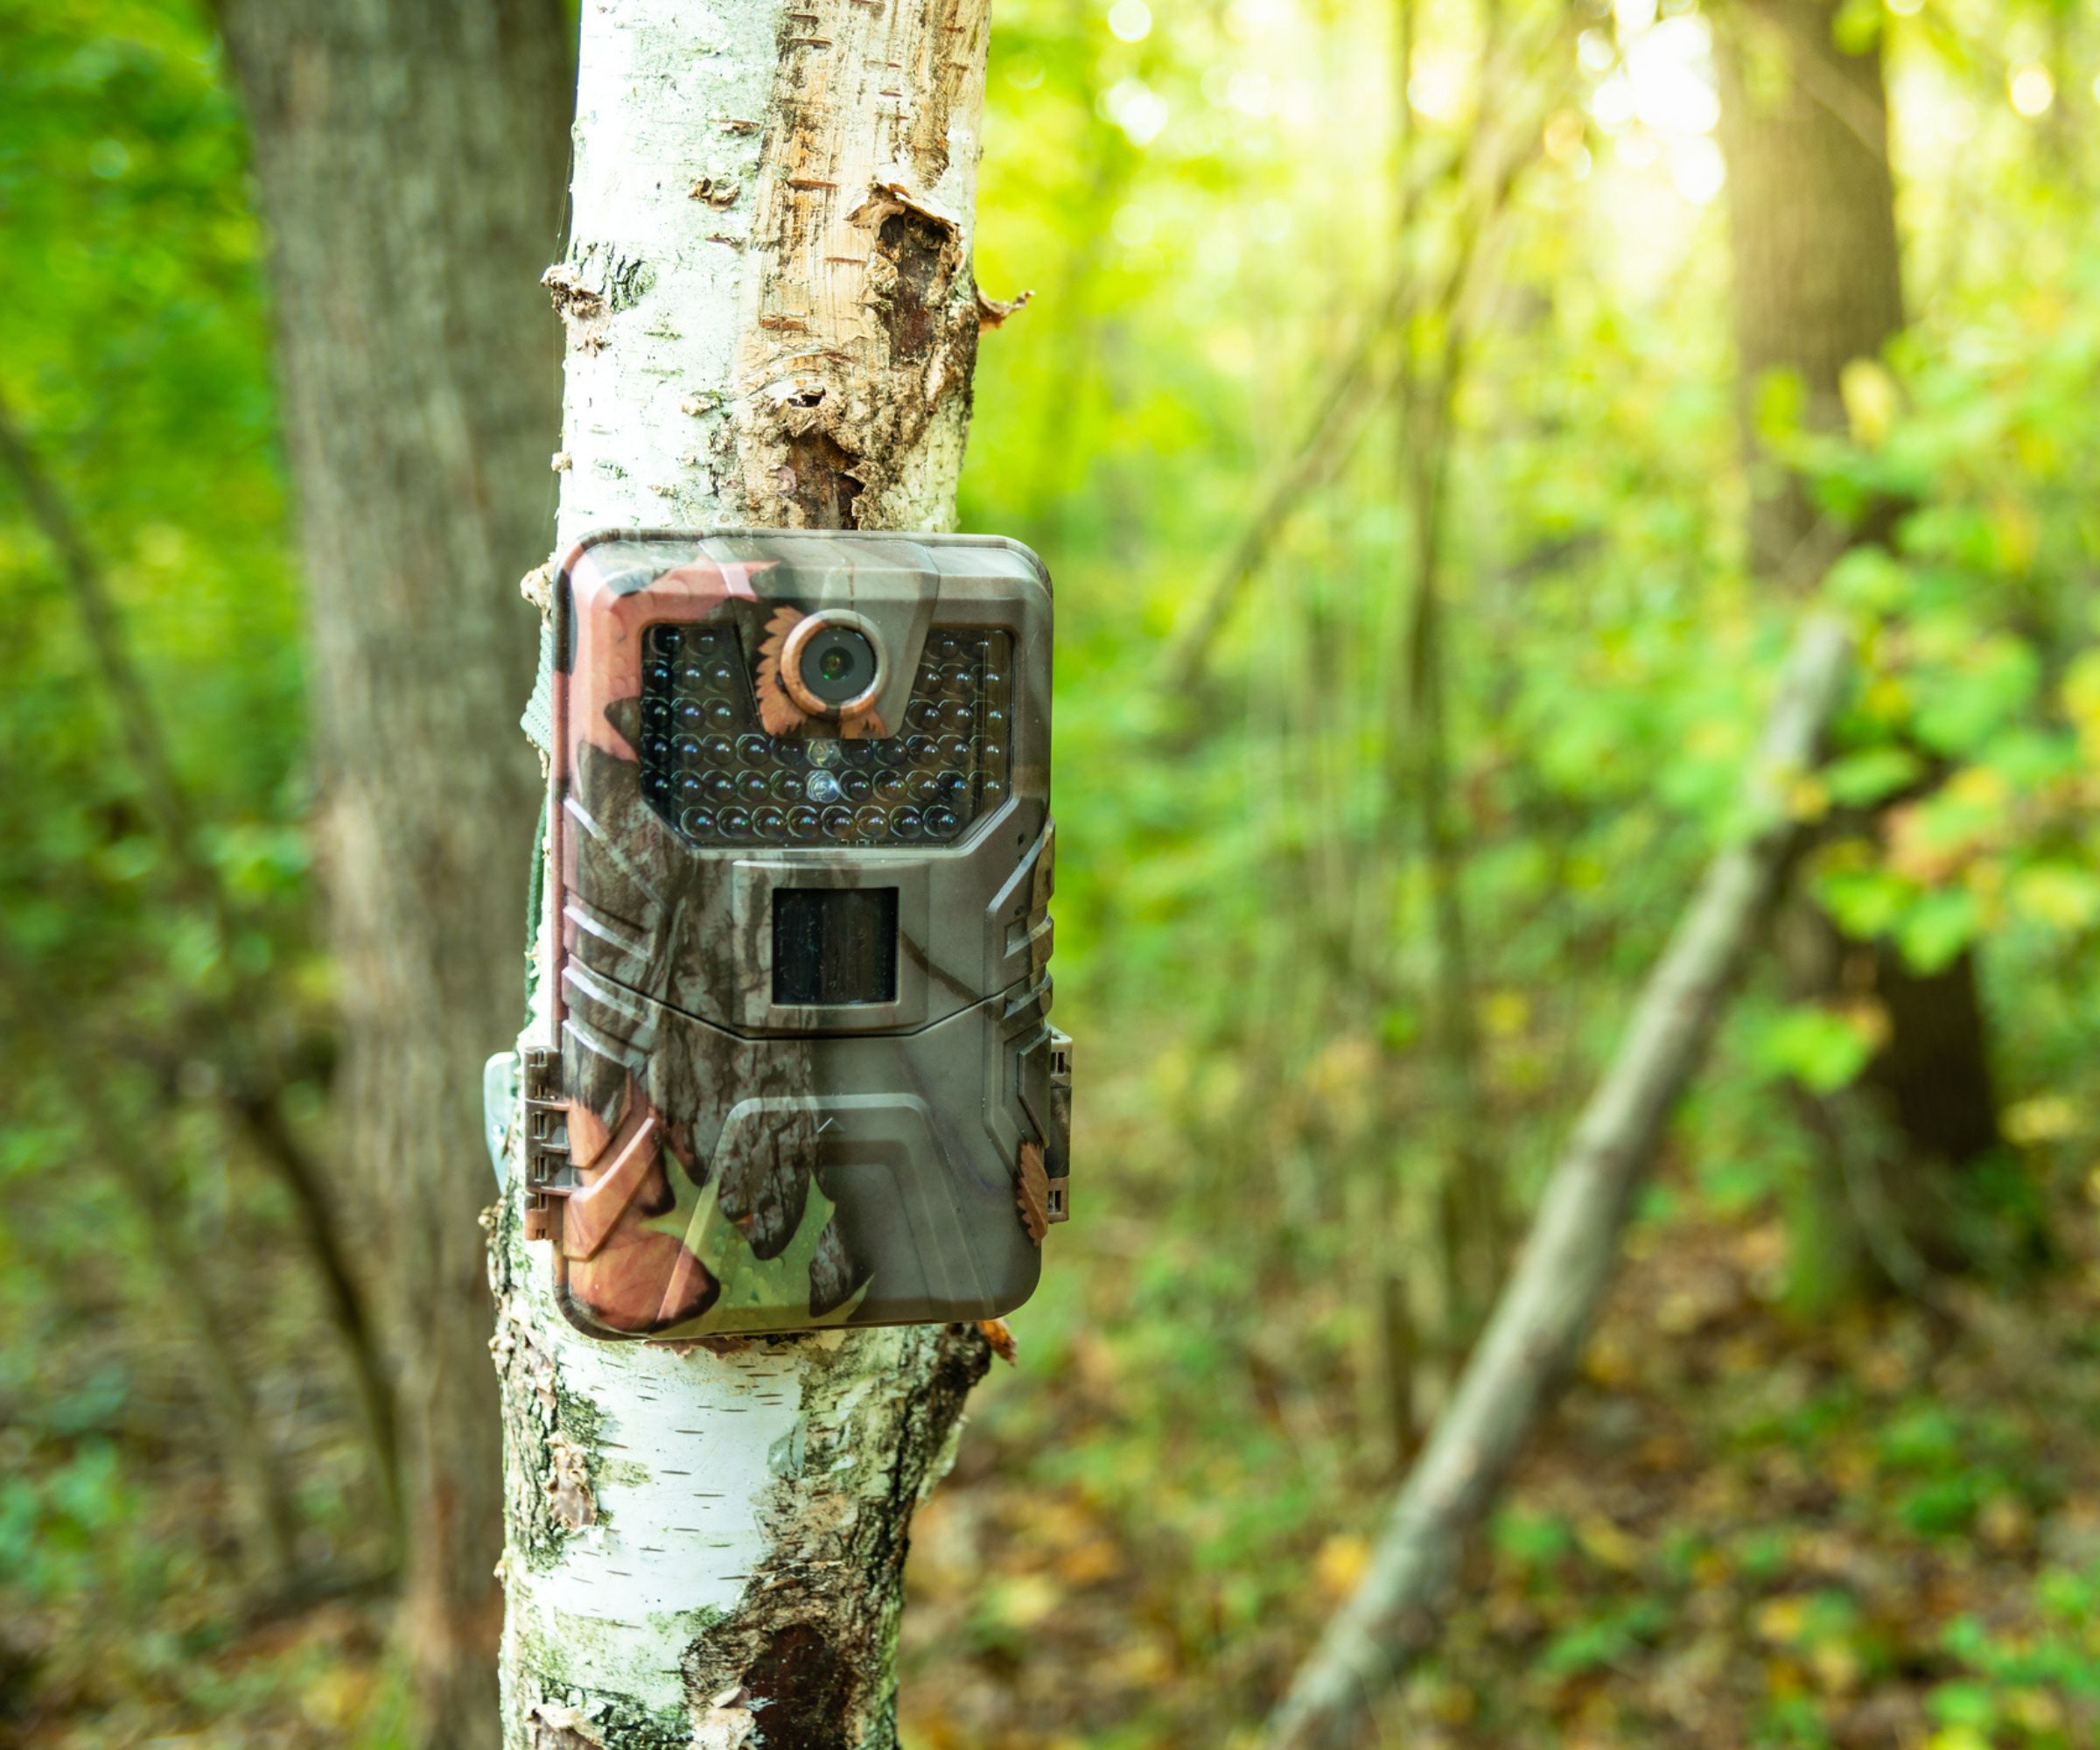
Another useful feature is to buy a camera with a timer. Timers limit the hours of operation to a few hours a day, which can be incredibly helpful if you want to capture a specific animal.
For example, if you want to figure out which animal is digging up your bulbs, you can set it to only operate in the day, and if you want to catch nocturnal animals, you can set the camera so that it only switches on at night.
Don says 'Having a camera with a timer is helpful if you only want to capture wildlife at specific times of day. A lot of high-end wildlife cameras come with these features. Even if you want to capture animals most of the day, if you're pointing the camera on a particular trail where the sun hits it from 7 to 8 each morning then it makes sense to not work for that time. As a result, you won't have any useless photos of a giant sun glare.'
IP rating
Just like solar lights and other outdoor electronics, trail cameras are given ingress protection - or IP - ratings. An IP rating is a measure of how easily water and dust can enter a given electronic. The best possible IP rating is IP69 - aim to buy a camera with at worst IP55. The average tends to be IP65 for a decent camera that will last.
Memory
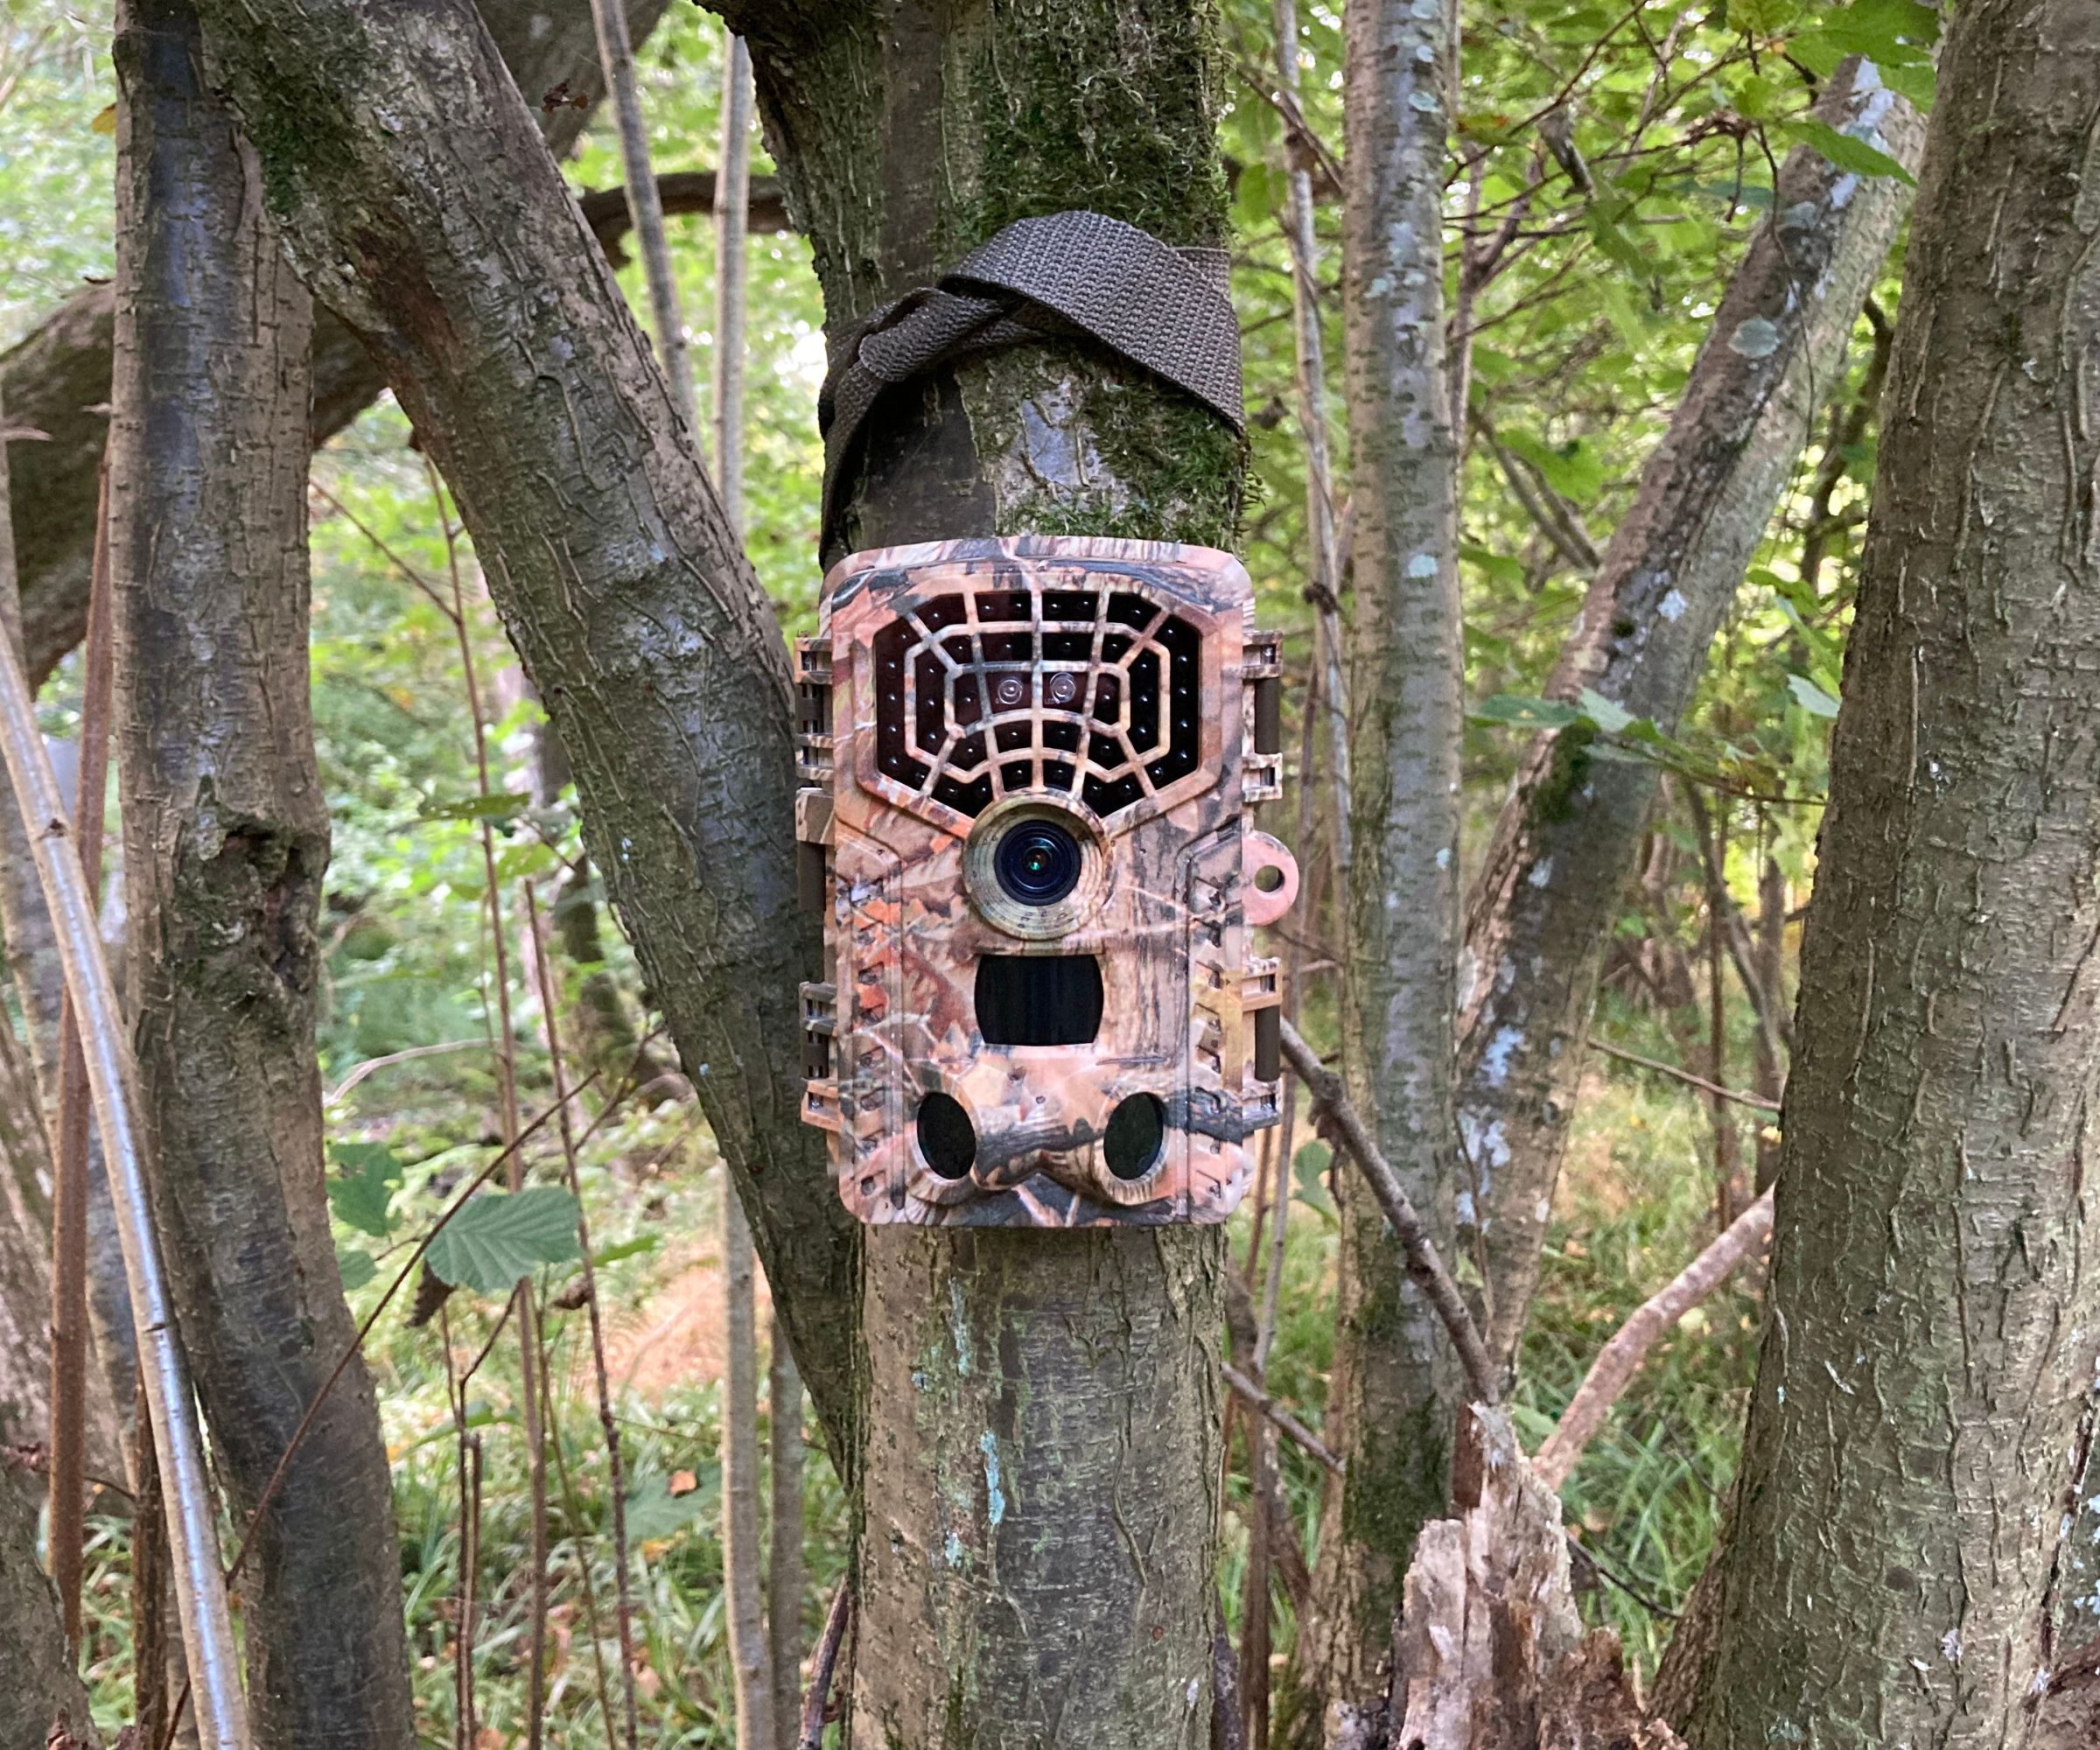
Trail cameras are sold with different memory capacities. Generally, the higher the memory capacity, the more you can capture - and the more the camera costs.
Don says 'When it comes to memory card capacity, the frequency you're checking the camera is the best determiner. If the camera is in your backyard and you check it every day you can use a fairly low capacity card. However, if you're taking video of everything that moves and only checking the camera every few weeks then a high capacity card will come in handy.'
When it comes to costs for the cards, Don says to go for a big 128GB memory card. 'With costs what they are these days it makes a lot of sense to buy a 128GB card,' says Don. 'They're not that much more than a 64GB card. Plus, if you can't get to the camera when you planned it should still have room to capture more footage.'
Trail cameras are great for catching larger animals but not always perfect for spotting birds. In that case, you need something a little smaller, like a hummingbird feeder camera.
Sign up to the Homes & Gardens newsletter
Design expertise in your inbox – from inspiring decorating ideas and beautiful celebrity homes to practical gardening advice and shopping round-ups.

As a gardens and lifestyle contributor, Alex makes sure readers find the right information to help them make the best purchase. Alex got his start in reviewing at the iconic Good Housekeeping Institute, testing a wide range of household products and appliances. He then moved to BBC Gardeners’ World Magazine, assessing gardening tools, machinery, and wildlife products.
-
 I've spent over 200 hours testing vacuums and swear by my two Dysons – this is how I properly clean a Dyson vacuum filter for longer-lasting appliances
Your Dyson vacuum will last much longer and clean at its best
By Dan Fauzi Published
-
 Bethenny Frankel calls this $695 machine the 'Rolls-Royce Cullinan of coffee' – it's a must-have luxury buy for iced-coffee lovers this springtime
The Real Housewife swears by a luxurious machine that makes nitro cold brew, cold brew, and cold espresso at the touch of a button – here's why it's worth it
By Sophie Edwards Published
