Chitting potatoes – how and why to complete this simple task
Unlock the maximum potential of your crop through this simple process
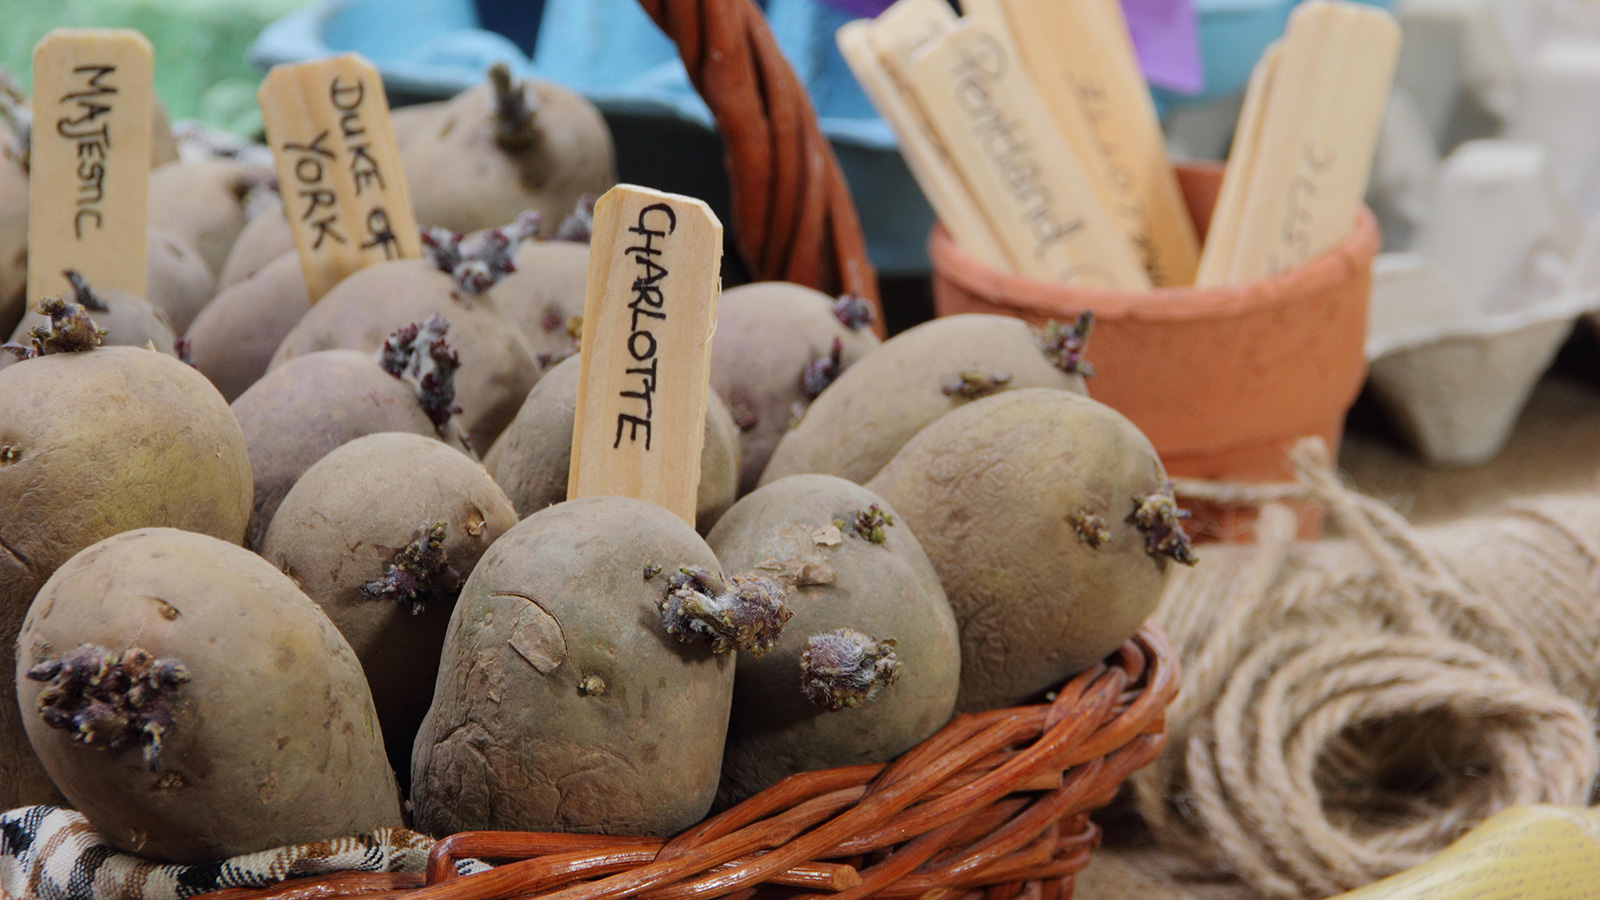
When you grow your own vegetables, every year brings different challenges and no absolute guarantees when it comes to your harvest. However, there are things under your control that can be factors in helping ensure a good potato crop. One of these is choosing to make a good head start to each season by chitting potatoes.
In a nutshell, chitting potatoes (which is also known by the name green sprouting), is the process of forcing your seed potatoes to start growing indoors early. It encourages those seed potatoes to start putting out sprouts and gives the grower a head-start when it comes to the potato growing season. It is a very traditional task done by vegetable growers around the globe.
Knowing how to grow potatoes means not only learning what to do and how to do it, but understanding how your choices can make a difference. Such decisions, including whether or not to chit, might make that first dig in the soil for tubers less daunting.
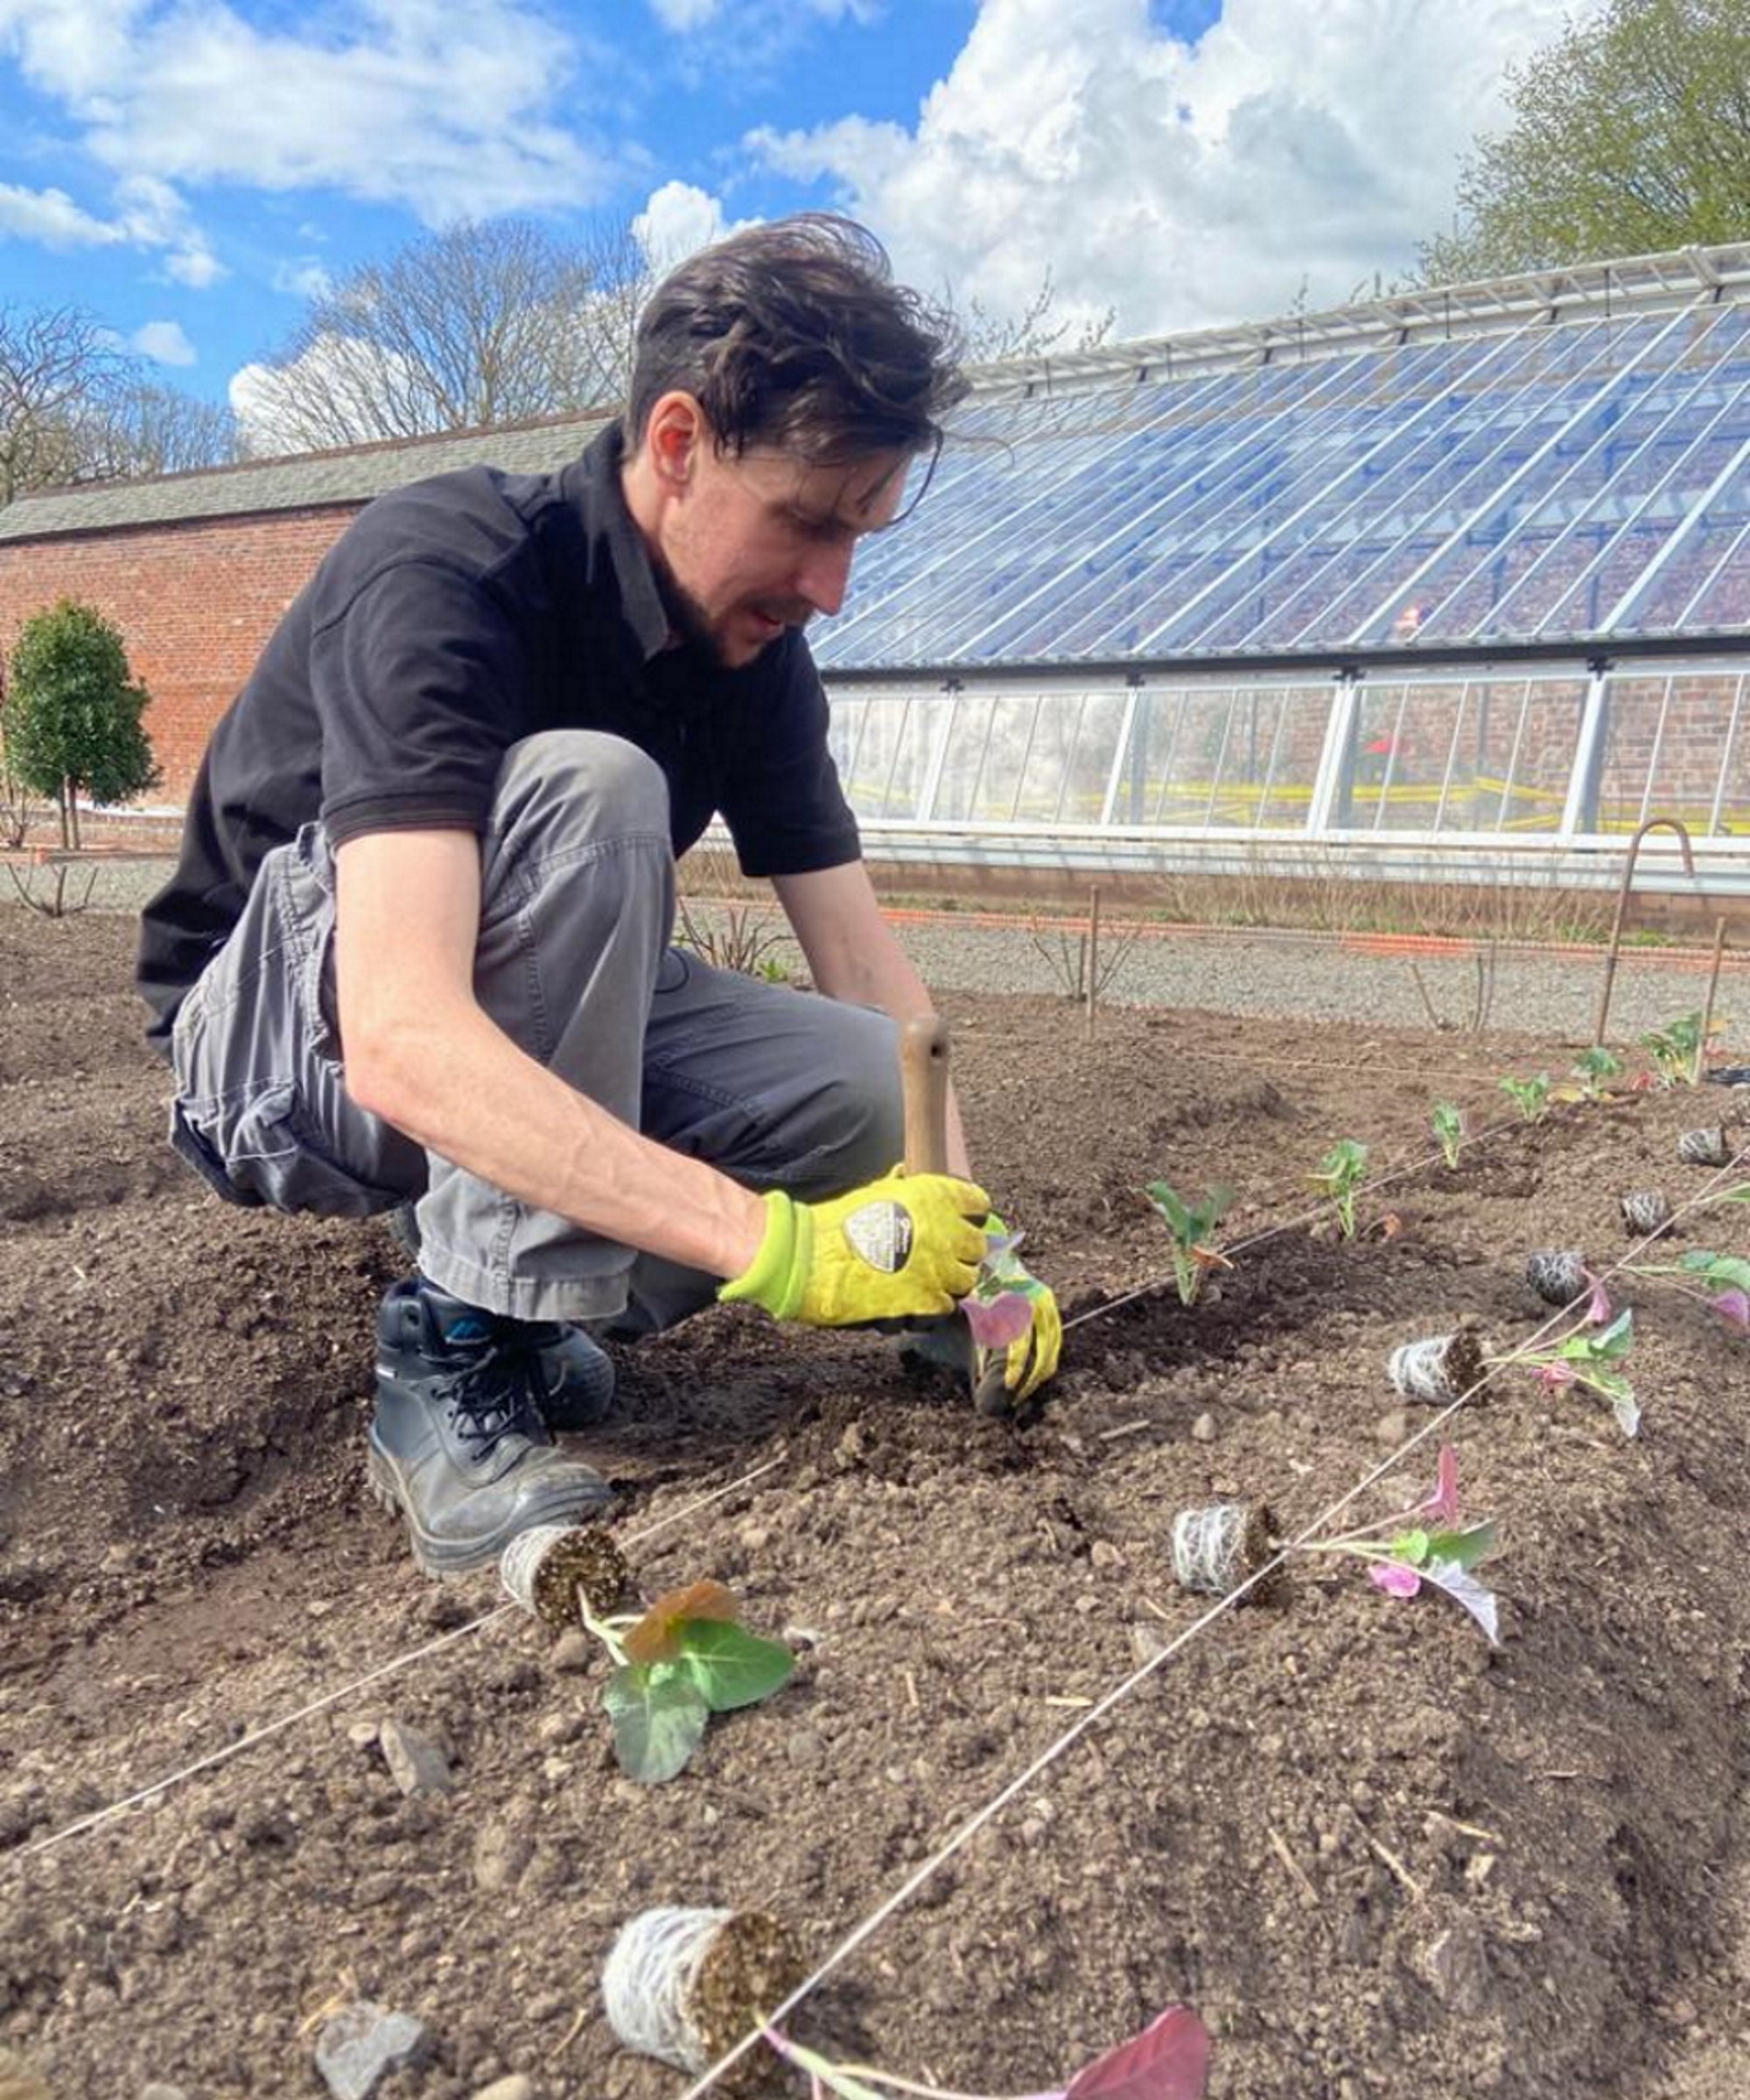
I've been growing potatoes for many years, both for my work as a professional gardener and on my own allotment, and typically choose to chit my potatoes. I have always achieved a decent harvest whenever I did this, so consider it to be a worthwhile task when growing these popular backyard crops.

Drew is a former professional kitchen gardener and worked in several productive gardens growing vegetables for restaurants. He has grown lots of potatoes for the last decade. This has been in walled gardens, on an allotment, and even in bags and pots in a small urban backyard.
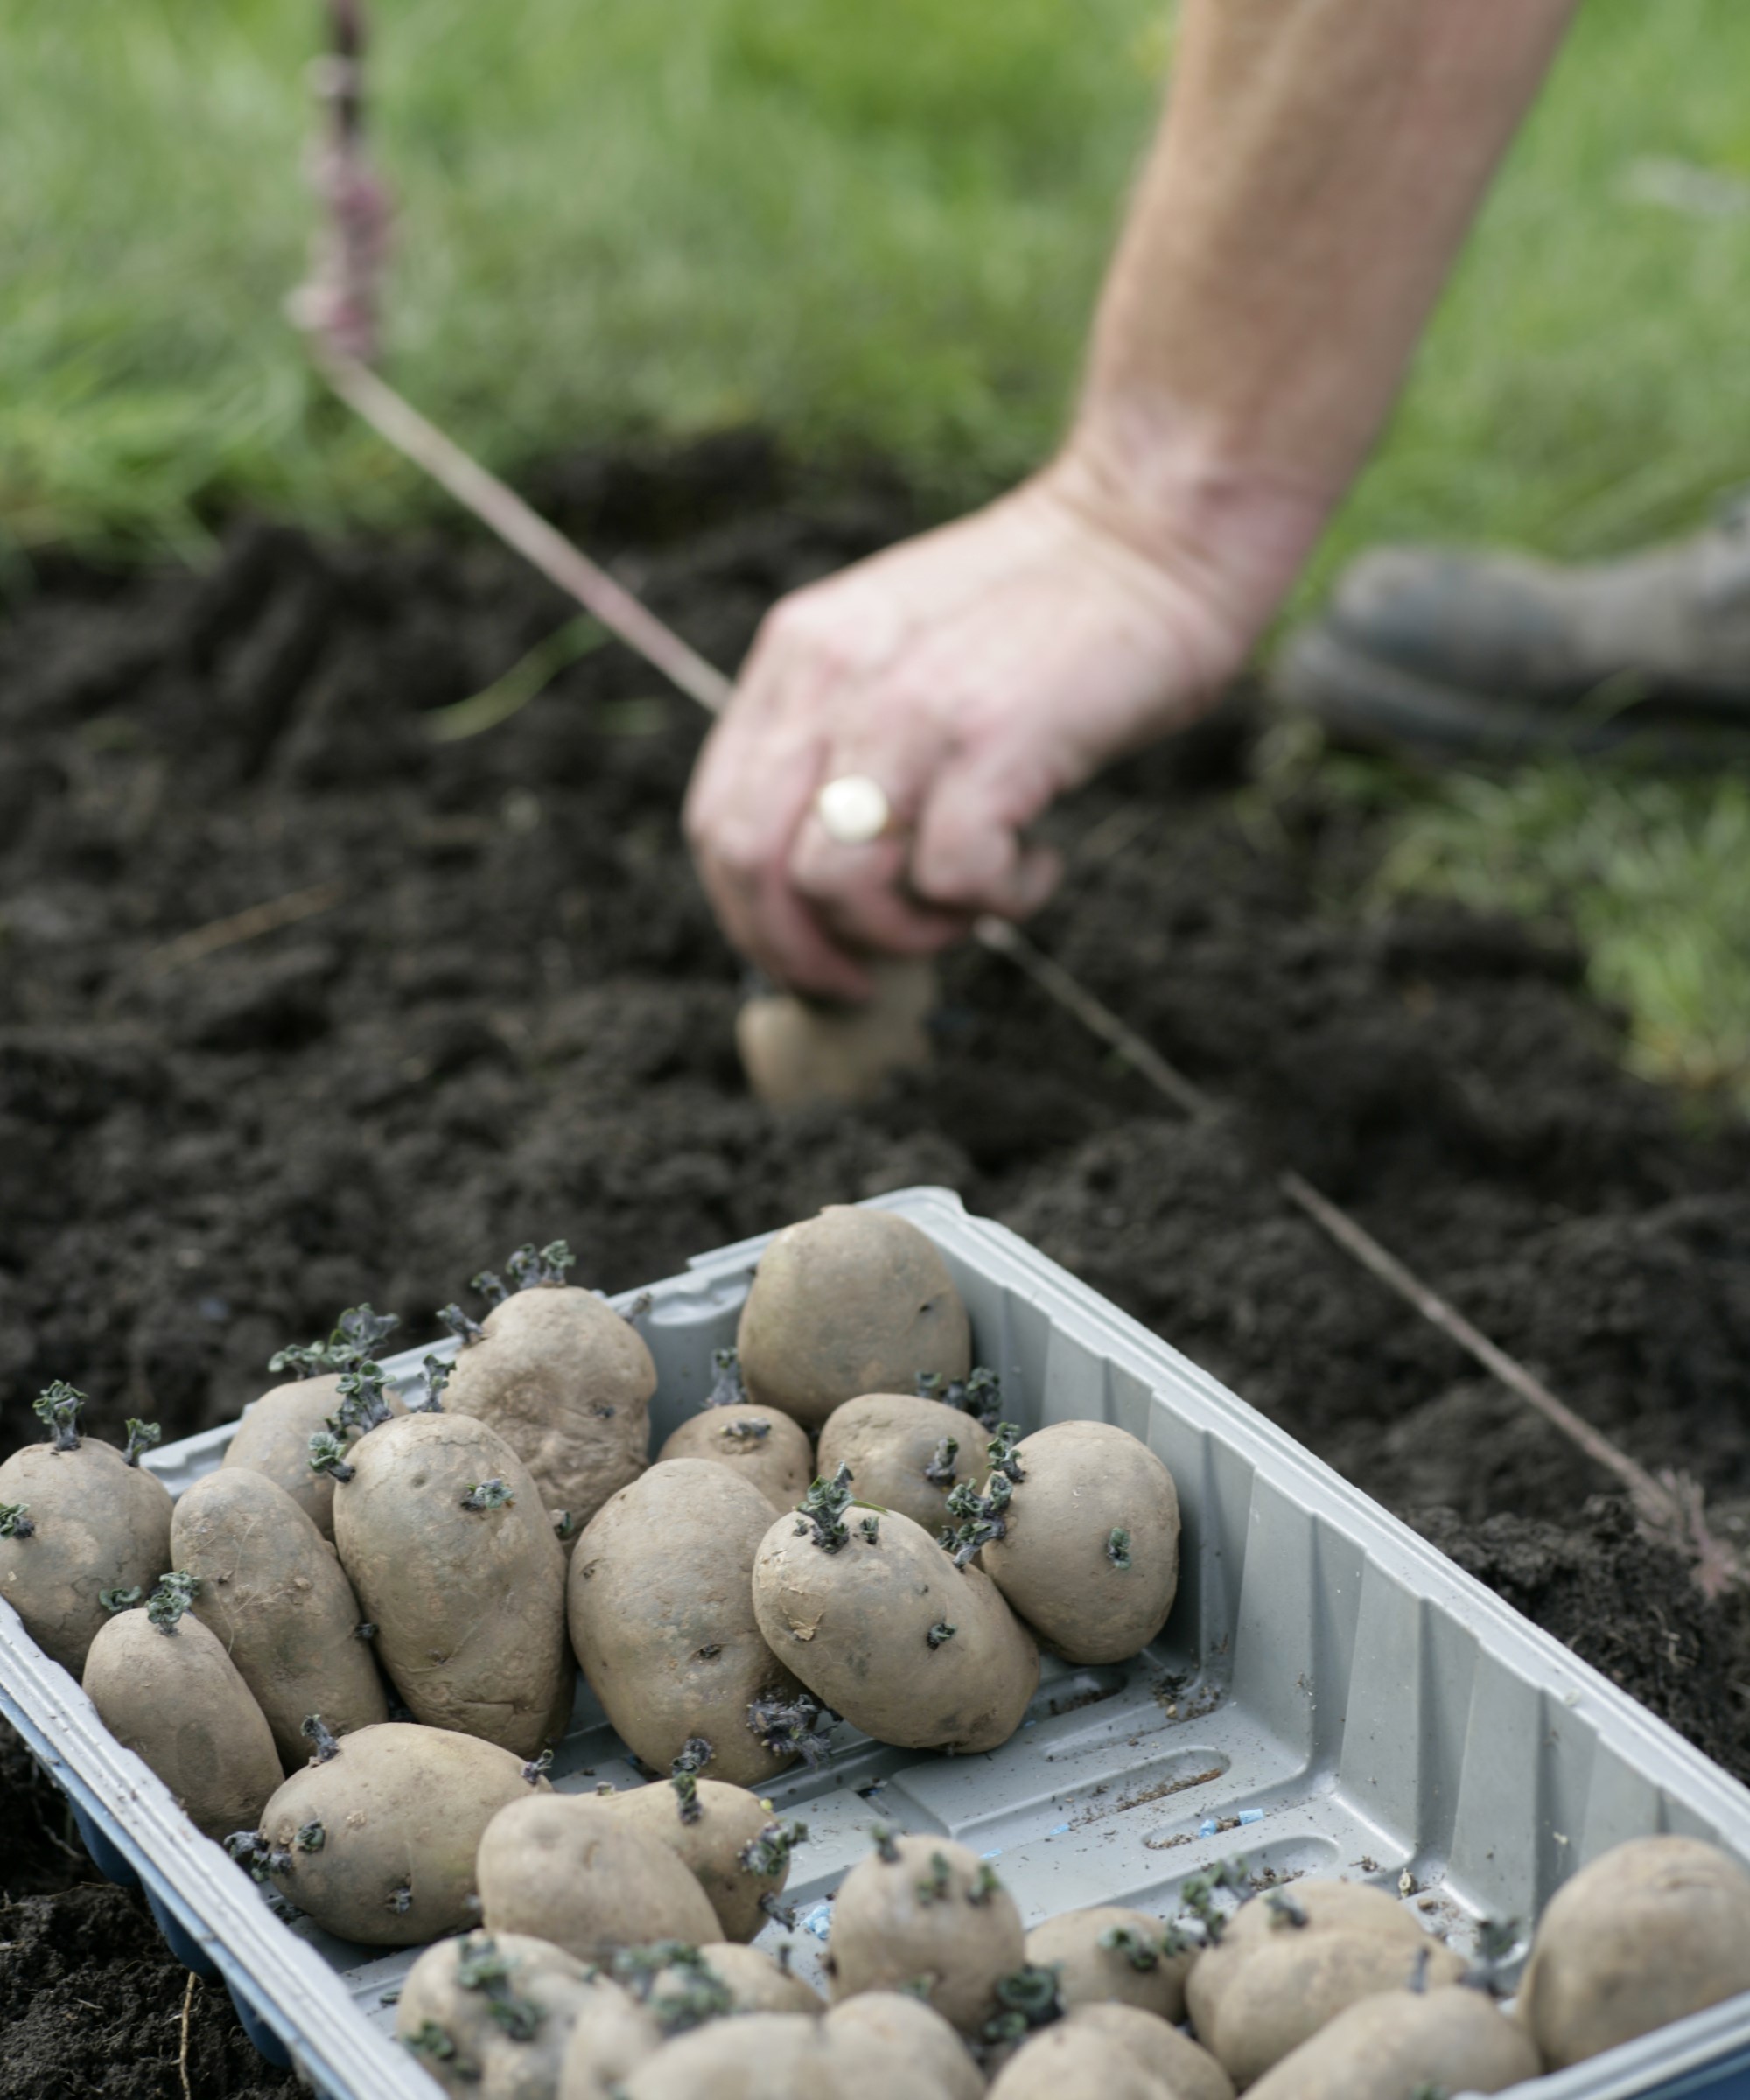
The tubers are actively growing before being planted outdoors
Is chitting potatoes necessary?
Chitting potatoes offers many advantages and that is why it has become a tried-and-tested technique by so many growers. If you chit potatoes, you will get a bigger harvest. By making the potatoes sprout earlier it essentially extends the growing season, kick-starting them out of dormancy and into growing mode. That means the potato can be actively growing for up to six weeks before it even goes into the ground.
By starting the season earlier through chitting potatoes, that also means that a crop will be fully grown and ready to harvest earlier too. If you plan when to harvest potatoes into your calendar, the average crop takes between 80 and 100 days to grow to full size. Giving them a head start can really be beneficial for where potato blight is a high risk in late summer. Chitted potatoes can have time to grow and get ready for harvest before the potato blight can attack the foliage and tubers and potentially ruin a crop.
'After a few weeks of chitting you’ll hopefully see sturdy little shoots developing on the potatoes. These will romp away as soon as they hit the earth,' says Lucy Chamberlain, Amateur Gardening’s fruit and vegetable expert. 'You can plant your chitted tubers into pots in a heated greenhouse in mid winter, or into the earth in the first part of spring. Take care not to knock off the chits when planting.'
Chitting is vitally important when it comes to first-early and second-early potatoes, giving a head start to those that go into the ground earliest in the spring. When it comes to main-crop potatoes, which have a much longer growing season, it is not as essential – however it can still have some advantages.
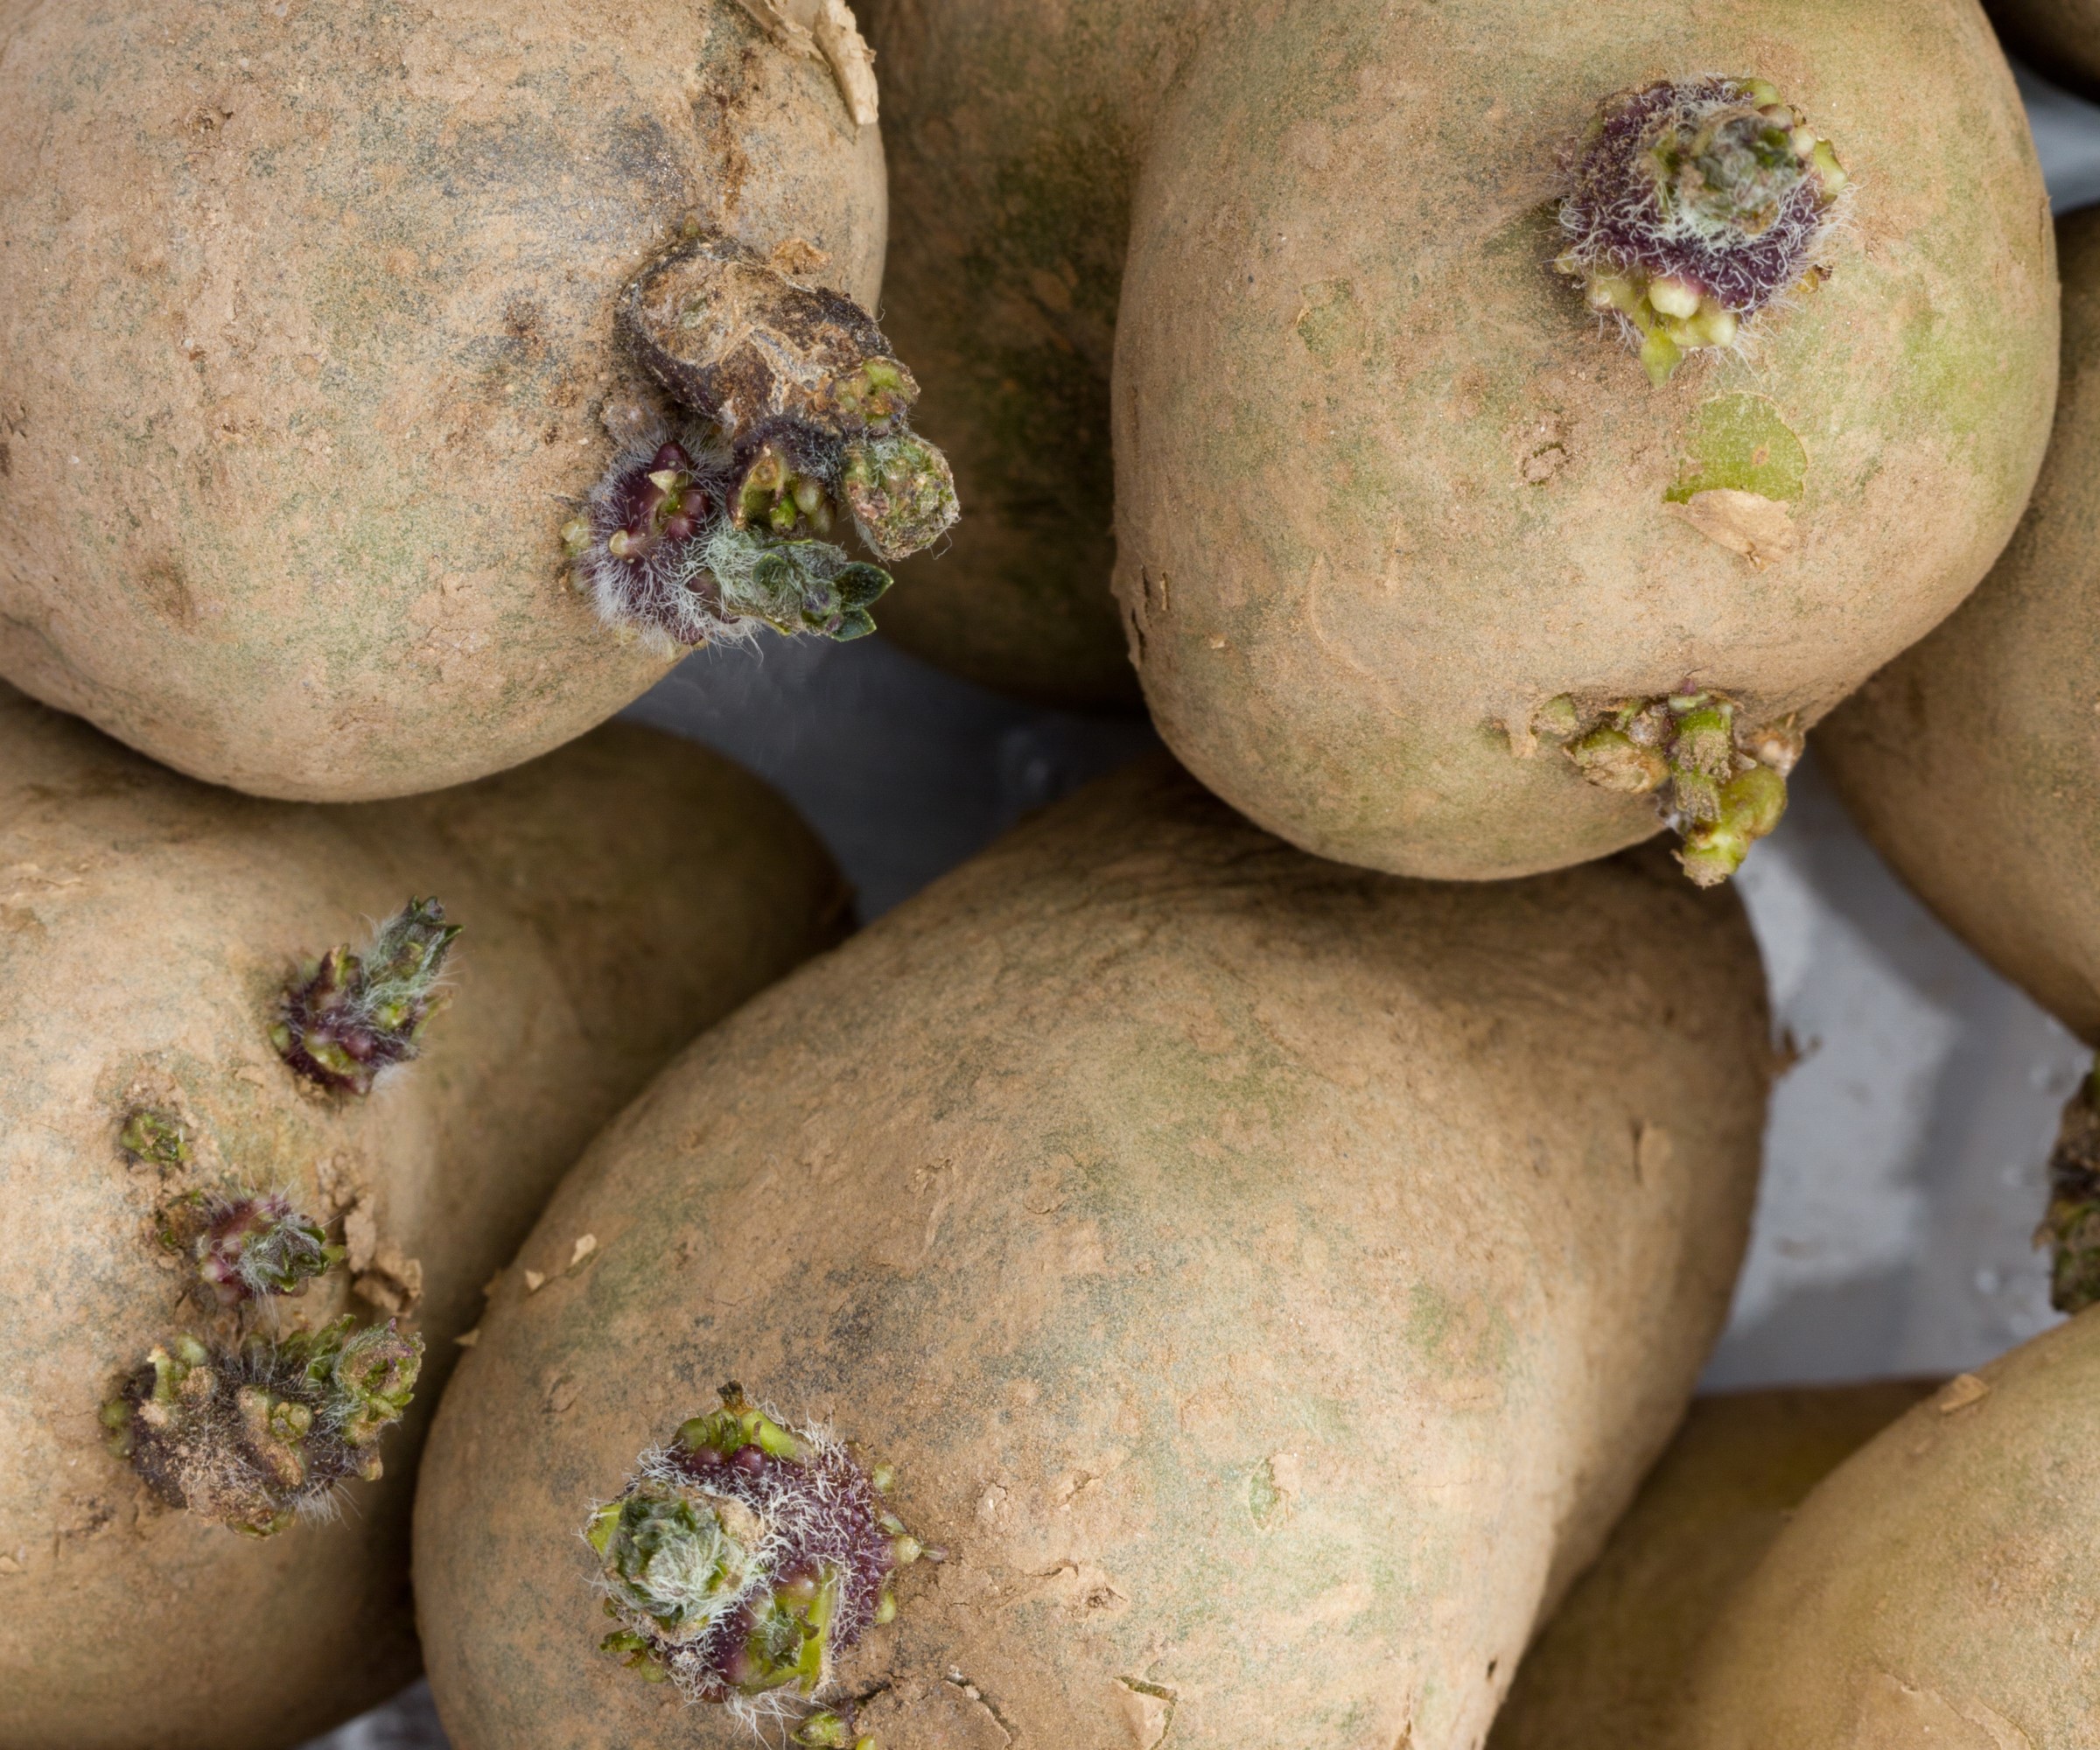
Sprouts will start to appear in two to four weeks
How to chit potatoes in 6 easy-to-follow steps
The process of how to chit potatoes is a simple one. Start from mid-winter onwards, once seed potatoes (available at Amazon) are commonly available for sale in shops or online. The exact time to start chitting potatoes will vary depending on the last frost times for your USDA Zone.
The soil needs to reach a minimum of 42˚F for potatoes to be planted in the ground and ideally you want to give the seed potatoes up to six weeks of chitting before going outside. Aim to start chitting potatoes at least four weeks before you are thinking about planting potatoes outdoors.
- Arrange seed potatoes in egg boxes or seed trays (available from Amazon) side-by-side, ideally not touching each other, and with the ‘eyes’ facing upwards.
- Place the trays somewhere warm at a temperature of 70˚F and with a good amount of light. The light is vital as it will encourage strong sprouts rather than leggy ones.
- Choose a location such as an enclosed porch or windowsill. However, ensure not to place them too close to anything that gives off too much heat, like radiators or air conditioners.
- Shoots should start to appear within a few weeks. You want stocky shoots around one inch in length and deep-green, almost purple, in color.
- If your potato produces lots of shoots, leave two or three and rub off the others. By restricting the number of chits you will get larger potatoes, but fewer in number. However, if you want many little potatoes, then leave all the shoots to grow.
- After around six weeks, and once the ground is warm enough, plant the potatoes out. Take care not to knock off any of the delicate sprouts that grew during the chitting process.
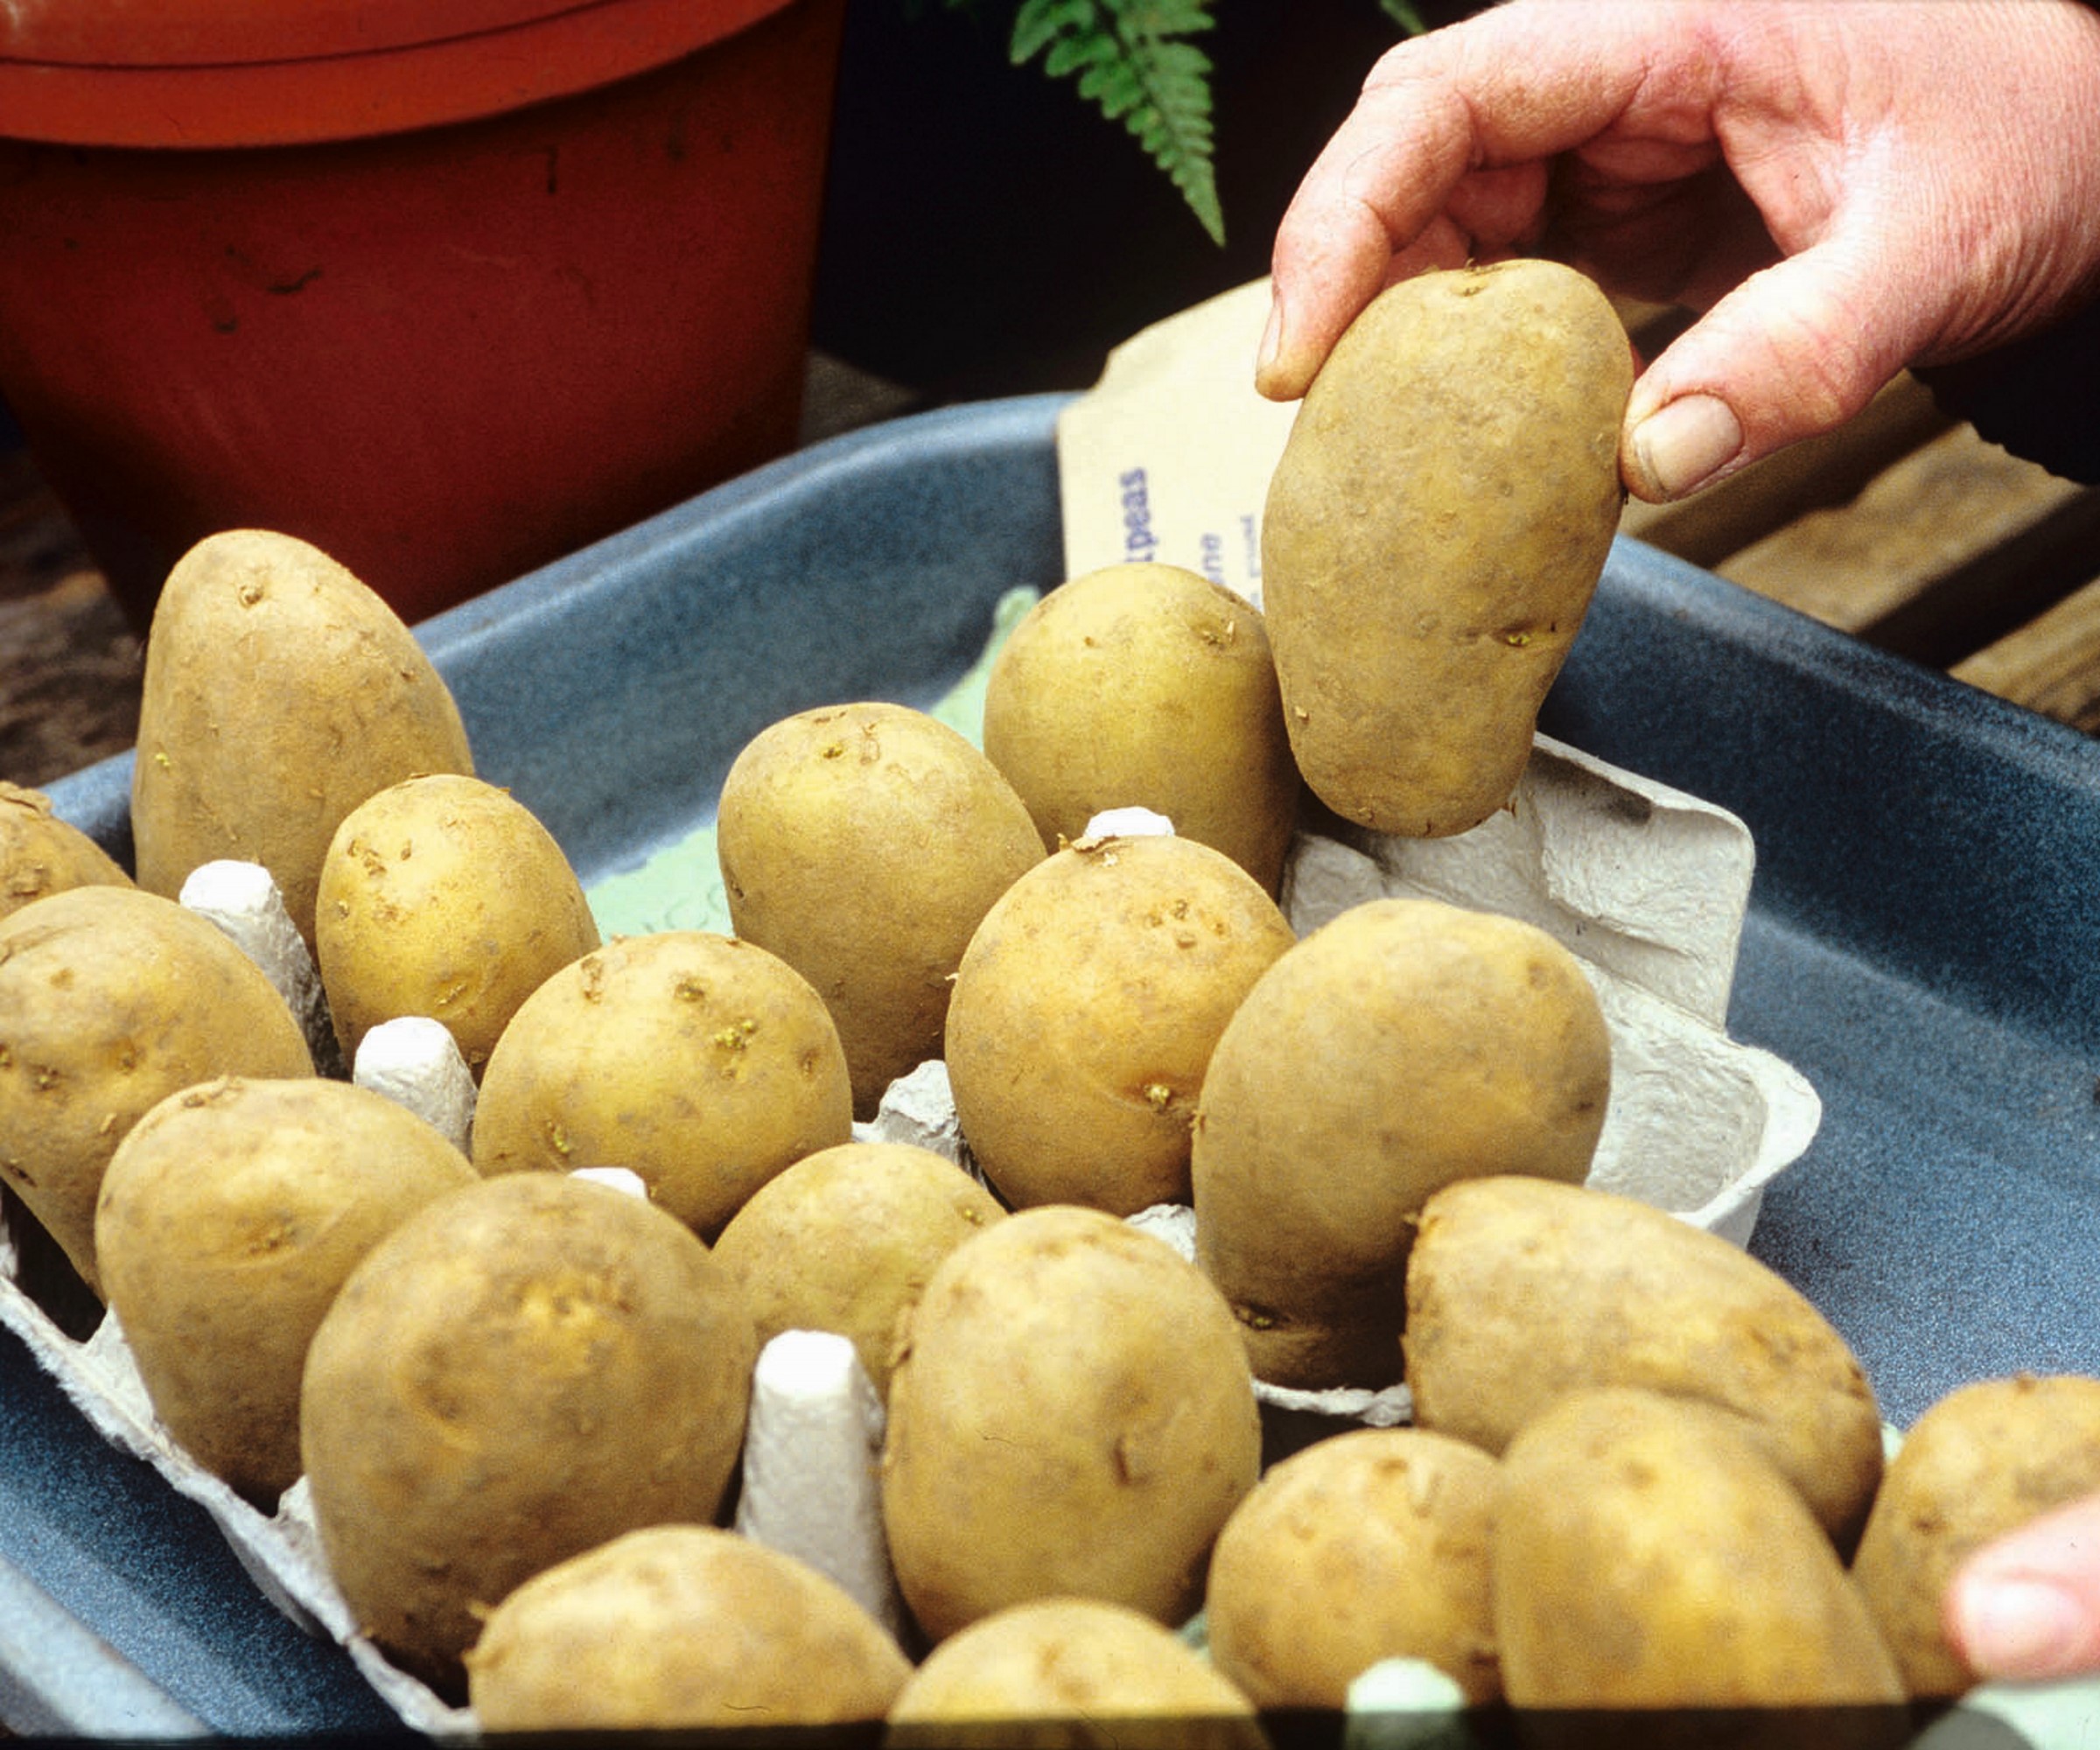
Old egg cartons make perfect trays for chitting potatoes
Should I be chitting potatoes in the dark or light?
When considering how to chit potatoes, it is important to understand the importance of chitting them in the light. The presence of light helps encourage small and strong shoots and promotes healthy growth.
Anyone who has forgotten about a bag of potatoes bought from a shop will likely have found it at the back of a cupboard covered with shoots. Yes, potatoes will sprout in the dark, however those shoots will be long and fragile. These are very delicate and easy to break when attempting to plant them in your kitchen garden.
Will cutting my chitting potatoes in half boost my harvest?
Smaller seed potatoes can be planted out whole and larger seed potatoes can be cut into pieces before planting to increase your crop. It can help you maximize your batch of seed potatoes and get more harvest from your effort of chitting potatoes.
Choose the largest tubers and cut them length-ways once they have put out sprouts. Take care not to cut them into pieces that are too small and ensure each section will have two or three sprouts on it. Cutting the chitted potato into tiny pieces will leave each section without enough food supply to develop into fully-grown plants.
Cutting the potatoes into pieces with a couple of sprouts will result in fewer, but larger potatoes, than a large potato with lots of sprouts. Let the cut seed potatoes sit for a few days to cure before planting them out to avoid them rotting in cold and wet soil.
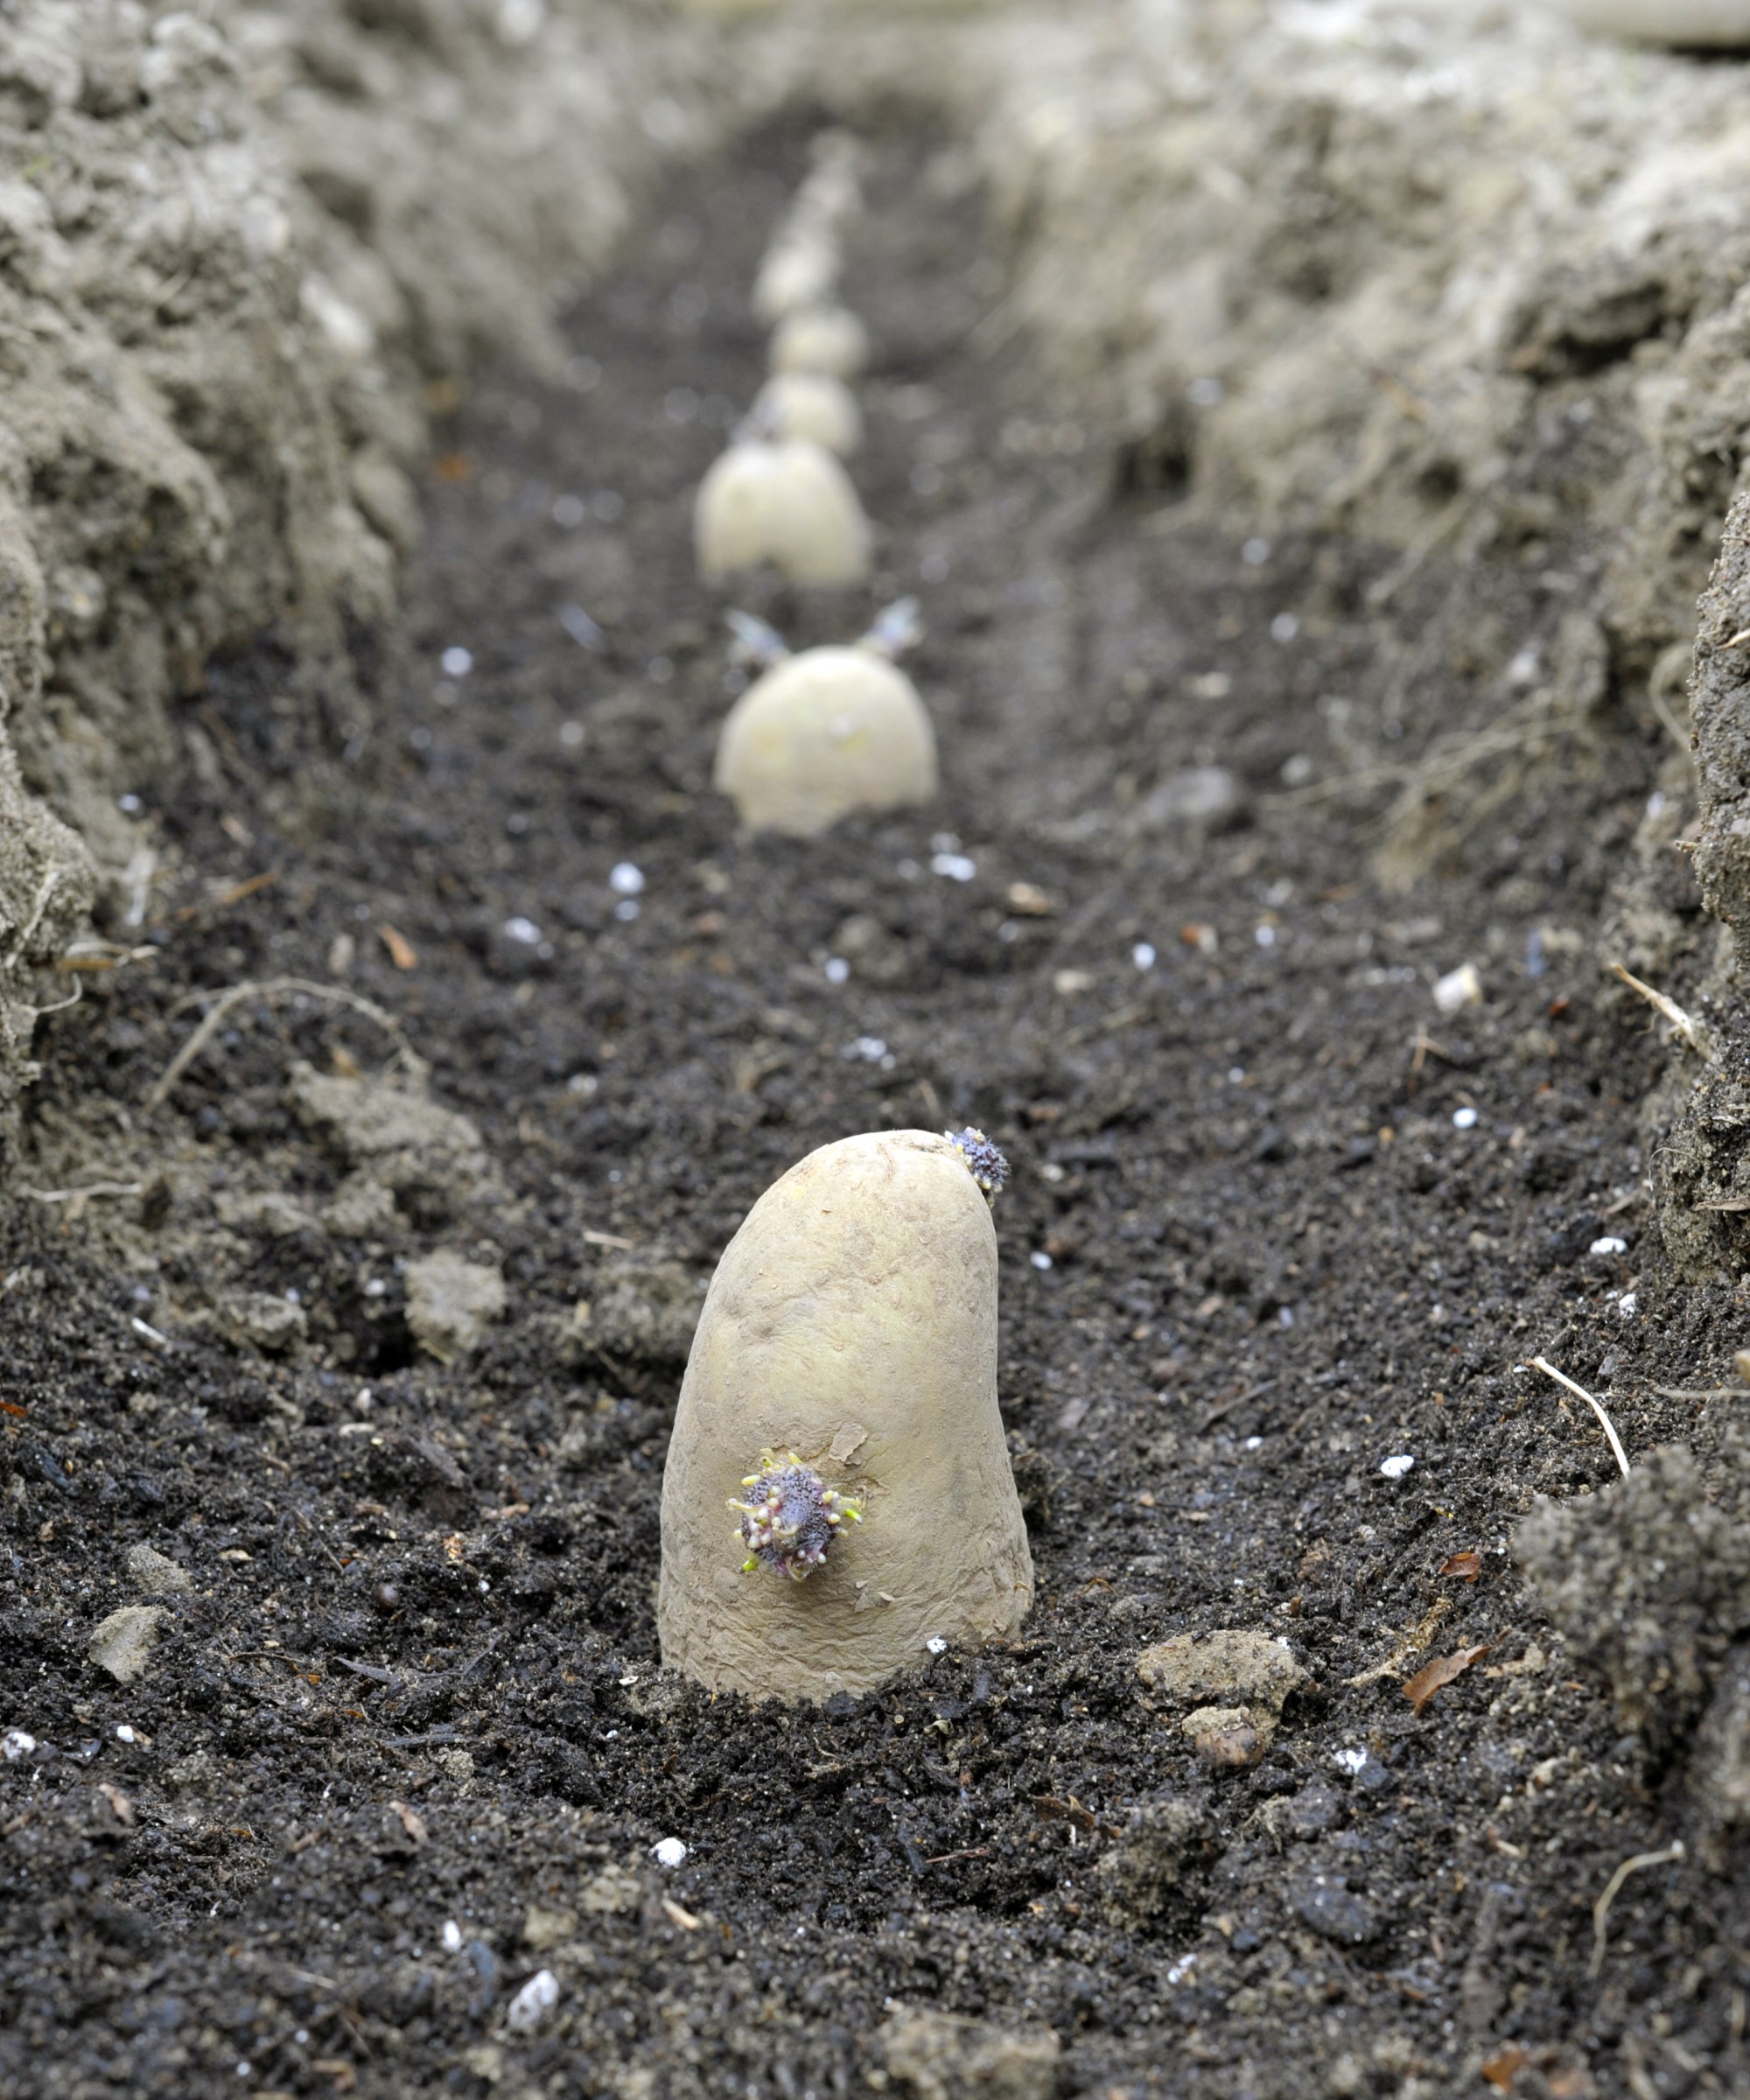
Plant the tubers outside once the soil is warm enough
Is chitting potatoes in water a good idea?
Potatoes can be sprouted in water by simply placing a cut-up section of a potato with a few eyes in a glass or jar of water. This is different to chitting potatoes as in this process the potato is encouraged to grow roots and a stem, rather than just sprouts. It can then be planted into a pot or out in the garden.
However, it is recommended that potatoes grown from slips of store-bought ones are planted in pots or bags. The process of planting potatoes in a container is really simple and it means you can avoid bringing diseases into your garden by planting a tuber that is not guaranteed to be disease-free.
Sign up to the Homes & Gardens newsletter
Design expertise in your inbox – from inspiring decorating ideas and beautiful celebrity homes to practical gardening advice and shopping round-ups.

Drew’s passion for gardening started with growing vegetables and salad in raised beds in a small urban terrace garden. He has worked as a professional gardener in historic gardens and specialises in growing vegetables, fruit, herbs, and cut flowers as a kitchen gardener. That passion for growing extends to being an allotmenteer, garden blogger, and producing how-to gardening guides for websites. Drew was shortlisted for the New Talent of the Year award at the 2023 Garden Media Guild Awards.
-
 These are the 6 must-have colors to decorate with in April 2025
What do retro-inspired yellows and beautiful blues all have in common? They're on our hot list for the season ahead
By Sophia Pouget de St Victor Published
-
 Plants never to grow next to fruit trees
Expert advice on which plants to keep away from fruit trees to encourage a healthy harvest
By Jacky Parker Published