18 composting tips I learned while spending a day with no dig expert Charles Dowding
In his new composting book, the no dig pioneer shares his secrets for successfully turning anything and everything into quality compost

- 1. Compost doesn't have to look perfect
- 2. Don’t be scared to put weeds in your compost bin
- 3. Use a lawnmower to shred your compost materials
- 4. Cut stems on an angle
- 5. Make your compost bin an attractive garden feature
- 6. Set up multiple compost bins next to each other
- 7. Aim for 131-158°F in your compost heap
- 8. Don't burn the worms in a wormery
- 9. Add to a wormery little but often
- 10. Steam is a sign of enough greens in your compost
- 11. Take lower leaves of plants for your compost
- 12. Keep your compost heap aerobic
- 13. Don't be too worried about rodents
- 14. Use the same amount of compost everywhere in your yard
- 15. Source compost ingredients from tree surgeons and coffee shops
- 16. Rain won’t wash away the goodness in your compost
- 17. Squeeze your compost to see if it's too wet
- 18. Build your own compost bin from repurposed materials
- FAQs
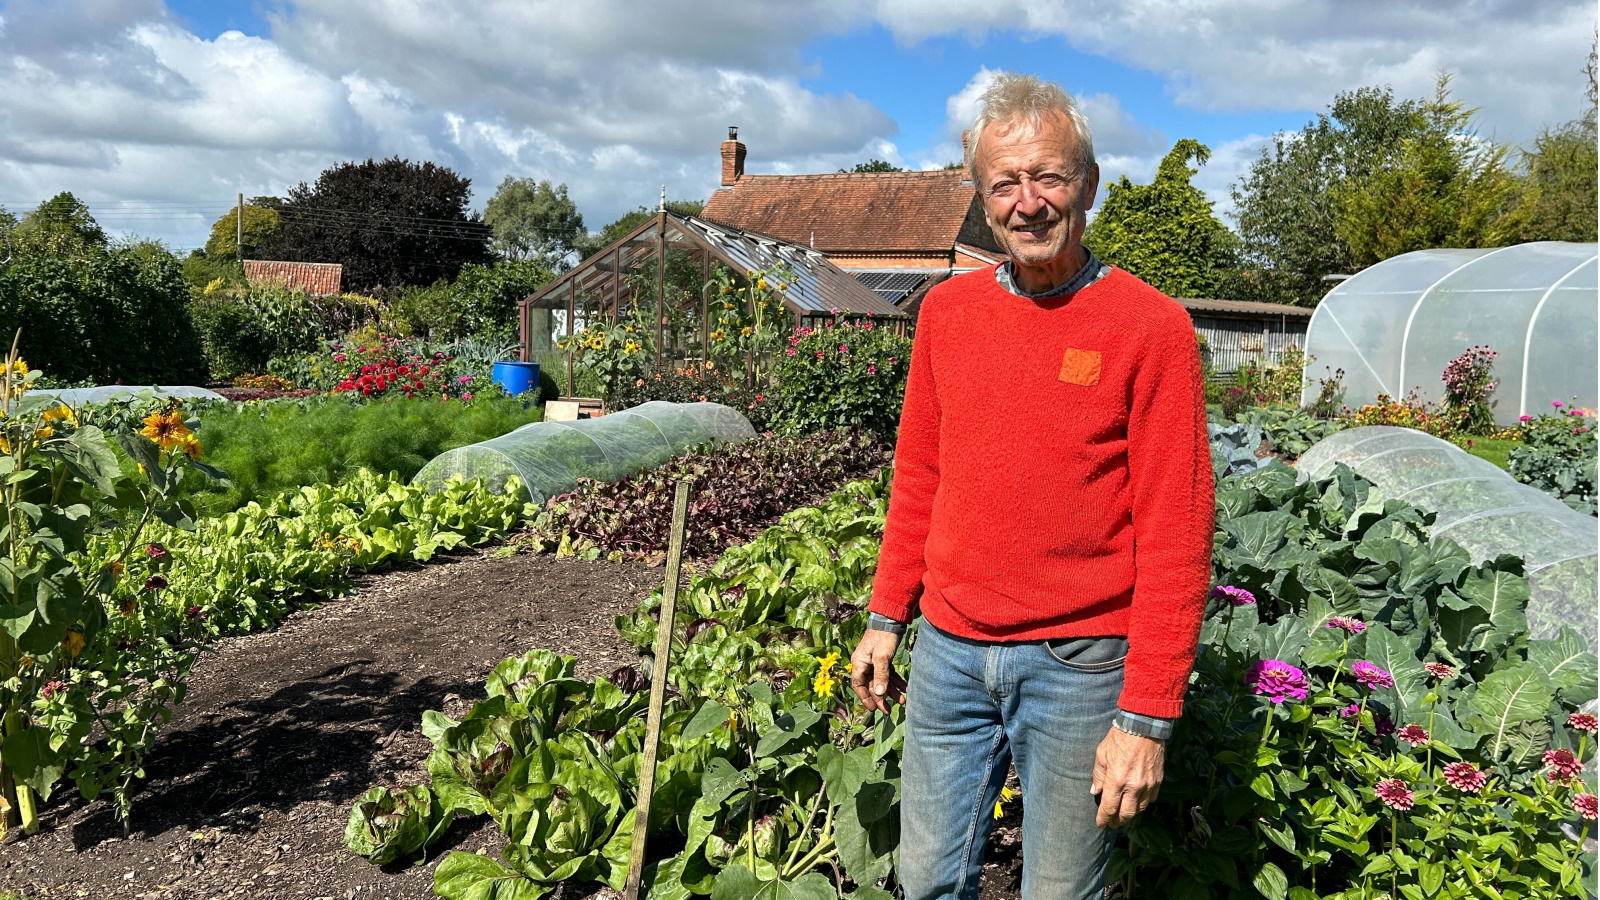
It's a sunny mid-September day at the homestead of Charles Dowding in Somerset, UK. The horticulturist and pioneer of modern no dig gardening practices has created somewhat of an organic food haven here on his 0.75 acre land in the south of England, and I have the privilege of being shown around by Charles himself.
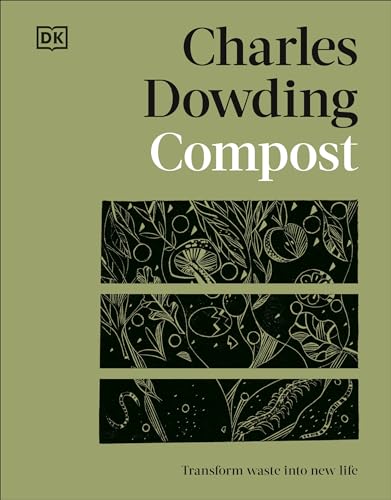
More and more gardeners are becoming interested in making their own compost as a means of creating a sustainable garden. Seeing the outstanding success Charles Dowding is having in his yard, creating compost for around two thirds of all growing he does on his land, makes the recent launch of his new book Compost, available at Amazon, all the more exciting. After all, Charles continuously turns a large heap of food scraps, manure and plant material into ready-to-use compost in as little time as a couple of months.
Spending a day hearing all about how exactly Charles does it, and getting my hands dirty by joining in with composting at Homeacres, has left with me with more knowledge about composting than I ever had before. Here, I've compiled the ultimate list of composting tips and tricks from the compost-making expert so you can make your very own 'black gold' in your backyard.
18 lessons about composting from Charles Dowding
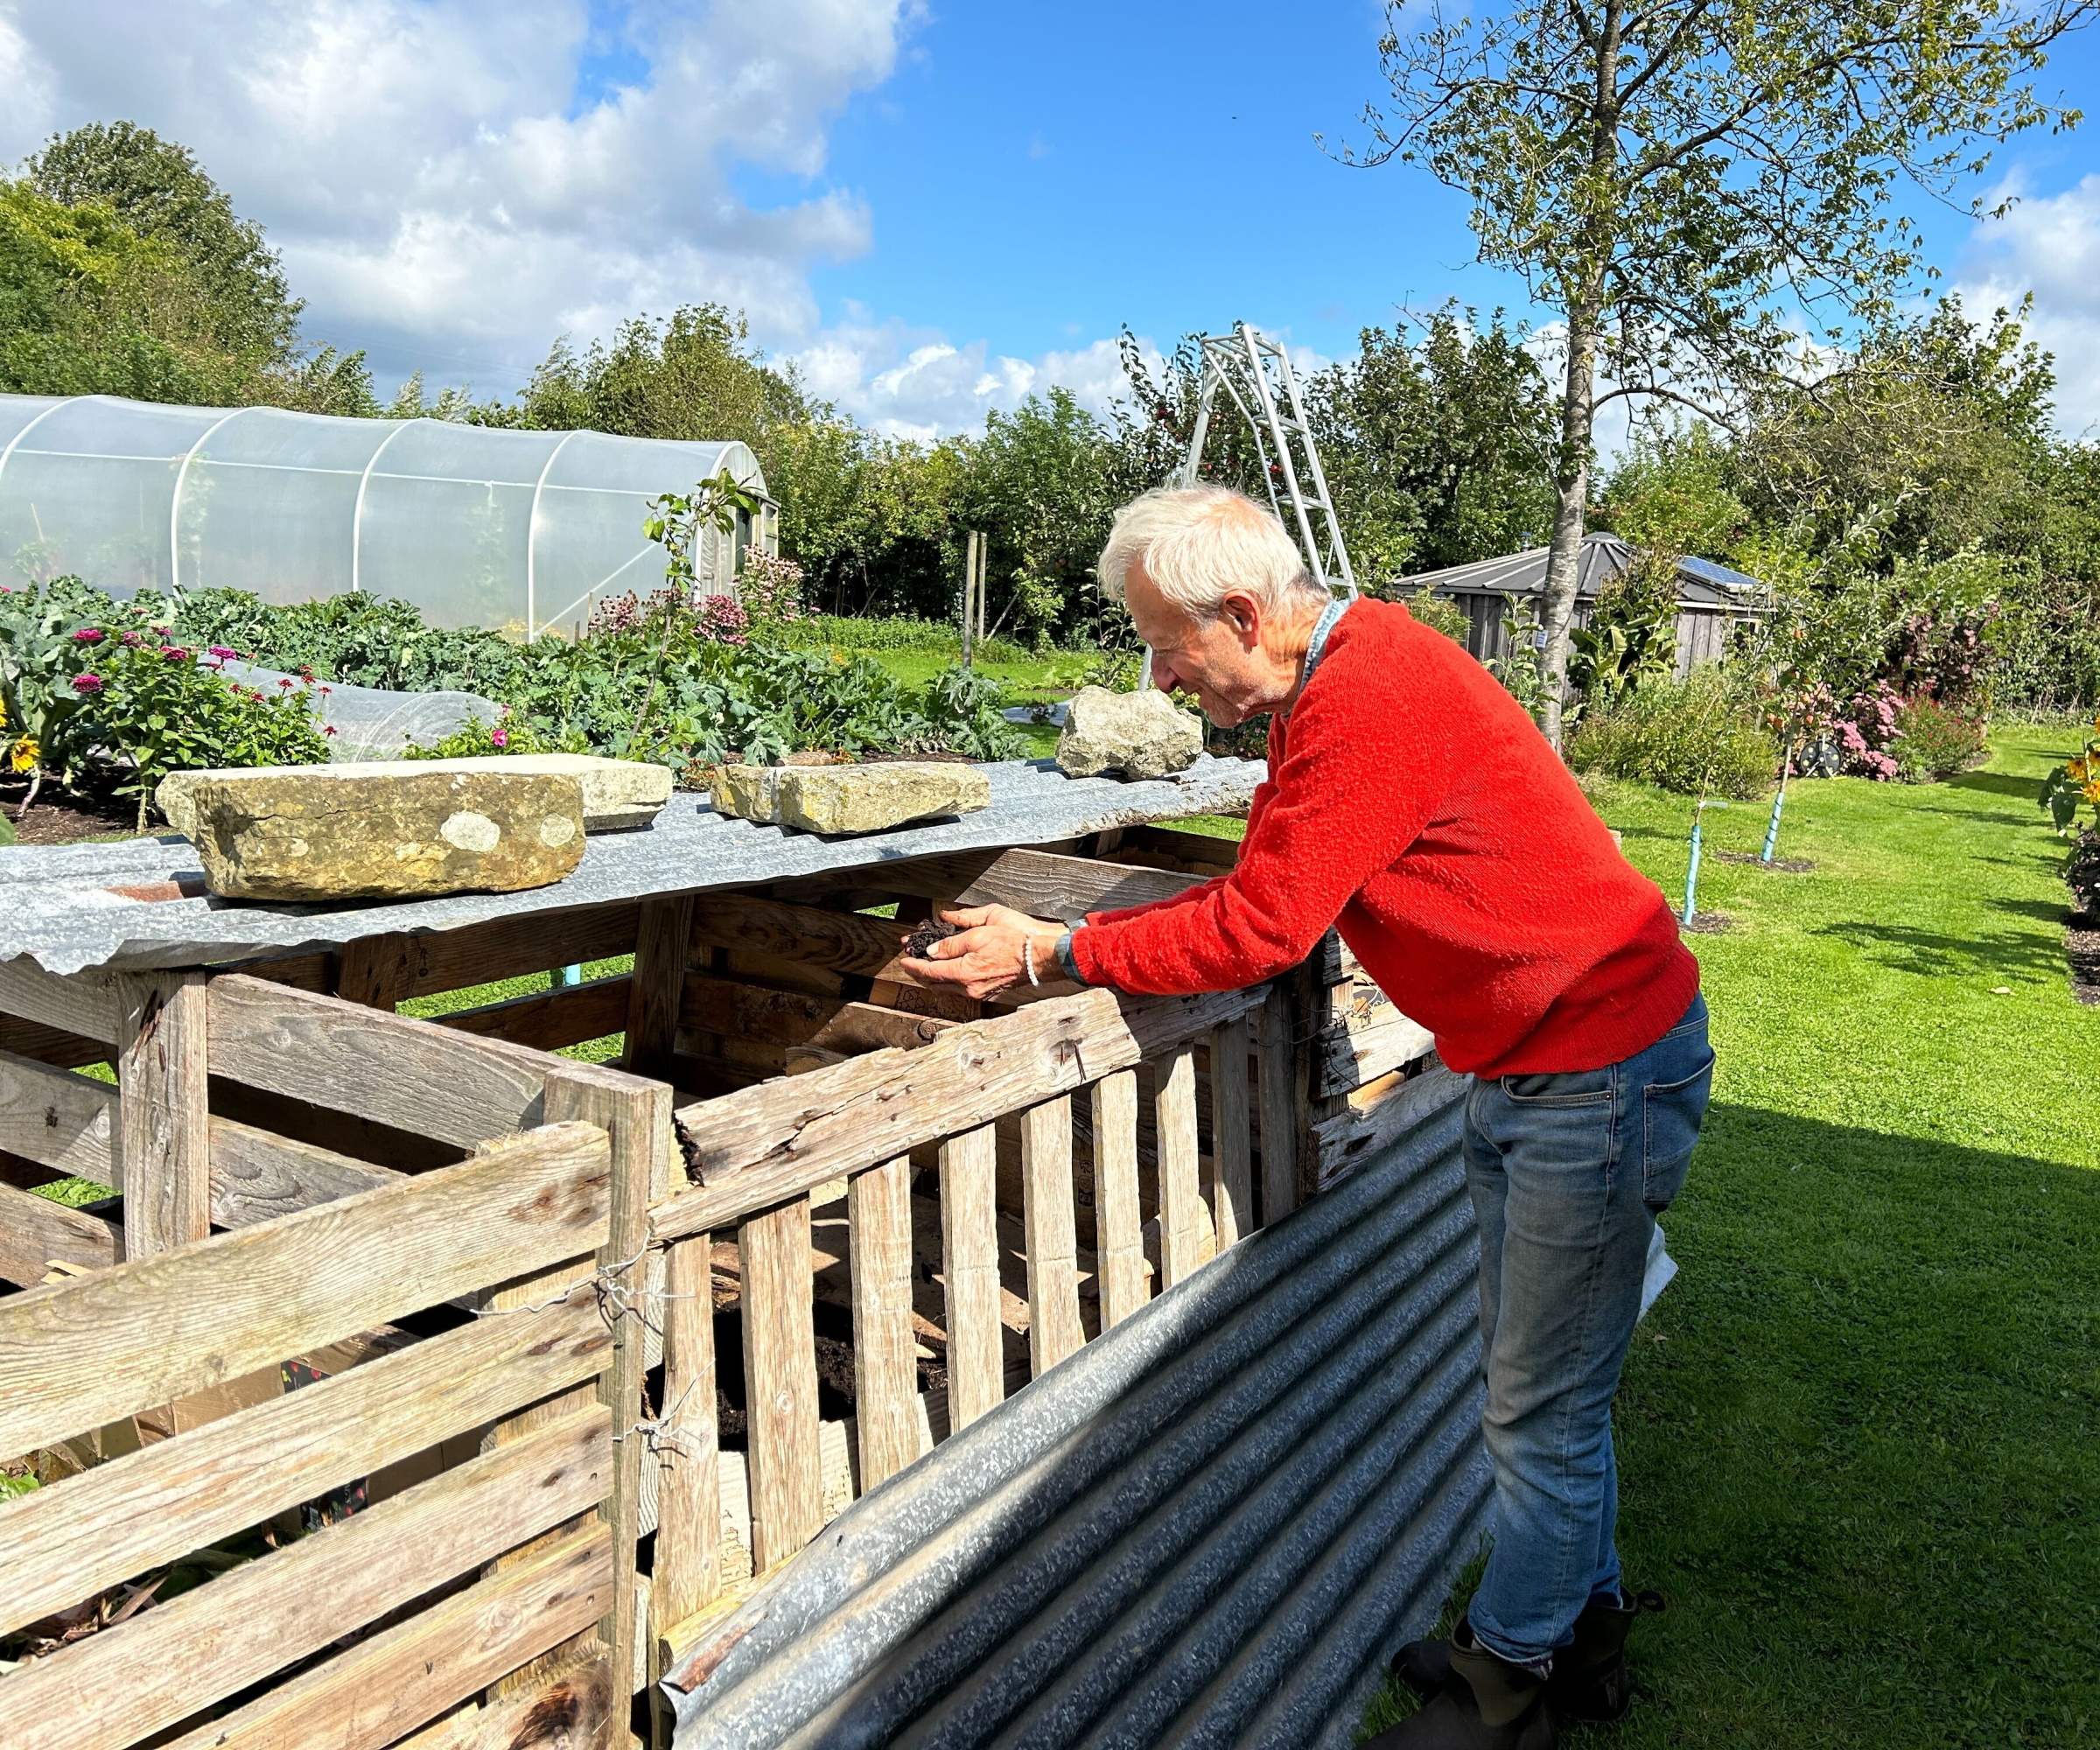
'We have pallet bays, daleks and a wormery here,' says Charles. 'A lot of it’s about being time efficient, but it's also important to remember that even after you spread compost it isn't a finished product,' he adds.
Over his 12 years at Homeacres, Charles, alongside his right-hand man Adam Wood, has created a paradise for vegetable garden-lovers. From classics like growing tomatoes to more unusual varieties like the purple mermaid's tale cabbage, I'm in awe of what he has been able to grow here. And when tasting some of his finest homegrown crops, there's no doubt the compost he makes works well. Discover the best of Charles Dowding's compost secrets below.
1. Compost doesn't have to look perfect
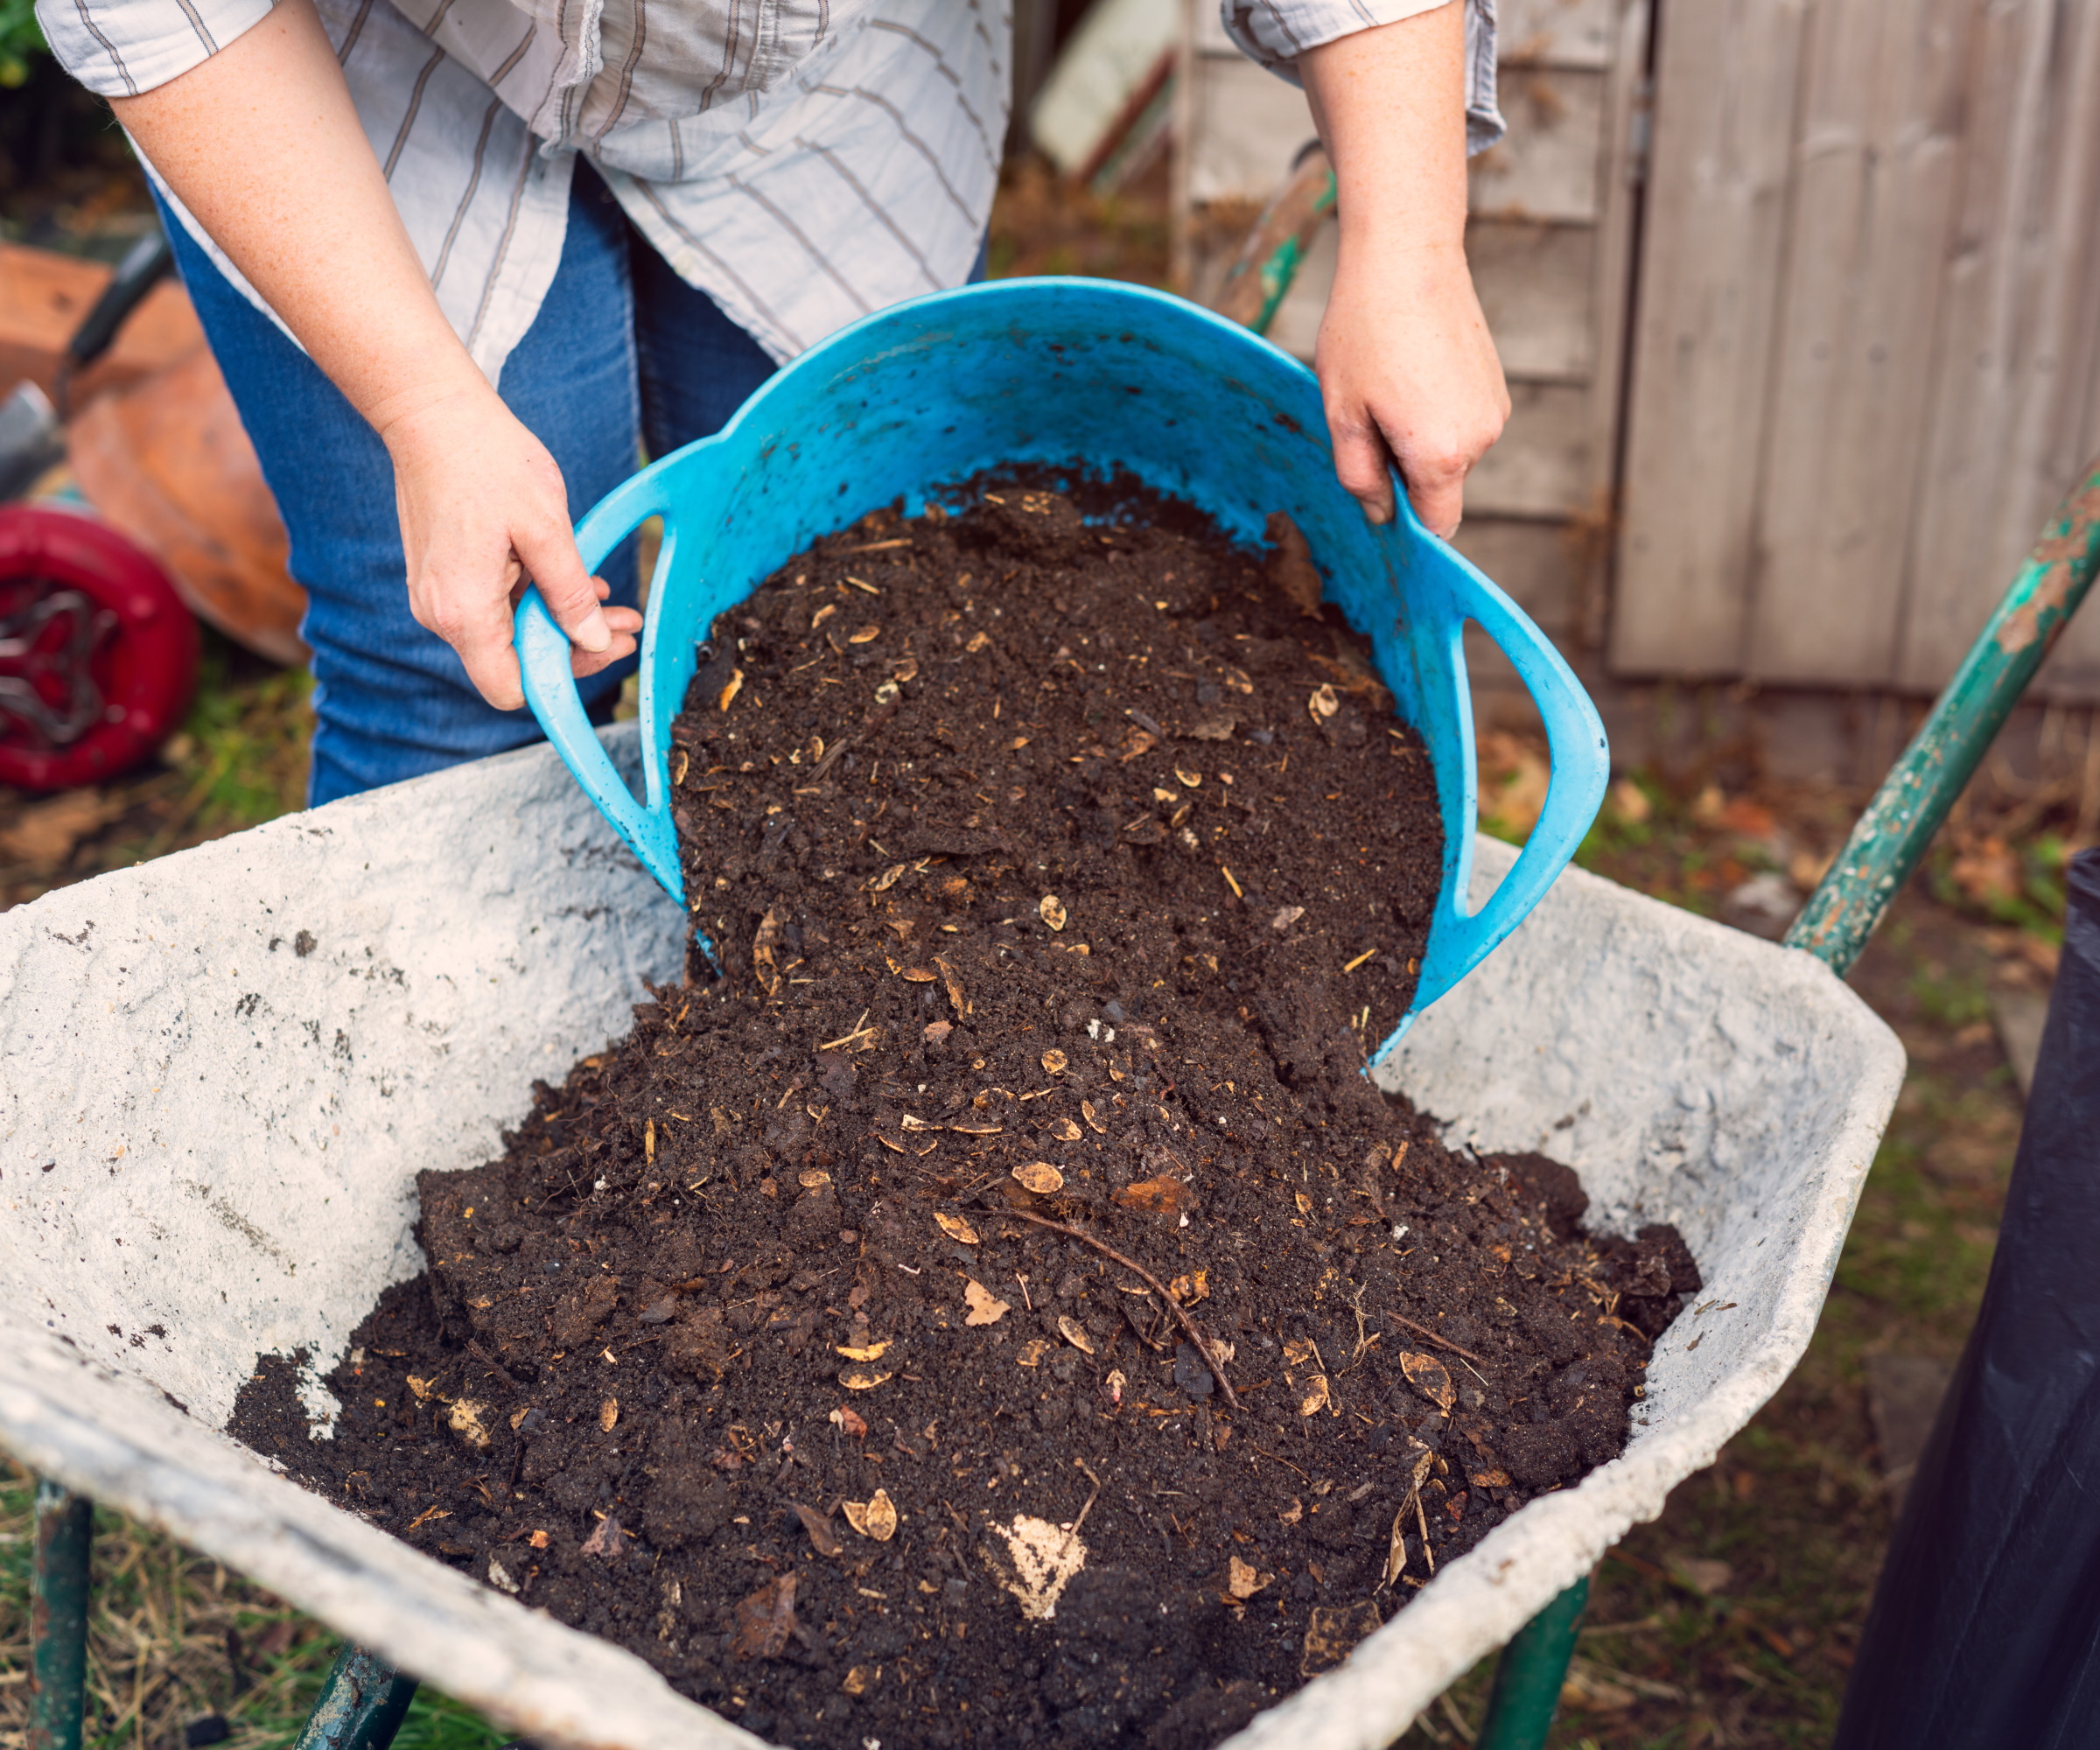
The thought of opening your compost bin and seeing a fine, soft surface of material that has fully decomposed is dreamy for many growers. While it's easy to fall into the trap of thinking your compost needs to look as pristine and perfected as the stuff you buy in stores, Charles says to look at your compost differently.
'There’s no precise finish point with making compost. Although waiting a bit longer is better, it’s really ready when you need it,' he says while scooping some compost out of one of his 6x6ft pallet bays and pointing out some small woody elements sitting among the otherwise mature compost.
Design expertise in your inbox – from inspiring decorating ideas and beautiful celebrity homes to practical gardening advice and shopping round-ups.
Compost is made up of green materials - such as grass clippings and food scraps - and brown materials - like wood chips and cardboard - and it goes without saying the brown materials are likely to decompose at a slower rate. As Charles notes, this shouldn't stop you using your compost because it will keep decomposing once spread.
After just four months of filling his compost bin and turning it, Charles spreads his perfectly imperfect compost which can be seen all around Homeacres. Nevertheless, if you are hoping for your compost to have few imperfections, a little patience may be required.
'Compost is fully mature when it's dark, crumbly and has an earthy smell. It should no longer have visible food scraps or plant material and the pile will have reduced in volume significantly,' explains Lauren Click, founder of Let's Go Compost.

Charles Dowding is the leading proponent of no dig gardening. Not only does he have a huge following, but his advice is born out of more than 40 years of growing, analysing, comparing and recommending. He has been growing veg since 1981, having gardened in four different locations and grown hundreds of thousands of crops.

Lauren is the founder of Let's Go Compost, a 501(c)(3) non-profit with a mission to make composting free and accessible throughout the United States. Lauren works both in the dirt (literally) with public schools and community gardens, while also remaining focused on the big picture - working with large organizations and policymakers to ensure composting accessibility and affordability are kept front of mind as infrastructure is developed.
2. Don’t be scared to put weeds in your compost bin
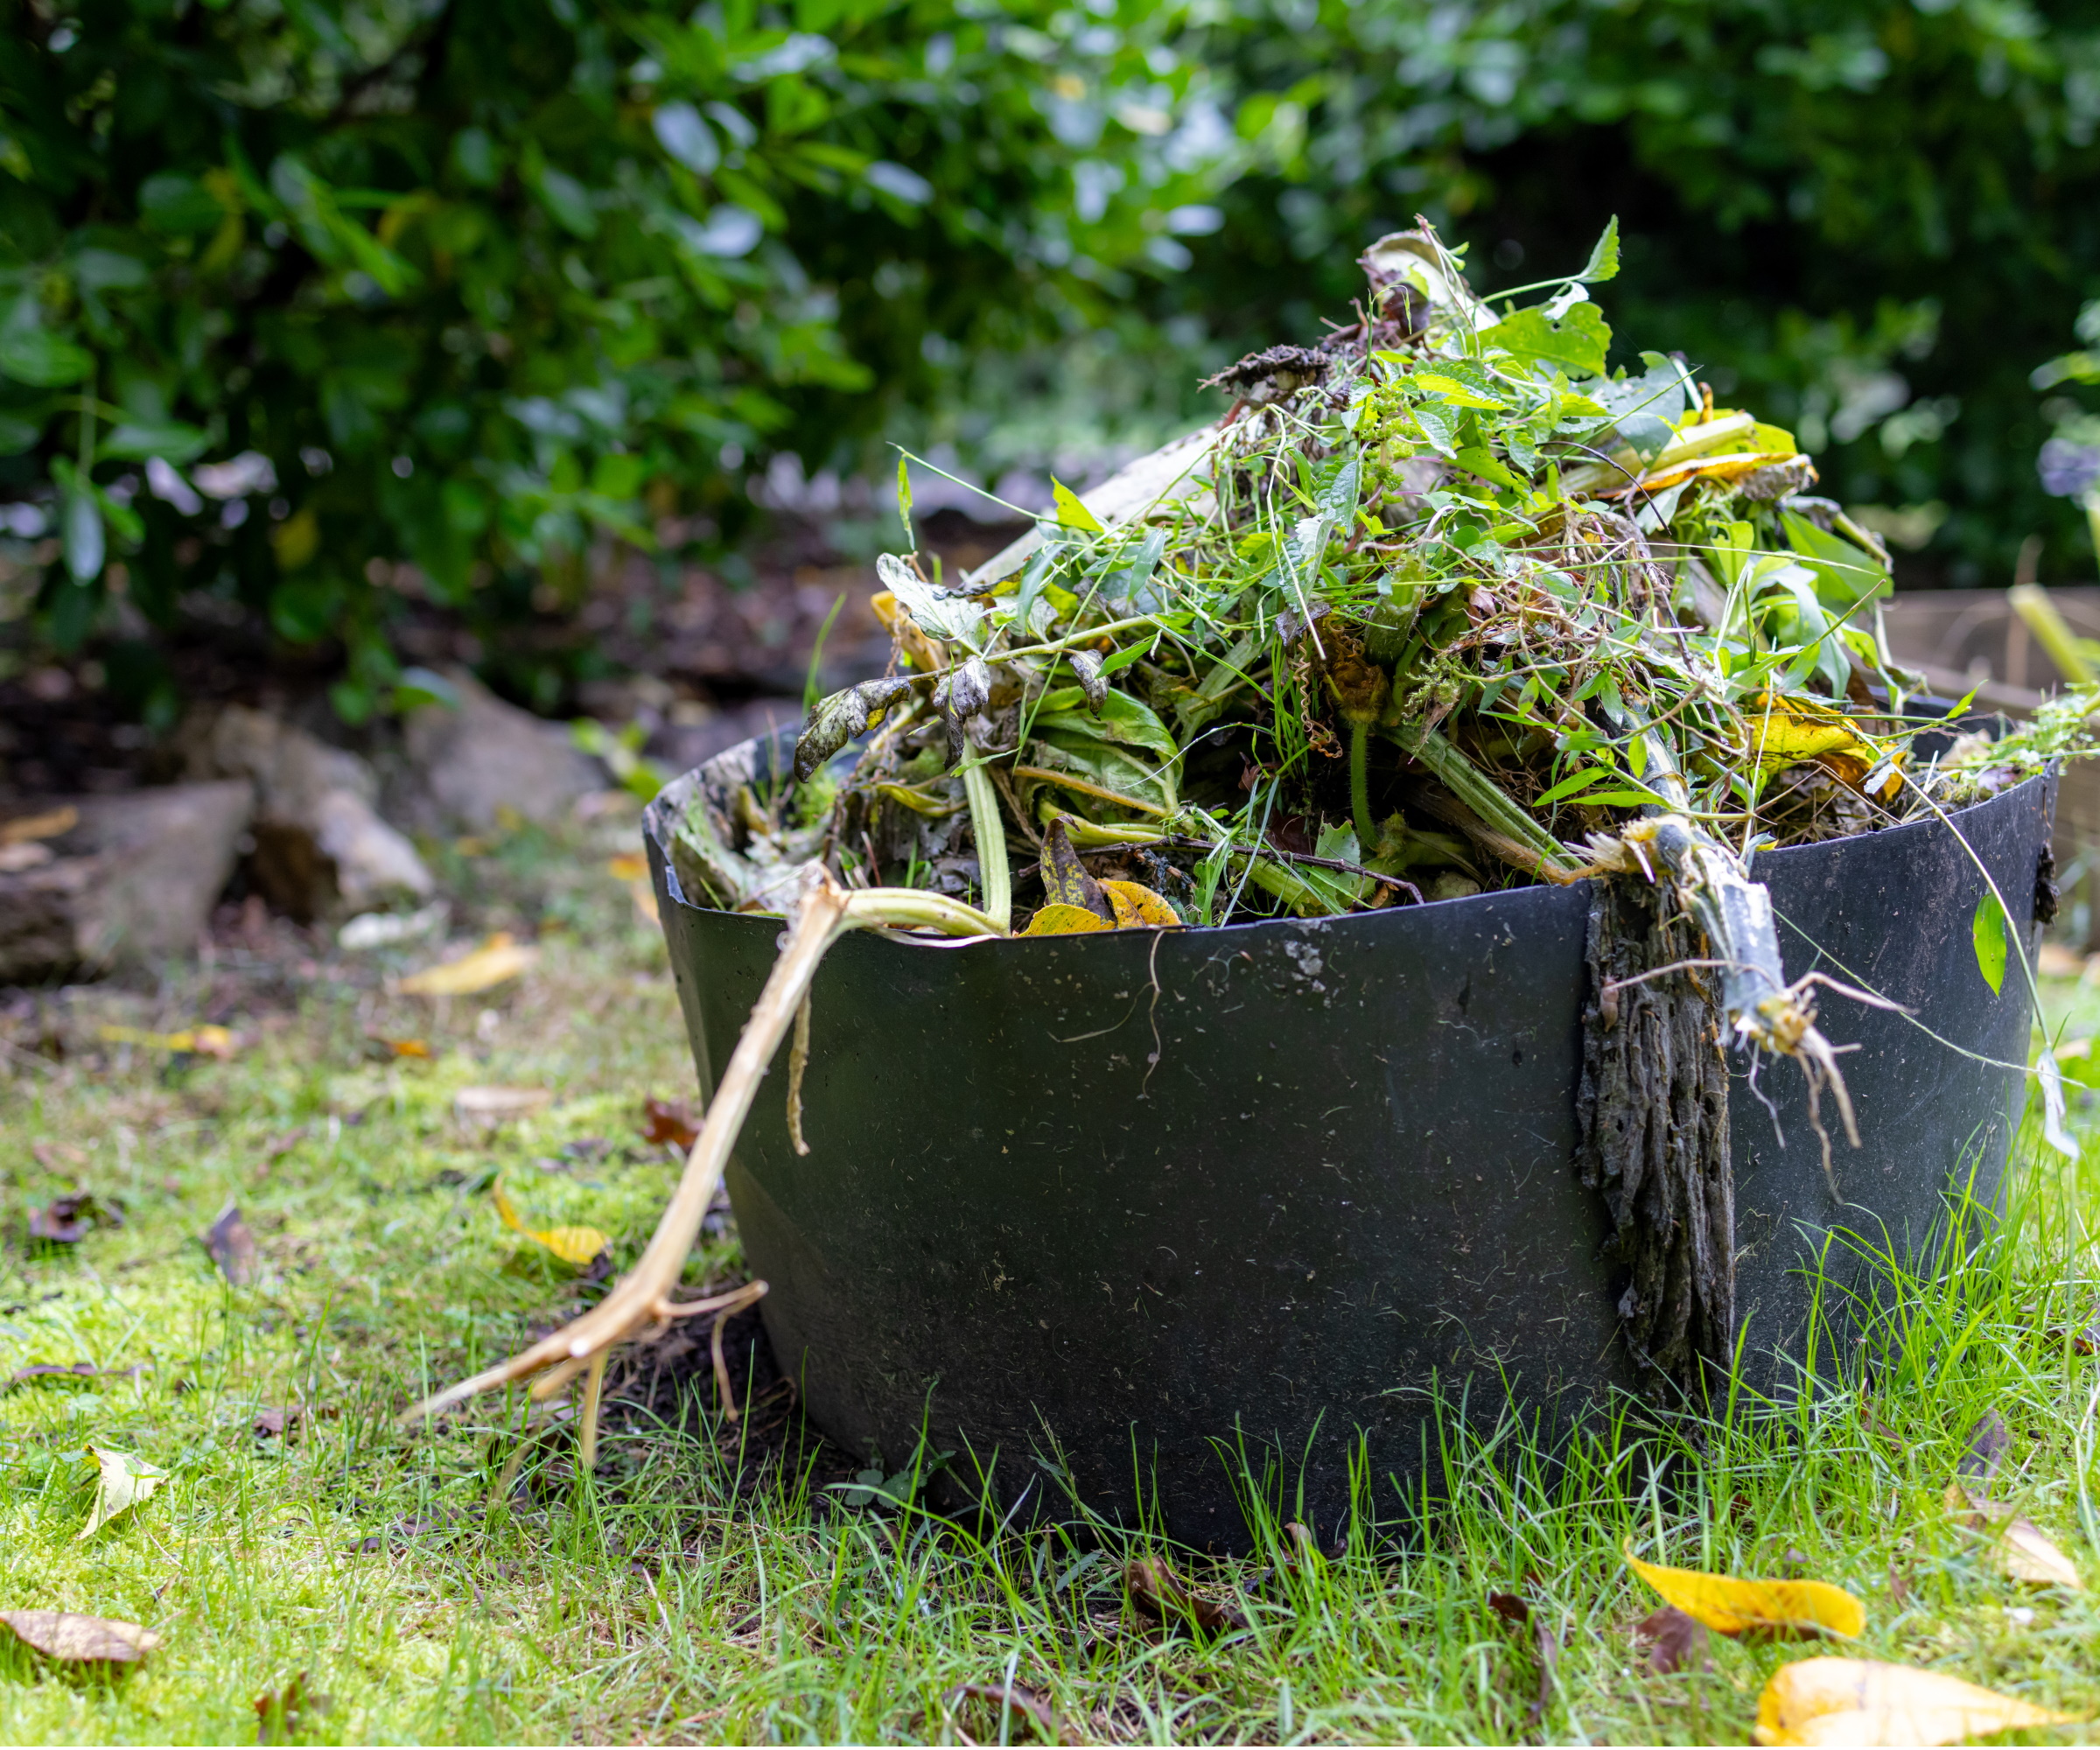
While it may be thought of as a composting mistake by many, Charles says to make use of the weeds you're pulling up in your yard as a slightly more unusual compost ingredient.
'I put weeds in my compost bins. You can compost all weeds if you really wanted to. Bindweed often goes into my heap and it doesn't come out again,' Charles says. 'It's much easier to pull weeds up from compost than the ground,' he adds.
While you may be nervous to put weeds in your compost heap in fear of them spreading in your yard, Charles assures they break down in the heap just like other materials.
Some popular weed additions to compost heap include annual weeds like clover and chickweed. Weeds that produce seed can also be a valuable addition when hot composting, as the temperatures can reduce their viability.
'It's all more material and that means more warmth which aids the composting process,' says Charles.
3. Use a lawnmower to shred your compost materials
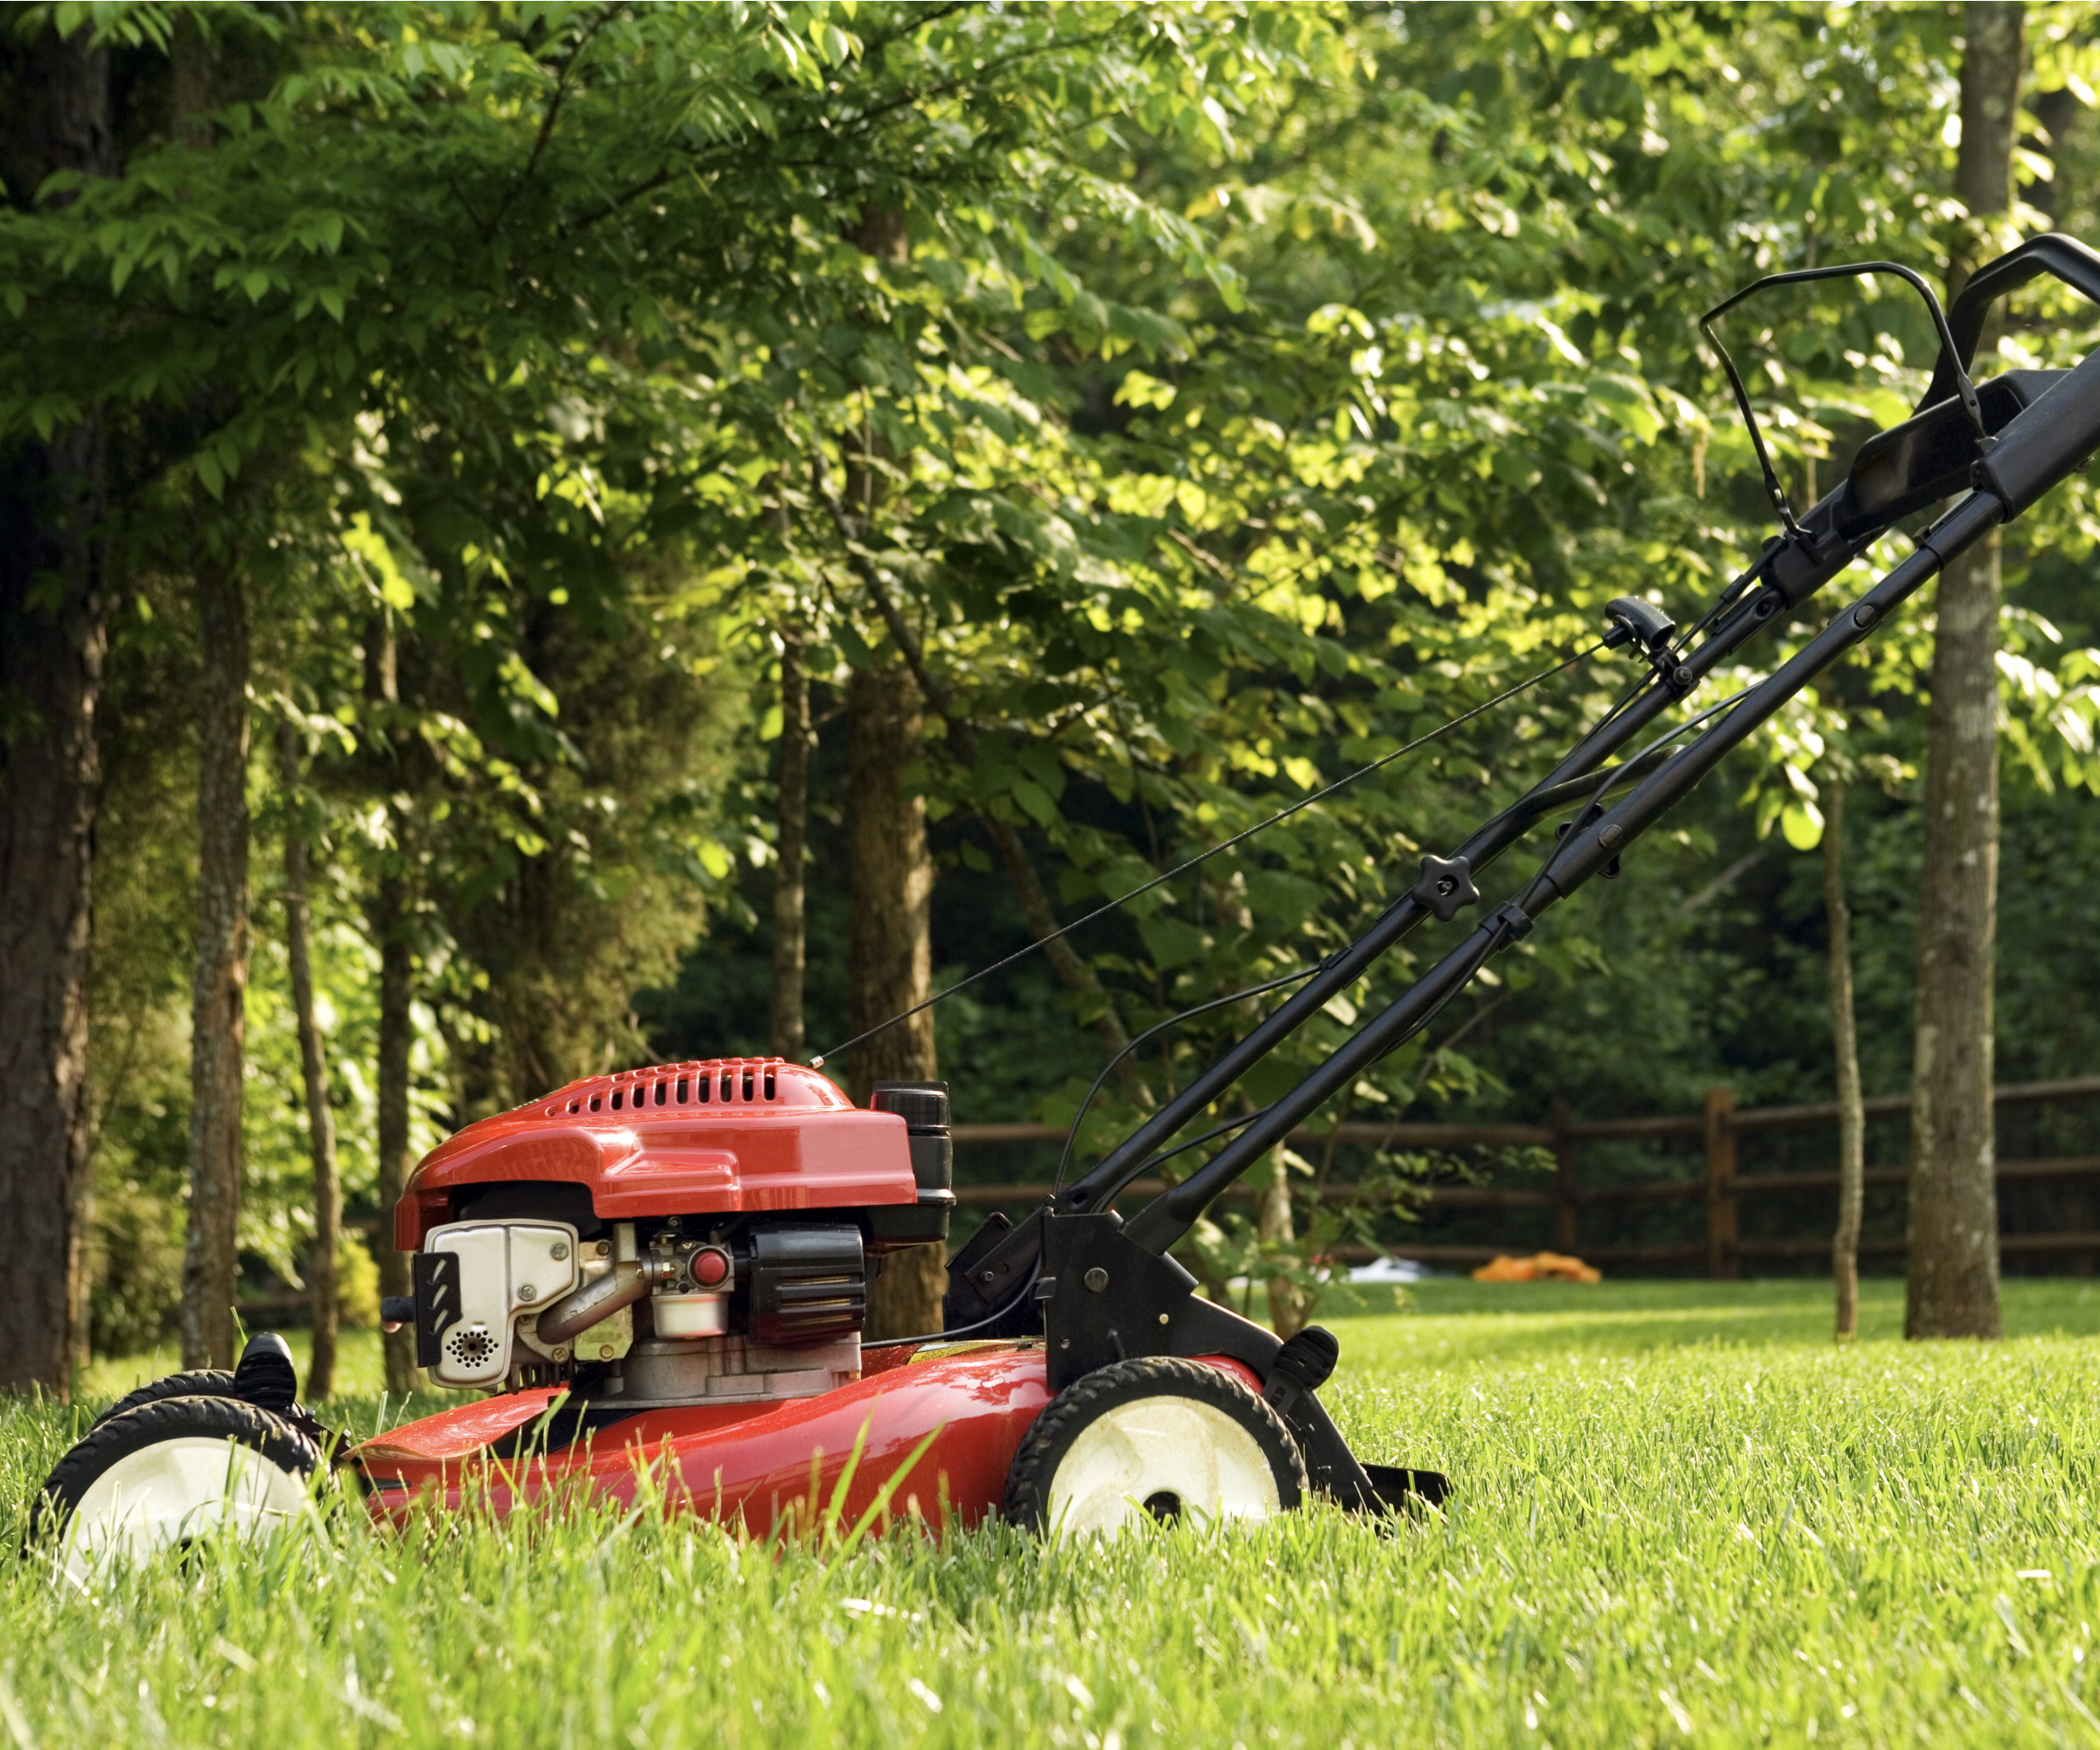
There are plenty of ways to speed up composting to break down your materials faster, including starting with smaller pieces in the first place. While there are lots of different ways to cut up your compost materials, like with this electric chipper from Amazon, Charles lets me on his quick solution to shredding green ingredients.
'I use a lawnmower all the time for my compost materials. I simply put stuff like material from pruning on the ground and run over it with the lawnmower and it chops it up,' he explains.
It's as simple as that and requires using an essential gardening tool you likely already have lying around. Save yourself some time by using one of the best lawn mowers to do the job. Just take care to not run your lawnmower over any particularly hard materials to avoid damage to your machine.
This isn't the only handy tool Charles uses for composting, as he shows off a useful compost aerator tool, available at Amazon, perfect for smaller compost bins, and a garden sifter, available at Amazon. 'I sift wood chips so it goes fine for the compost heap, but I don't sift the compost itself,' Charles explains.
4. Cut stems on an angle
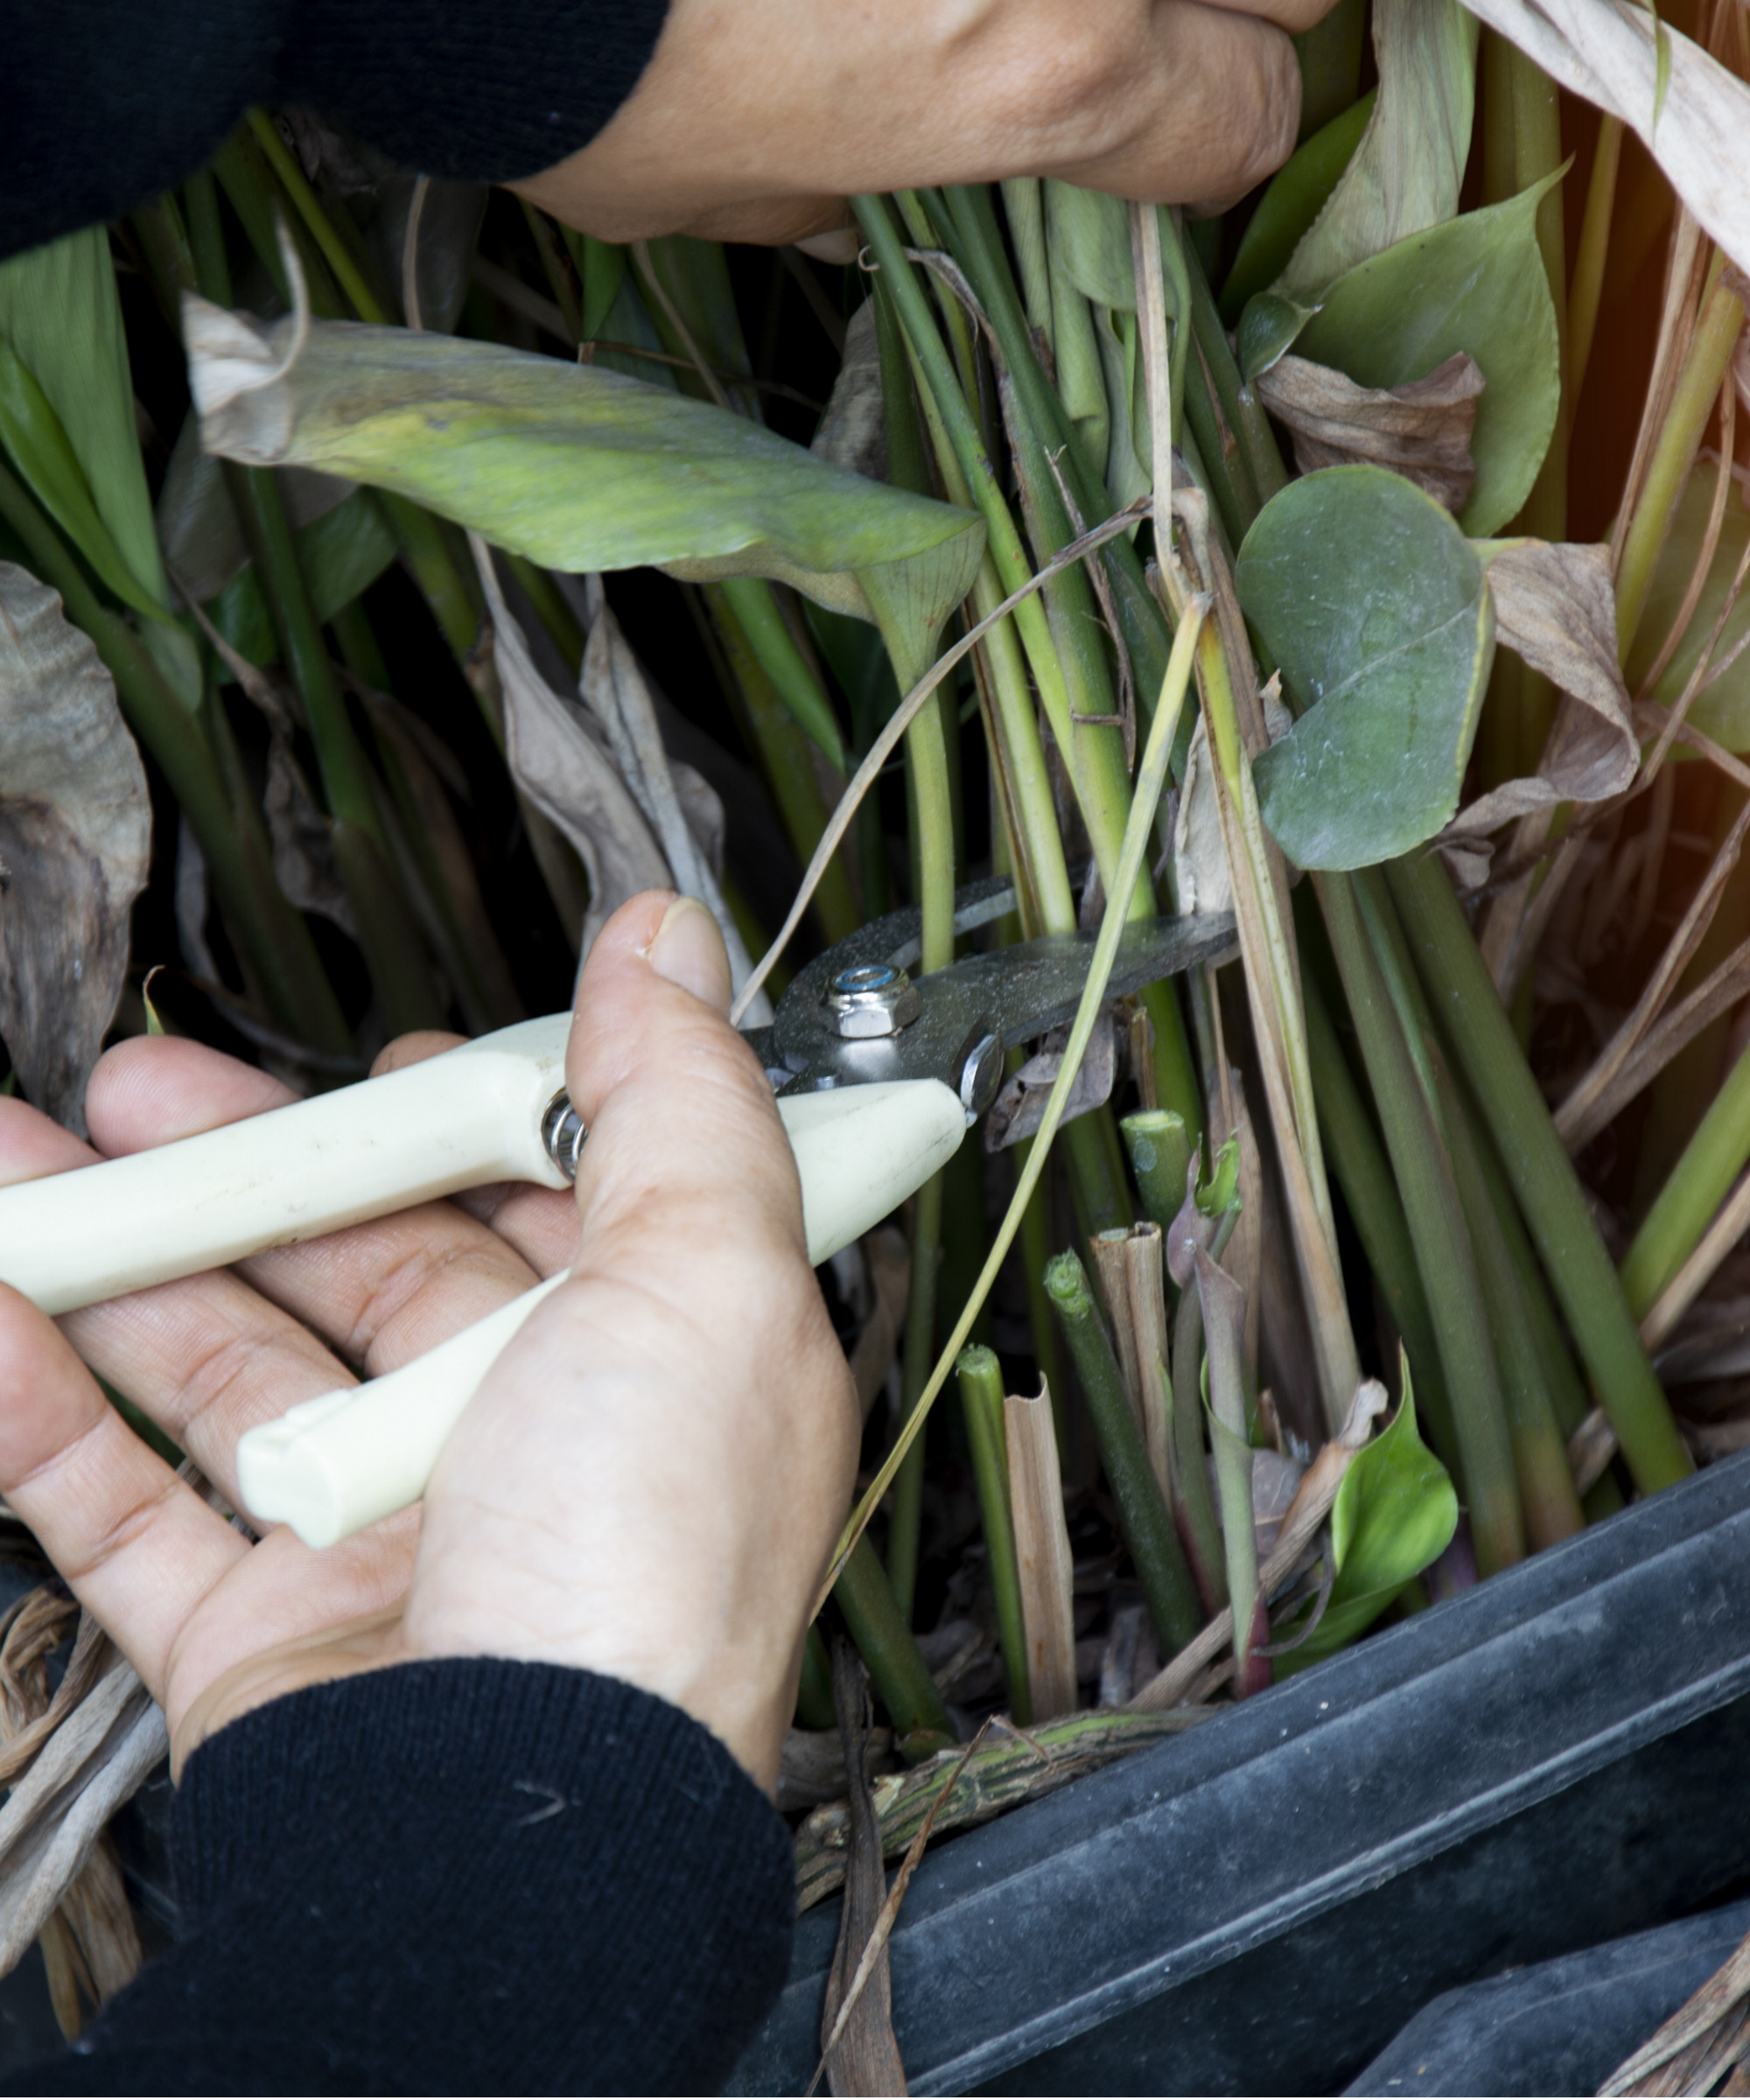
When working with woodier materials, you might find shredding isn't possible. That's why Charles always has his pocket knife, like this from Walmart, to hand when composting.
'It's sometimes hard to cut through harder stems straight on, so try cutting diagonally,' he says while demonstrating with a sunflower stem. 'It also provides the microbes that are doing the decomposition work access to a larger surface area.'
This is a good tip if you've just been tending to your kitchen garden and have cuttings from toucher plants, such as mature brassicas. If the plant matter is hard to squeeze, it's best to cut it up in this way rather than shred it with other soft and tender stems.
5. Make your compost bin an attractive garden feature
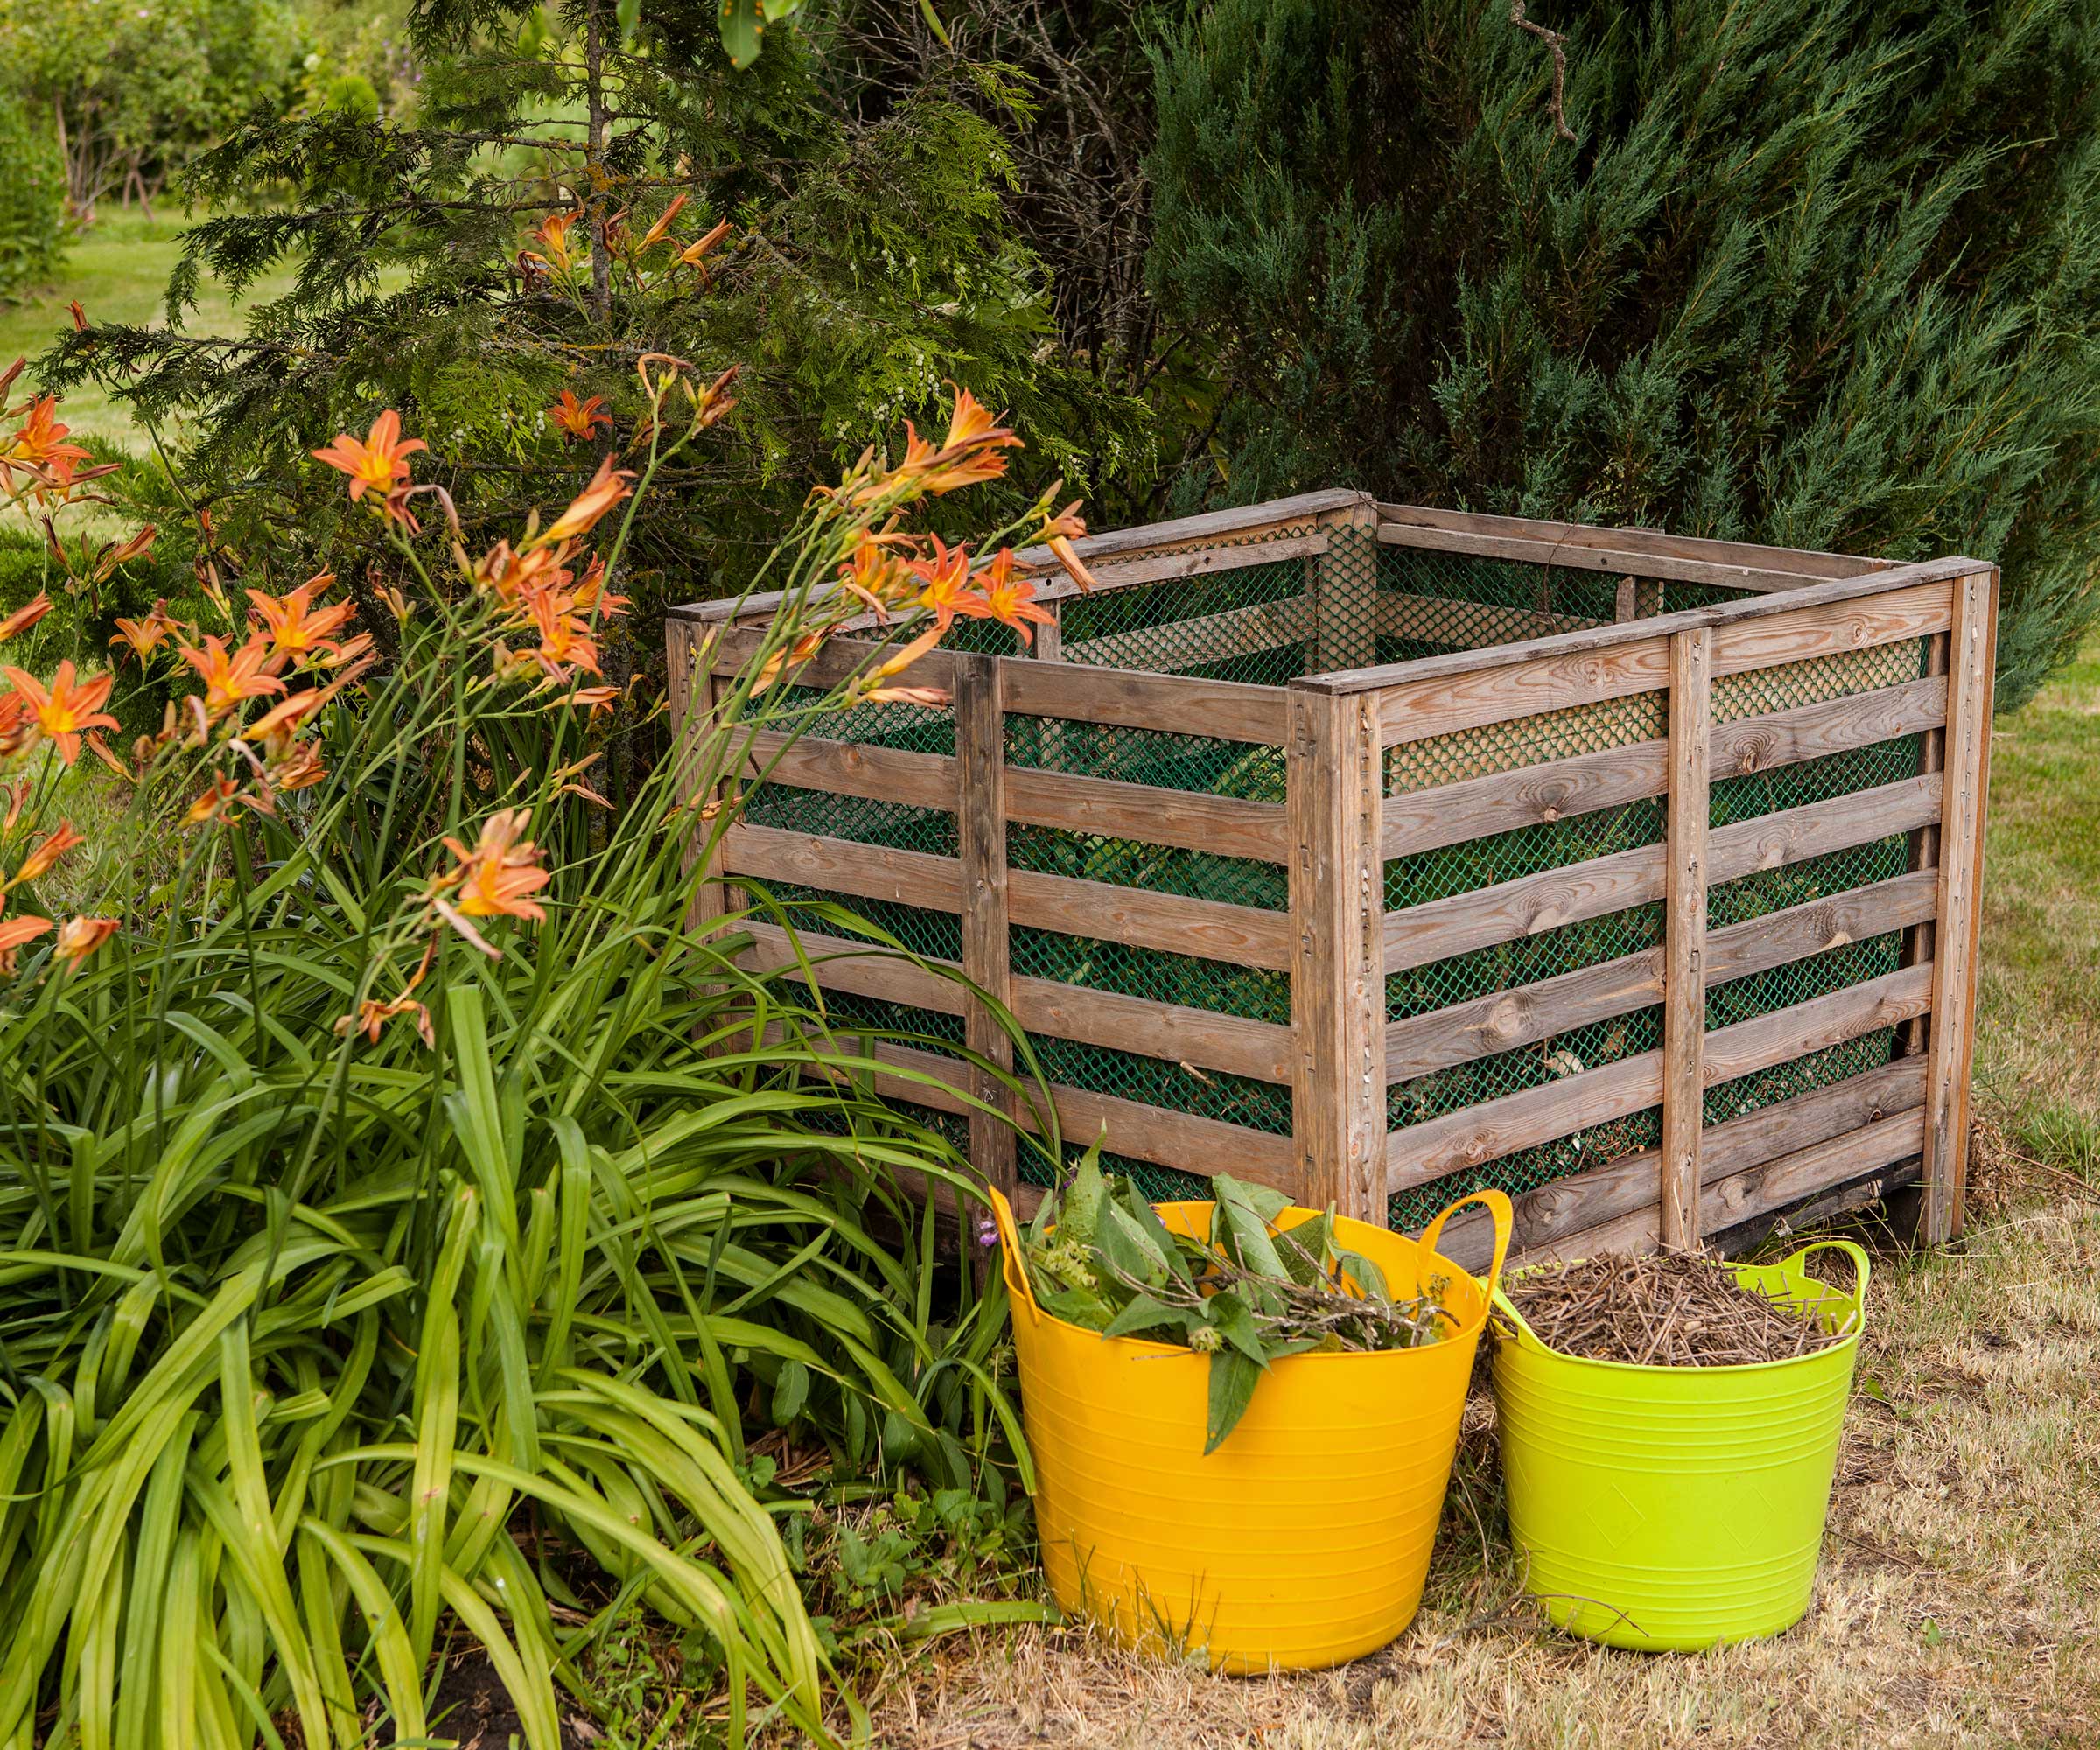
You might not think of composting as glamourous and can be tempted to hide your heap away, perhaps behind a garden screen. But, the placement of your compost bin is actually an important consideration when exploring backyard ideas.
'Some people chuck it down the end of the garden and forget about it,' says Charles. 'I say make a feature of it. Composters can look nice and you want them to be where it’s most convenient and accessible,' he adds.
Composting is something any gardener should be proud of, so why not place it in a prominent position and show it off? Plus, you'll appreciate incorporating your compost bin in your yard somewhere easy to reach when you get around to pruning and tidying up your plants. Compost bins and pallet bays are placed in multiple spots across Homeacres this reason.
You can even choose a compost bin with more aesthetic appeal - like this cedar compost bin from Amazon for a rustic style.
6. Set up multiple compost bins next to each other
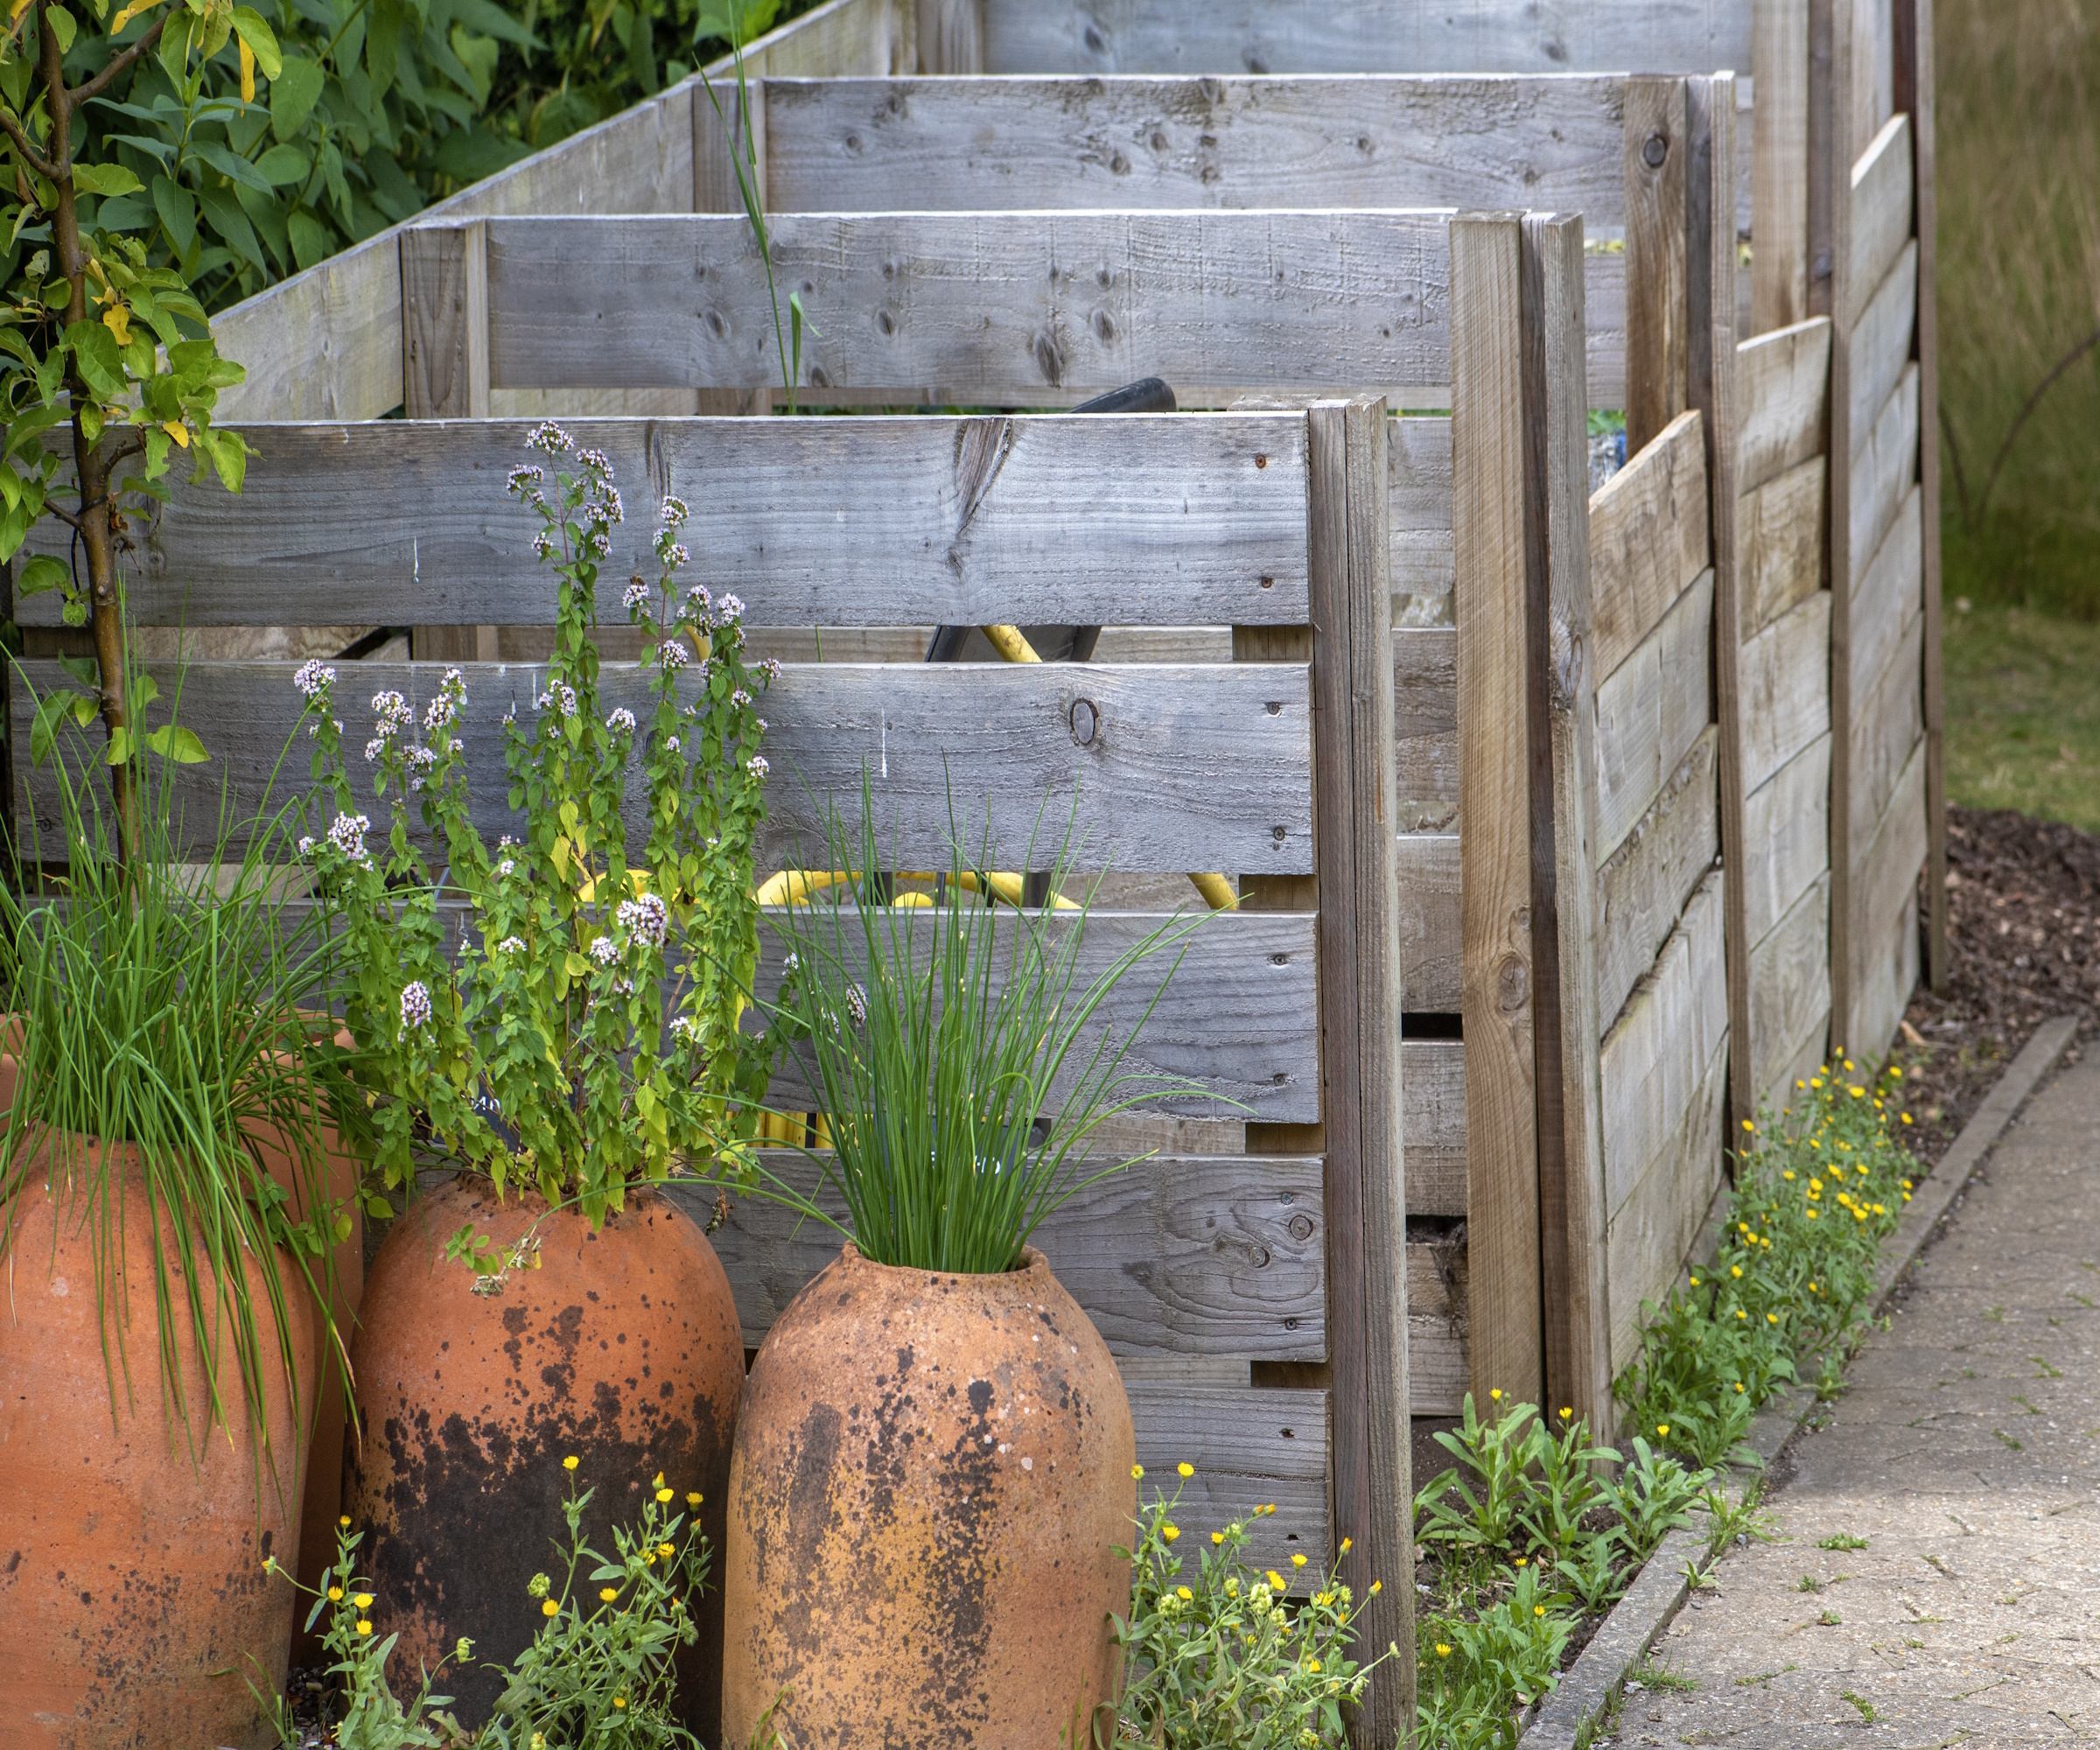
One of the most impressive things about Charles' composting practices is his ability to create a large volume of compost in such little time. His trick? Using multiple compost bins at one time.
At Homeacres, there is a row of 6x6ft pallet bays, as well as a row of 4x4ft pallet bays. Having the compost bins set up in this way is important for efficiency, Charles explains.
'Fill one bin at a time, making sure you concentrate everything into that bin only. When it gets full, you need to stop filling it and let it sit for around six weeks. In that time, start filling the empty bin at the opposite end of the row,' he says. 'After the sitting period, turn your first compost heap into the empty bin next to it. The original bin is then empty for turning the second lot of compost, and so on,' he explains.
Turning compost is important for aerating it and will help stop compost smelling bad, as well as speed up the decomposition process. Charles typically only does this turning process once for each compost heap he creates.
7. Aim for 131-158°F in your compost heap
Of course, there are other ways to speed up composting. 'To make compost that looks like this in four months, I'm happy,' says Charles, holding a clump of smooth compost from his bin. 'That wouldn’t happen without warmth and that means adding more material,' he adds.
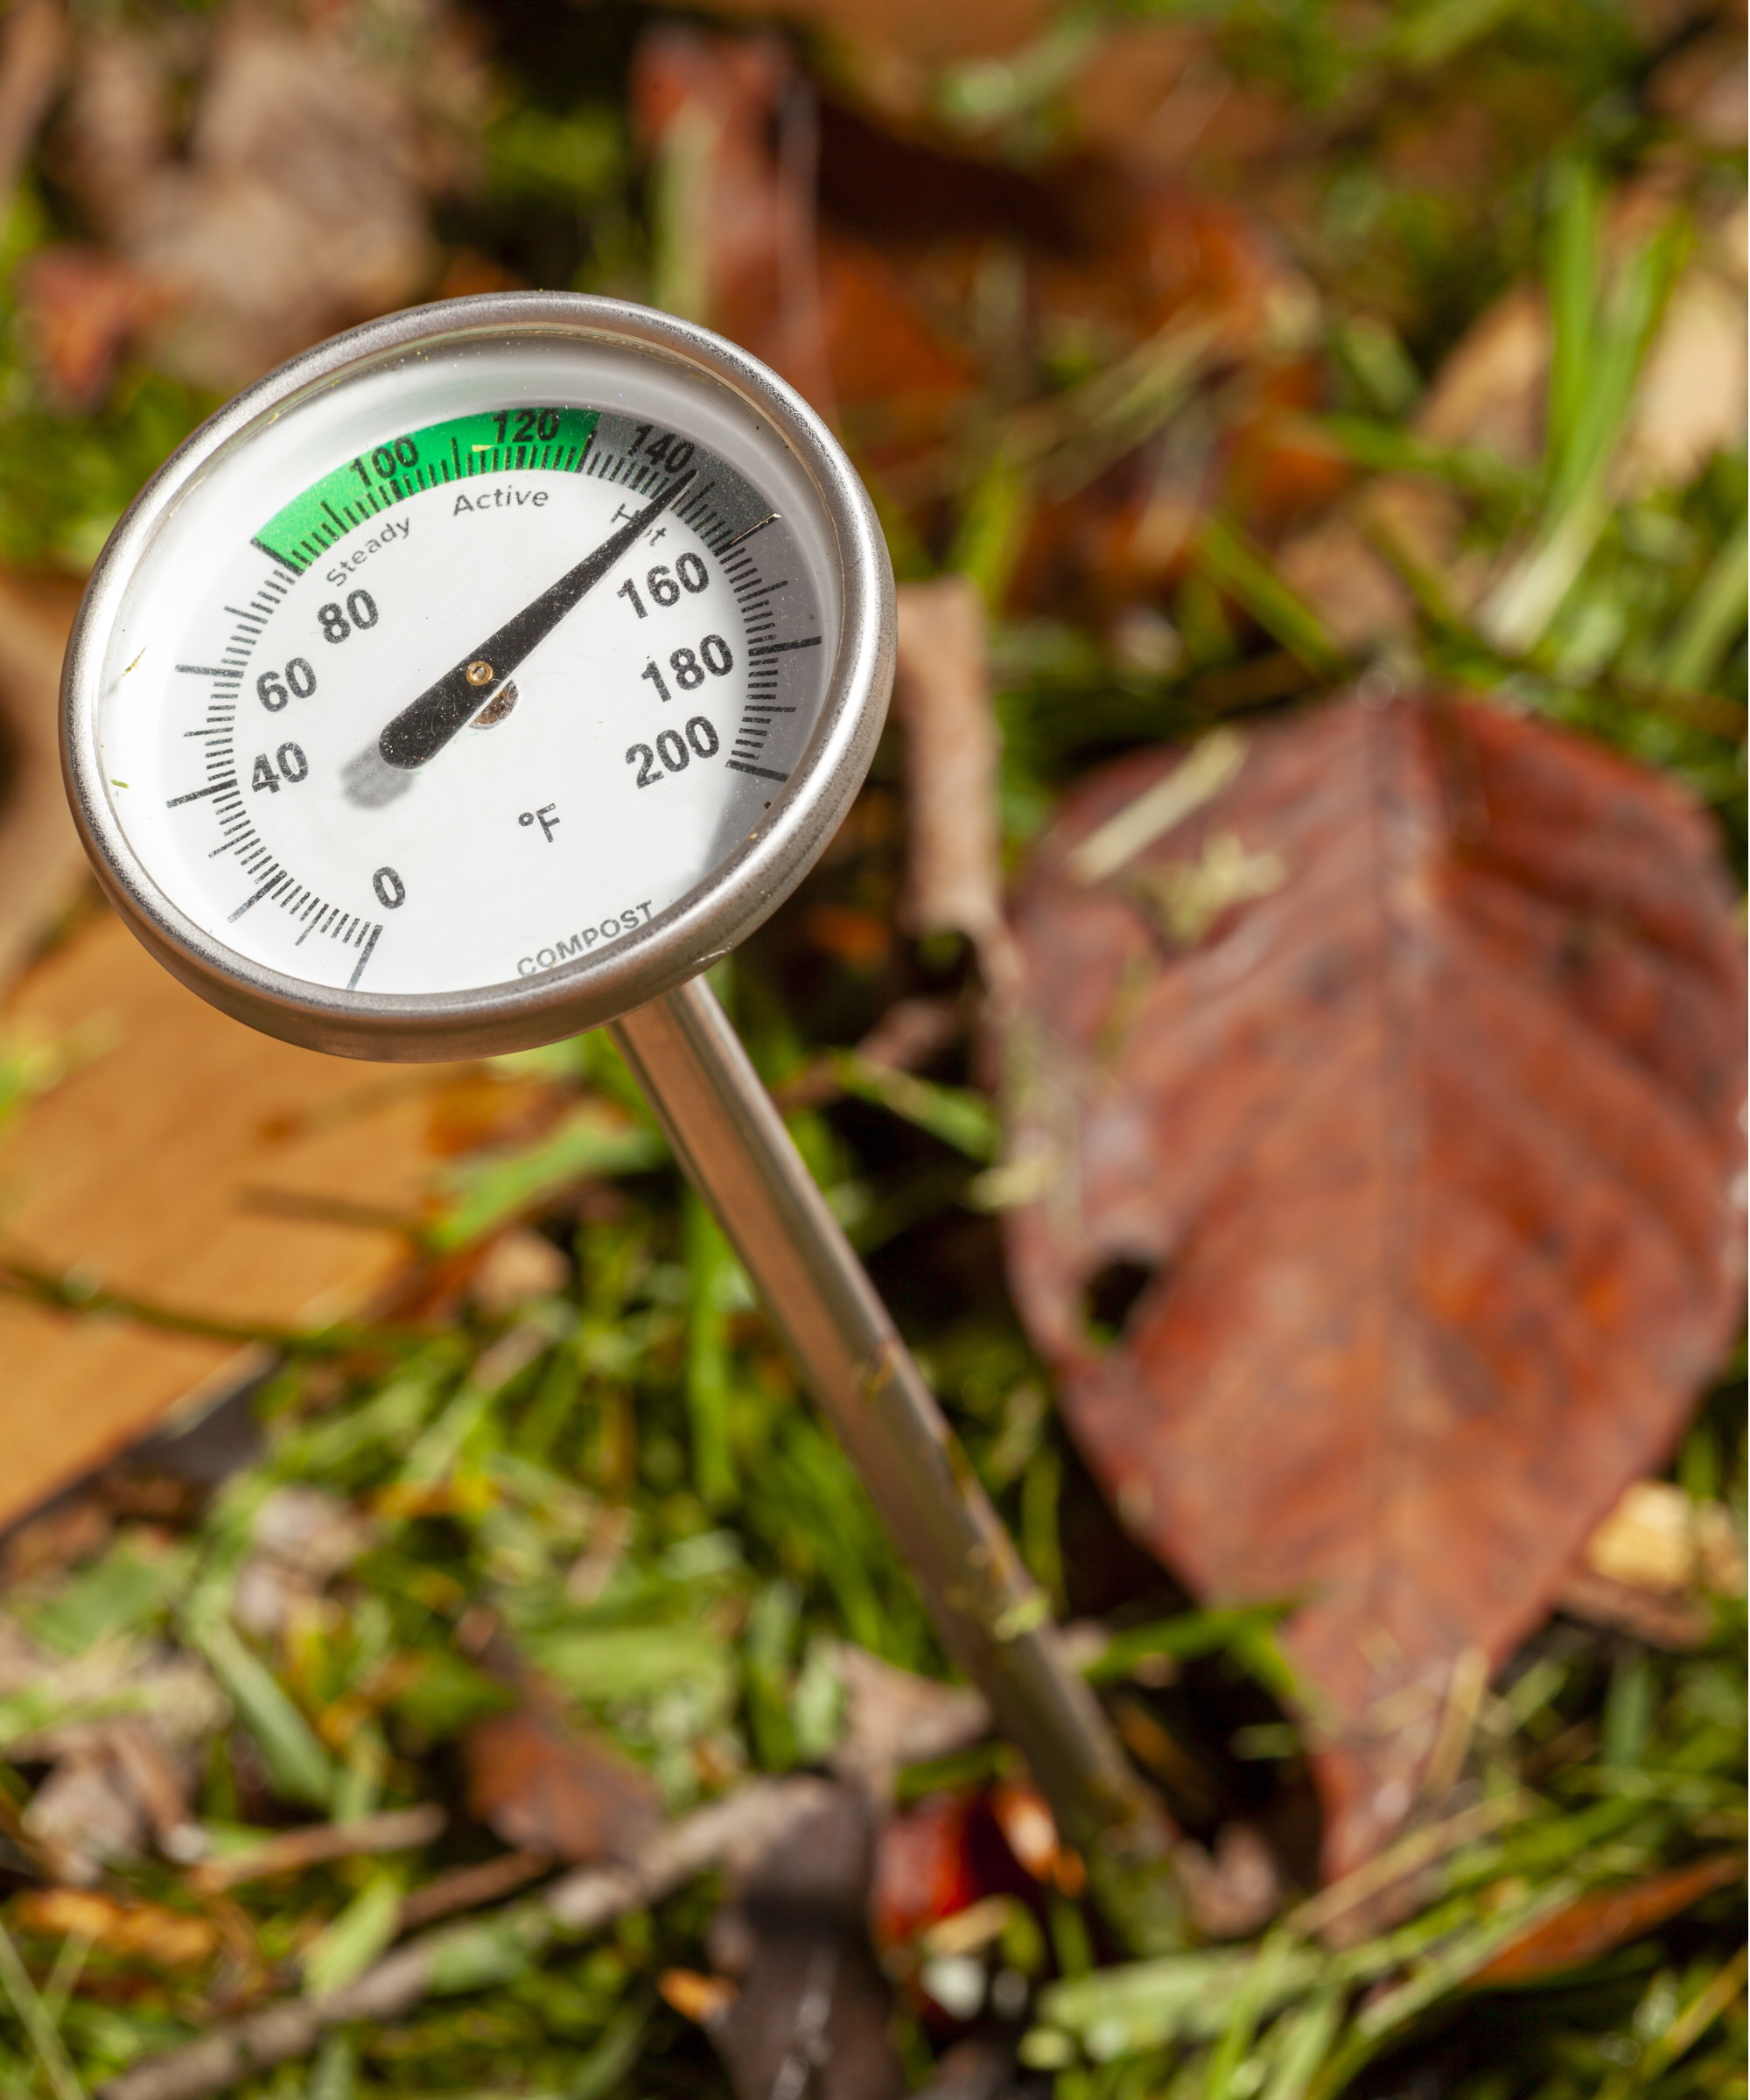
Getting the temperature right for composting is important for success. Too cool and your materials won't break down, too warm and the microbes won't be able to do their work. Charles, recommends aiming for the 131-158°F range.
'Decomposition starts with a period of high temperature, which gradually drops after a few days or weeks,' explains Kathi Rodgers, CEO of Oak Hill Homestead. 'To boost the decomposition process when the temperature begins to fall, the compost can be turned over with a pitchfork or shovel. The process will begin again and temperatures will rise,' she adds.
This compost thermometer from Amazon is a must. 'This tool just tells you how busy the heap is,' Charles says. If you're struggling to get temperatures up, add more volume to your heap.

Kathi Rodgers is the CEO and writer at Oak Hill Homestead and the voice behind HOMEGROWN: Your Backyard Garden Podcast. Founded in 2006, Oak Hill Homestead is where Kathi teaches new gardeners, goat owners and folks interested in living a more self-reliant life how to dig in and grow their dreams.
8. Don't burn the worms in a wormery
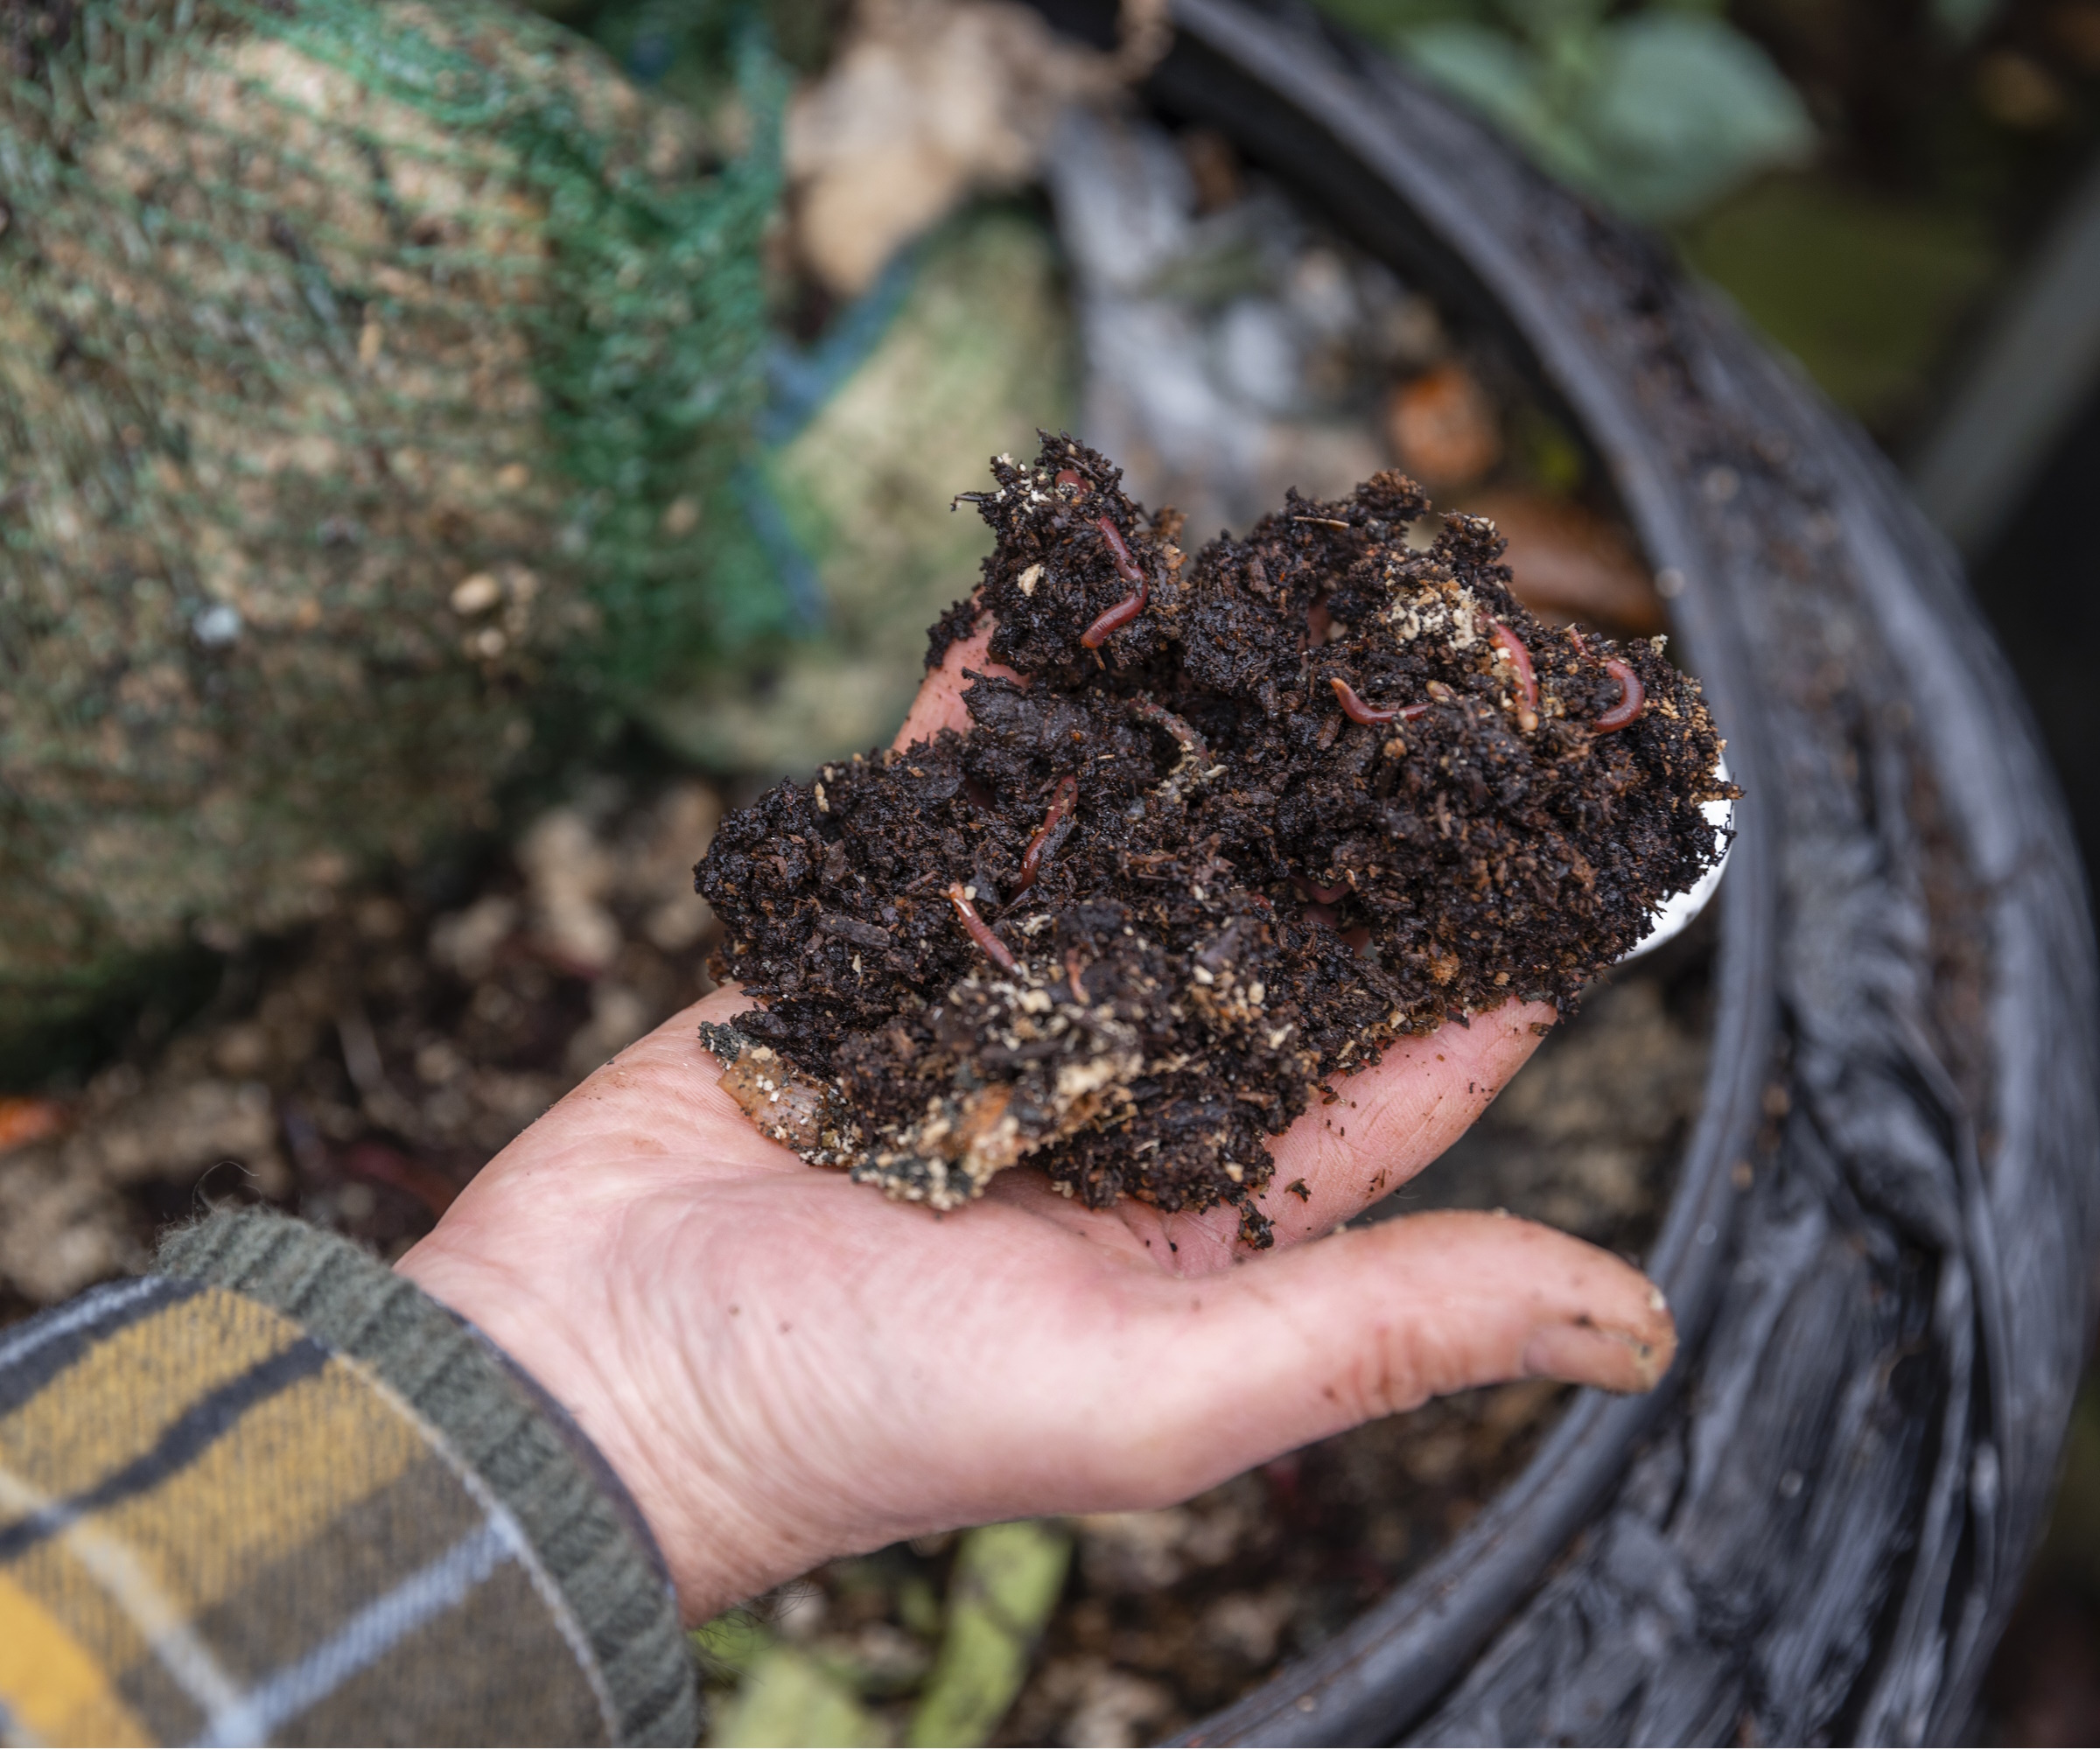
If you're new to composting or perhaps haven't started yet, you'll be interested to know about the different types of composting set-ups you can have. Using a wormery for compost is a popular choice and consists of a compost heap of kitchen waste which worms eat away at. They then produce worm castings that are a valuable source of nutrients for plants.
Charles has built his own square wormery from some pallets of wood, sitting on the ground. He keeps it covered with a plastic cover to lock moisture in, which opens to reveal a community of redworms hard at work.
The fact this wormery is built straight on the ground with no base, plus the use of a cover, regulates temperatures. 'Below 50°F the worms stop eating, below 37.4°F they die. That's why between 50-77°F is ideal to keep the worms active,' says Charles. 'Keeping the wormery on the ground keeps it cooler and allows them to come and go. The cover also keeps them cooler during warm days and warm during cold days.'
Be careful not to let temperatures get too high as it could burn and kill your worms, reducing the productivity of your wormery. While Charles has noticed many redworms naturally come to his heap, you can also purchase worms for your compost - like these composting worms from Amazon.
9. Add to a wormery little but often
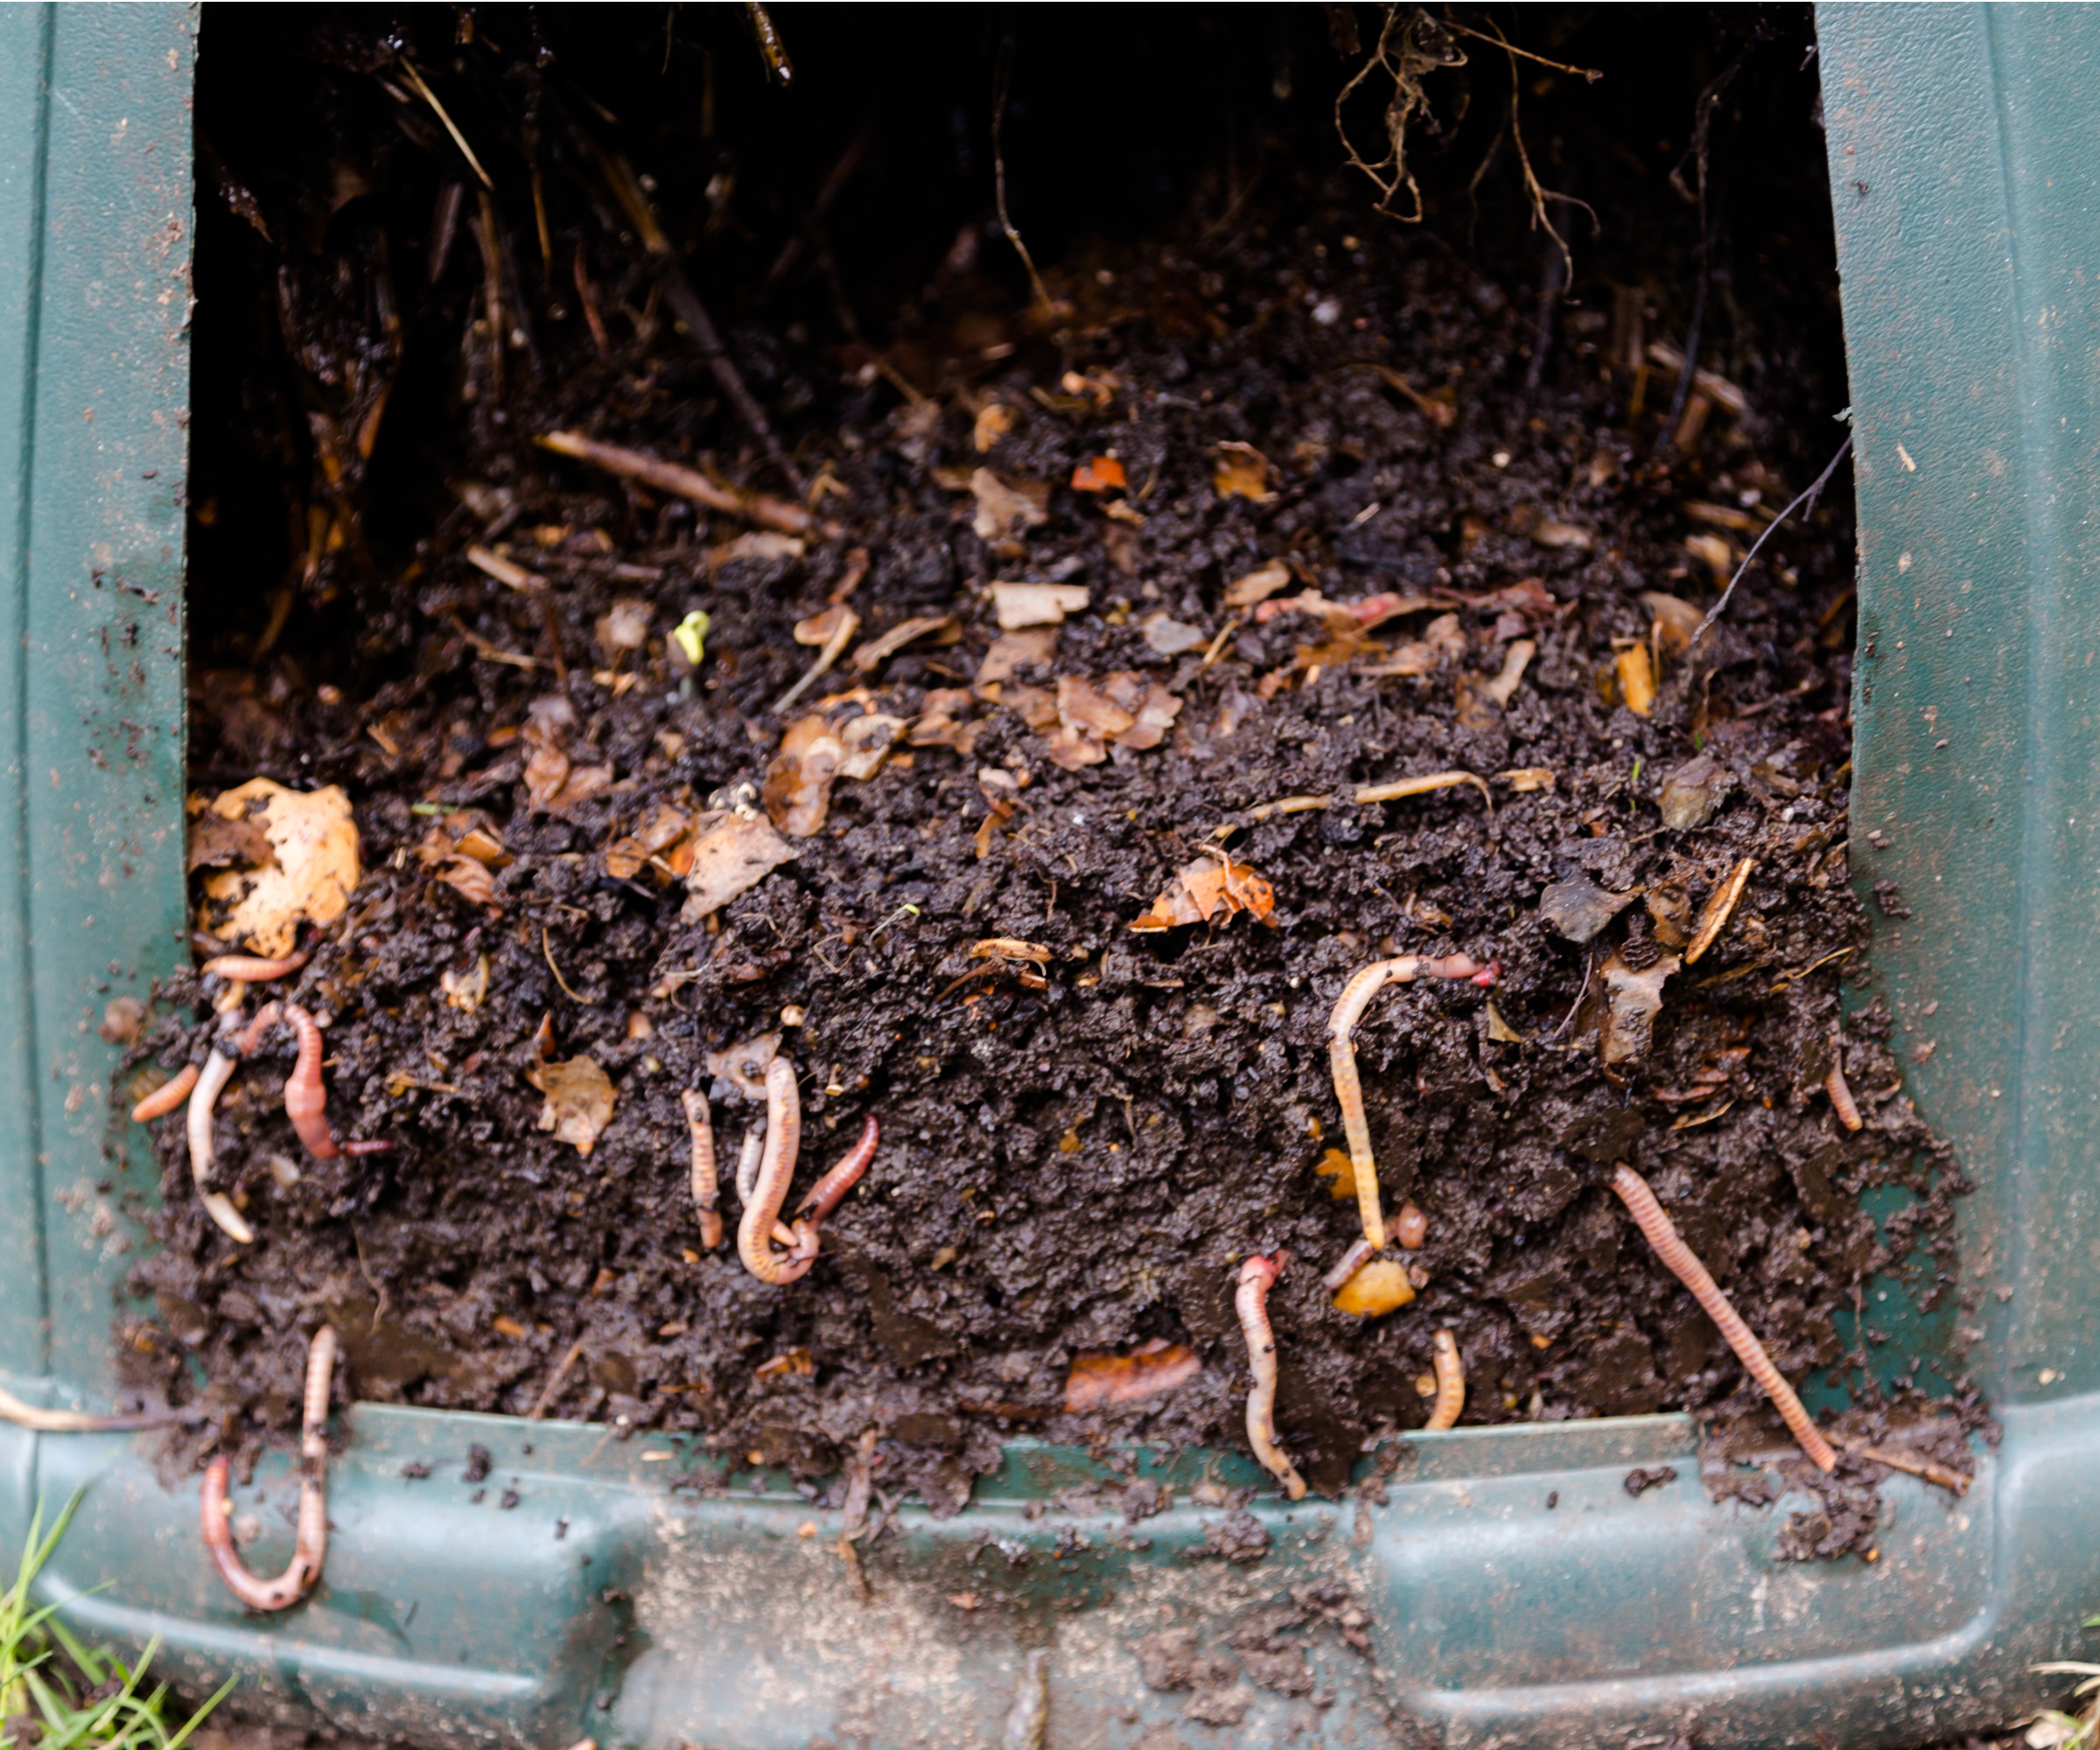
Another thing I learned from Charles' wormery is you don't add to this type of composting heap as you would others. Charles tells me to keep 'little but often in mind,' as this is the best way to feed the worms.
'You only ever want to feed the worms from the surface,' says Charles. 'I add food scraps here about twice a week,' he says while pointing out solids from his juicer lying at the top of the pile.
He points out you can also feed worms compost that has started decomposing. 'Not when the compost is fresh, but when the materials are starting to rot because that's the point in the composting process worms are starting to arrive anyway,' he explains.
Charles ensures this is the best way to get high quality wormery compost, as it keeps the worms stimulated. He's planning to make his own potting mix with his wormery compost. 'There's something in the enzymes and biology of worm casts that makes roots grow more quickly,' he explains.
Of course, there are plenty of foods you shouldn't put in a wormery to avoid, too.
10. Steam is a sign of enough greens in your compost
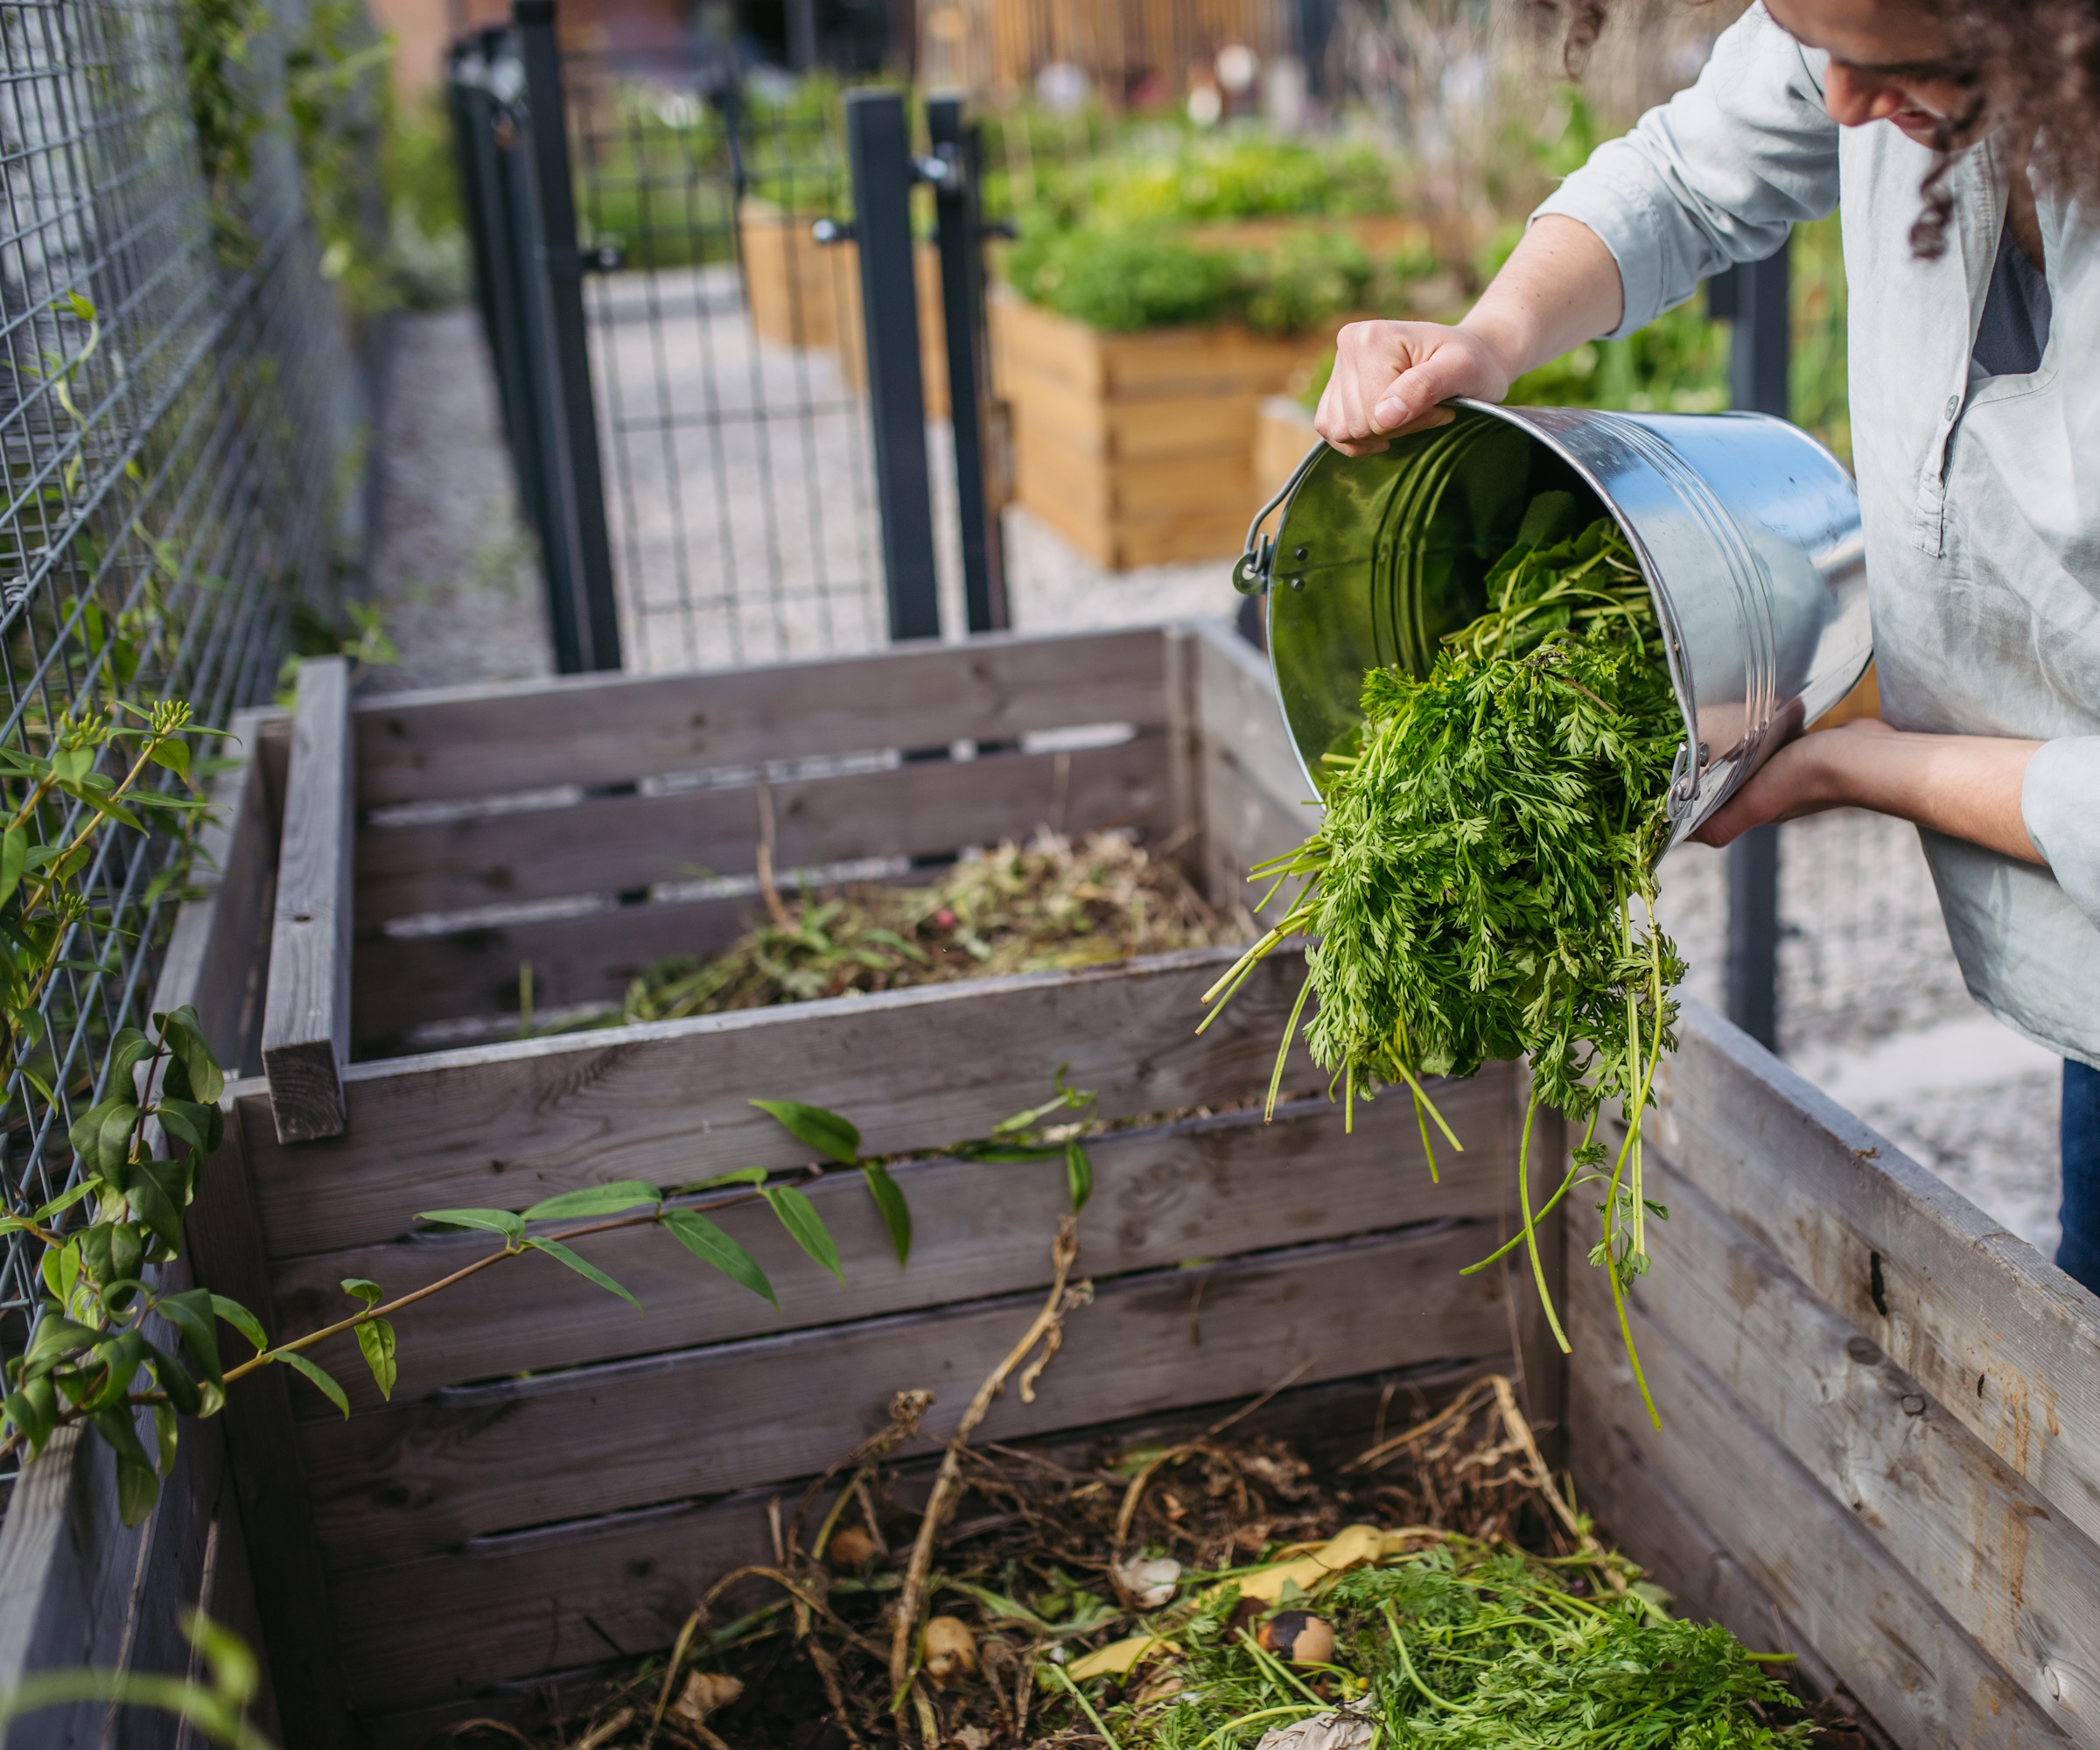
You know composting is working when you can actually see the heat coming off it, and I'm amazed to watch steam rise from Charles' compost heap as lifts it. He explains that this is a sign you have the right volume of ingredients in the heap.
'Green ingredients stimulate bacteria and make them breed rapidly. Then, their metabolism makes heat. That’s why you get steam if you have enough green,' he explains.
There are two types of compost ingredients - green and brown. 'Green materials are high in nitrogen and include grass clippings, weeds, vegetable and fruit trimmings, eggshells and coffee grounds,' explains Kathi. 'Brown materials are high in carbon, and include fallen leaves in autumn, shredded paper, cardboard, sawdust from untreated wood and straw,' she adds.
Charles notes that the correct proportions are 3/4 green and 1/4 brown, as the green is what stimulates the microbes and kickstarts decomposition. 'We measure in volume, not weight,' he adds.
Getting these measurements wrong is a classic composting mistake that leads to failure, so it's important to know which materials are which. Charles adds in cardboard and packaging as a brown to his heaps, excluding plastics. 'Even this decomposed lettuce is brown,' he says holding it up. 'I let it go to seed to collect them and what remains is a woody leftover of lettuce.'
11. Take lower leaves of plants for your compost
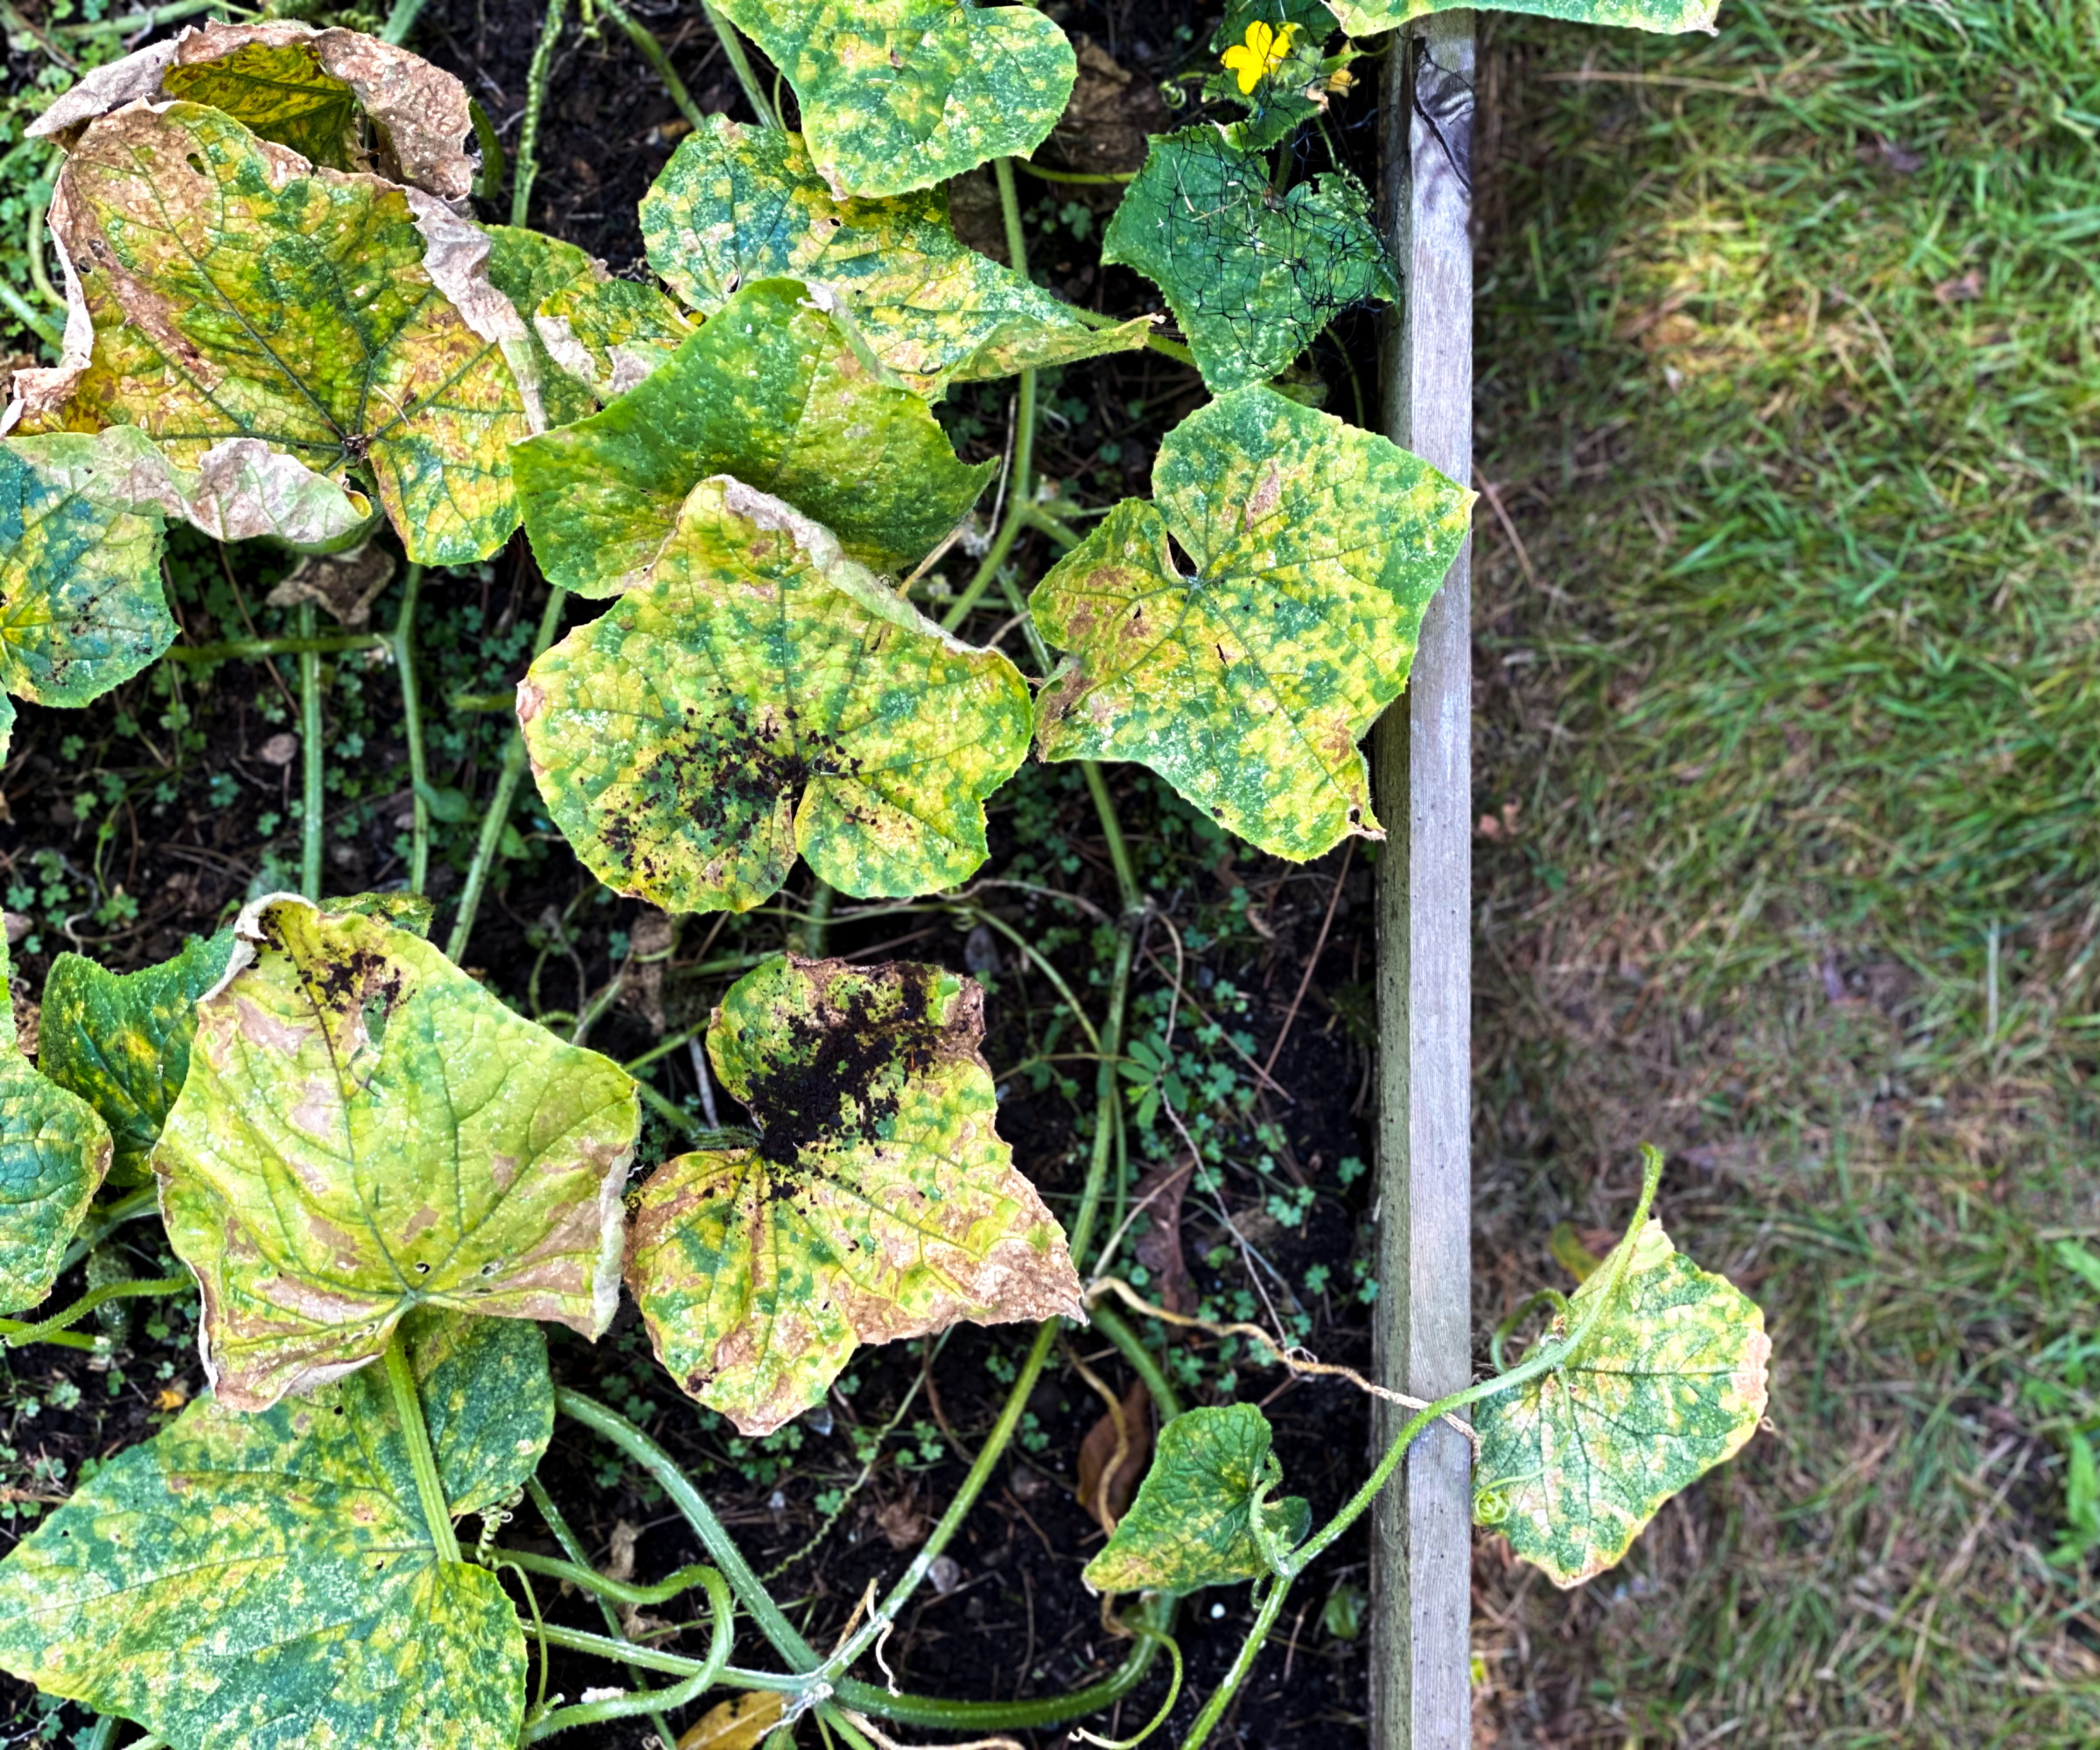
You can find green materials for your compost everywhere in your yard, such as grass clippings after mowing. Charles shares with me a hack that both adds to your compost heap and help your plants out.
By taking the lower leaves of your plants, especially vegetables, you're removing older foliage that isn't assisting much in photosynthesis, making the plant more productive, he explains. 'It also helps with slug control because you're removing their ease of access to your crops,' Charles adds.
Simply pull the leaves off, or use sharp tools like these pruning shears from Amazon.
12. Keep your compost heap aerobic
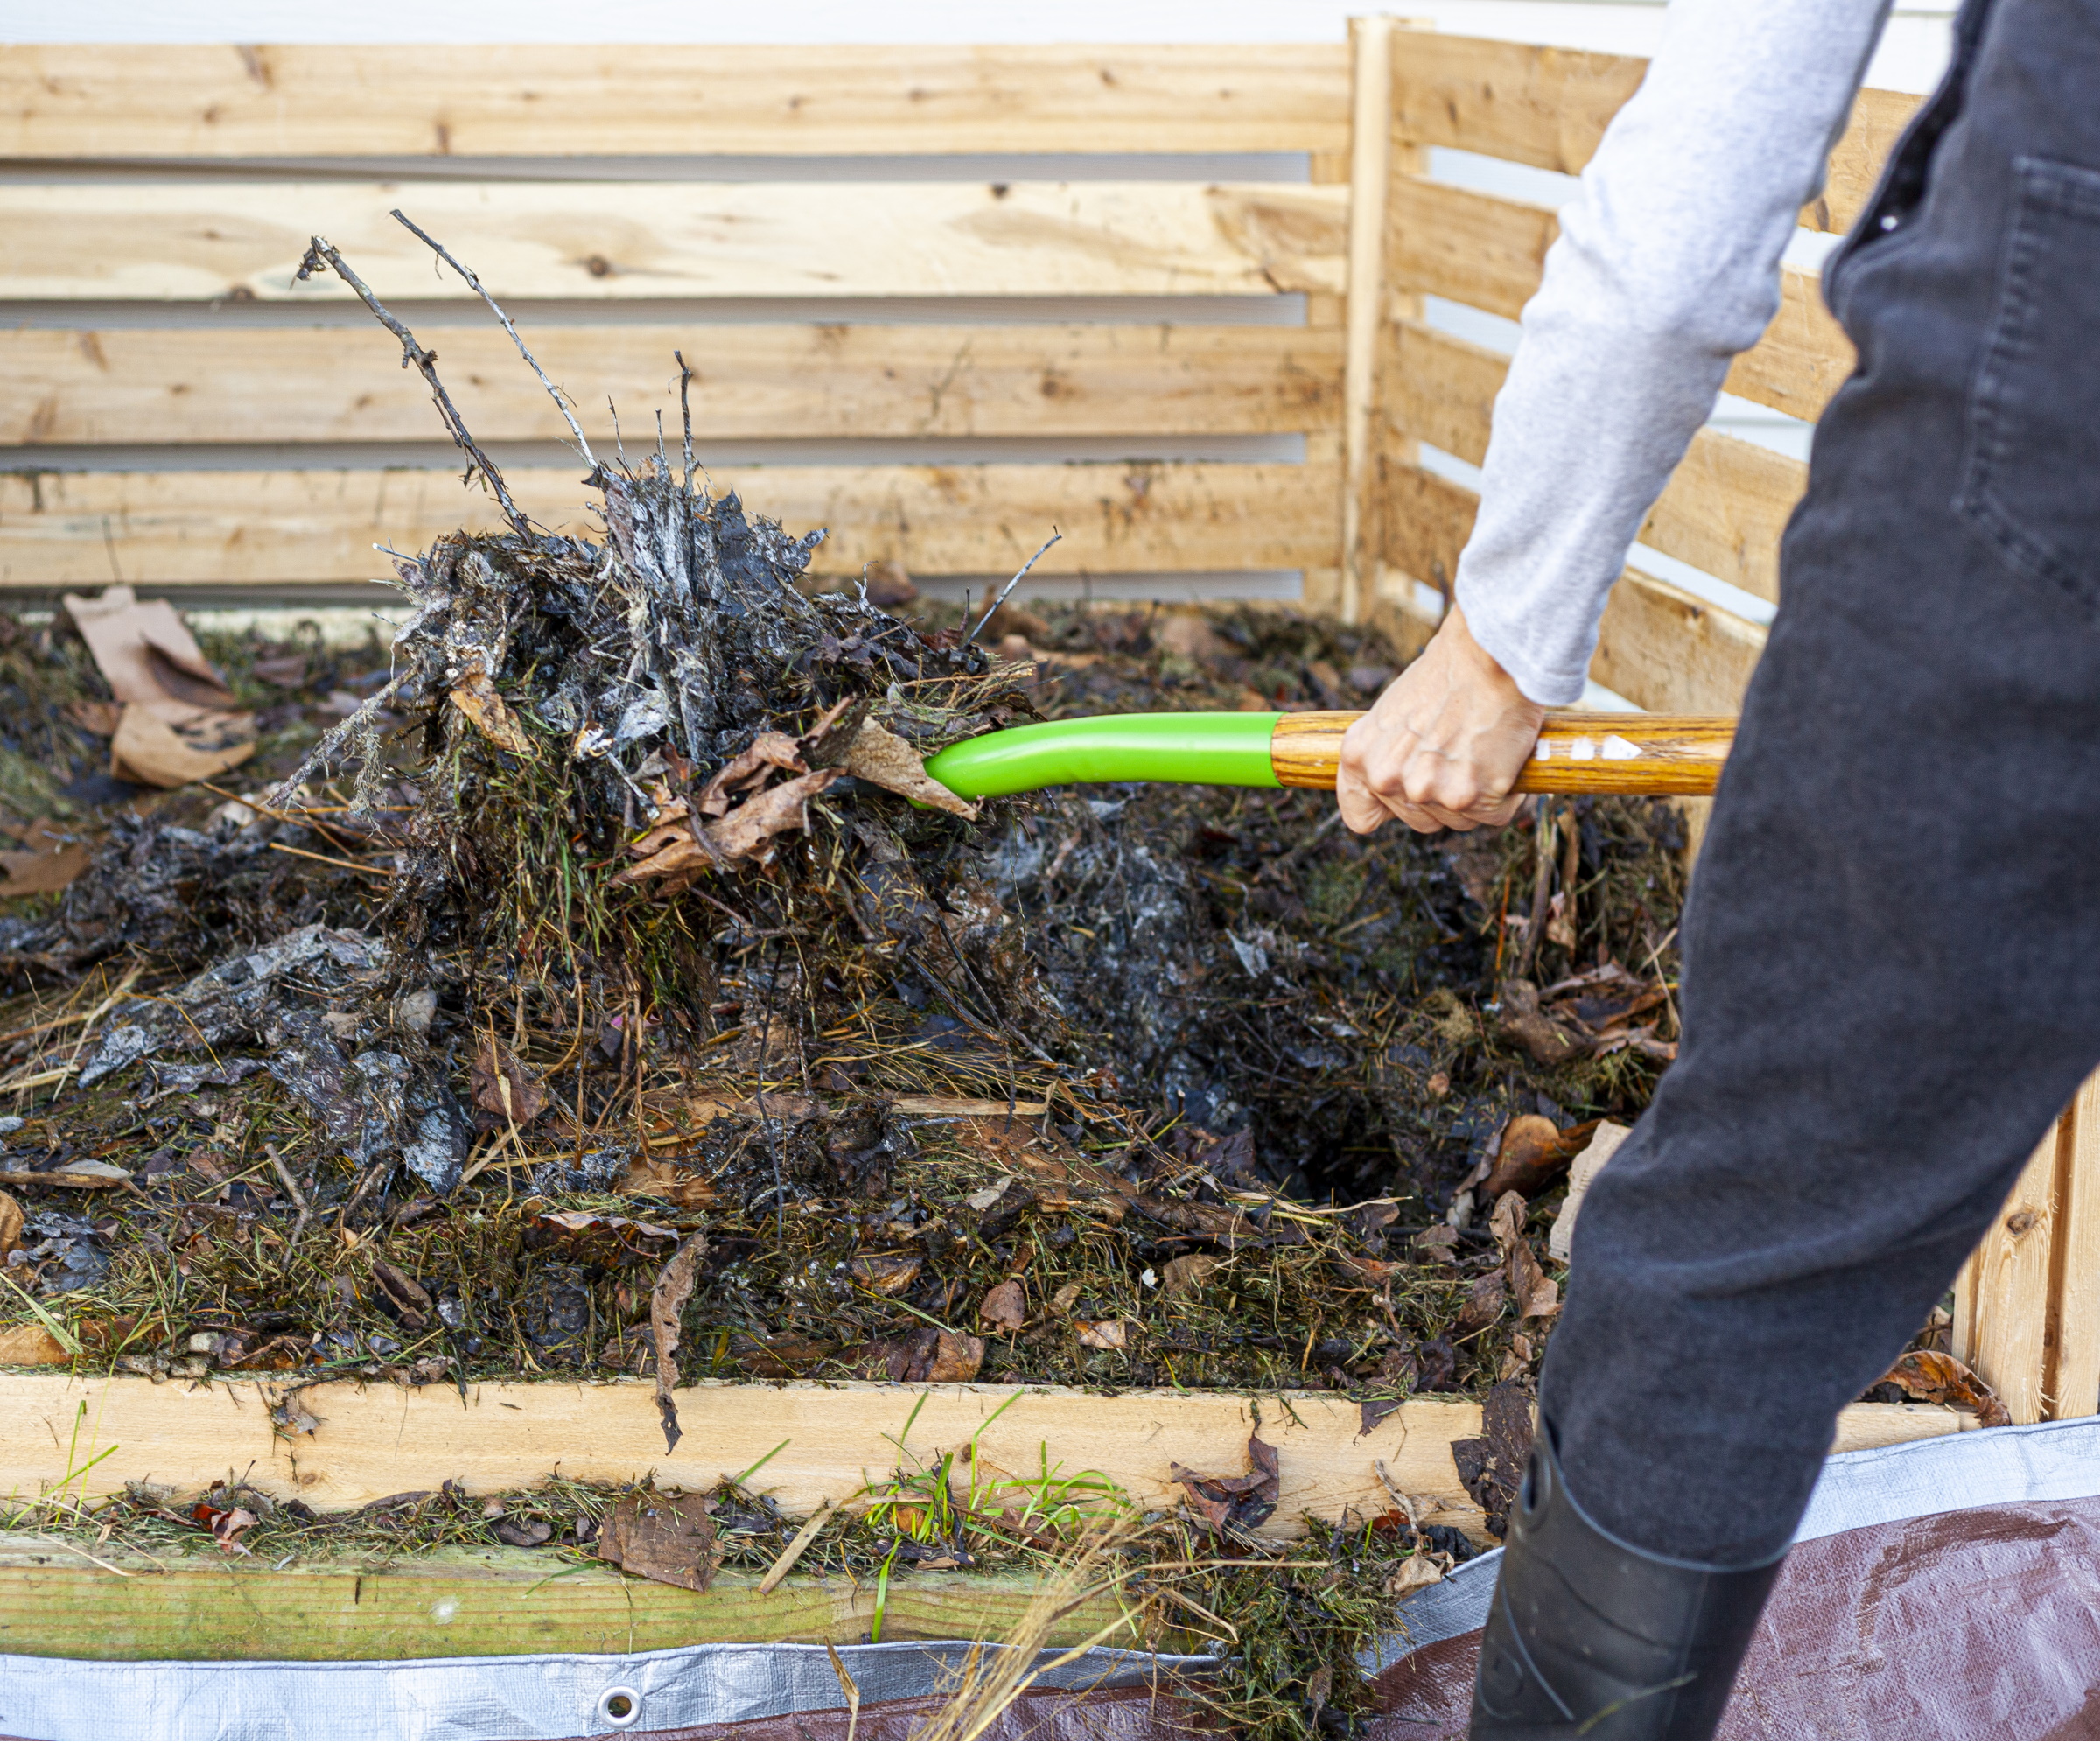
There are four things you need to successfully make compost: greens, browns, moisture and oxygen. While a large volume of green and brown materials will create a moist environment, your heap won't take care of getting enough oxygen by itself.
'You can tell it's anaerobic and doesn't have enough air when it has a bad smell and the materials are too wet,' says Charles. In his largest compost heaps, Charles keeps a large hollow pipe in the middle to keep it aerobic.
Turning your compost will also ensure it has enough air and the type of compost bin you use will determine how aerobic it stays. For example, this tumbling composter from Amazon allows air to flow through and makes turning easier.
However, you also have to make sure your compost isn't overly aerobic, as this can halt the decomposition process. 'If you have compost materials are too large, they won't pack down and will create air pockets within the heap. That can be too much air and slow down the composting,' advises Charles.
13. Don't be too worried about rodents
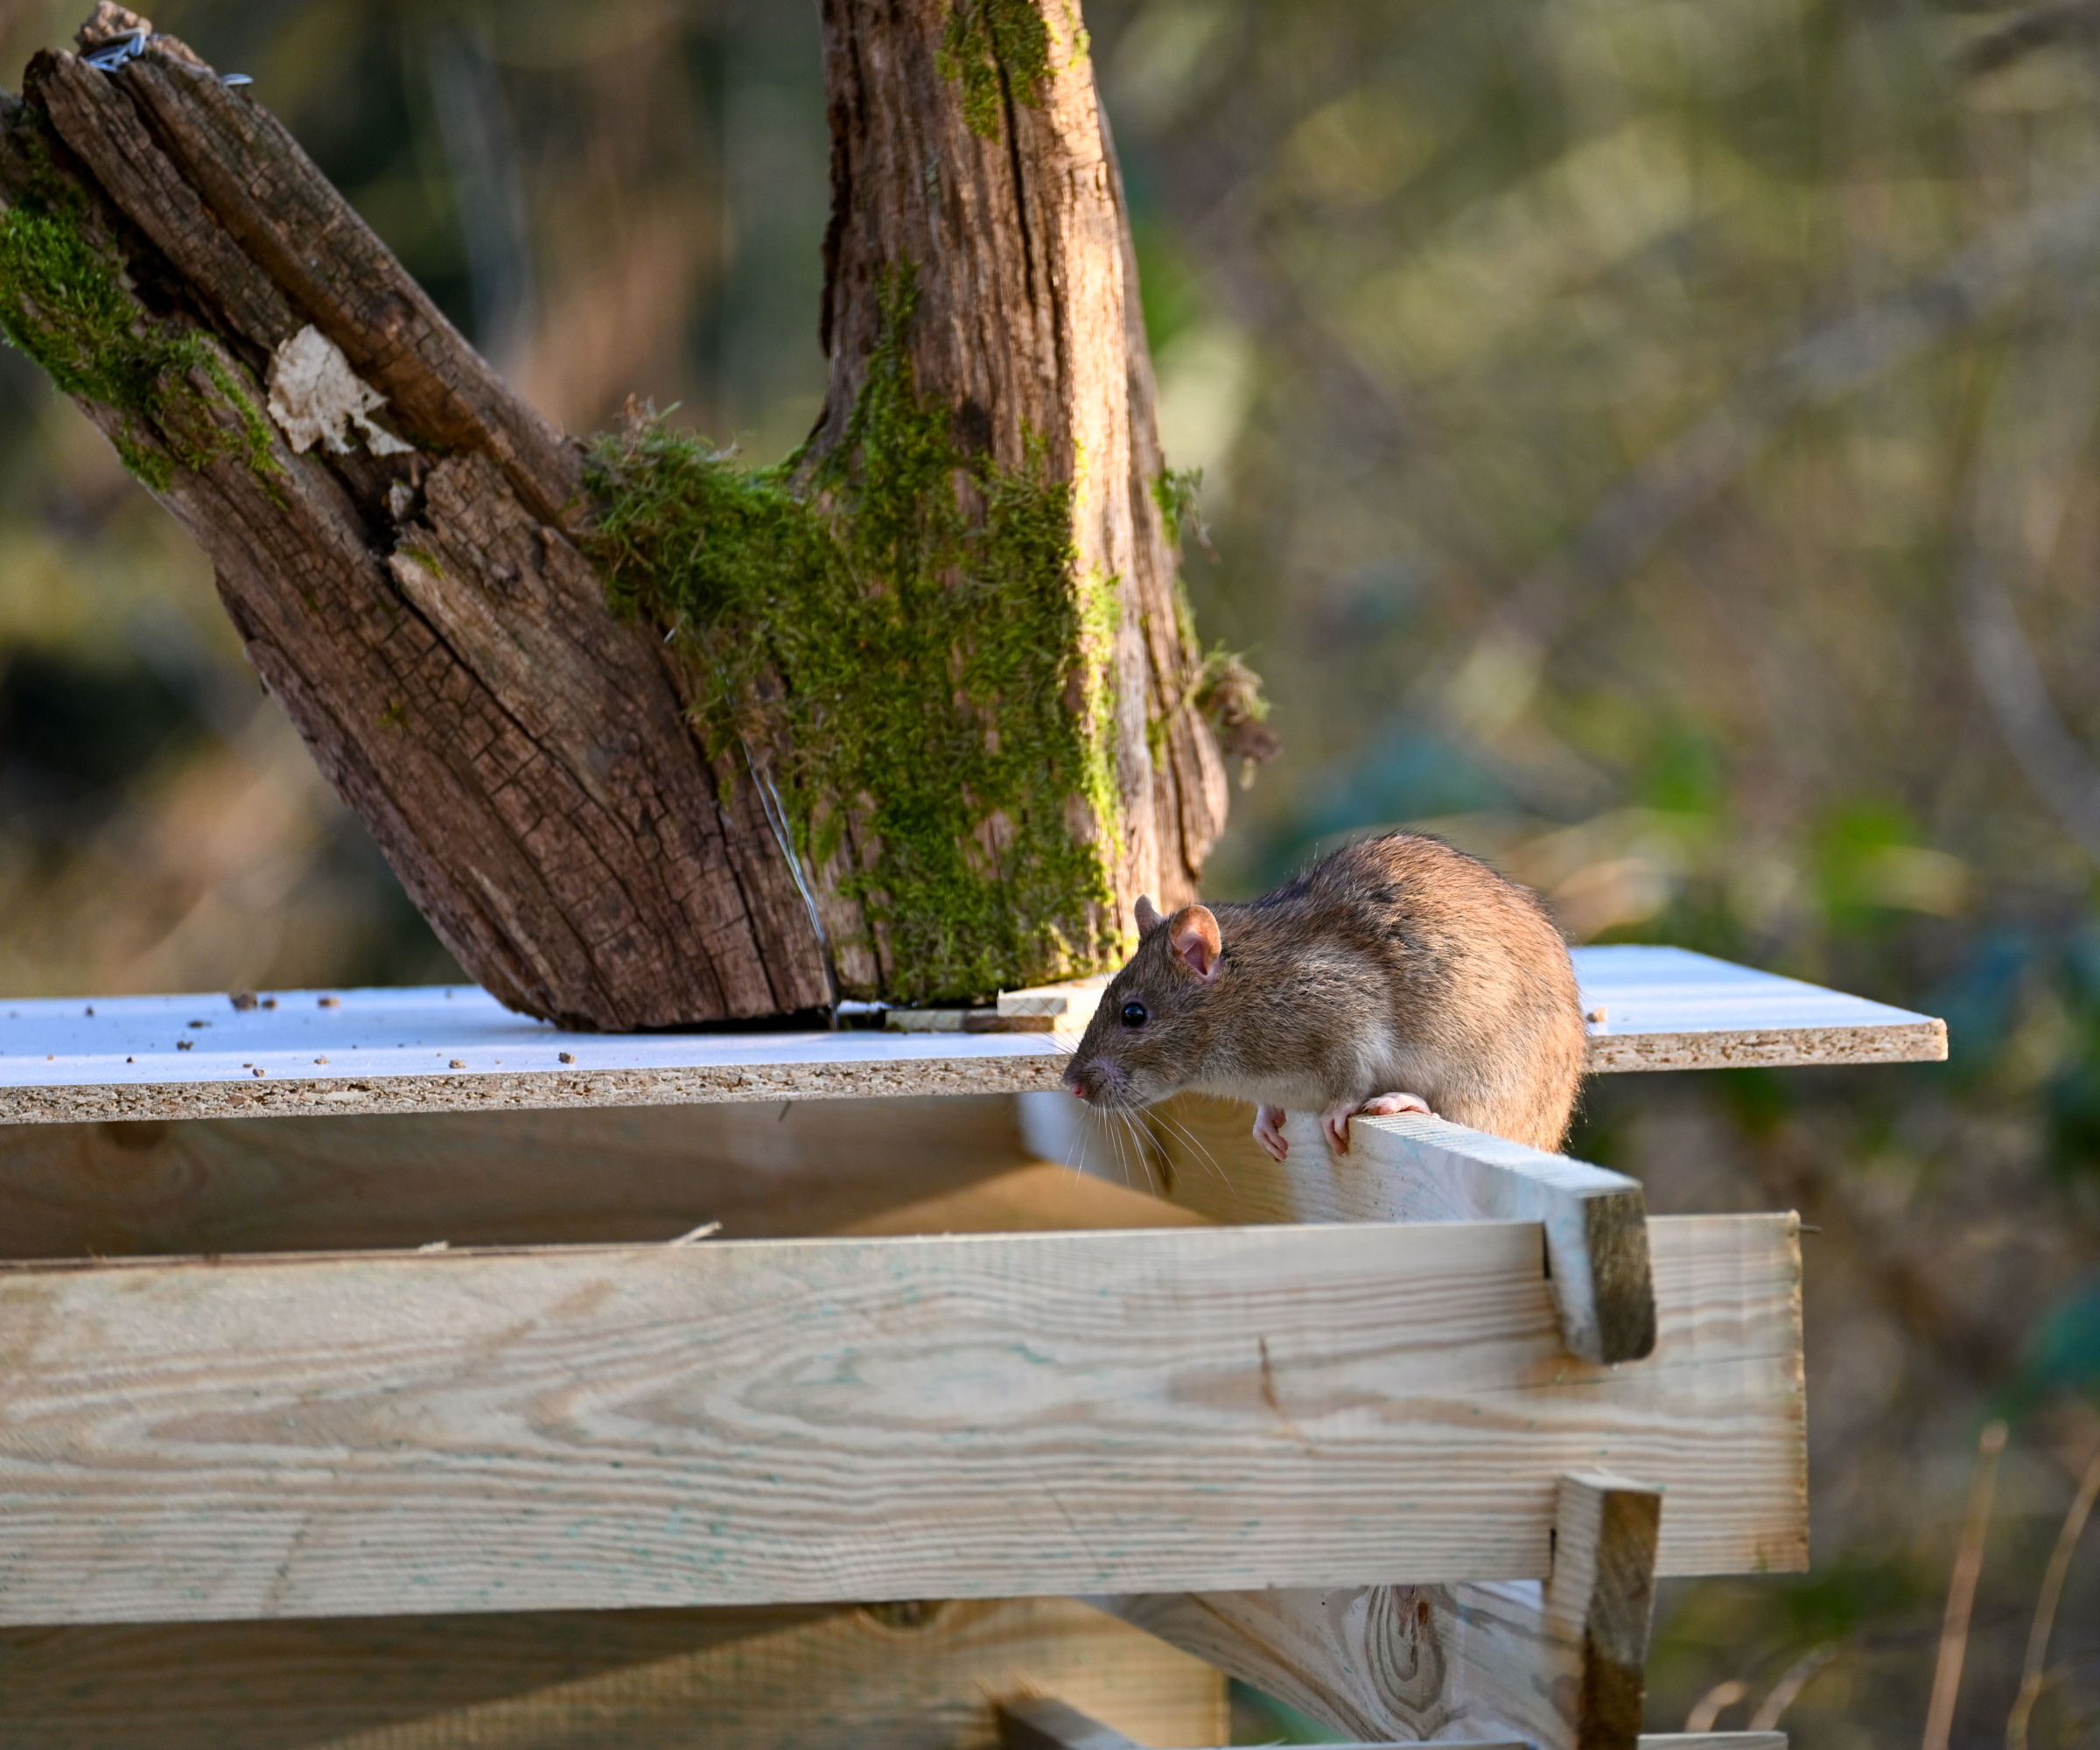
Dealing with pests in the yard is something all gardeners have to face and there is a real concern surrounding the pests your compost heap may attract. This is especially true when creating a compost on a large scale with multiple bins, like Charles. Rats, however, don't phase the homesteading expert.
'Because I even include some meat products in my compost, I have attracted rats in the past. I haven't had many rats for around nine years thanks to my cat,' he says. 'But, you shouldn't be too concerned about rats in your compost pile. They can actually do a good job of aerating it,' he adds.
Of course, if you do wish to keep rats away from your compost and yard, there are plenty of rat and mouse-repellent plants to choose from, among other methods.
14. Use the same amount of compost everywhere in your yard
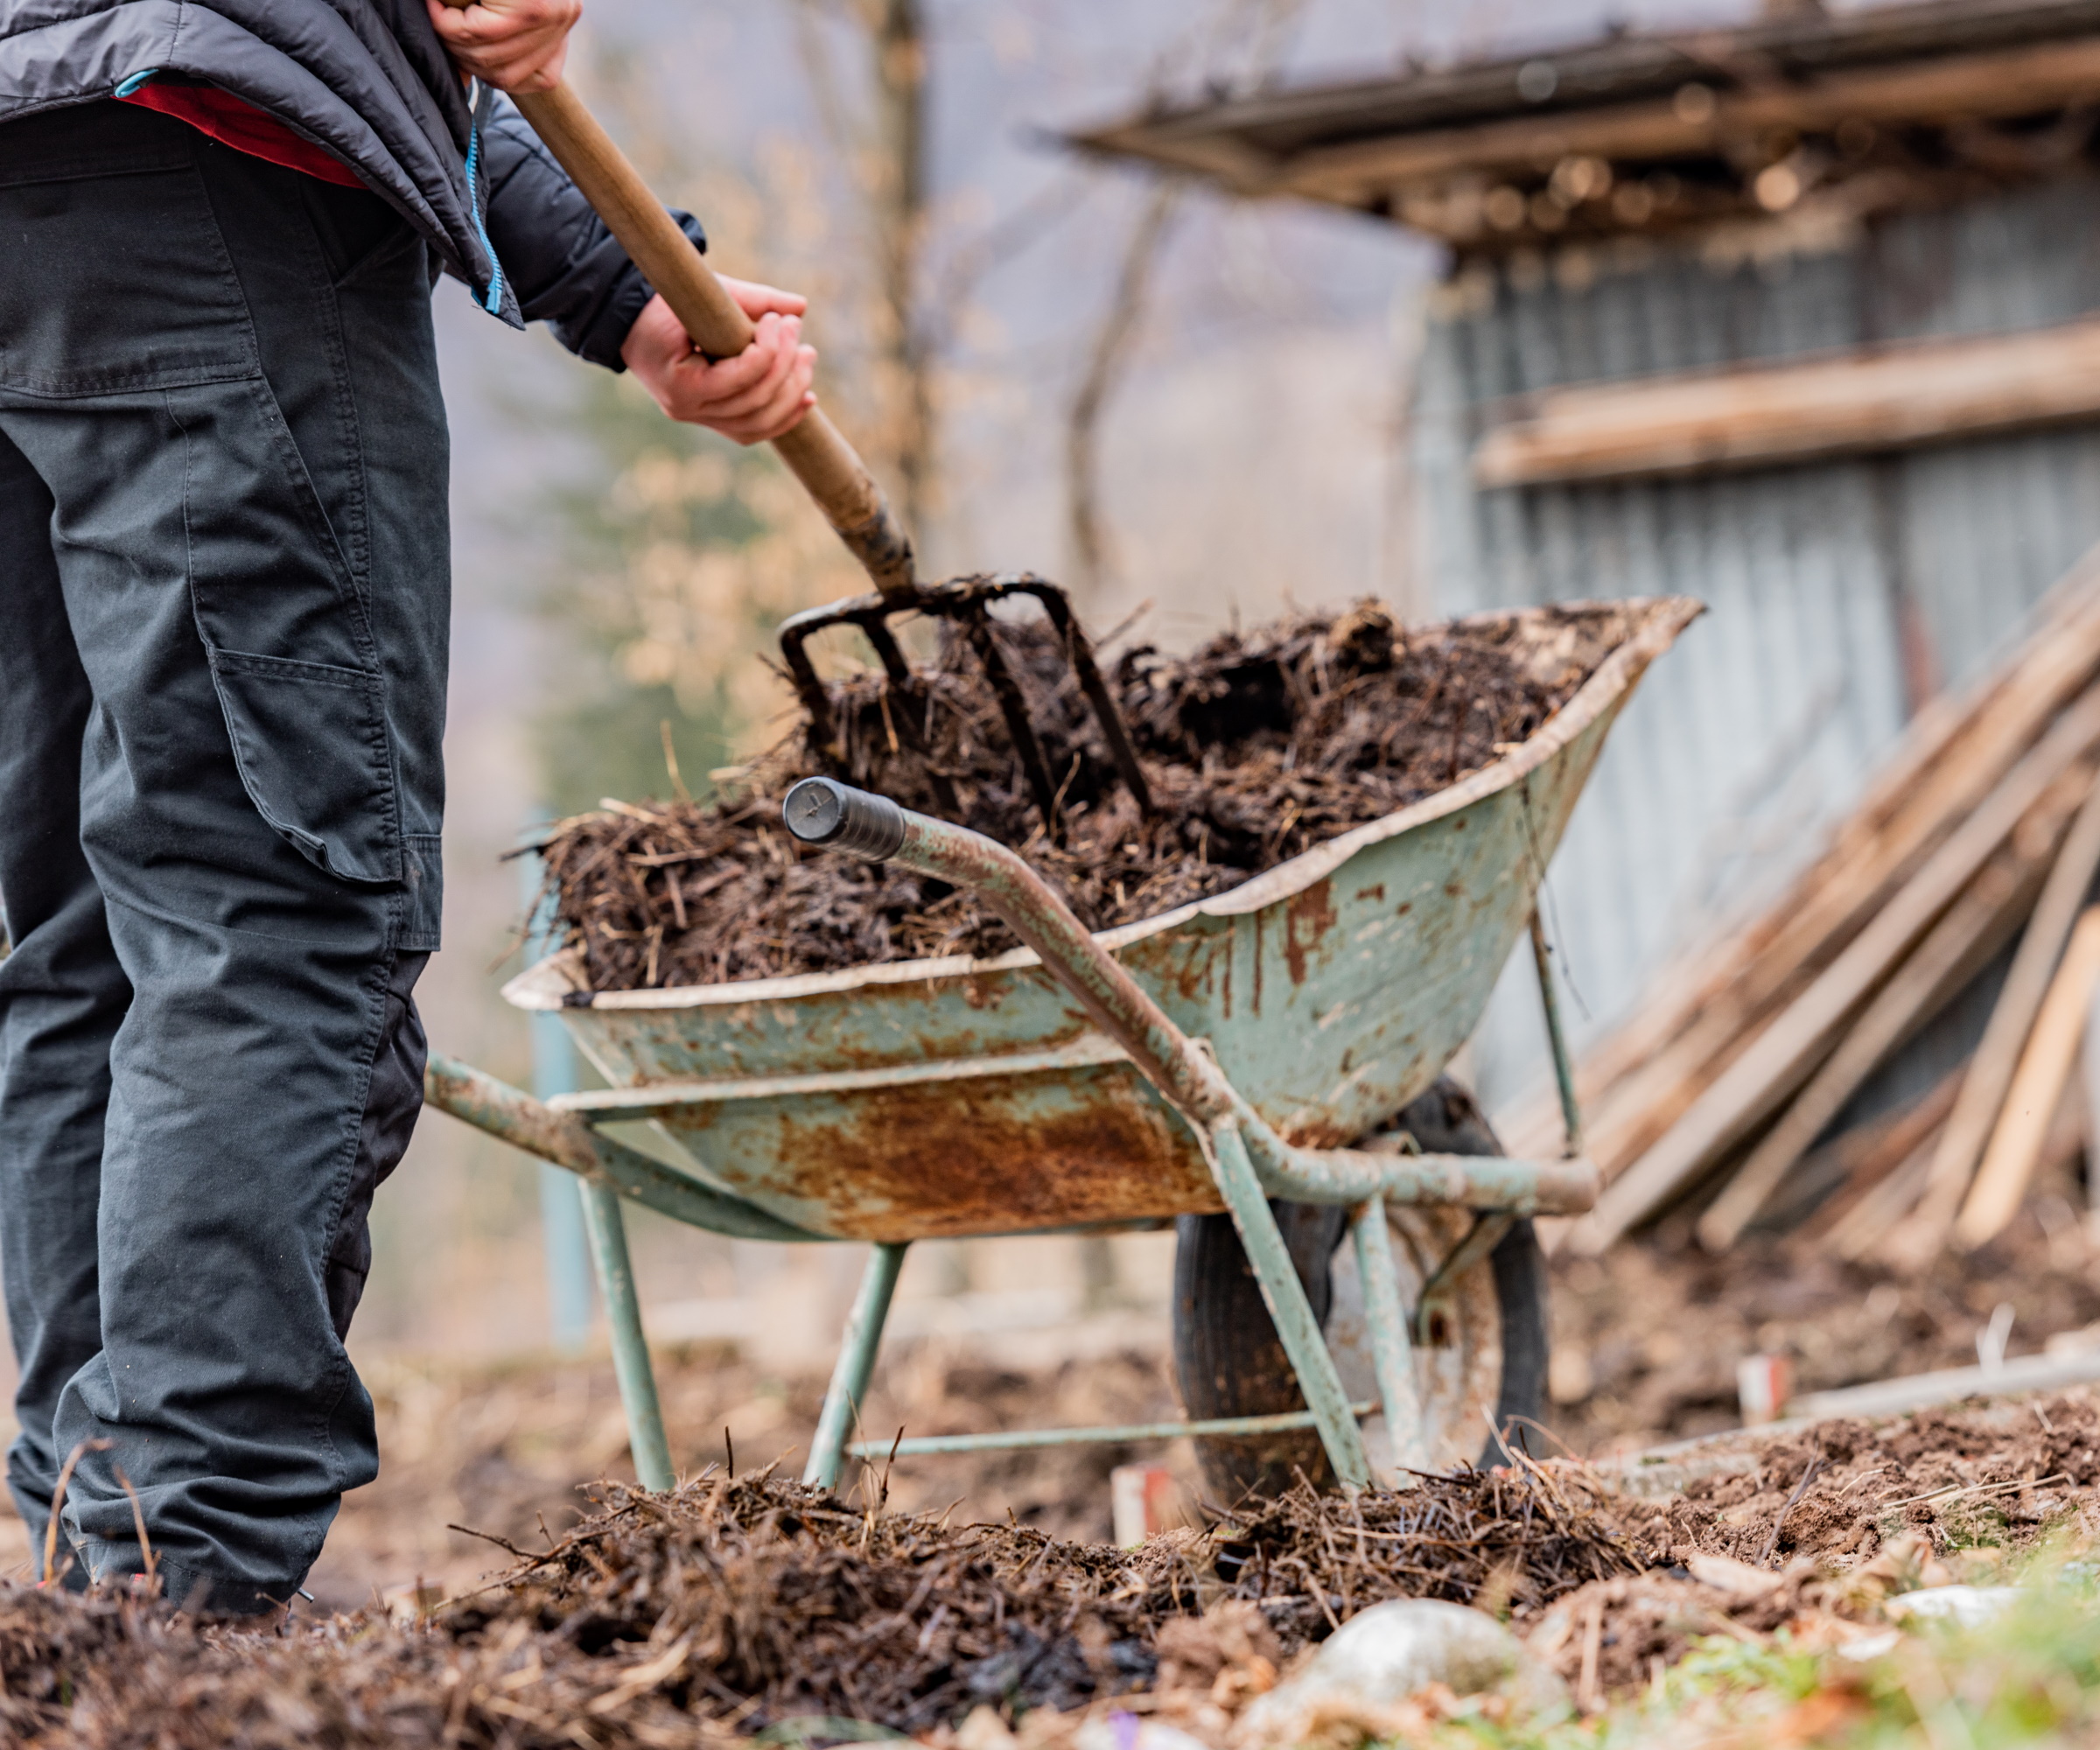
Another composting myth Charles debunks is you need to adjust how much compost you use for different crops and plants. He uses the same amount of his homemade compost for everything he grows. 'My Brussels sprouts have grown well in the same spot and with the same compost as the carrots that were previously there,' Charles notes while pulling out a large carrot that got left behind.
'What happens when you spread compost is you’re feeding the soil life. That enables anything to grow,' Charles says.
Although, there's no denying that there are certain compost mixes that will serve some plants better than others - which is why you can find specific soil for container gardening in stores, for example.
'In general, finished compost can be used for most plants, as it provides a balanced nutrient profile. However, for specific plant needs, adjustments might be required,' says Lauren Click. 'Acid-loving plants like blueberries may benefit from compost with a lower pH,' she explains.
There are plenty of things you can do to adjust your compost, for example by making your soil more acidic. This soil test kit from Amazon can identify the nutrient levels and pH level of your compost.
15. Source compost ingredients from tree surgeons and coffee shops
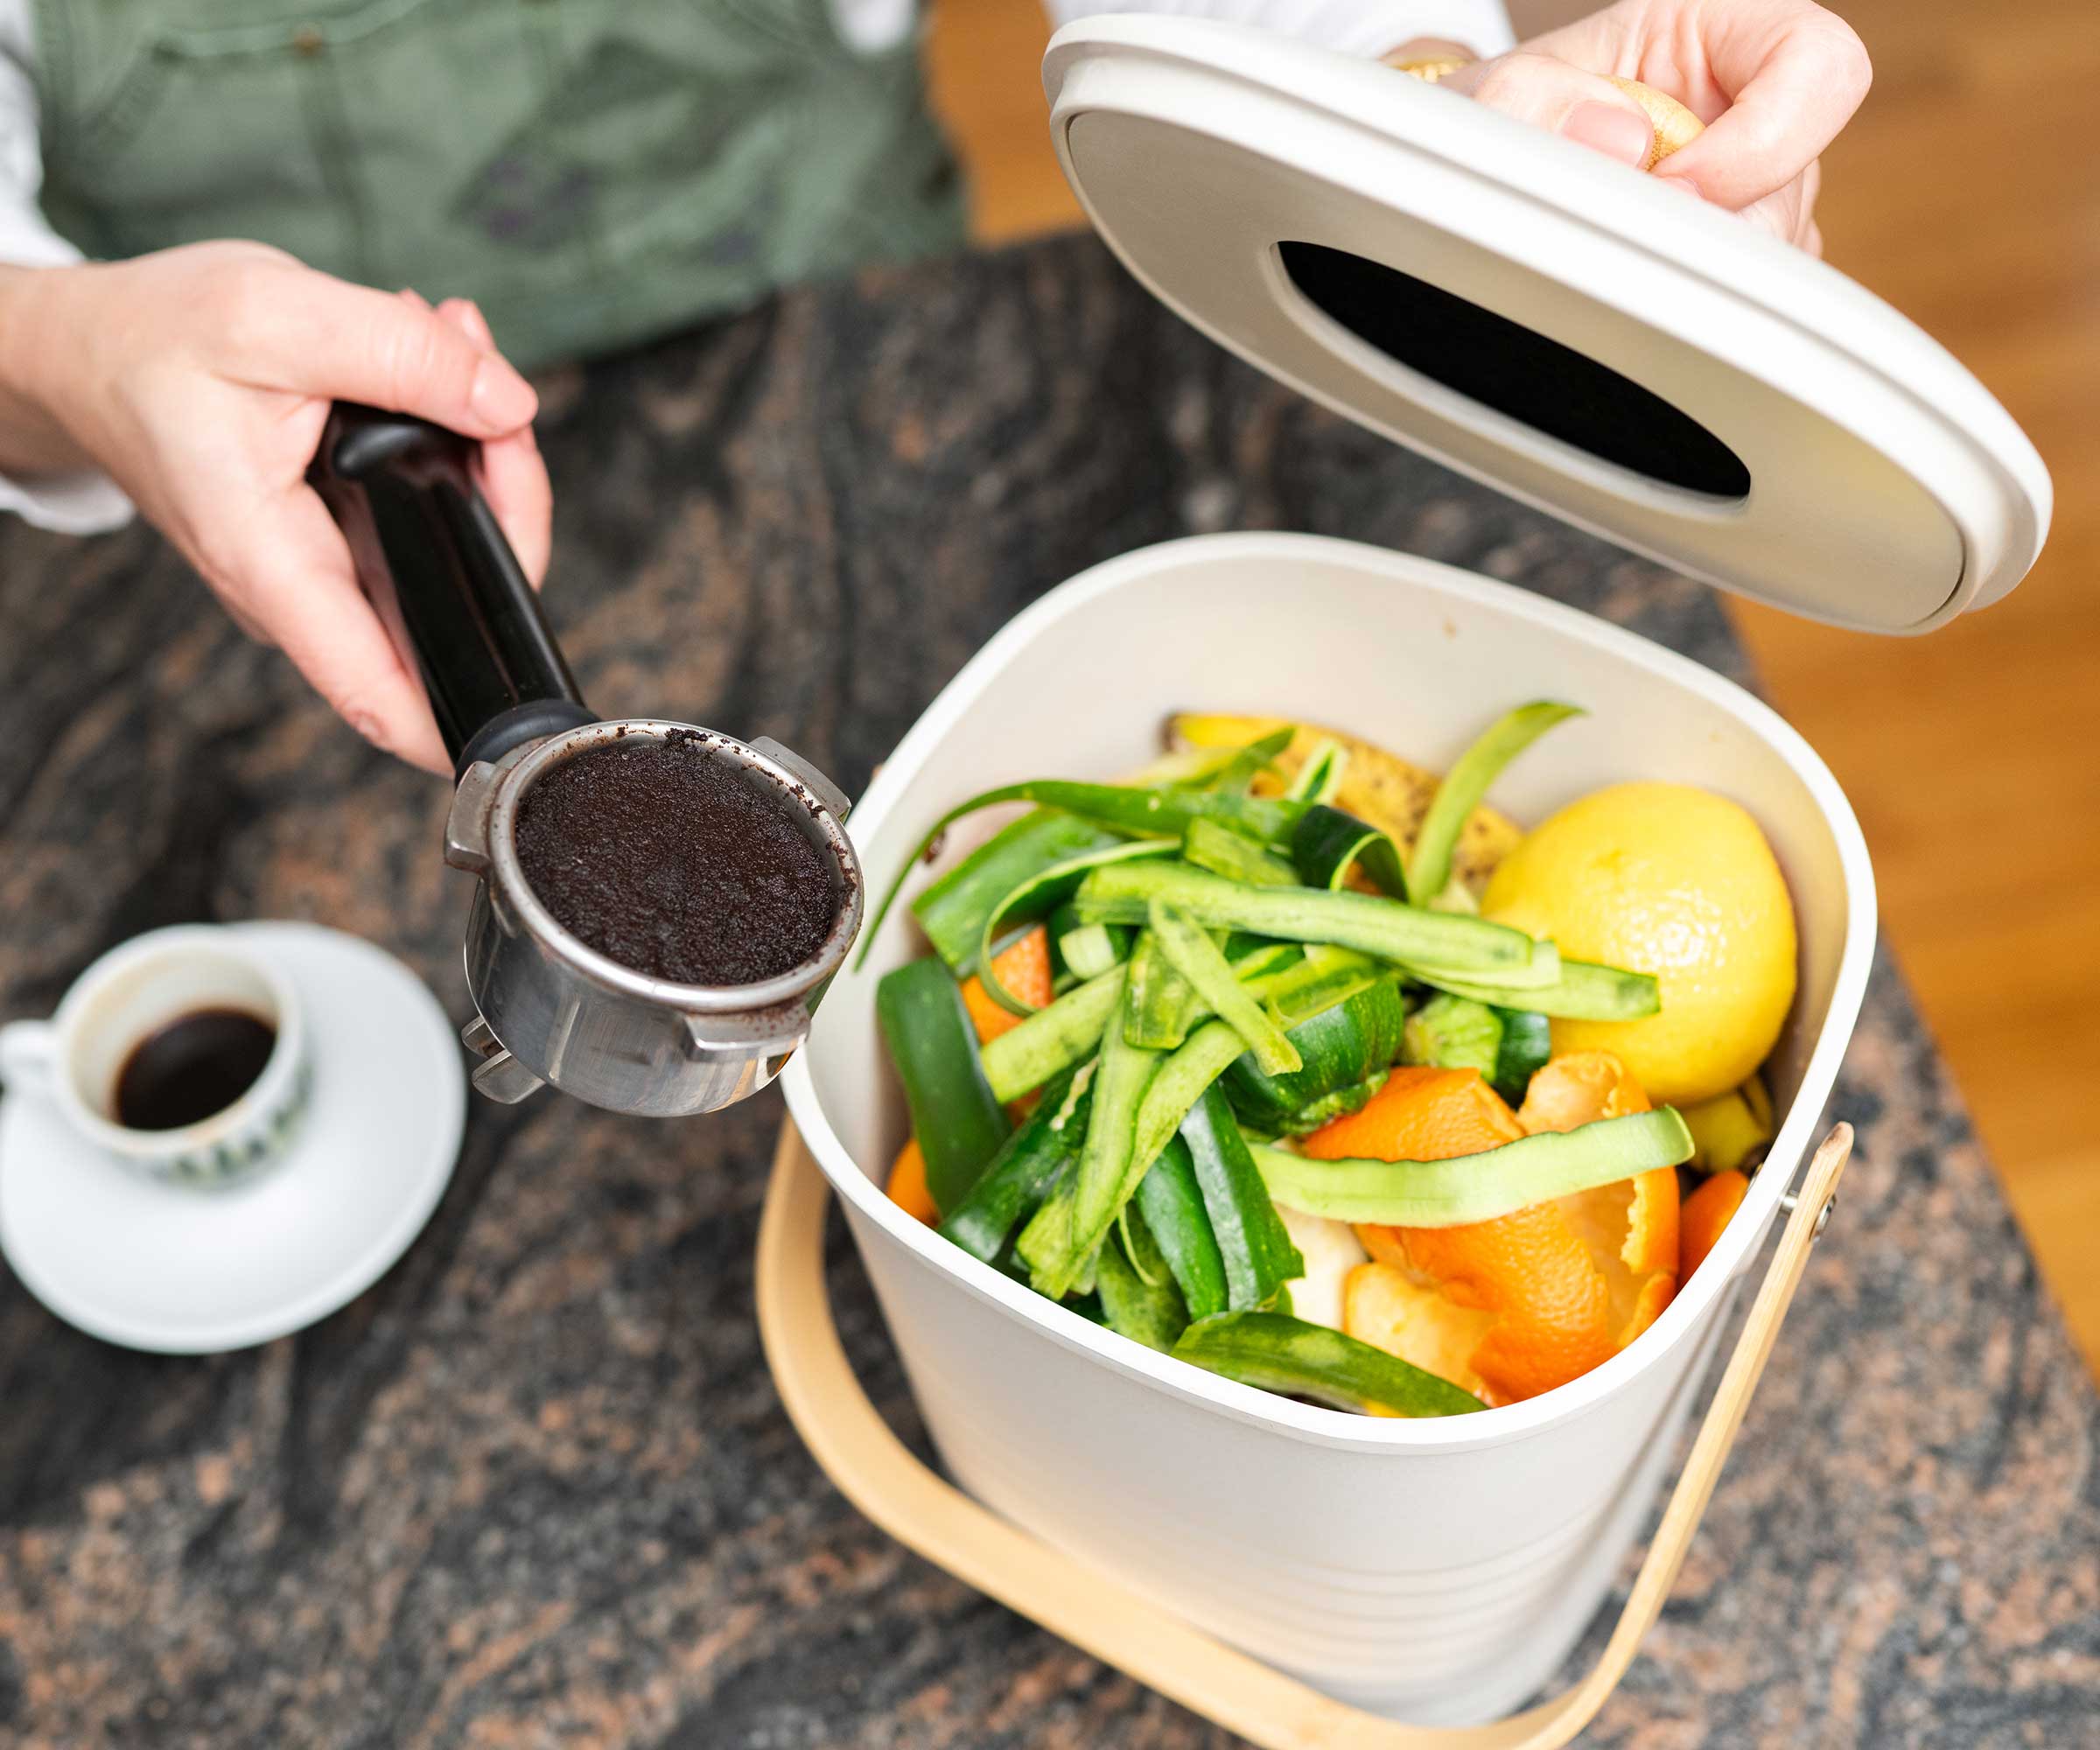
While there are plenty of sources for your compost from everyday kitchen waste, packaging and garden waste, if you're keen to produce a larger volume of compost at a faster rate, Charles suggests seeking materials elsewhere.
'Ask tree surgeons for wood chips that are green wood, fresh prunings and small pieces that will decompose easily,' he suggests. 'Any time in summer is good for asking them because that’s when they’ve been pruning and will have a high volume of material,' Charles adds.
Coffee grounds are also a good green material for compost, as they're around 3% nitrogen, so it's also worth asking coffee shops for grounds that would otherwise go in the bin.
16. Rain won’t wash away the goodness in your compost
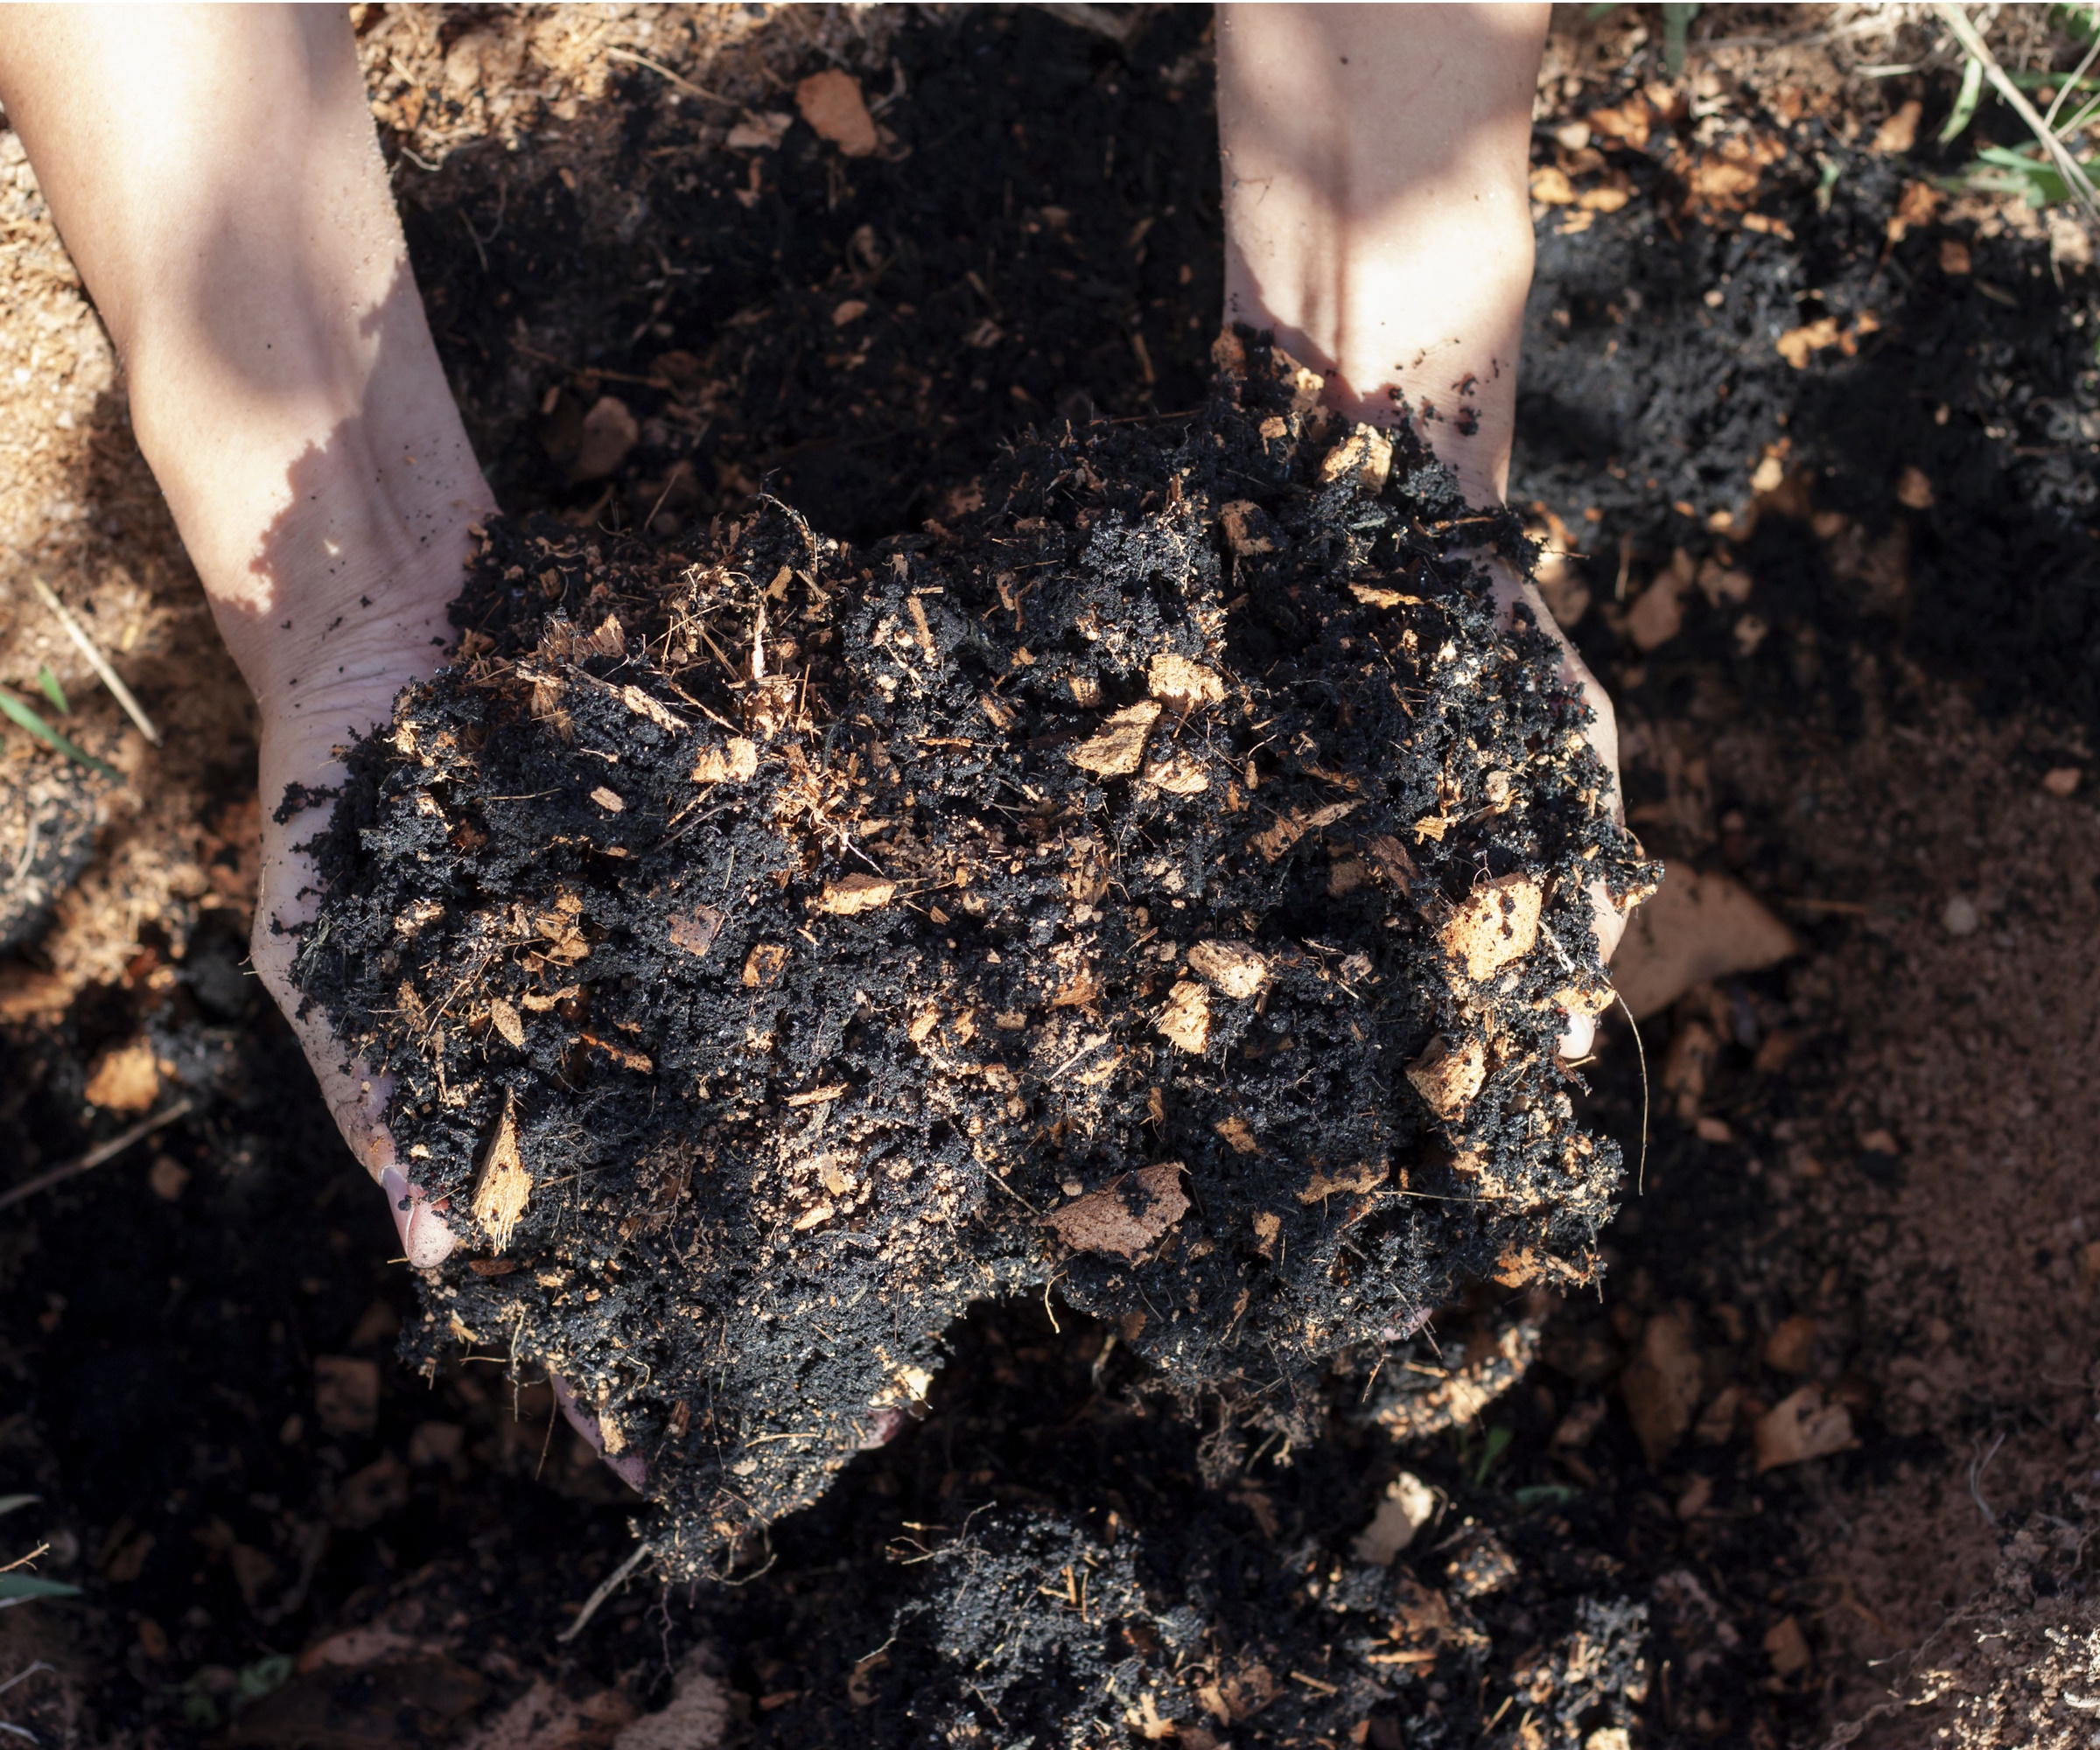
Rain is something you shouldn't fear when it comes to composting. It can be easy to assume once your compost is spread and exposed to the elements, its nutrients can be washed away in the rain - similar to the longevity of fertilizer. But, Charles offers the reassurance that your compost won't lose its goodness.
'It isn’t like fertilizer, compost has water insoluble nutrients that don’t wash out with rain,' says Charles. 'That's why I find it helpful to spread in winter,' he adds.
At Homeacres, Charles last spread his compost in December. Now, in September, his crops are still thriving in the same compost, even after a particularly wet summer in the UK.
17. Squeeze your compost to see if it's too wet
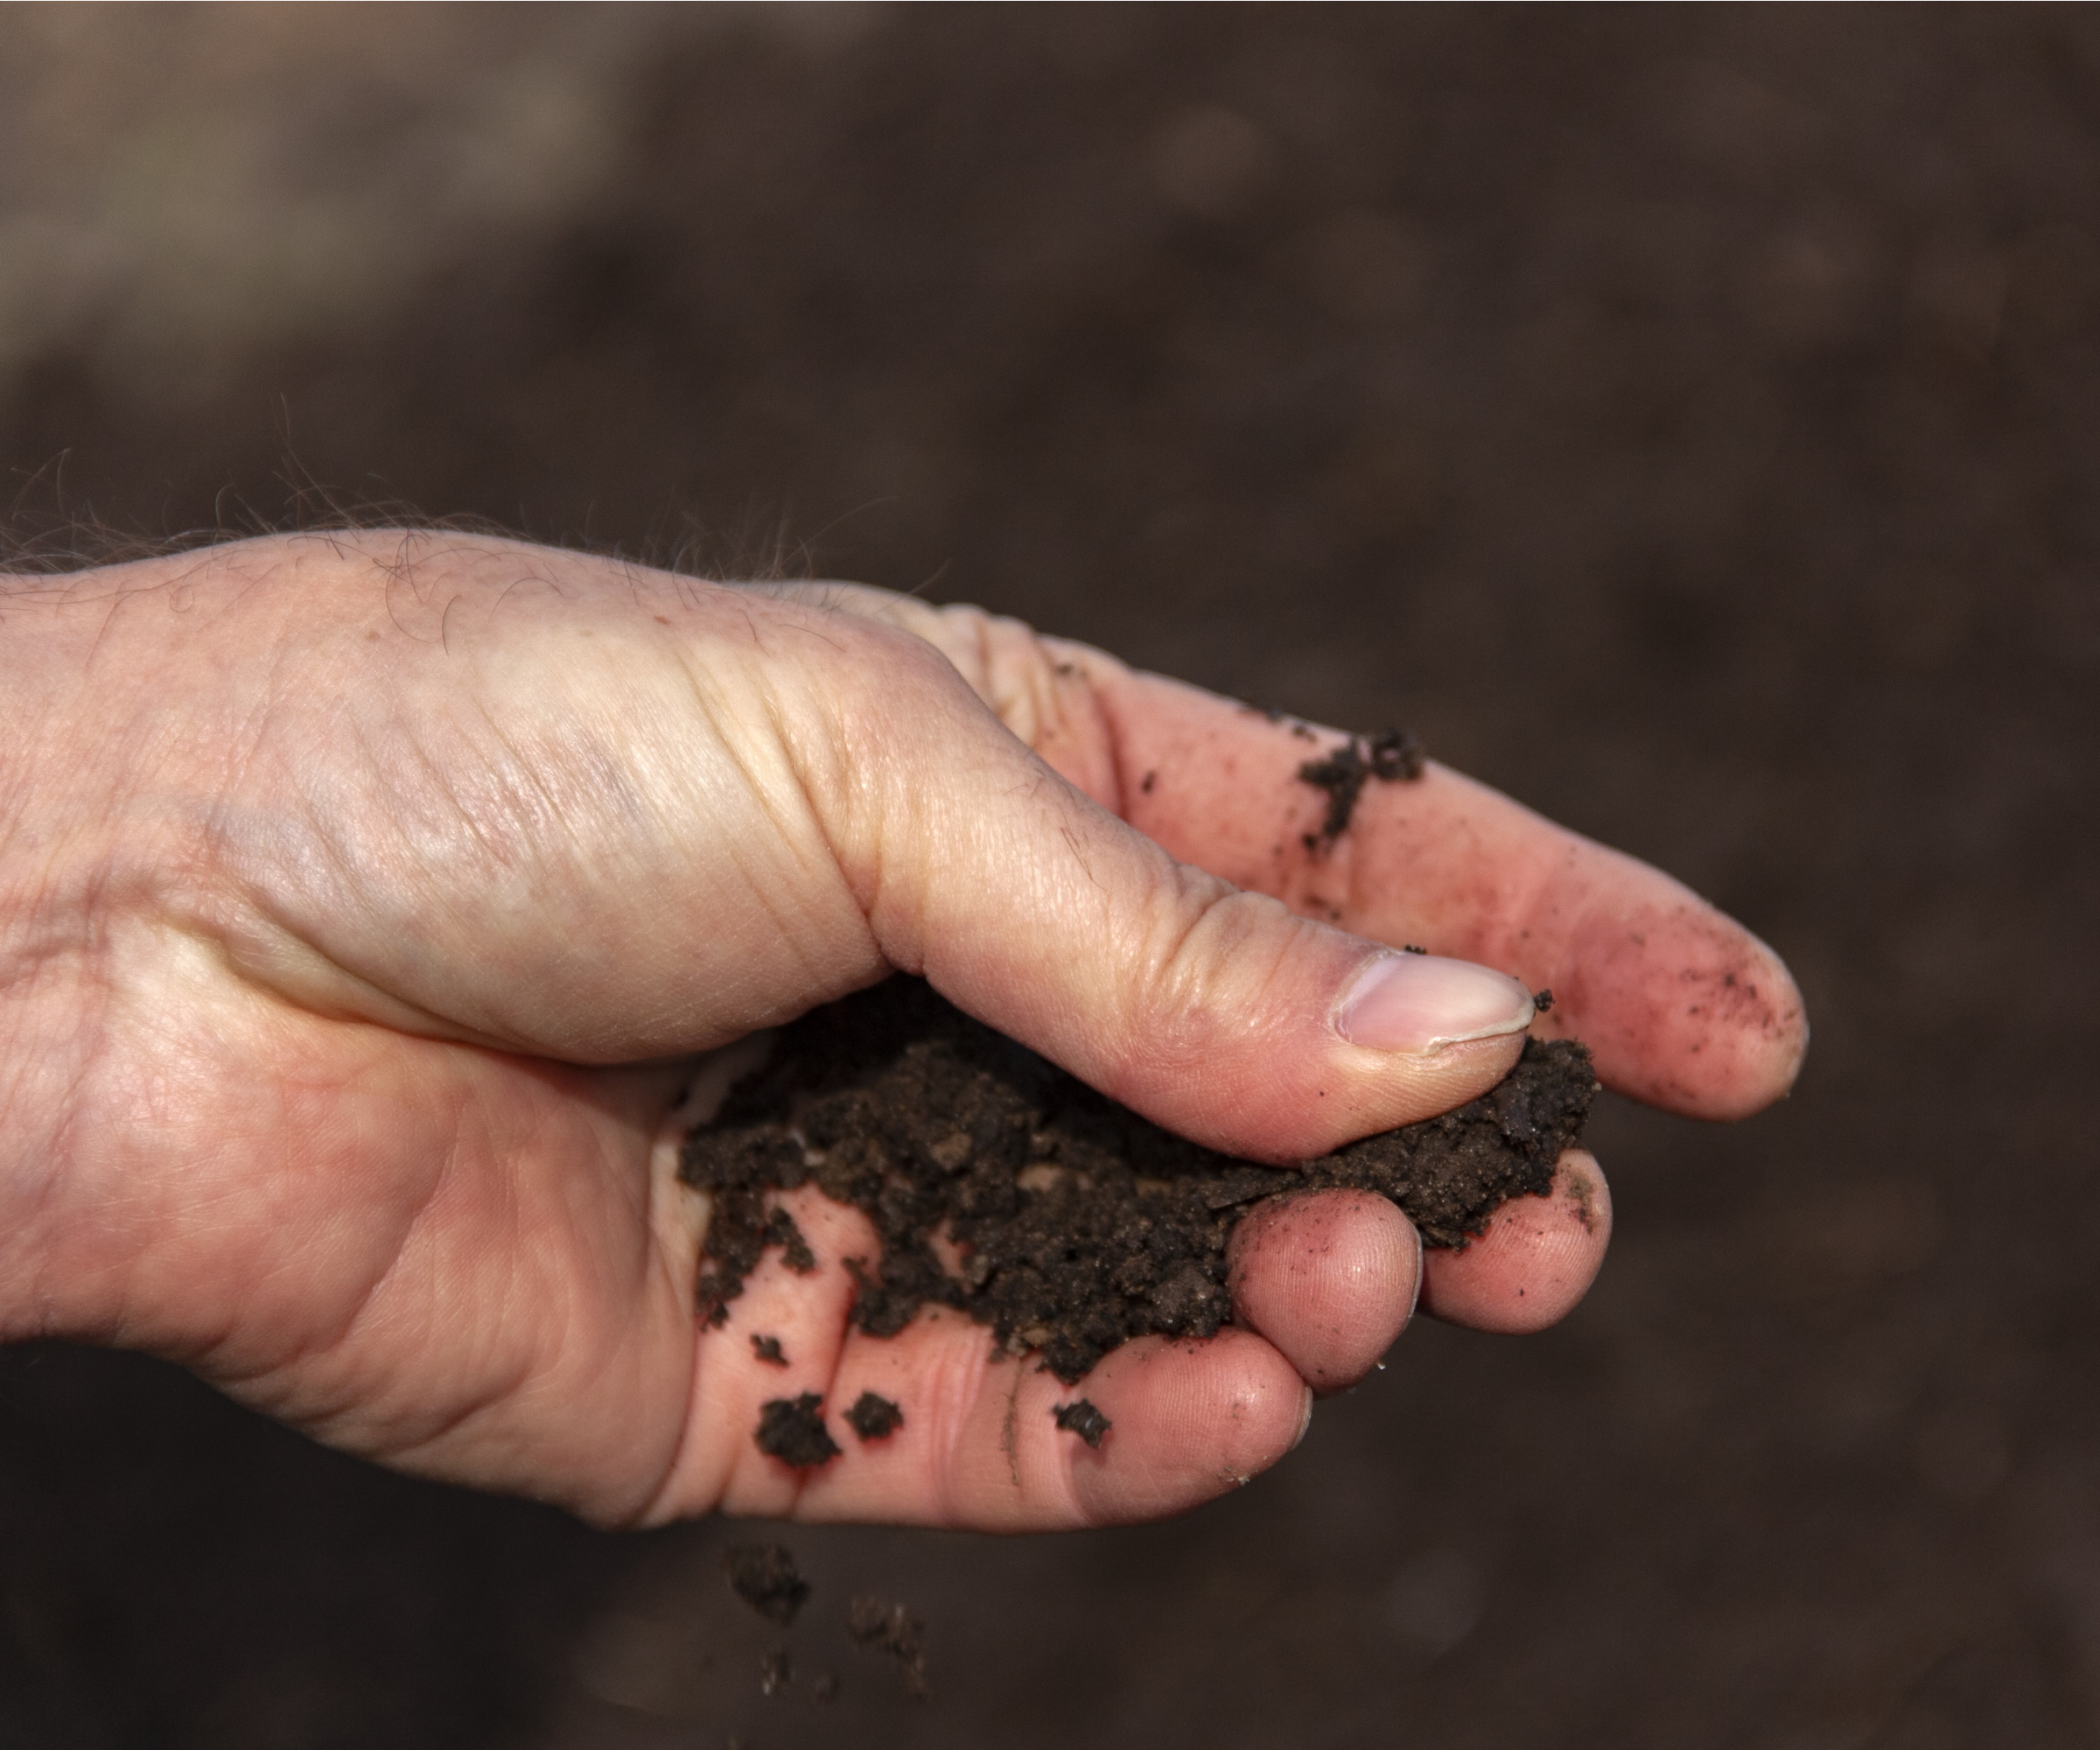
Speaking of moisture, it is possible for your compost heap to become too wet. In these cases, your heap can turn anaerobic and hinder the decomposition process. But how do you know when your compost is too wet?
'Pick up some of your compost and give it a squeeze,' Charles demonstrates. 'If more than two drops of water come out, then your heap is too wet.
'I recommend just finding somewhere to spread your compost out. This lets some air in,' he suggests.
You can also use a soil moisture meter, from Amazon, to test the moisture levels of your compost, as well as assist in knowing when to water your plants.
18. Build your own compost bin from repurposed materials
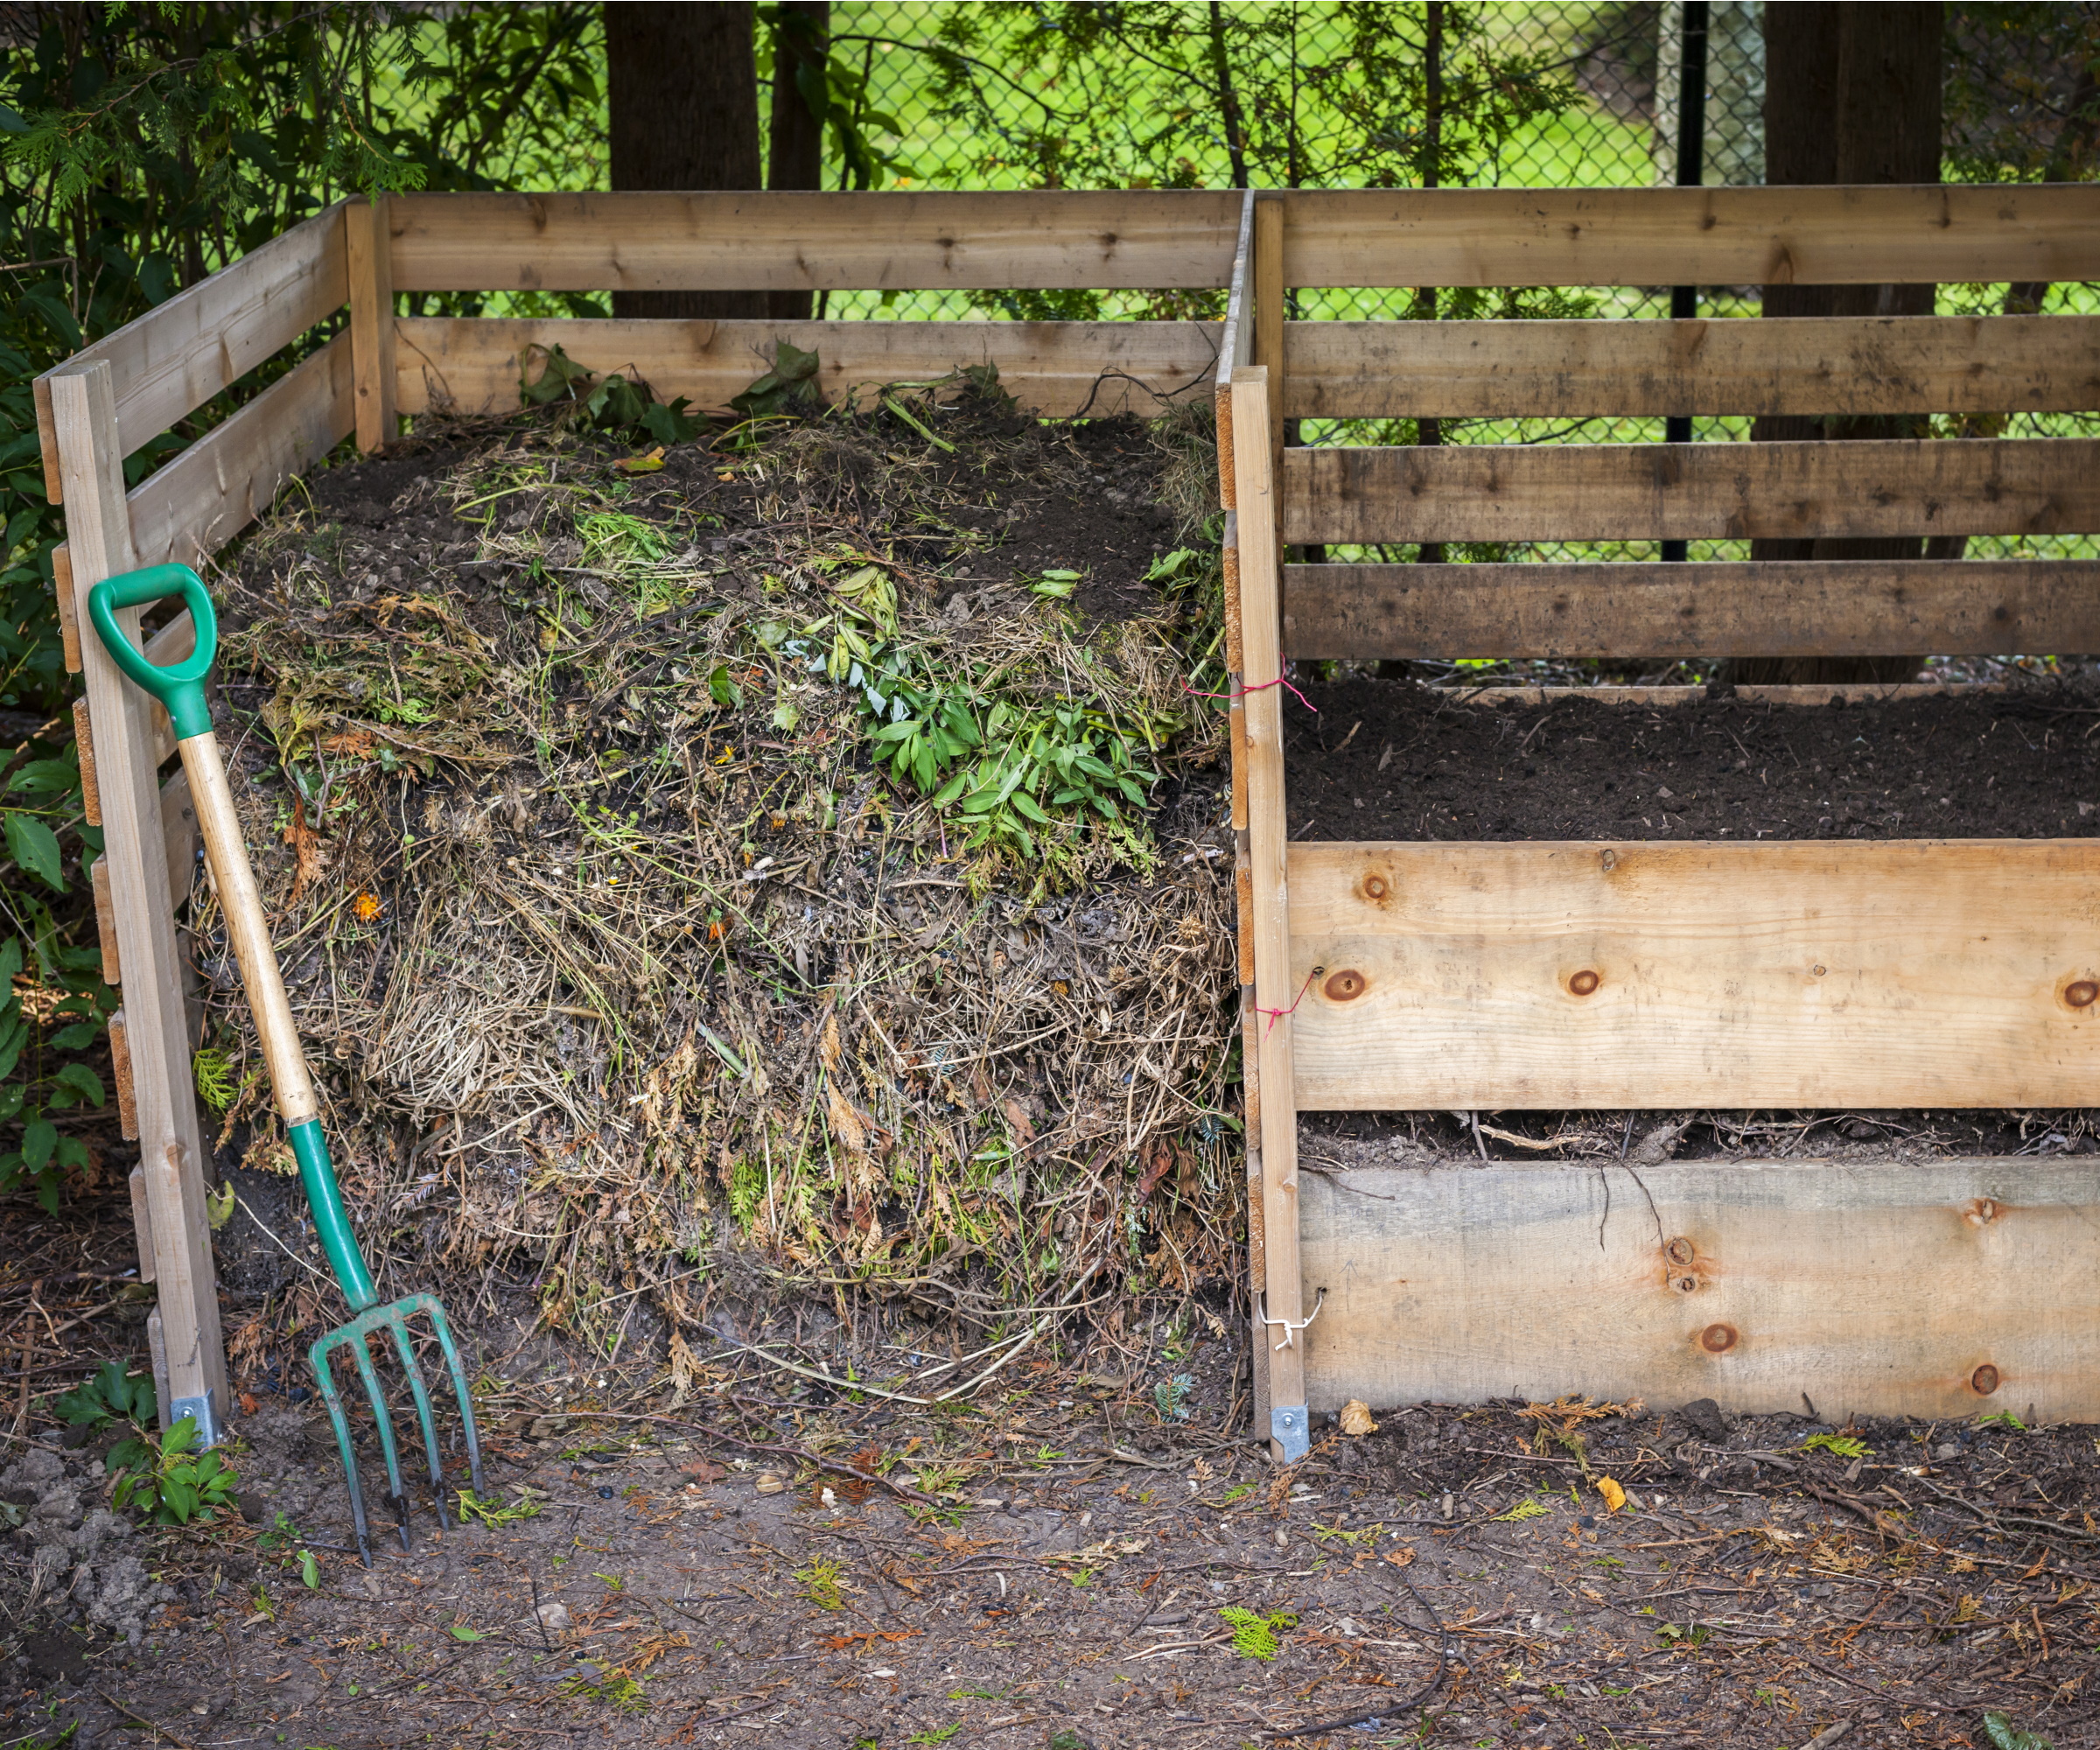
There's no denying there are an endless number of compost bin options on the market. However, it can be much more fun to make a composter and personalize it to your space. That's exactly what Charles has done with some of his pallet bays.
'Mine are simply four pallets with wire on each corner holding them together,' Charles says. 'I can then lift the wire and open one of the pallets.
'I also line the pallets with cardboard. You don't need slats on the side to let air in, I find it's better to have them sealed by cardboard to retain heat and moisture,' he explains.
Just like the wormery, Charles has constructed his pallet bays straight onto the ground after mowing it to get it level.
FAQs
When is the best time of year to start composting?
You can start composting at any time of year. It just requires setting up a compost bin to create your heap and then adding in your green and brown materials accordingly. Ensure you keep it aerobic and monitor moisture levels. It can take as little as weeks to a few months to create compost, depending on the volume of material you add and how large your heap is.
Why is my compost not decomposing?
If your compost heap isn't decomposing, it's likely you aren't getting the proportions of your materials correct. It's best to include 3/4 green materials, like plant clippings and food scraps, and 1/4 brown materials, like cardboard and wood chips. You also need to ensure your heap gets enough oxygen and is sufficiently moist to stay aerobic. An anaerobic heap will be unproductive and have an unpleasant smell.
There's no doubt what Charles Dowding is doing at Homeacres is working, with a thriving vegetable patch soaking up the goods of his homemade compost that he makes at high volumes in a short amount of time. He also makes sure to maintain his compost over winter and during wetter months with shelters and covers that stop excess rain getting into the heaps. For more information on soil additives, see our guide on how to use biochar.

Tenielle is a Gardens Content Editor at Homes & Gardens. She holds a qualification in MA Magazine Journalism and has over six years of journalistic experience. Before coming to Homes & Gardens, Tenielle was in the editorial department at the Royal Horticultural Society and worked on The Garden magazine. As our in-house houseplant expert, Tenielle writes on a range of solutions to houseplant problems, as well as other 'how to' guides, inspiring garden projects, and the latest gardening news. When she isn't writing, Tenielle can be found propagating her ever-growing collection of indoor plants, helping others overcome common houseplant pests and diseases, volunteering at a local gardening club, and attending gardening workshops, like a composting masterclass.
