How to tile in a shower – step-by-step
From walk-in wet rooms to small showering spaces, here’s how to tile a shower for the perfect finish


Stepping into a reviving shower is the perfect start to the day. It’s also a great way to unwind when you get home and with power showers and shower jets, you can target aching muscles and instantly feel refreshed and revived.
If you’re planning to update your shower tile ideas in a new shower room, bathroom or ensuite bathroom or simply want to update a tired design, make sure you tile with care and attention for the perfect finish. It is also worth learning how to grout tiles to perfection.
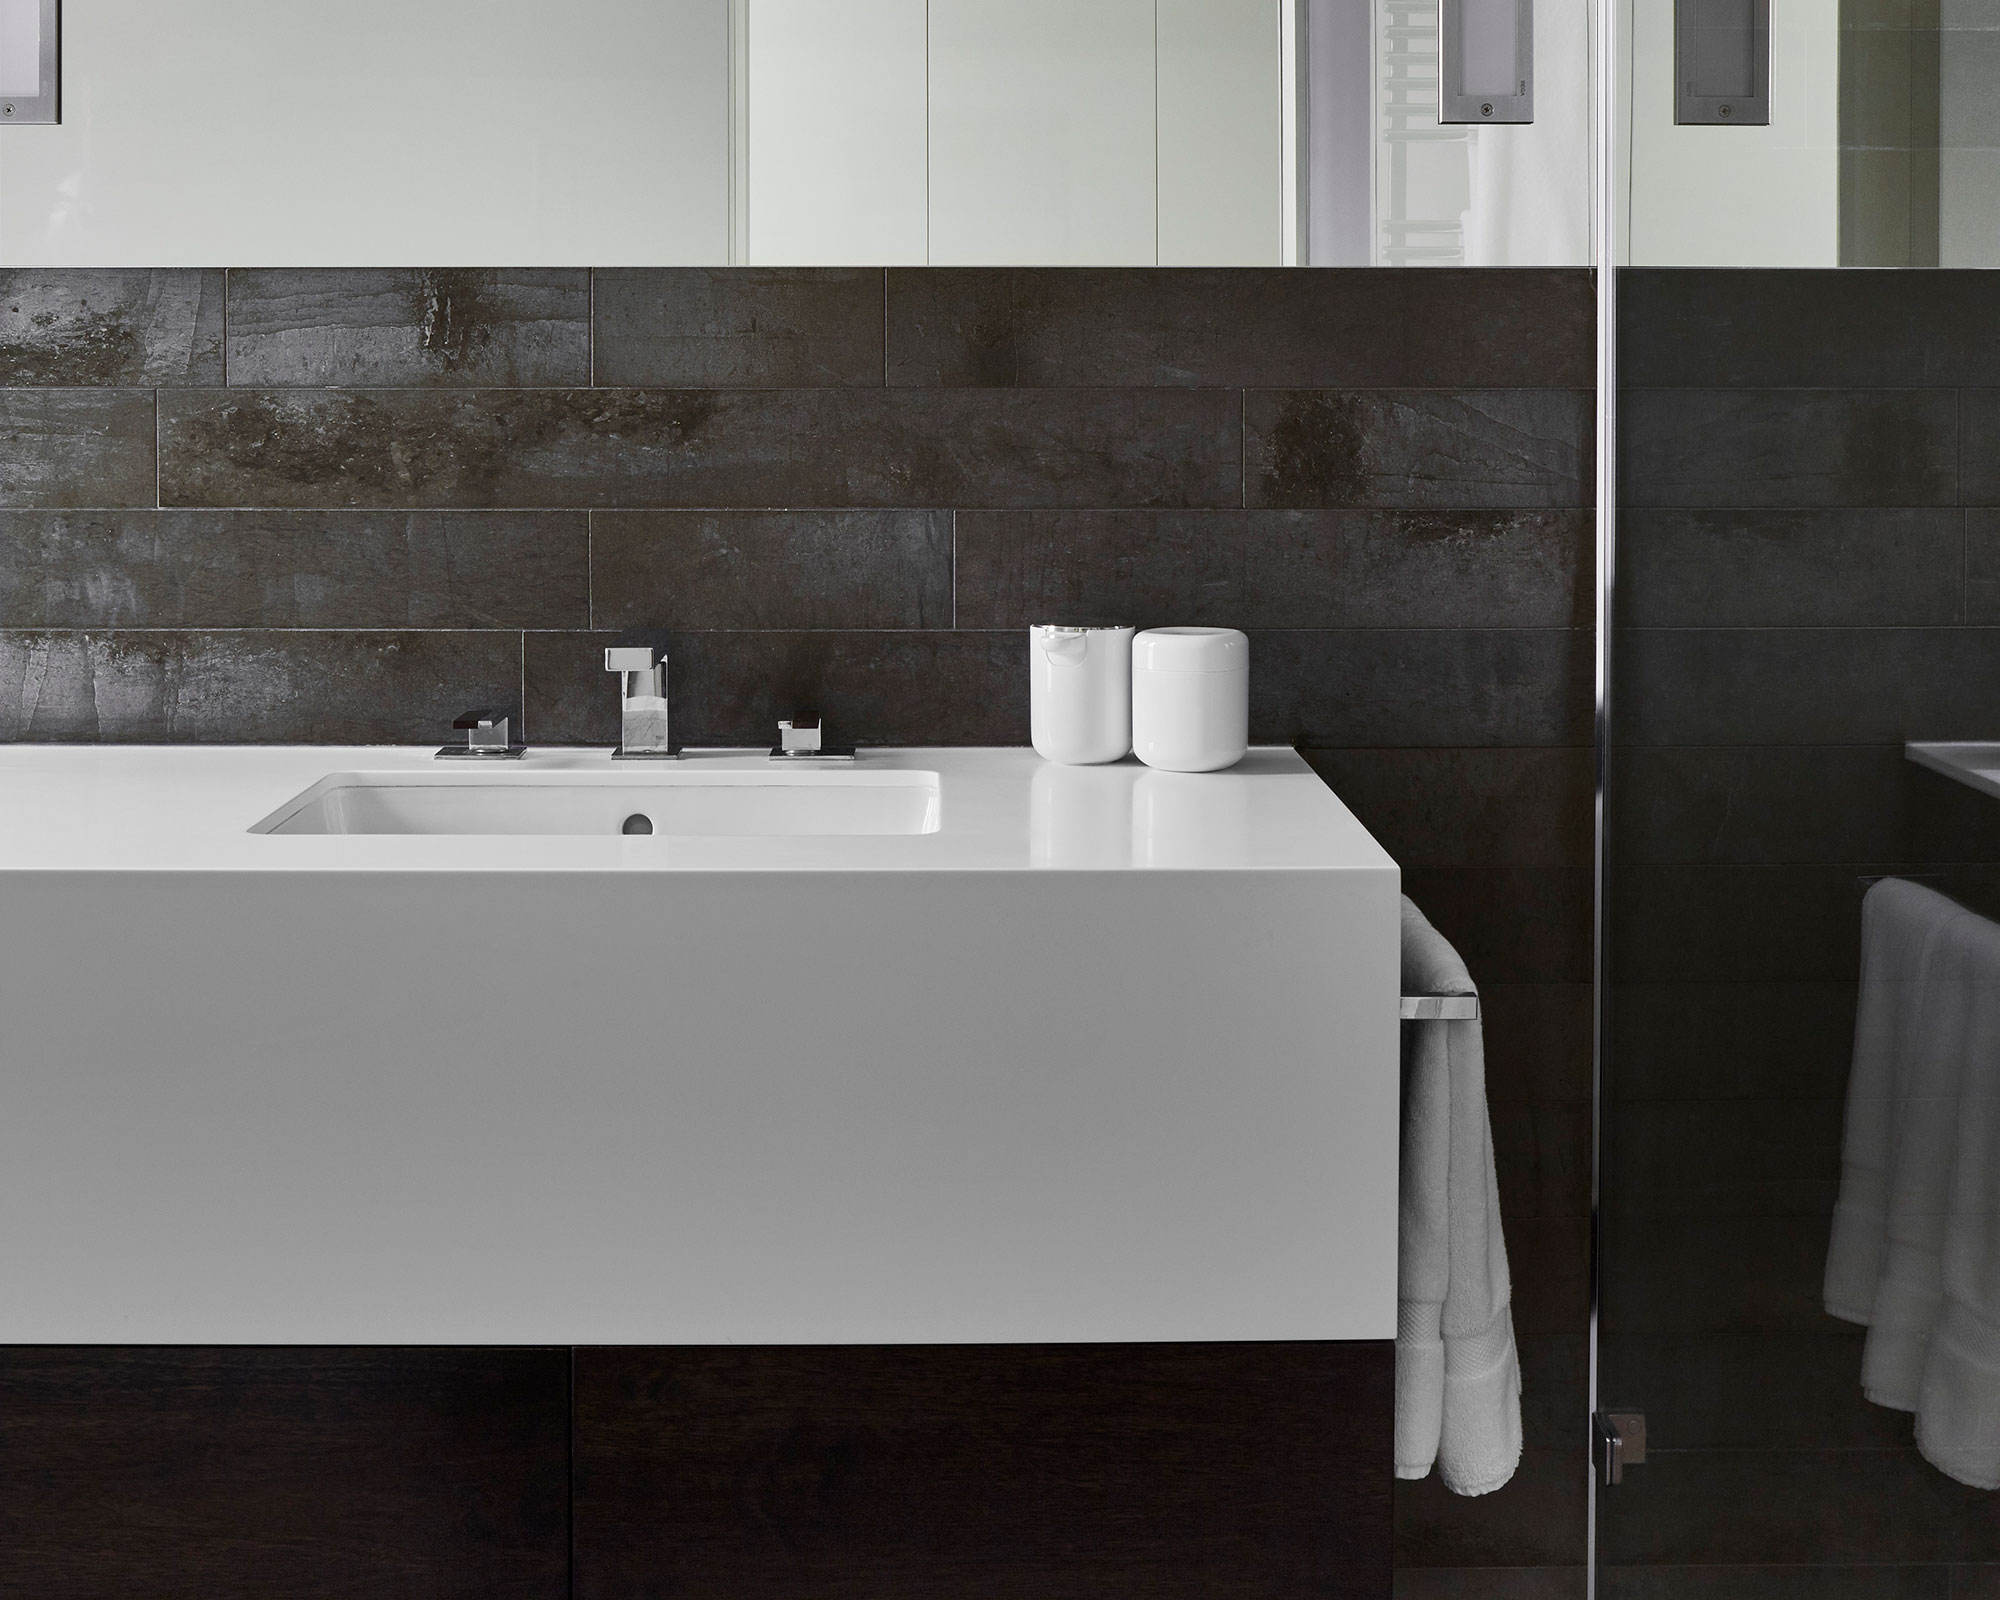
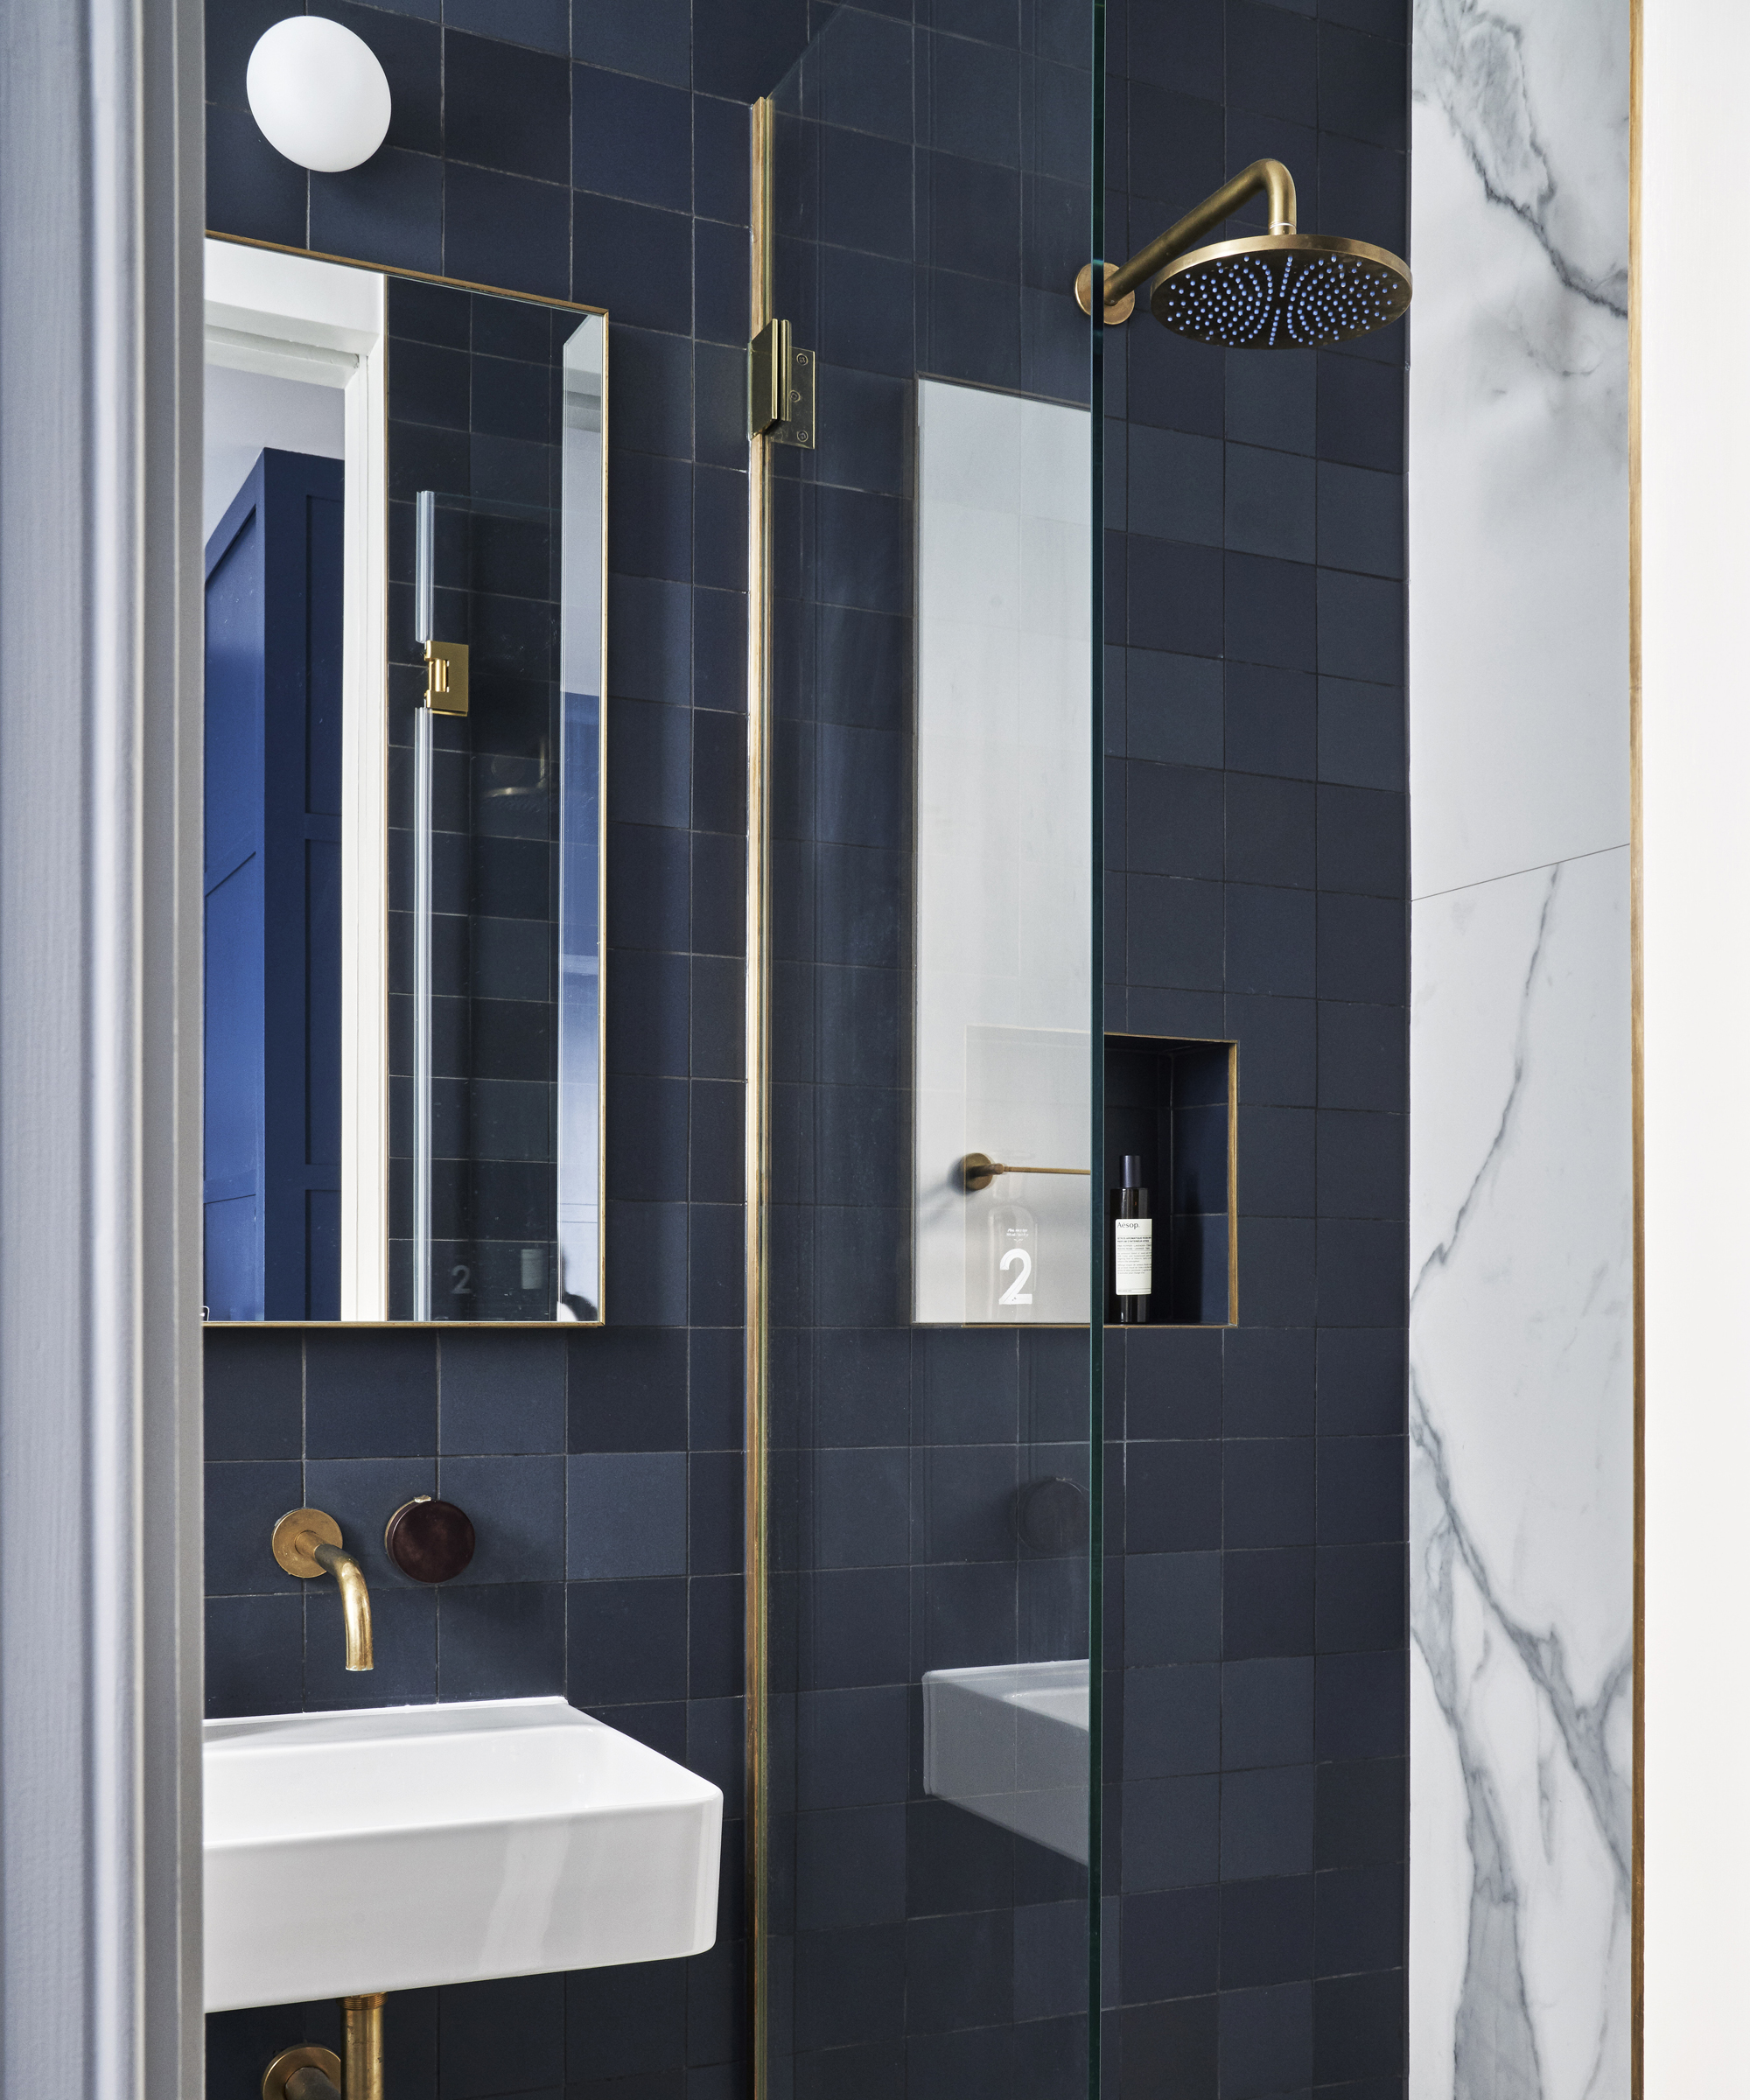
‘The current trend for small rectangular tiles laid vertically or in a brick effect can be particularly striking and very effective in a shower enclosure while larger format tiles need less grout so are easier to clean,’ says David Talbot, head of specification at Craven Dunnill Jackfield. ‘Patterned tiles and decors are also perfect for creating a statement shower enclosure that makes any bathroom stand out. We would not recommend textured tiles or natural stone but slip-resistant tiles are a perfect alternative to a shower tray or wet room.’
How to choose the perfect tile layout
According to Charlotte Deprez, national kitchen design & showroom manager at MKM Building Supplies, the way you lay tiles when you tile a wall in a bathroom will make a dramatic difference to the overall look.
Some of the most common tile layout patterns are:
Straight stack bond
The most common tiling pattern is to stack bond your tiles. The tiles are laid in straight lines so the grout lines end up like a grid. This is often the best way to lay larger tiles, as this helps to make small rooms feel bigger and creates a sleek effect with fewer grout lines. For an added bit of interest and to help the walls look taller, turn them on their vertical.
Diagonal or diamond
Similar to the straight stack bond pattern except the tiles are laid on a 45 degree angle, turning square tiles into diamonds. Laying tiles in a diamond pattern does mean there will be more cutting involved and you will need to allow extra for cuts and breakages.
Brickwork
This is also a favorite as it’s simple but creates a stunning design that complements any style. Use square or rectangular tiles that are laid like bricks in a wall. The end of each tile is lined up with the centre of the tiles that are both directly above and below it. This creates a staggered pattern.
Herringbone
The herringbone pattern is achieved by laying rectangular tiles in a zig-zag pattern. Perfect for adding interest and impact to a small space, it’s achieved by laying rectangular tiles in a zig-zag. The arrow effect of the pattern draws the eye up and down so it can be used to highlight feature areas such as the shower.
Basket weave
Using rectangular tiles, the basket weave pattern has two or three tiles laid next to each other to form a square depending on the length of the tiles being used. The following pair of tiles are laid at 90 degrees to the first and so on. The horizontal and vertical tiles then alternate on following rows. This gives the impression that the tiles are woven over and under each other like a basket.

How to tile in a shower
Harriet Goodacre, brand communications manager and tile consultant at Topps Tiles says that to create your tiled area, make sure the shower tray has been fitted correctly and the waste has been connected and tested. If you’re using a tile trim, apply this first before moving onto your main tiles.
Next, work out your tile layout as above. You may need to cut some of your tiles to fit the space. Apply your adhesive using a notched trowel, holding the blade at a 45 degree angle, working on a small area at a time as the adhesive can harden relatively quickly.
Starting at the bottom, fix your tiles into place using tile spacers throughout, working your way up the walls. Any tile size and format can be used on a shower floor – but the fall or gradient must be considered. If you’re tiling a floor in the shower, make sure the tiles are slip resistant – porcelain tiles are great for this. Remember to consider the depth of the grate for the waste too and ensure it sits below the level of the tiles, so water can flow into the waste pipe without obstruction.
Around four hours after grouting, if there’s any grout haze present on the tile surface, simply wash this off and apply silicone sealant around the edges of your shower. Make sure to leave your shower for at least two weeks before using it to allow the grout to fully cure.
What is the best tile material?
Porcelain is a great material to use, as it’s impervious to water and won’t be damaged by detergents or any chemicals. ‘Porcelain tiles are now manufactured in a whole range of realistic finishes including marble, wood, natural limestone and concrete, making it possible to achieve the look you want without the challenges and maintenance issues the real materials can bring,’ explains Jo Oliver, director at The Stone & Ceramic Warehouse. ‘They can also be supplied in large sizes, which reduces the potential for leaks. Large format tiles have fewer grout lines meaning less grout to clean and keep fresh while creating a high-end, uninterrupted look.’
‘In smaller bathrooms,’ adds Andrew Bendall, marketing manager at Craven Dunnill Jackfield, ‘highly reflective gloss tiles are a great way to create a sense of space. As light beautifully reflects off the glaze finish, it creates a wonderful sense of openness, making the room appear wider. Color can also impact the sense of space in a room. While light, muted and natural tones make a space appear bigger, heavily patterned tiles in bold colors can make a room feel more enclosed.’
What's the best grout for a tiled shower?
Epoxy grout is a great choice for showers and moist environments, as it’s water resistant and made from resins and fillers that help it work like a sealing adhesive.
Where should I start tiling first?
After the shower base tiles are installed, the first step is to cut and install the large back wall tiles first, as this will make it easier to match the grout lines on each of the two side walls when it comes to cutting and installing these tiles.
Sign up to the Homes & Gardens newsletter
Design expertise in your inbox – from inspiring decorating ideas and beautiful celebrity homes to practical gardening advice and shopping round-ups.

Amelia Thorpe is a specialist interiors and design journalist, covering every topic to do with homes from fabrics, furniture and lighting to surfaces, kitchens and bathrooms.
As the daughter of an antique dealer and a lifelong collector of old cookery books and vintage graphics herself, she also has a particular expertise in antiques, mid-century and decorative arts of all kinds.
Drawn to homes because of their importance in the happiness of our lives and the enjoyment they can bring, Amelia has been writing about the topic for more than fifteen years. She has interviewed some of the most influential designers of our time, from Piero Lissoni, Antonio Citterio, Jaime Hayon and Arik Levy to Nina Campbell and Robert Kime.
-
 Emily Blunt gifted Cillian Murphy this $545 pillow – she's 'obsessed' with these luxury pillows, and frankly, so are we
The Oppenheimer stars sleep on this ultra-luxe goose down pillow – here's why we love it – plus our affordable alternatives from $35
By Sophie Edwards Published
-
 The great bedding debate: top sheet vs no top sheet − which side are you on?
I asked an expert panel of bedding designers whether you really need a top sheet to keep clean and cool or if it's just another ploy to make you spend money
By Emilia Hitching Published