How to tile a bathtub – for a stylish, practical finish
Give your bathtub a new lease of life with fresh tiles; we walk you through this doable DIY project step-by-step


Tiling a bathtub has a whole host of benefits, especially if you have splash-happy children in residence. Often the bath itself is in sound condition but the tile is dated, stained and tired, or perhaps you’re just ready for a change.
Refreshing and grouting tile around the bathtub is an easy way to revamp your bathing space, without the cost of new sanitaryware or rerouting plumbing, and the latest bathroom tile ideas are seriously eye-catching and will demonstrate just what can be achieved with a little time and effort.
‘It’s often not a huge area, so you can afford to be creative with interesting tile layouts and bold designs,’ says Martin Winterburn, manager at Total Tiles.
Below, our step-by-step guide has advice from tile professionals to help you achieve perfect results when tiling a bathtub.
How to tile a bathtub
Whether you are installing new or revamping old tiles, tiling around a bathtub is an achievable project that can easily be managed in a weekend. As with tiling a wall, you need a shopping list, and this will be longer if you need to remove wall tiles first.
You will need:
- Bucket and mixing stick
- Sponge
- Notched trowel
- Smooth trowel
- Spirit level
- Tile cutter
- Grout float
- Grout smoothing tool
- Caulk gun
- Drill with diamond-bit hole saw (if taps are wall-mounted) – this diamond bit set is the most highly rated on Amazon.
1. Prepare the surface
As with any tiling task, it’s essential to ensure the substrate (the surface you are tiling onto) is clean, flat and stable. As the tile is going to be in a high splash zone, you should also apply a thin layer of waterproof sealer over the walls using a roller, taping any edges or joints first.
‘This is because grout is not waterproof and you need to make sure that no water will get behind the tiles,’ explains Mike Head, director at Atlas Ceramics . ‘If water does get behind the tiles, it can cause many issues like shadowing. If you have a shower in this setting, we highly recommend fully tanking the desired area before you tile.’
Tip: If you are installing a new bathtub, do make sure the joint between the bath and wall is sealed with silicone before you start tiling. Alternatively, pull out and refresh old silicone if you’re keeping the tub.
2. Mark out the start position
When tiling a bathtub, it is best to start in the center of the bath (lengthways) and work outwards in either direction. Use a tape measure to calculate how many tiles, including grout lines, it will take to get to reach the corners. You may need to adjust the center line if you are left with only a slither of tile where you meet the corners. Aim to end with a half tile at the corner if possible, then continue with a half tile on the adjacent wall.
Tiling height is a matter of personal preference, unless you have an overhead shower, in which case the tile should go right to the ceiling. ‘When marking out your tiles, don’t forget to leave at least a 1/16in gap between the bath rim and first row of tiles to allow for caulking to fill the space,’ adds George Chister, Senior Director of Installation Materials, Floor and Decor.
3. Trowel on the adhesive
Begin trowelling on a thin layer of adhesive at your starting point, taking care not to completely cover your guide lines. Check the adhesive packaging to find out how long you’ve got before it sets – usually around 20 minutes. Mix up adhesive in small batches so you are not racing against the clock.
Use a notched trowel to create lines in the adhesive; this will remove excess product to ensure an even surface across the tiles. Try not to overlap the ridge lines if possible.
4. Start laying tiles
Position your first tile on the starting point line and push it tight to the wall with a little wiggle. Use a spirit level to check it is straight before continuing outwards to the corners and then down to the bathtub and up towards the ceiling. Use tile spacers to ensure even gaps, or source self-spacing tiles, which are perfect for novice tilers.
Fit all the full tiles before you begin the fiddlier task of cutting tile. To measure tiles for cutting, hold a full tile in place and use a tile pen to mark where it overlaps the last full tile on the wall. Use a tile cutter to score and then cut along this line. Always position cut tiles with the raw edge tight into the corner or ceiling to conceal imperfections.
5. Drill out any holes for pipes (optional)
If you have wall-mounted bath taps or showerheads to connect, you will need to drill the tile. Plan for this in your initial laying out, aiming for a whole tile where the plumbing protrudes.
If you don’t have a diamond-bit hole saw for your drill, you could position the pipe on a joint between two tiles and use tile nippers to ‘bite’ out a crescent shape in each one, creating a circular hole when united.
6. Grout and seal
Grouting tile around a bathtub is the same as any tiling project – simply use a grout float to fill the void and then a smoother to achieve a neat finish. As this is a high-splash zone, it’s more important than ever to make sure there are no air gaps or pin holes in the grout. Make sure the grout is flush to the tile to ensure no water rivulets linger in the gaps. Use a damp sponge to clean the tile once the grout has set.
Sealing the gap between the bath and tile is the final step and should only be completed once the tile and grout is completely dry. Use a caulk gun to get a smooth line; practice first as it takes a little trial and error to pump out the perfect amount when caulking a bathtub.
‘Silicone is a flexible product, so unlike grout, it will retain some flexibility after it cures and won’t crack should the bath flex,’ explains Harriet Goodacre, Tile Consultant at Topps Tiles. ‘Look out for a sealant that has mould protection built into the formula. You can also get colored sealants to match your grout color, which is a neat touch.’
Tip: Fill the bath halfway before sealing to help maintain a watertight seal when in use. Wait at least 24 hours after sealing before using the bath to allow sufficient time for it to cure.
How far up should you tile a bathtub?
Unlike when you're tiling a shower, you don't have to tile up to the ceiling when you are tiling a bathtub unless there's a shower attachment over the bath; in fact, your tile layout patterns and ideas might dictate not just how high but in what configuration you tile.
‘When tiling above a bath, traditionally you would tile from floor to ceiling – but this is down to you, and your personal style,’ says Harriet Goodacre, Tile Consultant at Topps Tiles. ‘An alternative option is to finish your laying pattern three quarters of the way up the wall, and then paint the rest of the wall and the ceiling in the same shade. This can make even a small bathroom feel tall and airy, while still making sure your walls are protected from water damage where necessary.’
If you don’t have a wall-mounted shower attachment on the bath, you can get away with a much lower tiled bathroom backsplash but do think about how you will finish the edges as they will be far more visible. A narrow shelf is a neat way to conceal raw tile edges. Also consider tile trim or border tiles.
Can you tile a bathtub?
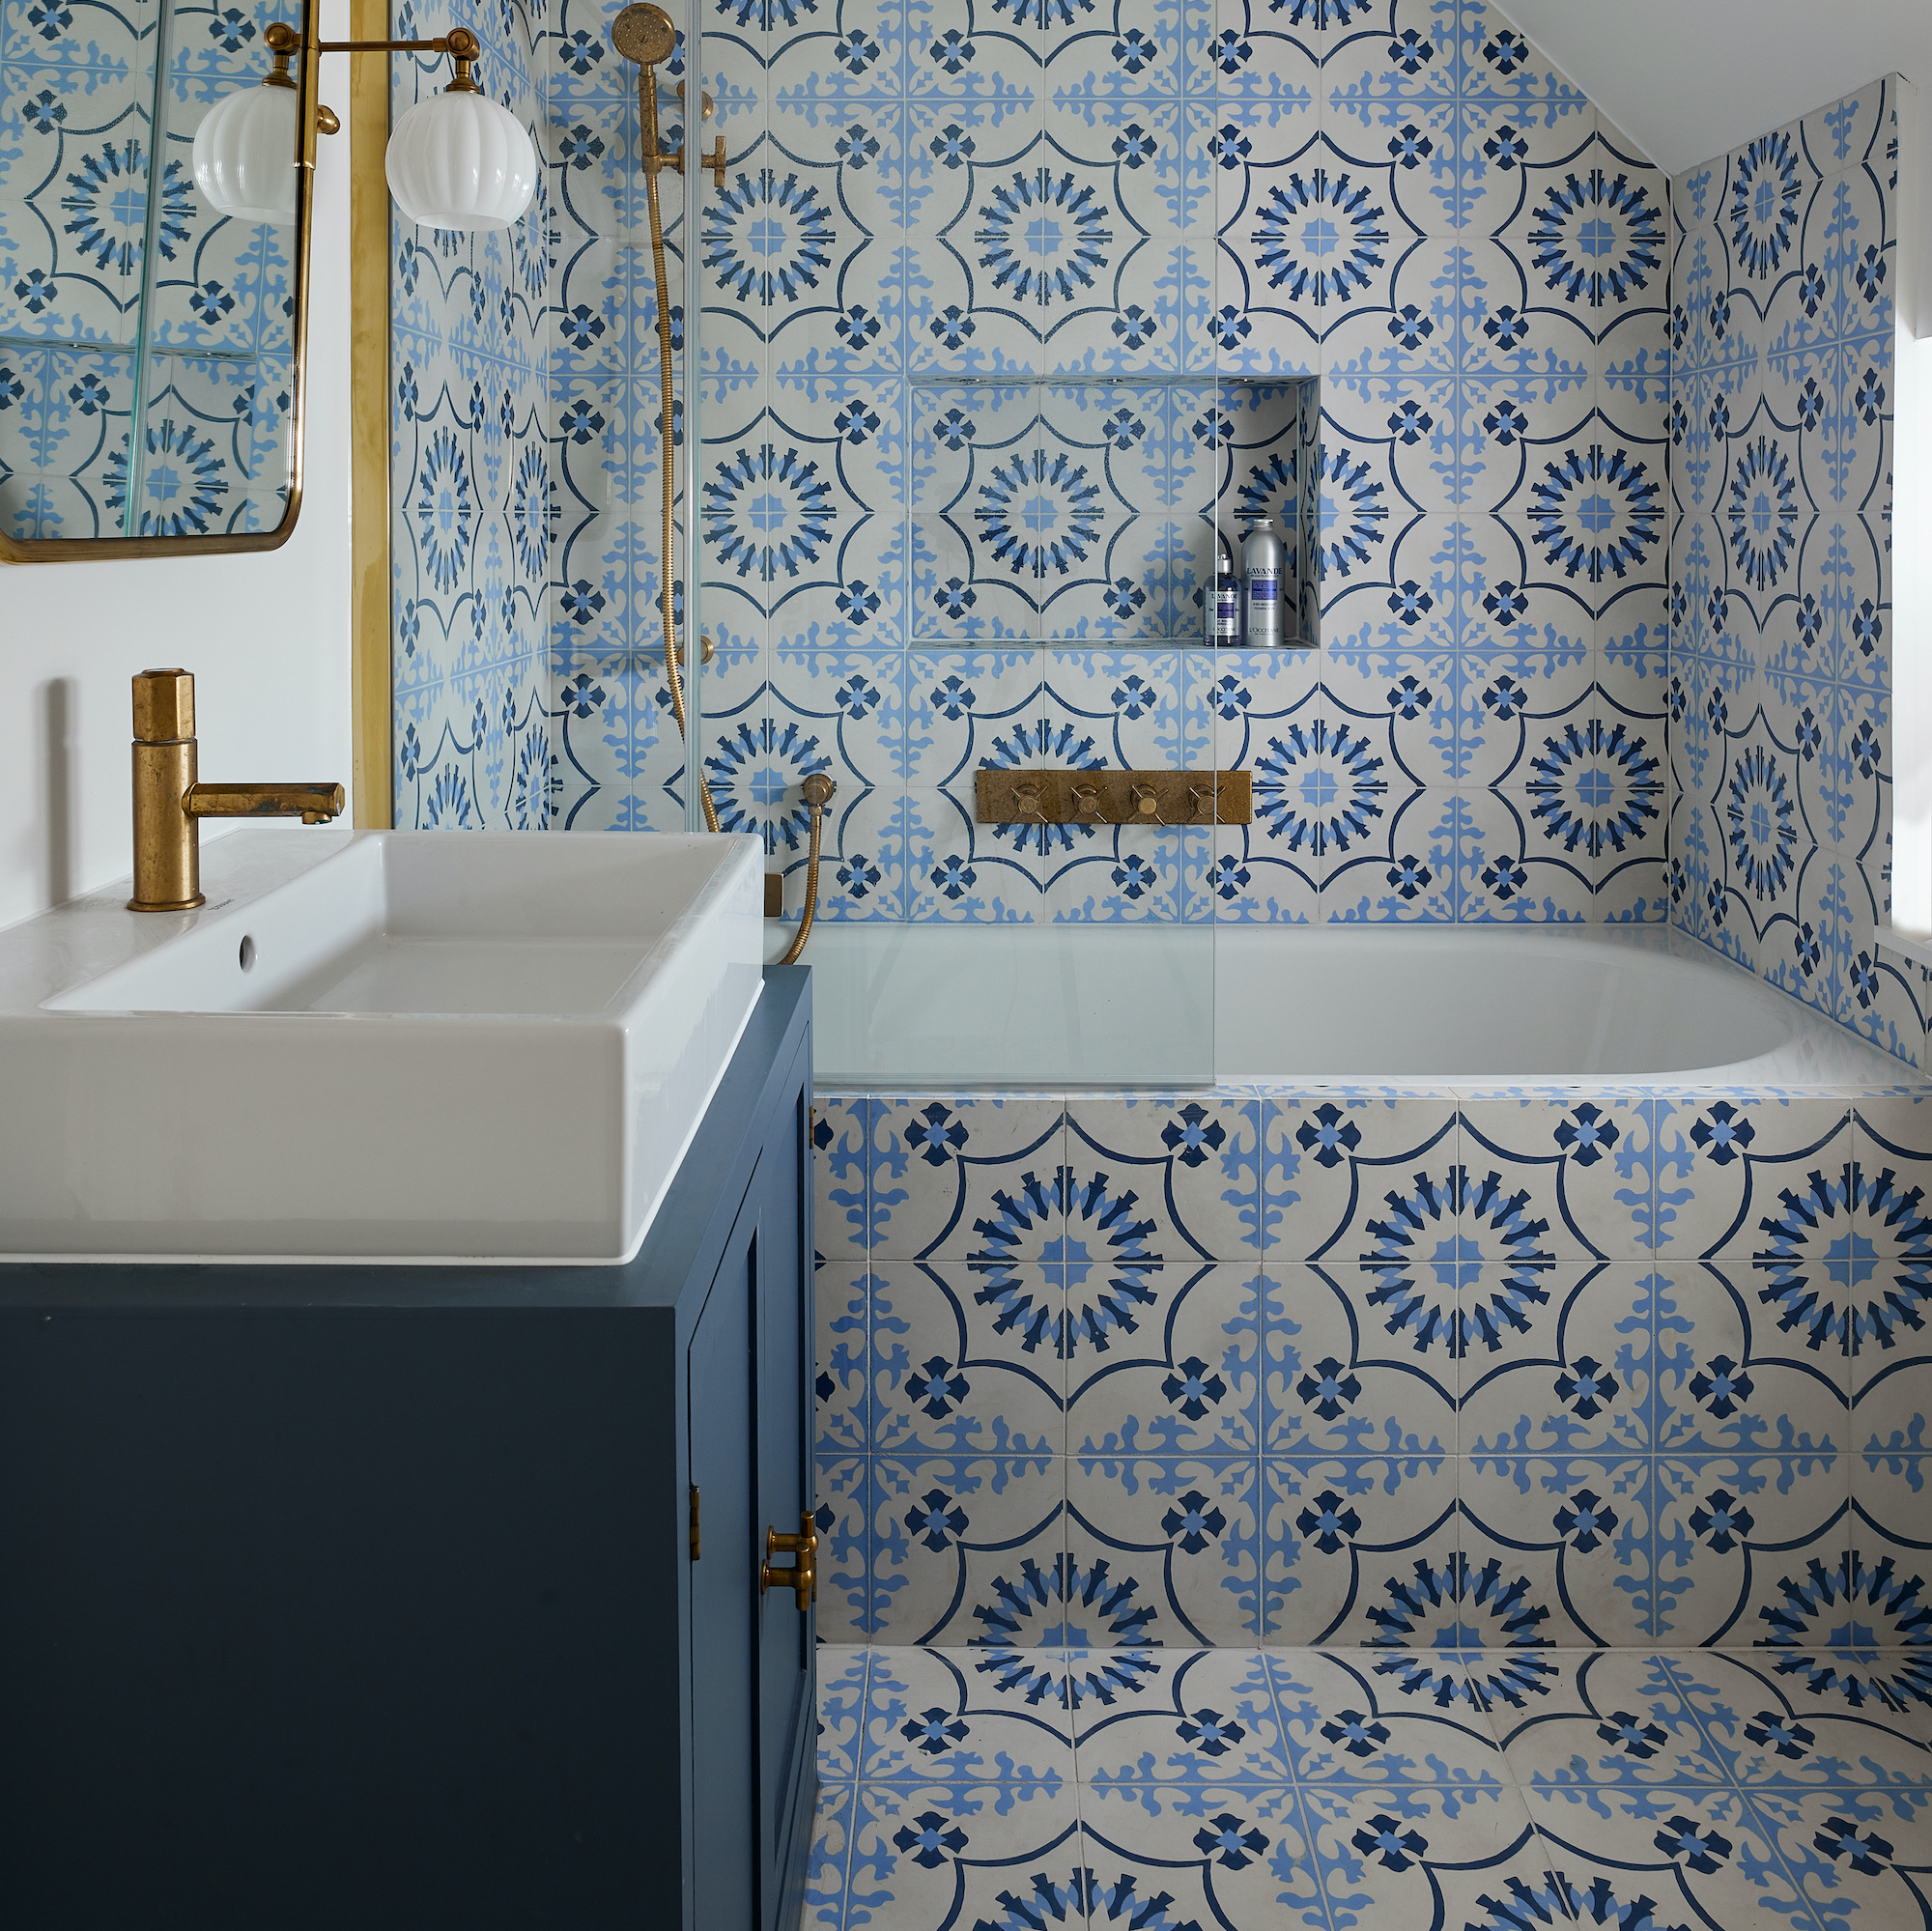
Many inset baths with flat, stable bath panels on the front are suitable for tiling as well as the walls around them.
‘Tiling the bath panel can allow for more creative options in terms of design by either choosing different colored or patterned tiles to add interest or using the same tiles as above the bath for a seamless look,’ explains Martin Winterburn, Manager at Total Tiles.
‘Remember to consider the access panel should you ever need it – a magnetic access panel is a great choice as this can be tiled over, or a bespoke timber frame can be made for future accessibility,’ adds Martin. ‘If the bathroom receives little daylight, consider using the bath panel to brighten up the room through the use of lighter colored, polished tiles to help make the room feel more spacious and brighter.’
Sign up to the Homes & Gardens newsletter
Design expertise in your inbox – from inspiring decorating ideas and beautiful celebrity homes to practical gardening advice and shopping round-ups.
Linda graduated from university with a First in Journalism, Film and Broadcasting. Her career began on a trade title for the kitchen and bathroom industry, and she has worked for Homes & Gardens, and sister-brands Livingetc, Country Homes & Interiors and Ideal Home, since 2006, covering interiors topics, though kitchens and bathrooms are her specialism.
-
 Joanna Gaines’ new Target drop has everything you need for a stylish Easter weekend outdoors – I’m shopping her affordable pieces to prep for summer
From dinnerware to lawn games and outdoor movie night gear, here’s what I’m shopping from Joanna Gaines’ latest Hearth & Hand drop at Target
By Charlotte Olby Published
-
 Do cleaning products expire? Professional cleaners warn time could make them ‘less effective, and in some cases, irritating to use’
For the best results, it pays to stay on top of the timeline of your cleaning products
By Chiana Dickson Published