How to clean a bathroom like a pro – 11 steps to a spotless spa-like sanctuary
From top to bottom, this is the exact order to clean for a hygienic bathroom


Linda Clayton
Cleaning a bathroom isn't exactly glamorous, but it is a vital chore that has to be done to keep a home sanitized.
With so many deep cleaning tasks to get through, however, it can be hard to know where to start.
Luckily, expert cleaners have shared their best cleaning tips for sprucing up bathrooms to help you combat mold, bacteria, and any odors for a spick-and-span spa-like sanctuary at home.
How to clean a bathroom like a pro
Before you can start cleaning, it helps to have a few basic but essential cleaning supplies, such as non-toxic bathroom cleaners, to hand:
- Microfiber cloths, from Walmart
- A detail brush, available in sets at Walmart, for grout and around faucets
- A soft scrubbing brush or sponge, such as a Scrub Mommy from Walmart
- An all-purpose bathroom cleaner, such as the all-natural Attitude bathroom cleaner from Walmart . Alternatively, why not try making your own DIY non-toxic bathroom cleaner
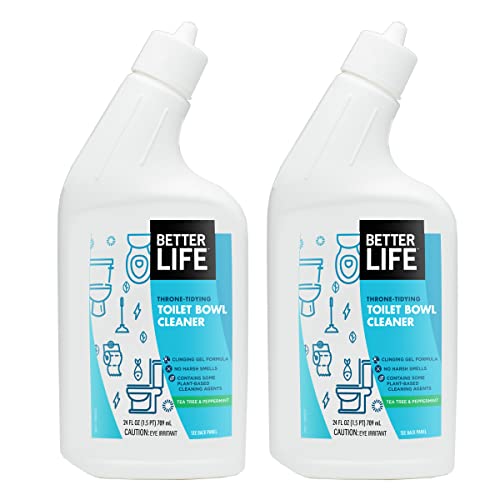
- A toilet bowl cleaner, such as Lysol from Walmart
1. Declutter first
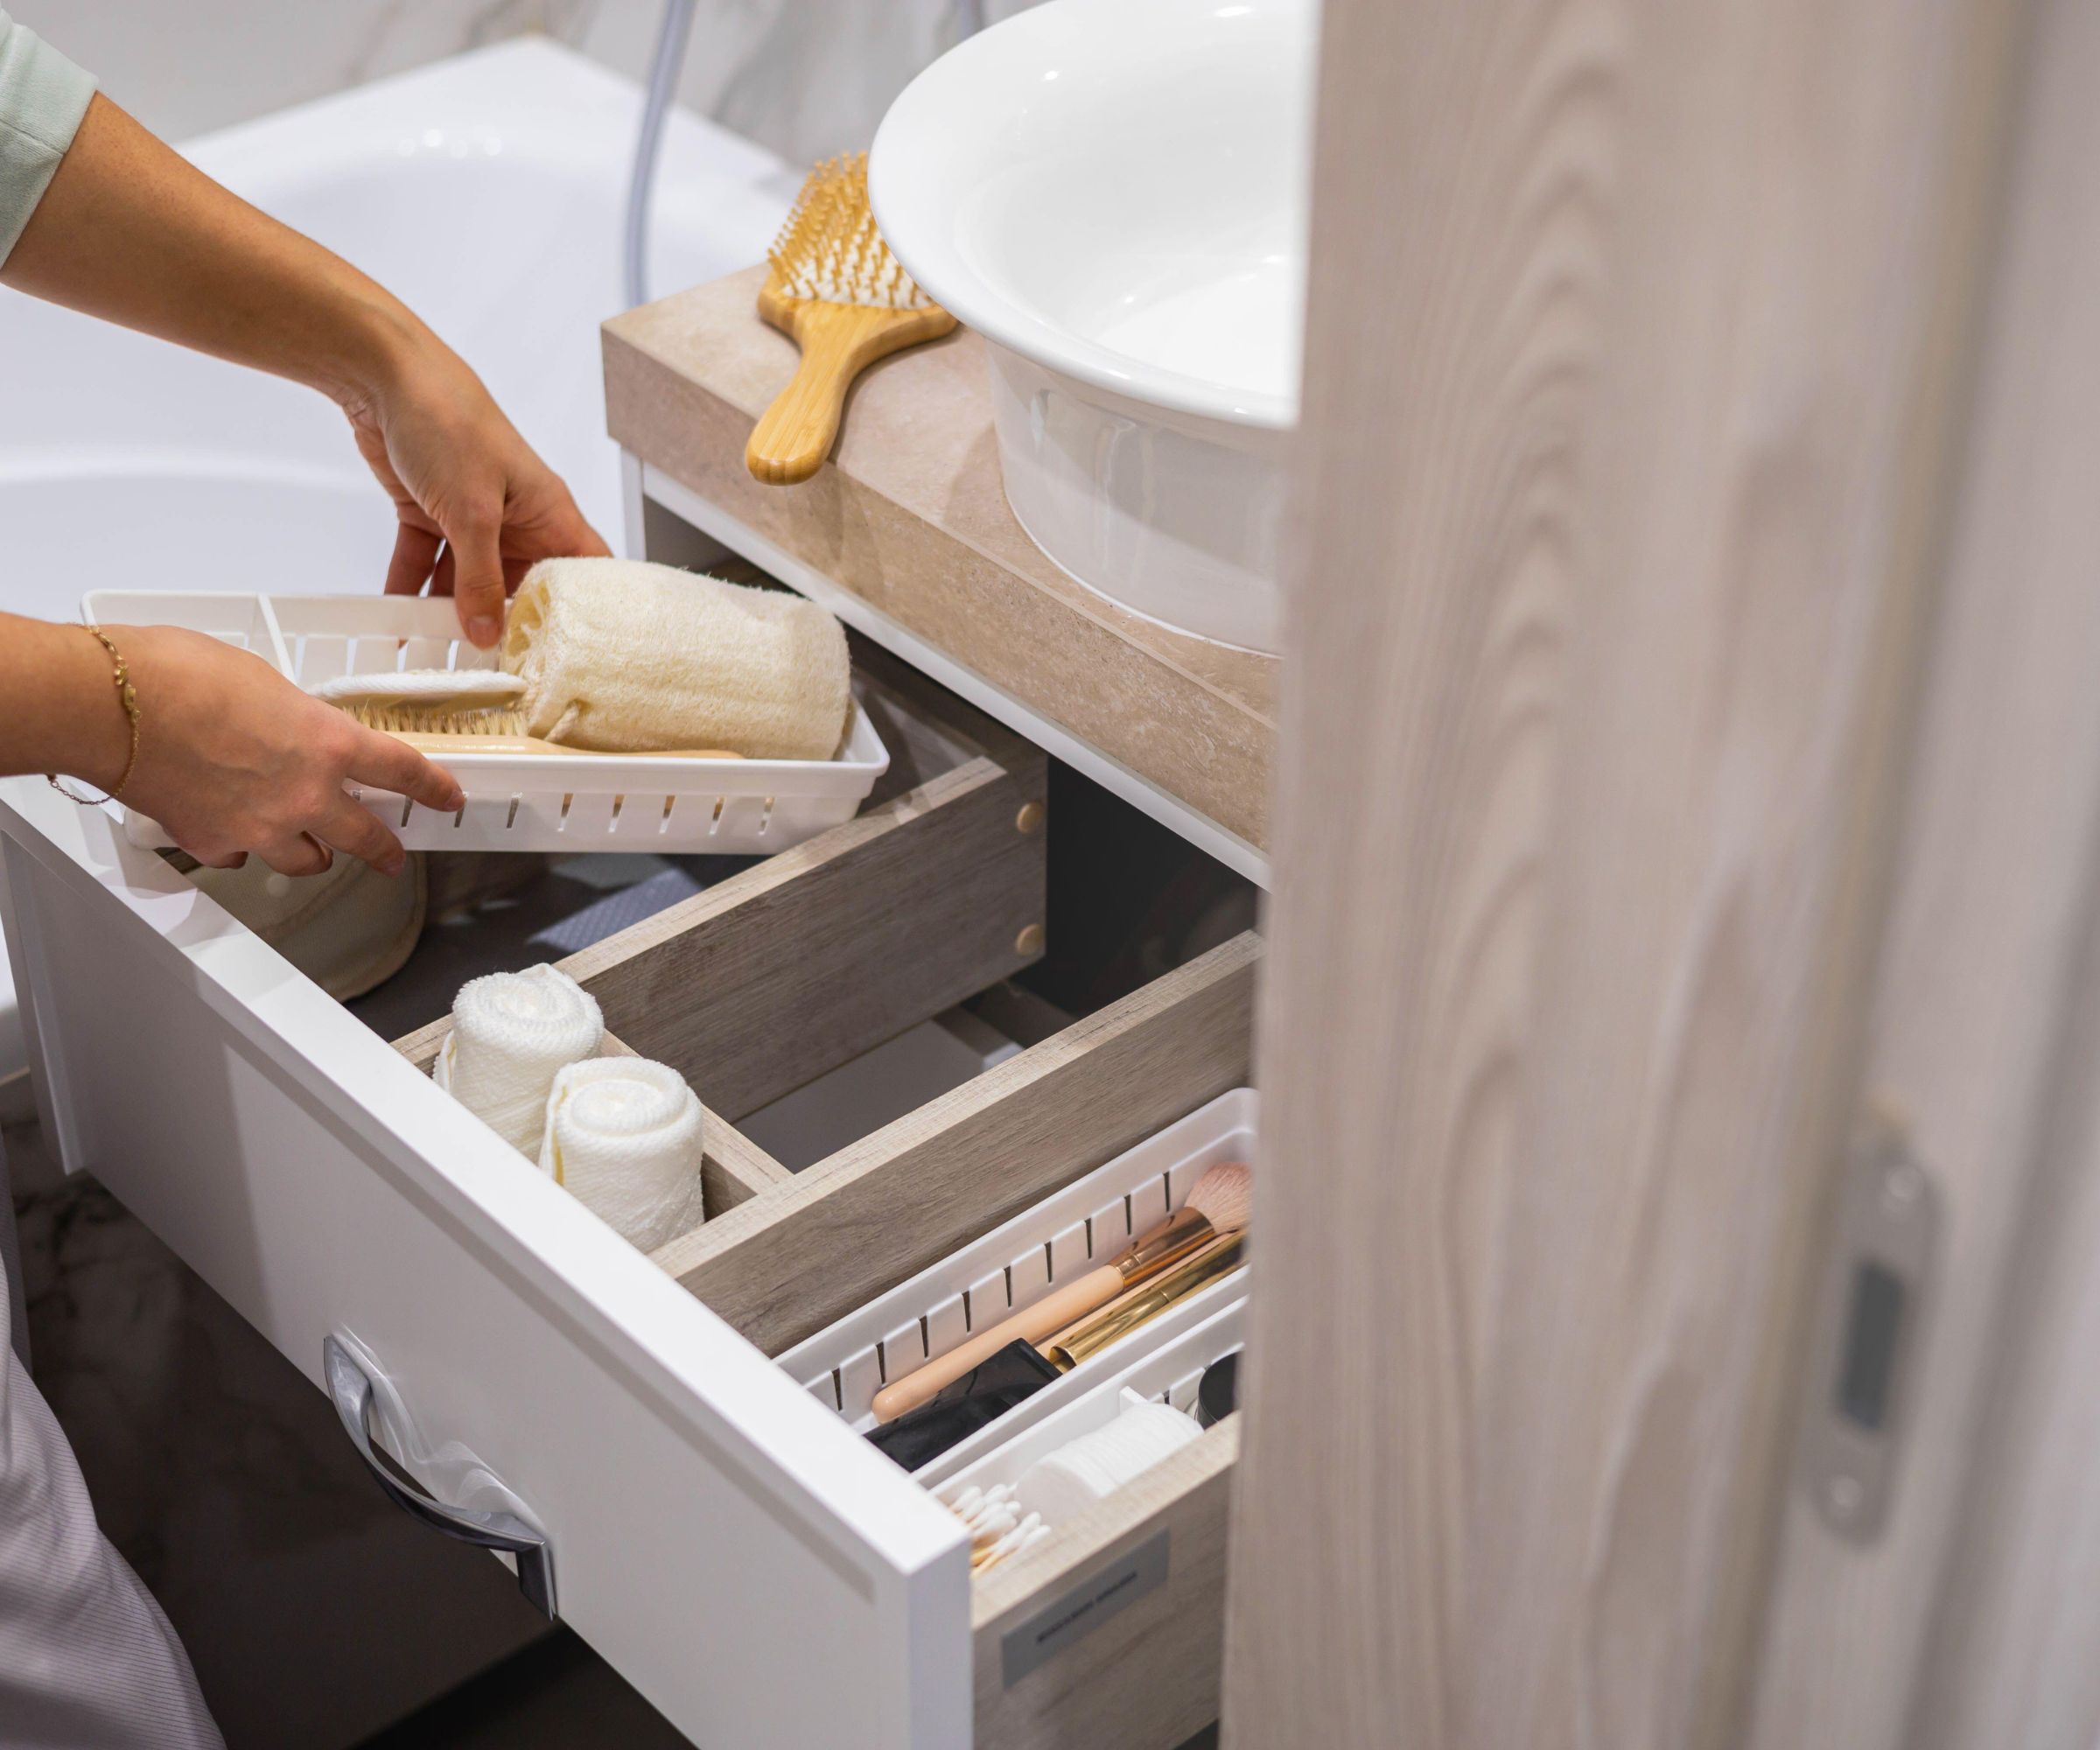
It’s much easier to clean a bathroom if you’re not working around a mountain of toiletries, bathing supplies and surplus towels, so decluttering a bathroom before cleaning it will help, though you won't have to take this step every time.
To begin, clear everything off the surfaces in your bathroom – including around the bathtub and any shower nooks – and put anything that isn’t in frequent use away if possible.
Empty the trash and put any empty shampoo bottles and toilet rolls in the recycling bins. Now is also a good time to put towels and the bathmat in the laundry basket. If you're wondering how often to clean your towels, a good rule of thumb is around every 3-4 uses.
Design expertise in your inbox – from inspiring decorating ideas and beautiful celebrity homes to practical gardening advice and shopping round-ups.
2. Dust before cleaning
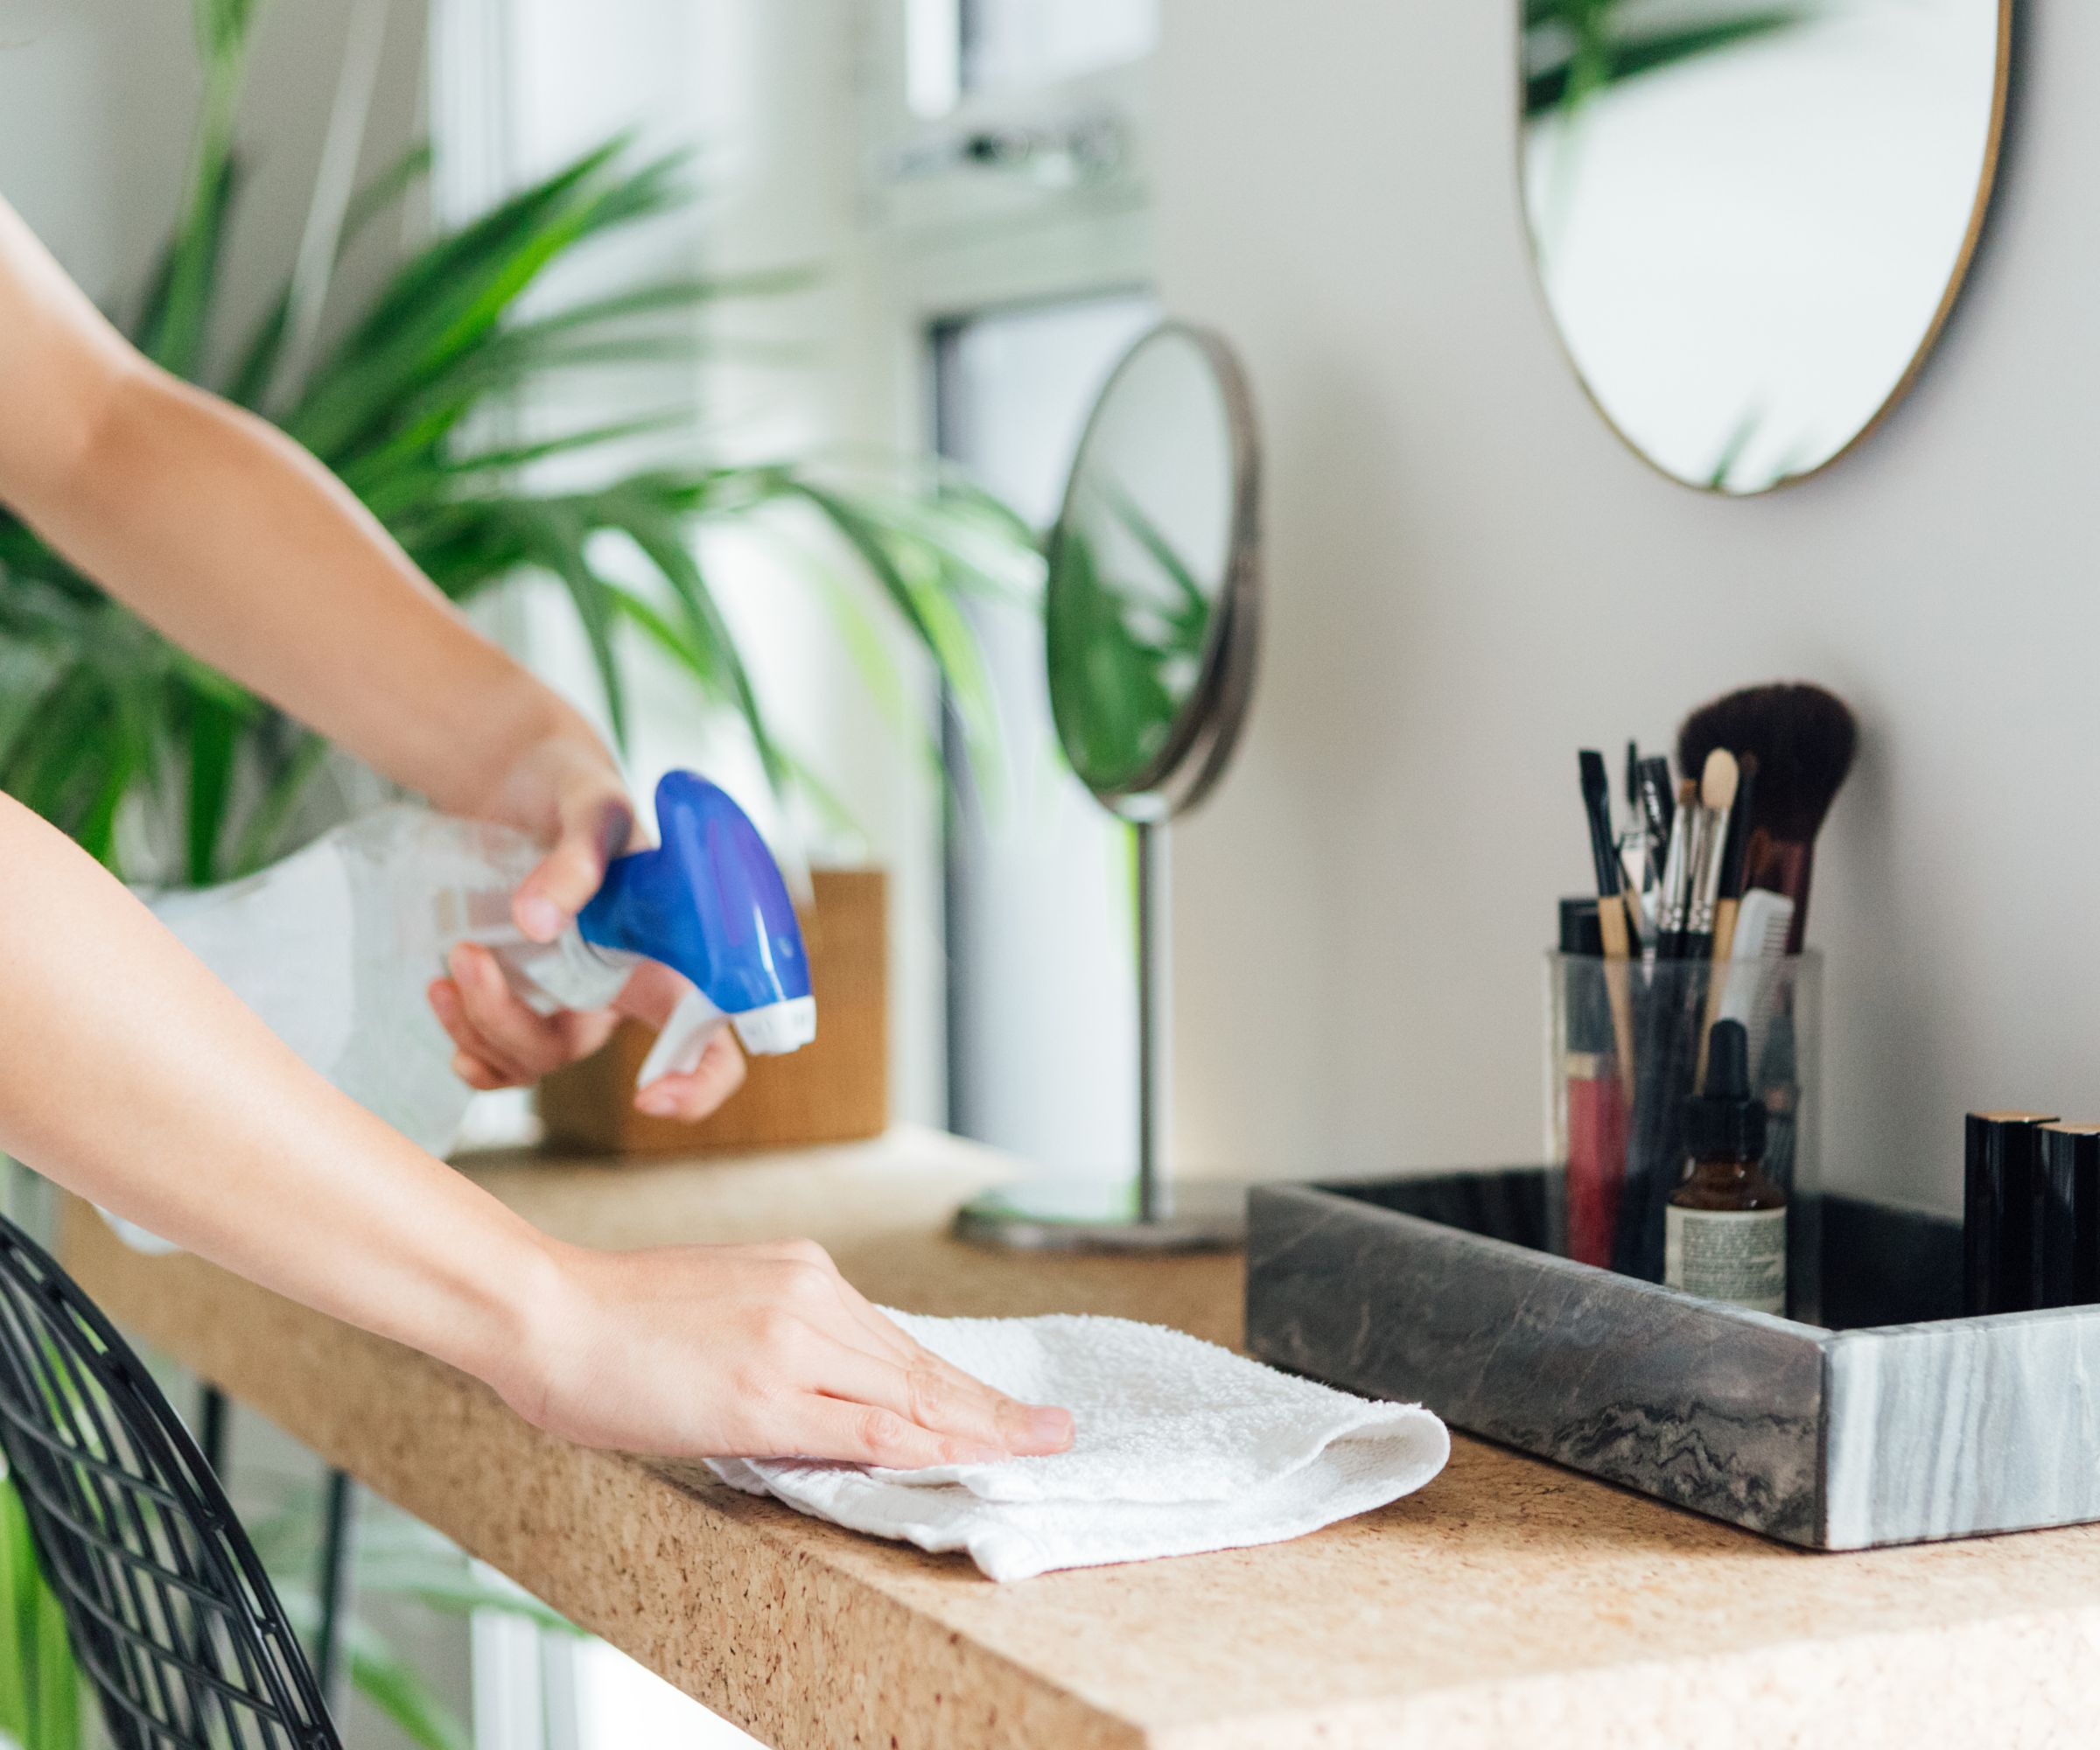
Your next job is getting rid of dust in the bathroom.
Vanessa Bossart, professional cleaner and founder of GreenTerra Cleaning says, 'At GreenTerra, we use a two-phase cleaning method: the Dry Round and the Wet Round.
'The Dry Round is all about removing loose debris, like dust, hair, and cobwebs, from every surface. We work from top to bottom, starting with ceiling corners, vents, and light fixtures, and move systematically clockwise around the room. Vacuuming the bathroom during this phase is a must as it prevents hair and dust from clumping when we move on to wet cleaning. Skipping this step only makes the job harder later!'
After this, the Wet Round entails spraying cleaning solutions on the now dust-free surfaces, also known as the Dry-Damp cleaning rule, be it with DIY cleaning sprays or commercial cleaners, or using a damp cloth on the surfaces to clear any lingering debris.
3. Set some solution in the toilet
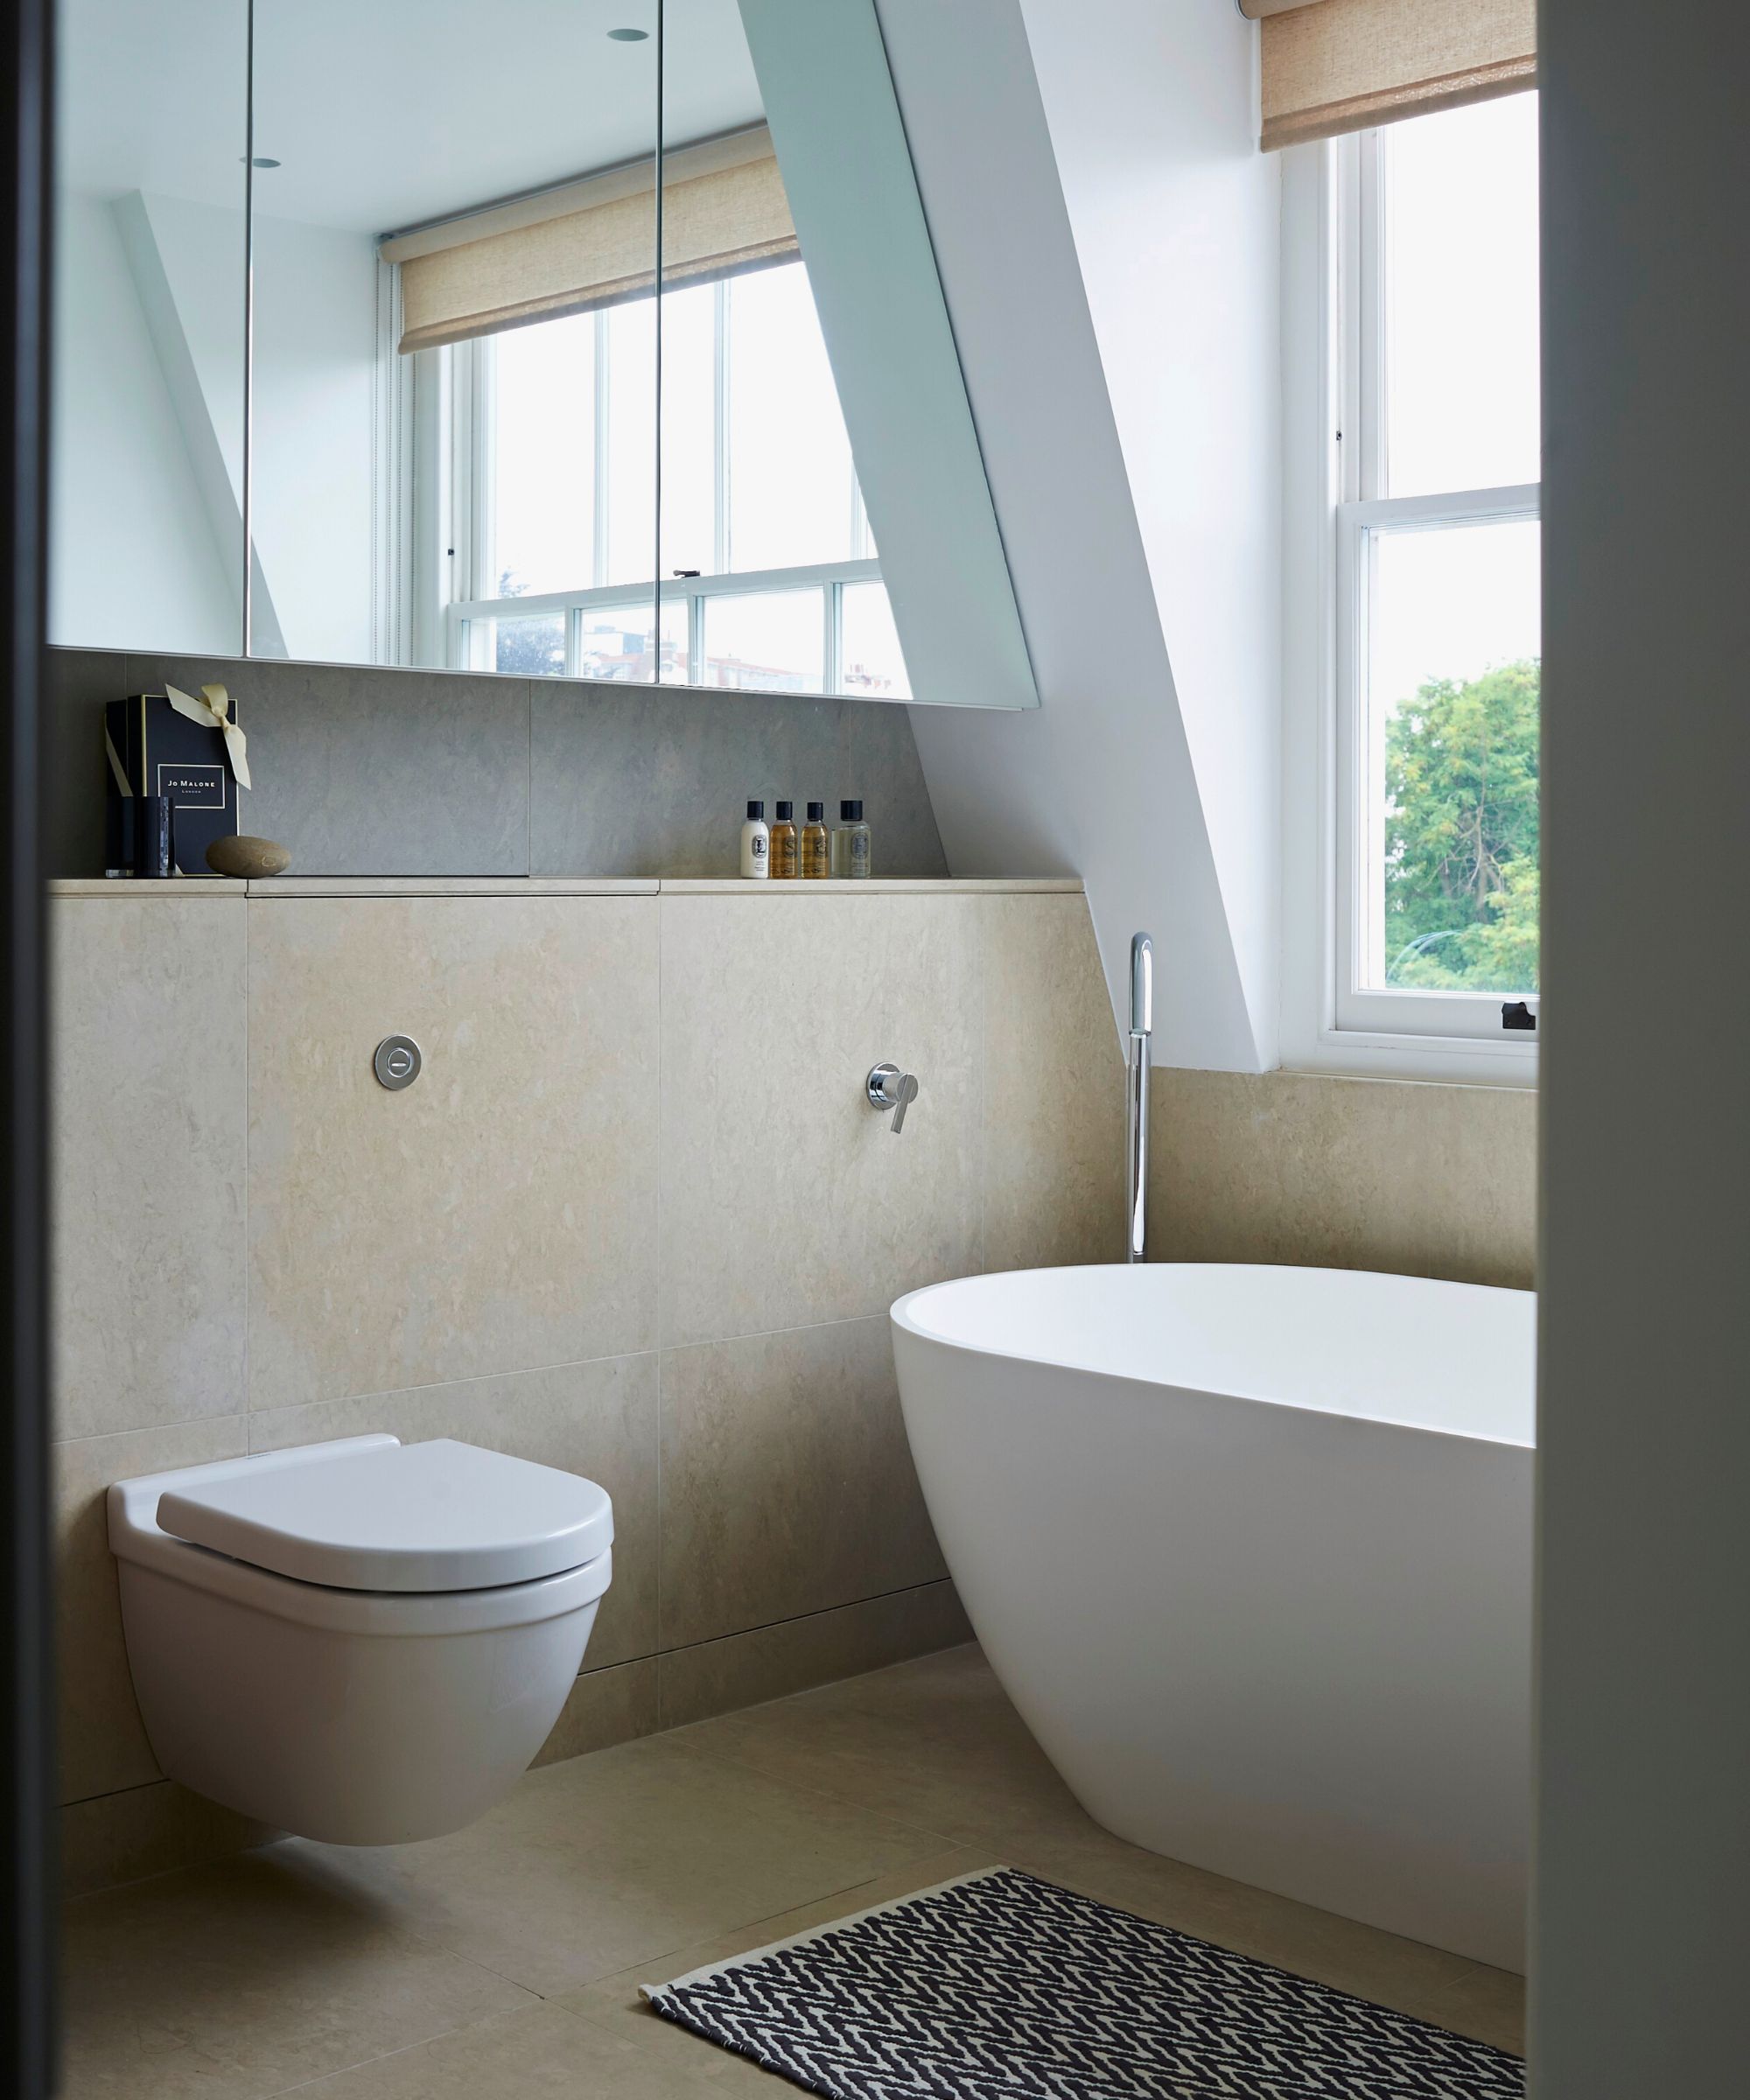
While the toilet is not the first thing you should clean in the bathroom, Delah Gomasi, cleaning expert and CEO of MaidForYou shares, 'The best pro-tip when cleaning bathrooms is to let cleaning products sit. This means pouring toilet cleaner around the bowl, spraying baths, showers, and sinks with the appropriate cleaning solutions, and allowing them to sit for a few minutes.
'We recommend leaving the toilet bowl cleaner for about 10 minutes to really break down grime and kill germs.'
While that is left to soak, you can get on cleaning the rest of the bathroom.
4. Clean the bath and shower

To start your deep cleaning, turn your attention to cleaning a shower and bath. These take up most of your energy, so it is best to get them out of the way.
Rhonda Wilson, quality lead cleaner at FreshSpace Cleaning says, 'For this part, some people prefer to DIY by making a paste out of baking soda [from Walmart] and water to apply to stains, dissolve grime and soap scum. Usually, a non-scratch sponge or brush is used to scrub. Paying special attention to corners and edges, then thoroughly rinse with hot water.
'If store-bought cleaners are okay for you, we suggest Clorox Bathroom Ultra Foamer, from Walmart, because it only takes three minutes, and there’s no need to scrub. Simply rinse with water. But if you do need to, save your back by using a long-handled scrub brush [available at Amazon].
'For shower glass, follow the same process and wipe it down with a squeegee to prevent water spots. For shower liners, check if it can be washed in the washing machine, then hung up to dry completely so that mold doesn’t build up.'
To clean glass shower doors with tough limescale deposits, you can also use the 'S' technique for cleaning and clean with The Pink Stuff. This gentle abrasive breaks down hard water deposits and soap scum without scratching the glass. Apply in circles using a sponge or a Scrub Daddy dampened with warm water to make it soft. Then rinse away with warm water and buff dry with a clean cloth or towel. The Cleantech Joseph Joseph kit is great for this too, and makes it easy to and makes it easy to scrub tiles and shine glass with just one handy product. The included telescopic scrubber can be used for hard to reach cleaning, too.

This soft bristled brush is perfect for cleaning around the house with damaging surfaces, helping to loosen tough deposits without too much effort.
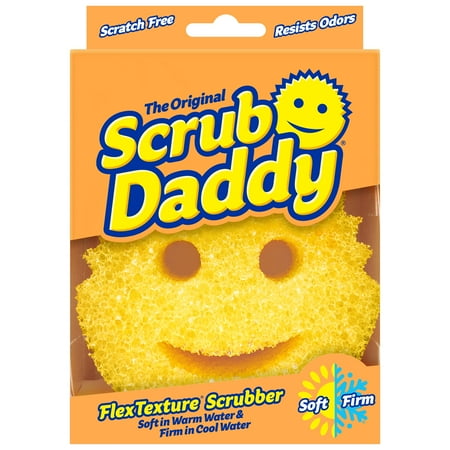
The Scrub Daddy sponge softens under hard water and toughens under cold water, allowing you to adjust the level of abrasive you need depending on the task at hand.
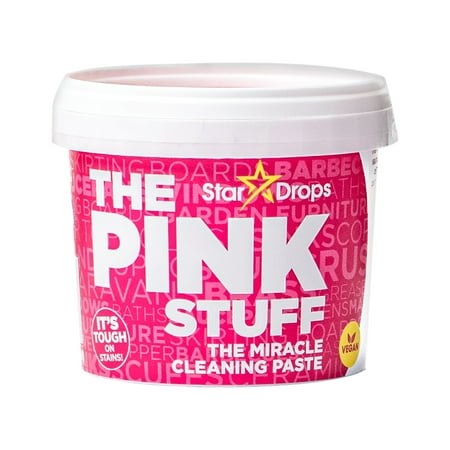
Made with all natural ingredients, The Pink Stuff paste is truly miraculous. It breaks down all sorts of grease and grime without damaging the surface beneath, making it ideal for glass, stoves, windows, and mirrors.
5. Freshen up tiles and grout
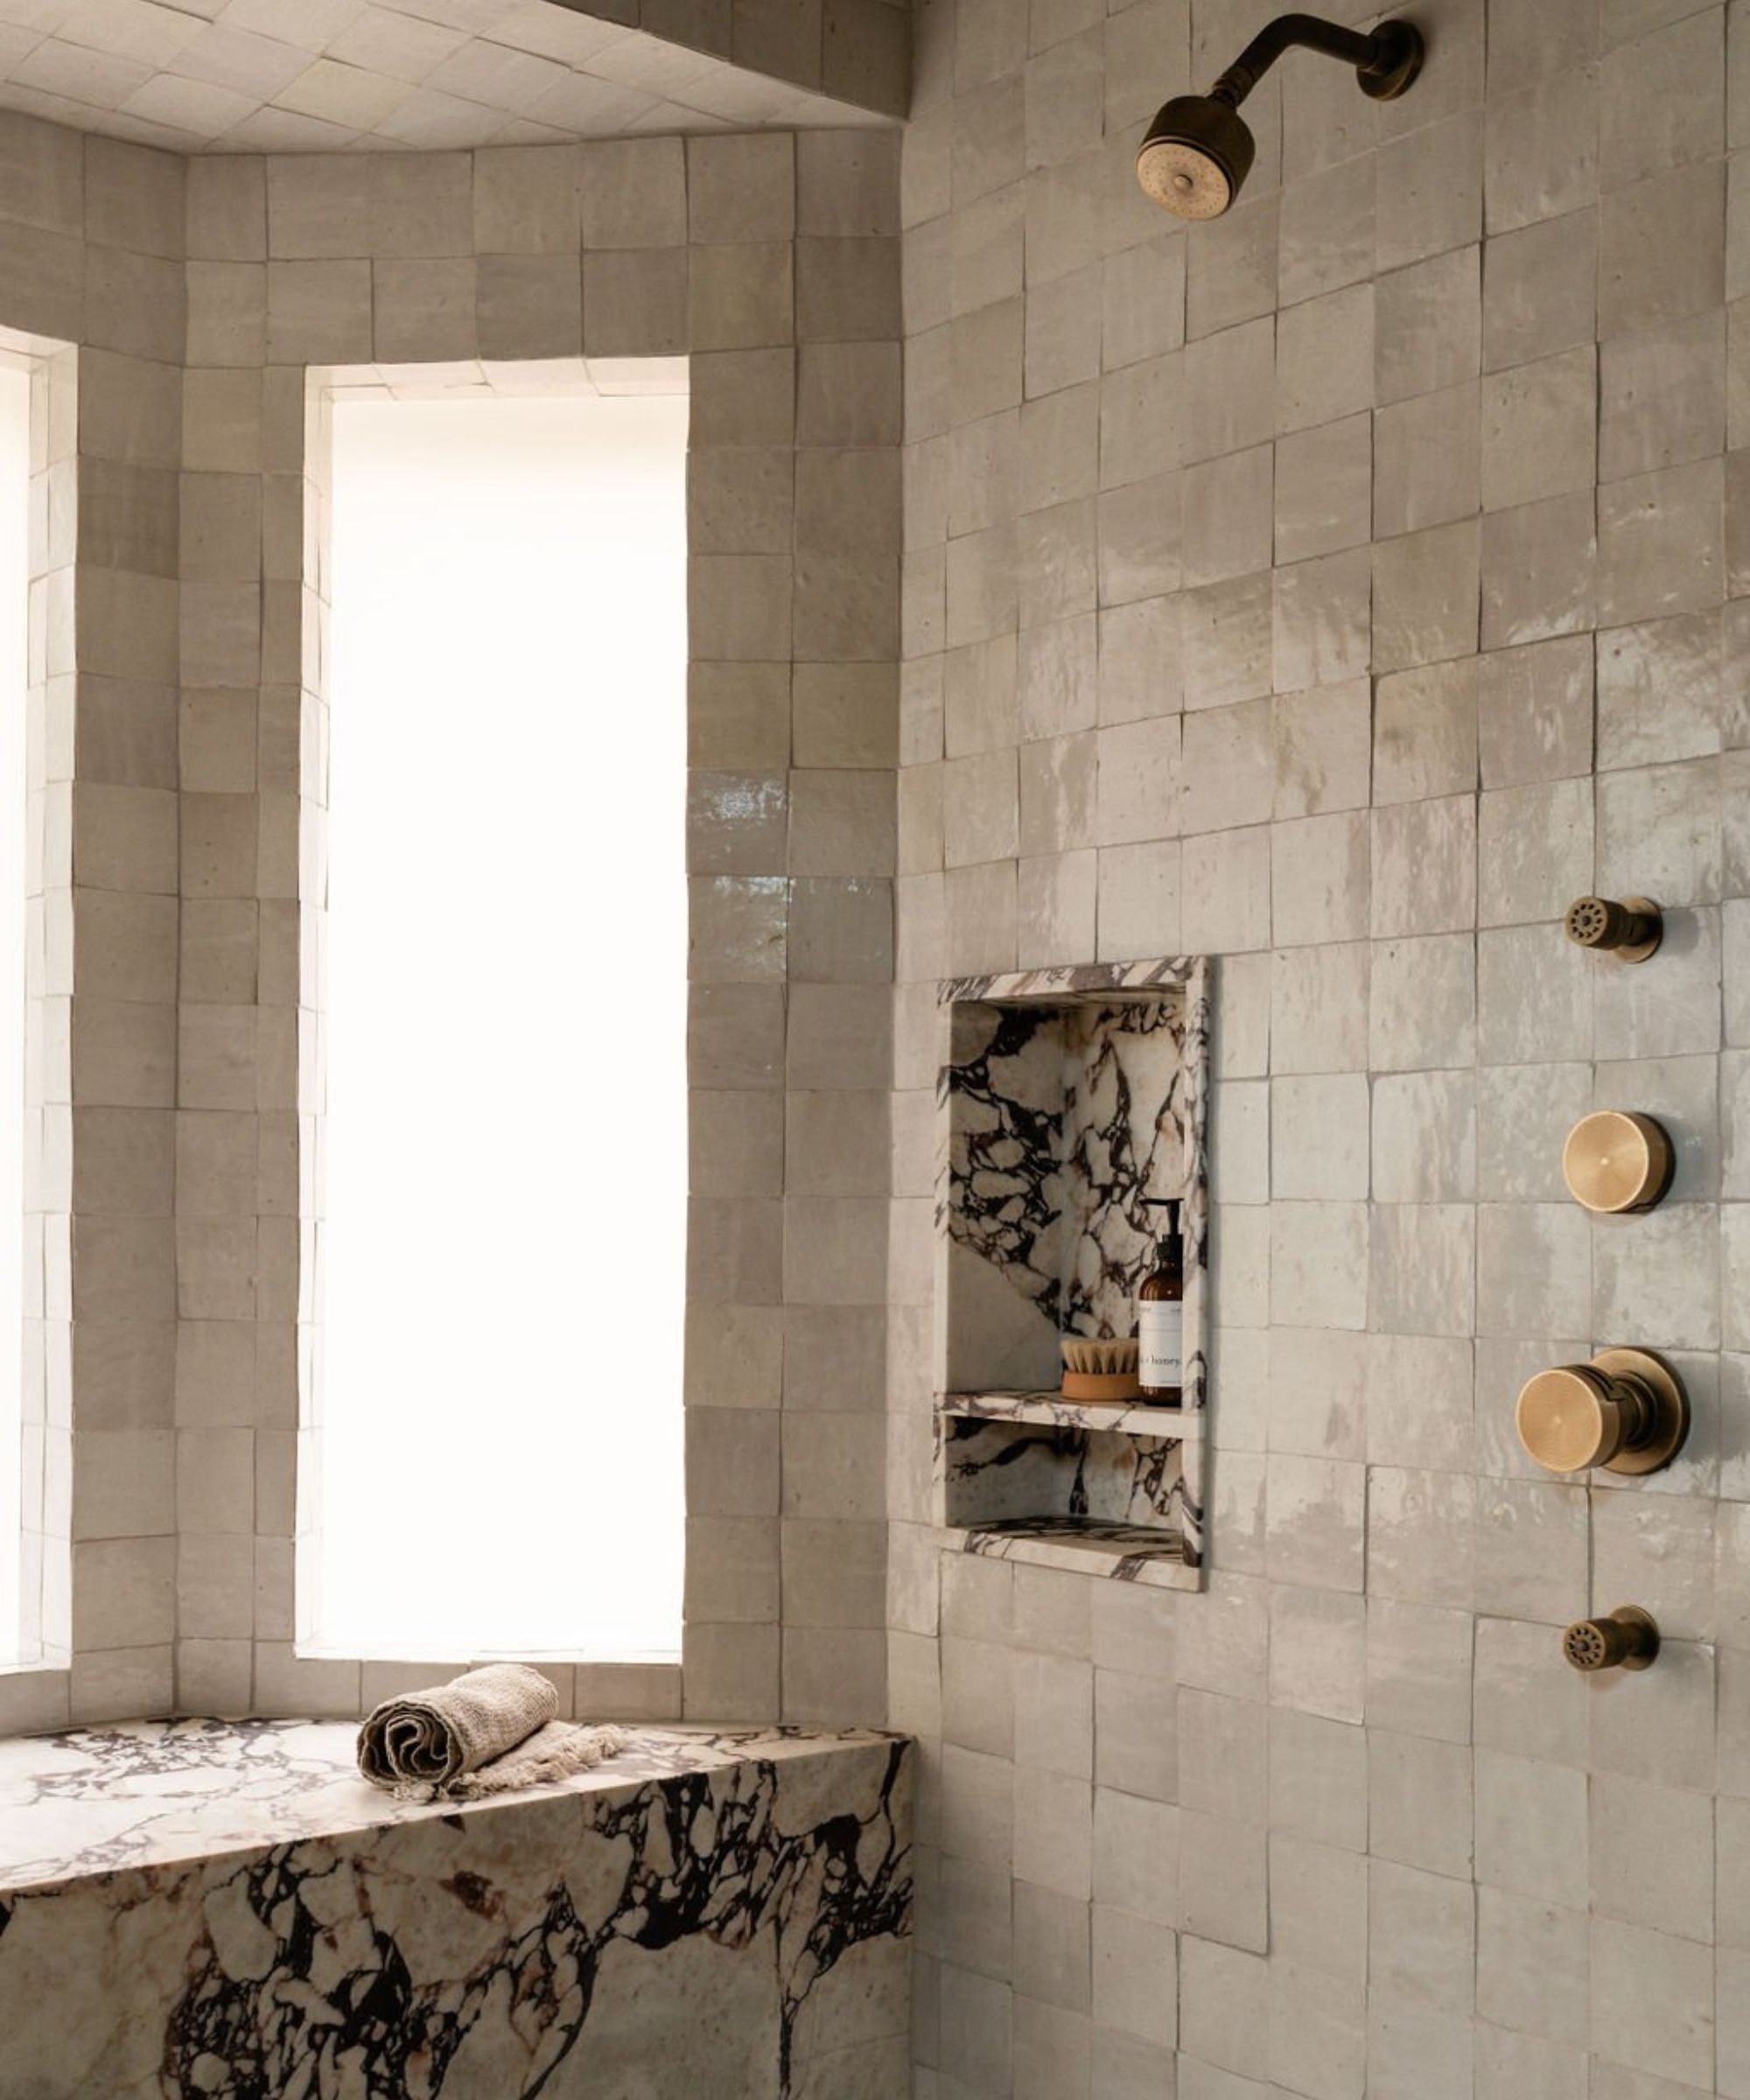
Cleaning shower grout and any tiles will be your next big bathroom cleaning job.
To make it easier, Delah Gomasi says, 'We use a tile grout or detailing brush combined with a specially-formulated grout cleaner such as Zep [from Walmart] to get those lines clean and free from dirt, soap scum, bacteria, and the likes.
'For bathroom tiles, especially those that have been dulled by hard water, we use a limescale remover to give them a glistening finish.' Always be sure to check your tile cleaner against the product to make sure it is safe for use. Some types of tiles need special treatment to maintain their appearance. If in doubt, test the product on a small, inconspicuous area first.
If you want to skip the chemicals altogether and lessen the need to scrub, we have found the best way to clean shower grout is with one of the best steam cleaners in hand. Fitted with a grout brush, a steam cleaner kills bacteria (including that pink bacteria that discolors your shower) to leave truly clean tiles behind, all without scrubbing.
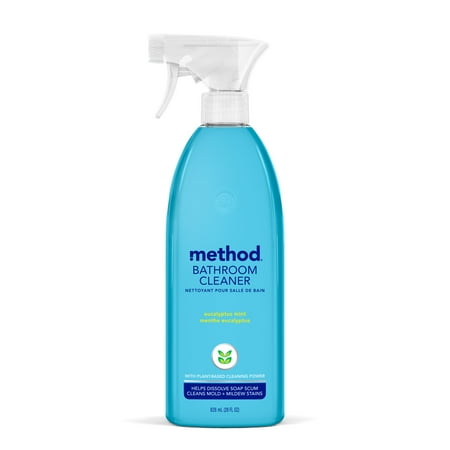
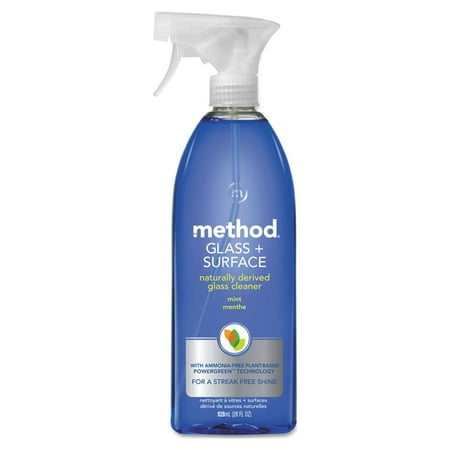
Method's bathroom cleaner breaks down grease and grime without the strong smell of chemicals lingering afterward. They are a personal favorite for freshening up the space at the end of each week
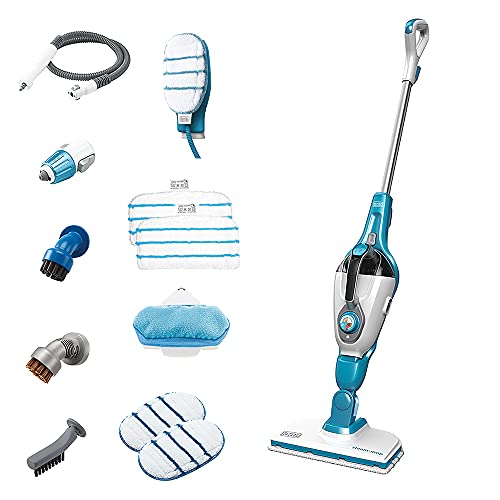
Rated Homes & Garden's best steam cleaner, I swear by this tool for deep cleaning every room of my home without chemicals and with minimal physical effort.
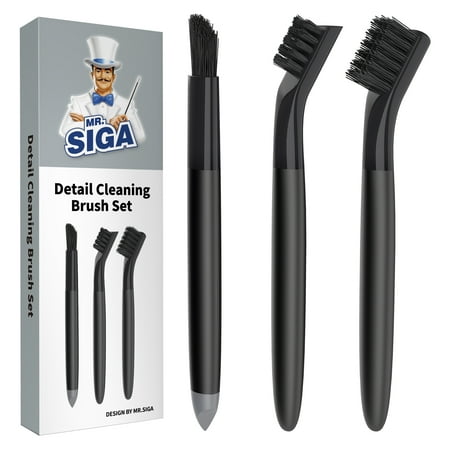
These three cleaning brushes are ideal for cleaning tiny, inconvenient gaps such as between tiles and around facets and drains.
6. Finish the toilet

Now the cleaning agents have had time to soak, you can go back to the toilet and finish off.
Marla Mock, cleaning pro and president at Molly Maid USA says, 'Scrub the toilet cleaner inside the bowl with a clean toilet brush [silicone toilet brushes, from Amazon, are great for this, as they are easy to keep clean], and flush. Then, use an all-purpose cleaner on the seat, lid, and exterior, buffing and drying before throwing the cloth in the laundry.'
Make sure to wash it on a hot wash for sanitation.
7. Don't forget mirrors and accessories
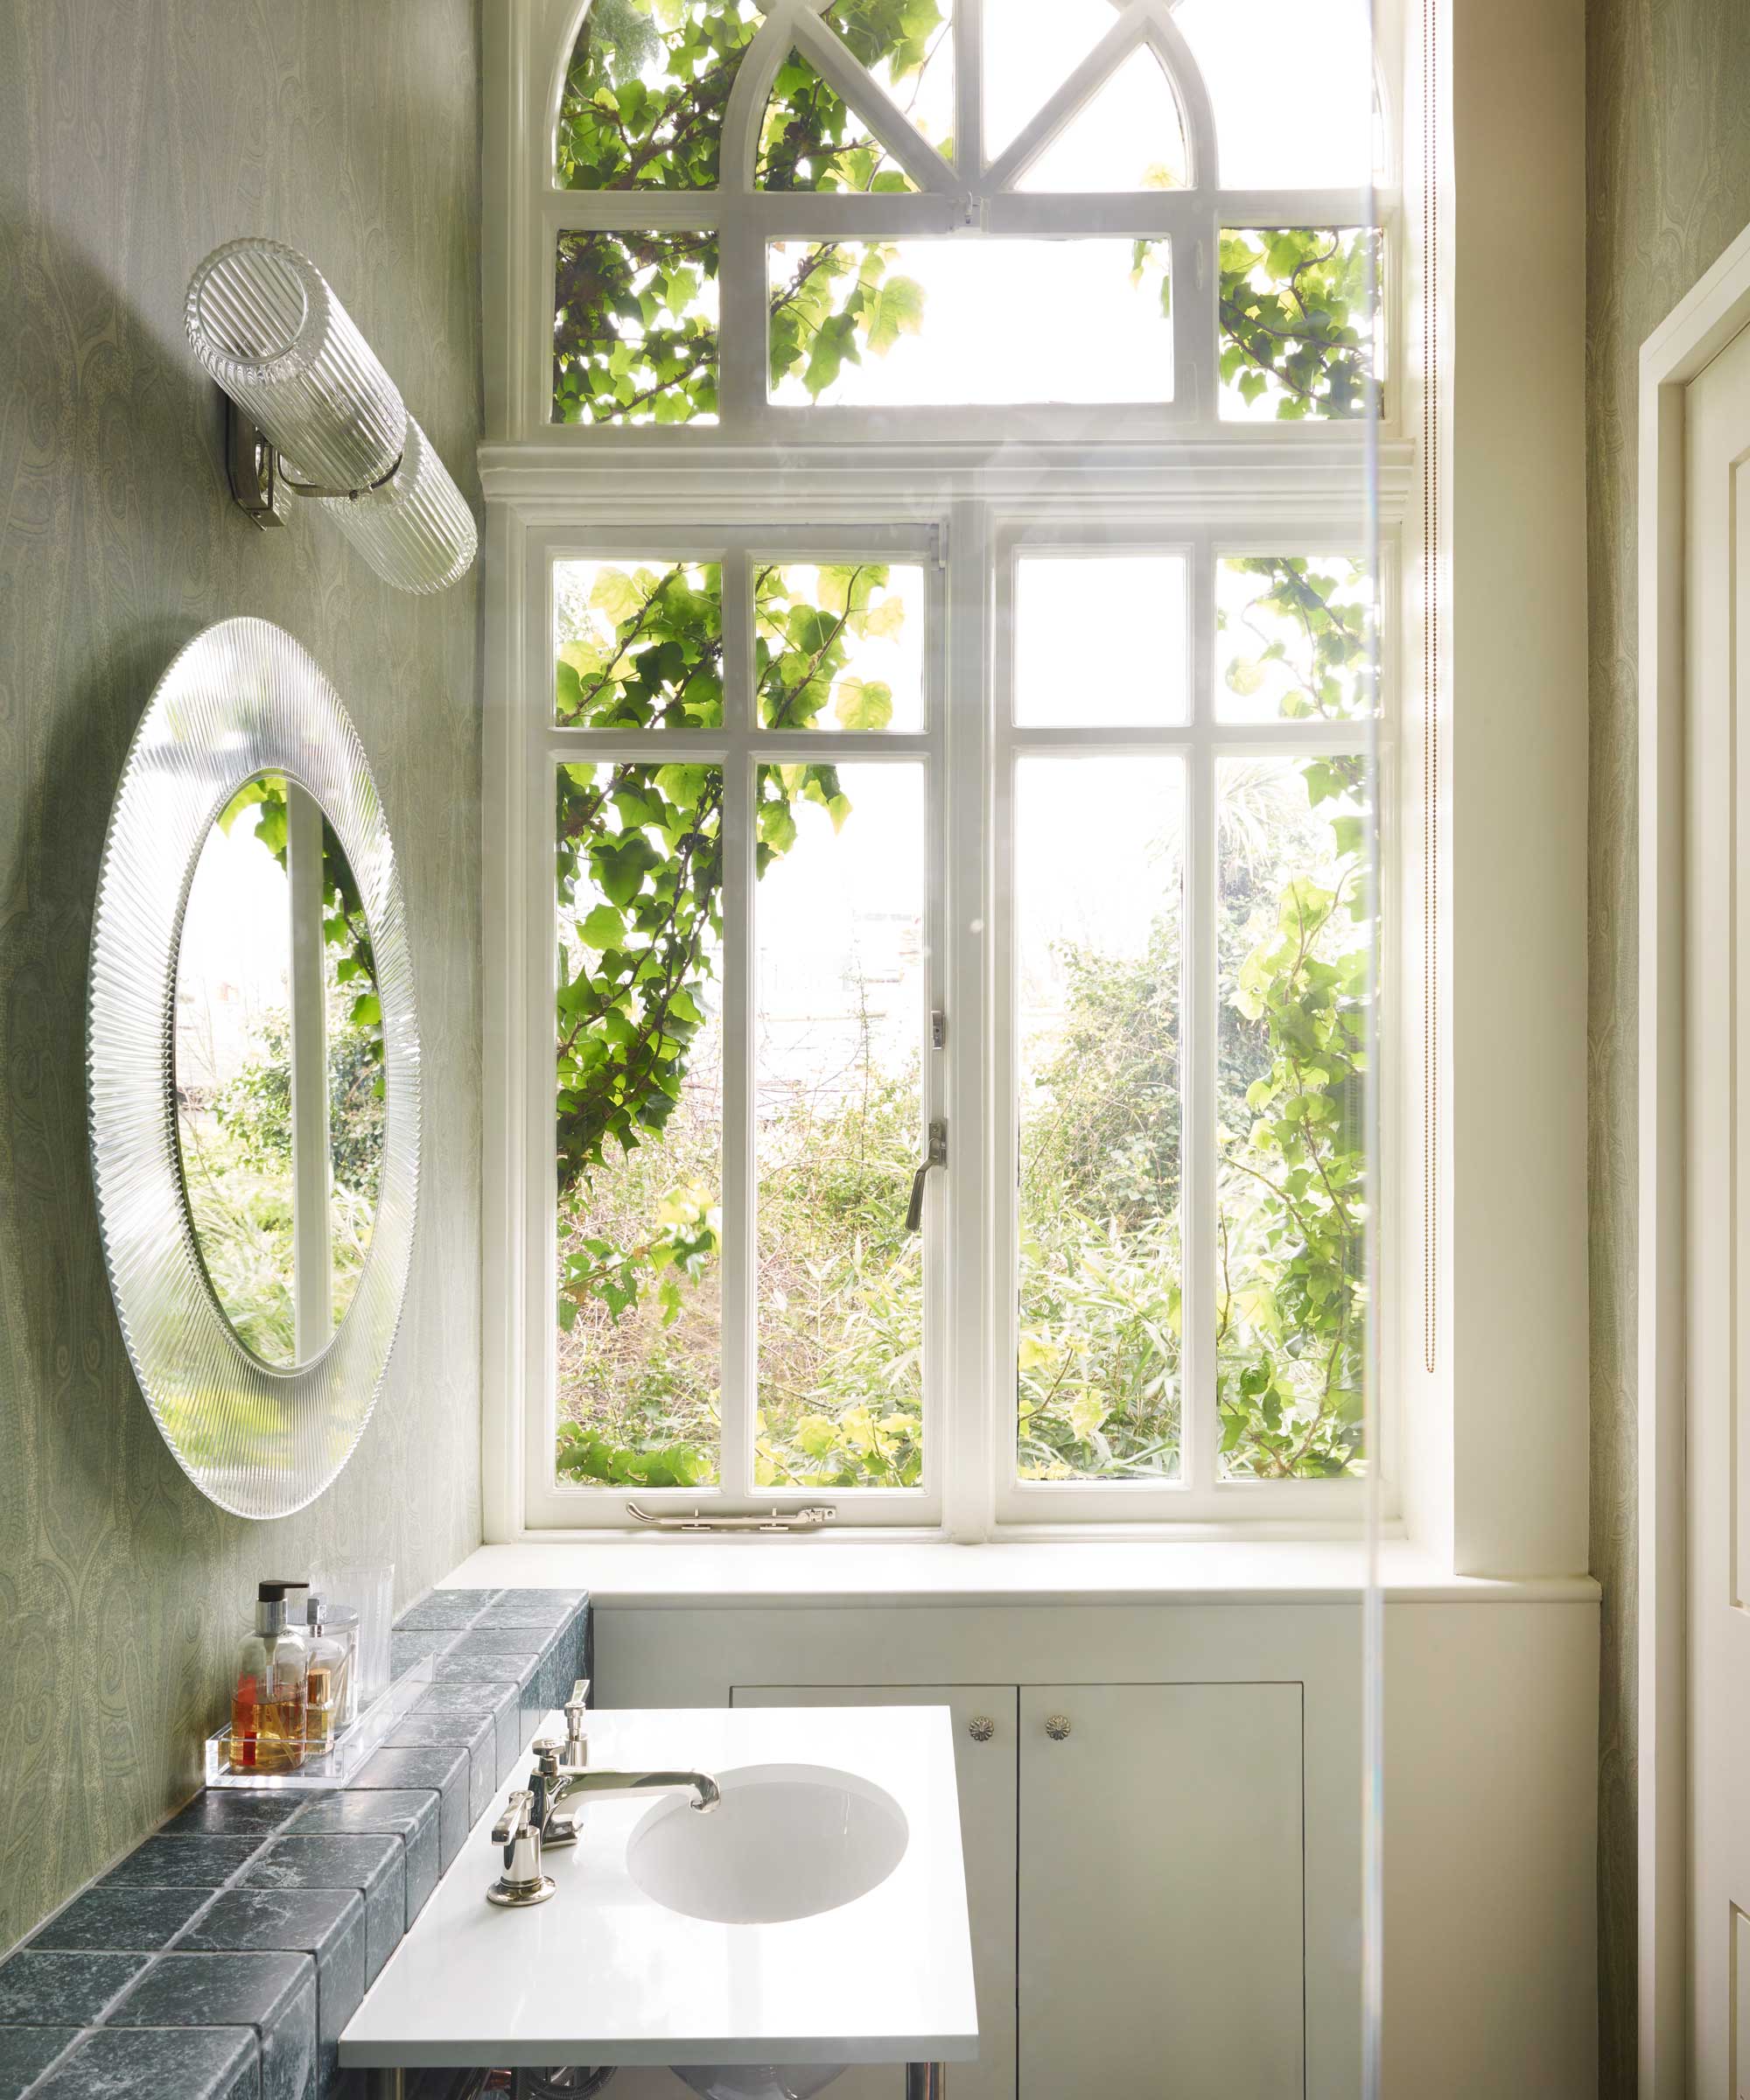
Before cleaning the sink, clean any of the accessories you keep on your vanity and set them aside to make all surfaces available for sanitation.
Bethany Skorik, lifestyle coach and owner of The Charming Diplomat says, 'Remember to wipe down soap dispensers, tissue boxes, toothbrush holders, and all other storage items each time you clean the sink. Everything displayed in a bathroom should be clean and sterile, including flower arrangements, decorations, and shampoo bottles. Dust and soap scum suggest a superficial cleanliness level, which is NOT what we want in the bathroom!'
These need dusting or running under some warm water and washed out with some dish soap, such as Dawn from Walmart, to break down grime and keep your essentials hygienic.
Take some time to clean a mirror without leaving streaks while you're at it. Marla Mock, cleaning pro, recommends 'polishing mirrors with a glass cleaner, working from side to side with a lint free cloth to help avoid streaks.'
8. Scrub the sink
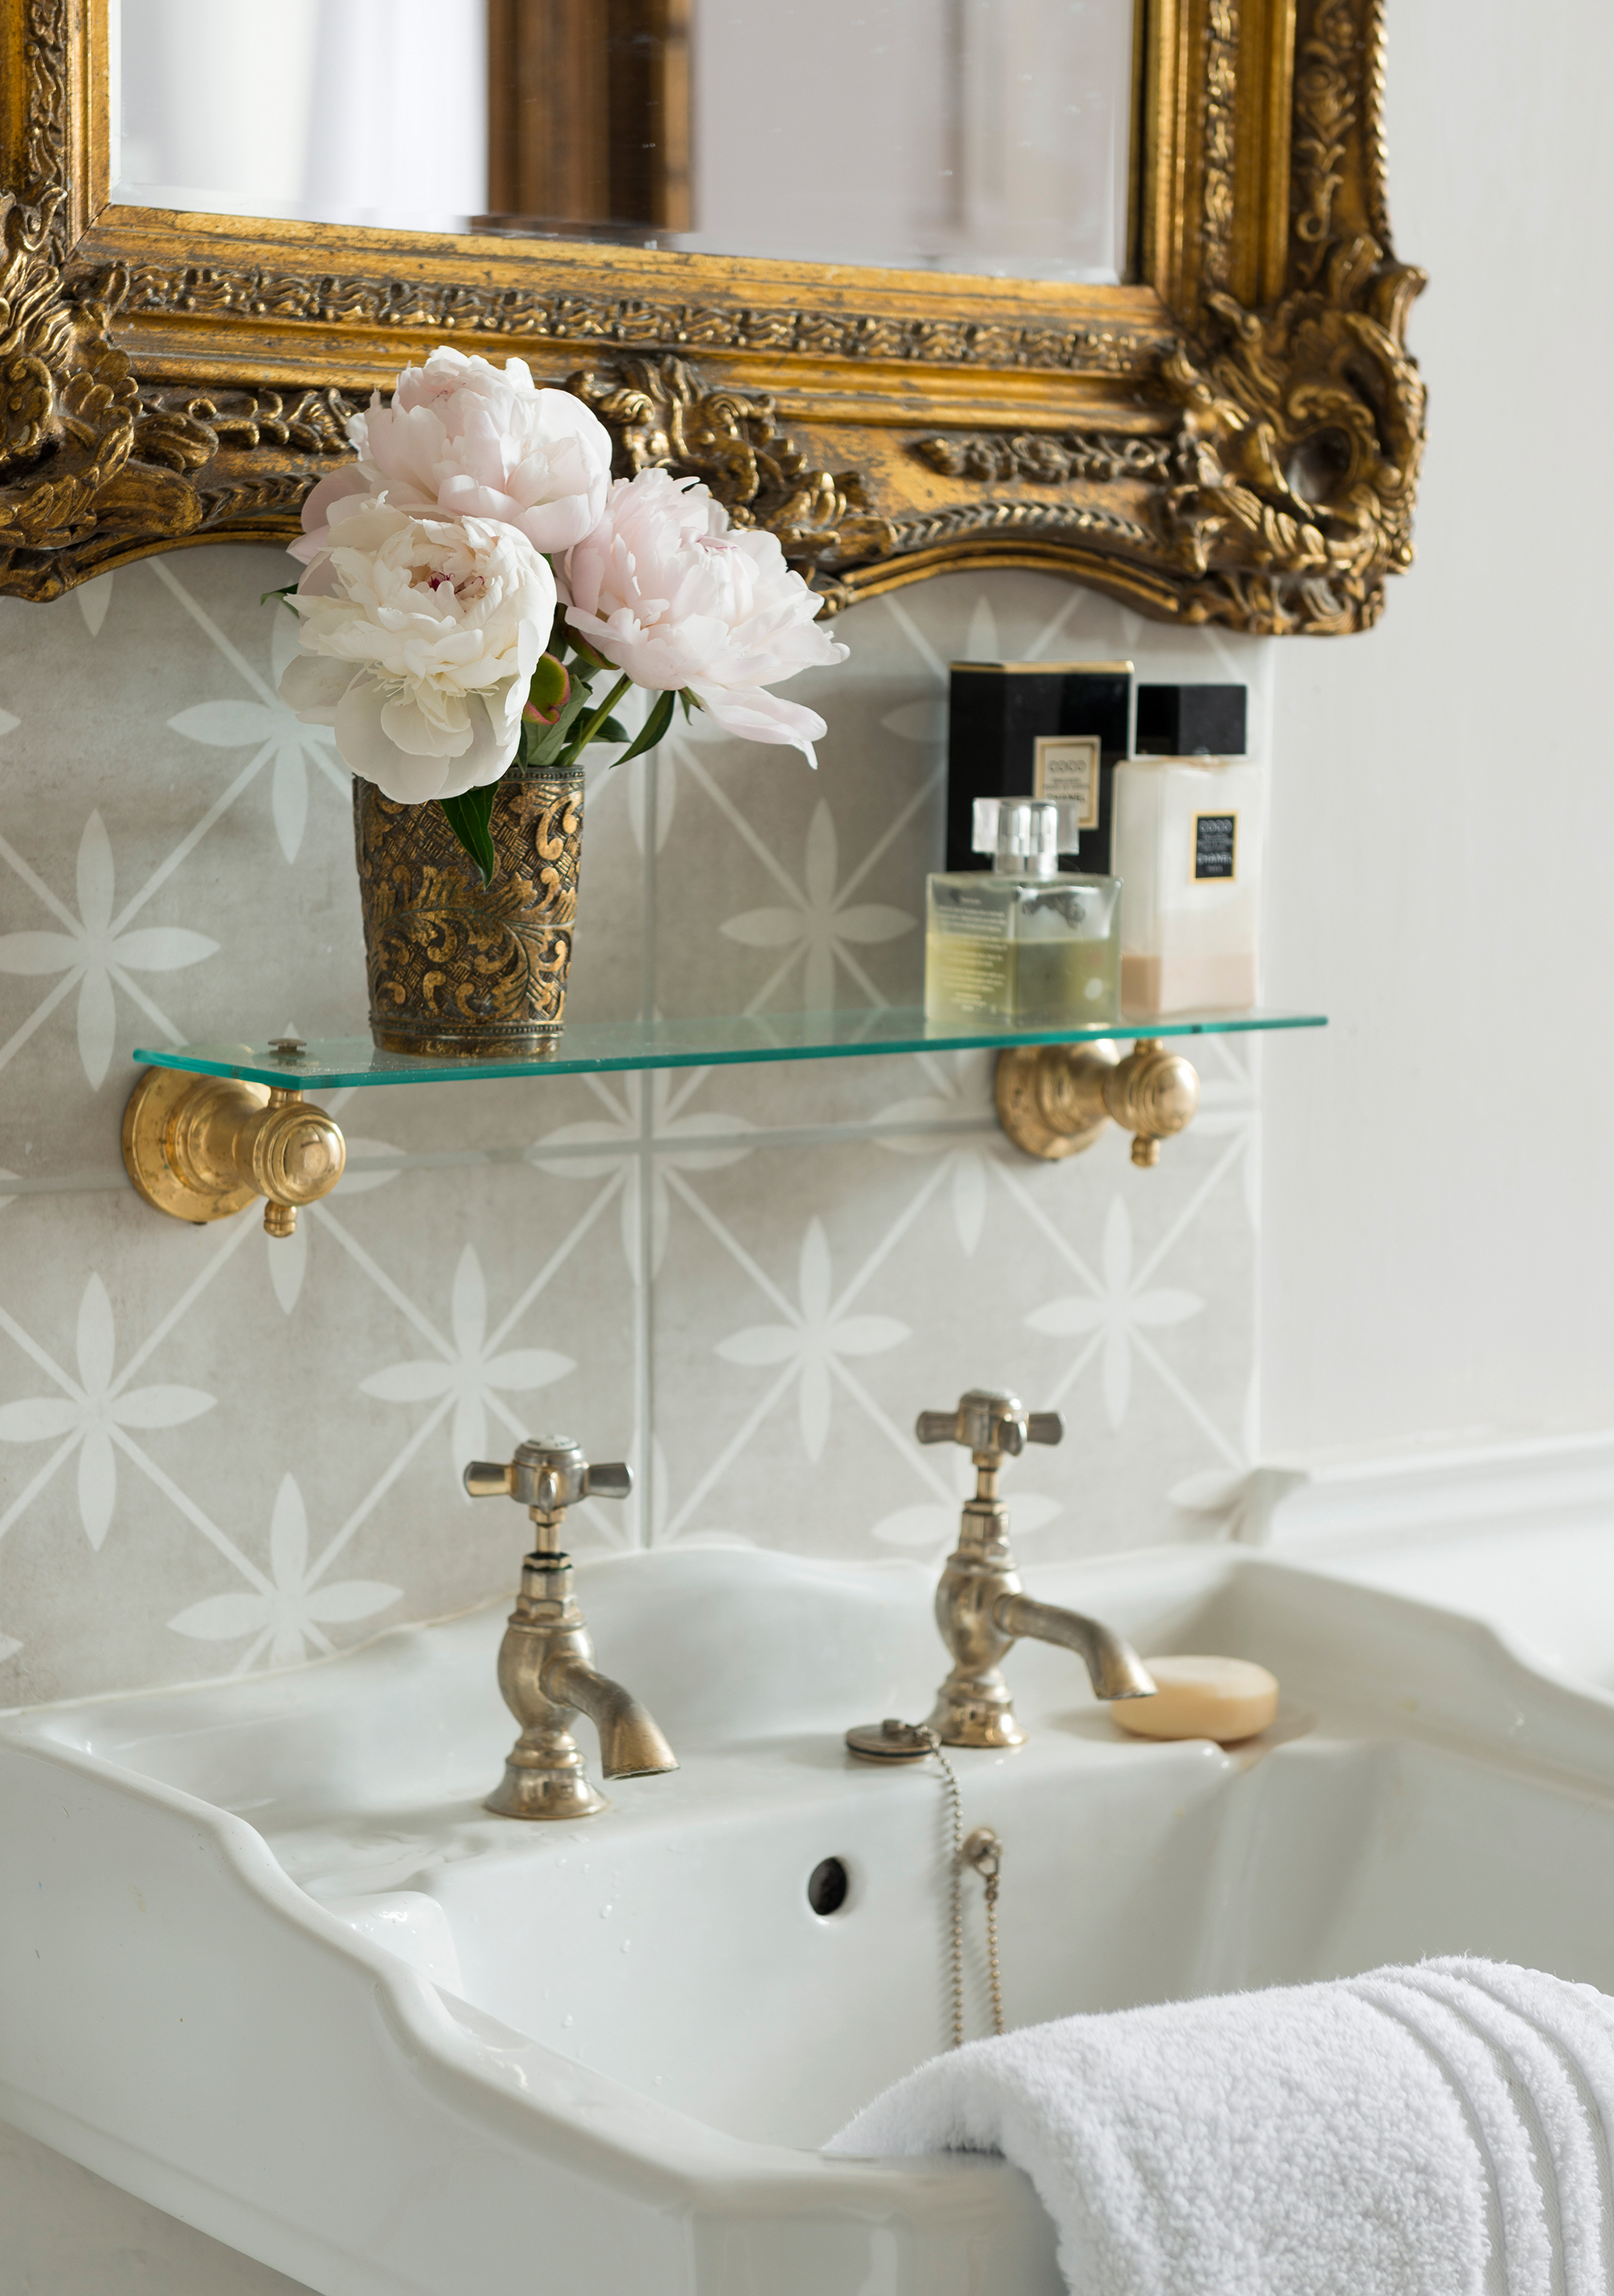
Now that the bulk of your deep cleaning is done and you are largely finished rinsing items under the faucet, you can clean the bathroom sink.
Delah Gomasi assures us, 'An all-purpose cleaning spray works just fine for both your bathroom sink, cleaning faucet heads, and counter (avoid acidic cleaners on natural stone).'
Simply spray and buff the solution away with a microfiber cloth. We've tried buffing candle wax on faucets and it prevents water marks for up to a week.
9. Check drains
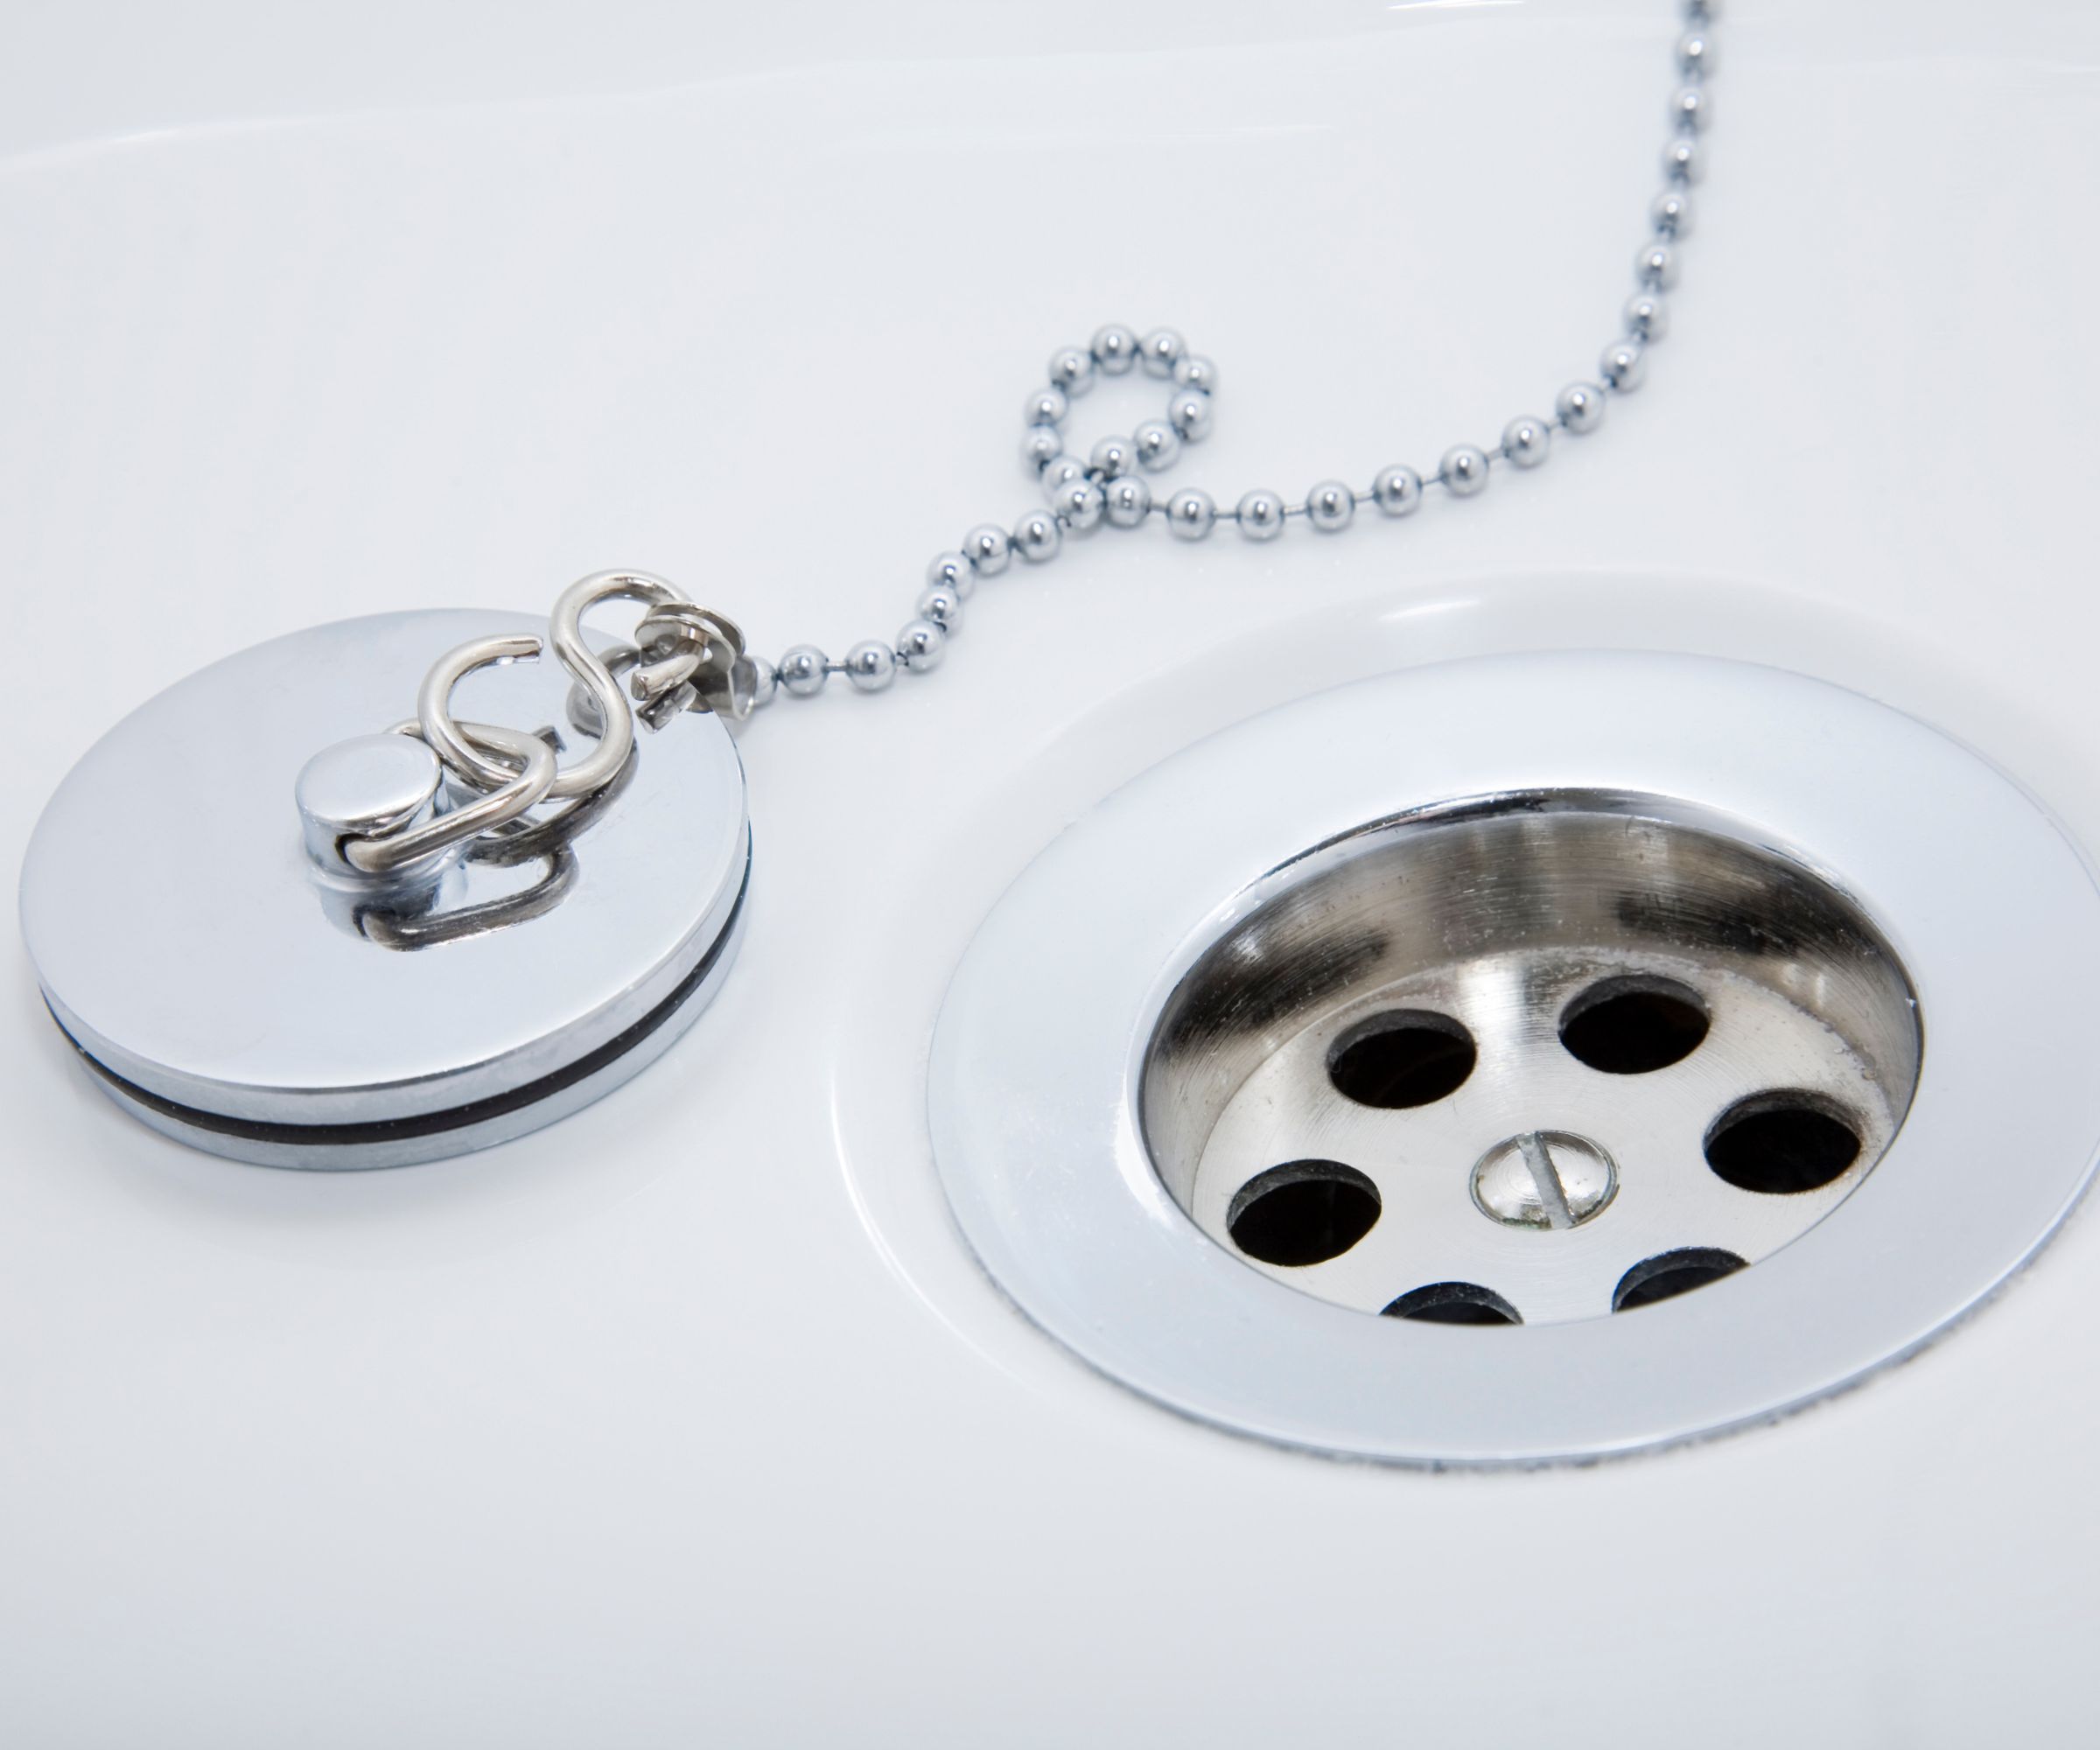
This step may not be necessary every time, but if you find yourself standing in an inch of water when showering, or your bath is taking forever to empty, it’s worth flushing out the drains.
James Roberts, director at Sanctuary Bathrooms says, 'The most common cause of these bathtub clogs is a build-up of hair, grease, and soap scum. If left untreated, slow-draining water can leave a slippery surface in your bath or shower, which could be a potential slip hazard.
'To solve the issue, first, clear any visible and reachable blockages free of the plughole and then test to see if this has worked by pouring water down the drain.
‘If that doesn’t unblock your drain, try mixing a DIY drain cleaning solution with vinegar and sodium bicarbonate. Mixing soda and vinegar creates a bubbling reaction that can really help shift build-ups. This simple household trick is a cheap and safe alternative to stronger chemicals.'
If the blockage still remains, try using a Plumber’s Snake (available from Amazon or your local hardware store) to dislodge it. For a really stubborn blockage, you may need to resort to stronger chemicals.
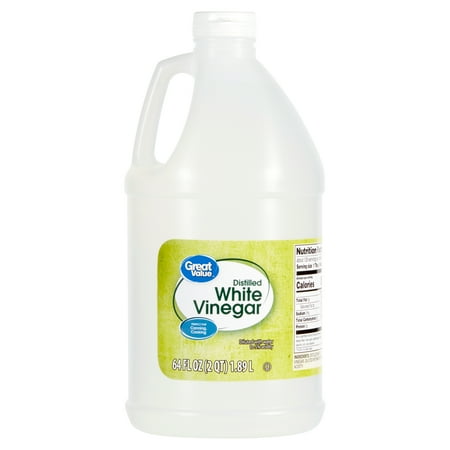
White vinegar is a natural deodorizer, helping to make bathroom drains smell nice while breaking down grease and killing bacteria.
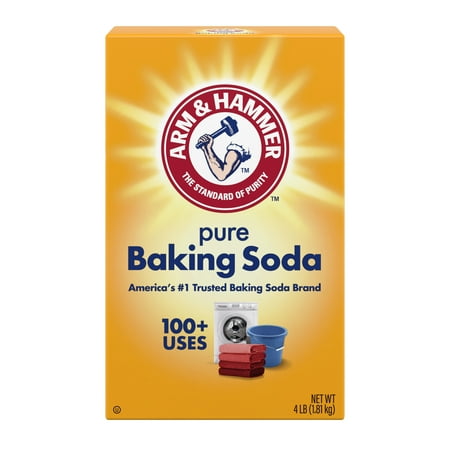
Baking soda is a natural abrasive that helps break down tough deposits without scratching delicate surfaces.
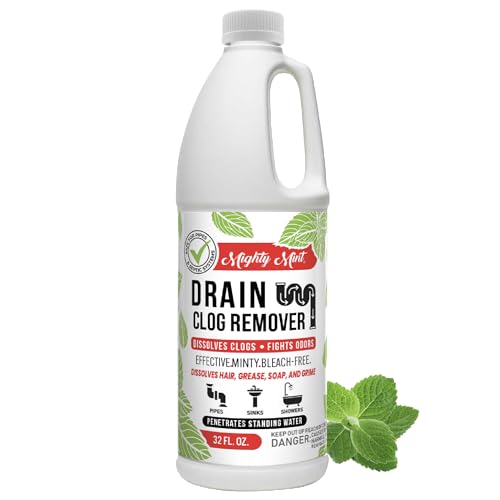
With a fresh mint scent, this top-rated drain clog remover is perfect for freshening up drains and breaking down more stubborn blocks in bathroom and kitchen drains.
10. Finish with floors and mats
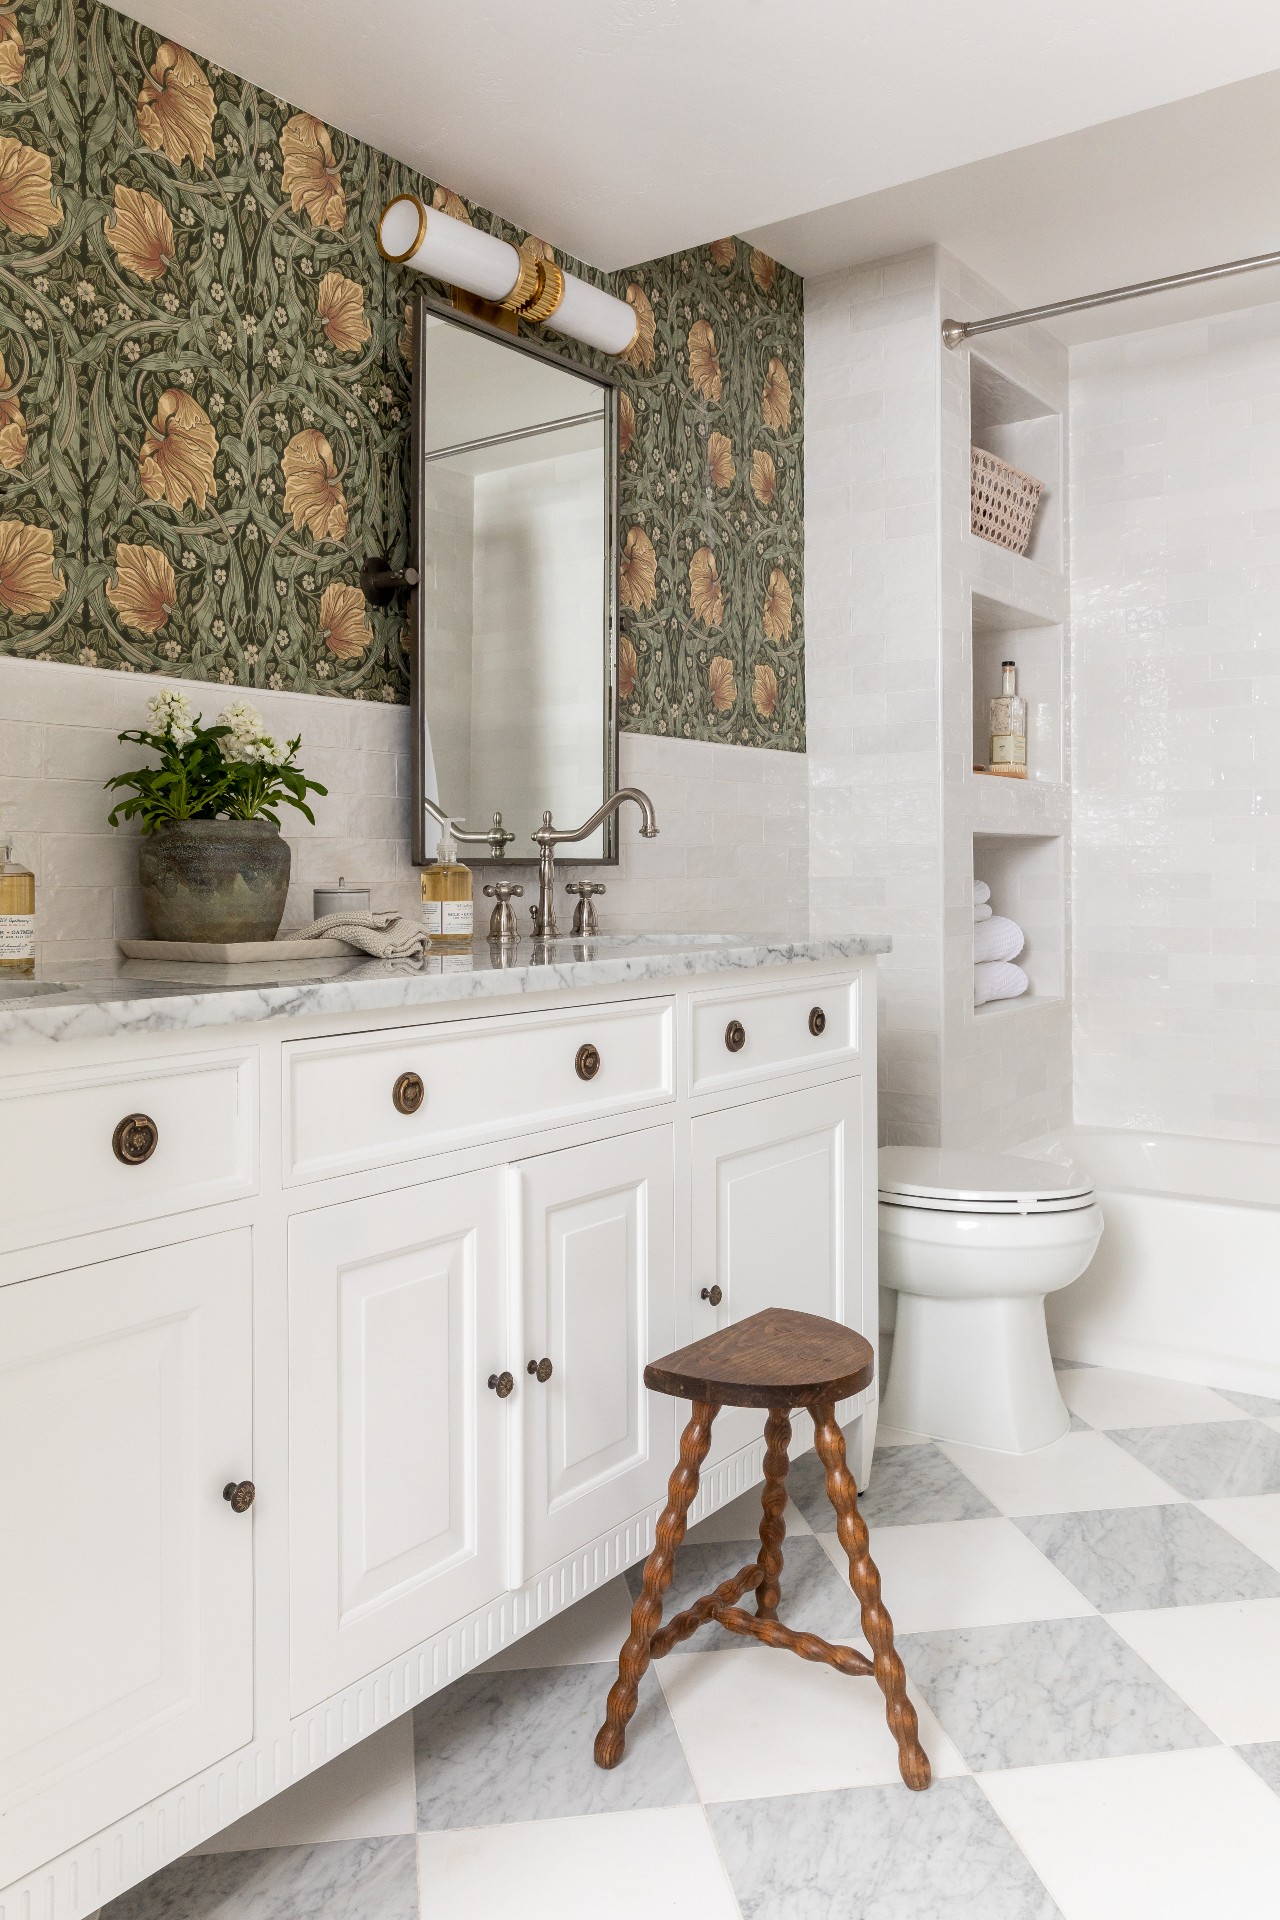
The final step in any room is the floor. This makes it so you are not worrying about spilling cleaning solutions or dripping water onto the fresh bathroom floor ideas when cleaning everything else.
To clean a bathroom floor, Marla Mock says, 'Remove items like baskets or bins and sweep corners and edges. Vacuum remaining debris before mopping with warm water and all-purpose cleaner.
'Allow the floor to dry before using the space.'
It is helpful to start in the furthest corner from the door and work backward towards the door to keep your feet dry and minimize marks on the freshly mopped floor while it dries.
11. Restore order
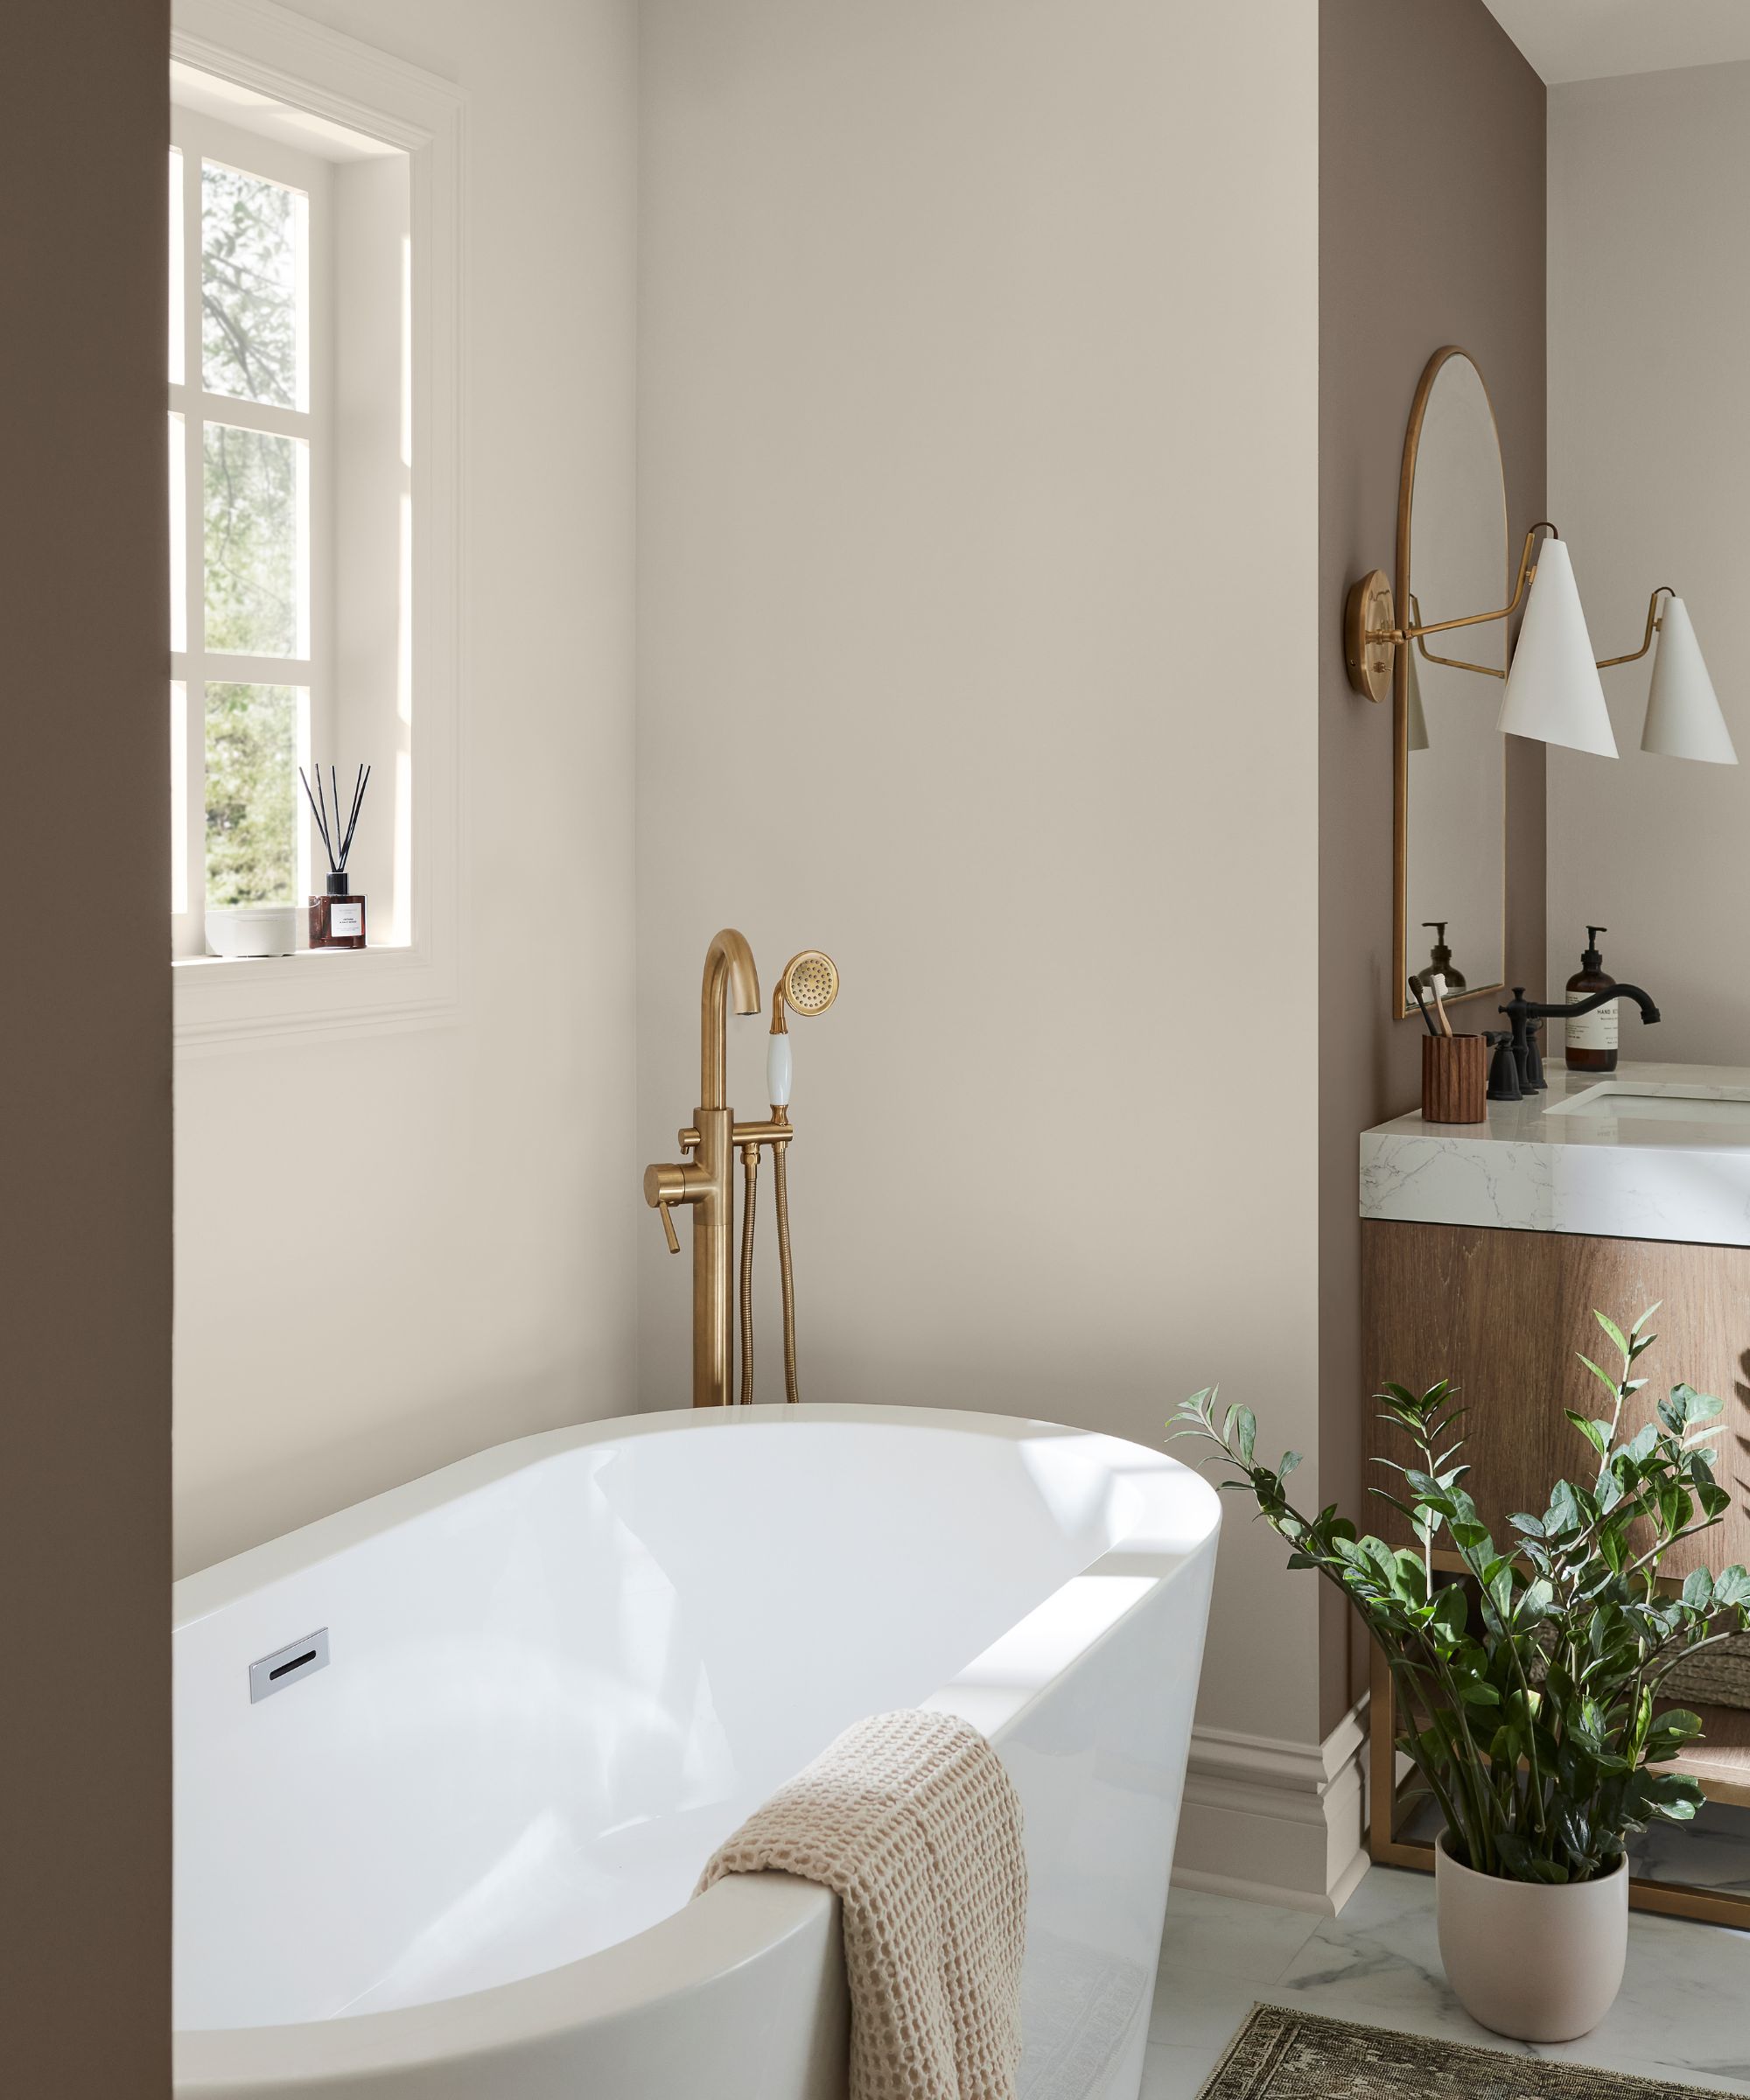
All that’s left to do now is replace the toiletries and toothbrushes you removed for cleaning, add fresh towels, and make a bathroom smell fresh.
Belinda Everingham, founder of Bondi Wash says, ‘A few drops of your favorite essential oil in the toilet helps remove odors and will leave your bathroom smelling fresh and inviting.'
You may want to give towels a refresh too, making sure you know how to soften towels when you wash them to give your clean bathroom the perfect finishing touch.
FAQs
How often should you clean your bathroom?
How often you should clean a bathroom generally depends on usage, but the general rule of thumb is at least once a week.
Heavily used family bathrooms may require freshening up more often, while lesser-used guest bathrooms can get away with less frequent cleans.
Deep cleaning a bathroom is a little easier when you follow some of the more regular things people with clean homes have in common.
Small tasks people with clean bathrooms always do, like using a squeegee on the screen after showering, closing the toilet lid when flushing, and rinsing toothpaste off basins, will help make deeper cleans less backbreaking.
Next, learn how to get rid of water stains.

Chiana has been at Homes & Gardens for two years and is our resident 'queen' of non-toxic living. She spends most of her time producing content for the Solved section of the website, helping readers get the most out of their homes through clever decluttering, cleaning, and tidying tips. She was named one of Fixr's top home improvement journalists in 2024.
You must confirm your public display name before commenting
Please logout and then login again, you will then be prompted to enter your display name.
