How to refinish hardwood floors – and keep them in top condition
Refinish hardwood floors and make them look their best. This is what you need to know


Knowing how to refinish hardwood floors will ensure this beautiful material looks its best throughout its long lifetime.
Whether you've selected wood flooring ideas for a kitchen, living room, hallway, or the bedroom, a hardwood floor is a durable, natural choice and one that can look even better as it ages. But whether in order to repair damage, prevent furniture from sliding on hardwood floors, or to revive it because it’s looking tired, refinishing hardwood flooring can be on the agenda from time to time.
These are the details on how to refinish a hardwood floor, along with advice from the experts.
Refinish hardwood floors
‘Floorboards take a lot of abuse, especially where they are in hallways or other well-used areas. Moisture, grit and debris brought in from outside will quickly cause damage,’ says Roger Hunt, Period Living's renovation expert and author of Old House Handbook. It is possible to restore and refinish hardwood floors on a DIY basis, while a good carpenter can make more substantial repairs.
Hardwood floors may be made from one of a number of different woods, but oak is the most popular. You may also have softwood floors, such as pine, which can usually be restored using the same methods. The boards come in different forms too, from simple planks to parquet blocks and tongue and groove boards.
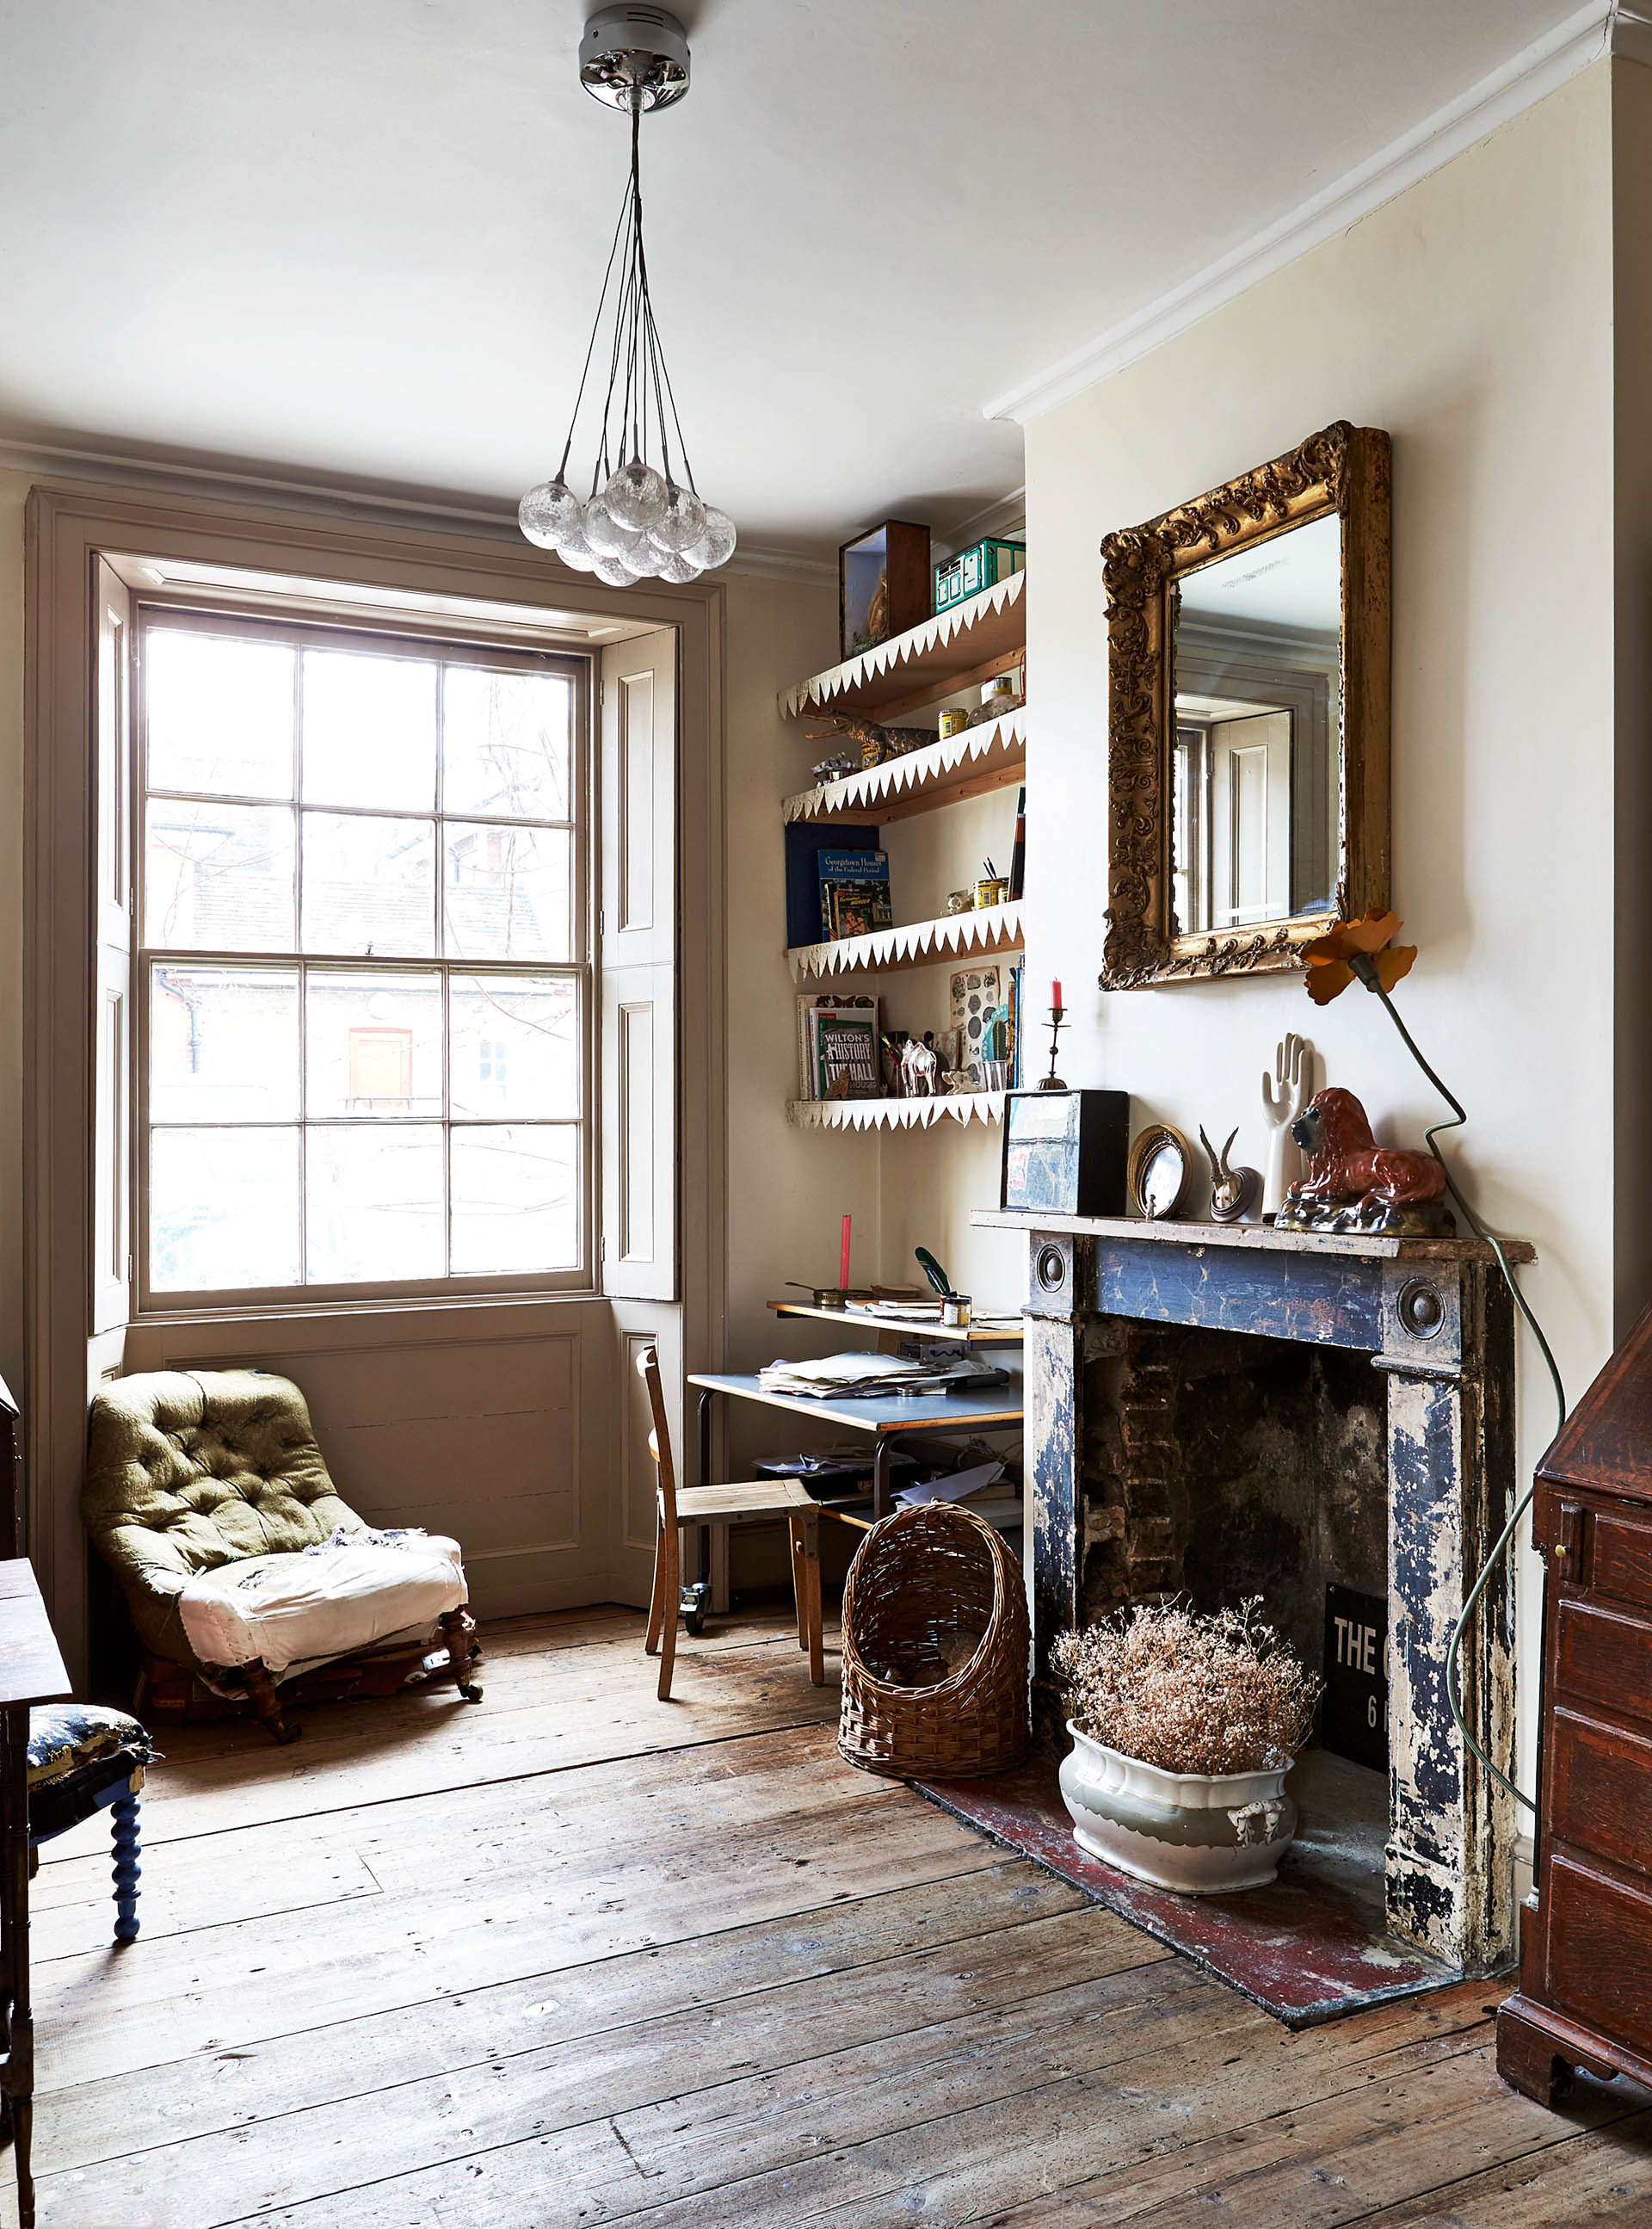
Should I sand my hardwood floors?
When deciding how to refinish hardwood floors, the biggest dilemma is usually whether to sand them.
‘Think carefully before you sand hardwood floors as this will destroy any surface patina and may reveal woodworm damage just below the timber’s surface,’ says Roger Hunt.
In an old house it is possible to cause unsightly marks and even destabilize the floor though poor sanding work.
Sanding hardwood floors will also create a huge amount of dust, which is unpleasant and can potentially cause health issues. ‘Fine wood dust can hang in the air and be breathed in. Irritation is quite common and normally manifests itself by causing itching, sneezing, and short term breathing problems,’ says Terry Guilford, technical director of The Ultimate Floor Sanding Co.
However, where a floor is very scratched or worn, and you prefer a sleeker look, you will only be able to achieve this finish by sanding and refinishing.
'Patch repairs to a varnished floor are rarely successful; for an acceptable finish, scratched or worn varnish must be completely sanded back,' says renovation expert Helaine Clare.
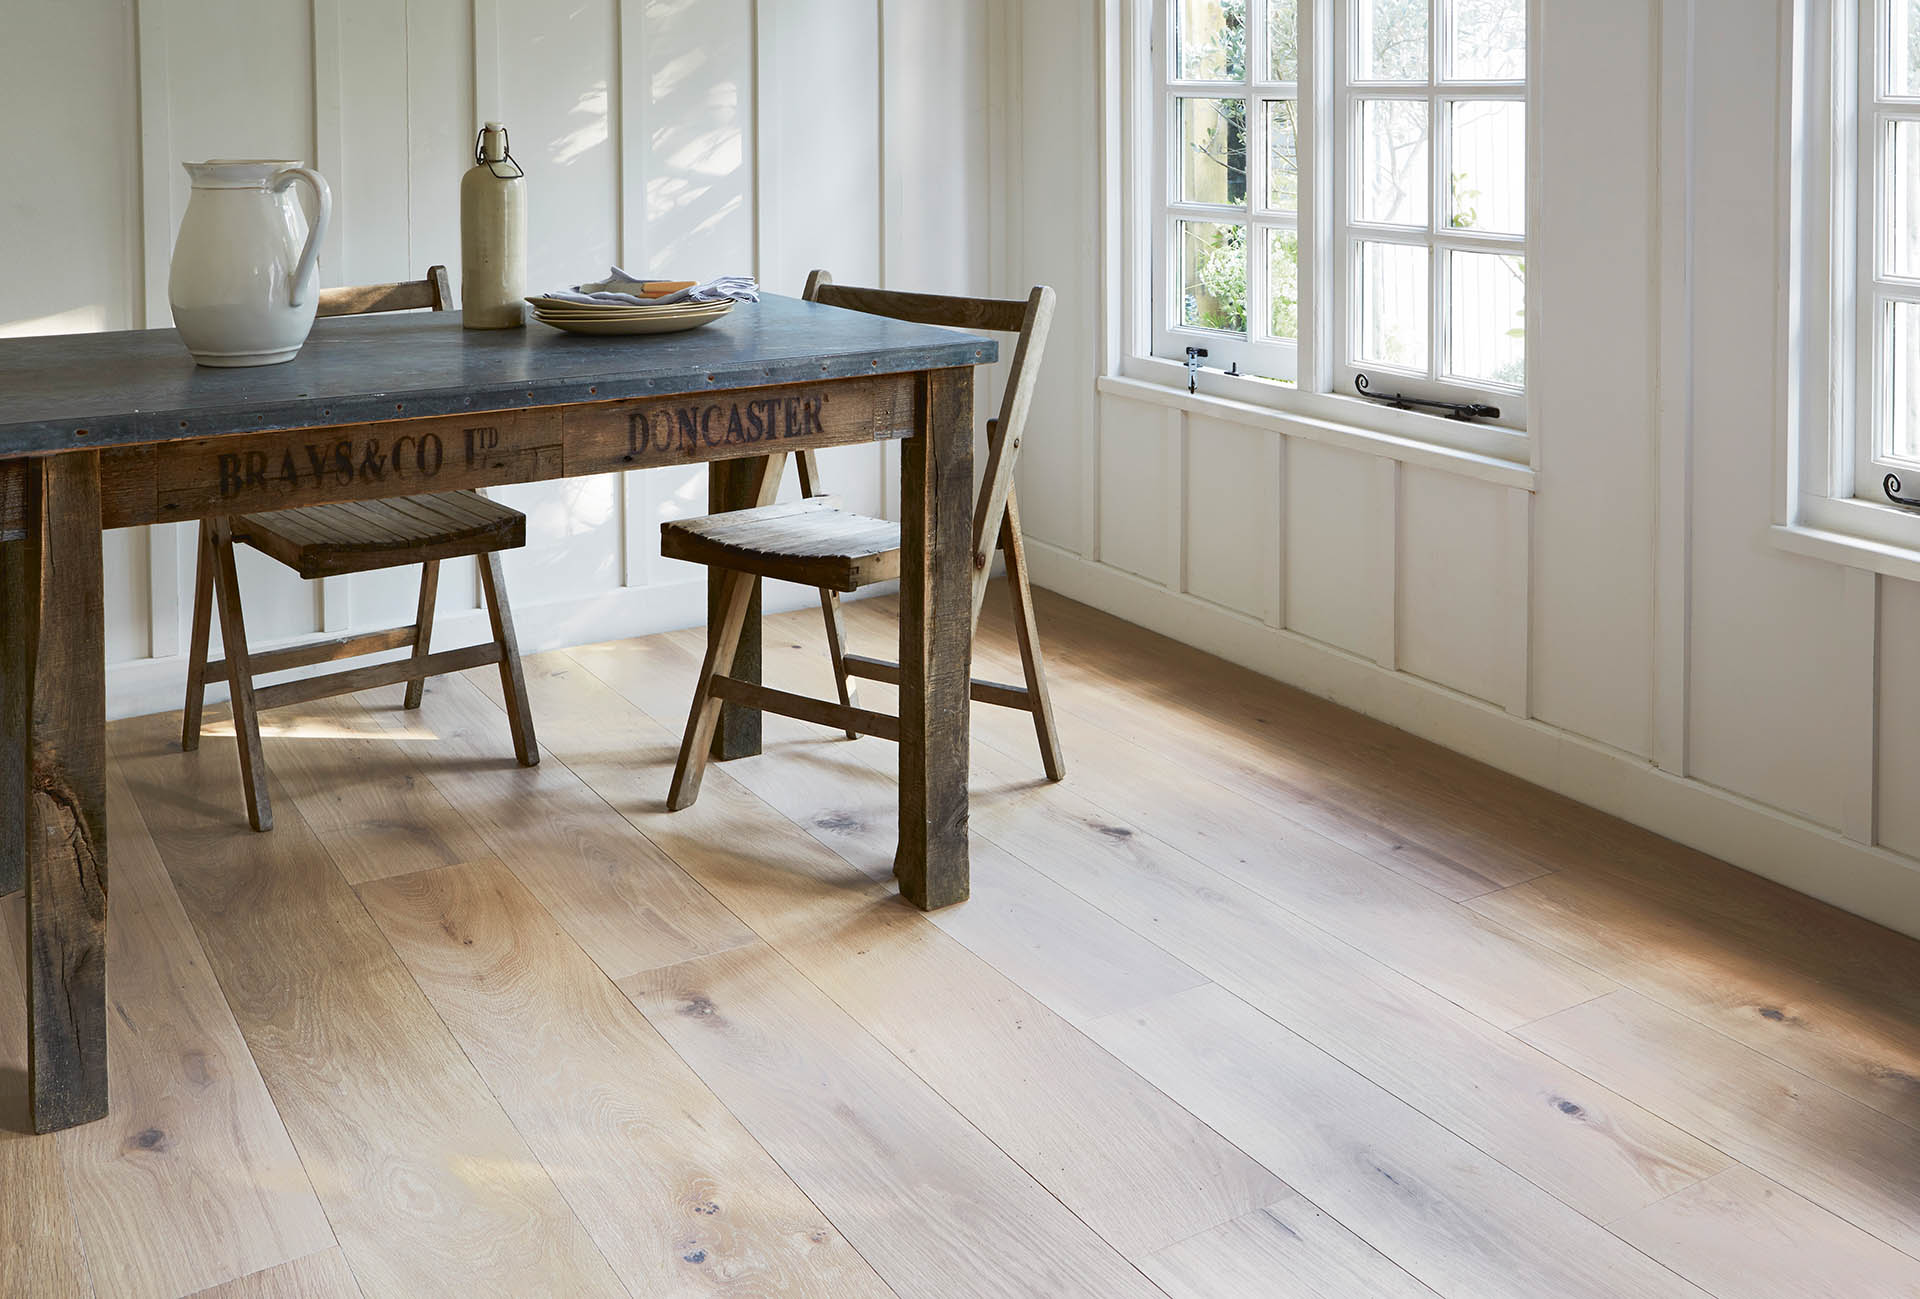
If you do decide to sand the floor back, it’s important to ensure it is not too thin. ‘Solid wood floors can be sanded four or five times in their lifetime, while engineered floors are thinner and may be sanded two or three times,’ says floor sanding and restoration specialist Stoyan Vesov of Flooring First.
'The surface area must be free of furniture and the floor has to be dry and not have protruding nails. If possible, remove doors that open into the room.'
Ideally, employ a professional to carry out the work for you, but confident DIYers can hire a floor sander, which will quickly remove the surface layer. You will also need a floor edging sander to get up to the skirting boards, and quality protective gear for your eyes, mouth, ears and hands. A disposable dust bag is usually attached to collect the dust.
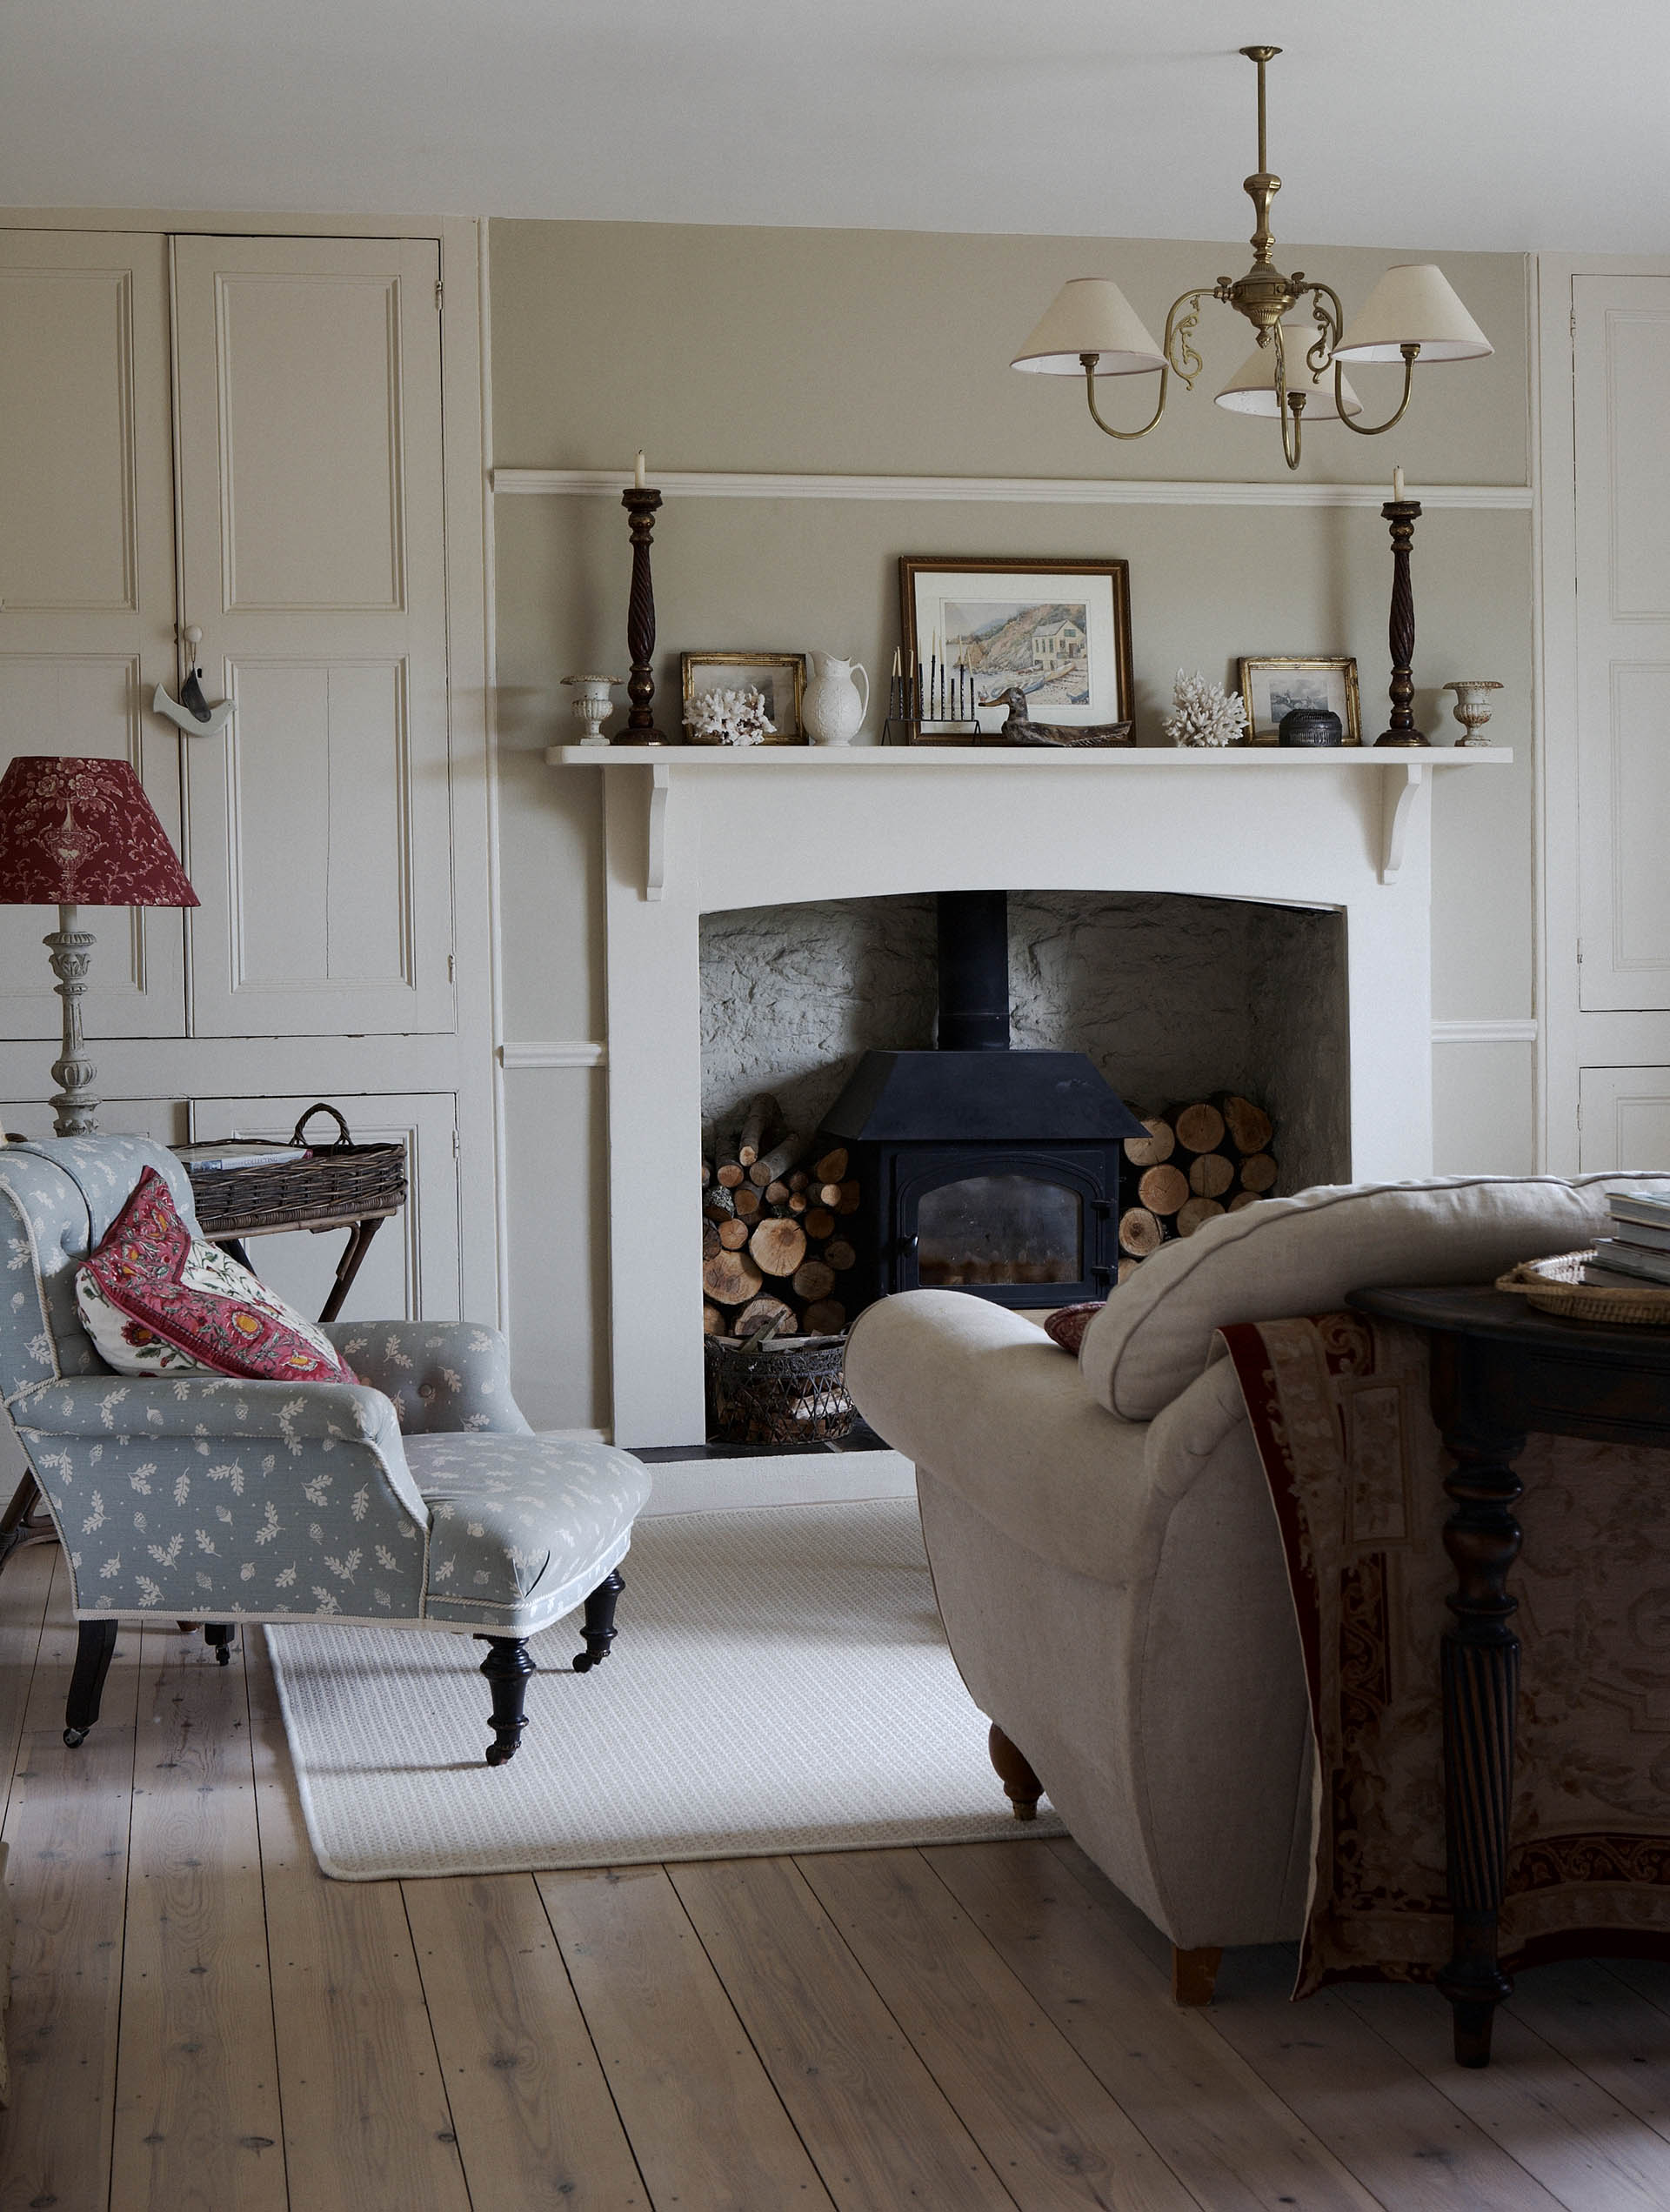
How to refinish hardwood floors without sanding
It is not always desirable to sand hardwood floors when restoring them, as it will strip away years of character imparted through daily wear and tear. If your floor is oiled or waxed, all that may be required is a good clean and reapplication of your chosen finishing product.
Before starting the refinishing of a hardwood floor, make sure it is free from dust – remove loose dirt and grit with a brush, vacuum, then clean with a gentle water-based wood floor cleaner. ‘Try to avoid soaking with water, as this may lift the grain of the wood, and never scrub,’ says Roger Hunt.
To clean the surface of the wood more thoroughly and remove stains and old wax and oil, invest in a specialist lightly alkaline wood cleaner, such as Osmo Intensive Cleaner.
Allow the floor to fully dry out over 24 to 48 hours before refinishing with a fresh coat of oil or wax, following the manufacturer's instructions.
There are a wide variety of oils and waxes to choose from, some offering a natural matte look that enhances the grain of the wood, and some altering its appearance with a tint, or imparting a shine. What you choose comes down to personal taste, but for period houses it’s best to opt for a more natural, breathable finish.
'When deciding on a finish, consider the wear the floor will get,' says restoration expert Helaine Clare.
Lacquered or varnished floors are hardwearing and can usually be identified as they have a shinier, 'harder' finish. Where the finish is lightly scratched, you may be able to apply a new coat without sanding the surface by using a floor buffer – this won’t remove the finish, but will take off the top layer so that it will accept a new coat of your chosen product.
However, for deeper scratches, stains or heavily worn floors, it’s best to sand them first. Alternatively, you could paint the floor to completely refresh the look of the room.
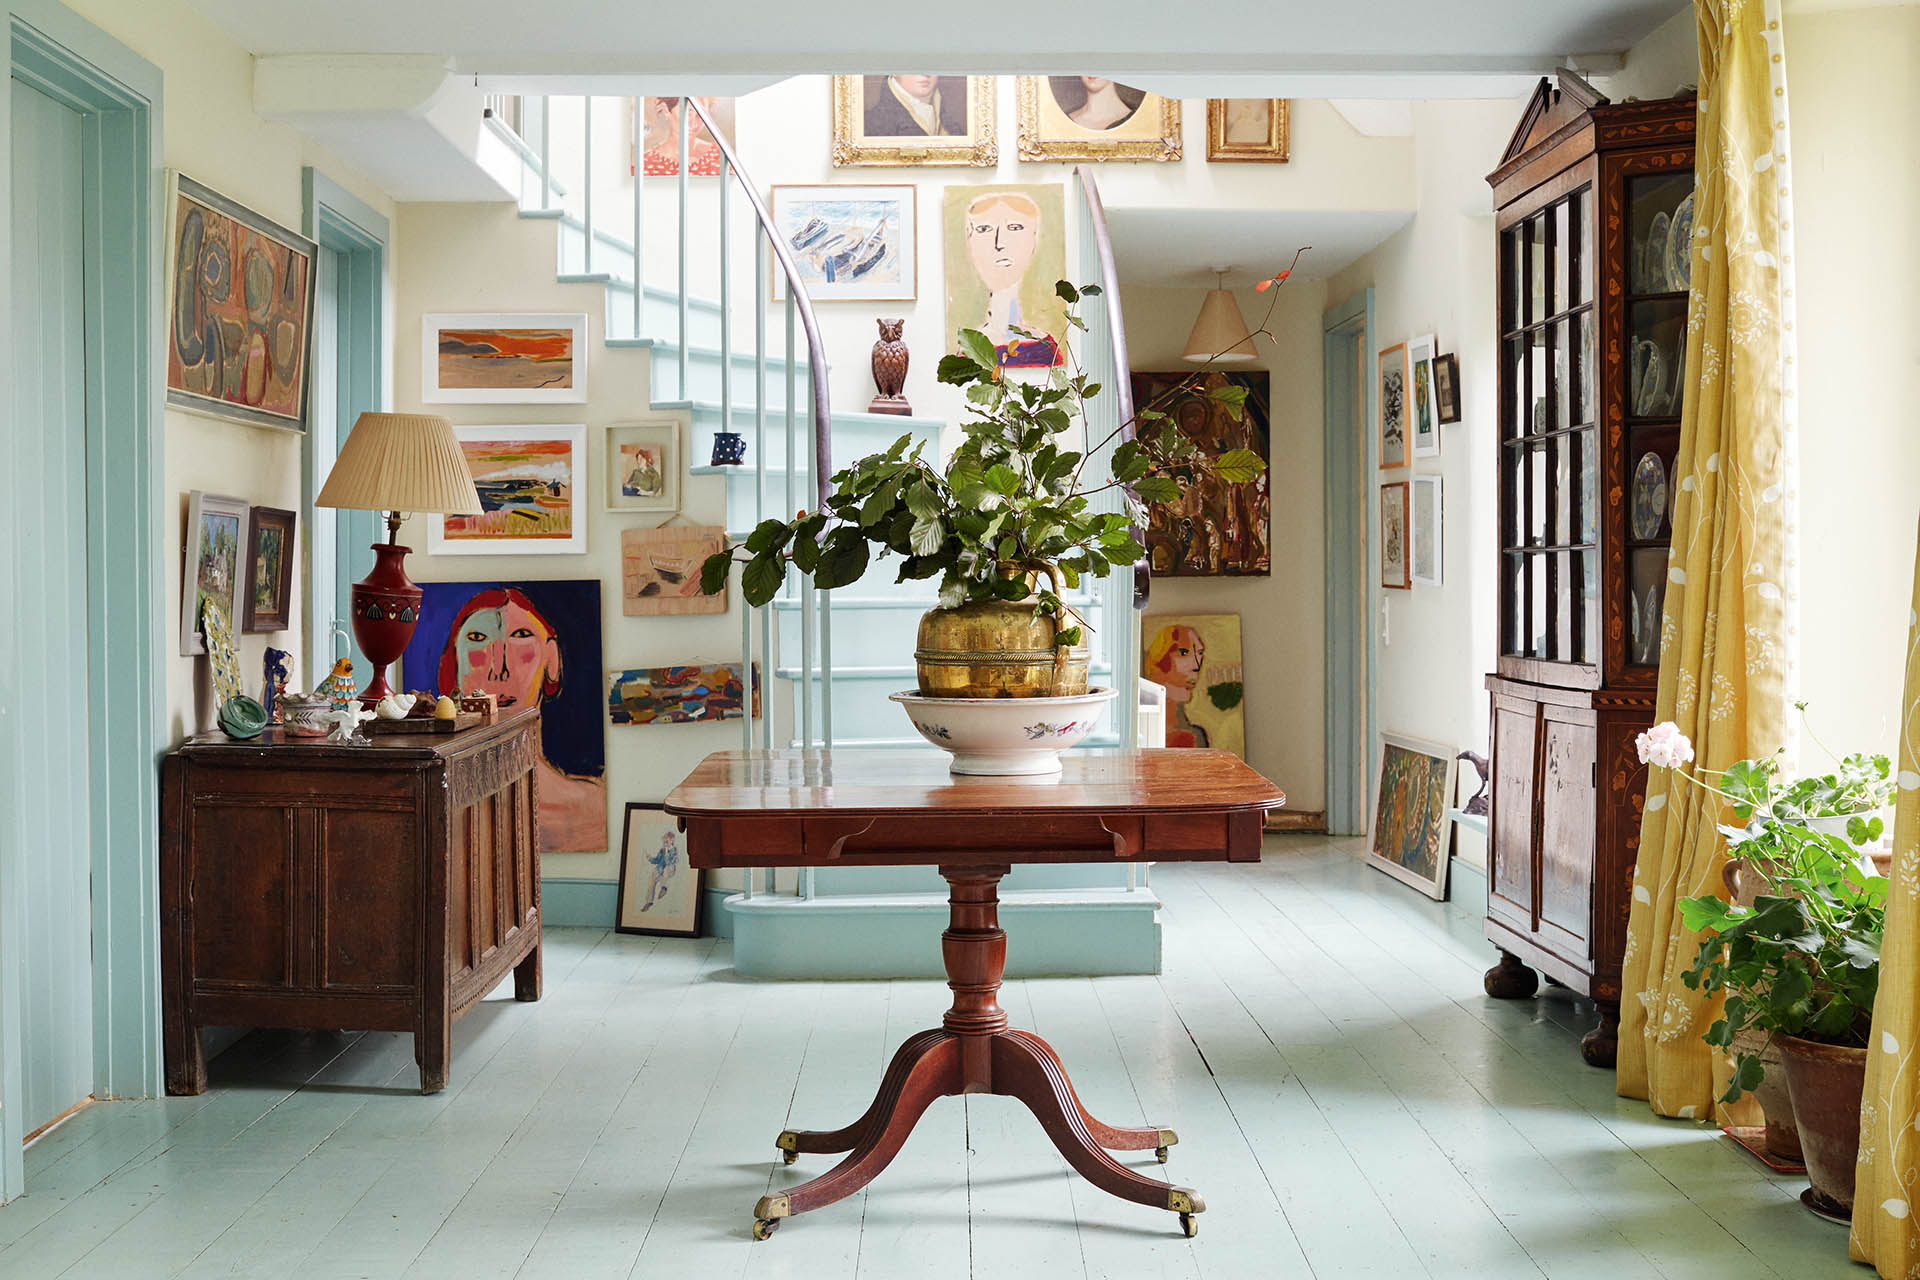
How to repair damaged hardwood floors
If the wooden boards are scratched or marked by spills it is usually possible to sand these out.
'Any damaged sections can be carefully cut out, and new wood of the same type and grain pattern carefully matched in,' says Roger Hunt. 'Splits in boards are best glued and screwed together or cramped.'
However, floorboards should never be lifted unless absolutely necessary. Where this is unavoidable or repairs are needed, the work is best done by a skilled carpenter.
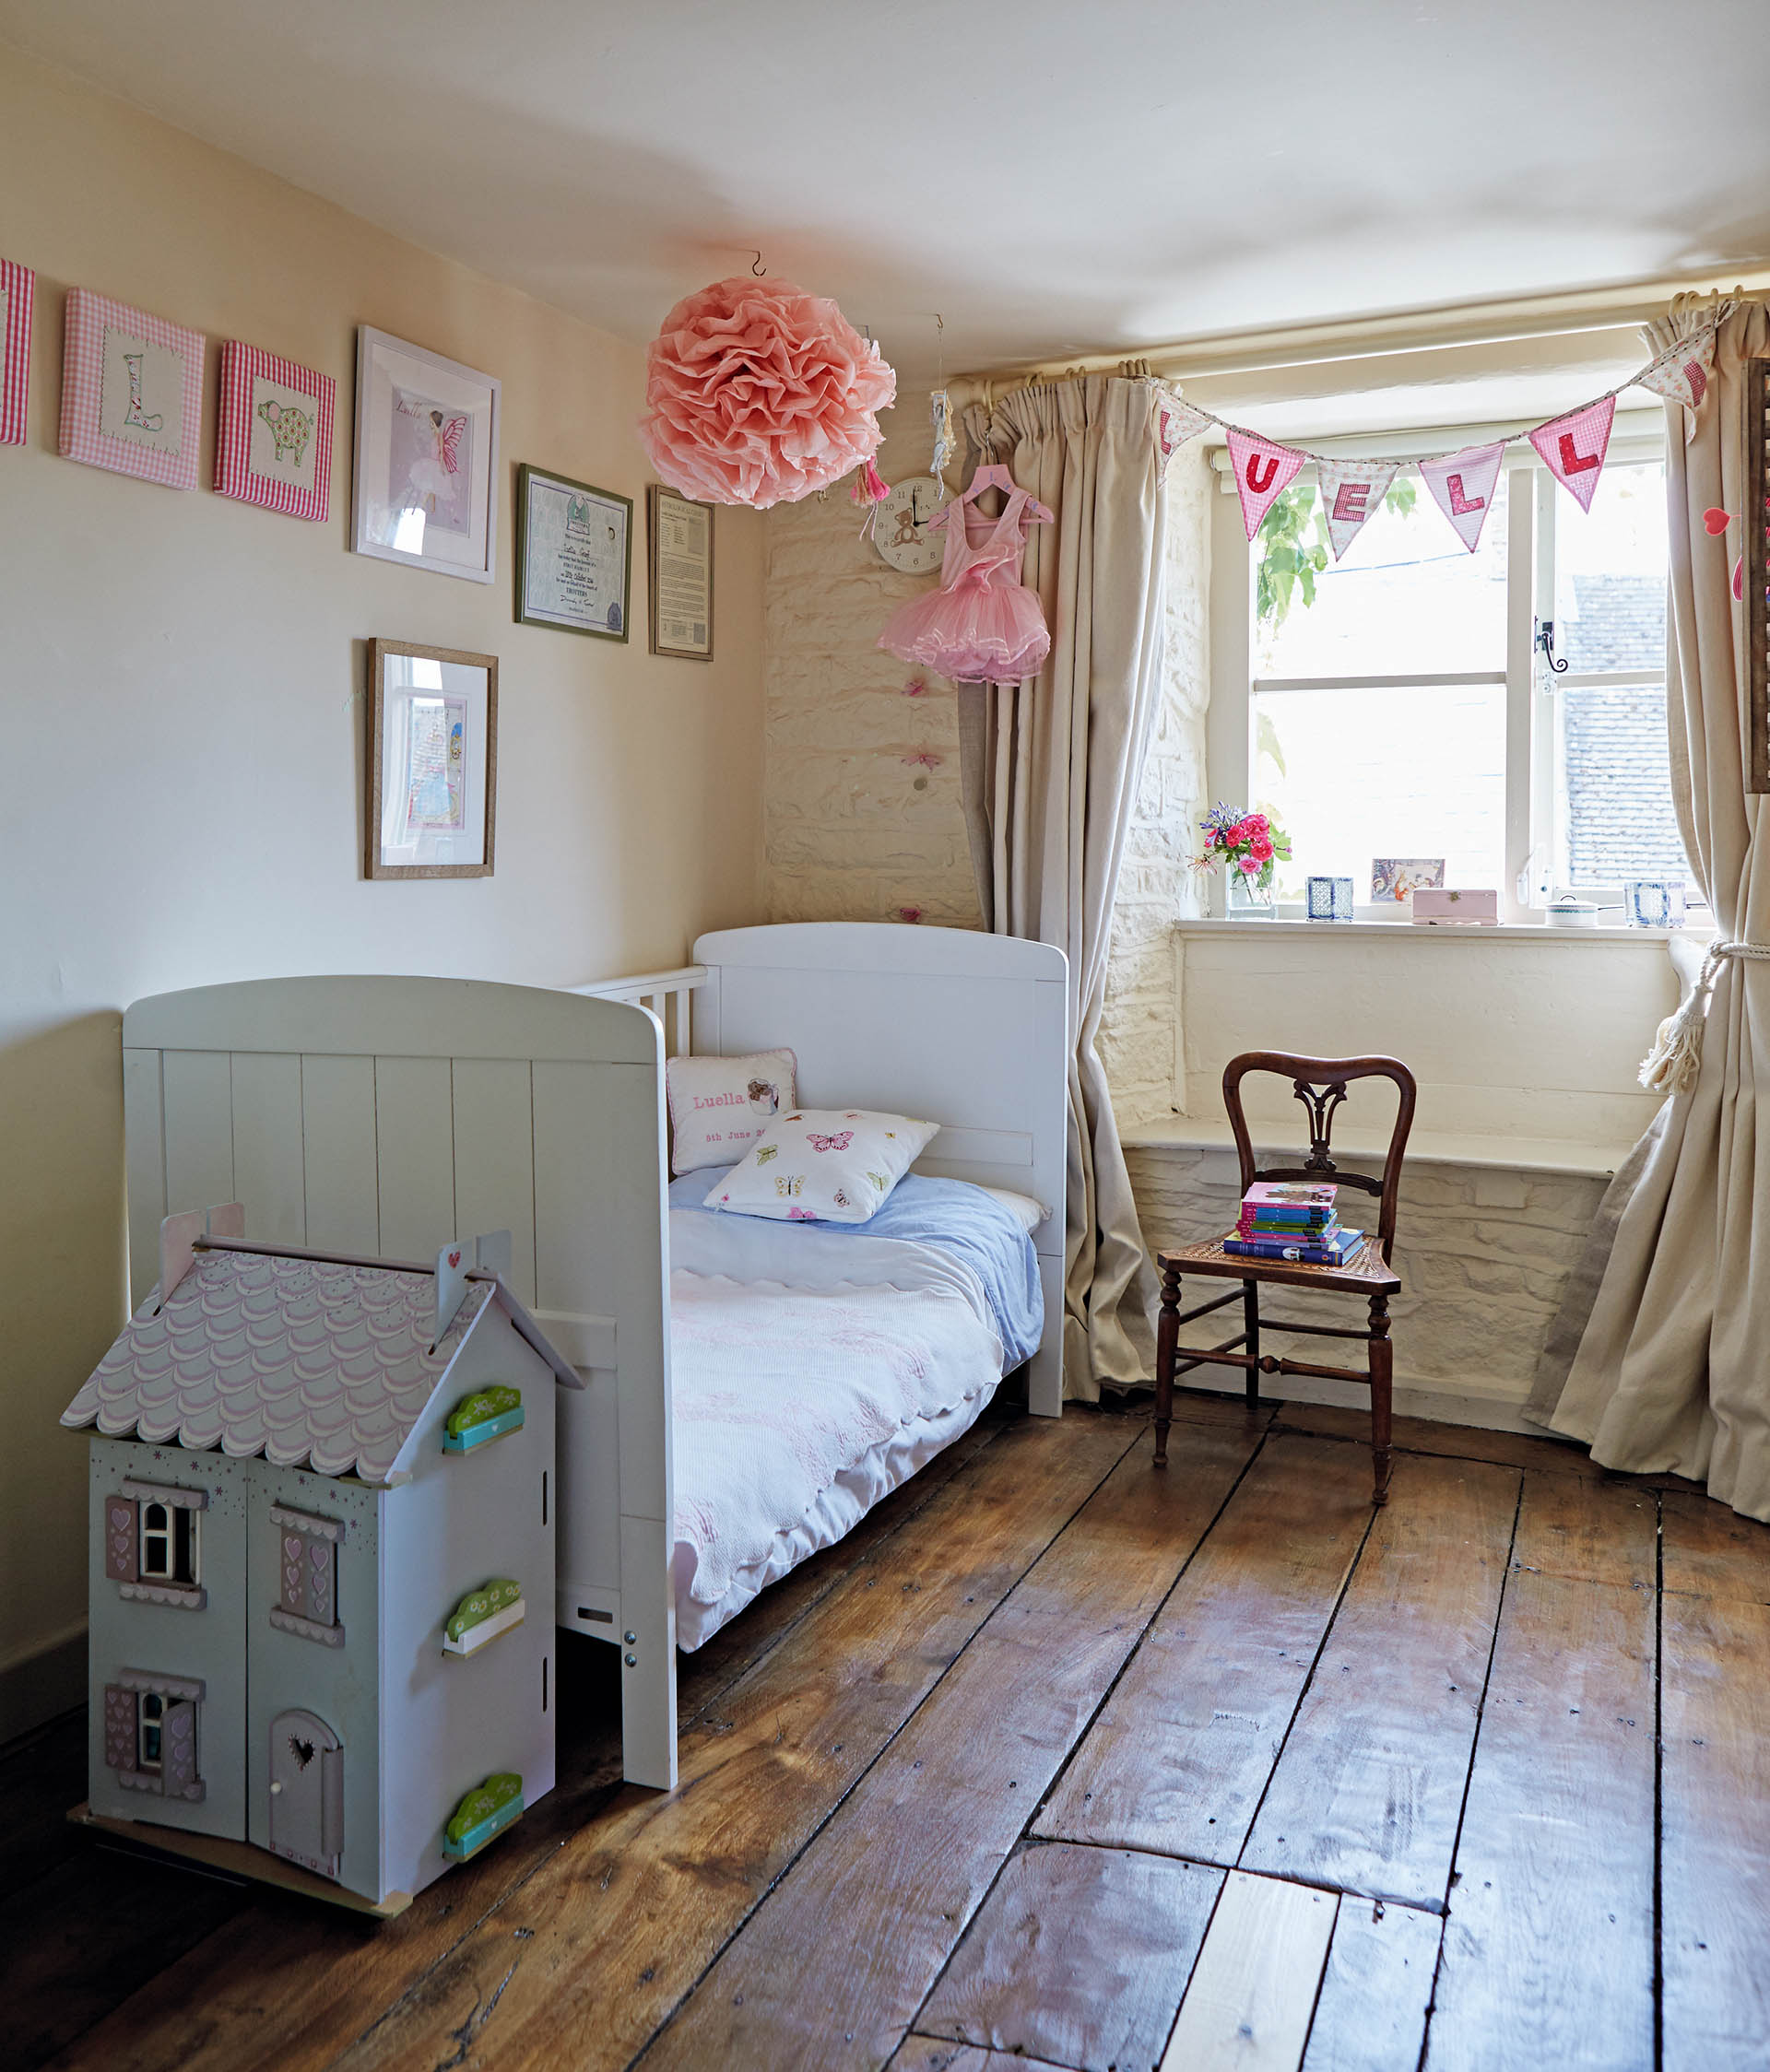
Sometimes older floors can be bouncy, which is most likely to be caused by decay due to damp or beetle infestation, which can result in weakening of the structure. The cause of the problem should be identified and rectified and, if the damage is serious, repairs to the joists and floor undertaken.
Deal with damp or decaying floorboards
Timber decay can lead to serious problems, including joist failure and even the collapse of the whole floor. It's often caused by damp or beetle infestation.
'Damp may result from insufficient ventilation under the floor, earth banked up against walls, leaking pipes and timber in direct contact with the ground, or other areas of moisture,' says Roger Hunt. 'The priority is to find the source of the problem and rectify the cause, rather than treat the symptoms. It may be necessary to lift floorboards and even take up whole floors.'
Salvageable boards should be numbered with chalk and a plan drawn of their layout so they can be replaced later. If joists are decayed, affected timber should be cut out and new pieces jointed in. All debris must be removed from below floors.
Treat woodworm in floorboards
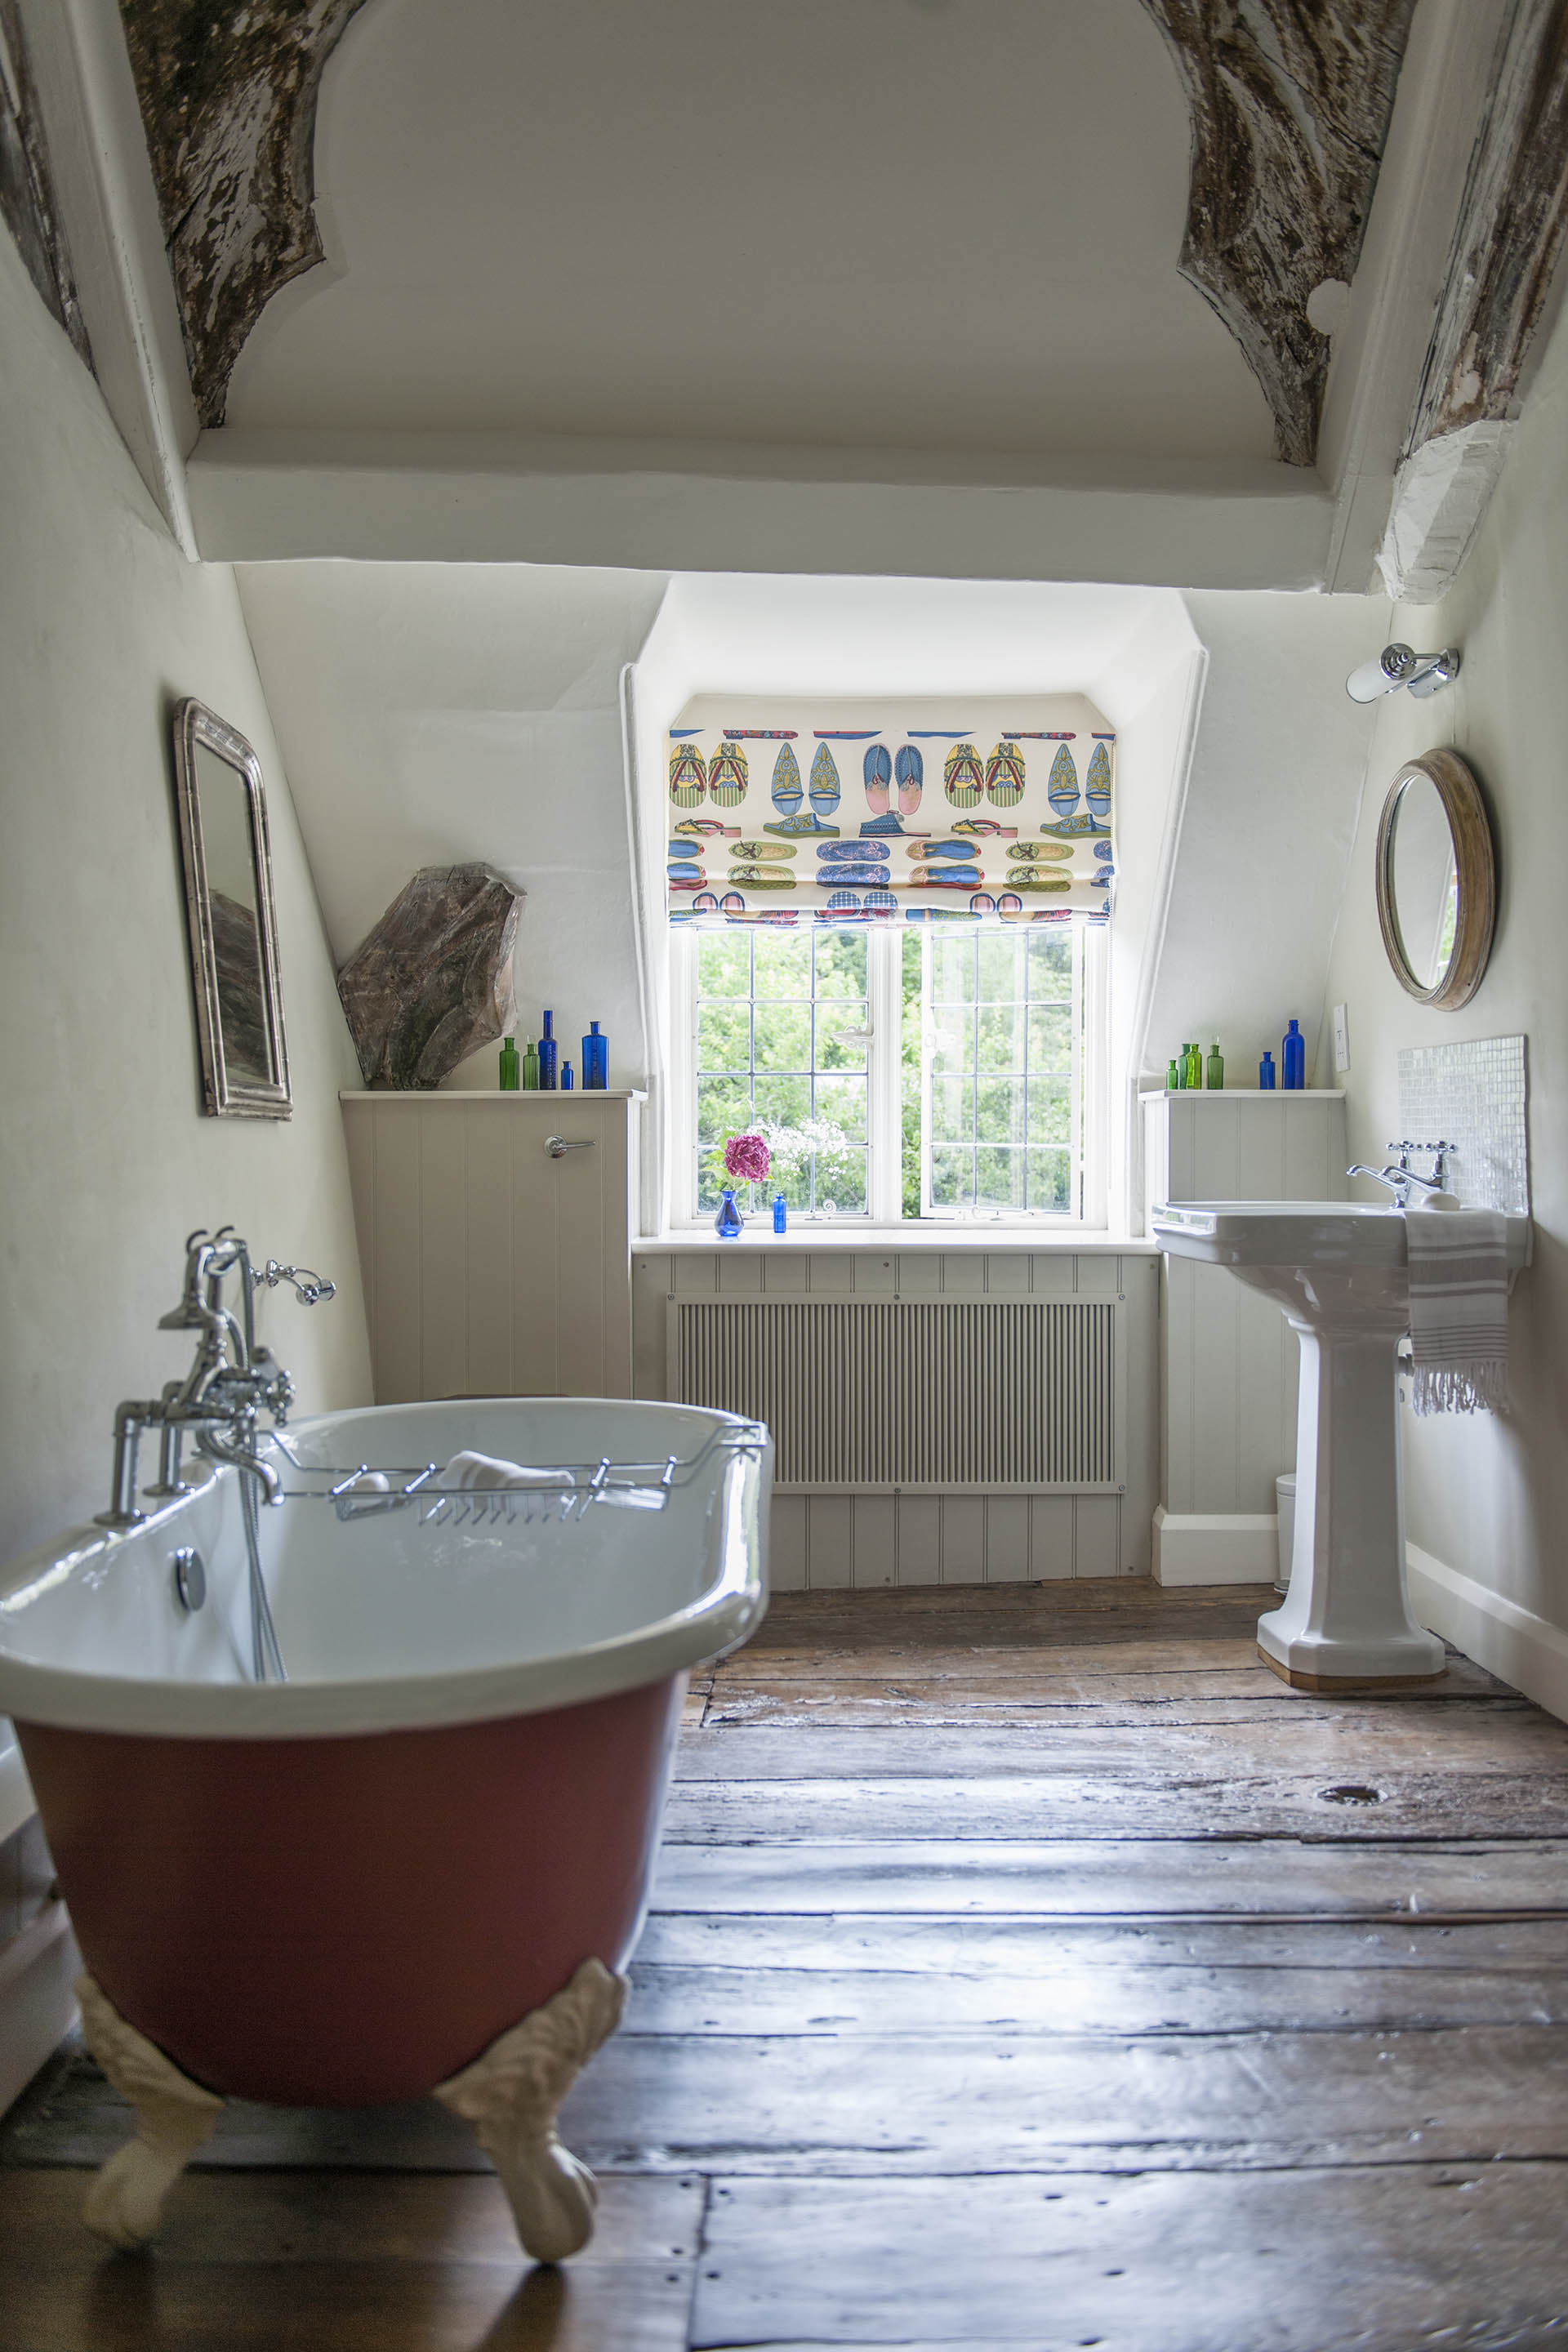
Beetle infestation – or woodworm – can cause a number of issues with wood floors. To check whether any beetles are present, examine the floors for small holes and fine powder that might indicate an active infestation.
The best form of treatment is to use a boron-based treatment. 'You should change the flooring only if the wood is damaged to its core, which will make the plank unstable and may cause it to splinter,' says Stoyan Vesov.
What is the best way to fix squeaking or loose floorboards?
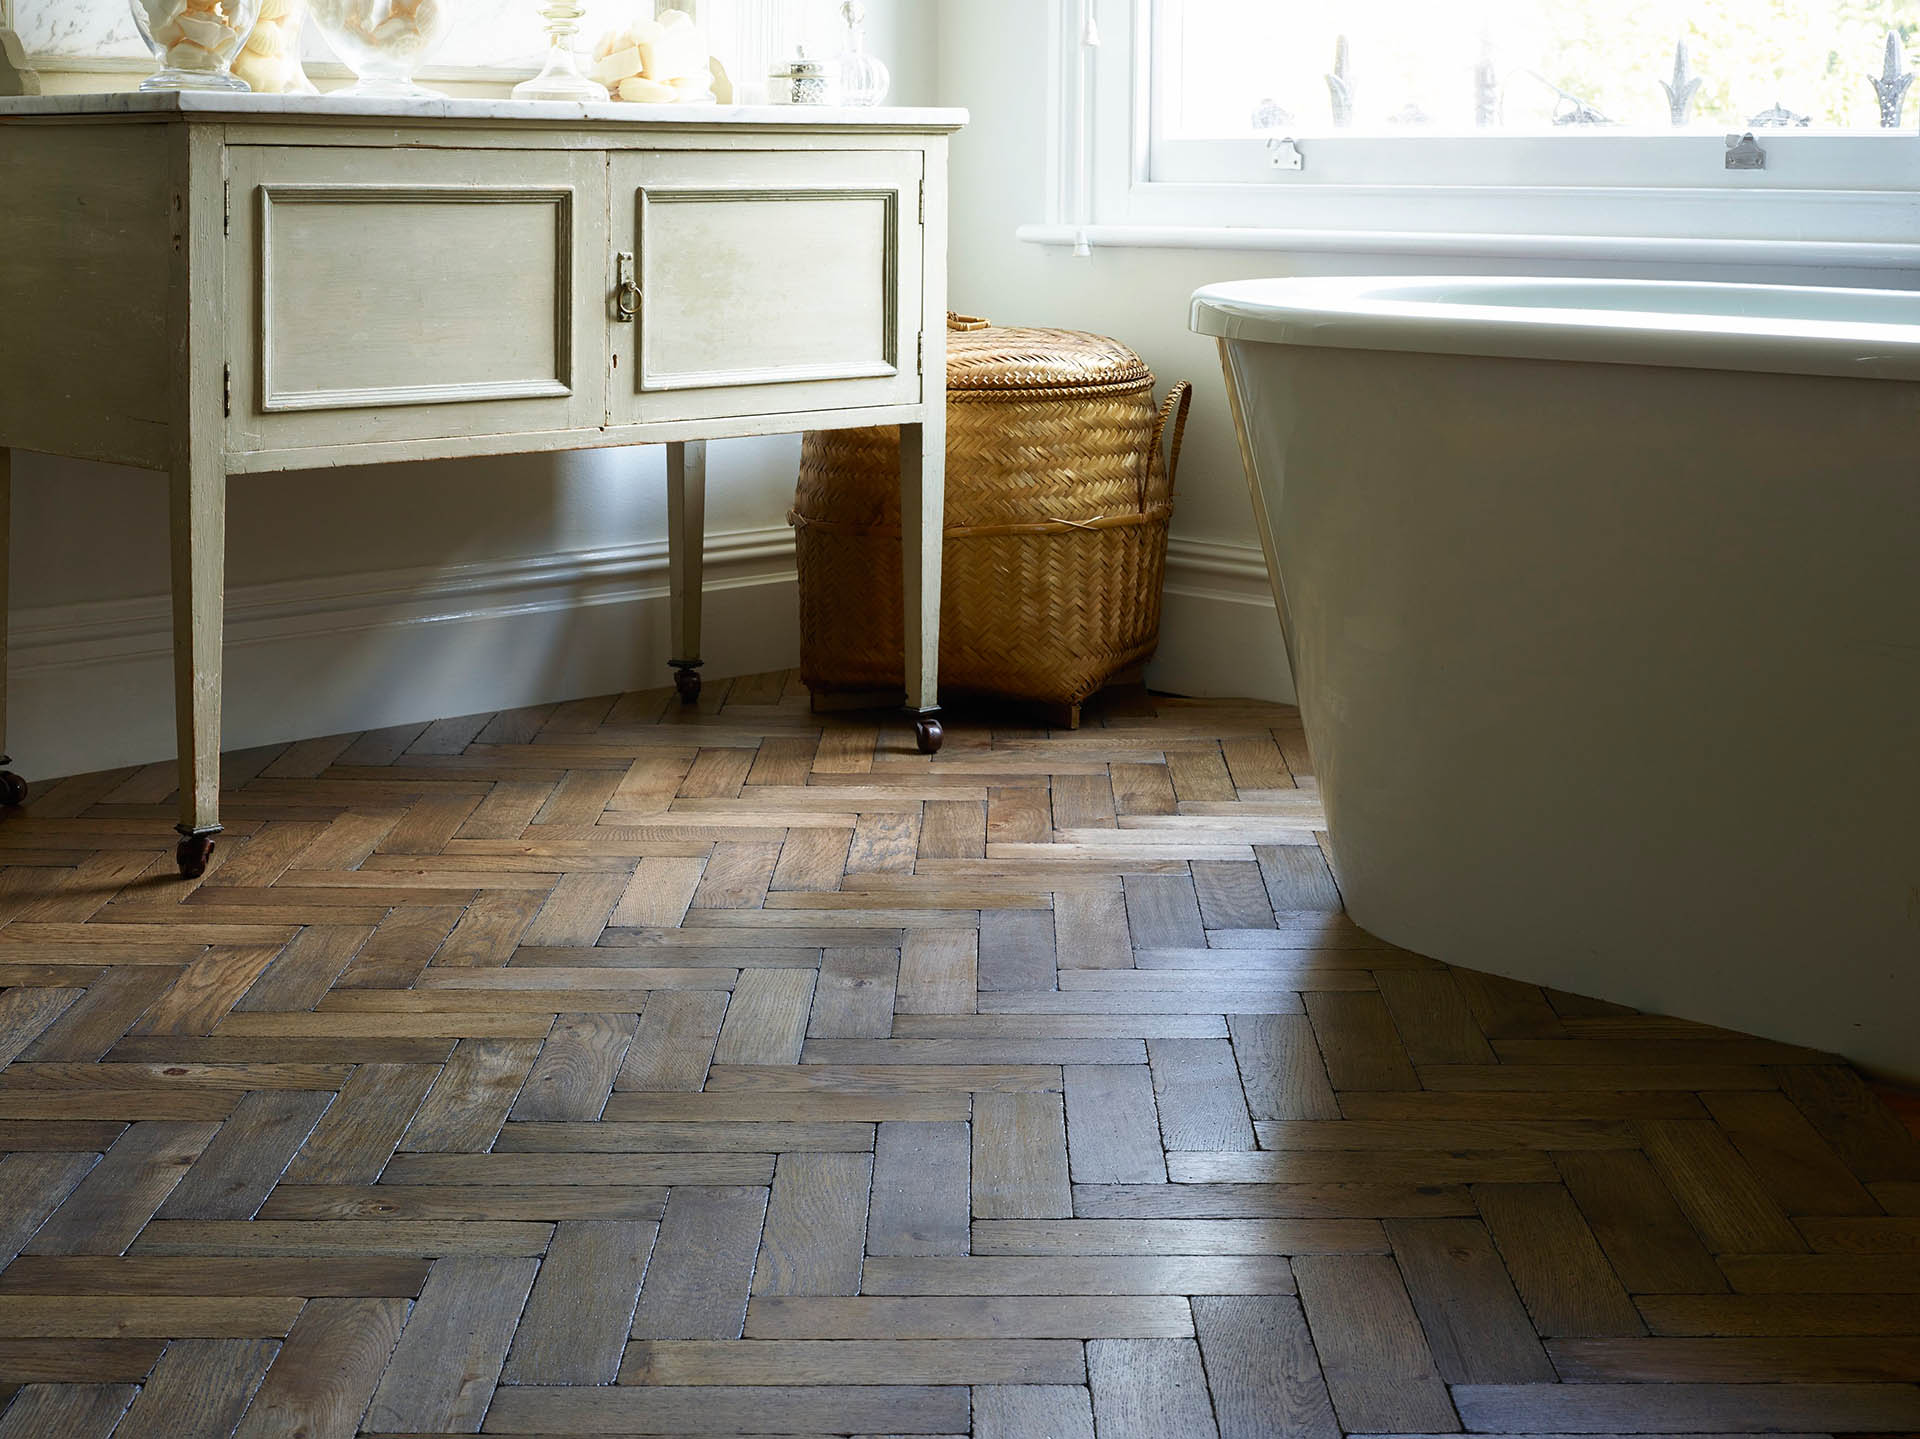
Squeaking or loose floorboards may just be how they have settled over time, but may also be caused by the subfloor failing or not being correctly leveled, which will need to be rectified by a professional. Either way, it is important to try to work out the cause.
Simple squeaks can be dealt with on a DIY basis. ‘Floorboards were traditionally fixed with "cut" nails designed to minimize squeaks, and these should be used wherever possible,' says Stoyan Vesov.
‘Alternatively, boards can be fixed with screws; this is a good solution if there are fragile ceilings below the floor or if boards are likely to have to be lifted again in the future for electrical works or piping.’
It is also possible to add strengthening from below by screwing battens to the sides of the joists.
When are hardwood floors beyond repair?
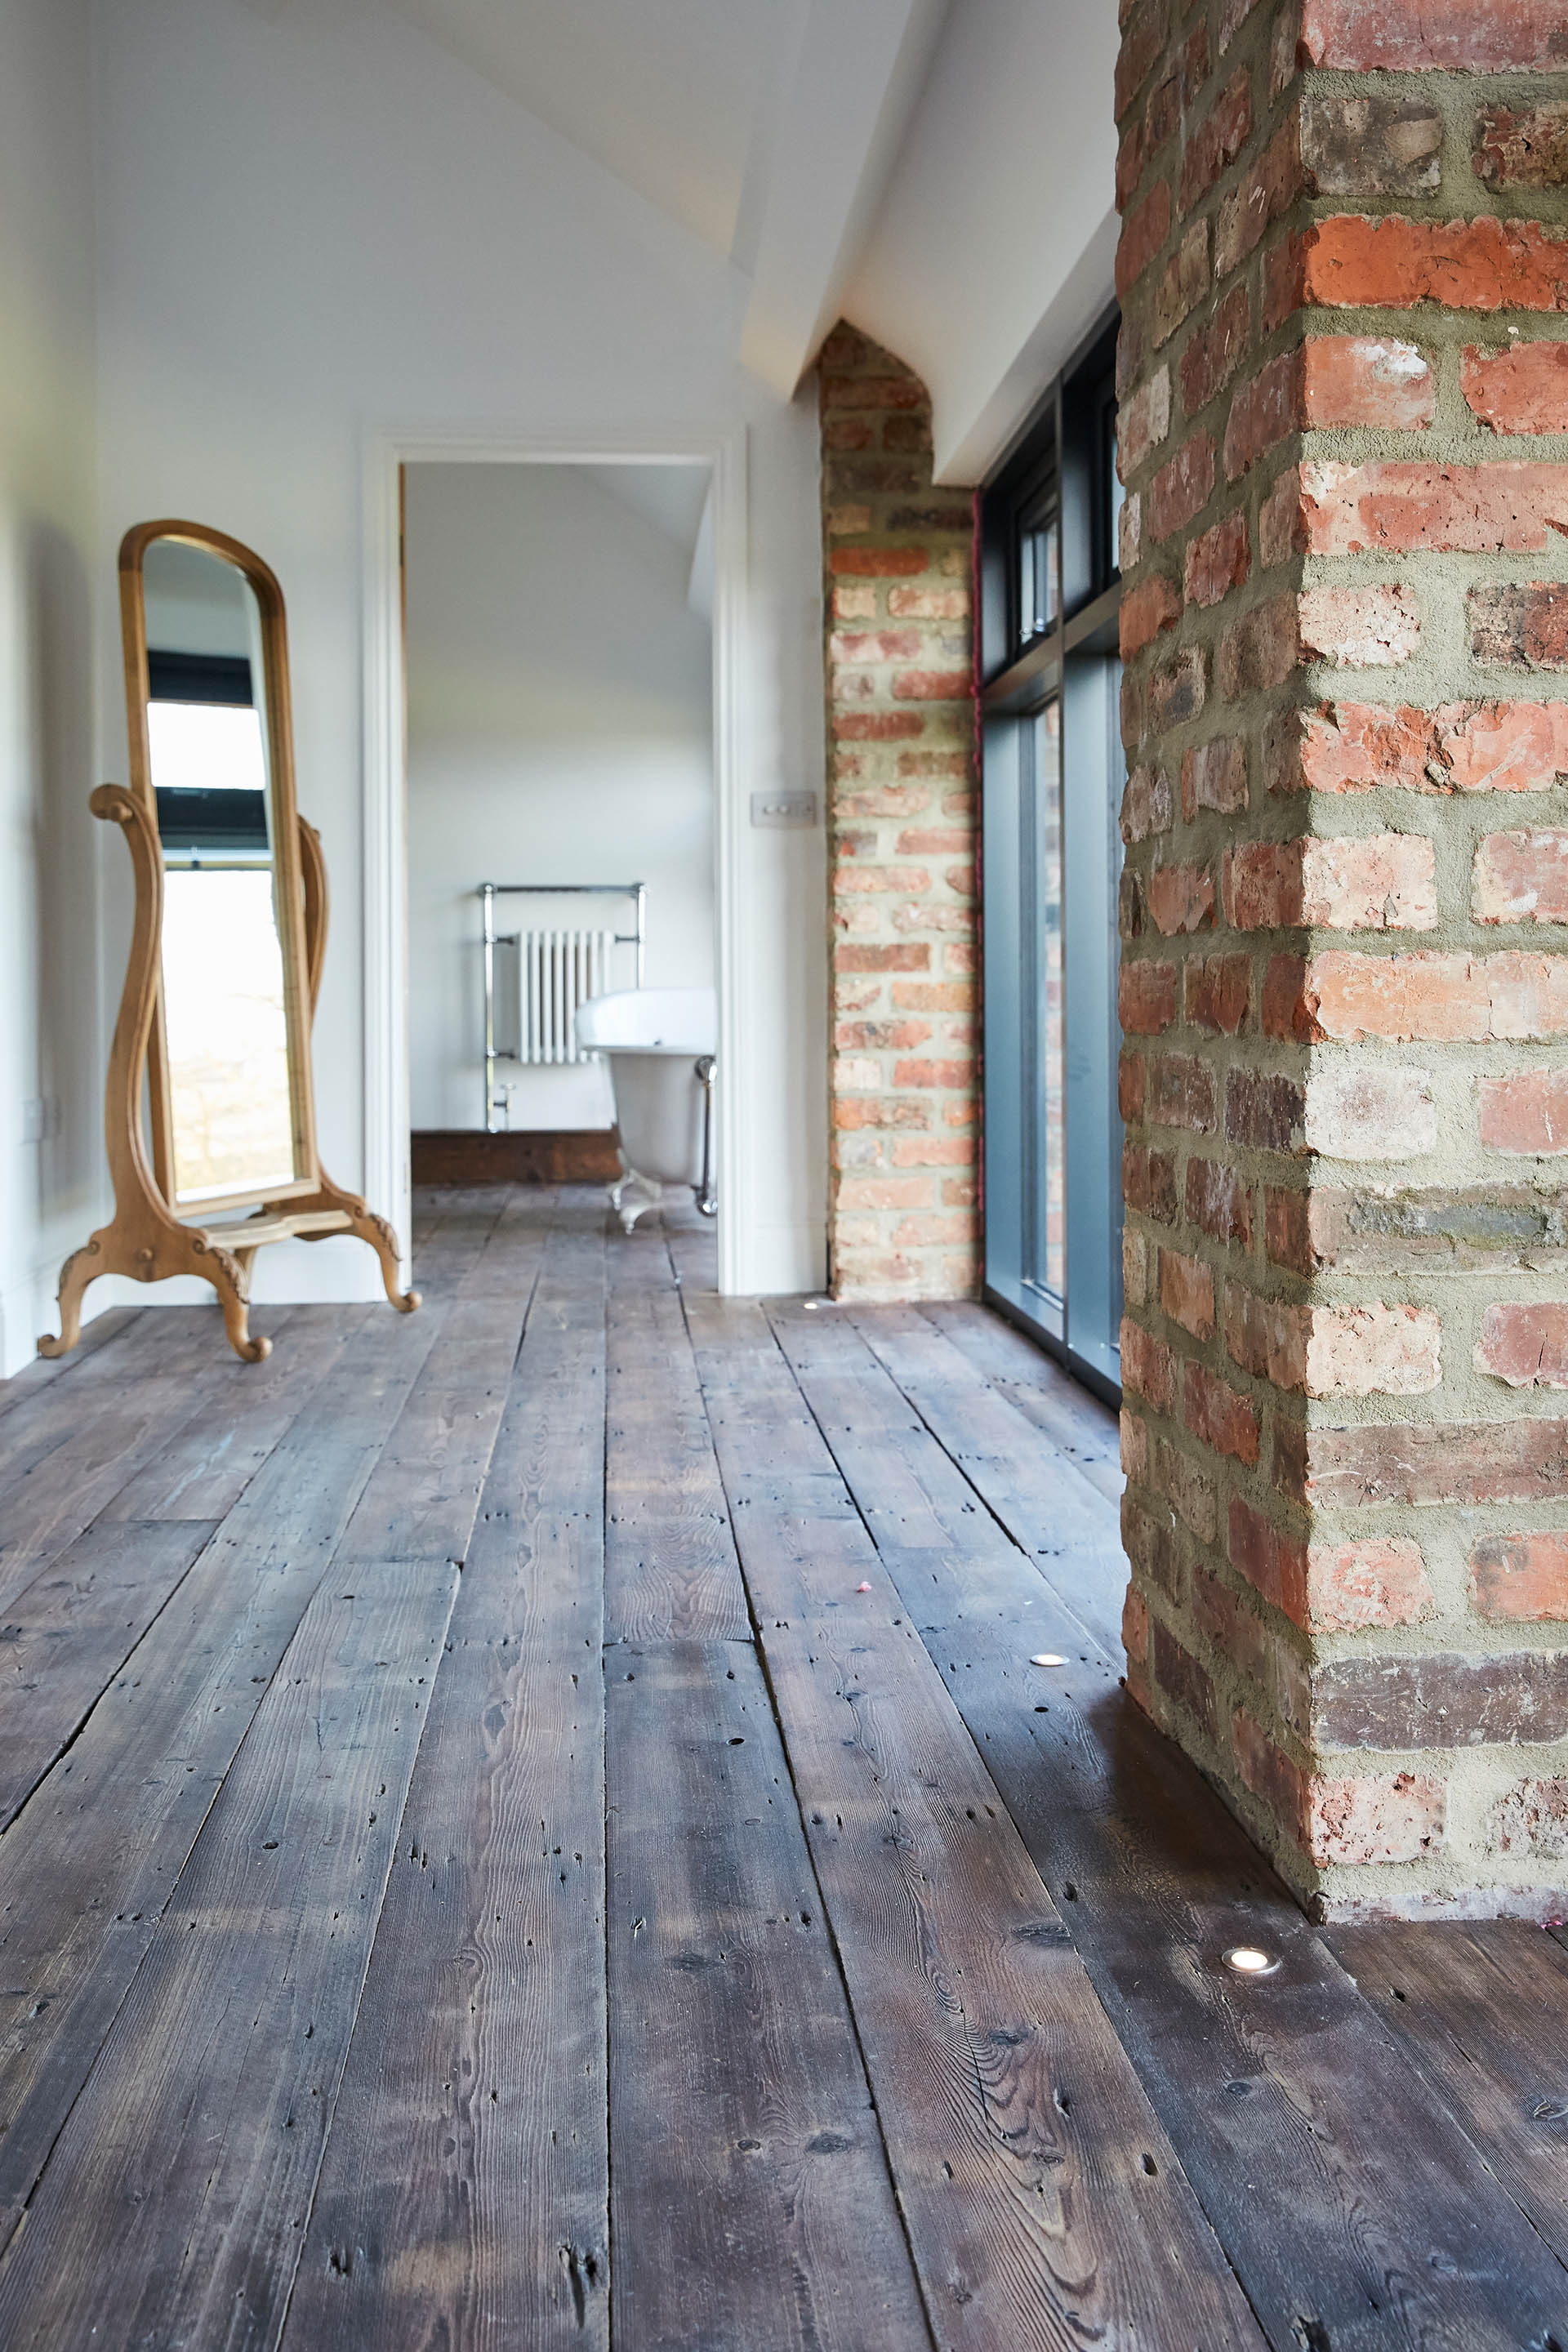
Hardwood floors are rarely beyond repair. ‘Old floors are an irreplaceable part of the history and character of a house and can't easily be matched, so if possible always try to repair rather than replace them,’ says Roger Hunt.
If the boards are rotten, however, then they will likely need replacing at least in part. This will require a skilled carpenter to carry out the work. If some boards need to be replaced, then you could opt for reclaimed wood, which will blend in better than new.
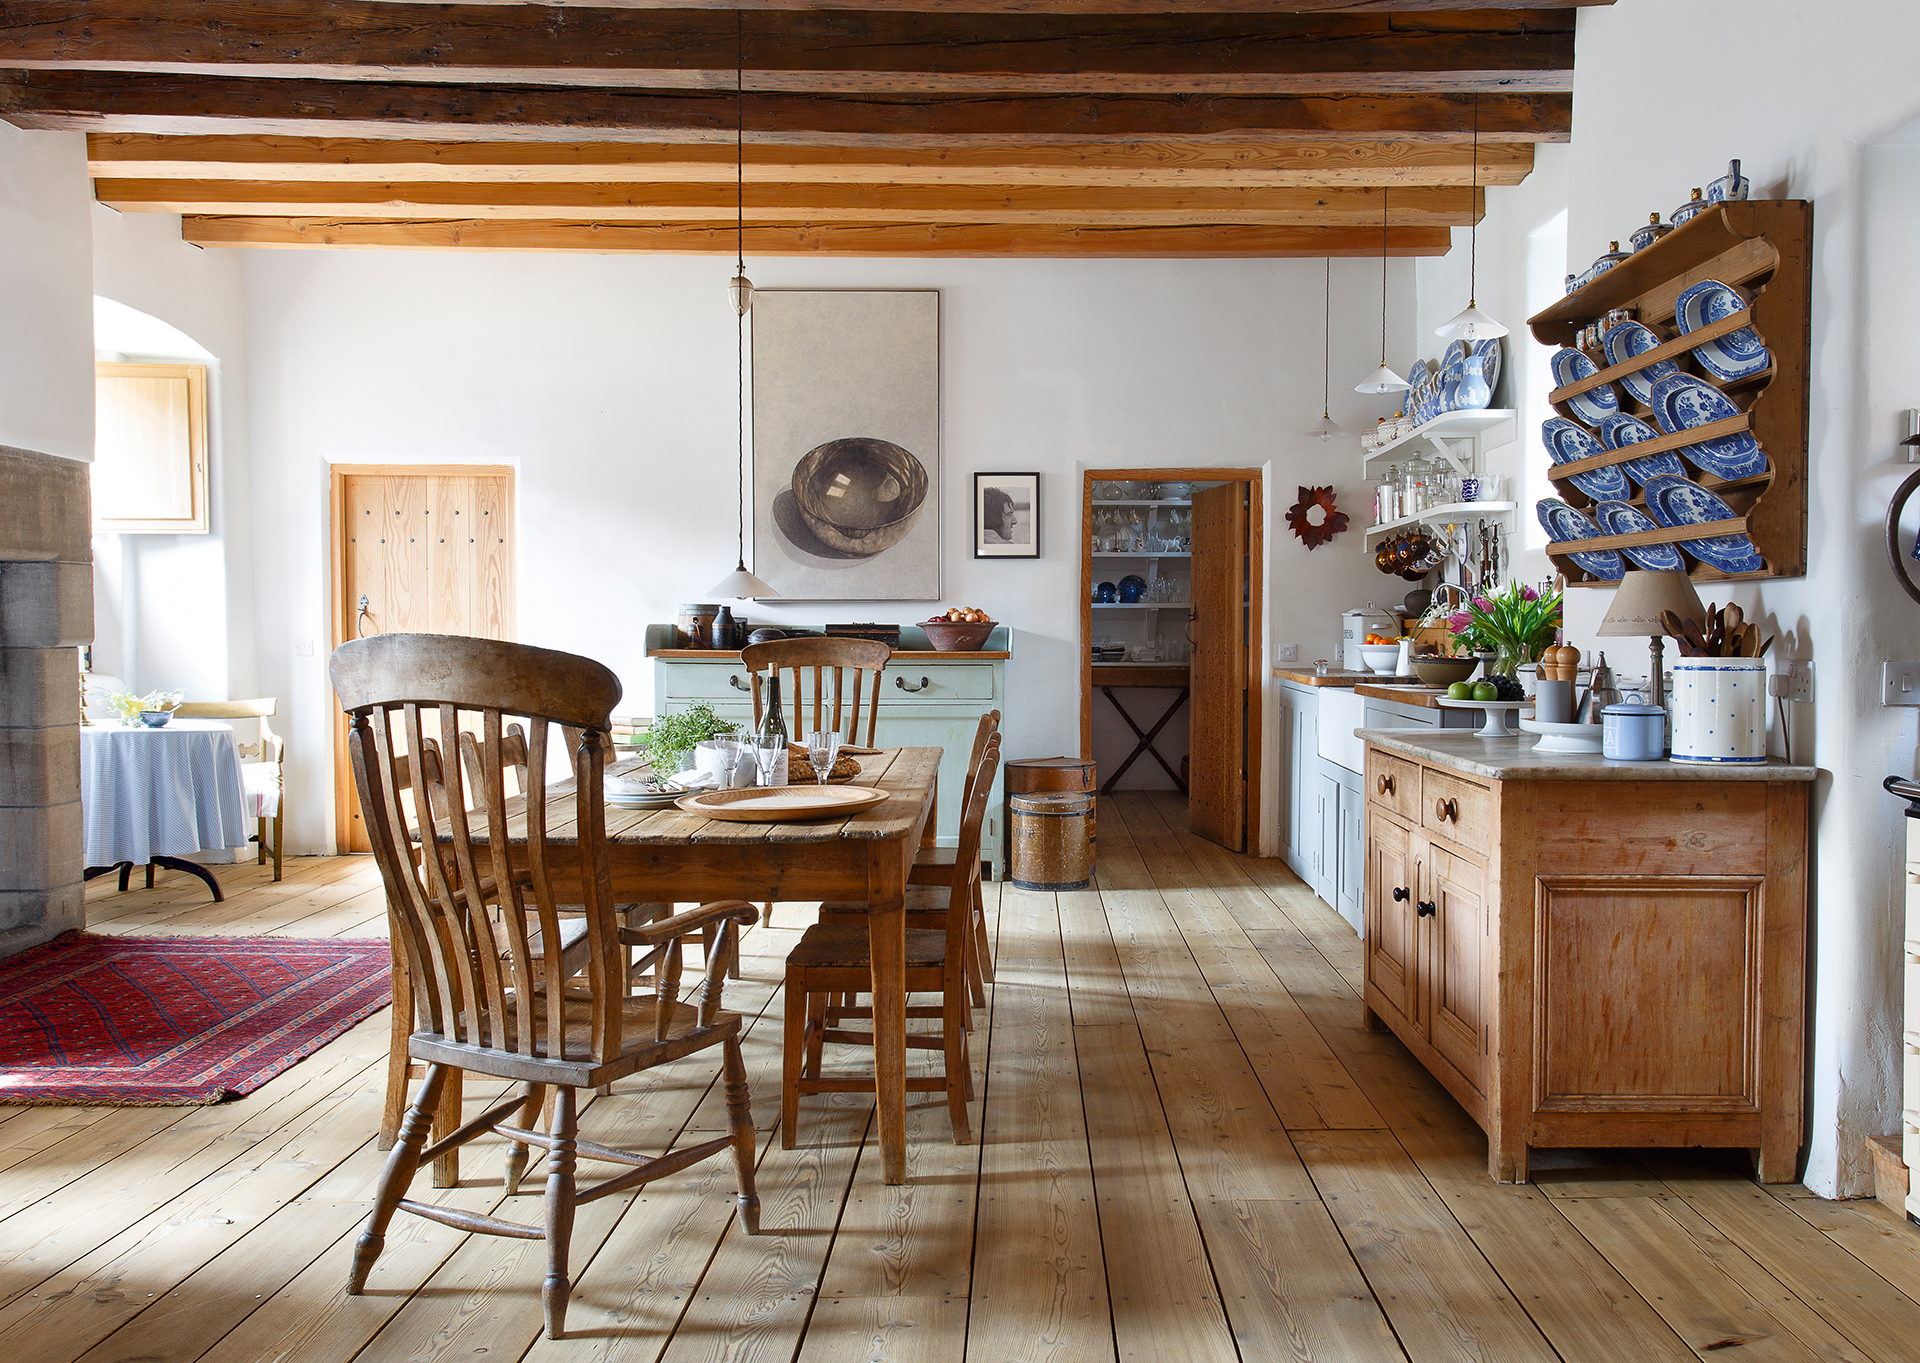
How long does it take to refinish hardwood floors?
Refinishing hardwood floors takes several days:
- Sanding a floor in a single room will take up to a day. You will likely need to go over it more than once, and sanding awkward edges and room shapes will slow you down.
- Cleaning a floor takes one to two hours, then 24 to 48 to dry before you can apply a finish.
- Waxing, oiling or varnishing a floor in a single room will take up to two days with drying time between coats.
Can I refinish hardwood floors myself?
You can generally refinish a hardwood floor yourself, although for some jobs calling in an experienced professional will be necessary. Oiling or waxing to renew the finish of a floor can certainly be a do-it-yourself task. Sanding, meanwhile, could be something you undertake if you are a skilled DIYer.
‘A wood floor is an investment, so if in doubt as to your skills or the state of the boards, always take professional advice,’ says Lucy Searle, global editor in chief of Homes & Gardens.
How long do you wait to put rugs down on refinished floors?
How long you should wait before putting rugs down on refinished floors depends on the refinishing product that has been used on the floor and also the temperature and humidity of the house. An oil finish, for example, may take three to four weeks, while other options take less time.
Always err on the side of caution for the sake of both the hardwood floor and the rug.
Sign up to the Homes & Gardens newsletter
Design expertise in your inbox – from inspiring decorating ideas and beautiful celebrity homes to practical gardening advice and shopping round-ups.

Melanie has worked in homes and gardens media for two decades. Having previously served as Editor on Period Living magazine, and worked on Homes & Gardens, Gardening Etc, Real Homes, and Homebuilding & Renovating, she is now focusing on her passion for gardening as a Senior Editor at Gardening Know How. As a keen home grower, Melanie has experimented with pretty much every type of vegetable at some point – with mixed results. Often it is the simplest things that elude you, which may explain why she just can't seem to master zucchinis.
-
 5 surprising but brilliant ways to clean with old socks – from perfectly buffing stainless steel to deterring pests naturally and more
Tackle dust in tricky corners, clean your mirrors and even banish bad odors with those rogue single socks
By Andy van Terheyden Published
-
 How to grow astilbe – expert advice on cultivating this shade-tolerant flowering perennial
Shade-tolerant and pest-resistant - astilbe are hardy and tough perennials that can thrive in many settings
By Ellen Wells Published
-
 7 dorm room organizing rules for less clutter and more space
Experts offer their top tips for creating a well-organized dorm room, no matter the size, space, or layout.
By Ashley Chalmers Published
-
 How to maximize storage in a small or shared dorm room, according to pro organizers
Find out all the hidden storage zones you might never have noticed
By Ashley Chalmers Published