How to paint kitchen cabinets – and transform your room
Find out how to paint kitchen cabinets and the room can look brand new. This is what you need to know
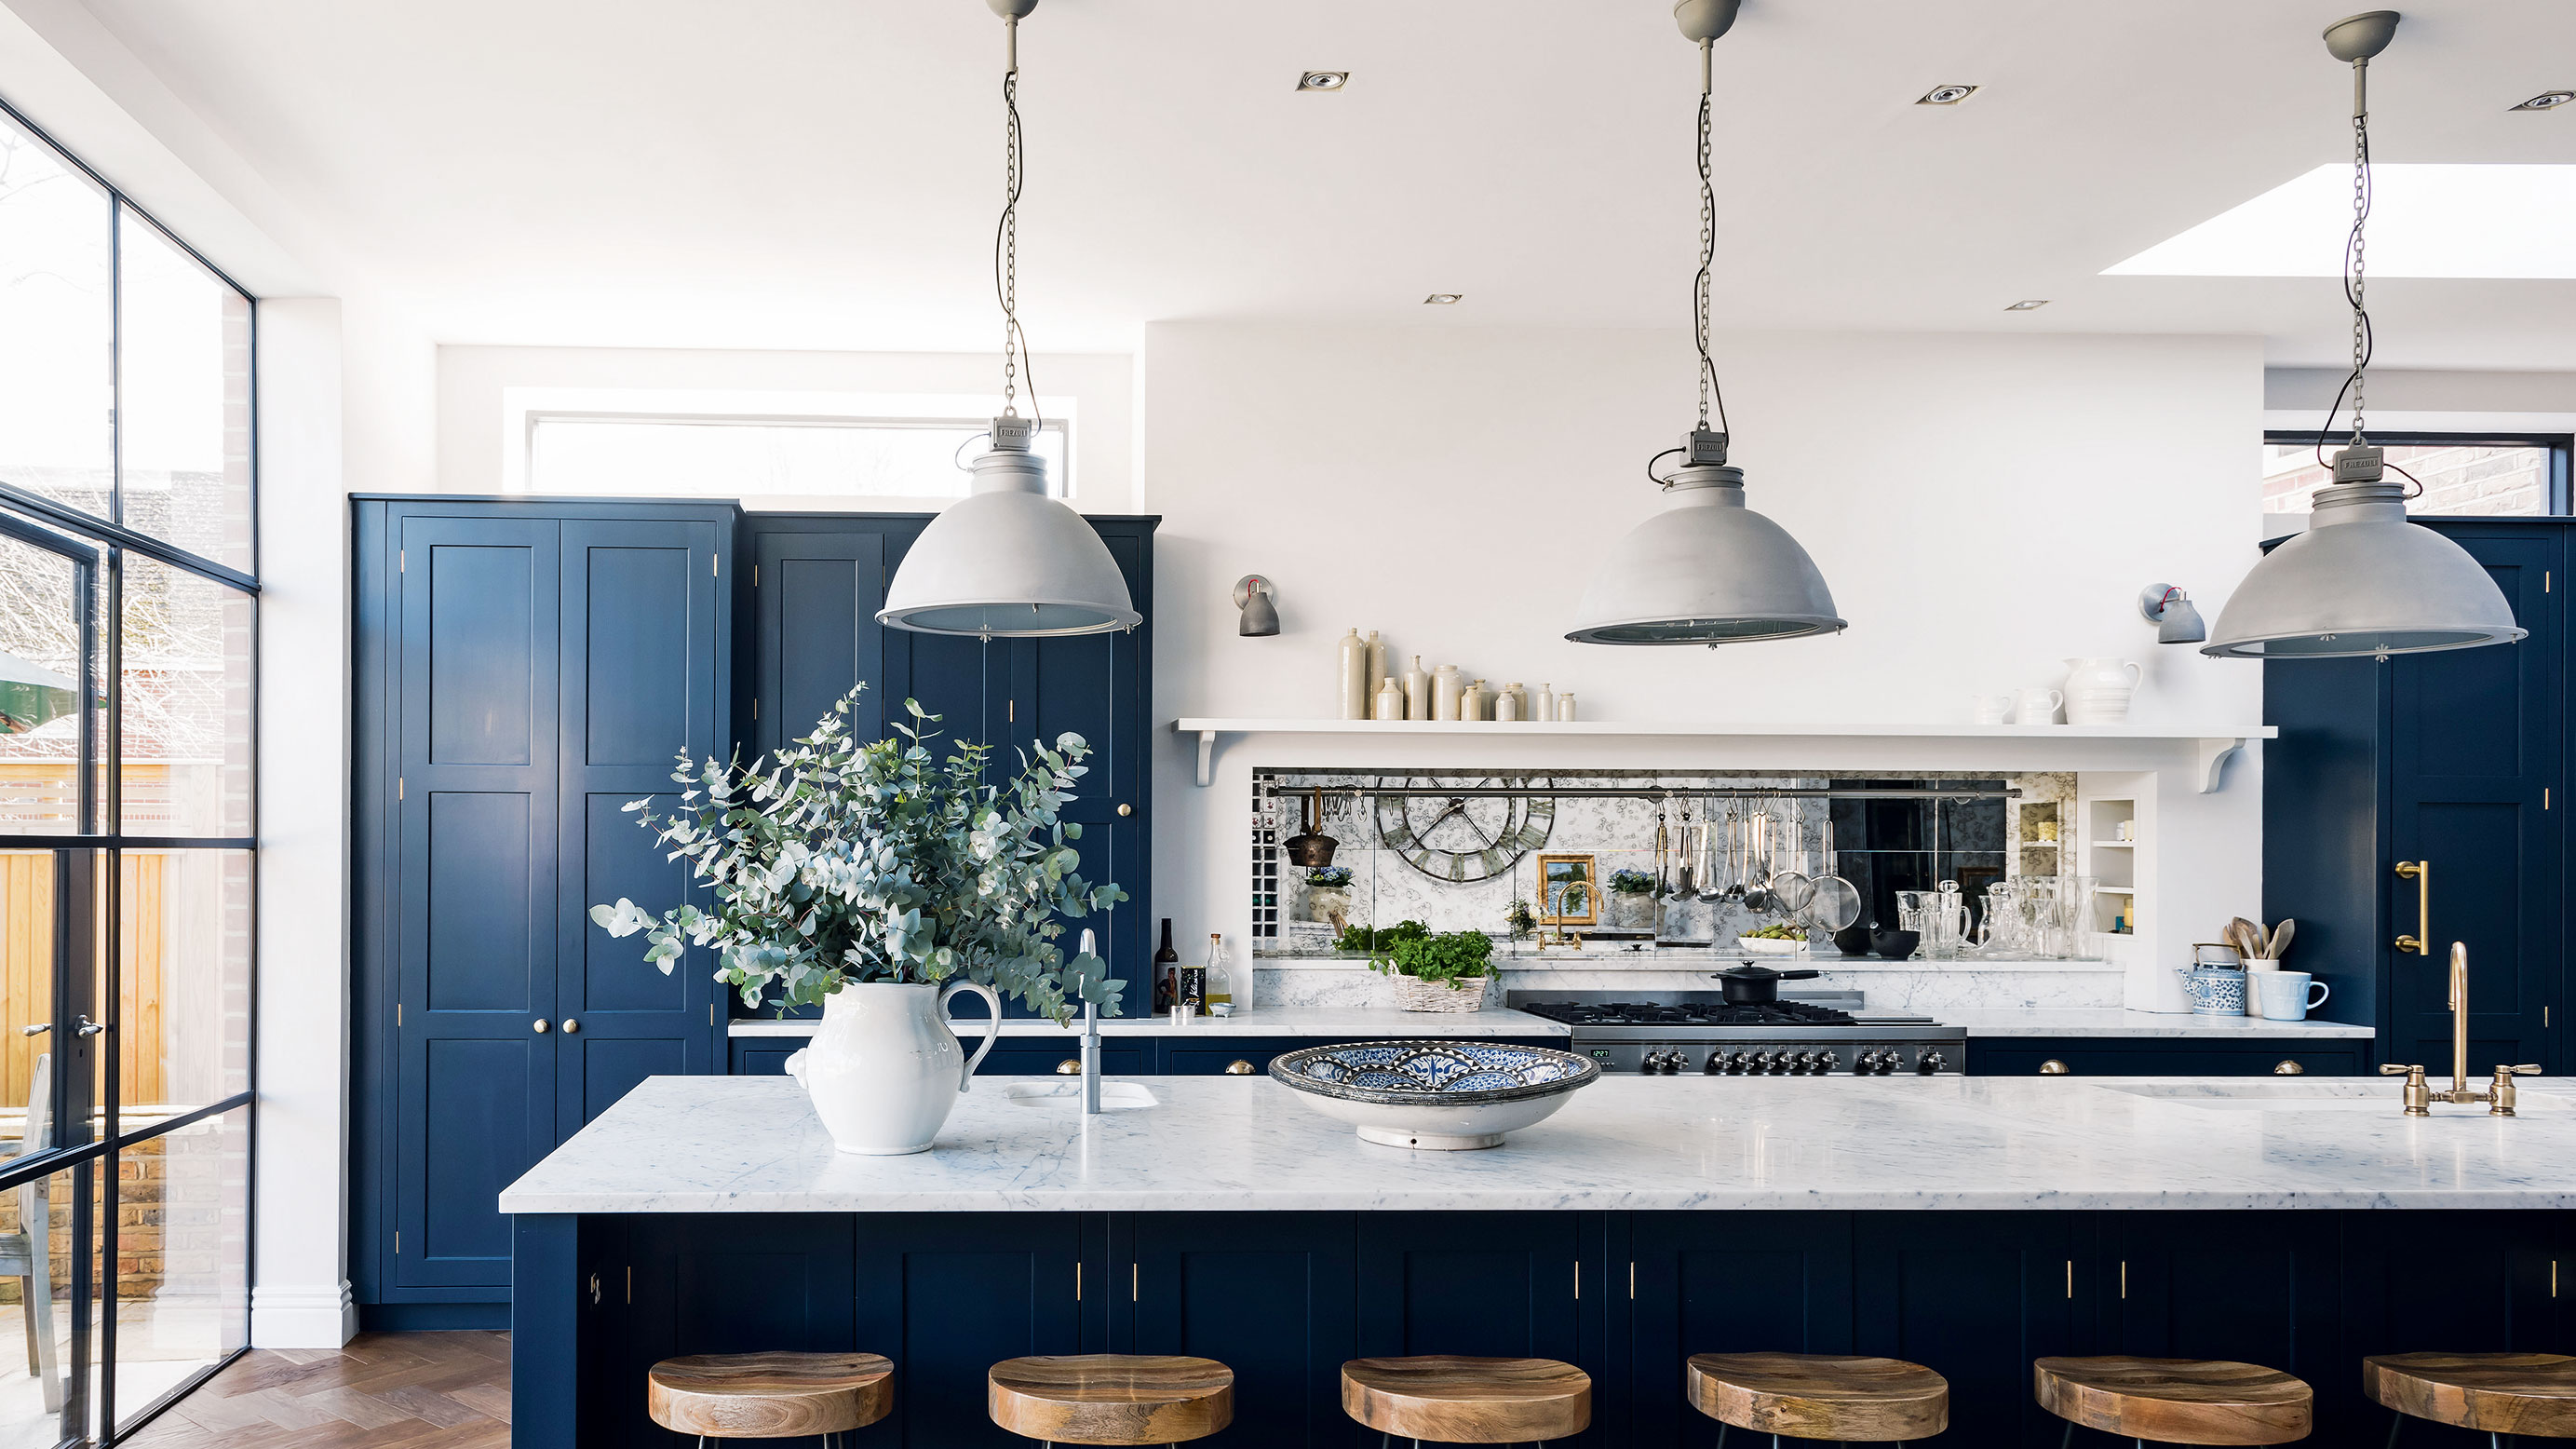

Be confident about how to paint kitchen cabinets and you can give the room a fresh finish that can make it look new once more.
Whether you do it alongside painting the room, or it’s just the cabinets that are in need of transformation, choose a paint color that complements kitchen ideas like the choice of countertop, backsplash and flooring, as well as any spaces with which the room connects and your efforts can be truly impactful.
It’s a project that will take time and care, but the results are worth it and, here, we provide a step-by-step guide to getting an excellent finish.
How to paint kitchen cabinets
‘Nothing is more impactful than a fresh coat of paint; a gamechanger,’ says Mary Maloney of Bee’s Knees Interior Design. ‘Paint can completely transform the look and feel of your home. A fresh coat of paint can revive, refresh, and add new life to tired and dated cabinets.’
Once you've found the kitchen cabinet ideas you love, our guide will tell you everything you need to know about how to paint kitchen cabinets.
What is the right way to paint kitchen cabinets?
The right way to paint kitchen cabinets is to prepare throughly first, by cleaning the cabinets and taking both door and drawer fronts off, followed by sanding as necessary, priming as required, then painting – all in the correct order. ‘You cannot paint cabinets without proper prep,’ says Eric Regan, owner of Mission Painting & Home Improvements in Overland Park, Kansas. ‘If you don’t prepare properly, they will peel, blister and bubble.’
Follow the steps in our guide below and get savvy with tips for painting kitchen cabinets and you won’t miss a stage.
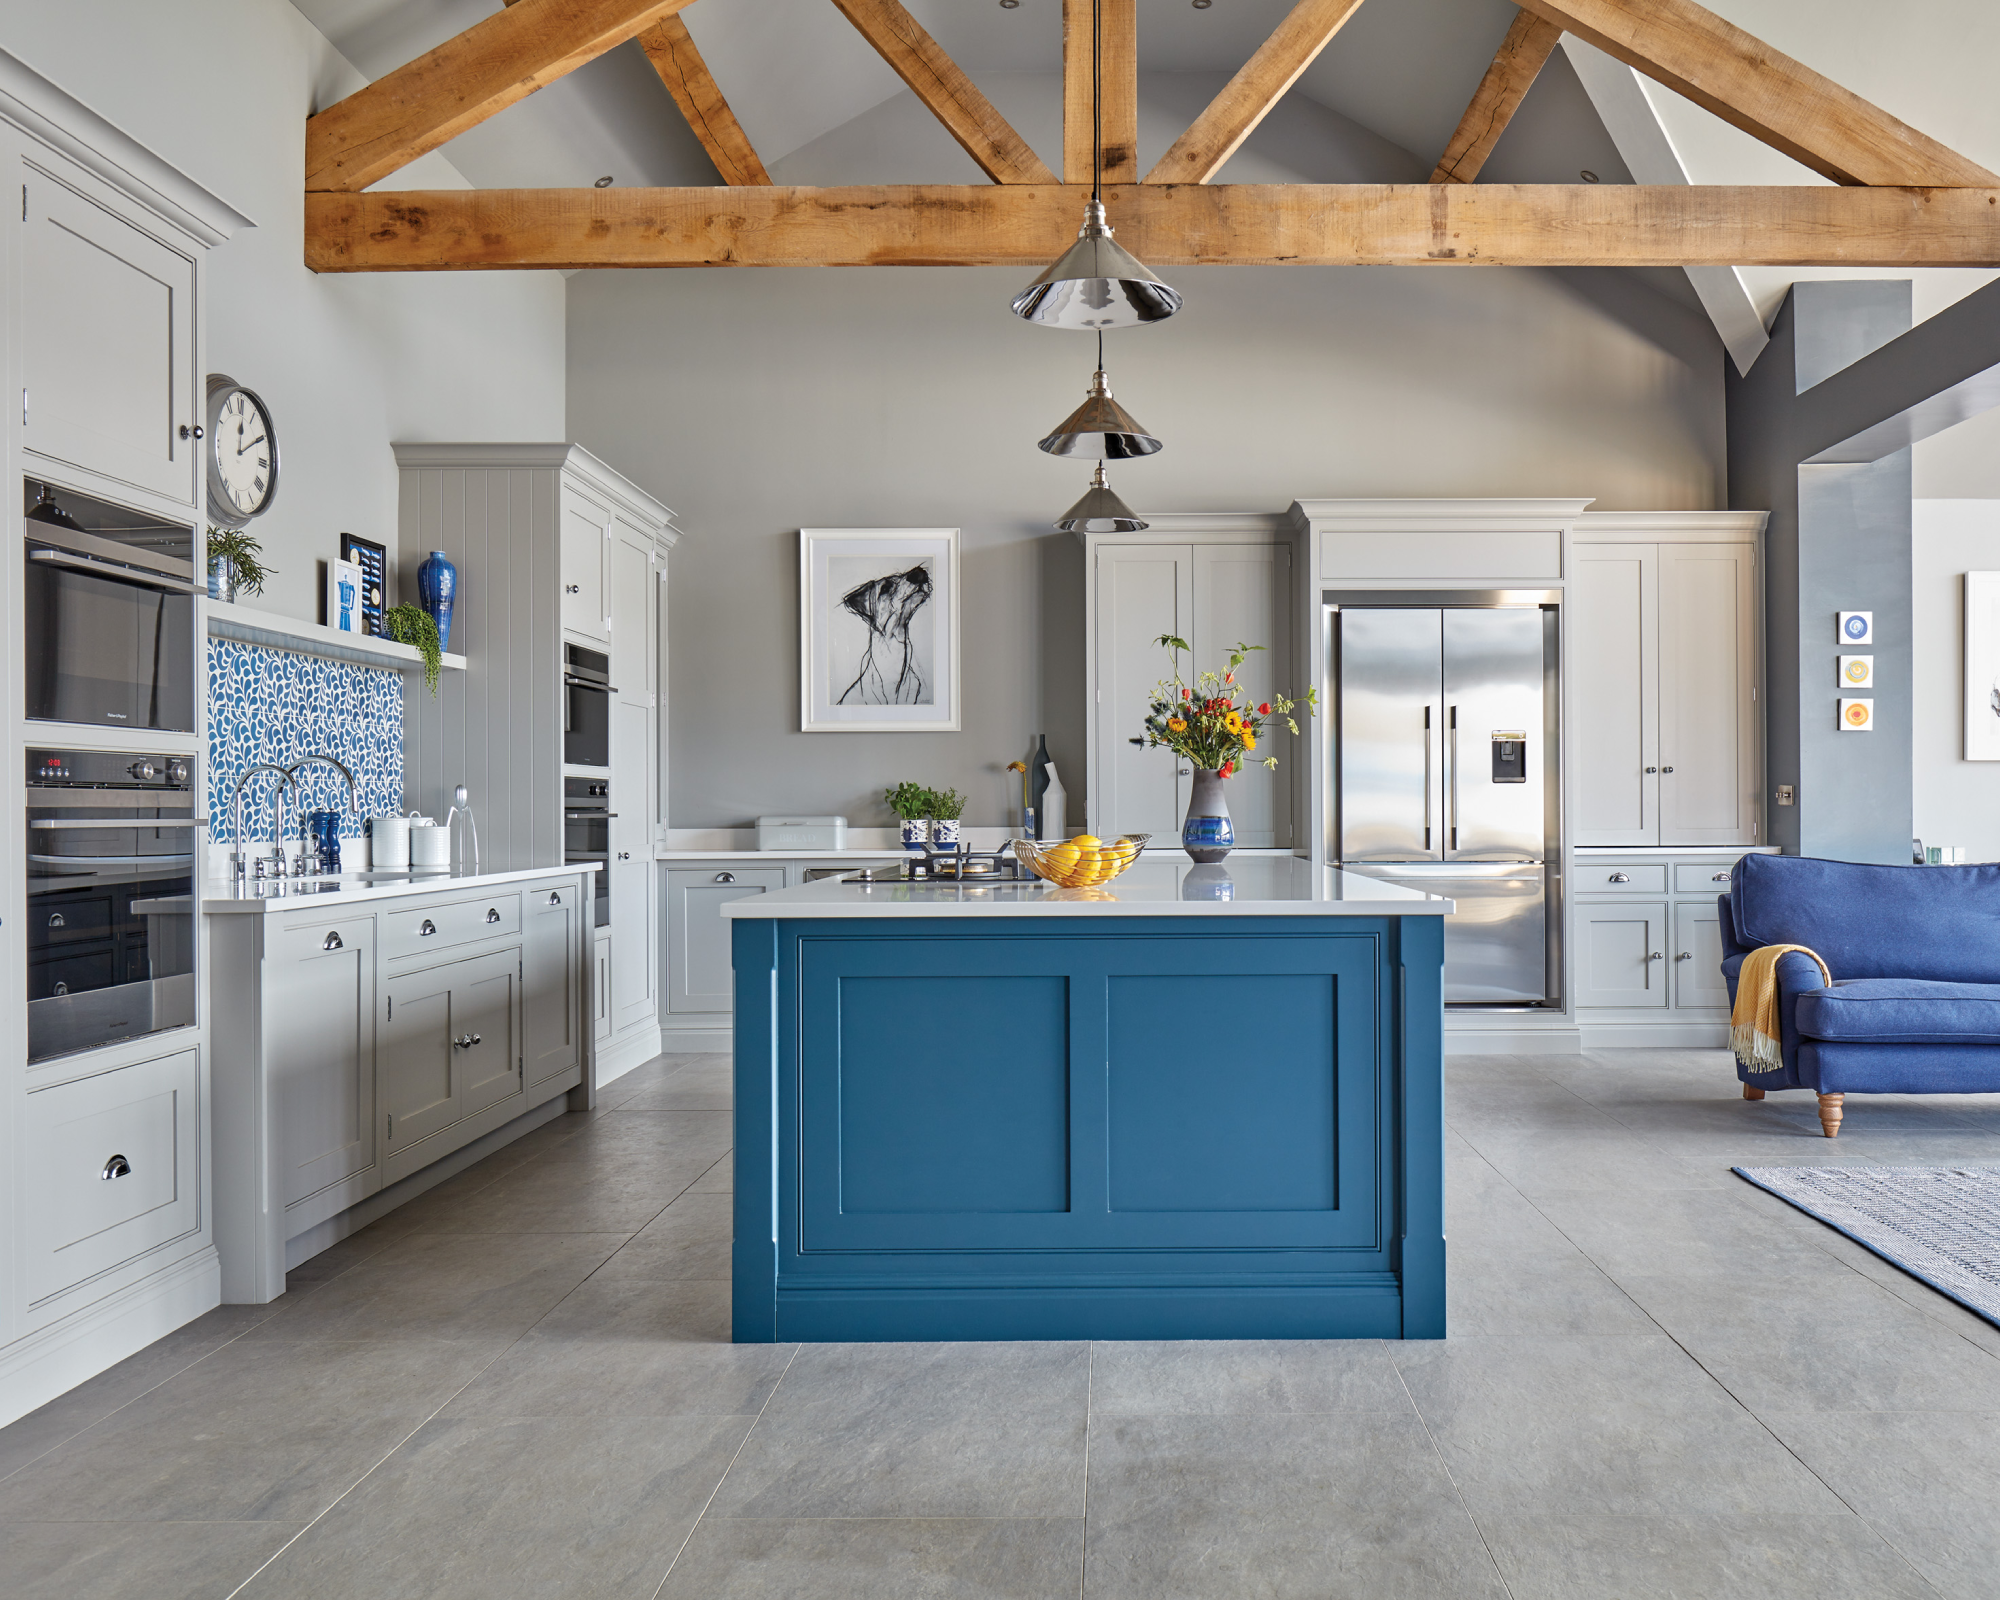
Bear in mind that, while this is a DIY job which saves on the cost to paint kitchen cabinets, adequate hours must be set aside as taking shortcuts will compromise the results.
Allow time for cleaning and preparation, followed by cleaning again, for the application of any primer and all coats of paint and for these to dry. Expect to take around four to seven days in total for a professional finish.
How to paint kitchen cabinets without sanding
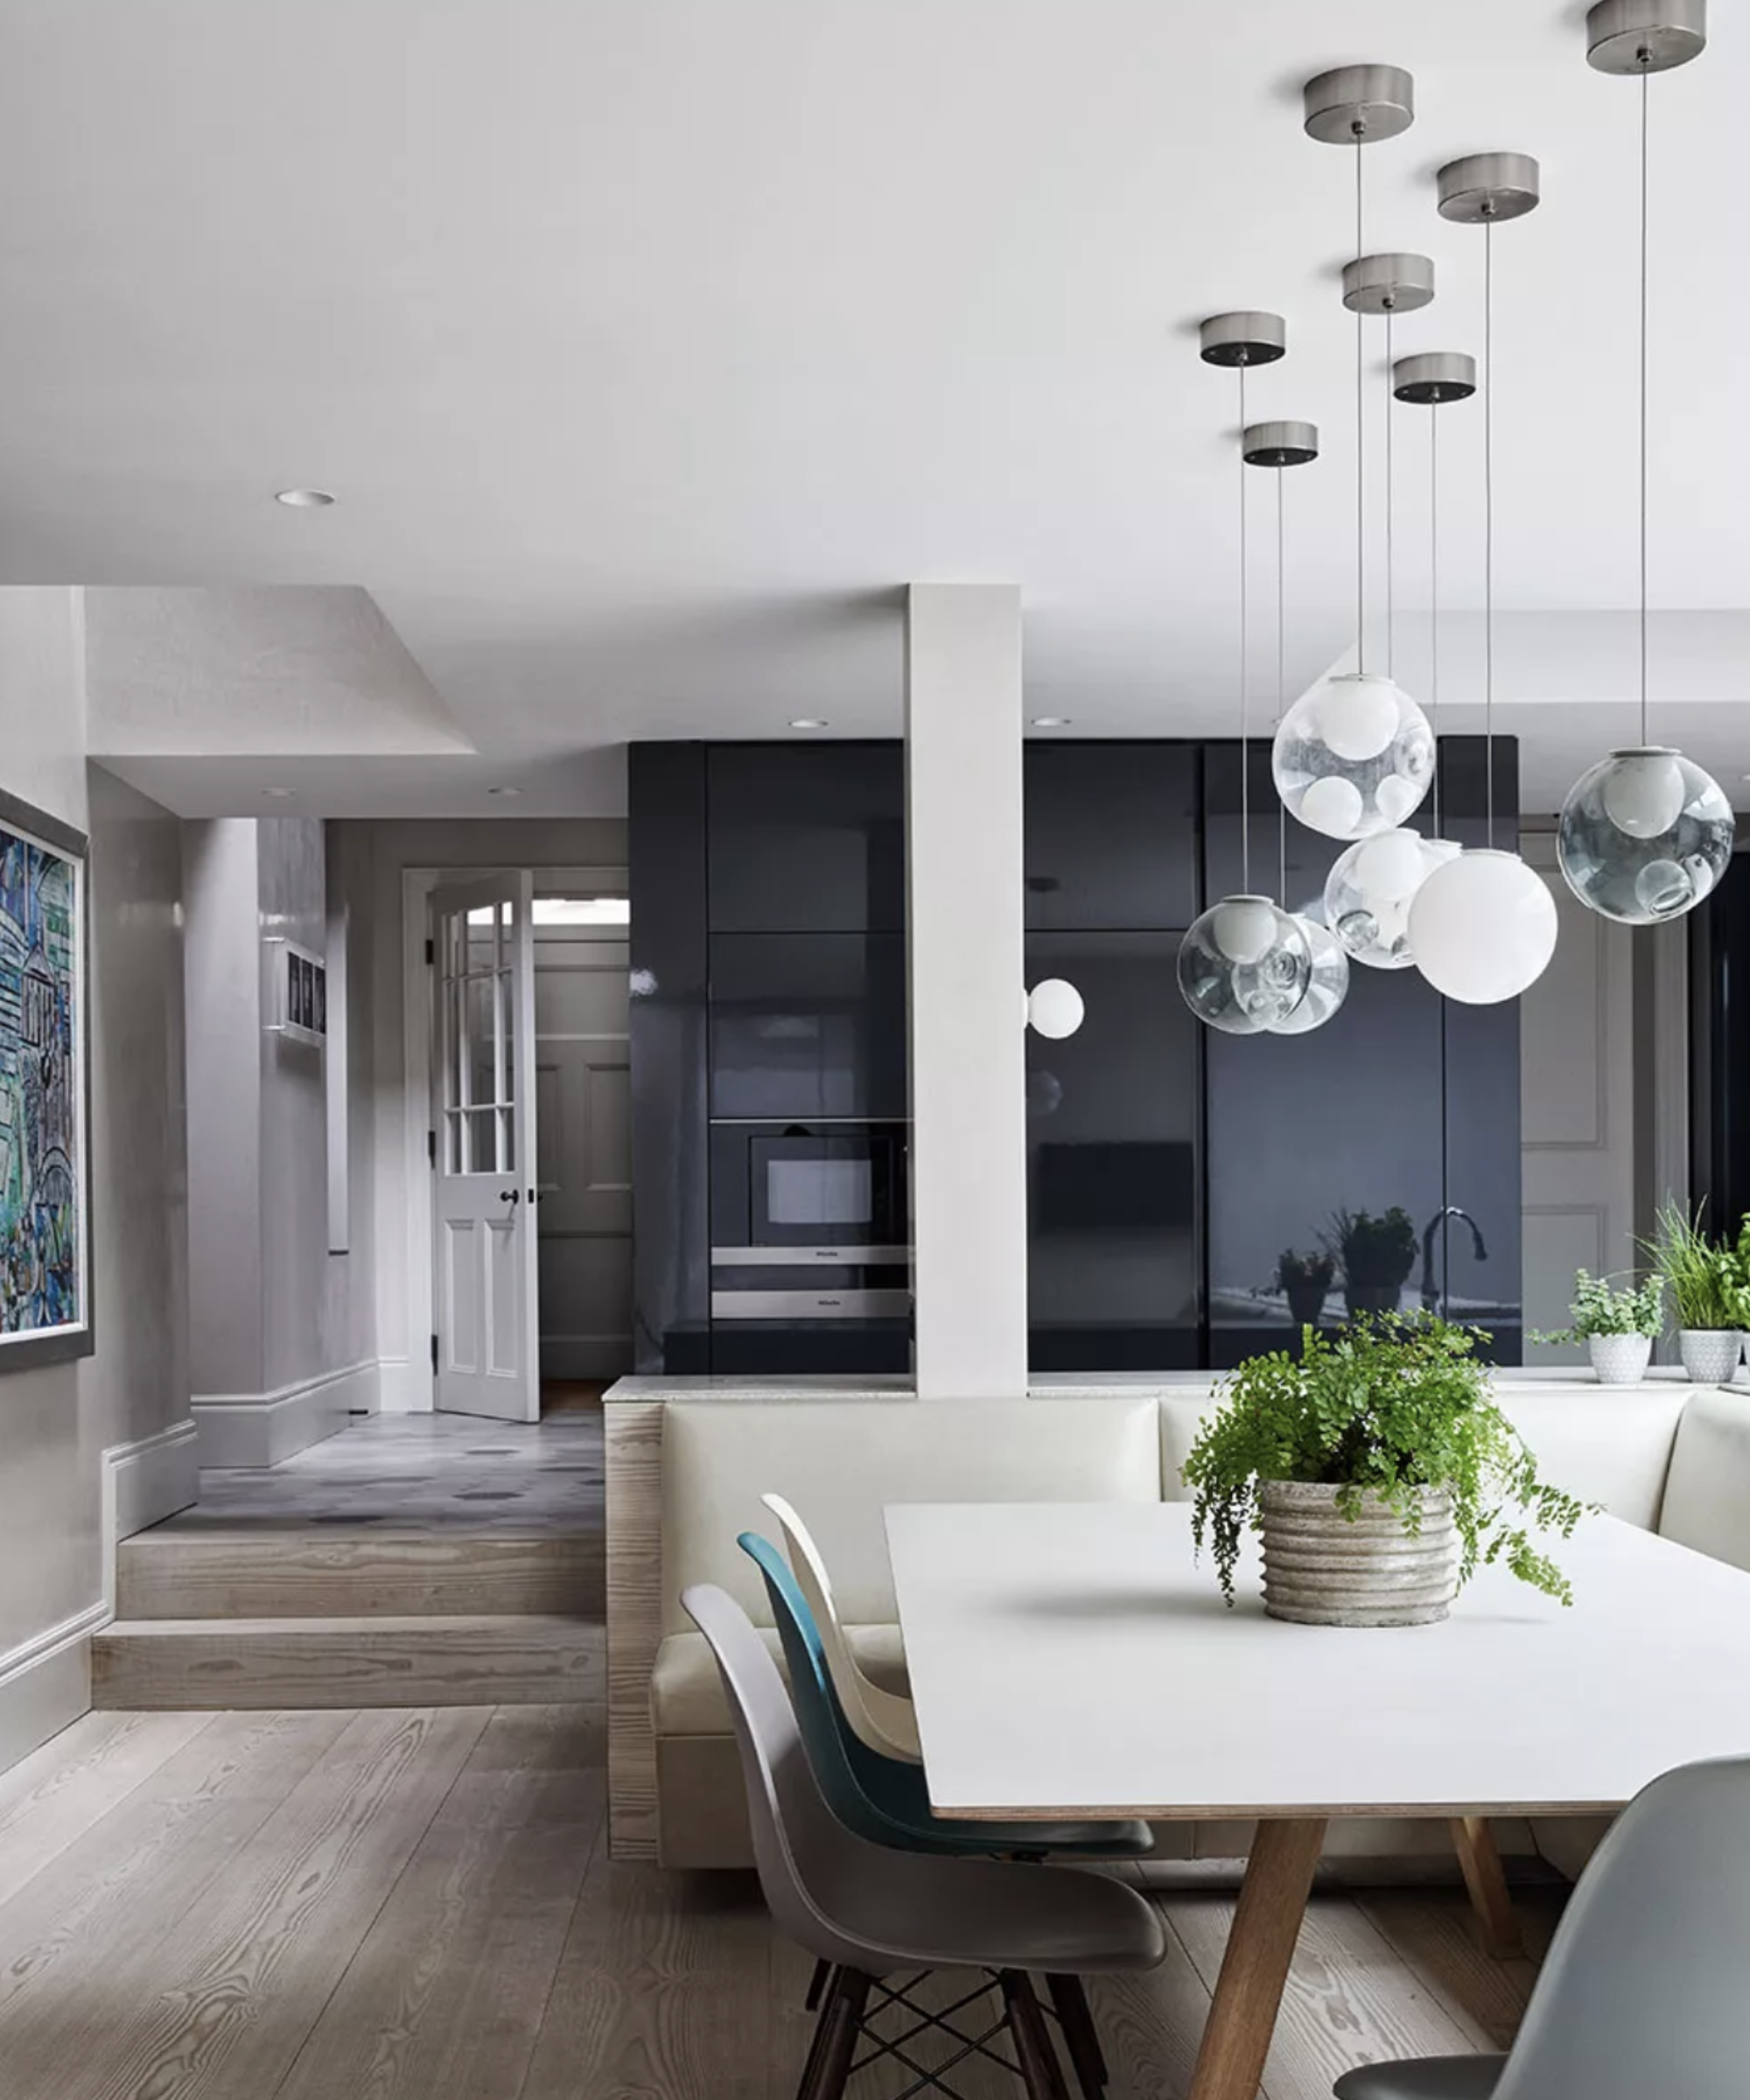
No matter what kitchen cabinet colors you choose, it can be possible to paint your cabinets without sanding. Smooth raw wood could be painted without sanding, but bear in mind that this doesn’t apply if it’s varnished.
For previously varnished or painted kitchen cabinets, a liquid sander/deglosser can be used which will prepare the surface so that paint will adhere to it. Bear in mind that the aim of this preparation is not to strip the cabinet back to raw wood, but to make the surface matte rather than glossy.
A further alternative if you want to paint kitchen cabinets without sanding is to use a paint especially designed to be applied without this stage – such as those from Rust-Oleum, Annie Sloan Chalk Paint or DecoArt Satin Enamels Paint, for example.
It is also possible to use bonding primer that allows paint to adhere to potentially difficult to paint surfaces. You’ll need to check the tin to ensure the paint you use is compatible with the primer.
How to paint kitchen cabinets step by step
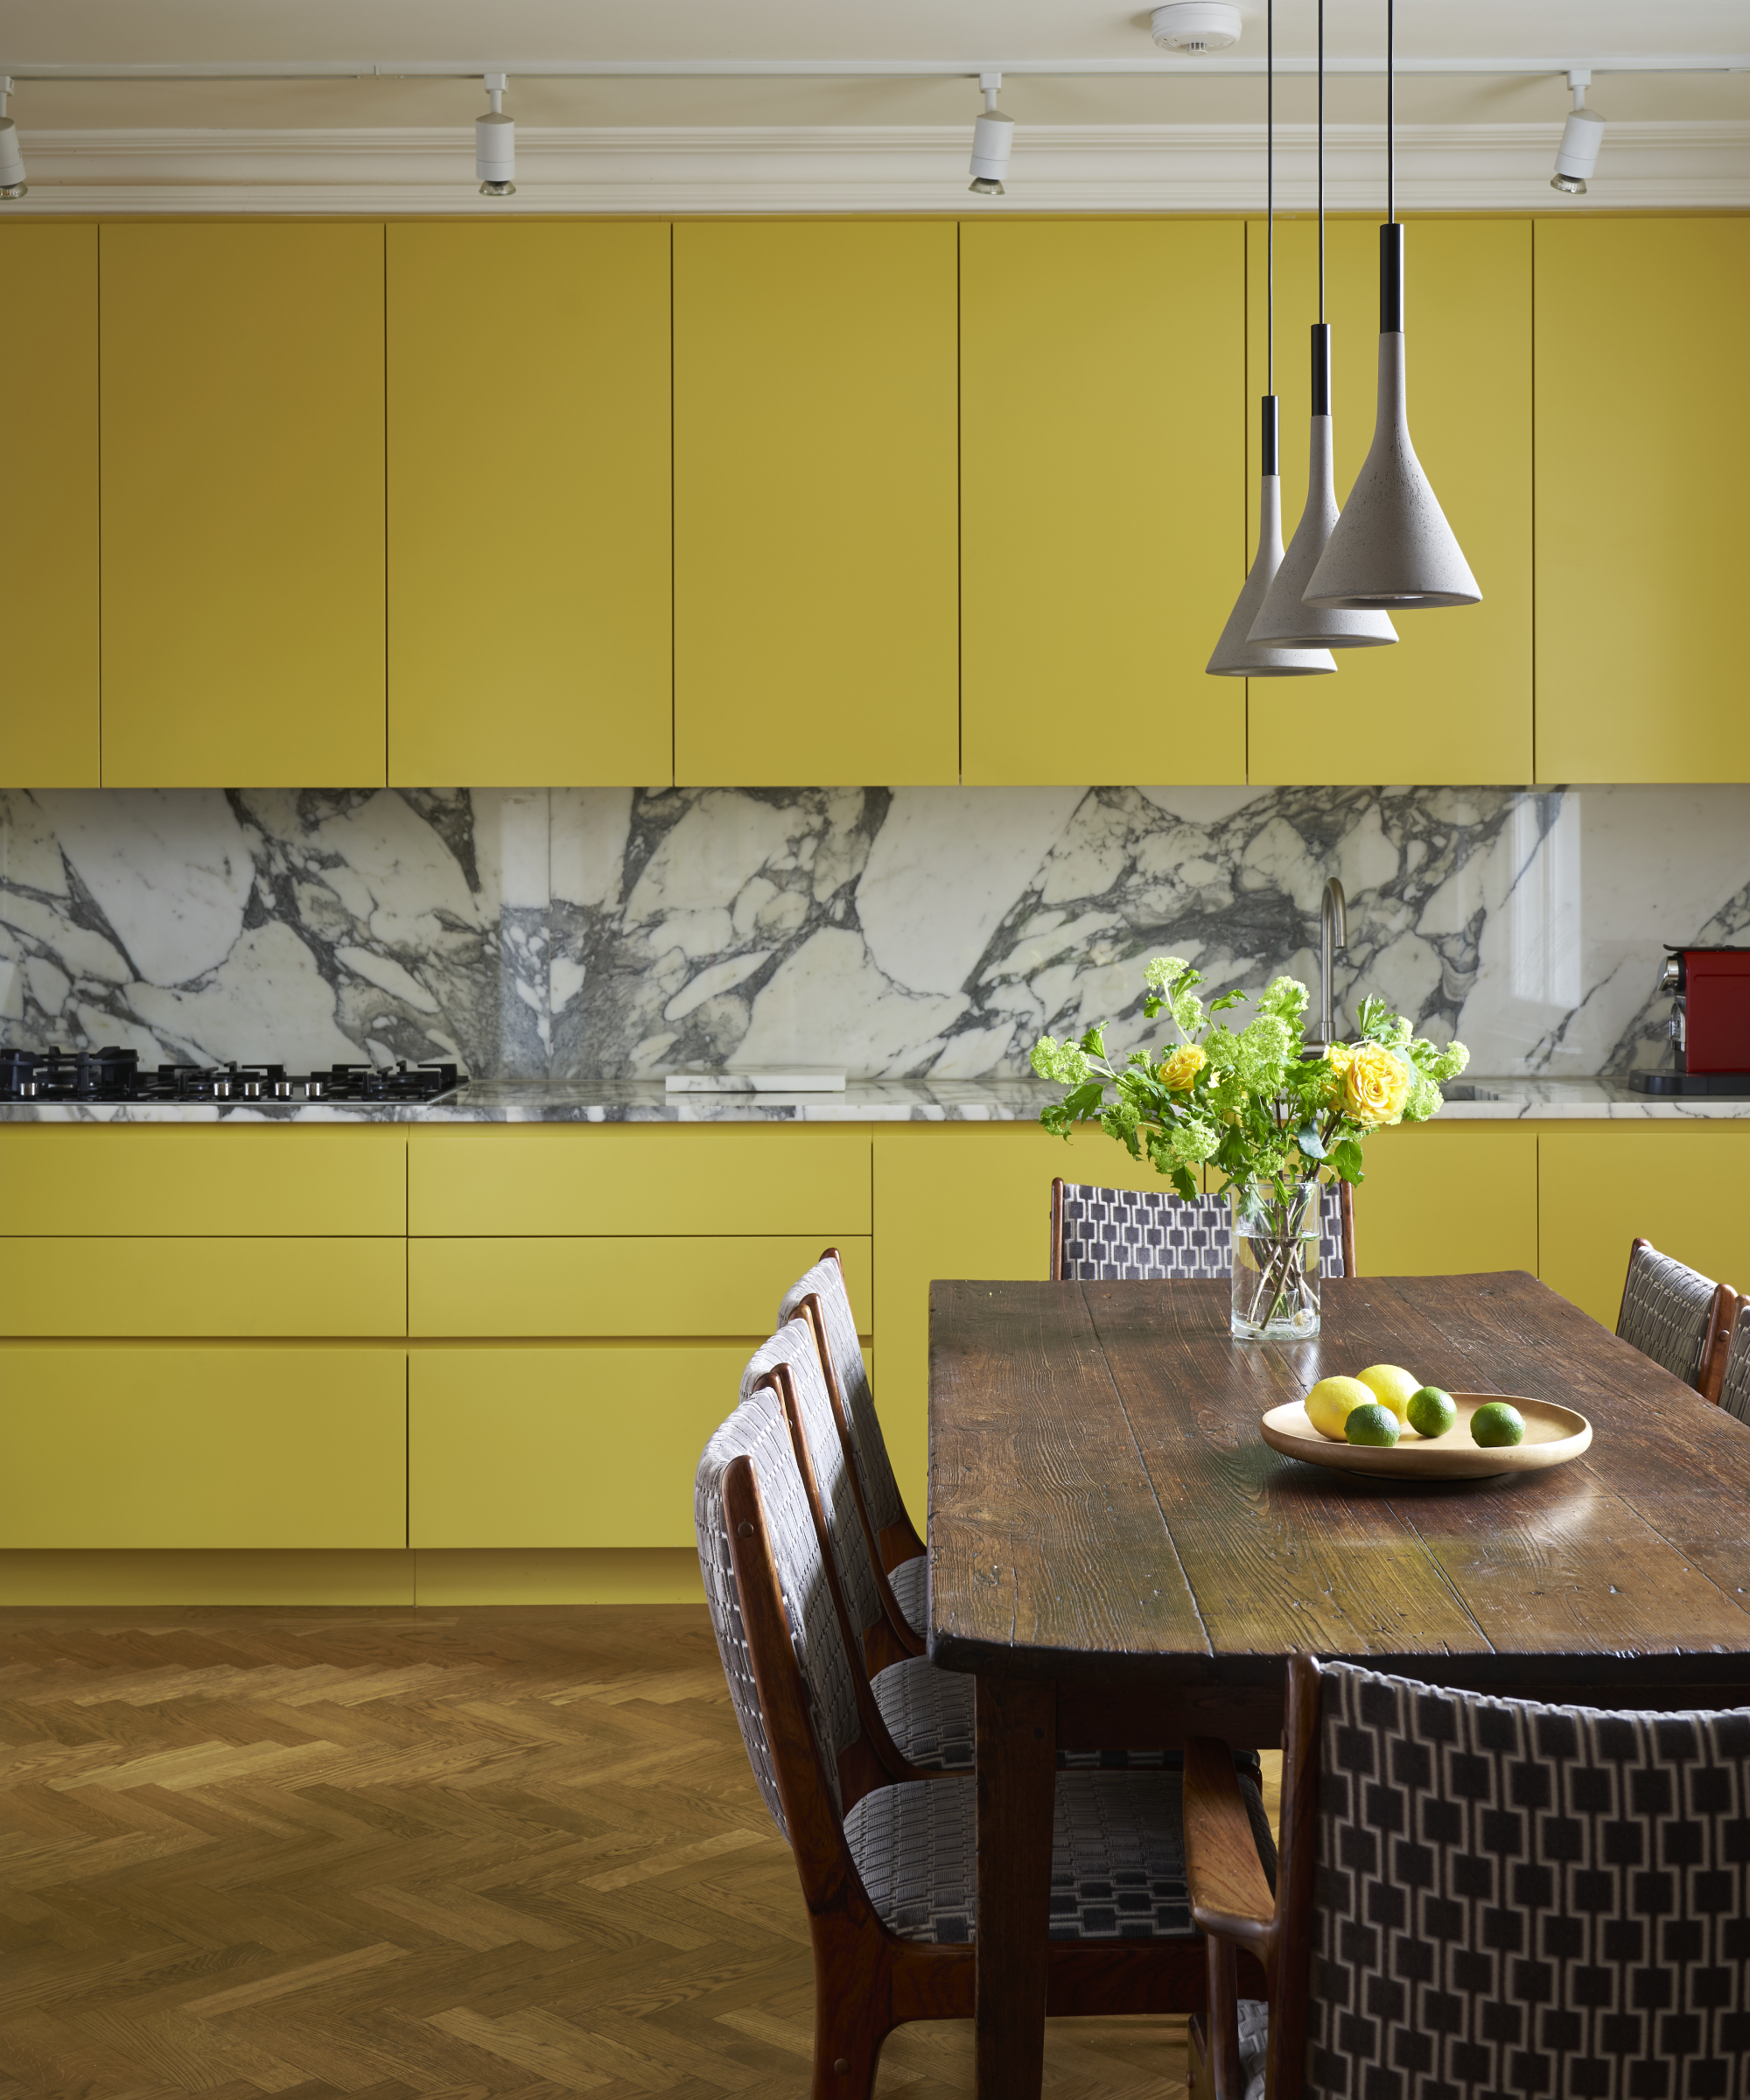
You will need:
- Screwdriver
- Masking tape
- Pencil
- Degreaser
- Non-scratch sponge
- Sandpaper, if required, medium and fine grit
- Lint-free cloth
- Primer, if required
- Paint
- Paint stirrer
1. Remove doors and drawer fronts
To create a painted kitchen with a professional finish, removing the cabinet door and drawer fronts is highly recommended. ‘It allows easy painting without straining,’ explains Paul Stein, CEO of Trusted House Painter. ‘It prevents excess drip marks; it makes the hidden crevasses accessible; and paint dries quicker.’
Take handles and knobs off, too.
To ensure it’s straightforward to put doors and drawers back in place, stick pieces of masking tape labelled with the position of each door and drawer front on to them.
2. Clean doors, drawer fronts and the interior of cabinets
Take out the contents of the cabinets and drawers and store safely. Using a degreaser such as TSP or sugar soap, clean the doors and drawer fronts. Clean out the inside of cabinets too, and get rid of any spilled foods or stains.
Take care not to lose the labels, which are the key to getting doors and drawer fronts back into the correct position at the end of the project when you’re cleaning.
Cover the kitchen floor, counters and appliances too, to keep them clean and protect them during the work.
3. Sand cabinet doors
It may be possible to bypass this step (see ‘How to paint kitchen cabinets without sanding’, above), but otherwise now is the moment to sand the cabinet doors. Use a medium 120 grit sandpaper.
Begin with any crevices in the surface, moving on to the flat faces. Don’t omit the edges.
Once the sanding is finished, it is imperative to get rid of the dust created. Use a damp lint-free cloth to wipe everything down. Use the vacuum cleaner to clean up thoroughly, too.
Allow the doors to dry.
4. Prime kitchen cabinets
It’s a good idea to use painter’s pyramids to help you reach all round the cabinet doors when priming and painting.
Unless your chosen paint doesn’t require it, it is crucial to prime the cabinet surfaces for best results. Choose a primer that’s suitable for the material from which the cabinet doors are made.
Wood needs a wood primer. ‘Ensure that you are using a primer that will counteract bleeding which is the natural appearance of the wood coming through,’ recommends Dean Mergel, general manager of Mosaic Home Services company Colour Envy Painting. ‘Oil-based primers are the best products to use to reduce the risk of bleeding on wooden kitchen cabinets.’
Use a primer that will boost paint adhesion for veneer and laminate surfaces. Both multipurpose and specialist surface primers are available. Make sure the primer is compatible with your chosen paint, too.
Apply the first coat of primer evenly across the surface of the door and leave to dry. Check the tin for guidance, but remember that weather conditions affect drying times.
When the first coat is completely dry, sand lightly with a fine grit paper. Clean, then apply a second coat of primer. Allow to dry thoroughly.
5. Apply the first coat of paint
Open the paint can, then stir the paint and use a brush to apply the first coat to cabinet doors. Start by painting the rear of the doors, then move on to the front where you should work over and in between any crevices or grooves first.
Make sure you create an even finish across every surface of the door; you are aiming for at least two thin coats rather than a thick finish.
Allow to dry thoroughly, then sand down the painted surface lightly. Wipe clean with a lint-free cloth.
6. Apply the second and any subsequent coats of paint
Apply a second coat as before, concentrating on getting an even finish and avoiding any brush marks. Allow to dry.
If necessary, sand as above before applying a further thin coat.
7. Leave kitchen cabinet doors to cure
Allow the paint to cure, according to the instructions on the tin.
This process may be a lengthy part of the project but it’s necessary for a professional finish. You may wish to work in batches to help manage this stage.
8. Re-attach the cabinet doors
When doors and drawer fronts are thoroughly dry, replace the handles and knobs – or install kitchen cabinet handles that are new. Then re-hang the doors and replace the drawer fronts.
Note that if you plan to replace hardware, this must be planned in from the start. ‘Will the spread for new hardware match the old?’ asks Mary Maloney. ‘If not, the old holes will need to be filled, all of which will need to be factored into the prep. Make that decision and order the hardware before the painting begins.’
Can you just paint over kitchen cabinets?
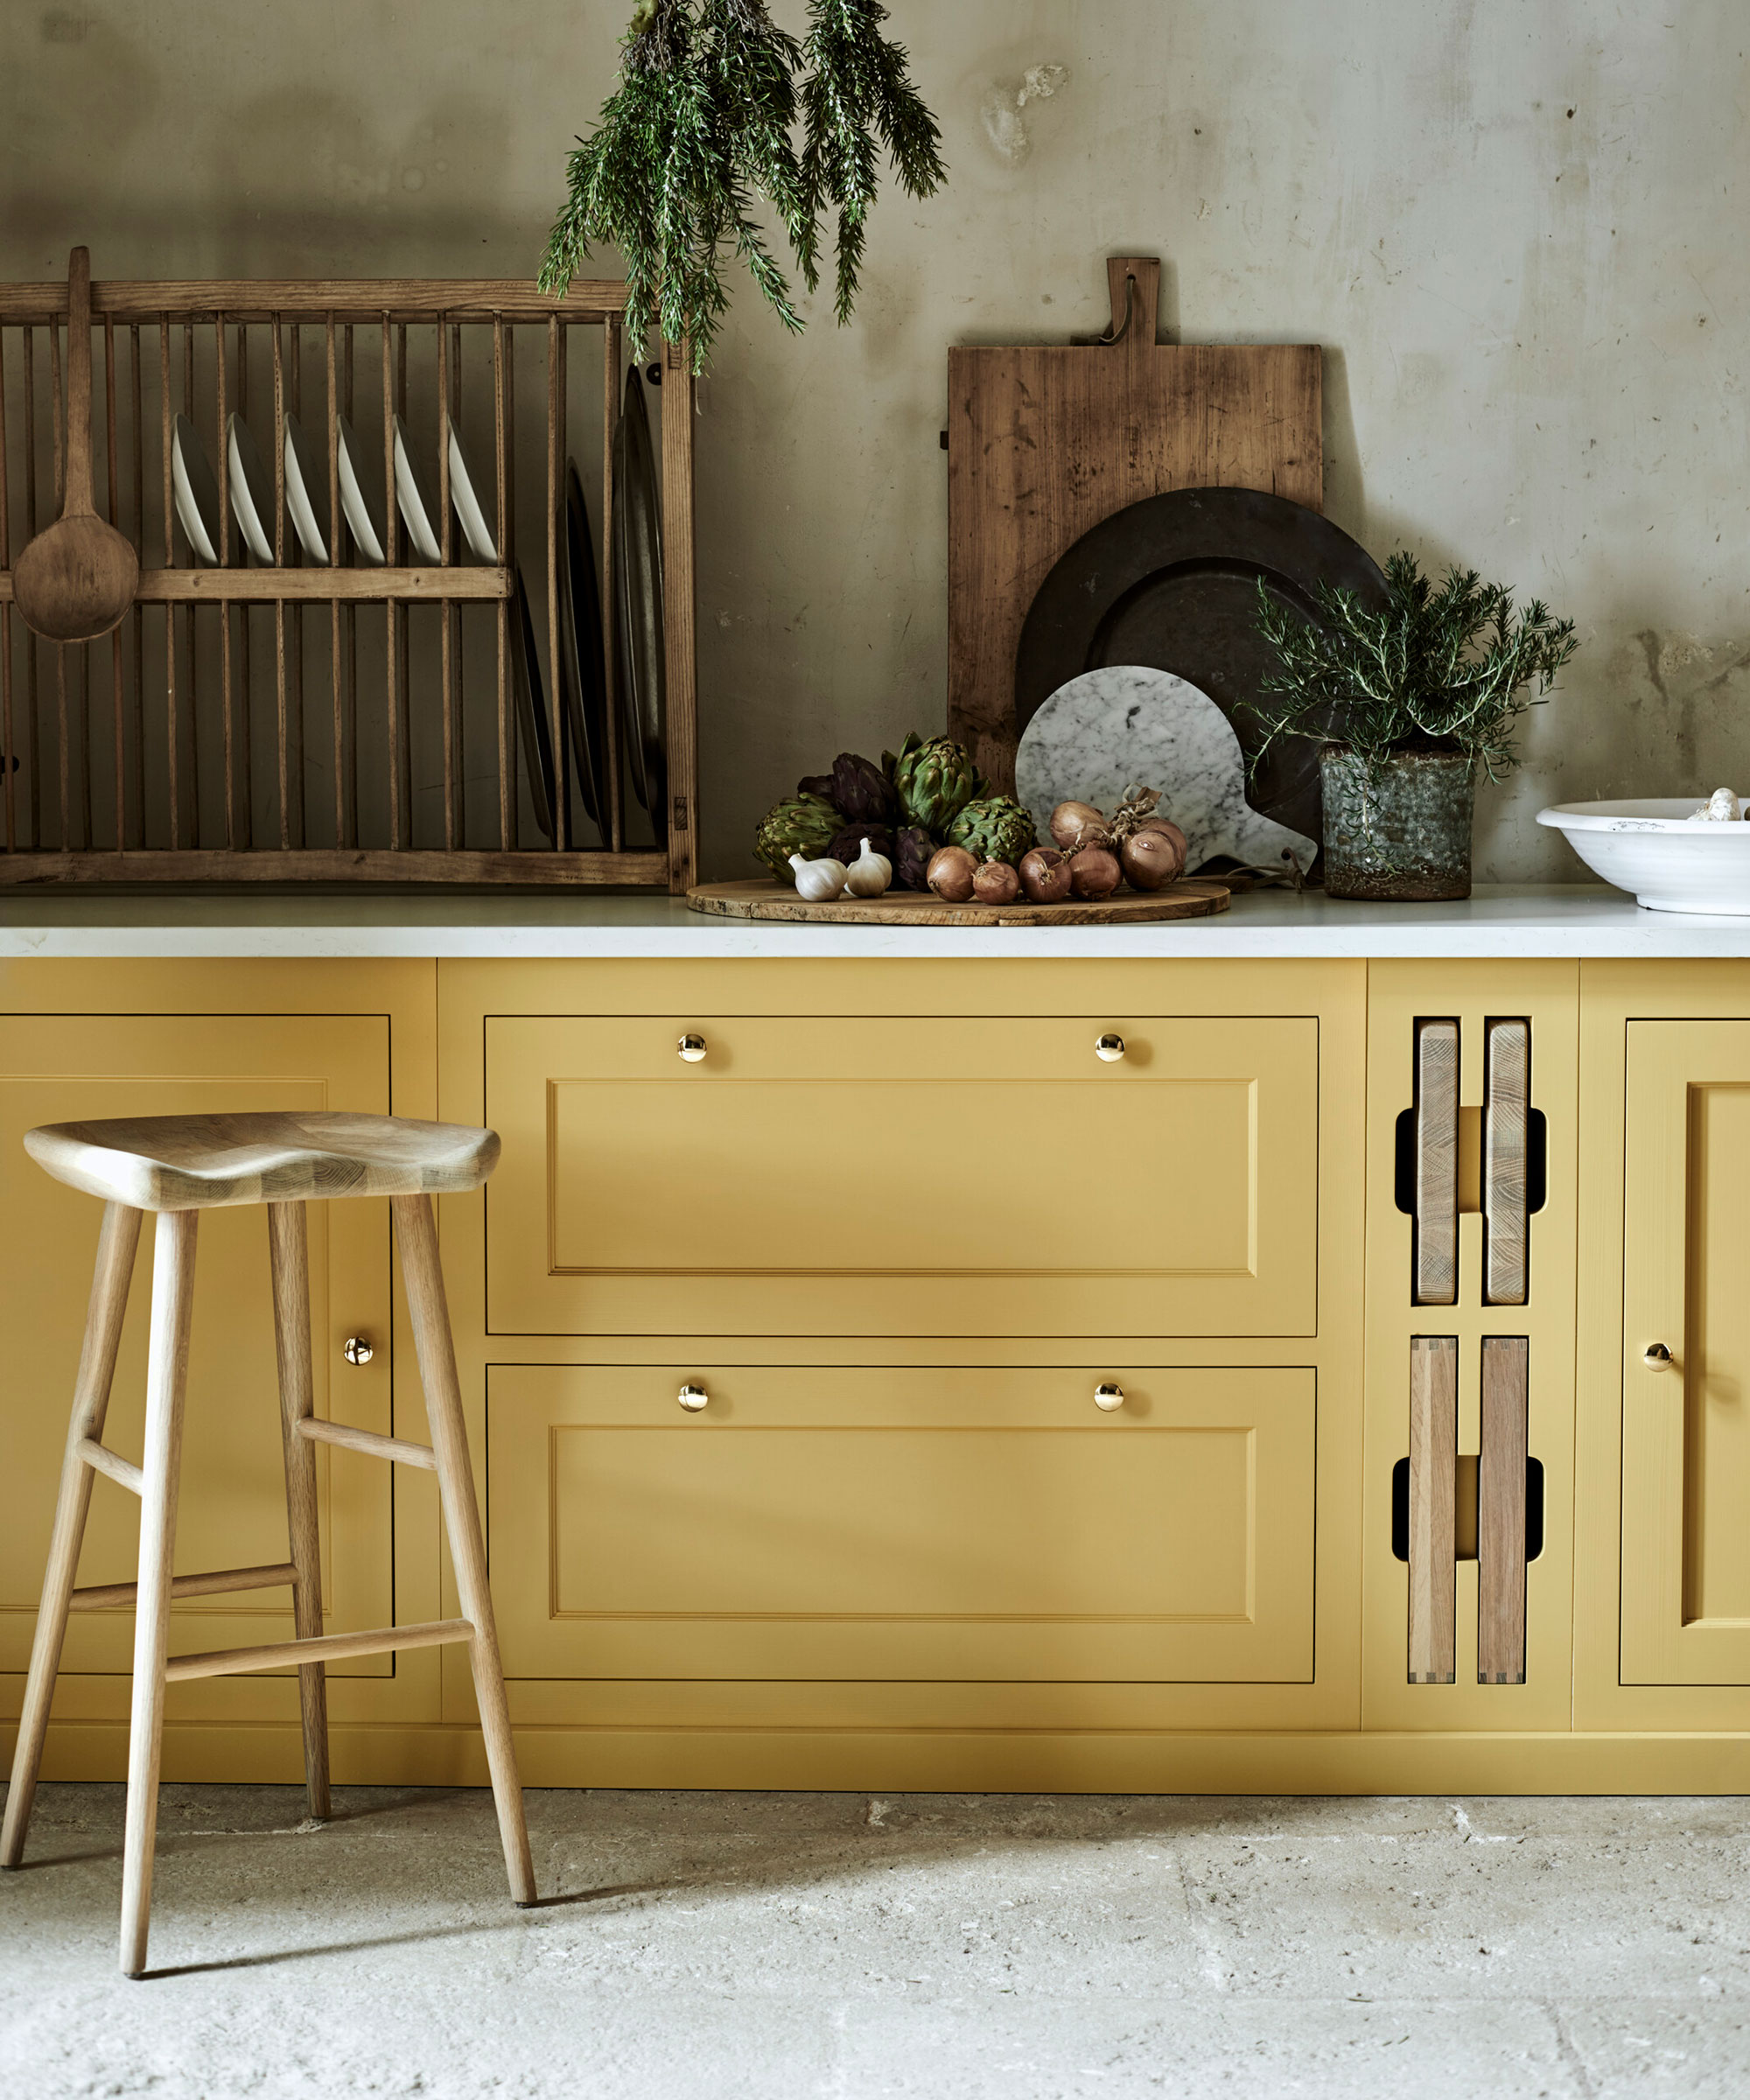
You can paint over kitchen cabinets –or stain kitchen cabinets or even refinish kitchen cabinets by varnishing them as alternatives if they’re made from wood – but as with all decorating and DIY projects, the key to a result you’ll be delighted with is thorough preparation.
In the case of kitchen cabinets that begins with cleaning. The activities that go on in a kitchen cause grease to accumulate, so it’s vital to remove this from the cabinets both outside and in first, alongside dealing with any grime, marks or spills.
The surface to be painted will generally have to be sanded in order for the paint to adhere to it. Taking off all the old paint isn’t necessary, but for professional results, sanding can be a vital stage.
There are exceptions to this requirement though, as detailed above.
What is the best paint to use on kitchen cabinets?
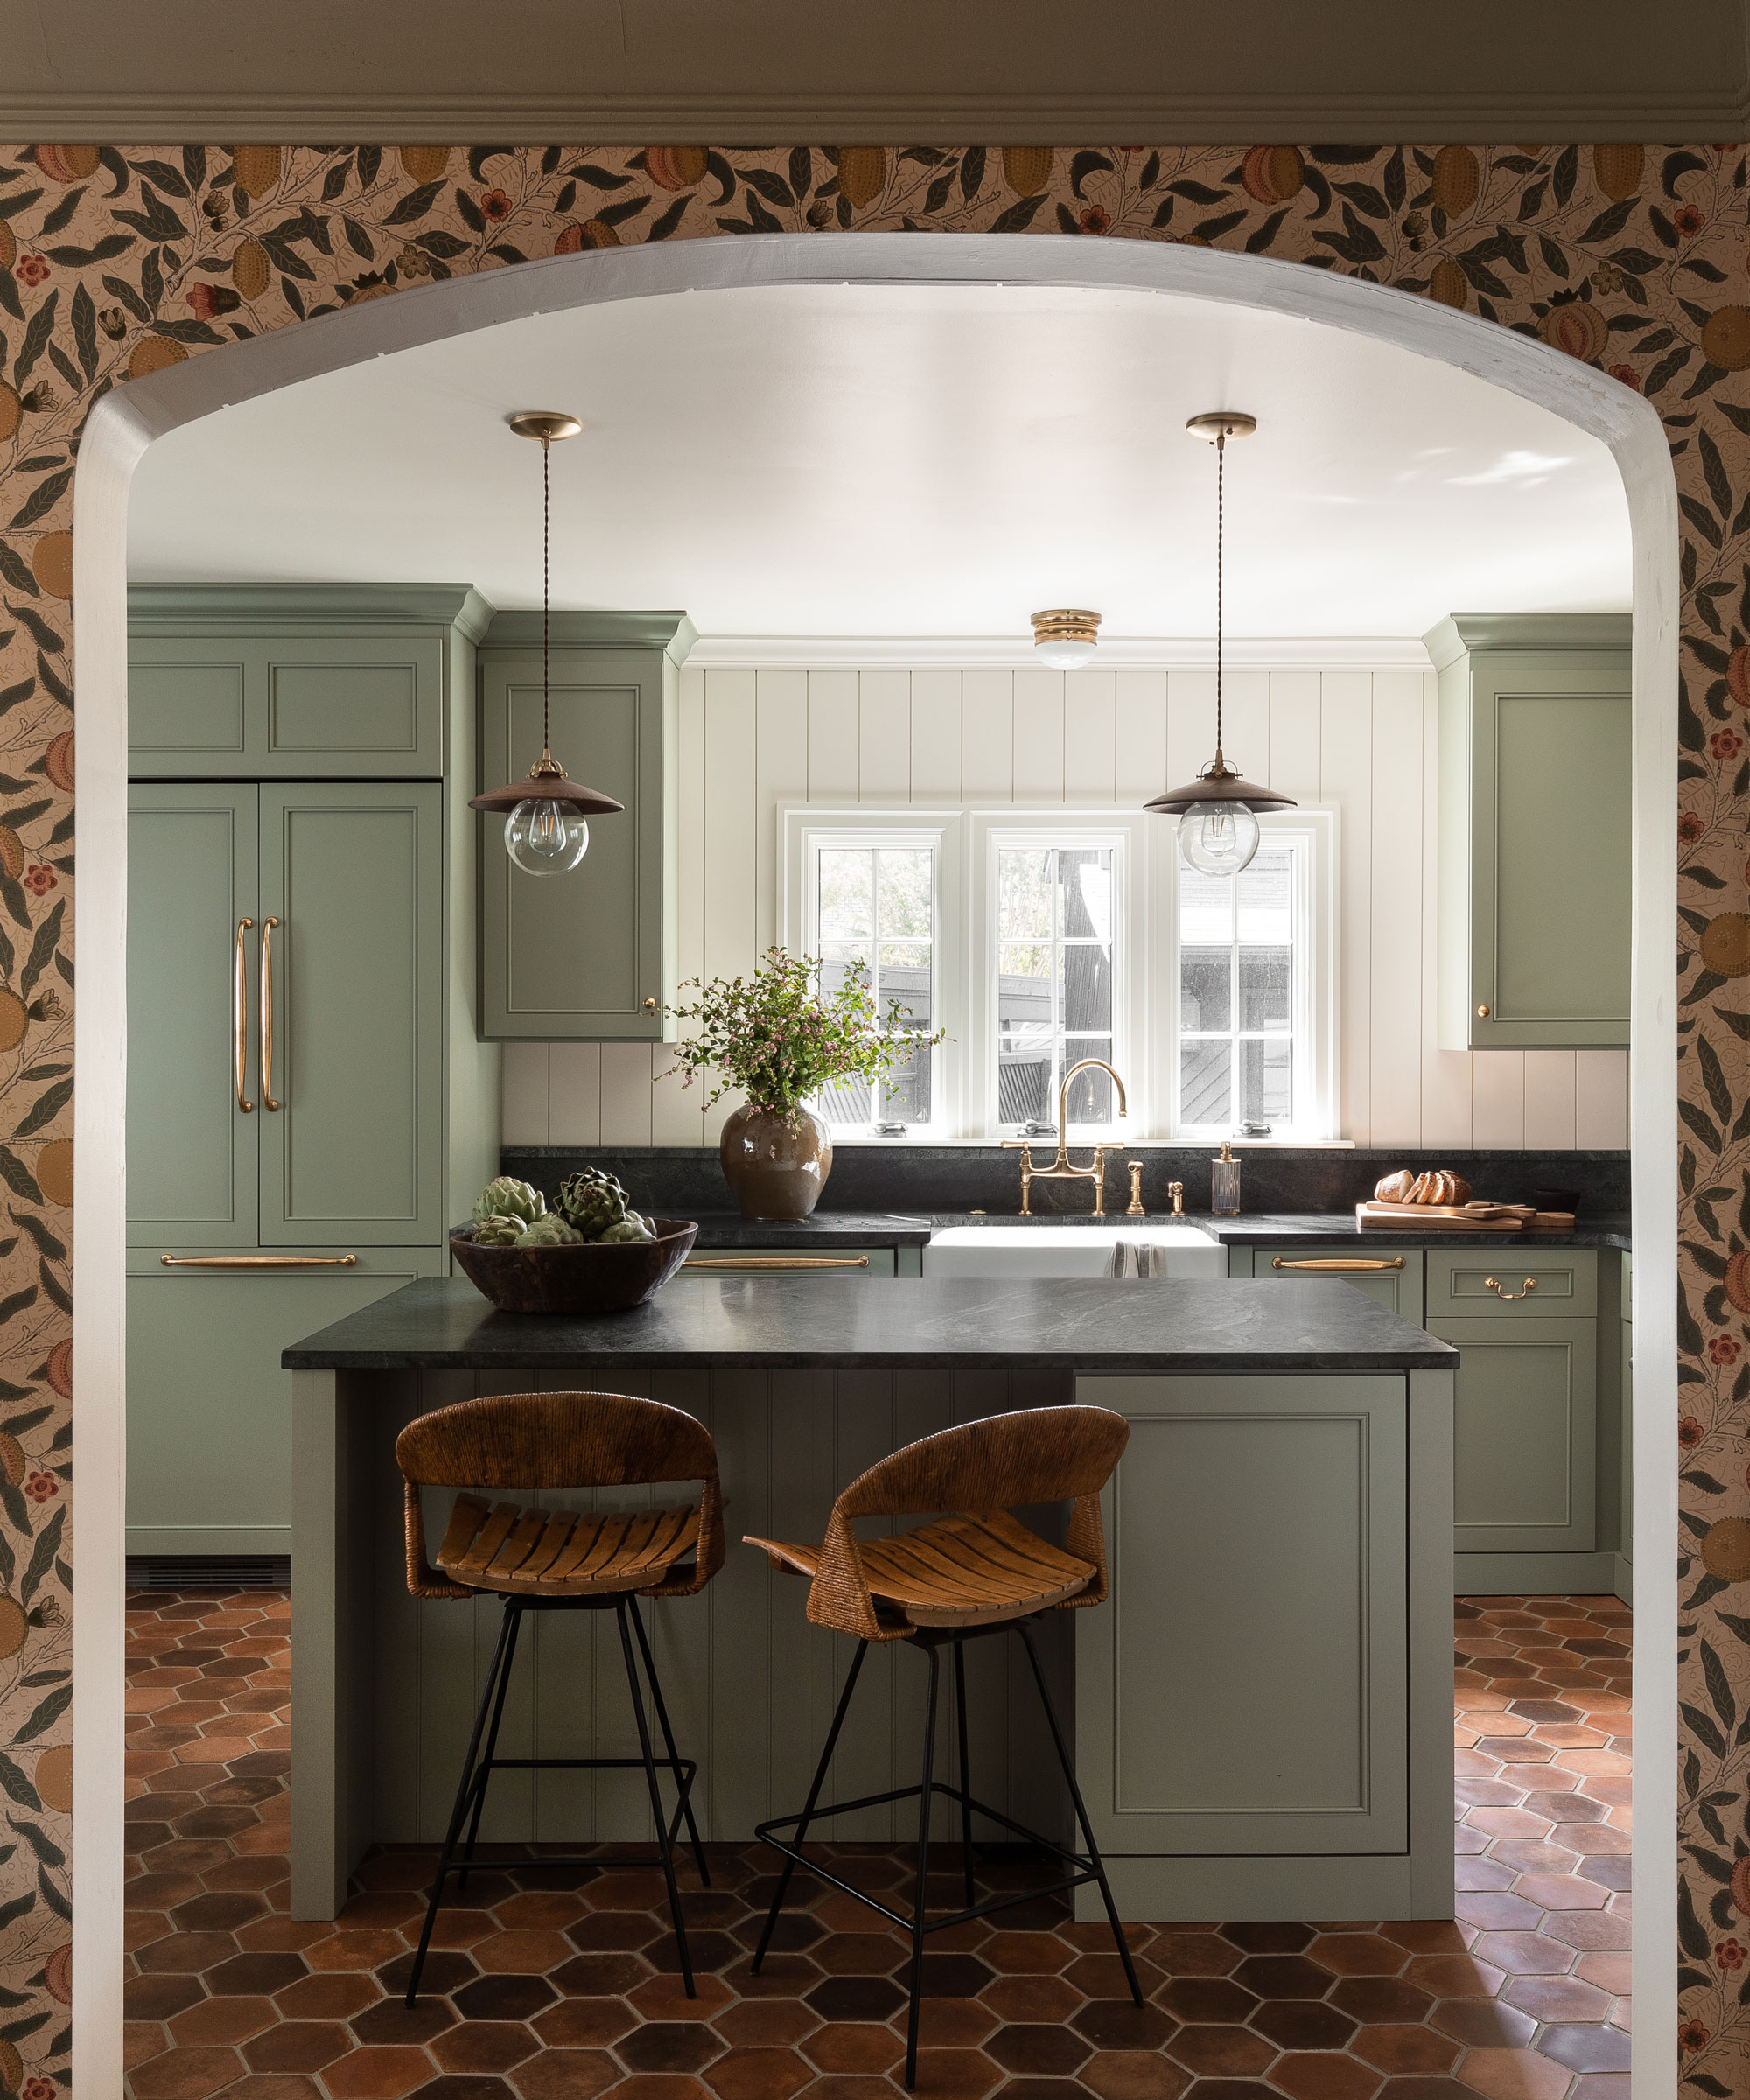
The best paint to use on kitchen cabinets is one that’s suitable for the material from which the doors are made, which could be wood, but might equally be MDF or laminate, for example.
As well as paint finishes, it’s also important to think about your chosen kitchen style and the finish you want when choosing paint.
Think about the other elements of the kitchen, too. ‘When selecting new colors for your cabinets, pay attention to materials like the countertop, backsplash, fixtures, and flooring to let these color cues inspire the color for your cabinets,’ say the experts from Benjamin Moore. ‘Consider sheen as well when selecting colors for each surface you are painting in your kitchen.’
The surface needs to be a durable one in the kitchen environment, which gets both hot and humid, and it needs to be wipeable for good hygiene.
Gloss, semi gloss and satin are wise choices, and eggshell is possible, too – although it may require a little more maintenance. Paints with an ultra-matte chalky finish are also feasible options, but some require a topcoat to create a finish that can be wiped down.
We've detailed some of our favorite cabinet paints below.
Best cabinet paint for a durable finish
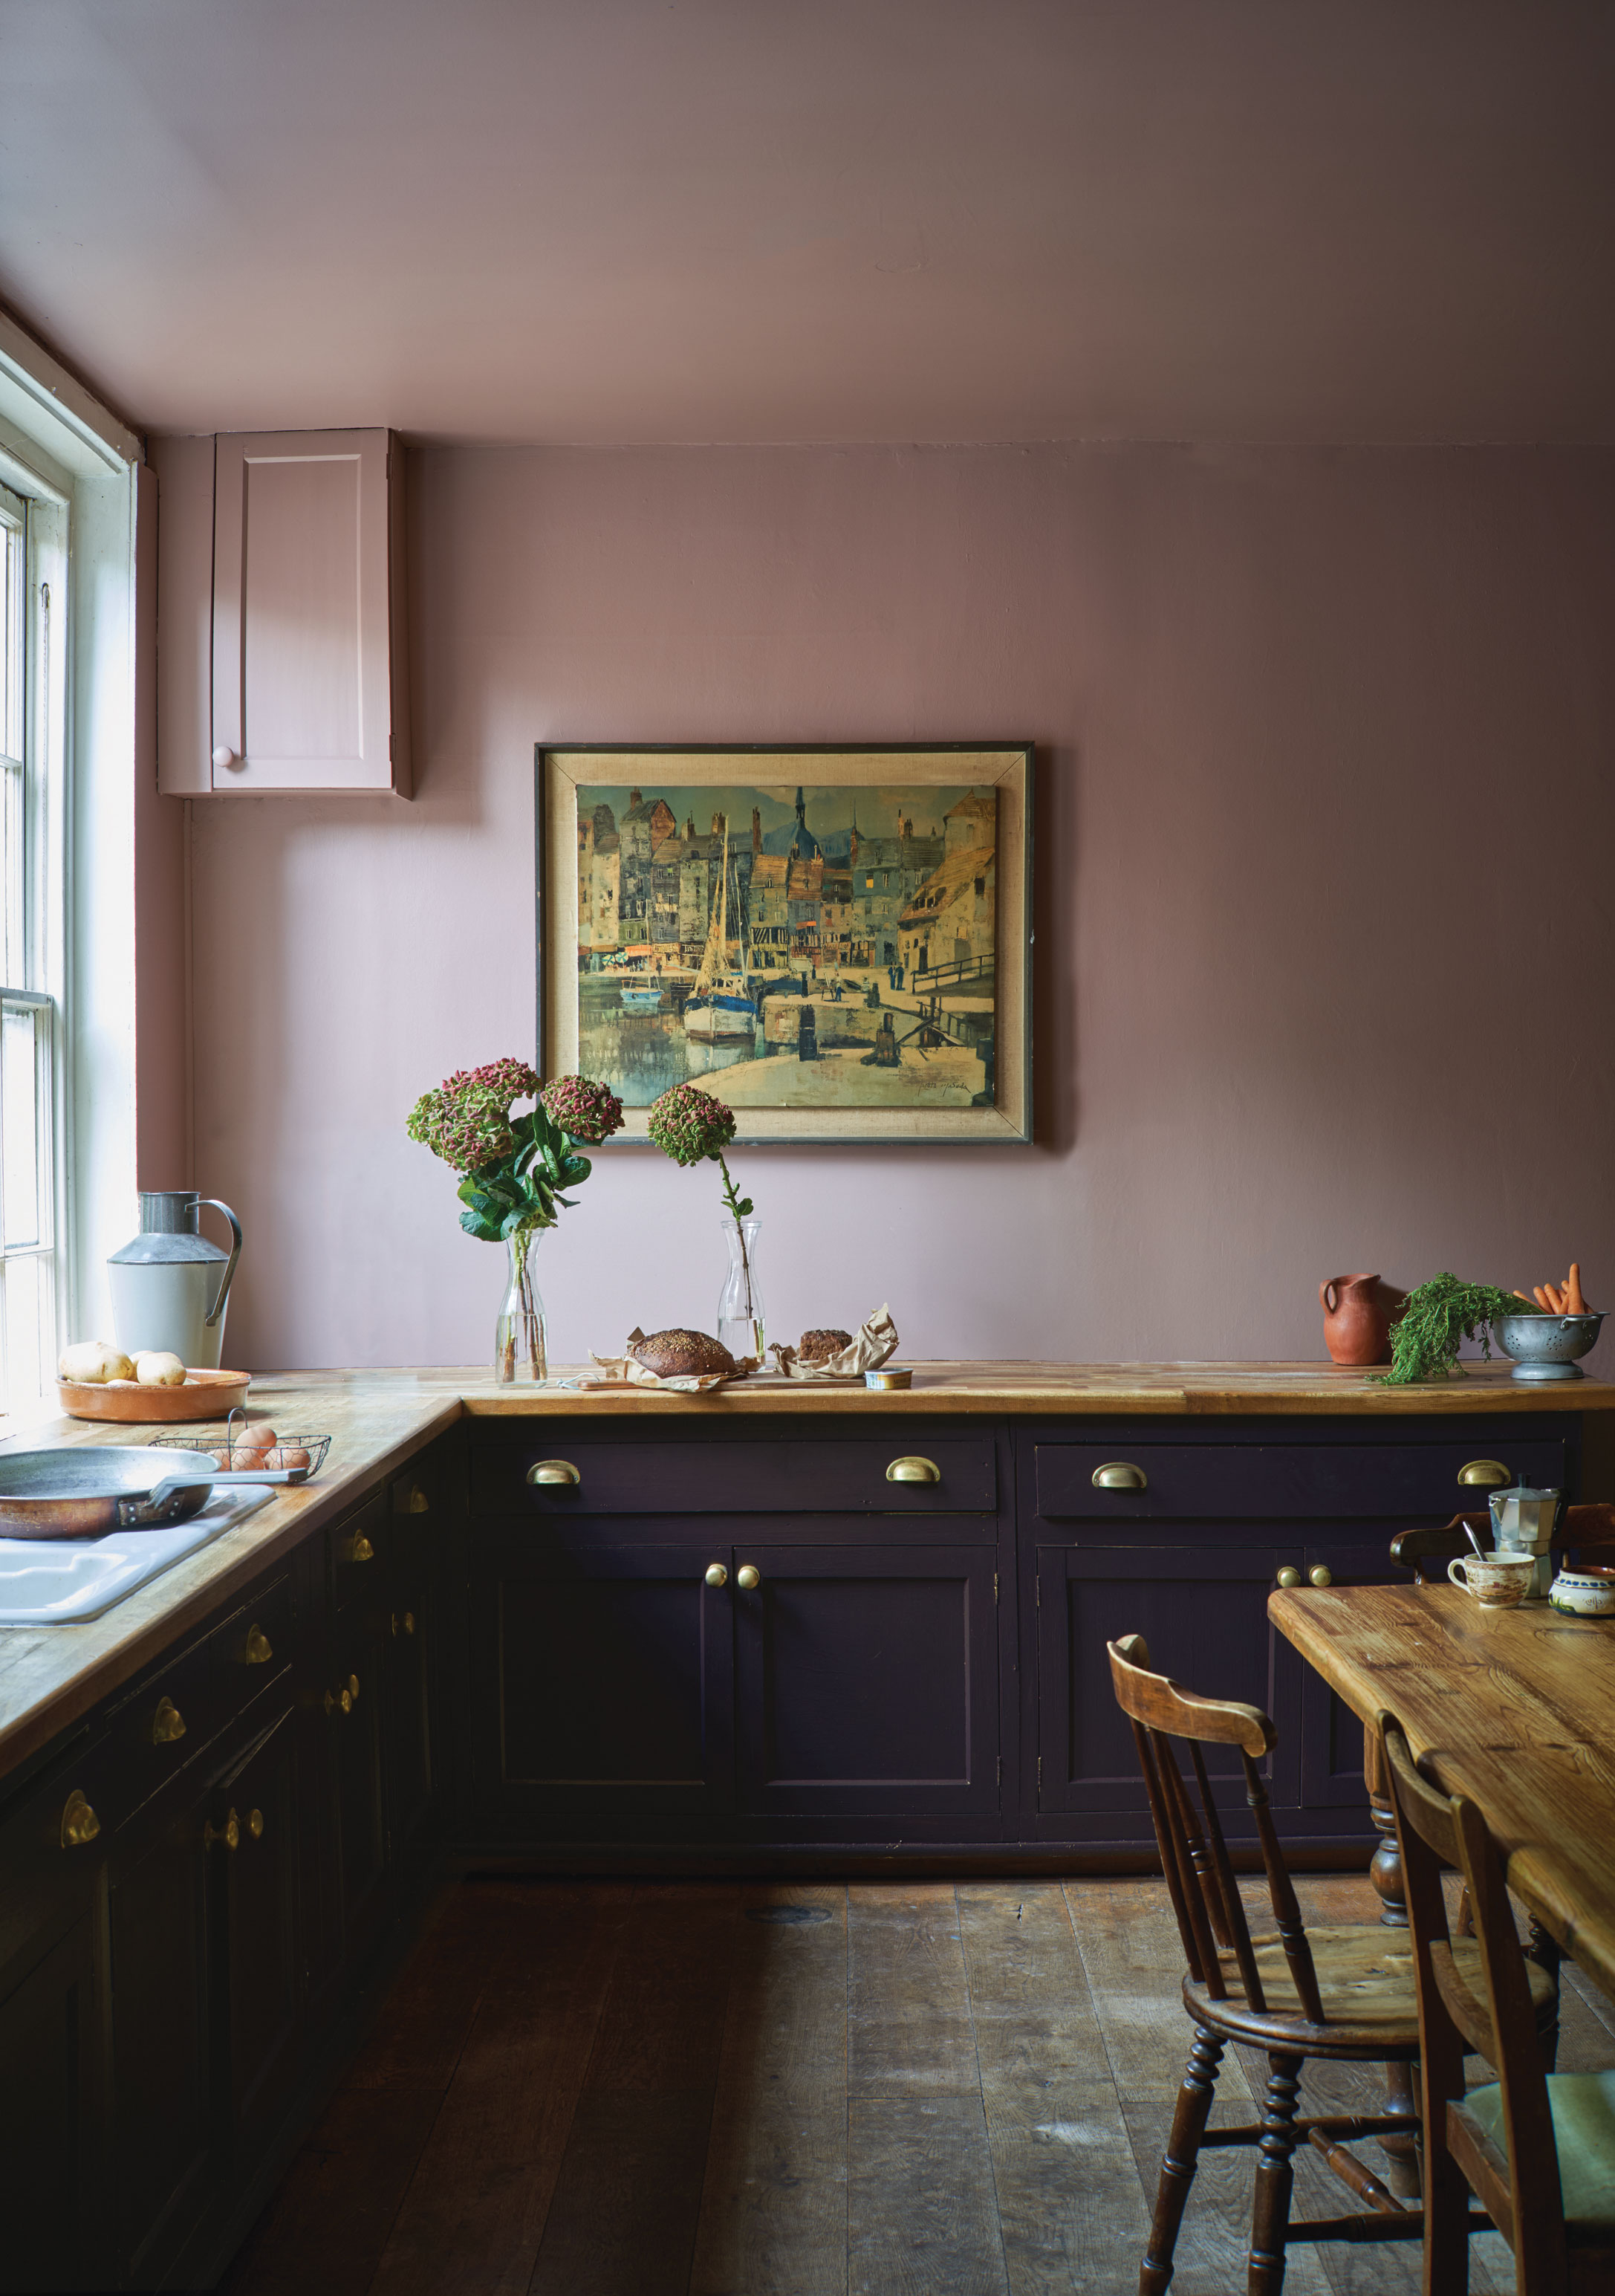
For an easy-care and lasting finish for kitchen cabinets, pick Modern Eggshell from Farrow & Ball.
It’s both washable and wipeable with a mid sheen, and available in all of the company’s 148 colors. It’s also quick drying to speed your cabinet painting project along.
Best cabinet paint for easy application
If you want to skip the sanding and priming steps of a kitchen cabinet painting project, check out Chalk Paint from Annie Sloan. It saves you these jobs so you can get straight to the painting stage, and works on laminate as well as wood.
Best cabinet paint kit
The Cabinet Transformations kit from Rust-Oleum has all you need inside to degloss and add a bonding coat and topcoat, along with an optional decorative glaze, and it works on wood and laminate cabinets.
Get it tinted to match your chosen kitchen color ideas in store.
Best for a gloss finish
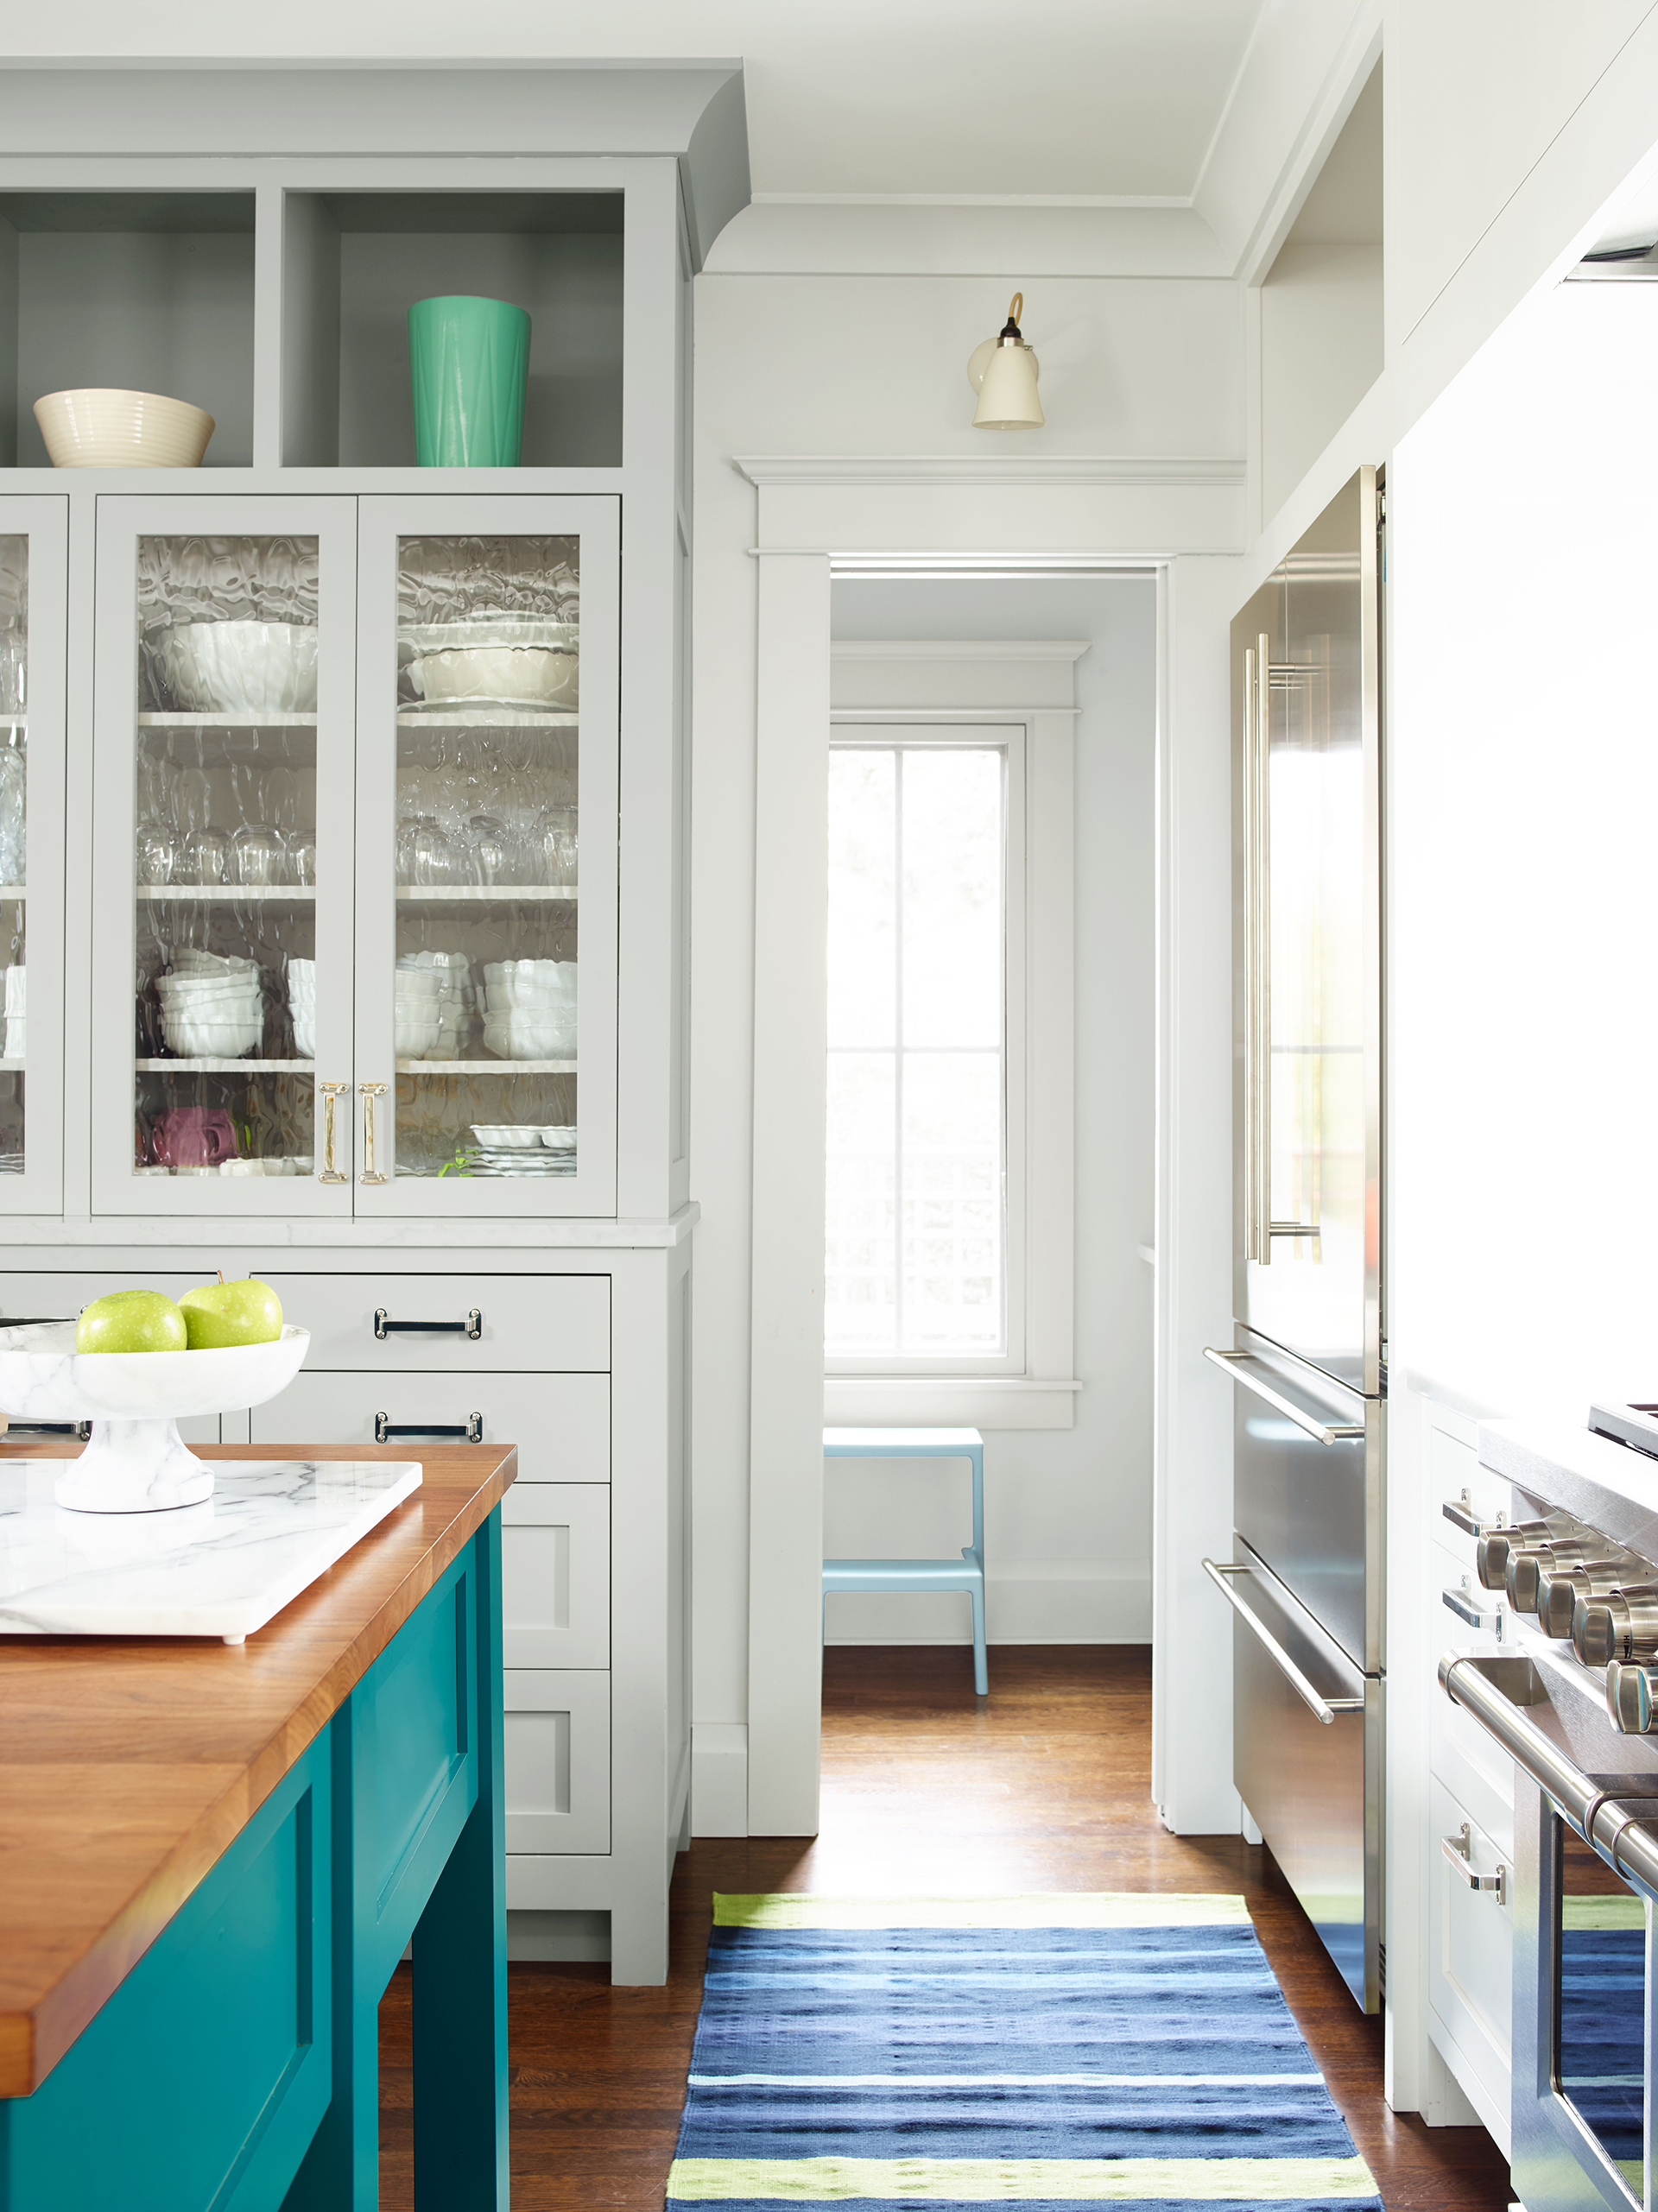
If you are planning a modern kitchen and want a sheen on your cabinetry, take a look at the Advance range from Benjamin Moore.
There are semi gloss and high gloss versions to pick from along with satin – and there is a matte paint, too, if that’s your preference. All are suitable for cabinetry.
Sign up to the Homes & Gardens newsletter
Design expertise in your inbox – from inspiring decorating ideas and beautiful celebrity homes to practical gardening advice and shopping round-ups.

Sarah is a freelance journalist and editor. Previously executive editor of Ideal Home, she’s specialized in interiors, property and gardens for over 20 years, and covers interior design, house design, gardens, and cleaning and organizing a home for Homes & Gardens. She’s written for websites, including Houzz, Channel 4’s flagship website, 4Homes, and Future’s T3; national newspapers, including The Guardian; and magazines including Future’s Country Homes & Interiors, Homebuilding & Renovating, Period Living, and Style at Home, as well as House Beautiful, Good Homes, Grand Designs, Homes & Antiques, LandLove and The English Home among others. It’s no big surprise that she likes to put what she writes about into practice, and is a serial house renovator.
-
 Garden experts warn against overcrowding flower beds – why this on-trend look is the worst thing you can do
It's tempting to create an abundant, overflowing garden bed, but it can limit your plants in more ways than one
By Tenielle Jordison Published
-
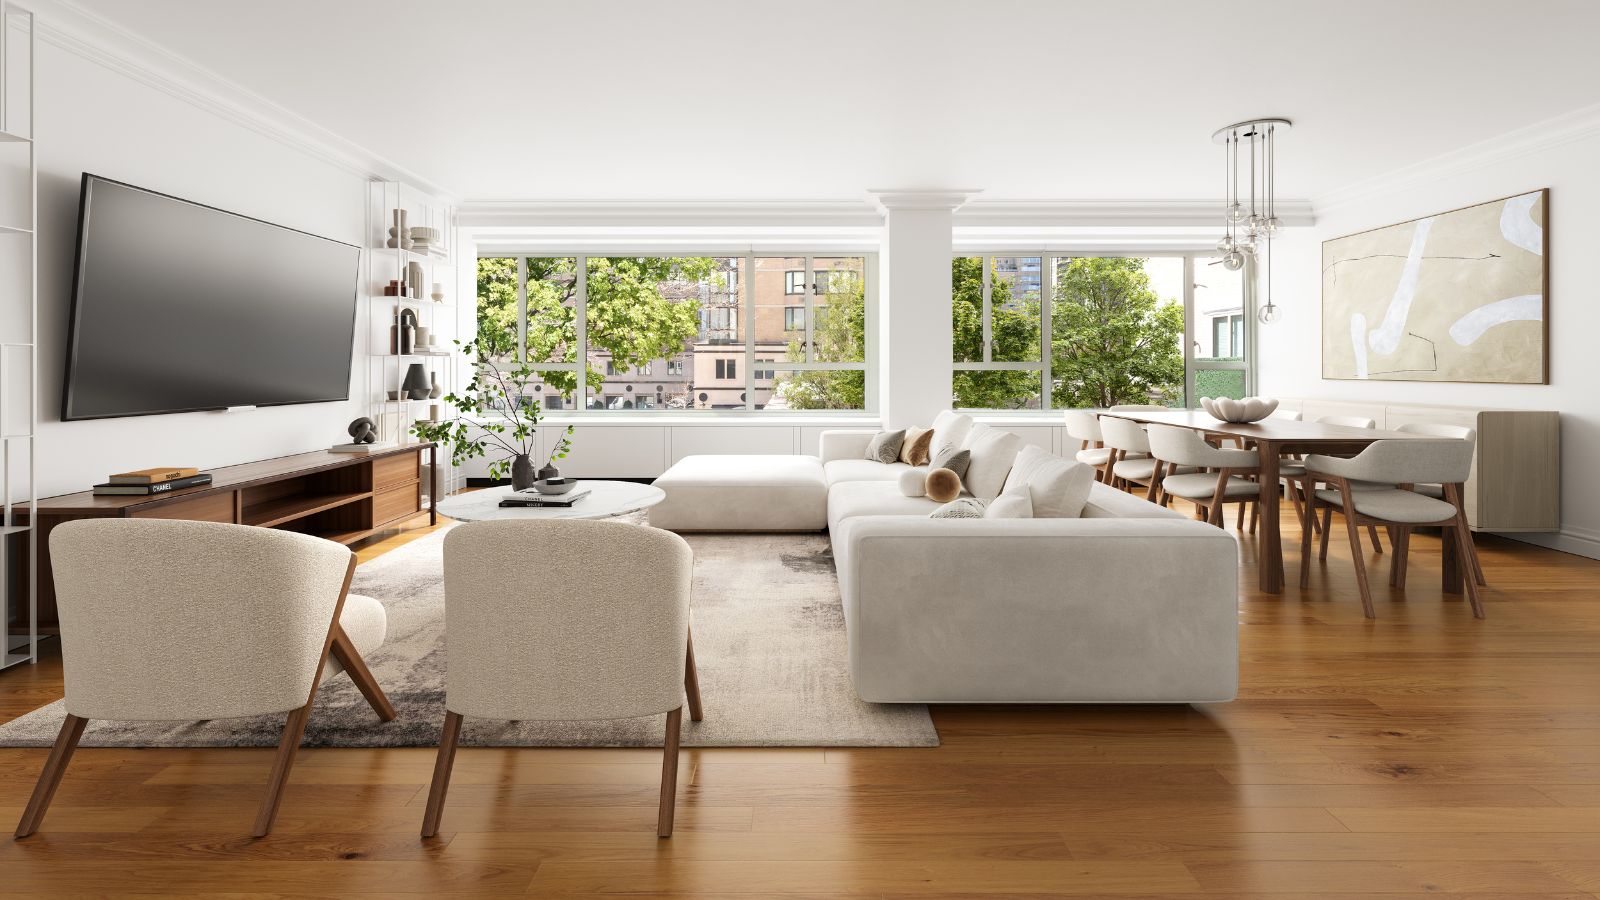 Grace Kelly's former living room set the blueprint for quiet luxury – you can explore her NYC penthouse (listed for $3.25 million)
A unit in the storied Manhattan House, where Grace Kelly, Benny Goodman, and Shirley Jackson have lived, has hit the market – it's a masterclass in neutrals
By Hannah Ziegler Published