How to hang a picture – top tips from experts on how to hang art
All your questions answered – from how to hang a picture with wire, how to hang a picture on a brick wall, plus picture placement
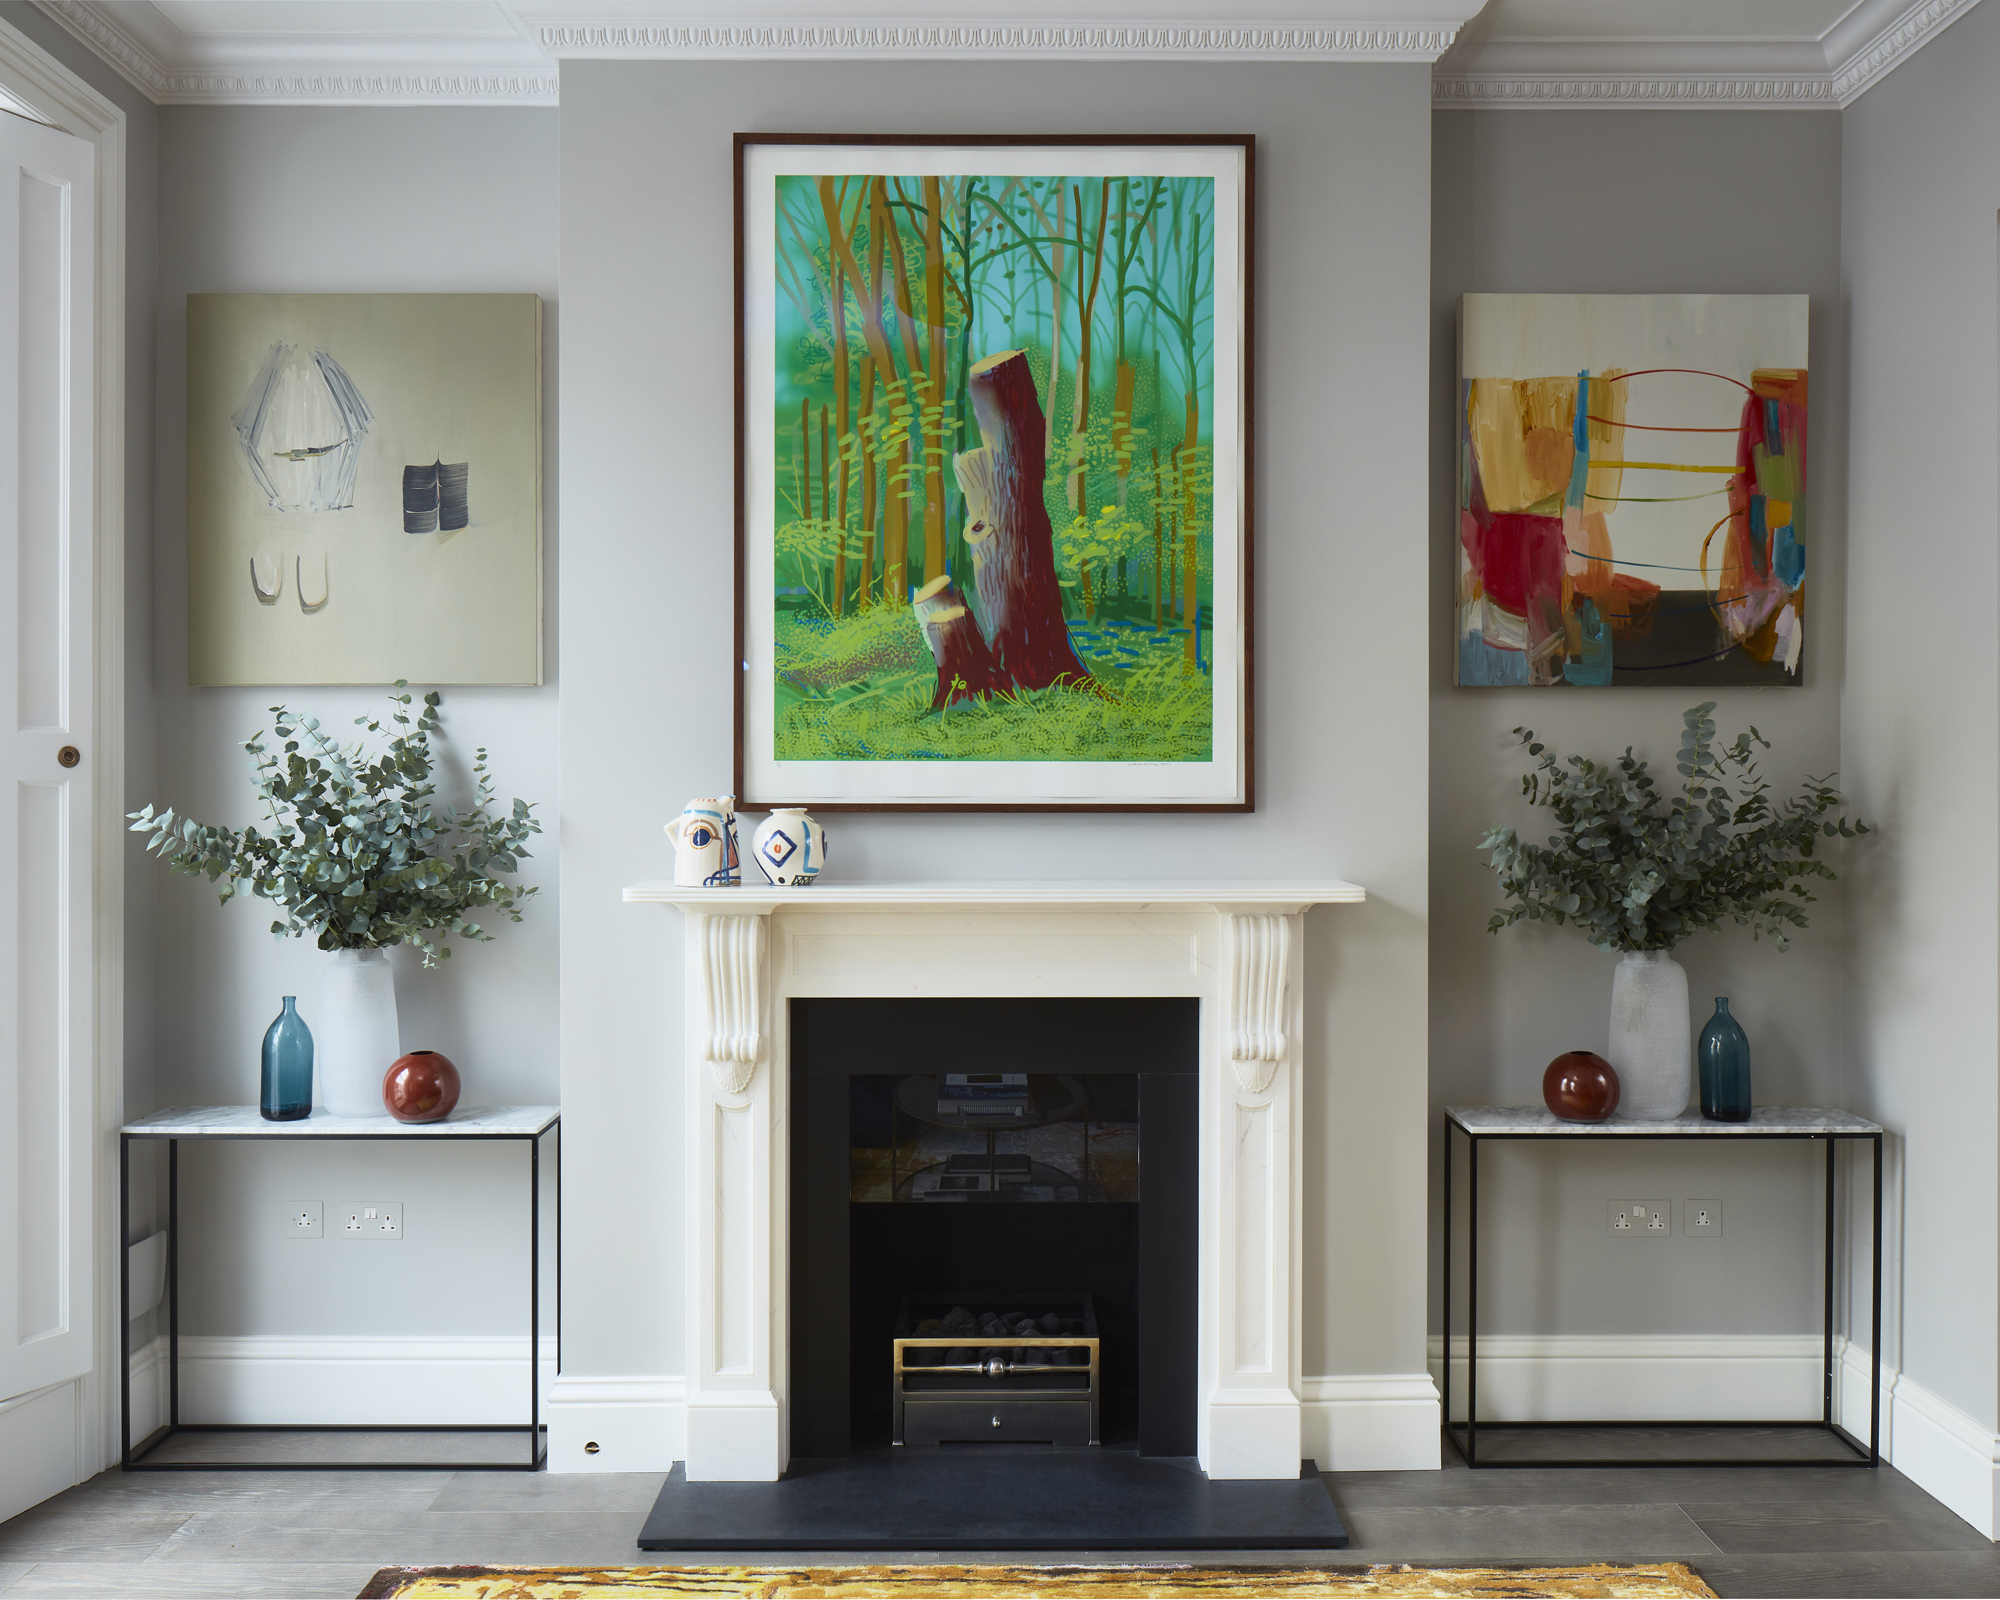

Hanging a picture – adding art to your home – is one of the easiest ways to inject visual interest, dimension, color and texture into your decor scheme. Learning how to hang a picture will ensure you're well prepared any time you want to add to your wall decor ideas.
Below, we take you through the basics of picture frame hanging right through to the aesthetics of how to hang a picture – from getting the height right to placement next to other pictures.
How to hang a picture: getting the height right
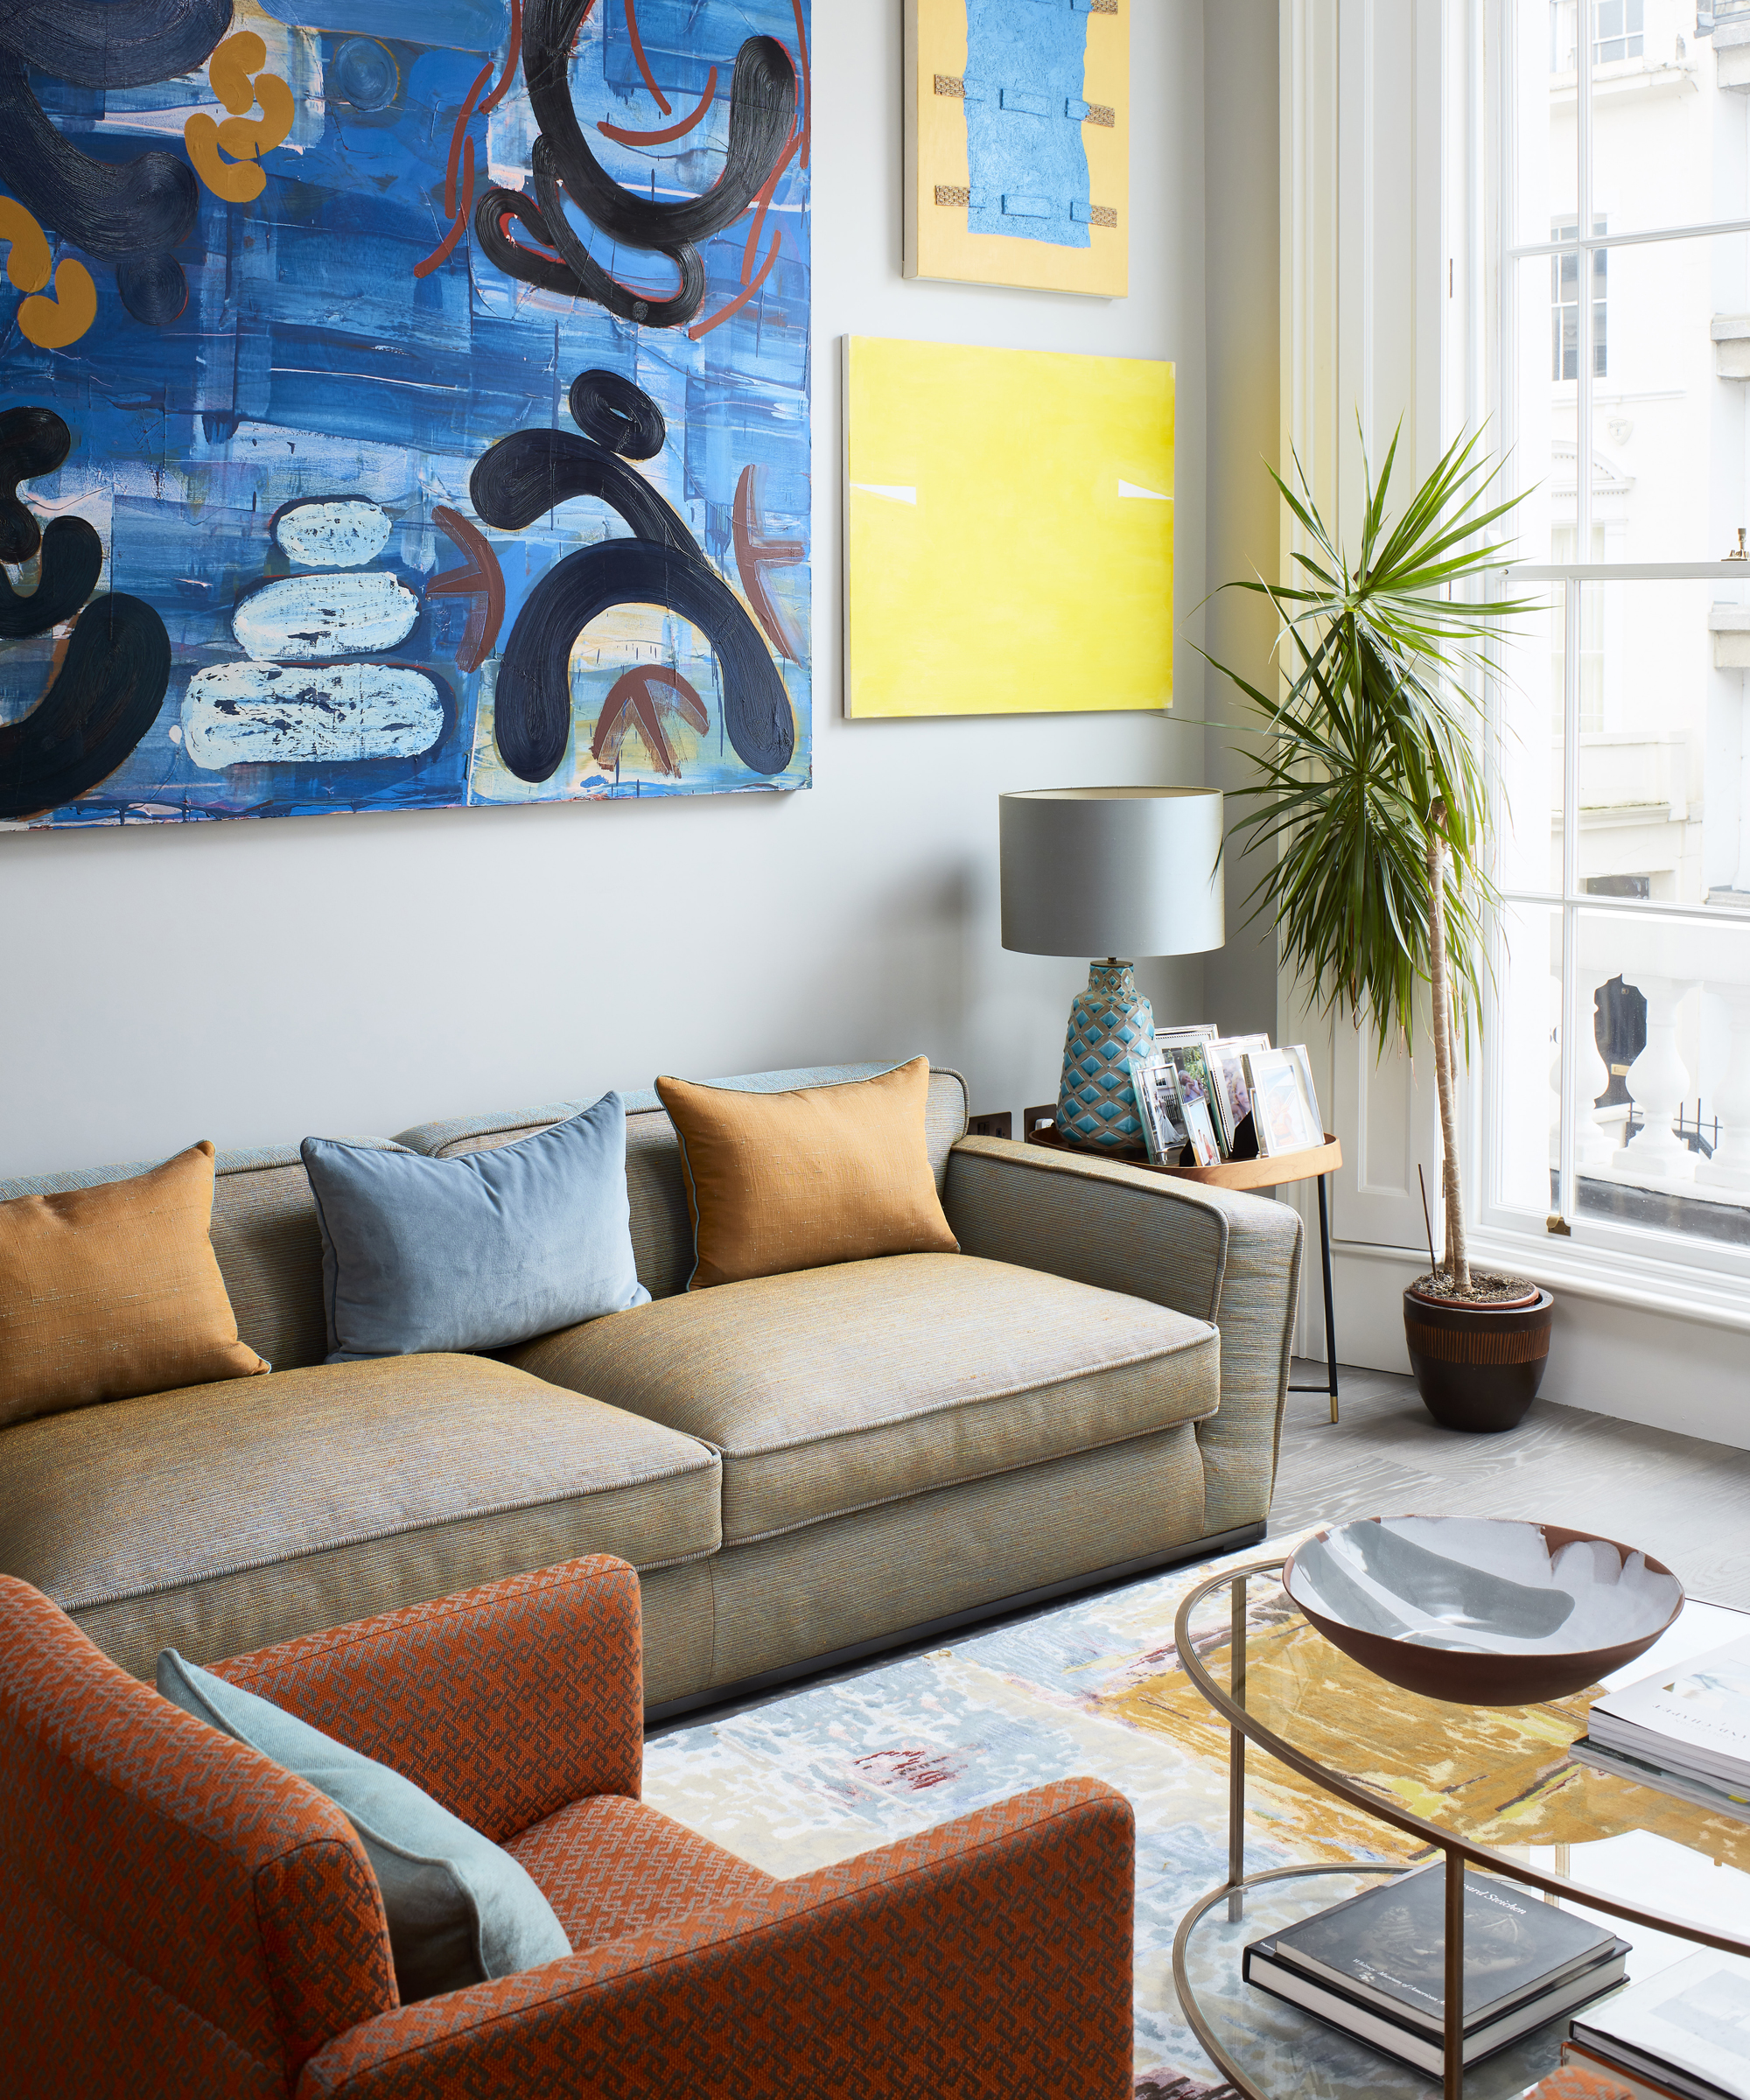
Knowing how to hang a picture frame starts with picture height. This will be influenced by the amount and type of furniture in the room, and the lighting in the room.
Camilla Clarke, Creative Director at interior design agency Albion Nord, advises: 'This must always be done whilst walking round the space, never decide off-plan. Always walk around your home and you will feel the natural spots for art to be. This may be next to a window or at the end of a corridor or vista through the house.
'Remember art doesn’t always need to be hung on the center of the wall, it can rest on top of tables or layered next to sculptures or on bookshelves and joinery.'
That said, a general rule to follow is that the middle of your picture should roughly be at eye level, which averages at 57-60 inches high. If you’re hanging a single piece on a wall, then the middle of the wall (from side to side) will be the best place to put it especially if you’re hanging the picture above furniture.
There is no hard and fast rule, however, and you can always make a statement by challenging this idea. Joanna Spindler of Graham & Green says: 'There's something really unexpected about hanging your art low on the wall and it can make the ceiling above feel much higher.
'This is one of those particularly effective accent wall ideas for when you spend most of your time curled up on the sofa and so your eye line is naturally lower.'
How to hang a picture with wire
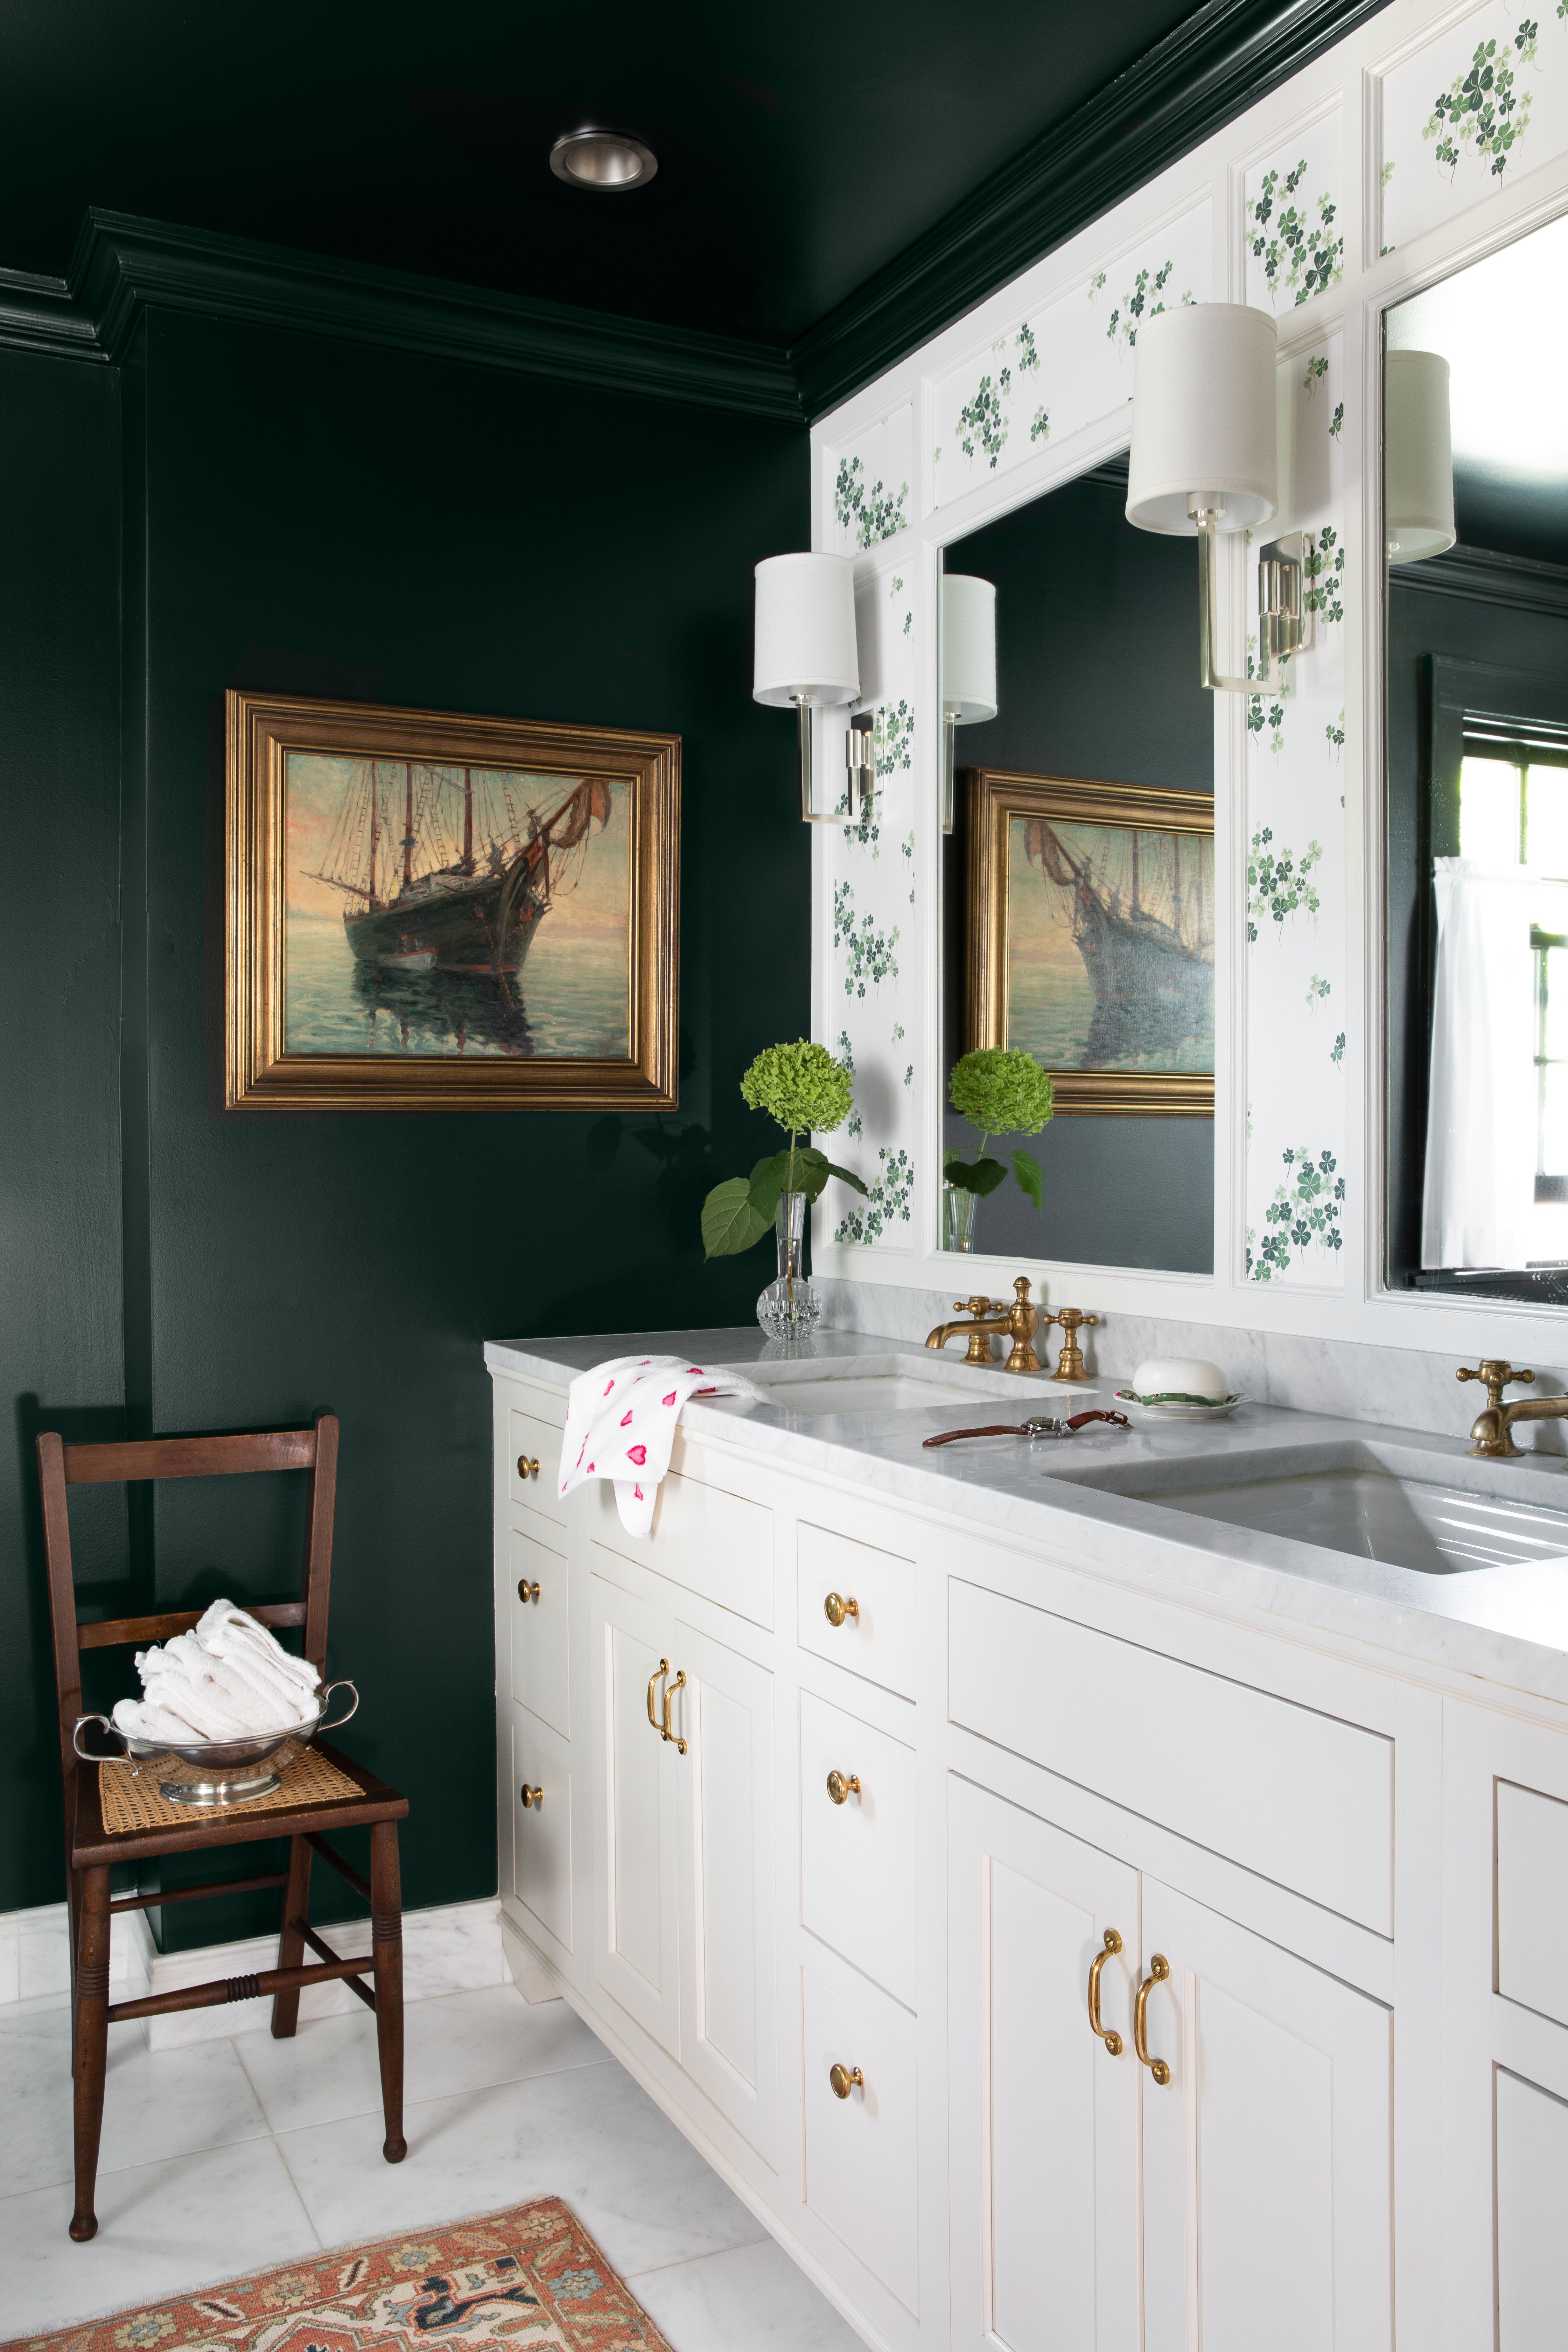
- Step1: Holding the picture in place, use a pencil to create a light mark in the center of the top of the picture.
- Step 2: Pull the hanging cord or wire taut, then measure the ‘drop’ from the top of the picture to the cord or wire.
- Step 3: Using the ‘drop’, measure down from the original center position to determine the fixing position. Marking the final fixing point a few millimetres above this will ensure the top of the picture hides your original pencil mark. Alternatively, you can rub out the mark.
- Step 4: If hanging a lightweight picture on a two-pin hook, place the bottom of the hook on the fixing point then gently hammer in the nails.
- Step 5: To hang a heavier picture on a masonry wall, you’ll need to insert a wall plug and screw. Mark the length of the wall plug on your masonry drill bit using masking tape. Drill a hole at the fixing point, to the marked depth. Insert the wall plug, ensuring it does not stick out from the wall.
- Step 6: Finally, insert and tighten a screw, leaving its head sticking out enough for the picture cord or wire to hang on.
How to hang a picture without nails
To hang a picture frame without nails, the best method is to use Command Strips or Command Hooks. These will work on both solid and stud walls, but the wall surface must be perfectly flat and dry for them to stick properly.
For the uninitiated, these are sticky Velcro strips that will adhere to the wall and the back of your pictures incredibly reliably, but which can also be cleanly removed when you want to take pictures down.
Simply ensure the wall and back of the pictures are clean, even and dust-free, and stick the Command Strips to the back of the picture frames. Remove the protector to reveal the sticky side of the strip that will attach to the wall and carefully position the picture. Once you are happy, press firmly on the frame where the Command Strips are, removing your hands carefully to ensure firm adhesion.
To apply Command Hooks, you follow a similar process, but simply press the sticky strip of the hook to the wall in the desired position. Then, you can use wire to hang your picture as usual.
How to hang a picture on plasterboard and a stud wall
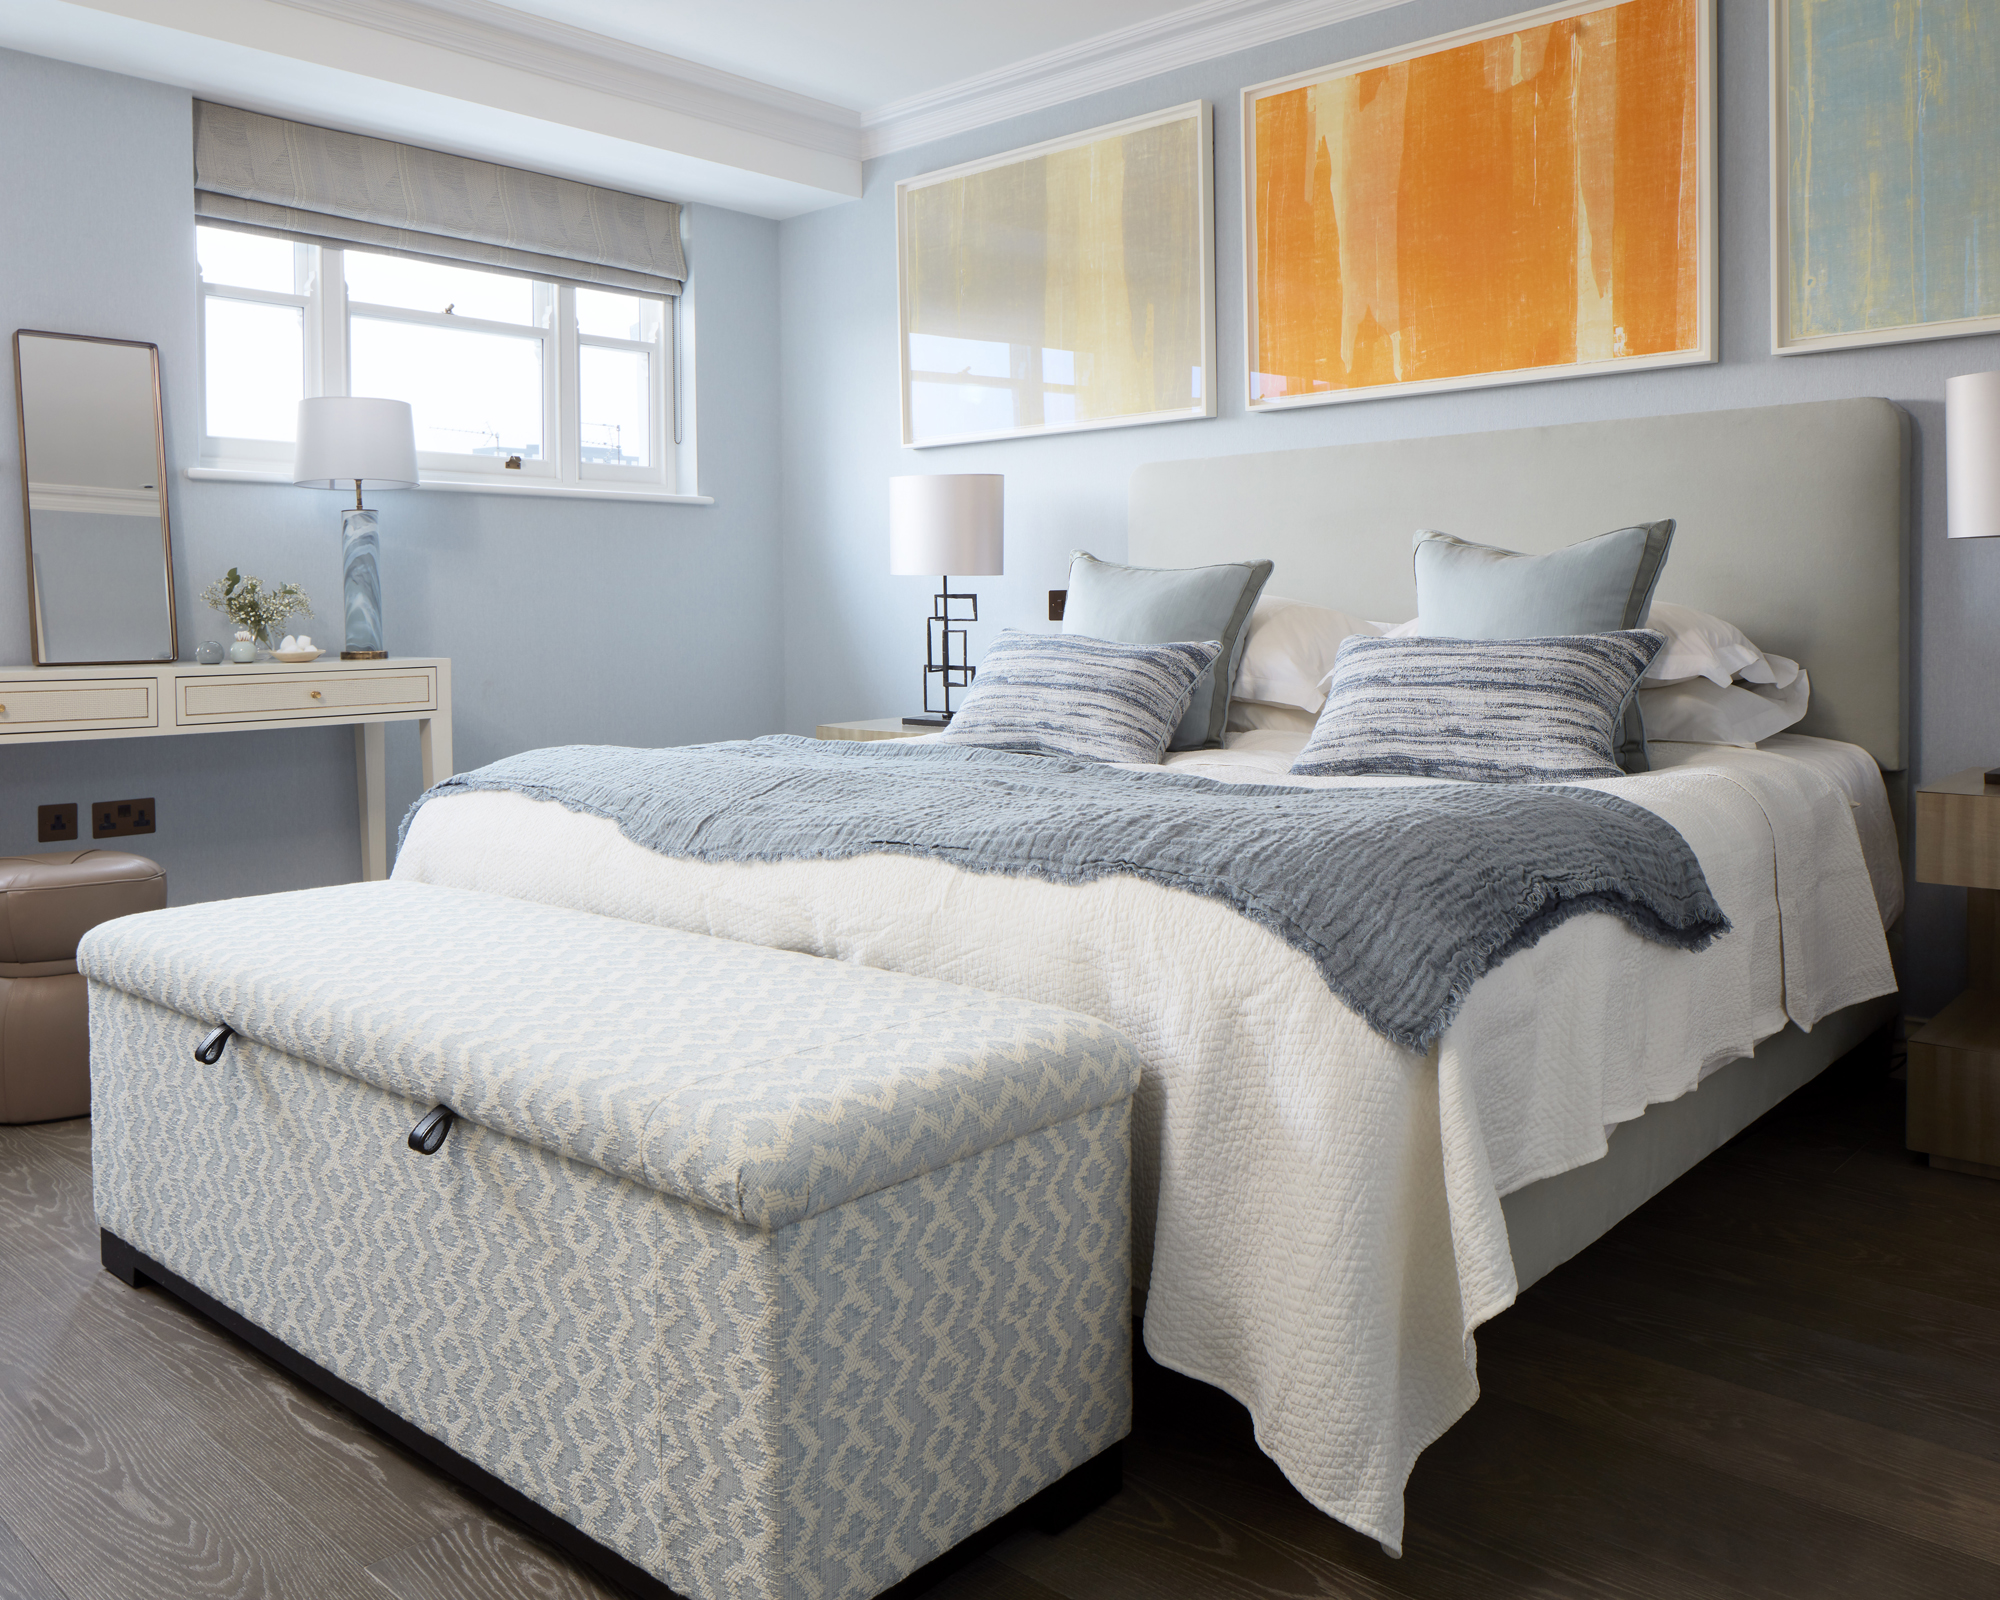
The type of fixings you use to hang a picture will depend on its size and weight, and the type of wall you have. If you have a lightweight picture then a simple two-pin picture hook will suffice, providing the plaster is in good condition.
If you want to hang a heavier picture, you will need a stud detector to locate the studs (vertical wooden beams) and noggins (horizontal wooden beams) behind the plasterboard. Driving the fixings into the stud provides much more security for a heavy painting or print. It’s possible to hang a heavier picture into plasterboard that’s in good condition if you use the right fixing, such as a hollow wall anchor or a self-drill screw.'
- Step 1: To hang a lightweight picture on a two-pin hook simply place the bottom of the hook on the fixing point or points, and hammer in the nails.
- Step 2: To hang a frame on a stud wall using screws, once you have located the studs and marked your fixing spots, use a carpenter’s awl to create a pilot hole. By doing this you’re also checking and confirming that there is indeed a stud or noggin behind your mark.
- Step 3: Then drive a screw through the plasterboard and into the stud. Leave the head sticking out enough for the picture cord to hang from.
- Step 4: If your fixing points are between studs you will need a hollow wall anchor or a self-drill fixing. Check the manufacturer’s instructions to see how much weight these fixings can hold. For a self-drill fixing make a pilot hole using a carpenter’s awl then screw the fixing plug directly into the plasterboard. Be careful not to over-tighten the plug.
- Step 5: Insert a screw into the plug and tighten, remembering to leave the head sticking out enough for the picture wire to hang from.
- Step 6: If you’re using a hollow wall anchor, drill a hole through the plasterboard just big enough to push the body of the fixing through. Tighten the screw to lock the fixing in place behind the plasterboard.
How to hang a picture on a brick wall
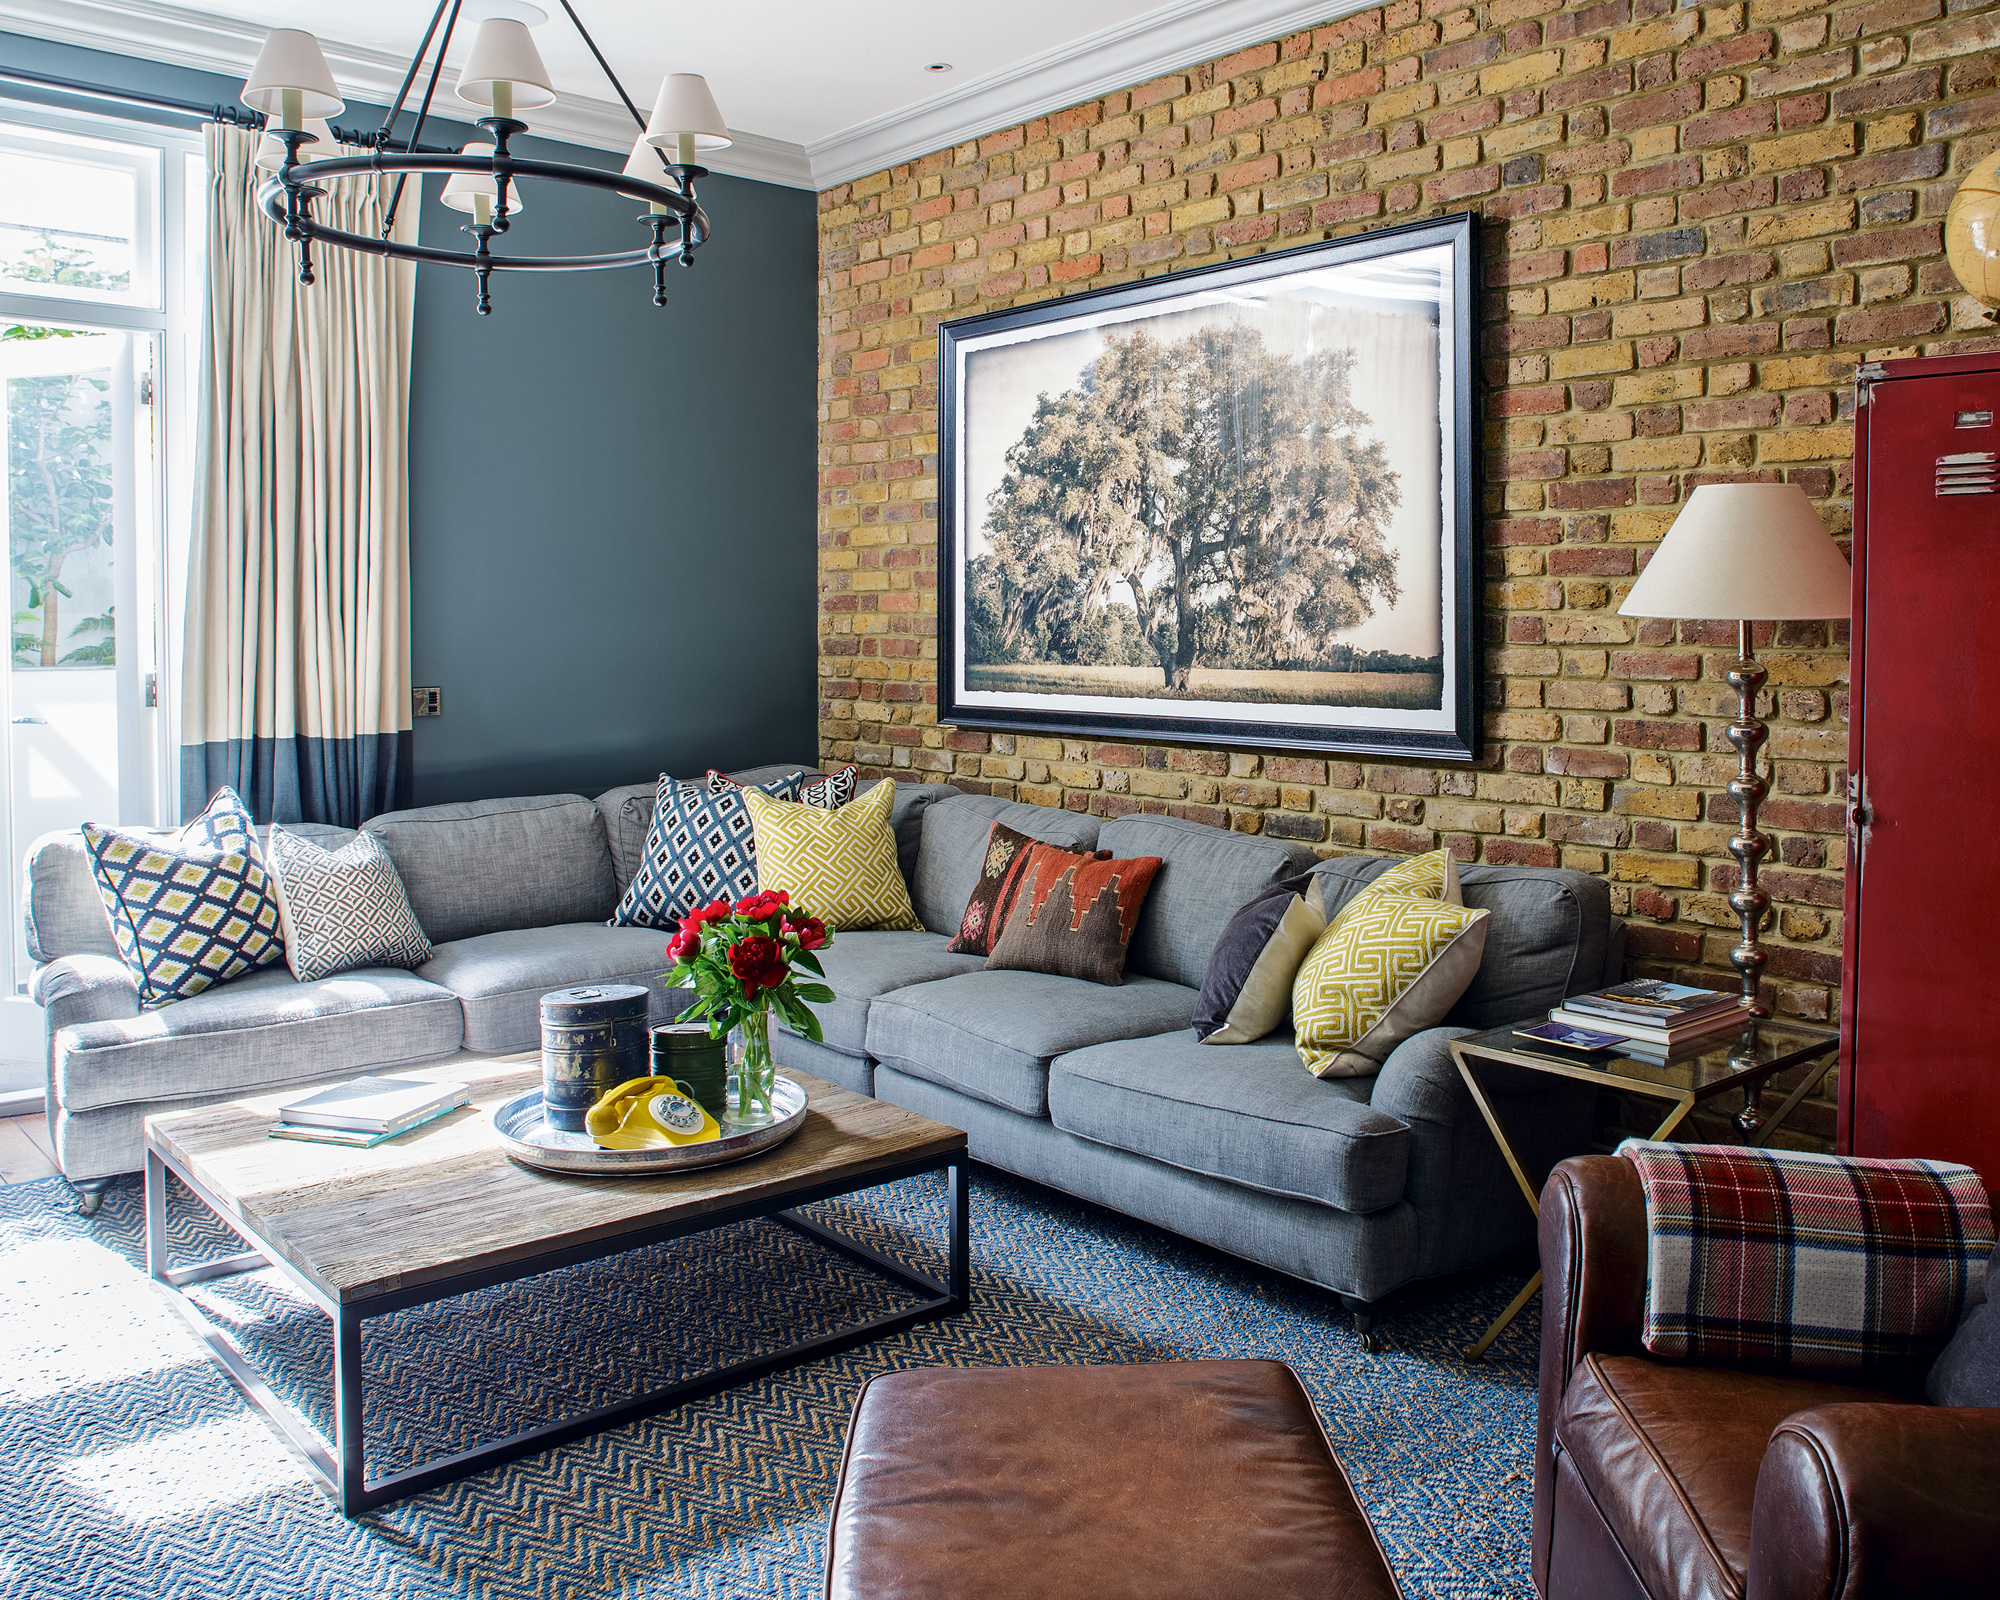
To hang a picture on a brick wall you will need to use screws. Mark the length of your wall plug on your drill bit using masking tape.
Drill a hole at the fixing point and push the wall plug in, making sure that it’s flush with the wall surface. You might need to lightly tap it with a hammer to ensure this.
Then insert and tighten the screw, once again leaving the head sticking out enough for the picture cord to hang from.
How to hang artwork: A style perspective
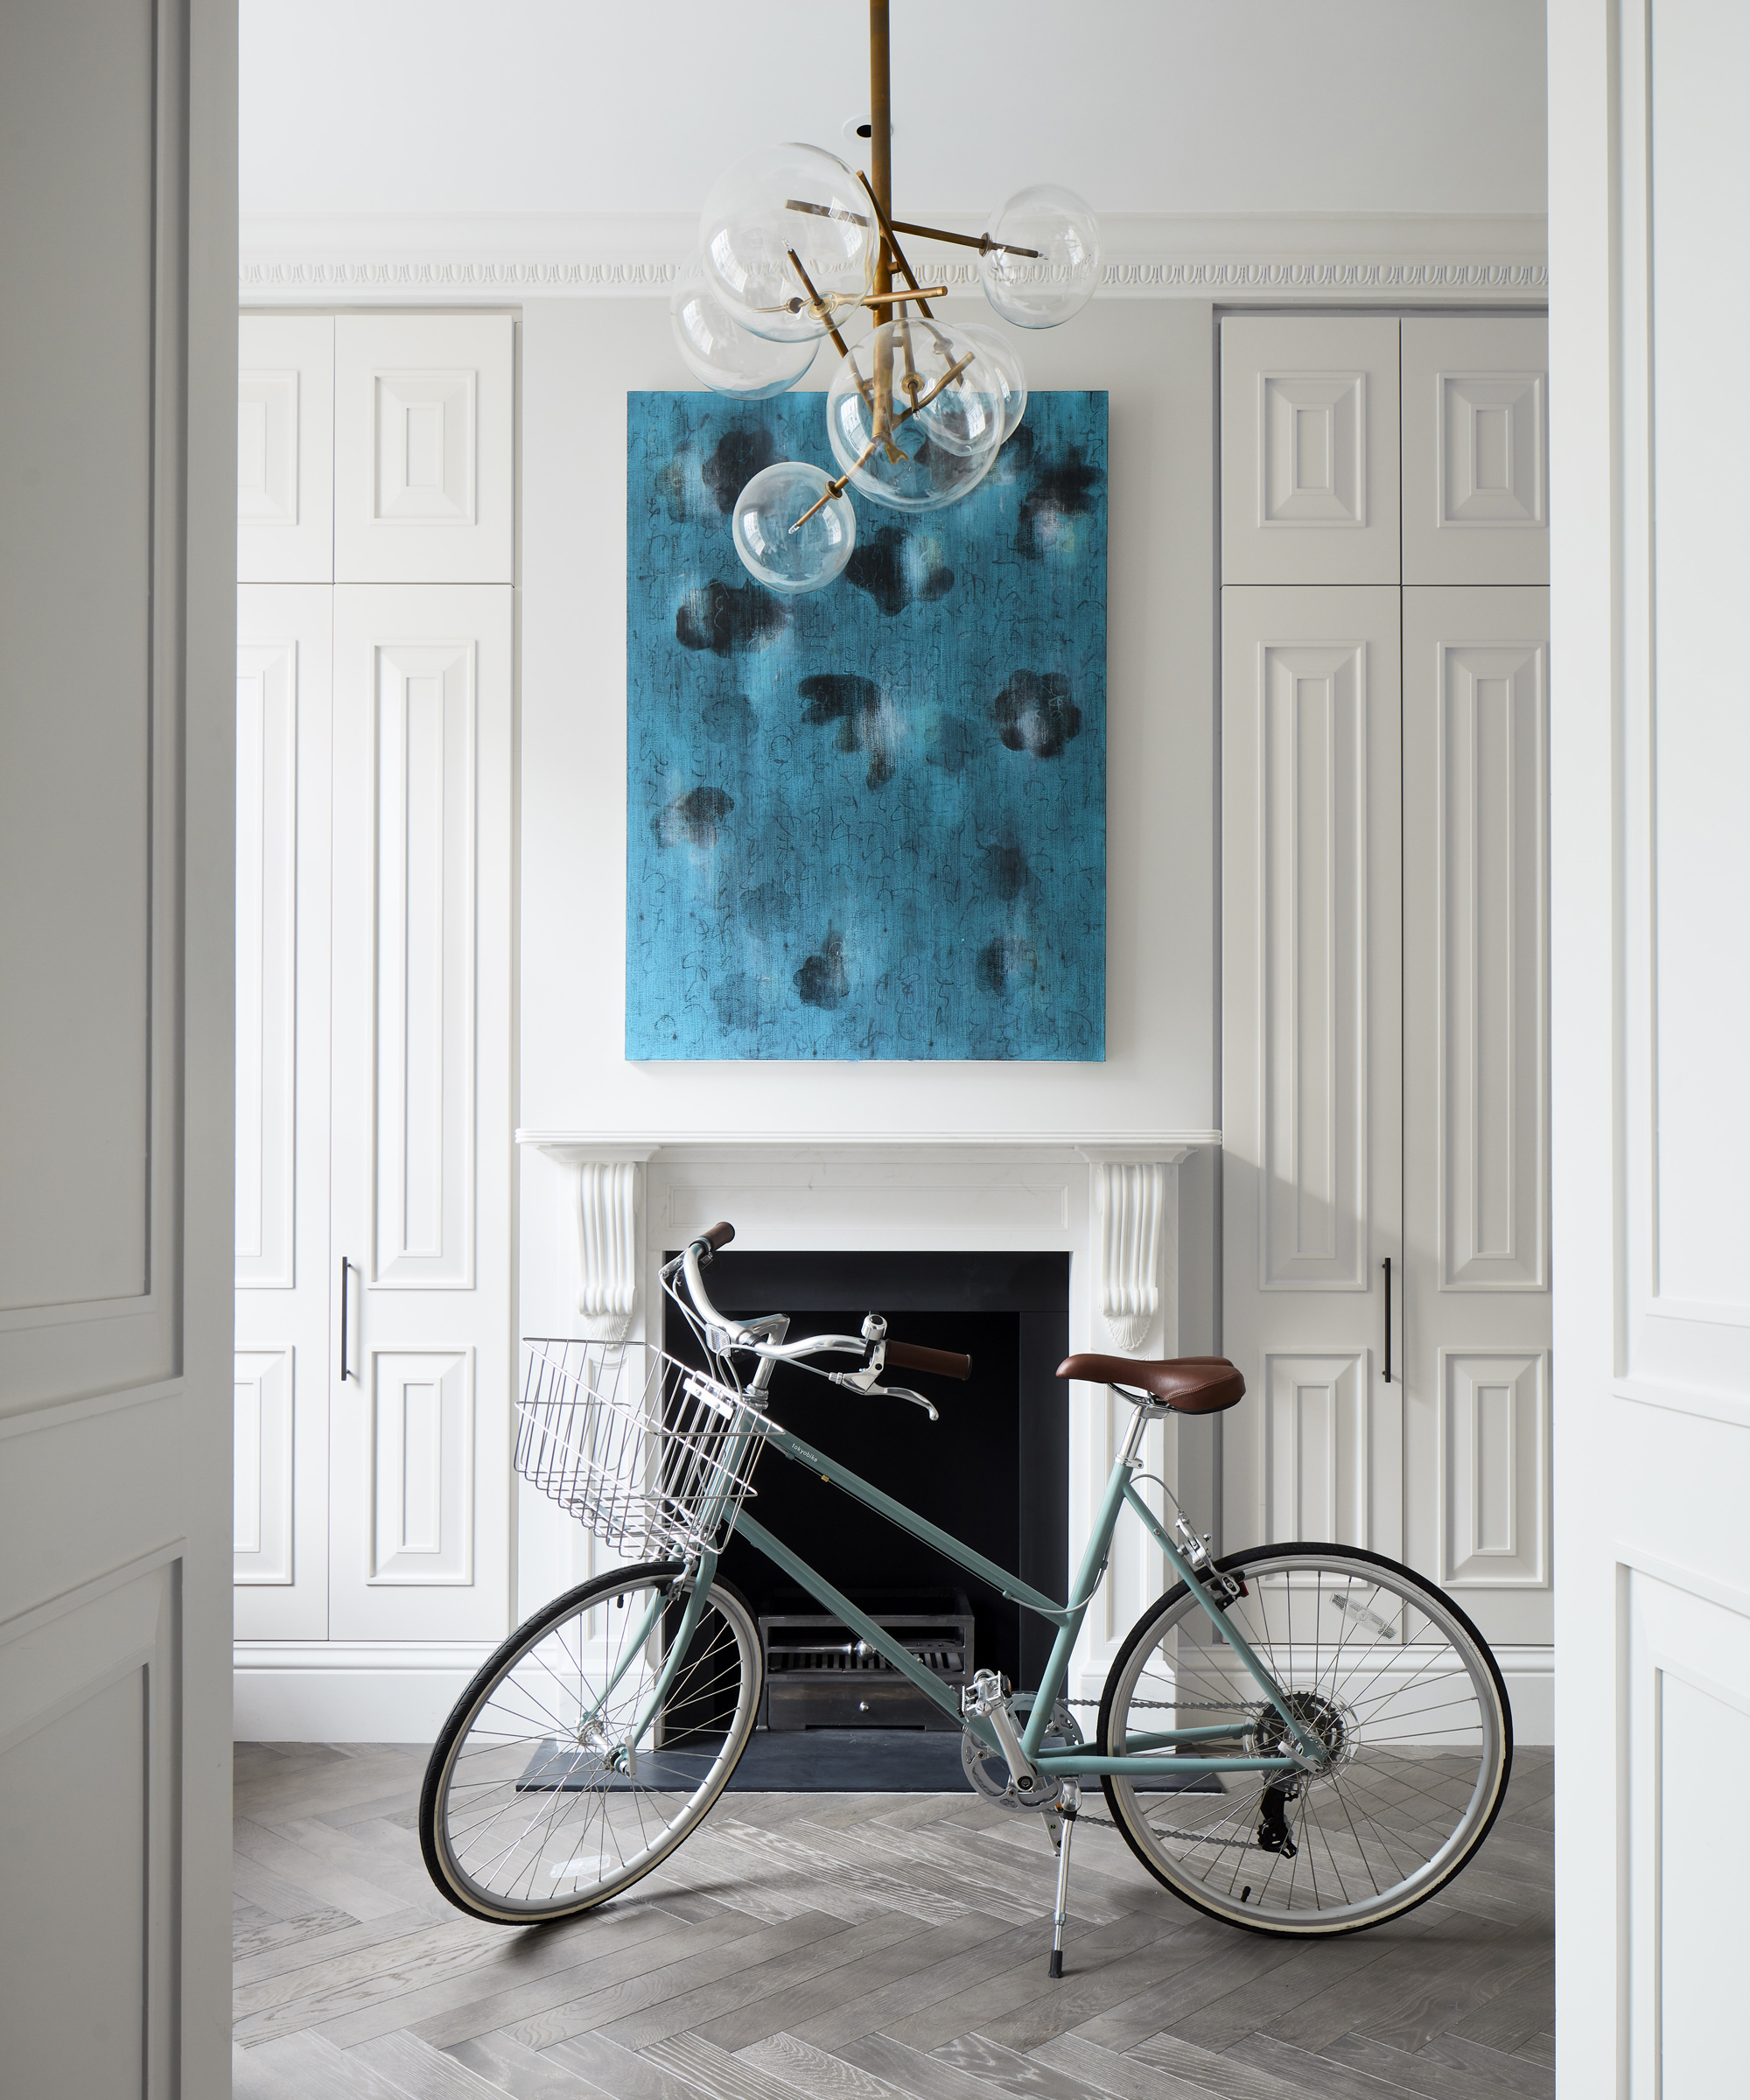
Learning how to position and hang your artwork is something of an art form in itself.
Martin Waller, founder of Andrew Martin, says: 'Paintings and photographs are the best way to inject color and character into a room. Statement pieces often contribute far more to the feel of a room than furniture. Whether it is a brightly colored painting, a neon or a black and white photograph, the light reflected, produced or absorbed by its surface will impact the mood of a space. So think firstly about how to coordinate tonal values with art on the wall.
'Whether you're looking for gallery wall ideas or to display a single image, these top practical and styling techniques will help you be fully equipped for a professional-worthy finish.'
1. Ensure you choose the right picture frame
'Never underestimate the importance of framing, this is a cost you should never hold back on,' advised Martin. 'The right frame can transform a picture and is critical to the overall feel of the artwork.'
2. Tell a story with your art
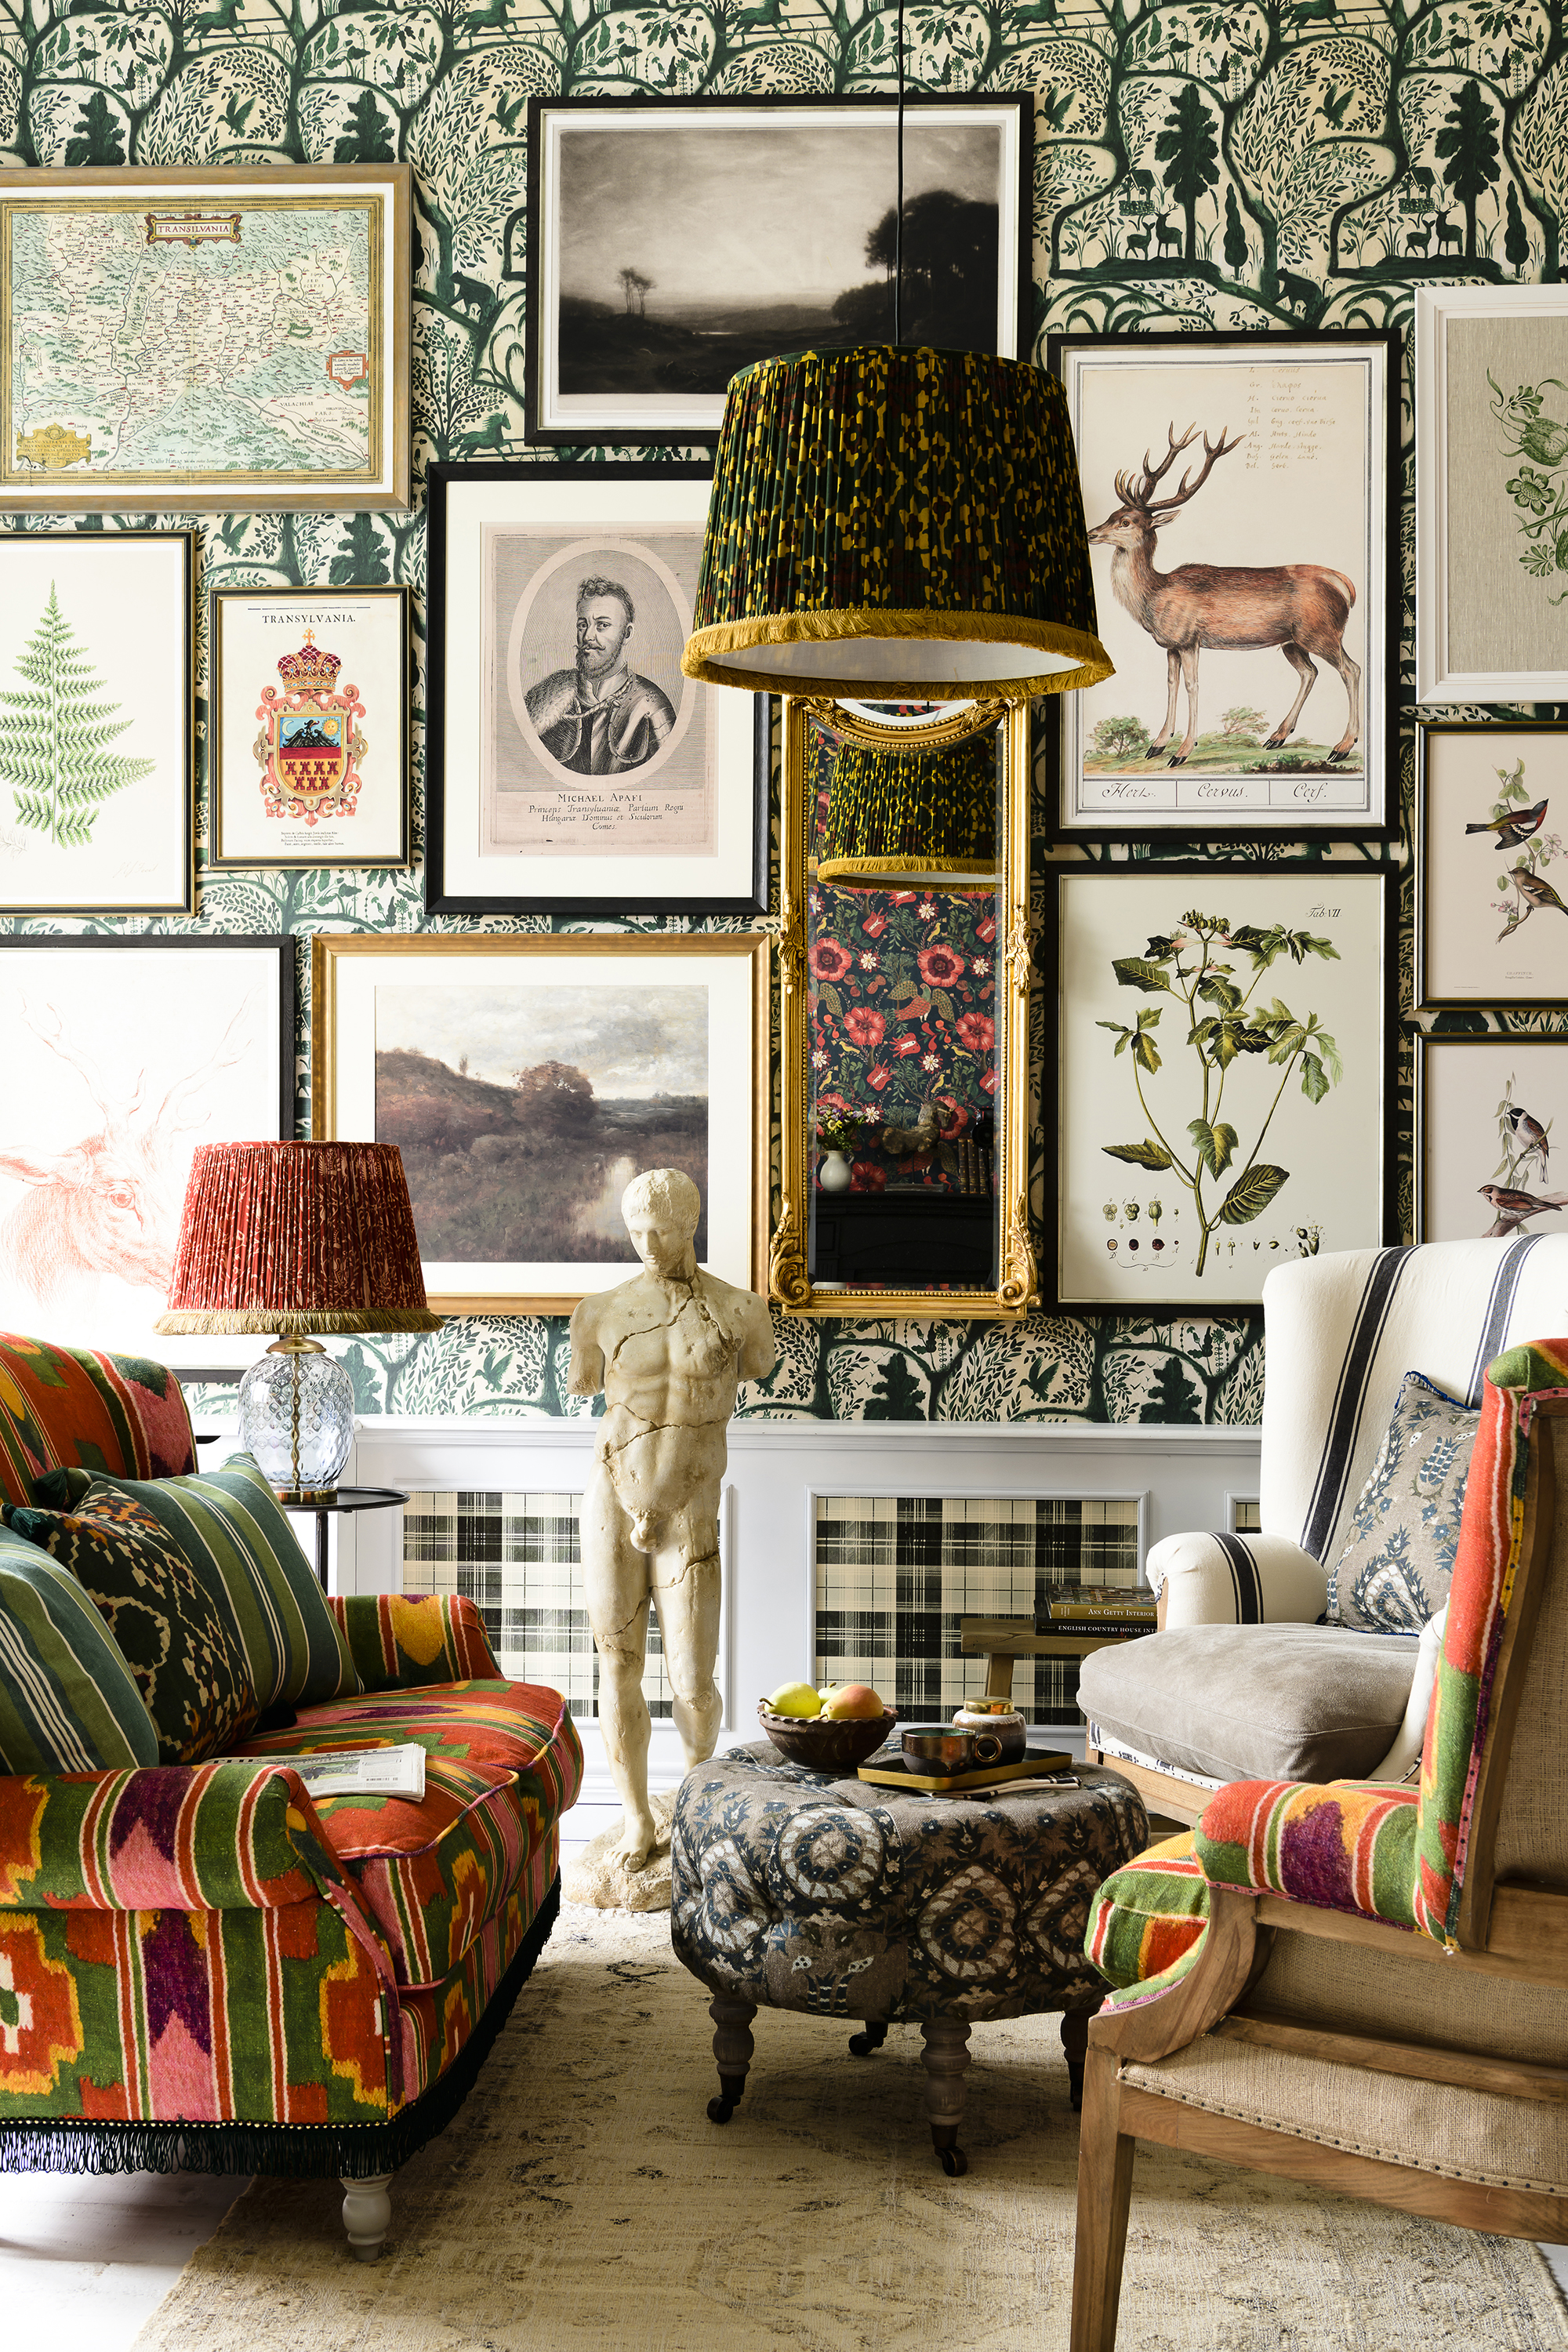
Create shapes and patterns with multiple pieces to form a gallery wall, remembering also to keep uniformity and structure in the final shape.
Martin suggests: 'If you have two portraits, face them towards each other as if they're having a conversation and make themes like putting all your pictures of animals together, even if they're of different styles and eras. The important thing is to tell a story with your wall.'
3. Indulge in color play
'Play with color by using all monochrome pieces then one vividly colorful work in the middle,' suggests Martin.
4. Mix contemporary with traditional
Don't be afraid to put very contemporary art in a traditional space, or vice versa.
'It's often the merging of seemingly incongruous styles that creates beauty through surprise,' says Martin.
5. Make the most of accent colors
'When thinking about matching to a color scheme, pinpoint one or two of the boldest colors in your room and reflect them in your chosen artwork,' advises Martin. 'Or working inversely, pick out a color in your artwork to highlight by using the same tone in cushions and other soft furnishings. This works similarly with shapes, mirroring a circular shape in an image with a spherical vase or sculptural lamp, for example.'
6. Only buy what you love
Knowing how to choose art for a home isn't about finding pieces that work with your color scheme – the choices should be personal.
'Only ever buy something you like. Art, above all else, should always be personal,' says Martin.
Albion Nord's Camilla Clarke agrees, adding: 'Buy art for the love of art. If you see something that conjures up some sort of emotion in you then you have connected! Start with that, start with a feeling. The art is there for everything else to fall around so don’t spend time trying to match everything together in the room including the art, it can feel so contrived.'
Sign up to the Homes & Gardens newsletter
Design expertise in your inbox – from inspiring decorating ideas and beautiful celebrity homes to practical gardening advice and shopping round-ups.

Ruth Doherty is an experienced digital writer and editor specializing in interiors, travel and lifestyle. With 20 years of writing for national sites under her belt, she’s worked for the likes of Livingetc.com, Standard, Ideal Home, Stylist and Marie Claire as well as Homes & Gardens.
-
 Barack and Michelle Obama's neutral accent chair is the perfect living room focal point – you can recreate their serene style in any-sized home
This designer-approved essential fits into every modern living room – it's beautiful enough to stand alone, while pairing well with your favorite cushion
By Megan Slack Published
-
 Should I choose a kitchen island or a kitchen table? This is the expert advice that helped me decide
It's all about how you use your space
By Molly Malsom Published