How to decorate Christmas baubles – 6 elegant DIY baubles
Create unique Christmas baubles with these step-by-step decorating ideas, from marvelous marbled makes to fabric-covered designs
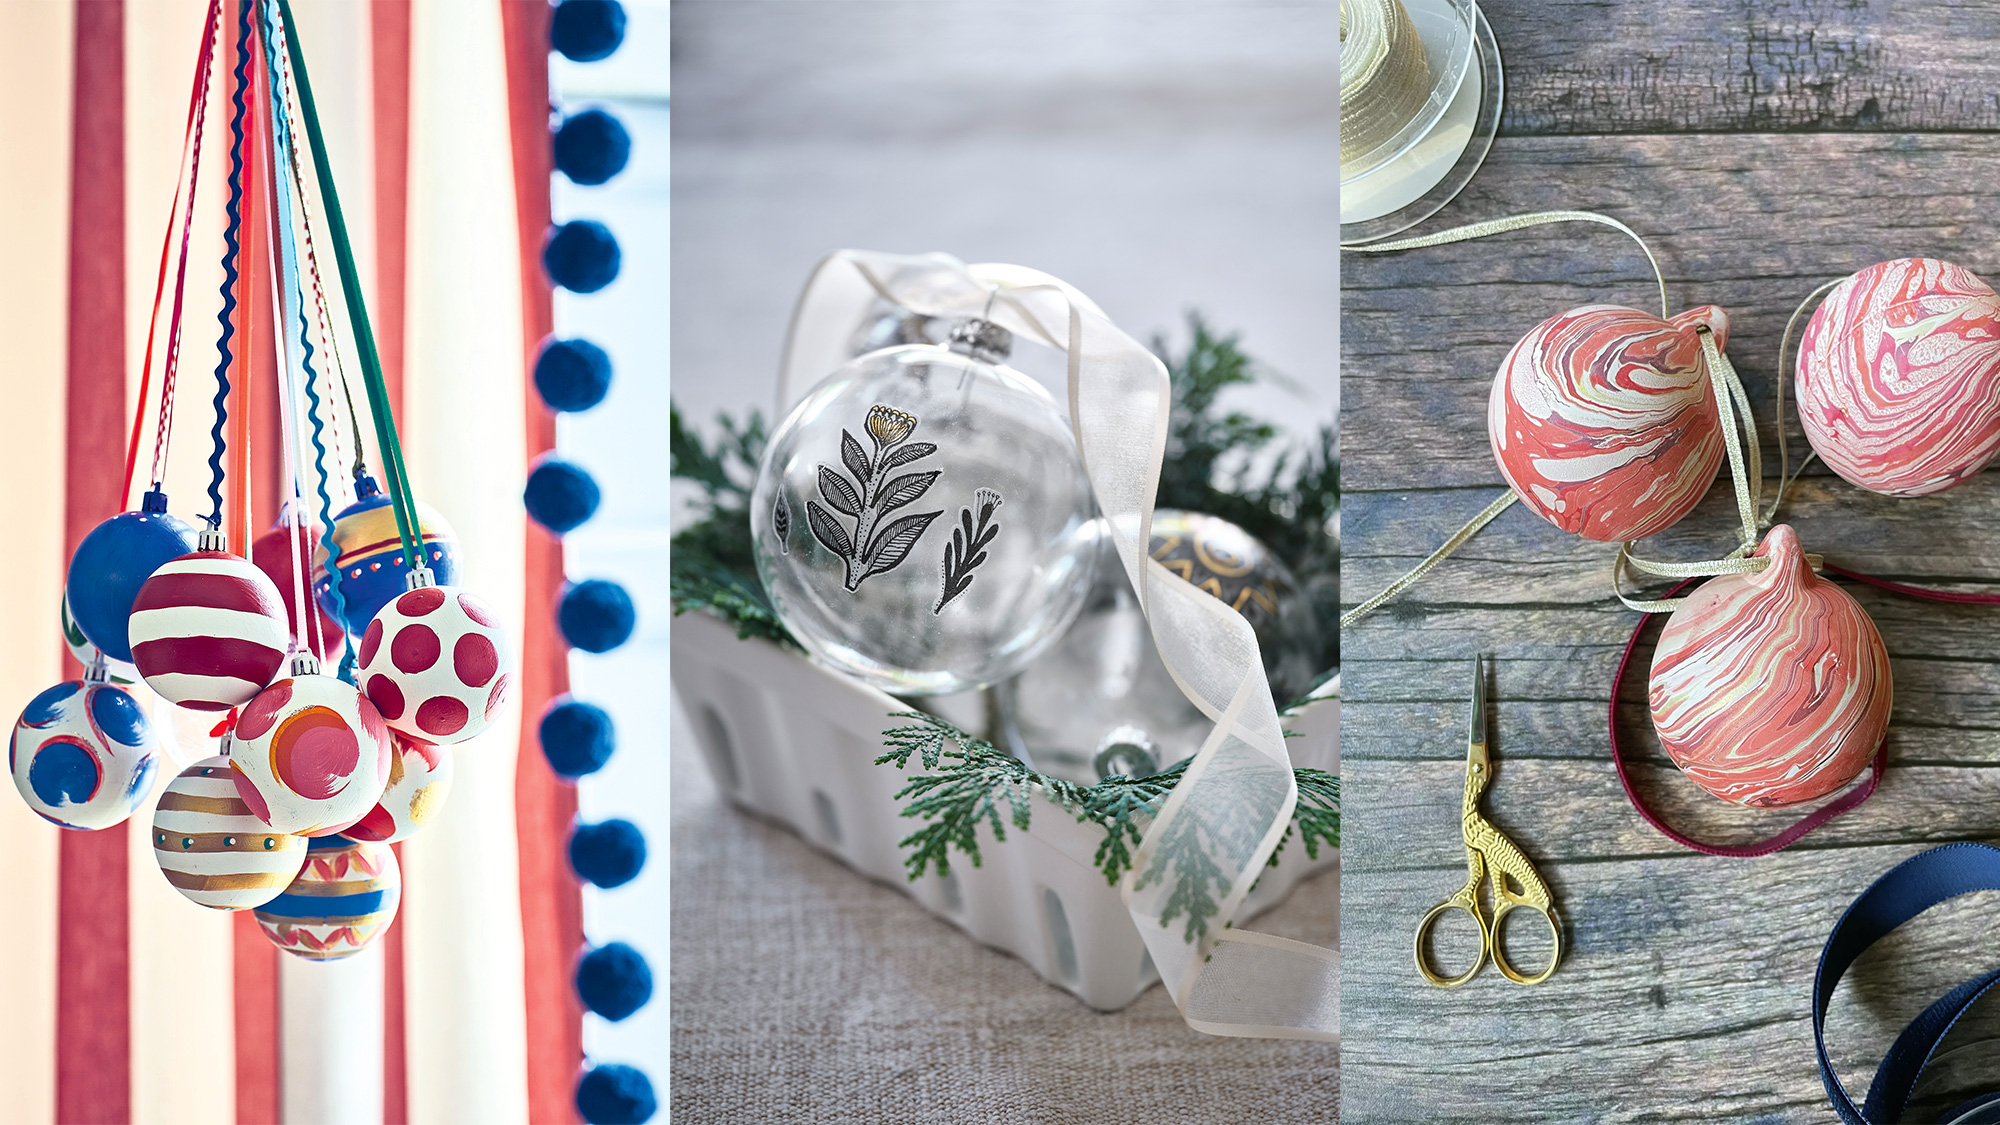

Learning how to decorate Christmas baubles is a wonderful way to make your festive decor stand out from the crowd, plus there’s nothing like getting stuck into some seasonal crafting to get into the Christmas spirit.
Not only will hand-decorated Christmas baubles add a personal touch to your tree, they can also be used to style sideboards, embellish presents and table settings, plus they make beautiful personalized gifts for friends or loved ones.
Below we’ve shared a range of creative bauble makes from folksy handpainted designs to marvelous marbled makes guaranteed to give your Christmas decor ideas the edge.
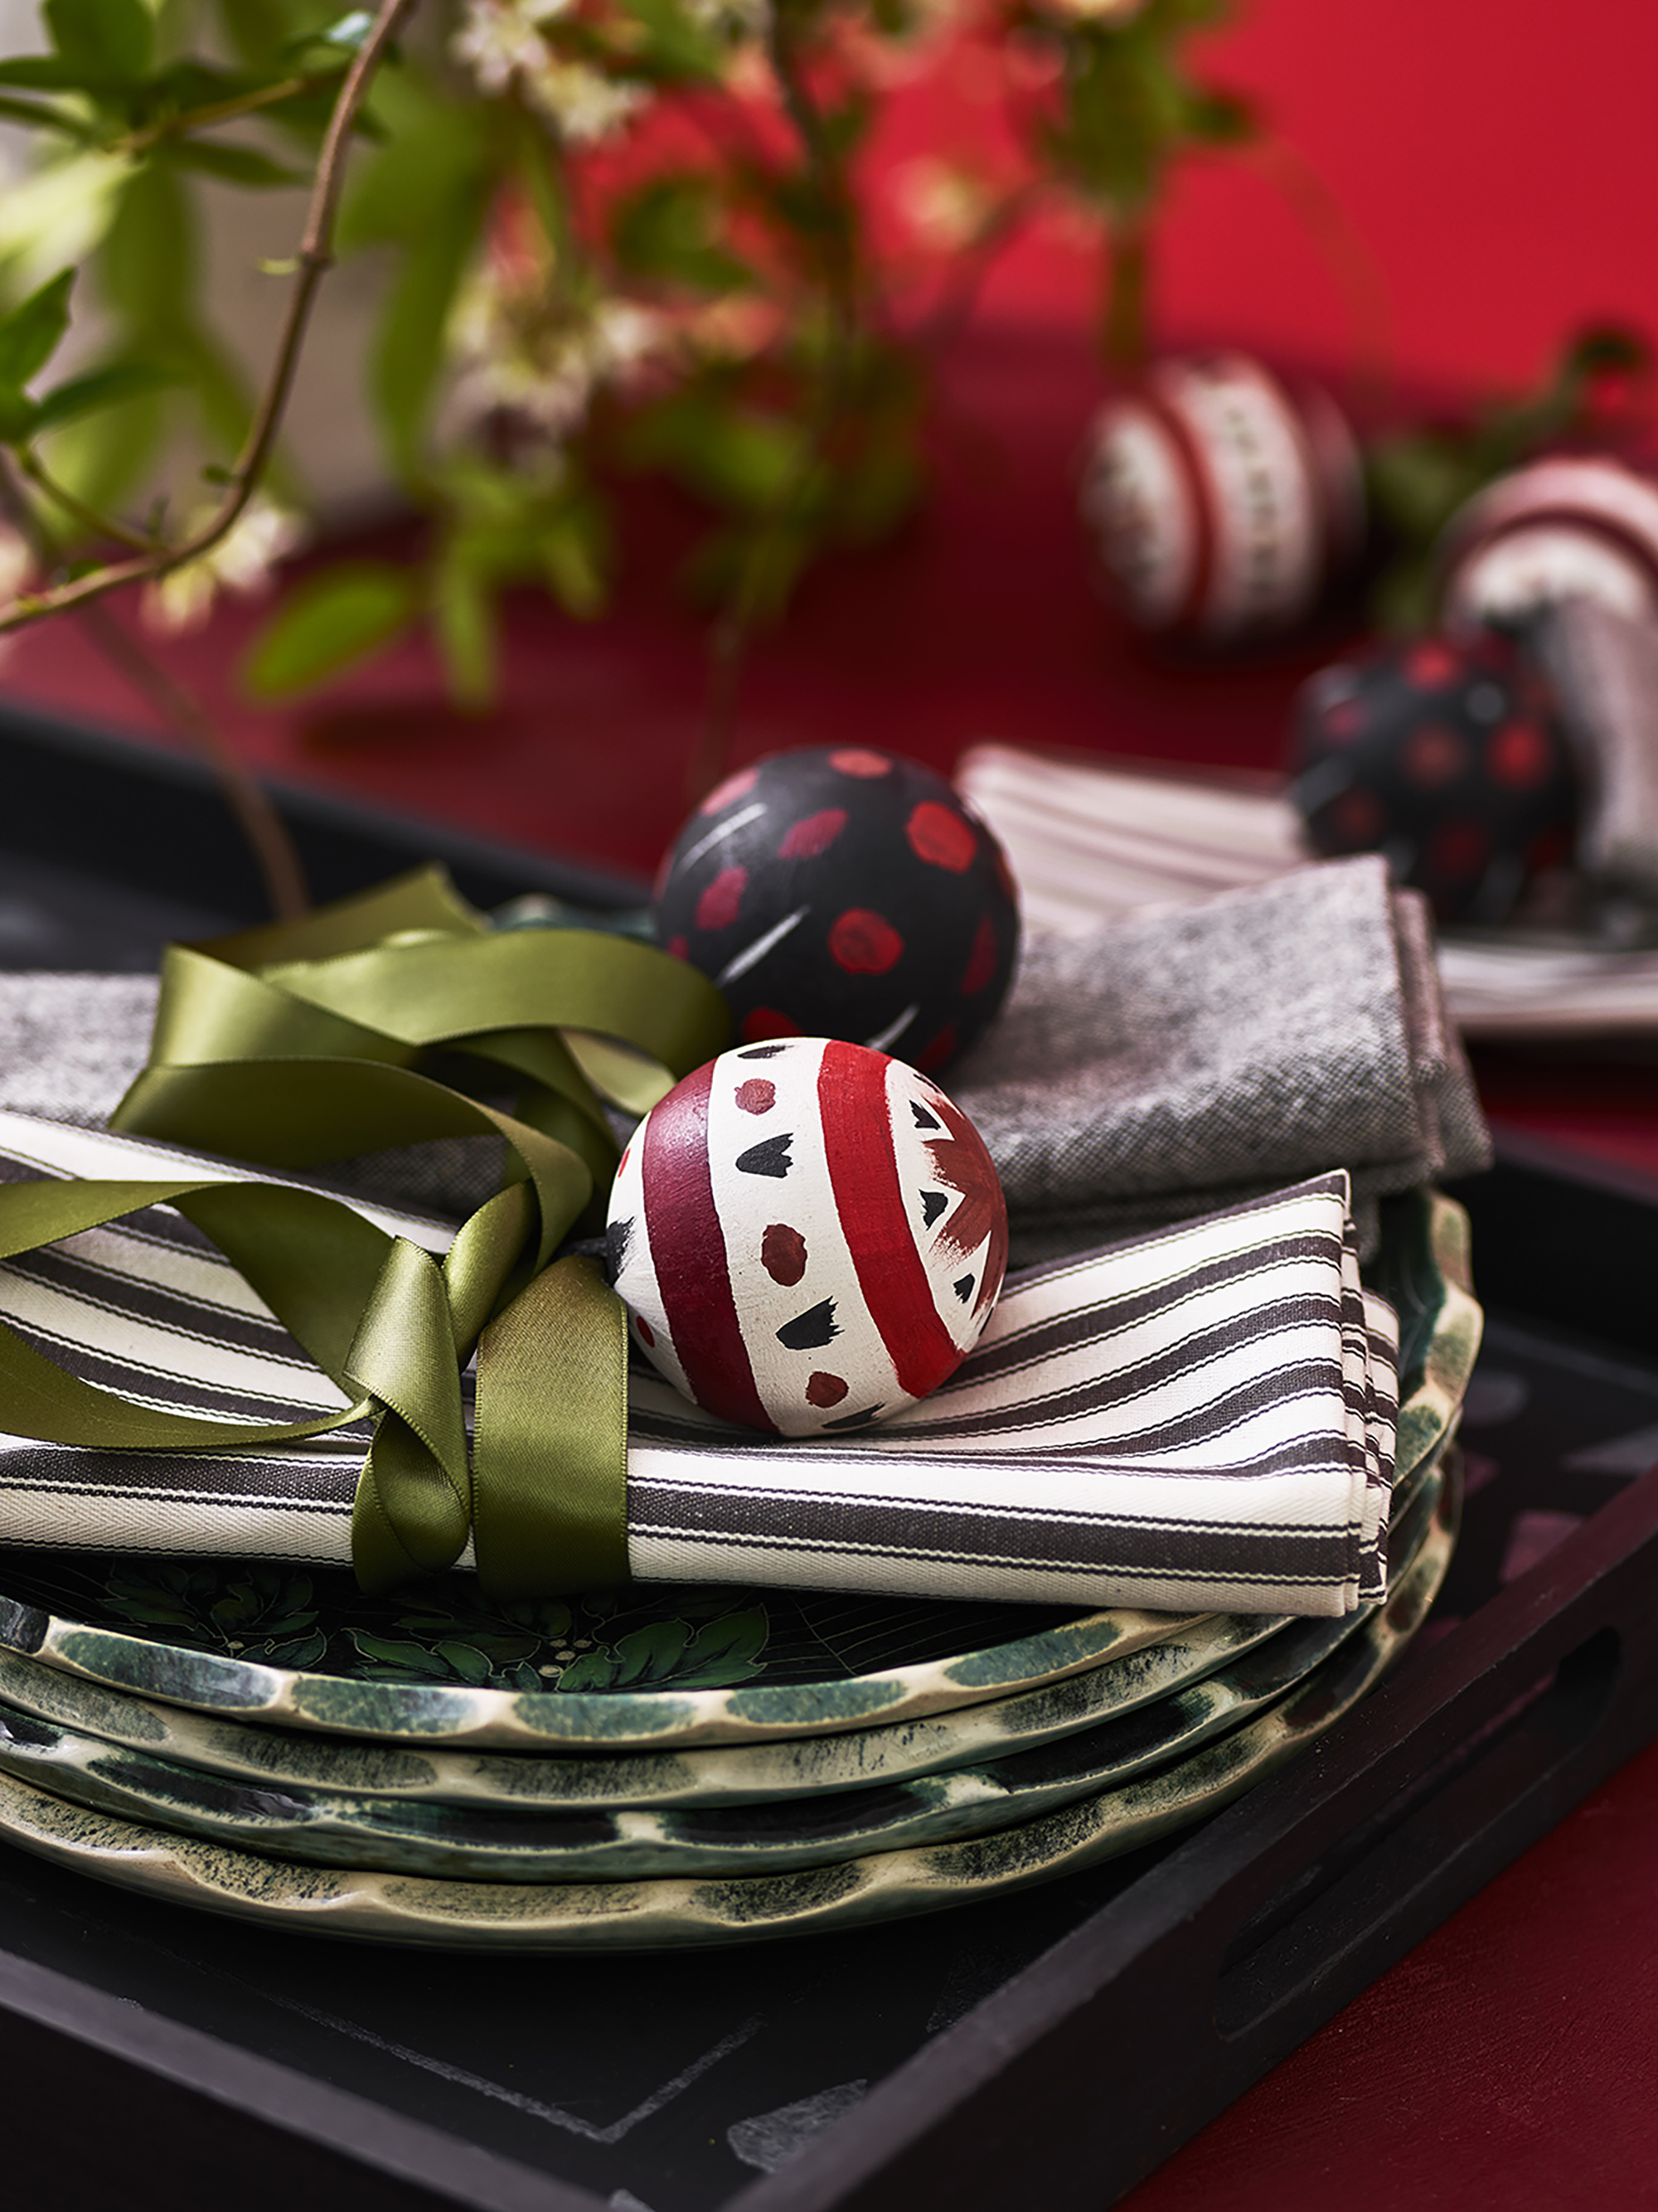
How to decorate Christmas baubles
Our step-by-step makes for how to decorate Christmas baubles are perfect for creating unique Christmas tree ideas. Covering a range of techniques, they are straightforward to follow and can easily be customized to suit your home decor or Christmas theme.
1. Paint baubles
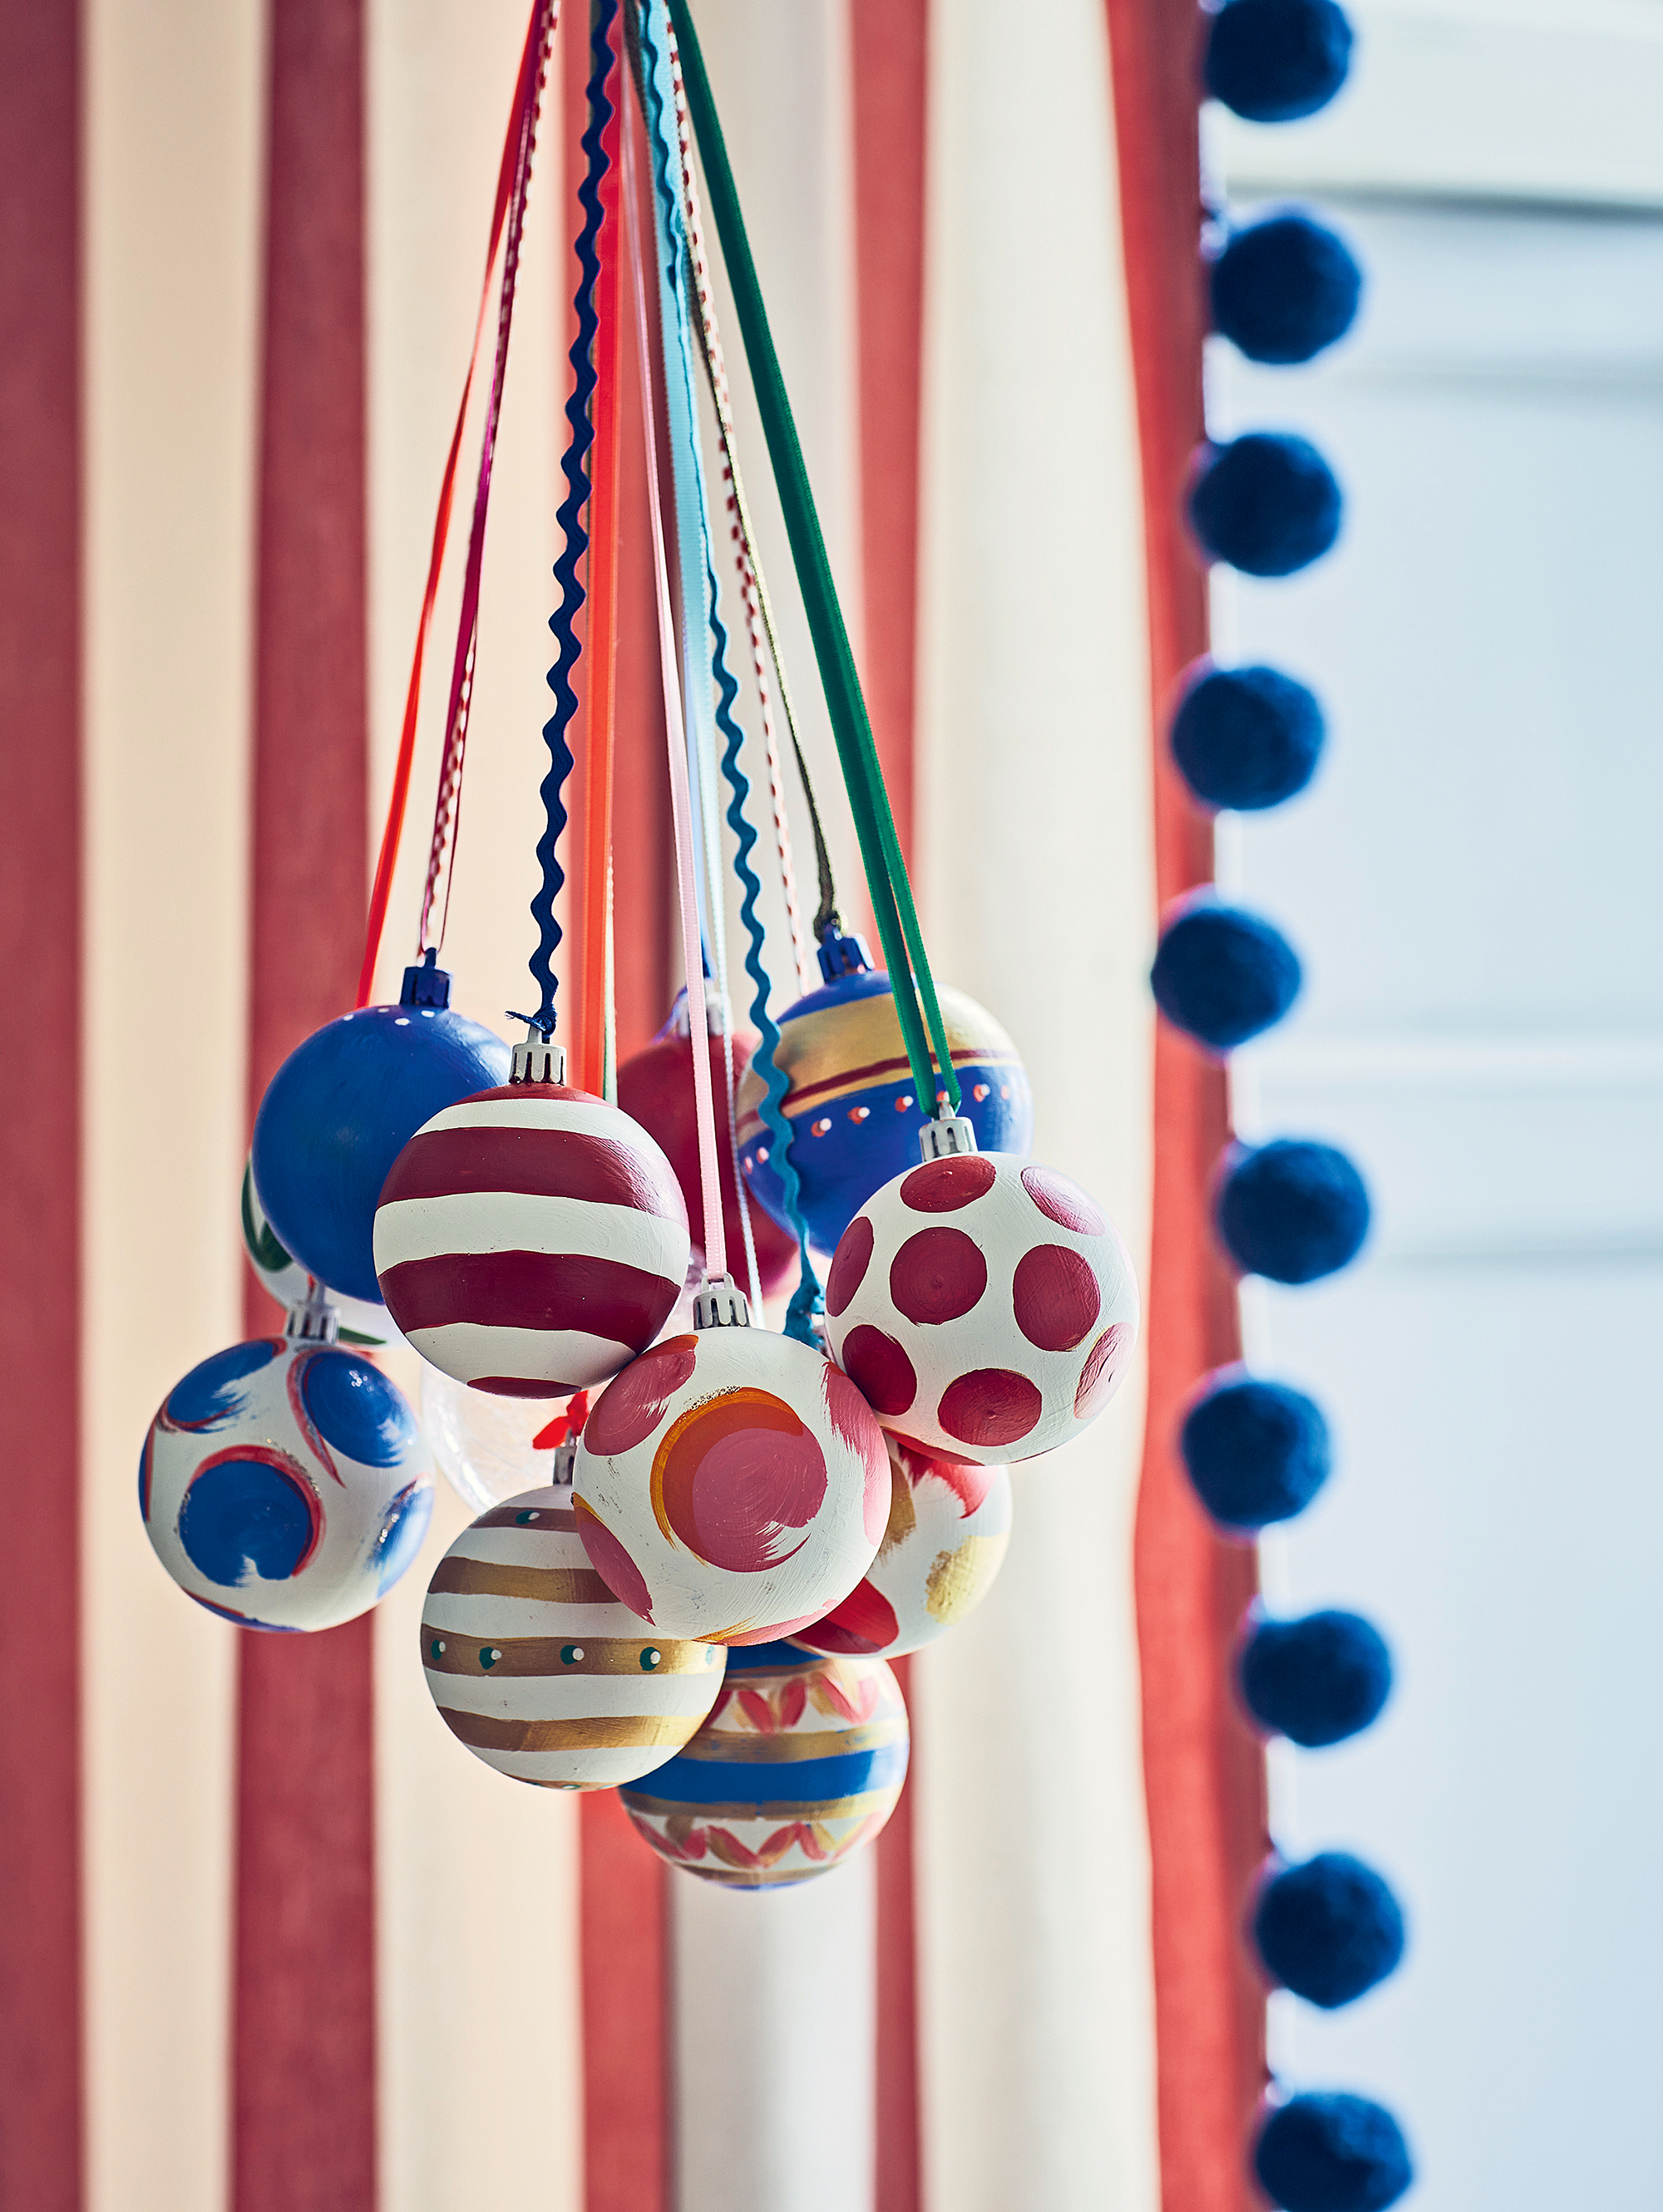
The easiest way to decorate baubles is by painting them. Painting onto a curved surface is tricky, so it's best to keep designs simple. If you're painting a set of baubles then we suggest sticking to the same palette of 3 to 4 colors for unity – adding in gold makes a lovely festive touch.
You will need: plain ceramic baubles, acrylic paint, acrylic varnish (optional) and a series of brushes – all available from Hobbycraft.
1. To paint a bauble you can either hold it from the top with one hand and your brush in the other, or alternatively, you could try standing it on an egg cup for support.
2. To create a folsky look like the baubles above, paint on your designs freehand using a brush in a range of stripes and spots.
3. For designs with multiple colors, paint details using one color first, then leave the baubles to dry completely before applying details with the next color.
4. Once the baubles are finished string then up with an assortment of ribbons in coordinating colors to add to the quirky look.
2. Embellish baubles with gold leaf
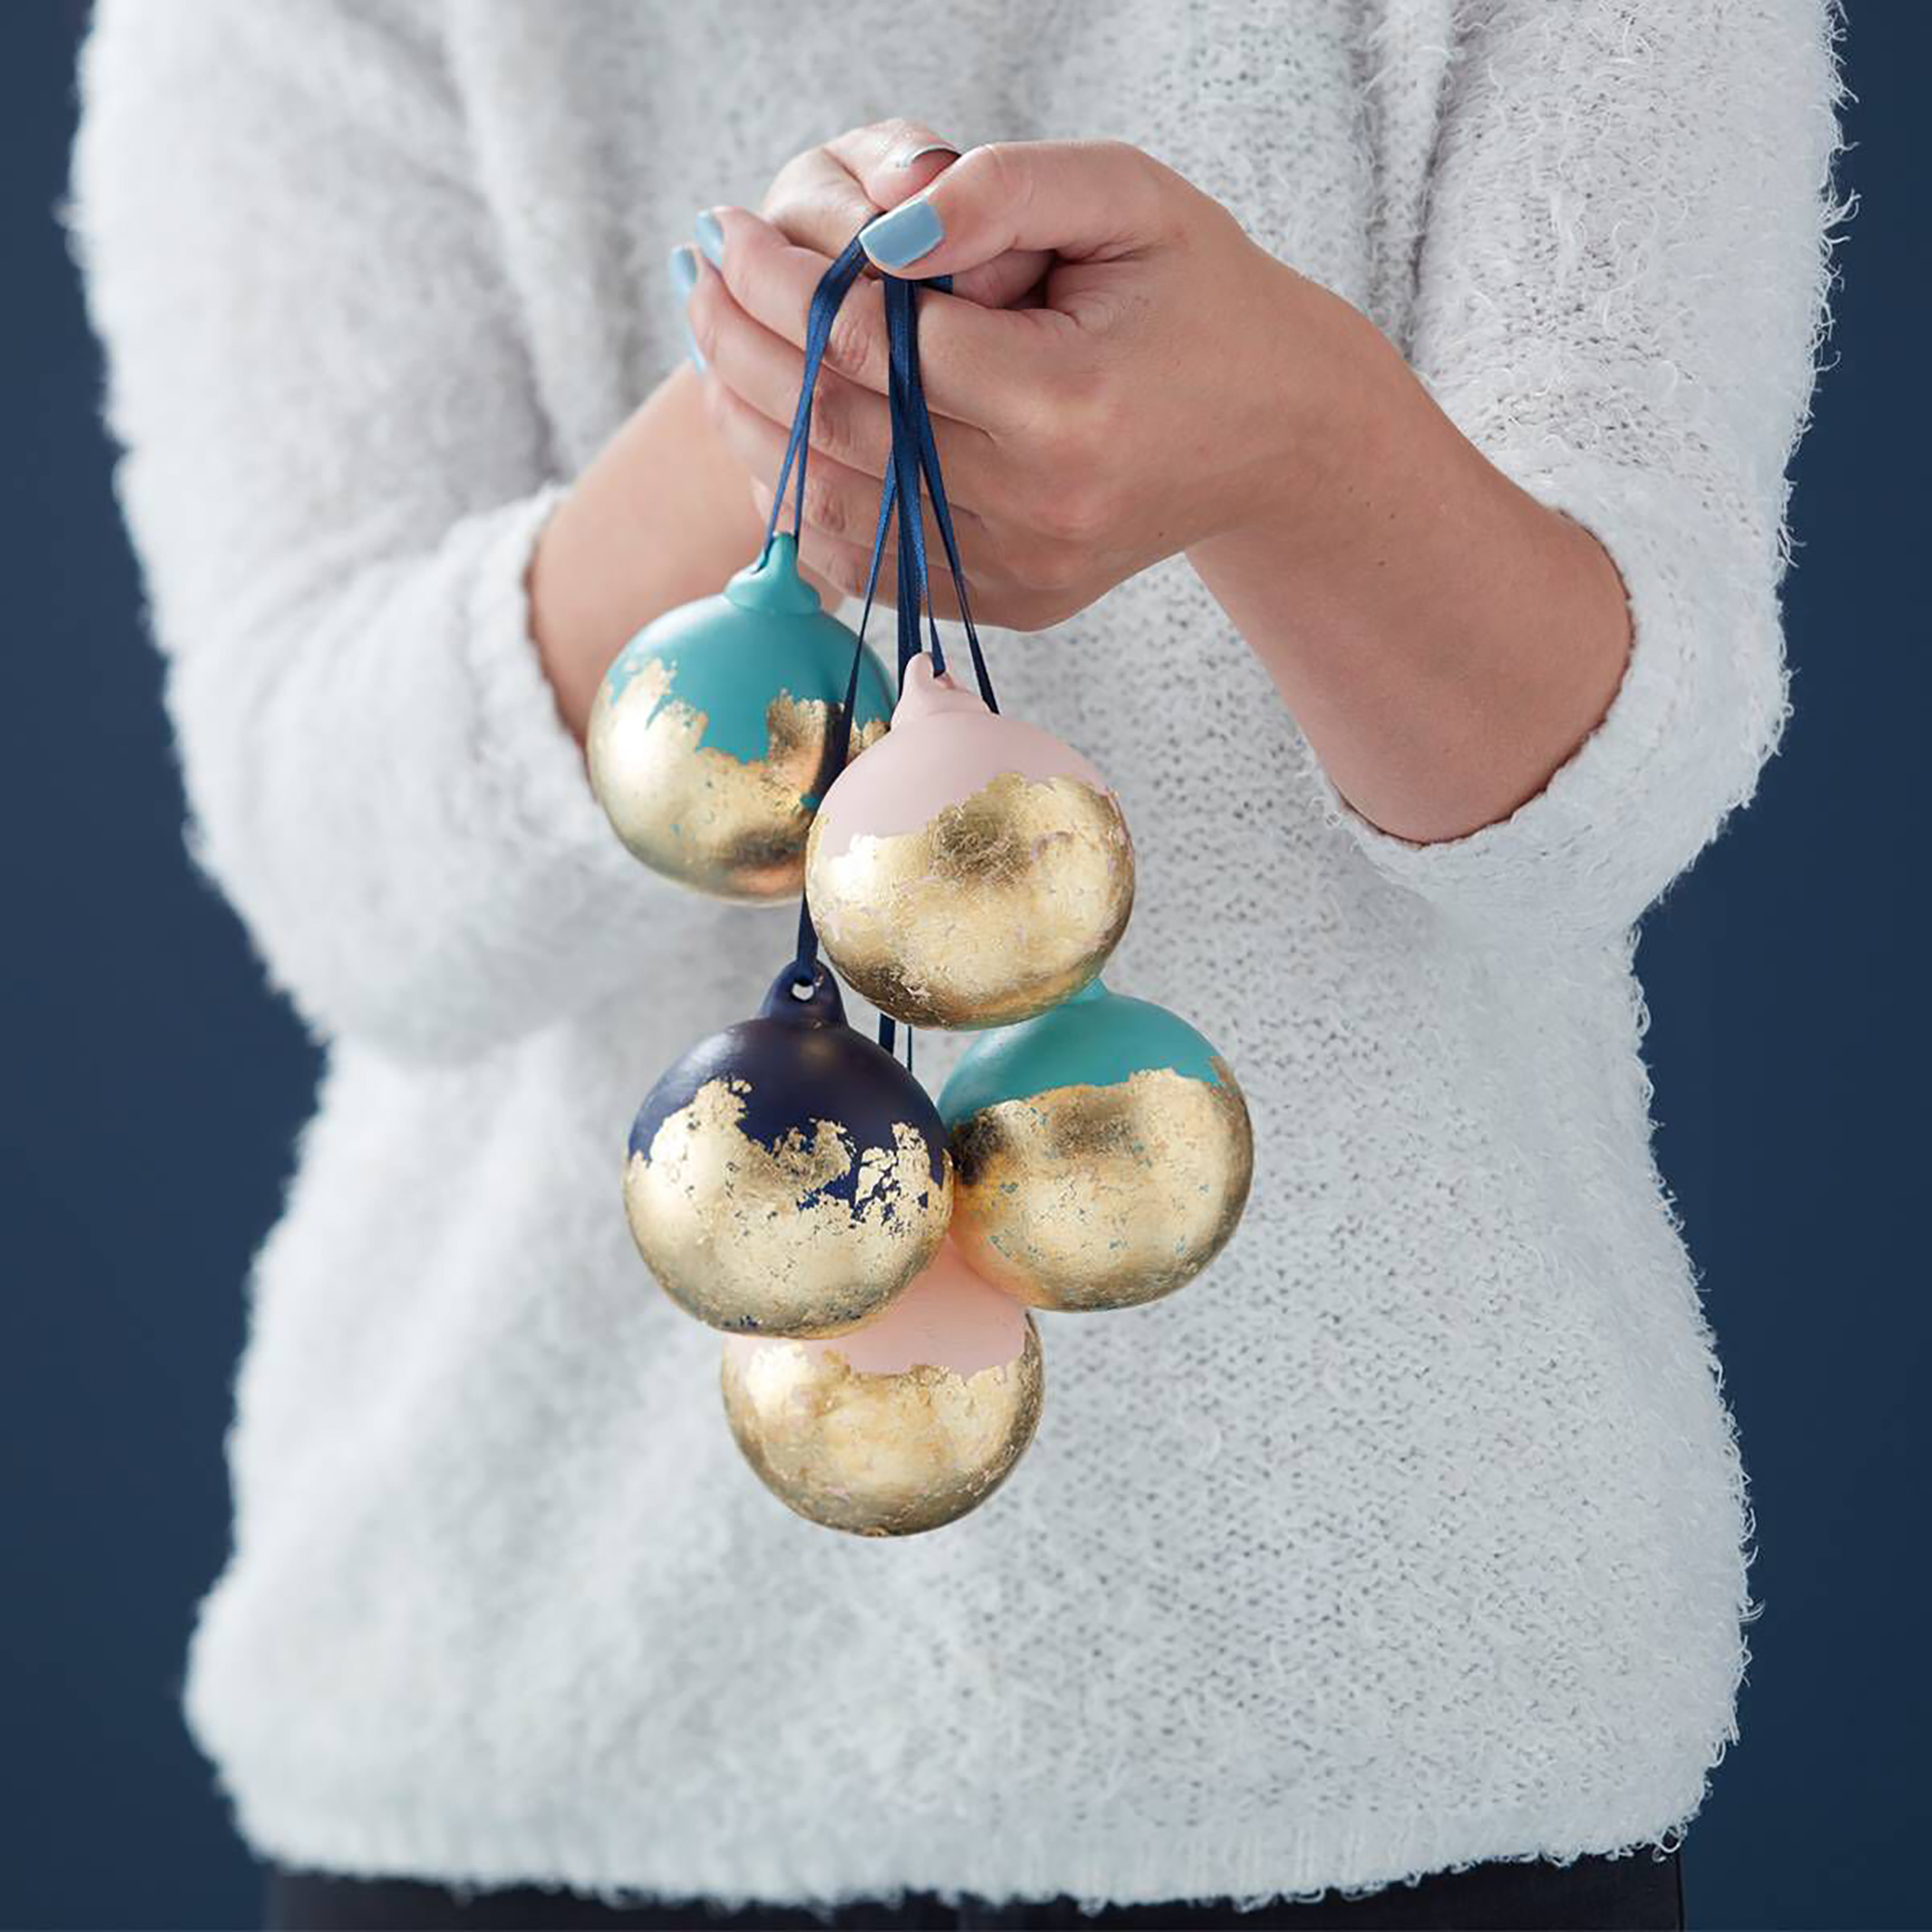
Decorating baubles with gilding leaf is a wonderful way to bring sparkle to Christmas styling and is easier to do than it looks. We love this make idea from Hobbycraft.
You will need: ceramic baubles, acrylic paint, gold or silver gilding leaves or flakes, gilding paste and a selection of paintbrushes all available at Hobbycraft.
1. Start by painting your baubles in colors of your choice. To prevent the paint sticking to your worksurface it is recommended to paint in two stages placing the bauble in an egg cut to support it.
2. Once the whole bauble is painted and completely dry, use a paintbrush to apply gilding paste to the area of the bauble you want to gild and leave for 10-15 minutes, or as per the brand instructions.
3. If using gilding leaf, place the leaf over the area of gilding paste and smooth using a soft, clean brush, then brush off the excess. Alternatively, if using gilding flakes, dip the bauble into the flakes and brush off the excess.
4. You can then add a final personal touch by using a gold or silver brush pen to add a calligraphy name to the painted surface of the bauble.
3. Decorate your baubles with transfers
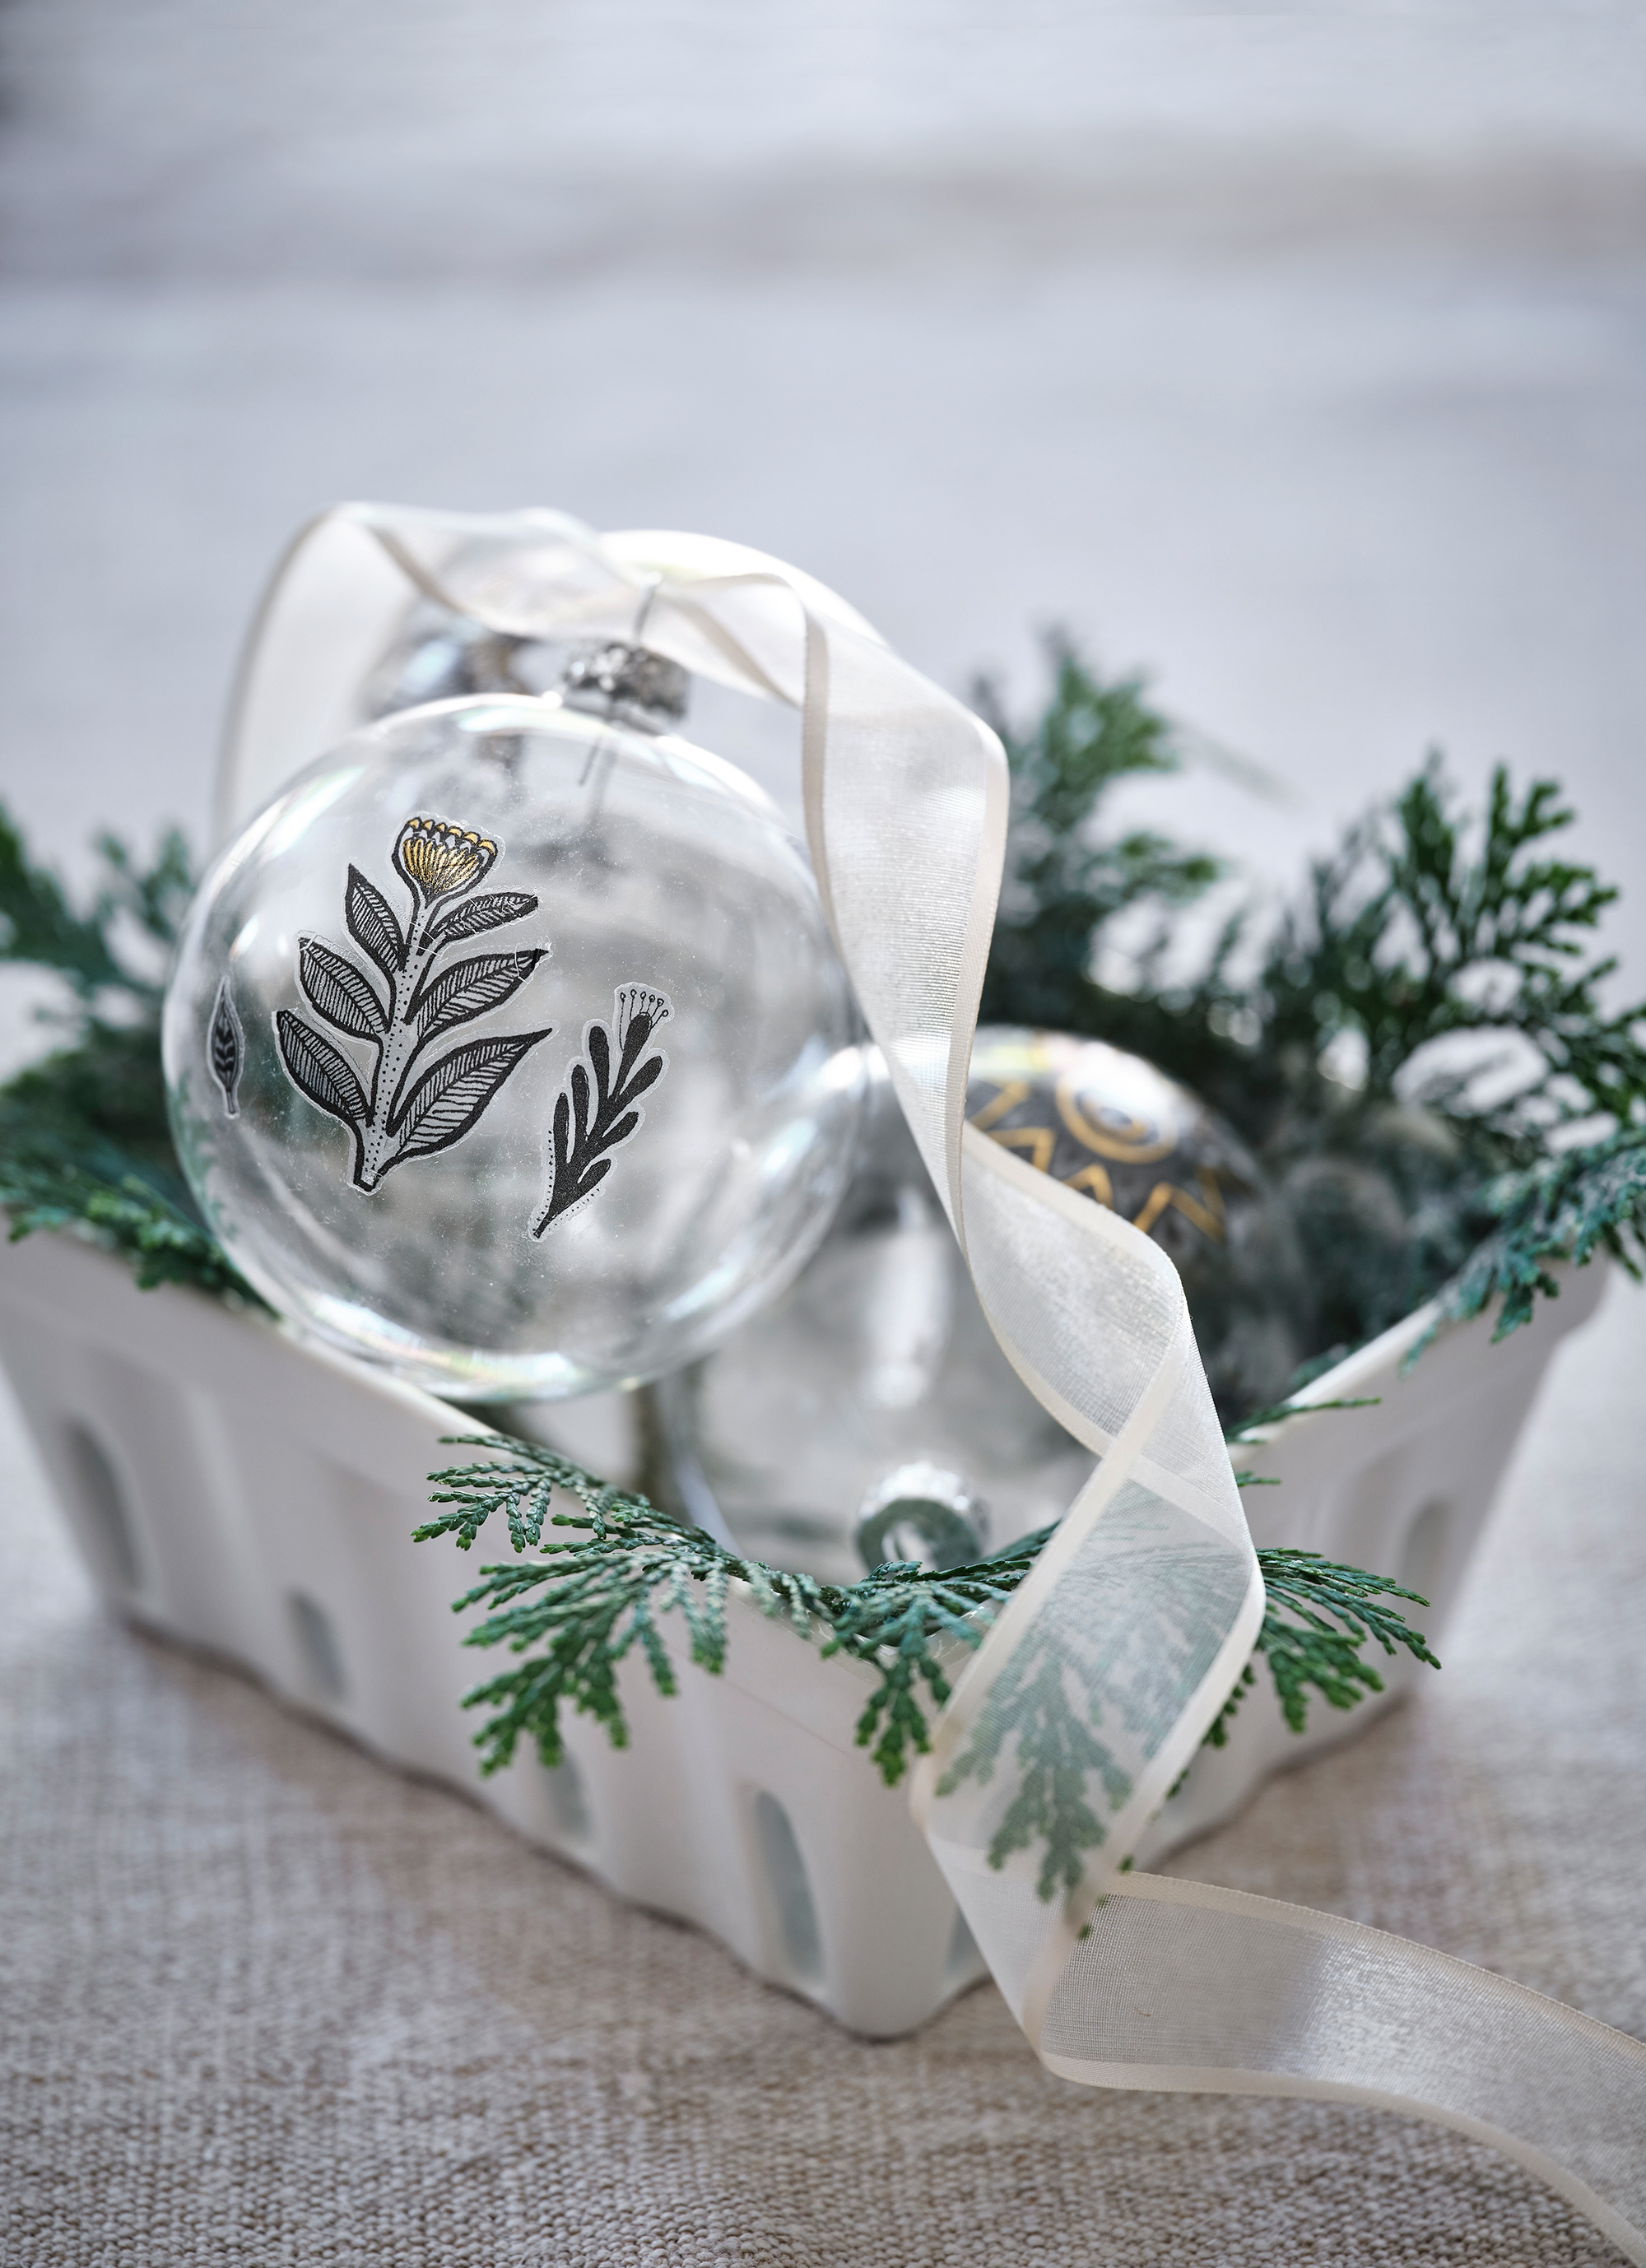
Rub-on transfers are an easy way to bring a unique touch to Christmas baubles, plus, unlike paint, they are pretty mess-free! You can either buy ready-printed designs, or alternatively, you can make your own designs using an inkjet printer and waterslide decal paper.
You will need: Clear perspex baubles, waterslide decal paper such as this from Amazon, inkjet printer, acrylic spray, water bowl, paper towels.
1. Print your designs onto the waterslide decal paper using an inkjet printer.
2. Spray acrylic spray over the paper and allow to dry – repeat twice.
3. Cut out the design using scissors ensuring to leave a gap of 2-3mm around the design.
4. Submerge the cut decal in a bowl filled with room-temperature water, until the decal is able to slide off then apply the decal to the surface of the bauble and press firmly.
5. Allow the decal to set and dry for at least 3 hours.
6. If using bought designs, follow the manufacturer’s instructions to apply the tattoo to the bauble: peel off the plastic film, position on the bauble, then use a damp cloth to rub on the paper backing until you can see the design has come away. Carefully remove the paper.
4. Fill baubles with treasures or foraged finds
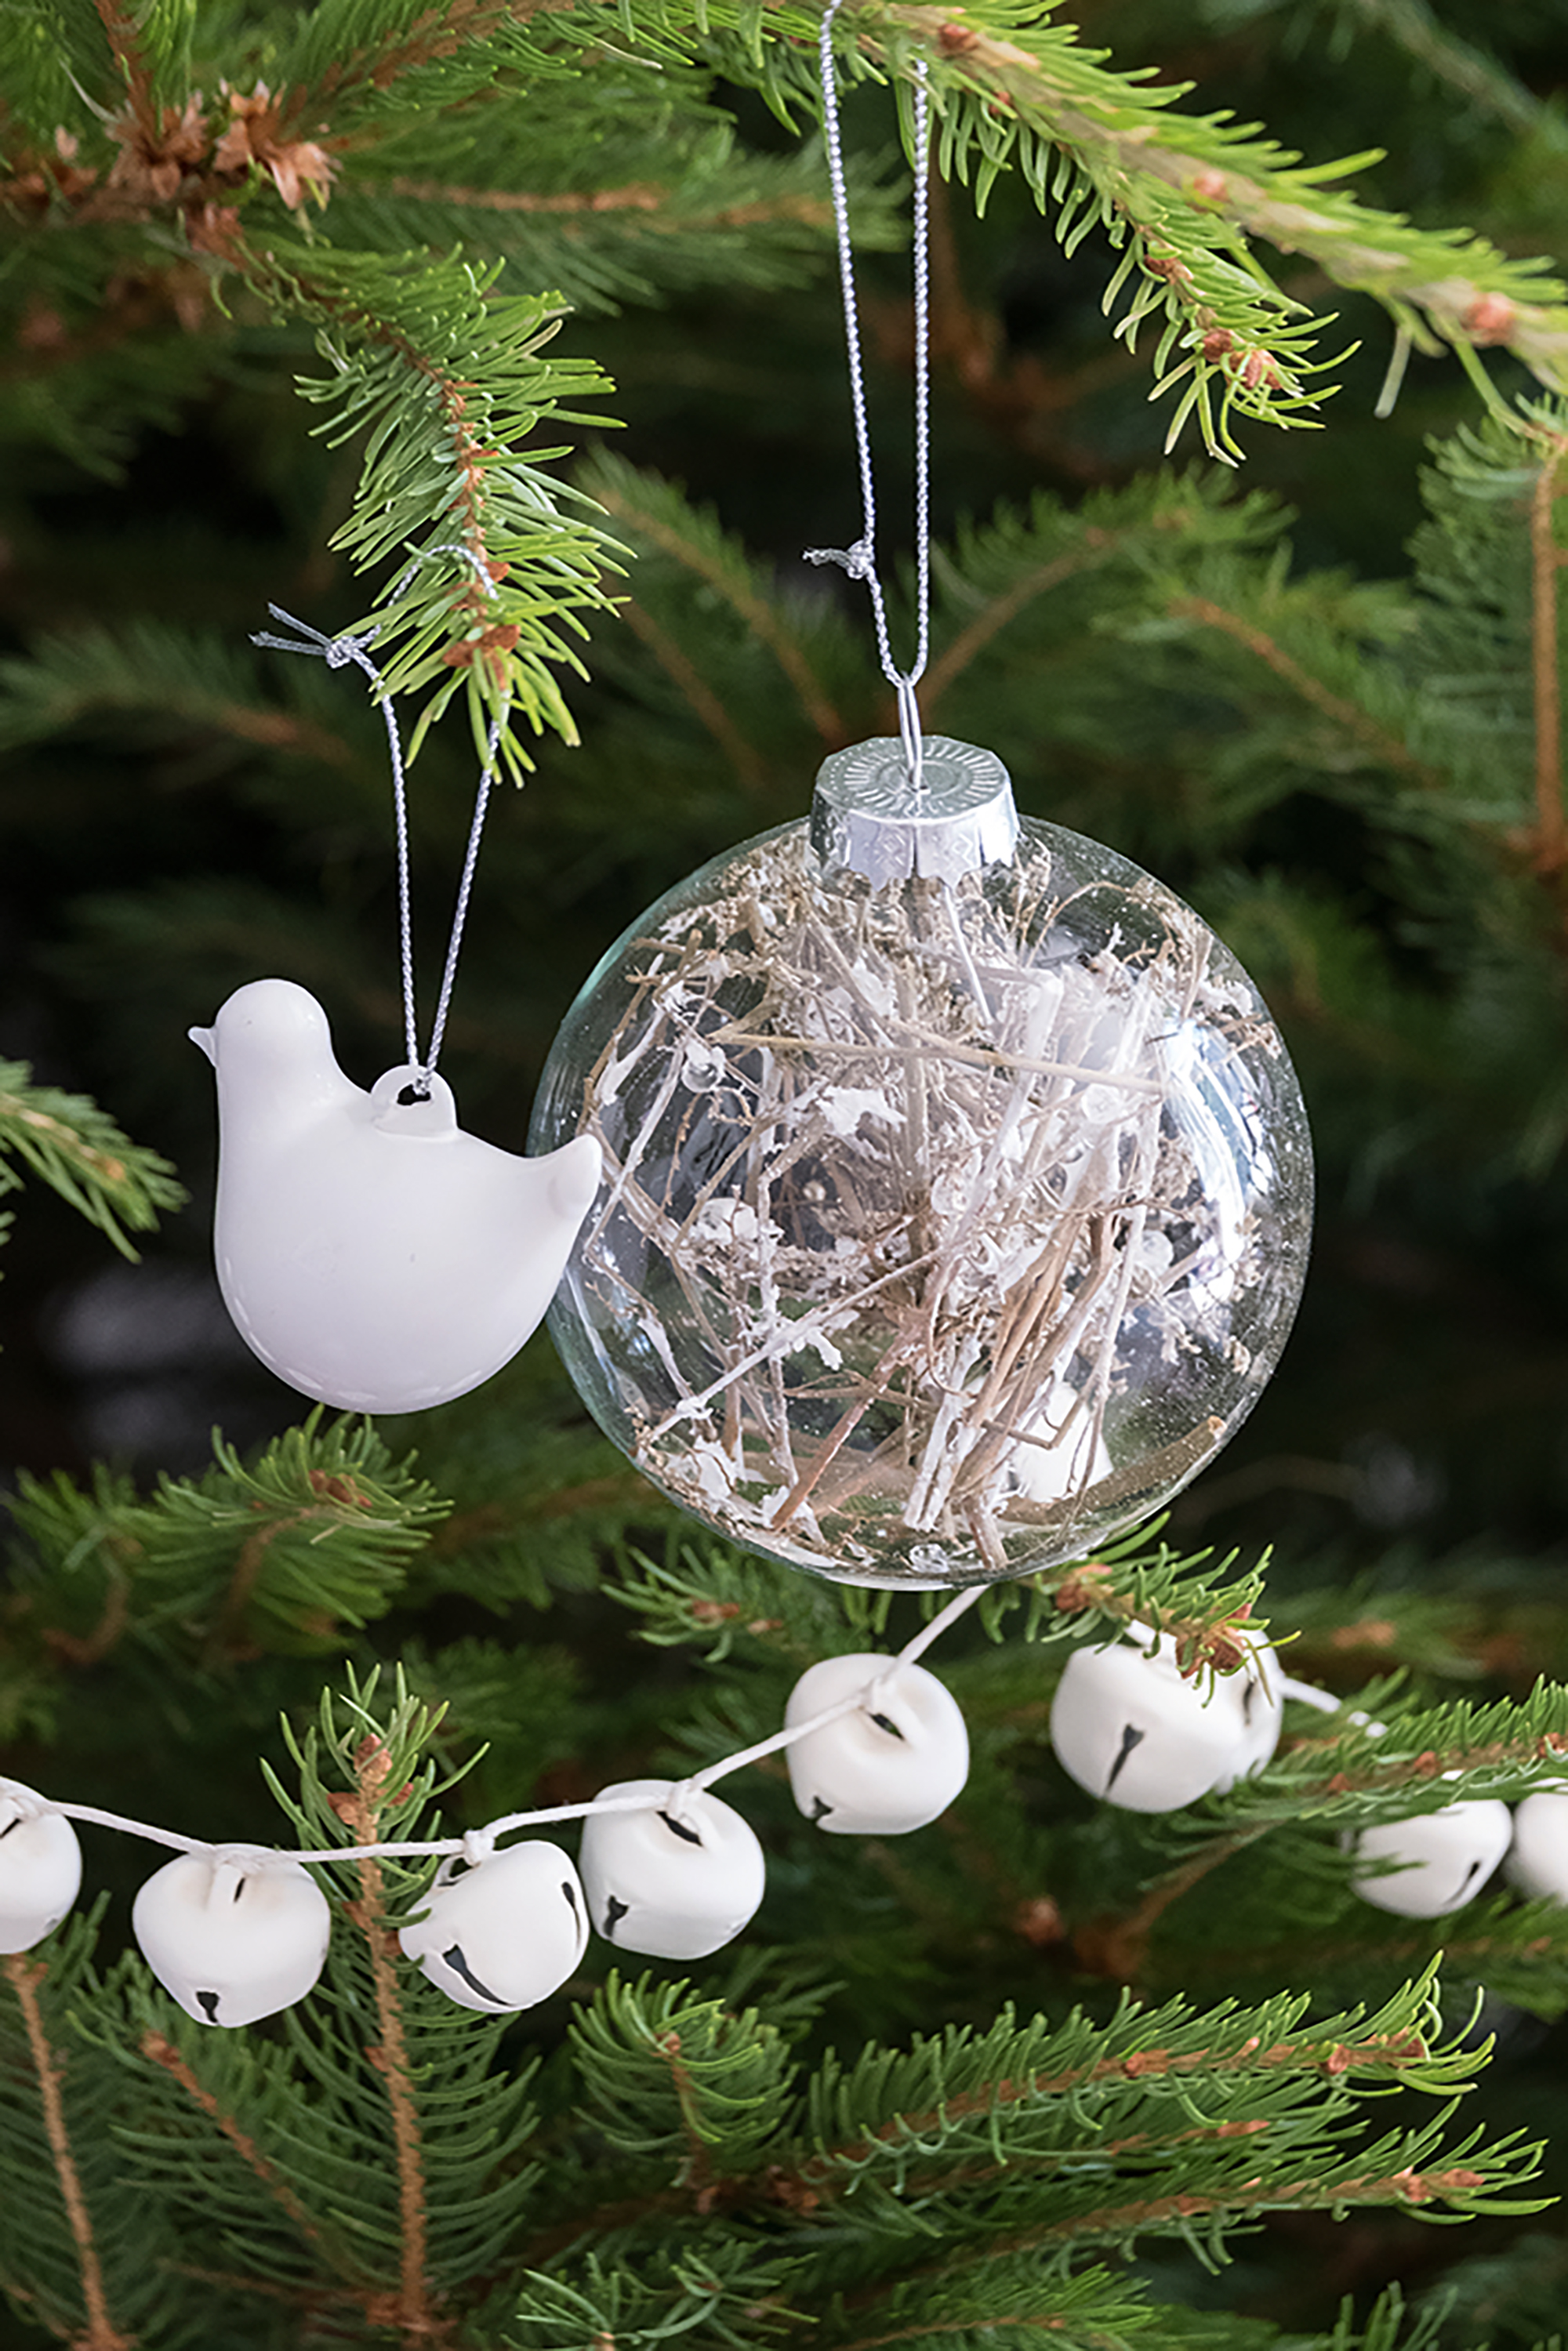
Another mess-free and easy way to create unique baubles is to buy clear perspex or glass baubles and fill them. The fun thing about this is you can experiment with different fillings depending on what look you're looking to create. For a playful, colorful look mini pom poms work well, alternatively, for a rustic look try mini pine cones or dried flowers. You could even fill them with sweeties.
This idea is simple to do, all you need is some DIY shatterproof fillable baubles such as these from Amazon and your fillable finds. Then, simply remove the tops and fill with your chosen items (using a small funnel to help if needed), then replace the top and string up to pop on your tree.
5. Decorate baubles with fabric
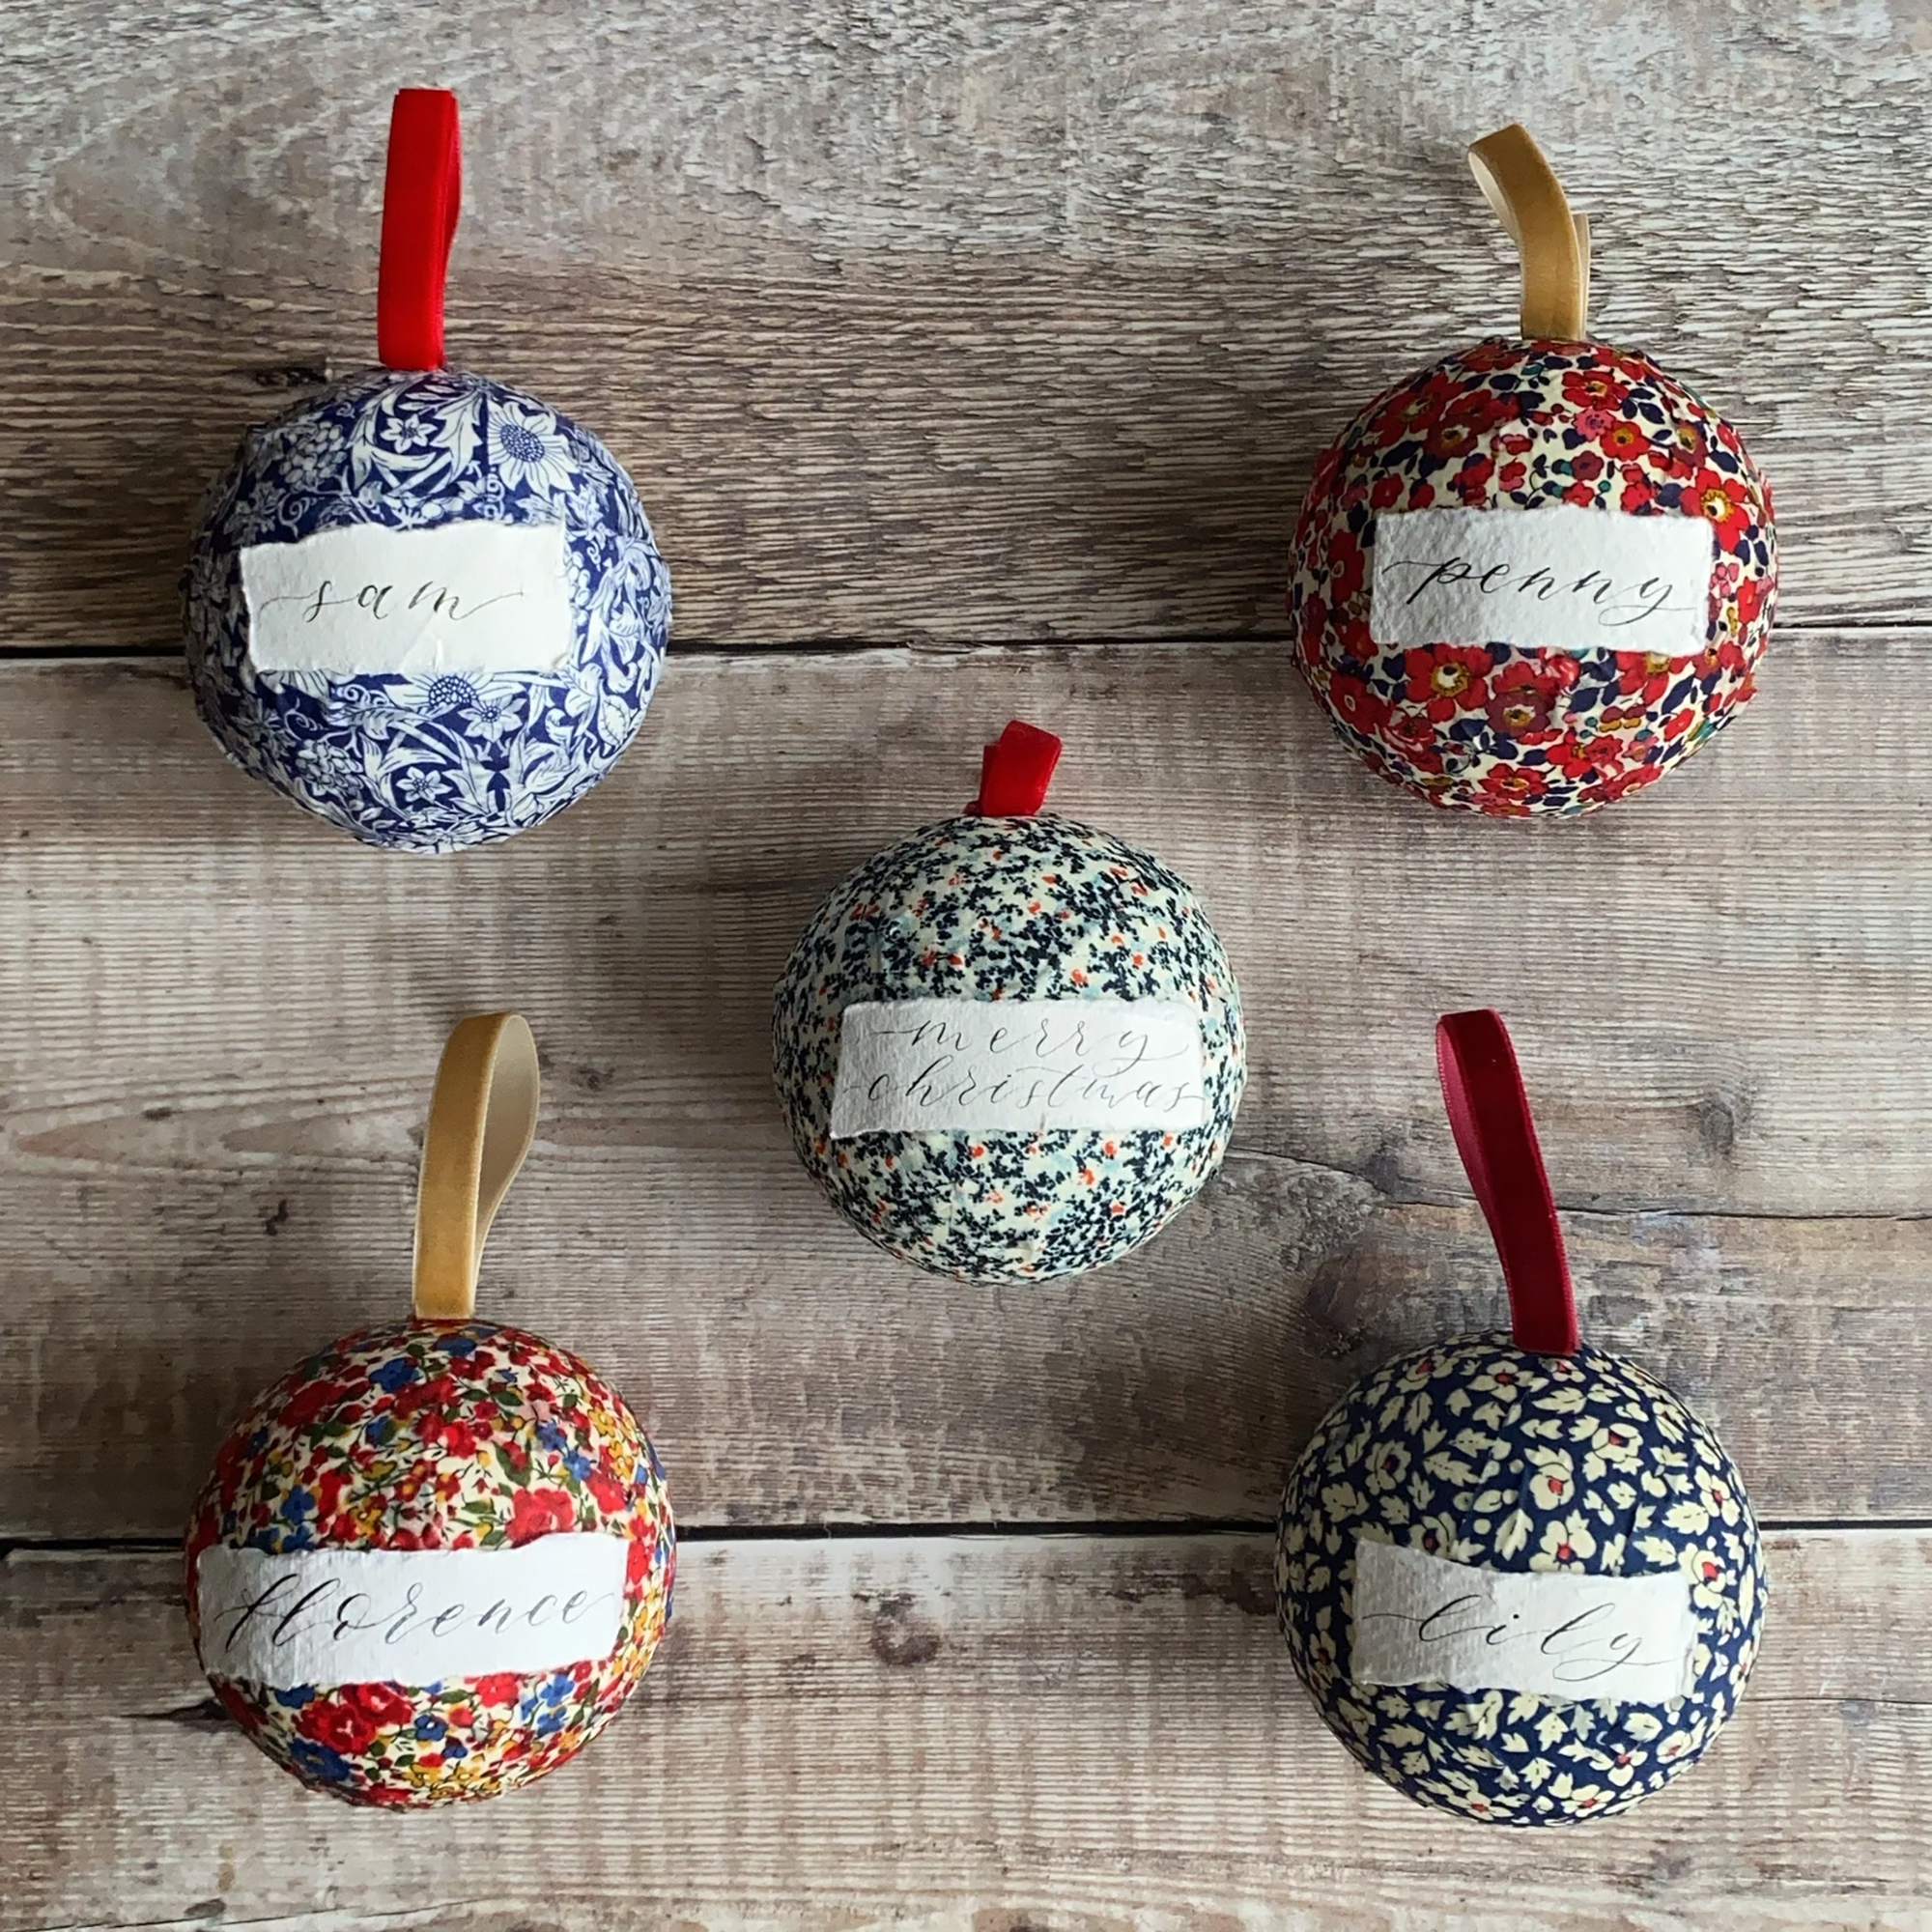
Covering baubles in fabric is a great way to bring a homepsun, cottage-core look to your Christmas tree and is a useful way to recycle fabric remnants, too. It's best to use lightweight cotton, as heavier fabrics will be difficult to stick down. If you don't have time to make your own, try these handmade fabric-covered baubles from Etsy.
You will need: plain papier-mâché baubles such as these from Amazon, PVA glue, cotton fabric scraps, brushes
1. Paint glue onto a section of the bauble apply the fabric scrap, then cover over with more glue to ensure the fabric smoothed over the bauble surface.
2. Repeat step 1 until the whole bauble is covered.
3. Leave to dry resting on an eggcup.
4. Write a festive greeting on a piece of handmade paper and glue to the fabric-covered bauble for a finishing touch.
6. Decorate Christmas baubles with marbling
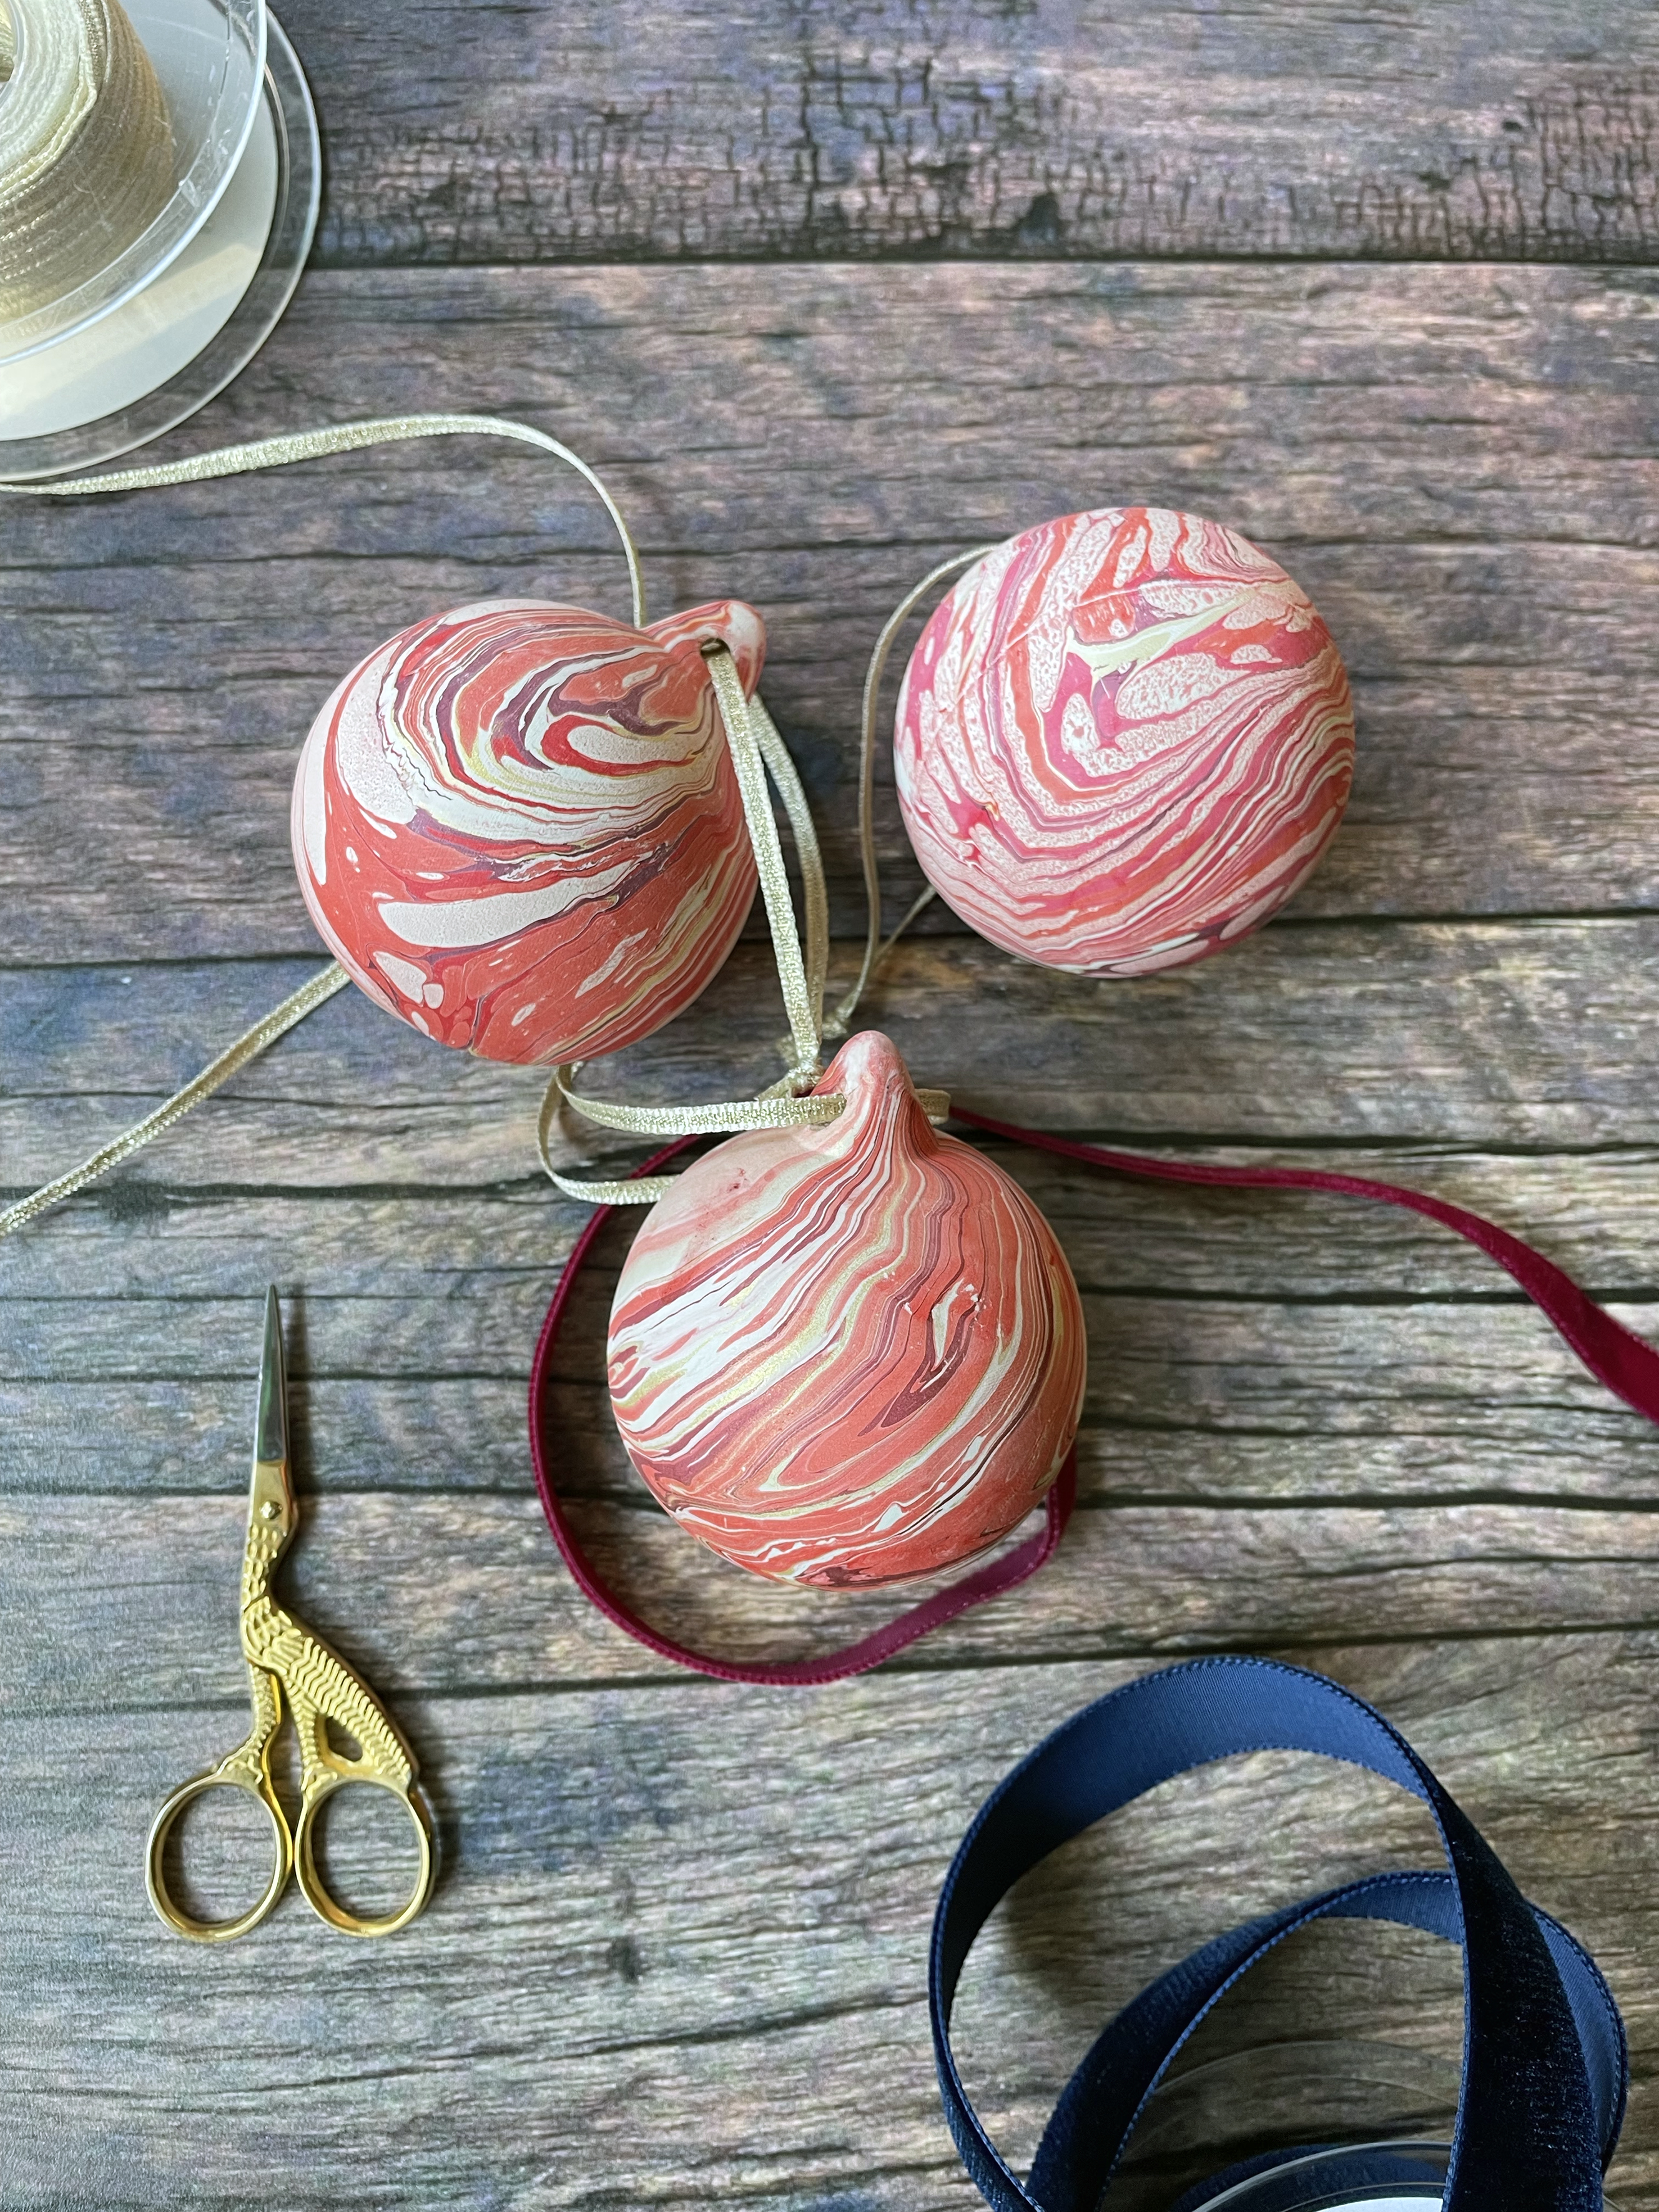
If you are looking for an original, contemporary way to decorate Christmas baubles, you will love this charming project created by Lucy McGrath for H&G.
Lucy started Marmor Paperie in 2015 with the mission to breathe new life into the endangered craft of marbling. Here, she shows us how to make unique marbled ceramic baubles – you can buy blanks at craft stores or from Amazon.
We have chosen a warm peachy red for our baubles – but you can choose paint colors to suit your scheme. They will give your Christmas decor ideas an edge, we promise.
You will need:
- 12g carrageenan powder (available from Marmor Paperie)
- 2ltr water
- Blender
- 5ltr bucket or deep container
- Newspaper
- Your preferred acrylic paints
- Jars or disposable cups
- Paintbrushes
- Skewer
- Ceramic baubles from Amazon
- Gloves to protect your hands
- Your preferred ribbon
Put the carrageenan into your blender
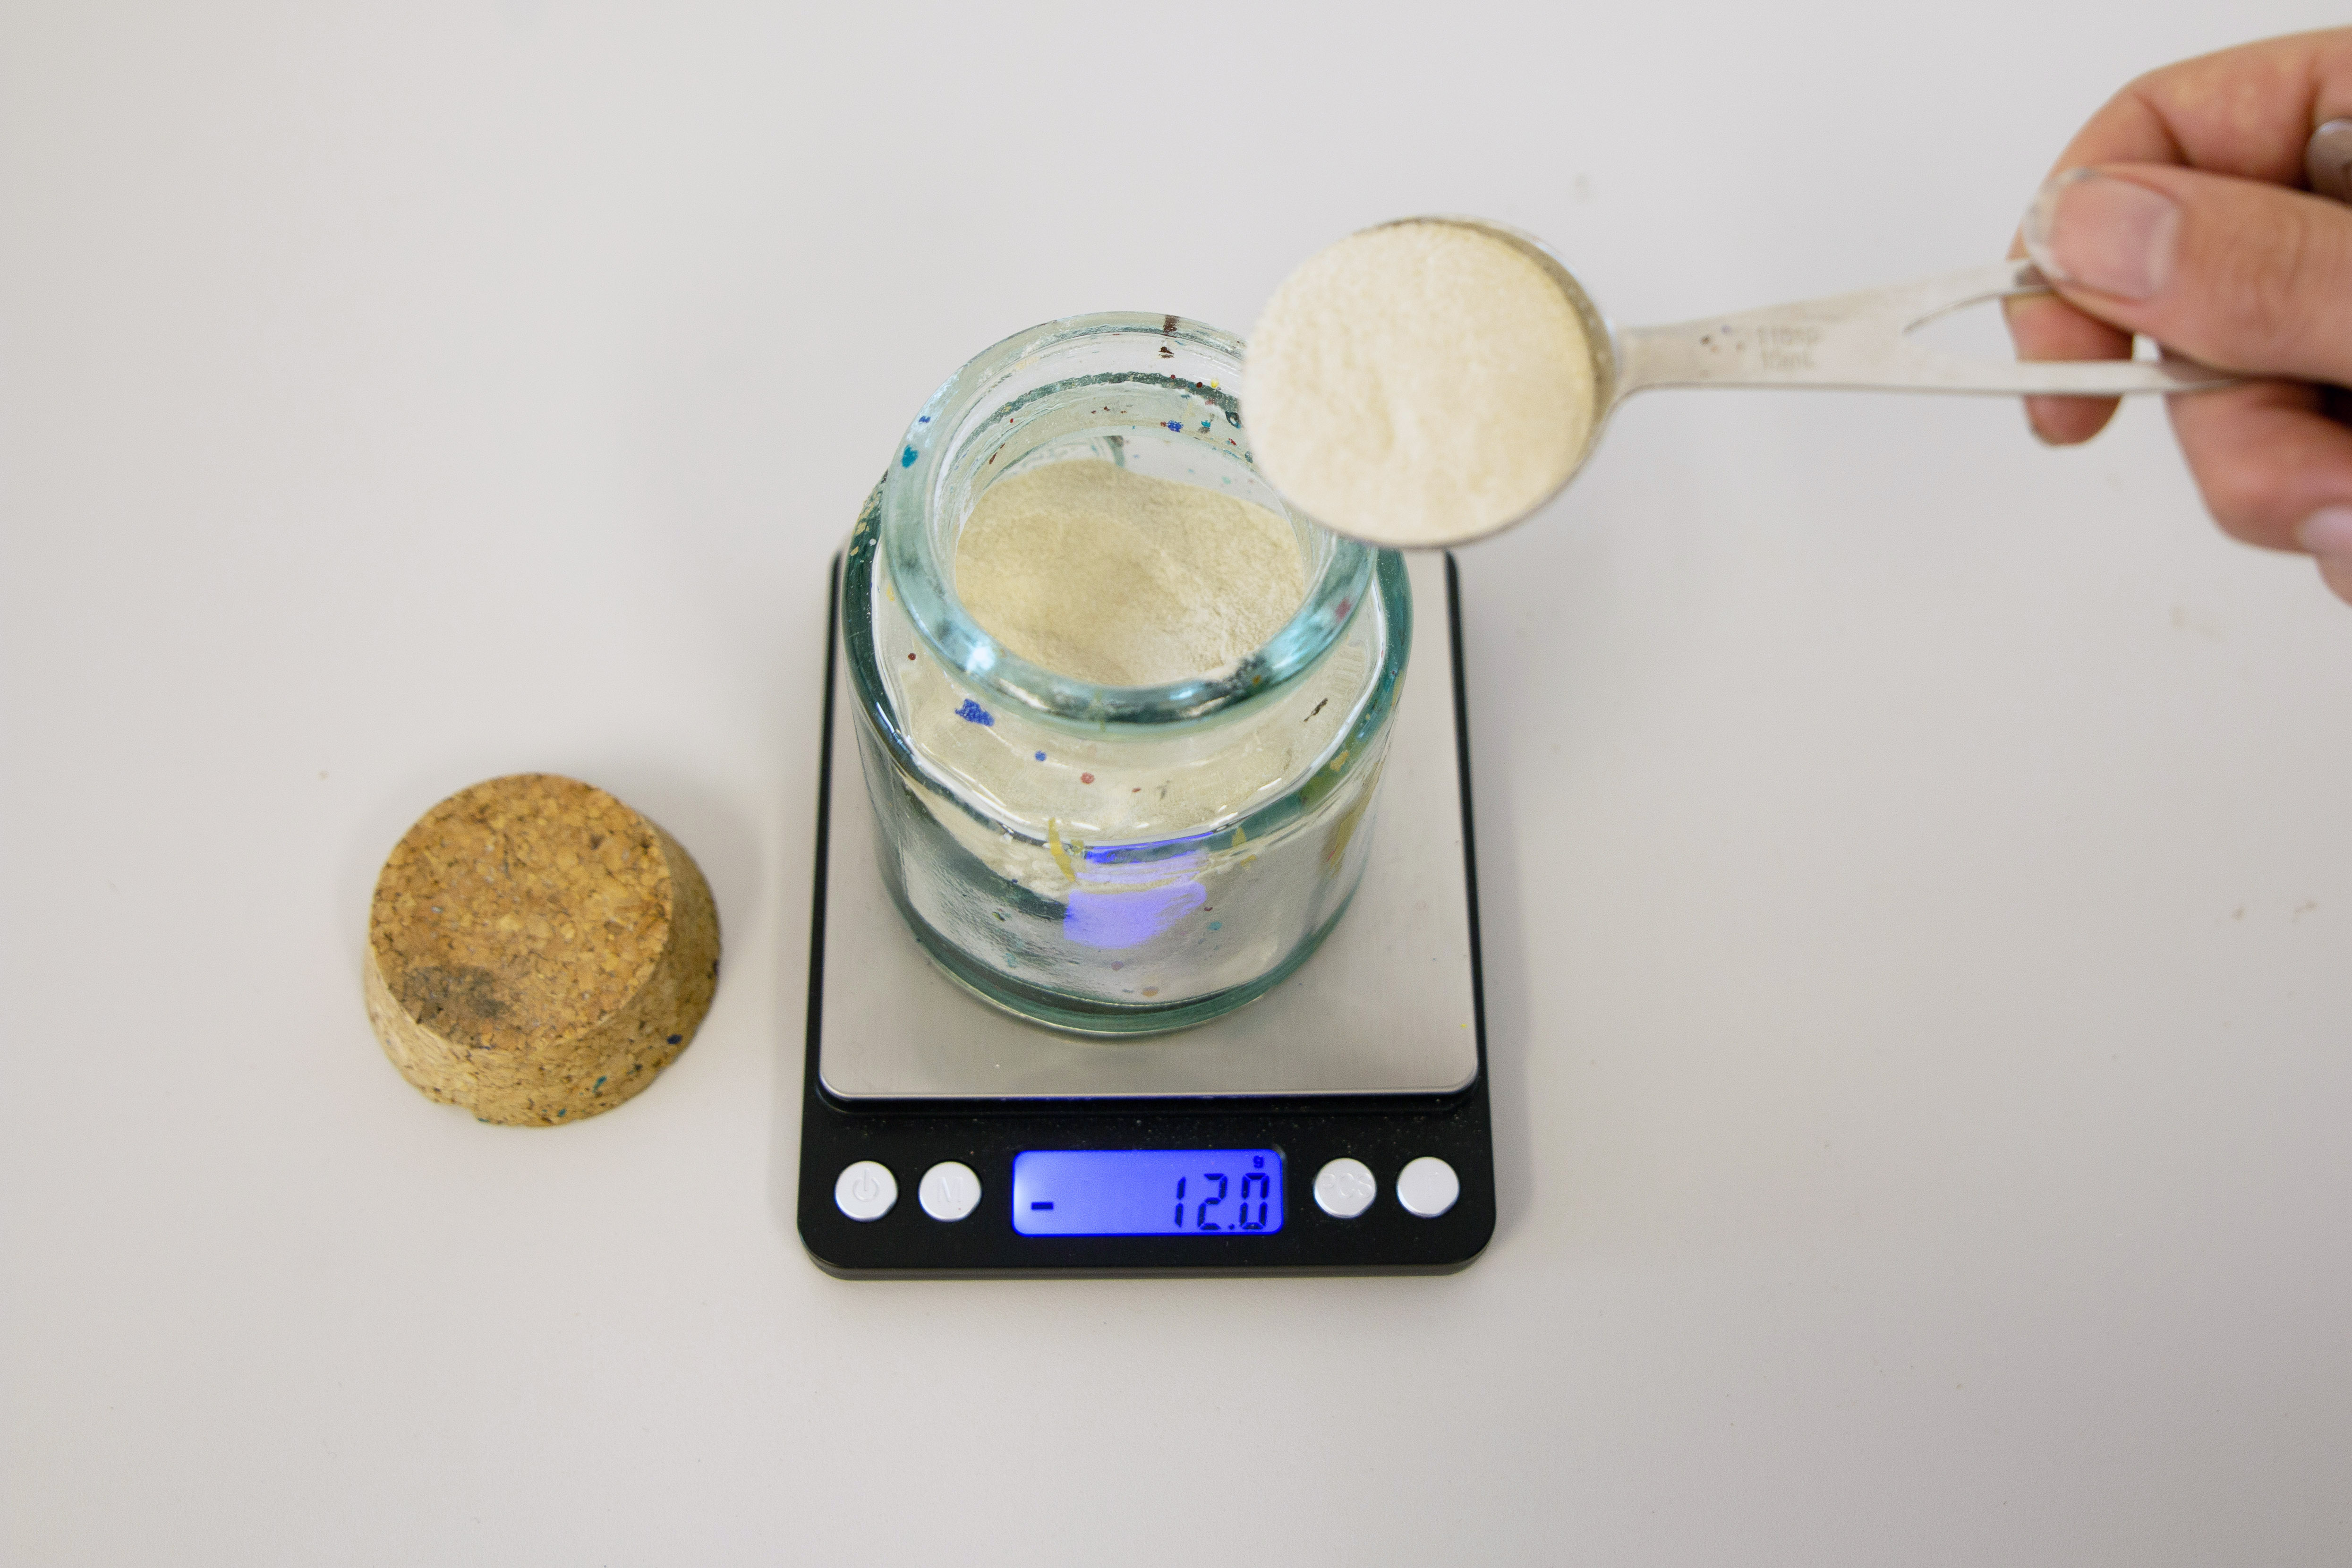
Add 500ml water and blend until you can't see any bits. Gradually add the remaining water, blending periodically to make sure it is all mixed together.
Pour the mixture into a 5ltr bucket or similar container and let sit, covered for two to three hours to allow most of the bubbles to pop.
Clean the surface of your marbling water by skimming torn strips of newspaper along the surface to catch dust and grab any remaining bubbles.
Create your Christmas bauble color scheme
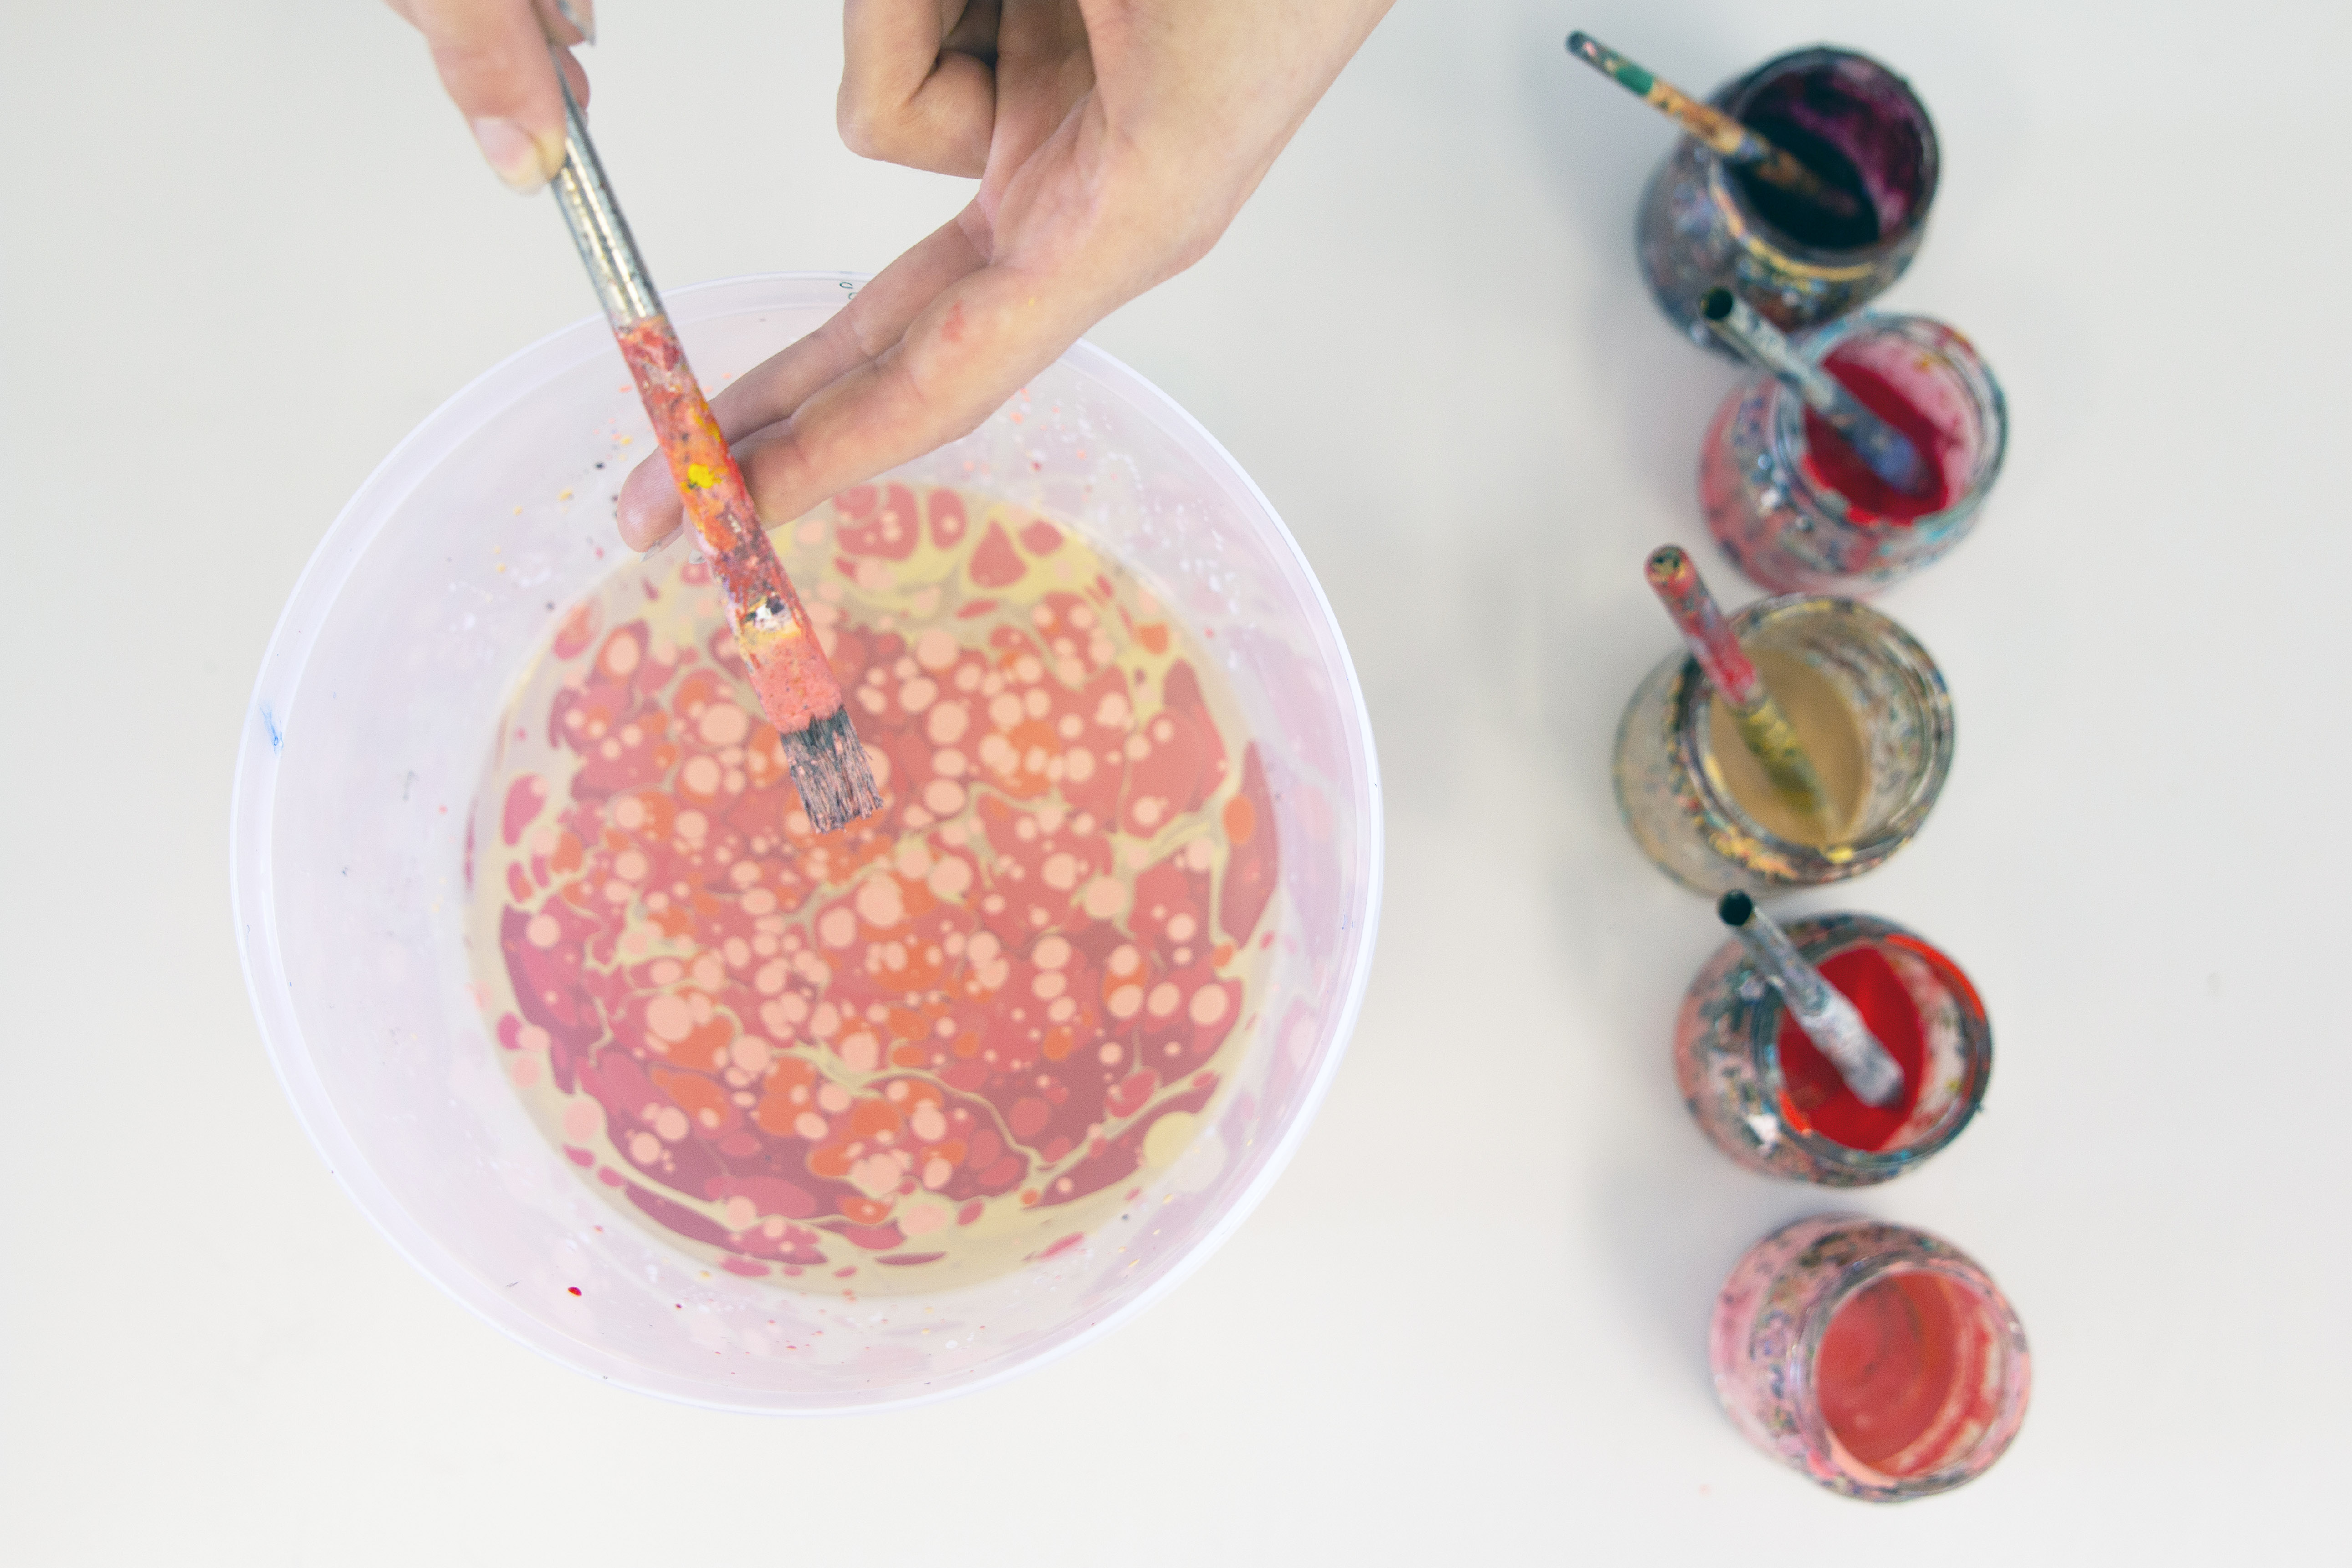
Mix your preferred colors in jars using acrylic paints, adding water to get the consistency of milk.
Dip your paintbrush into your paint and hold it over the bucket. Gently tap it to deposit paint drops on to the surface. Move your hands around to aim the drops, attempting to get an even paint coverage. Repeat this step with multiple colors.
Make the swirls
Take a skewer and draw through the floating paint to make swirls.
Prepare to dunk the first bauble
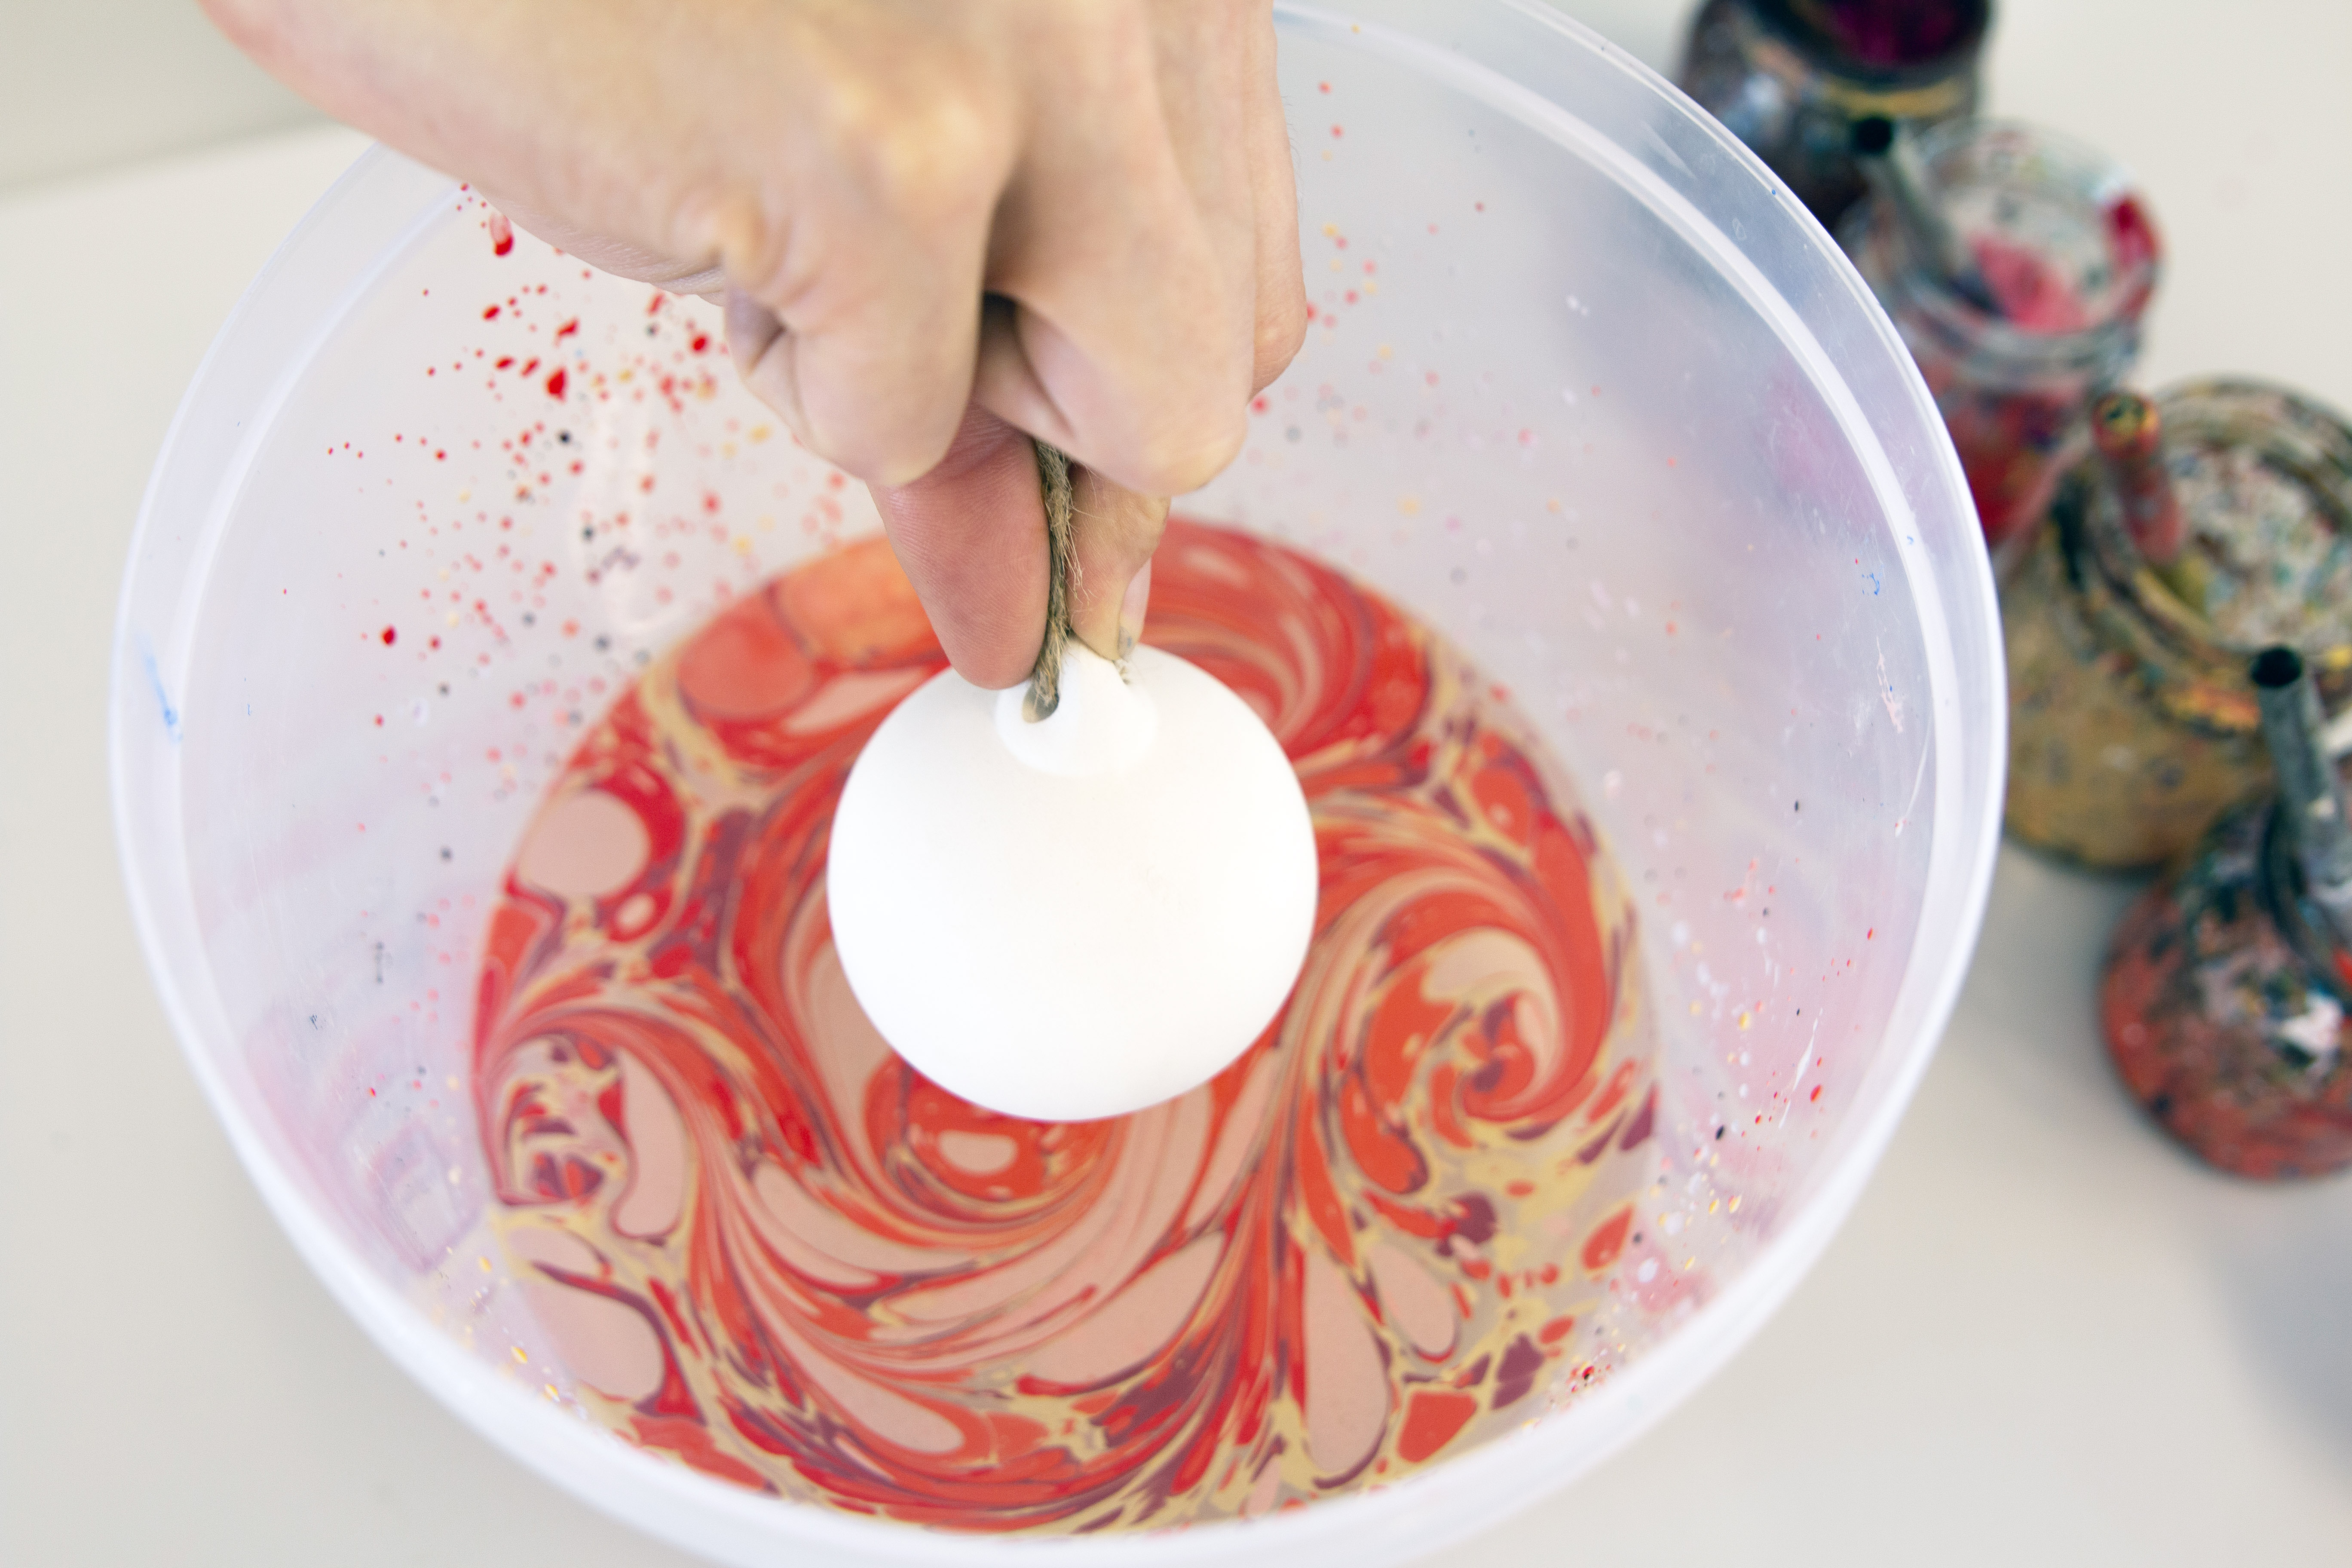
Hold the top of your first bauble between your index finger and thumb and arrange it over the bucket so your fingers are at the very top. Make sure the thread is held out of the way in your other fingers.
Dunk the Christmas bauble
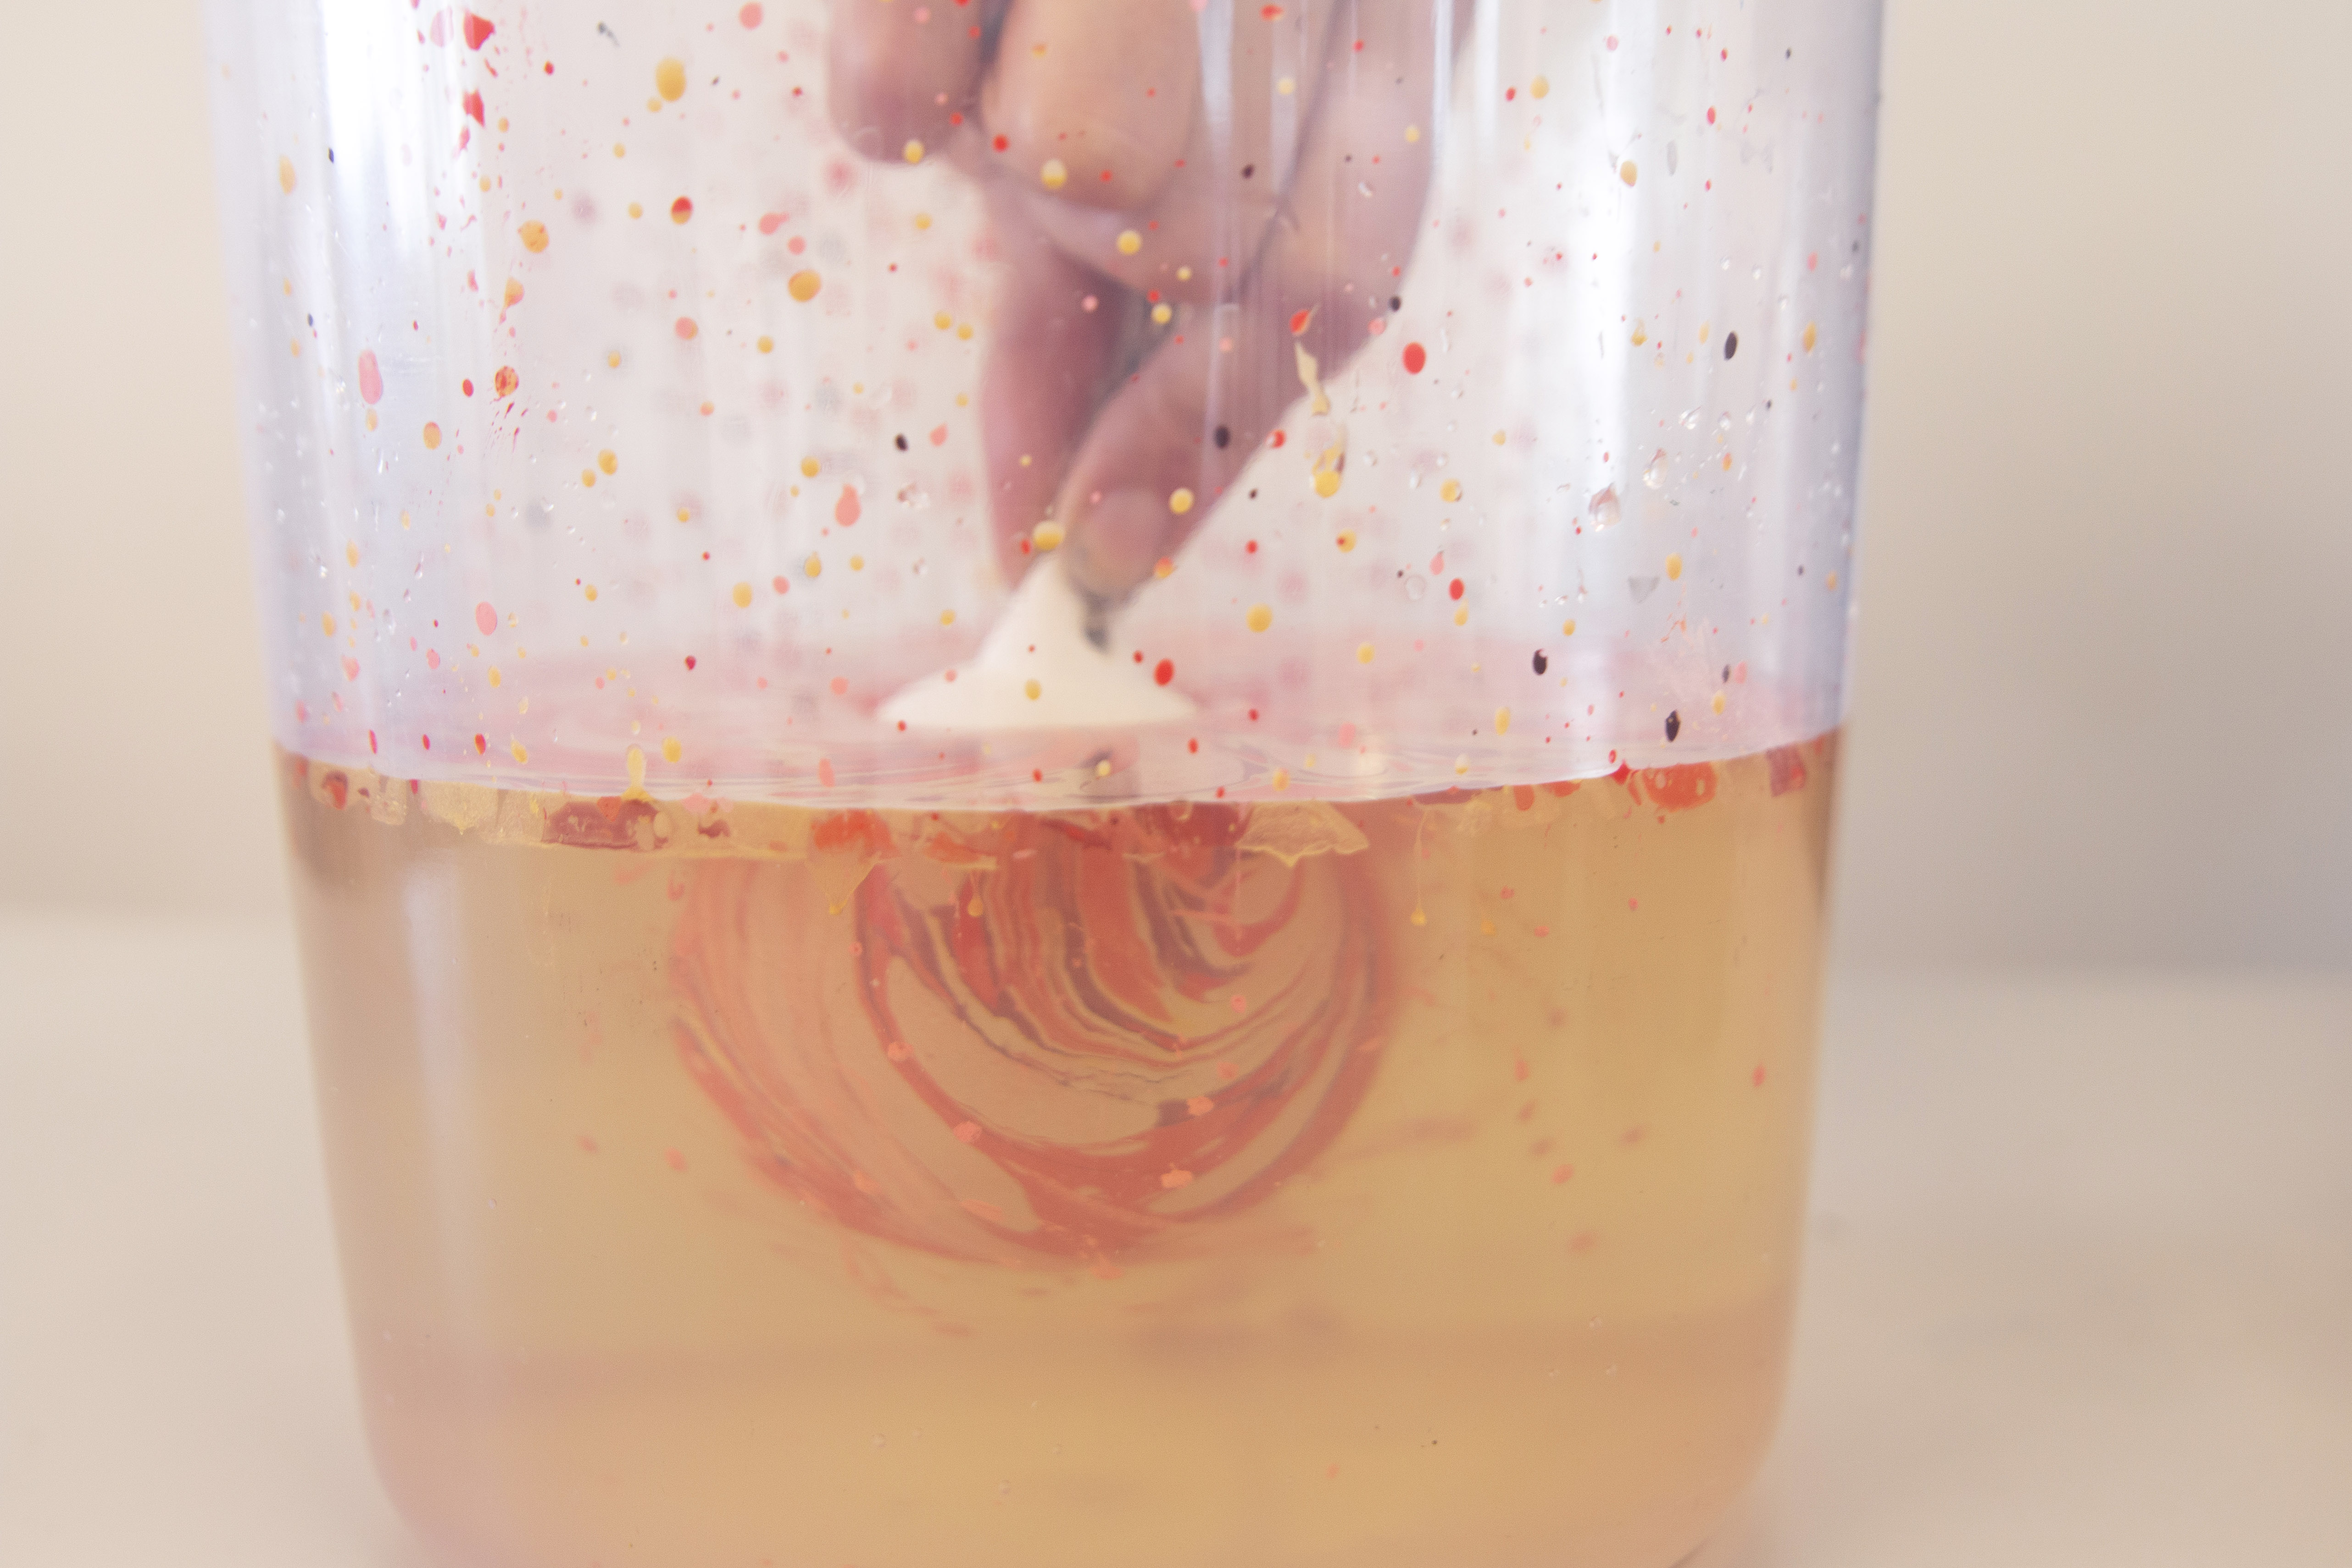
In one smooth motion, dunk the bauble into the marbling water, being careful to always keep your fingers over the center of the bauble so it doesn't try to bob to the surface. Pull the bauble out again and immediately rinse under running water to remove any paint run-off or gloopy water.
Thread the ribbon
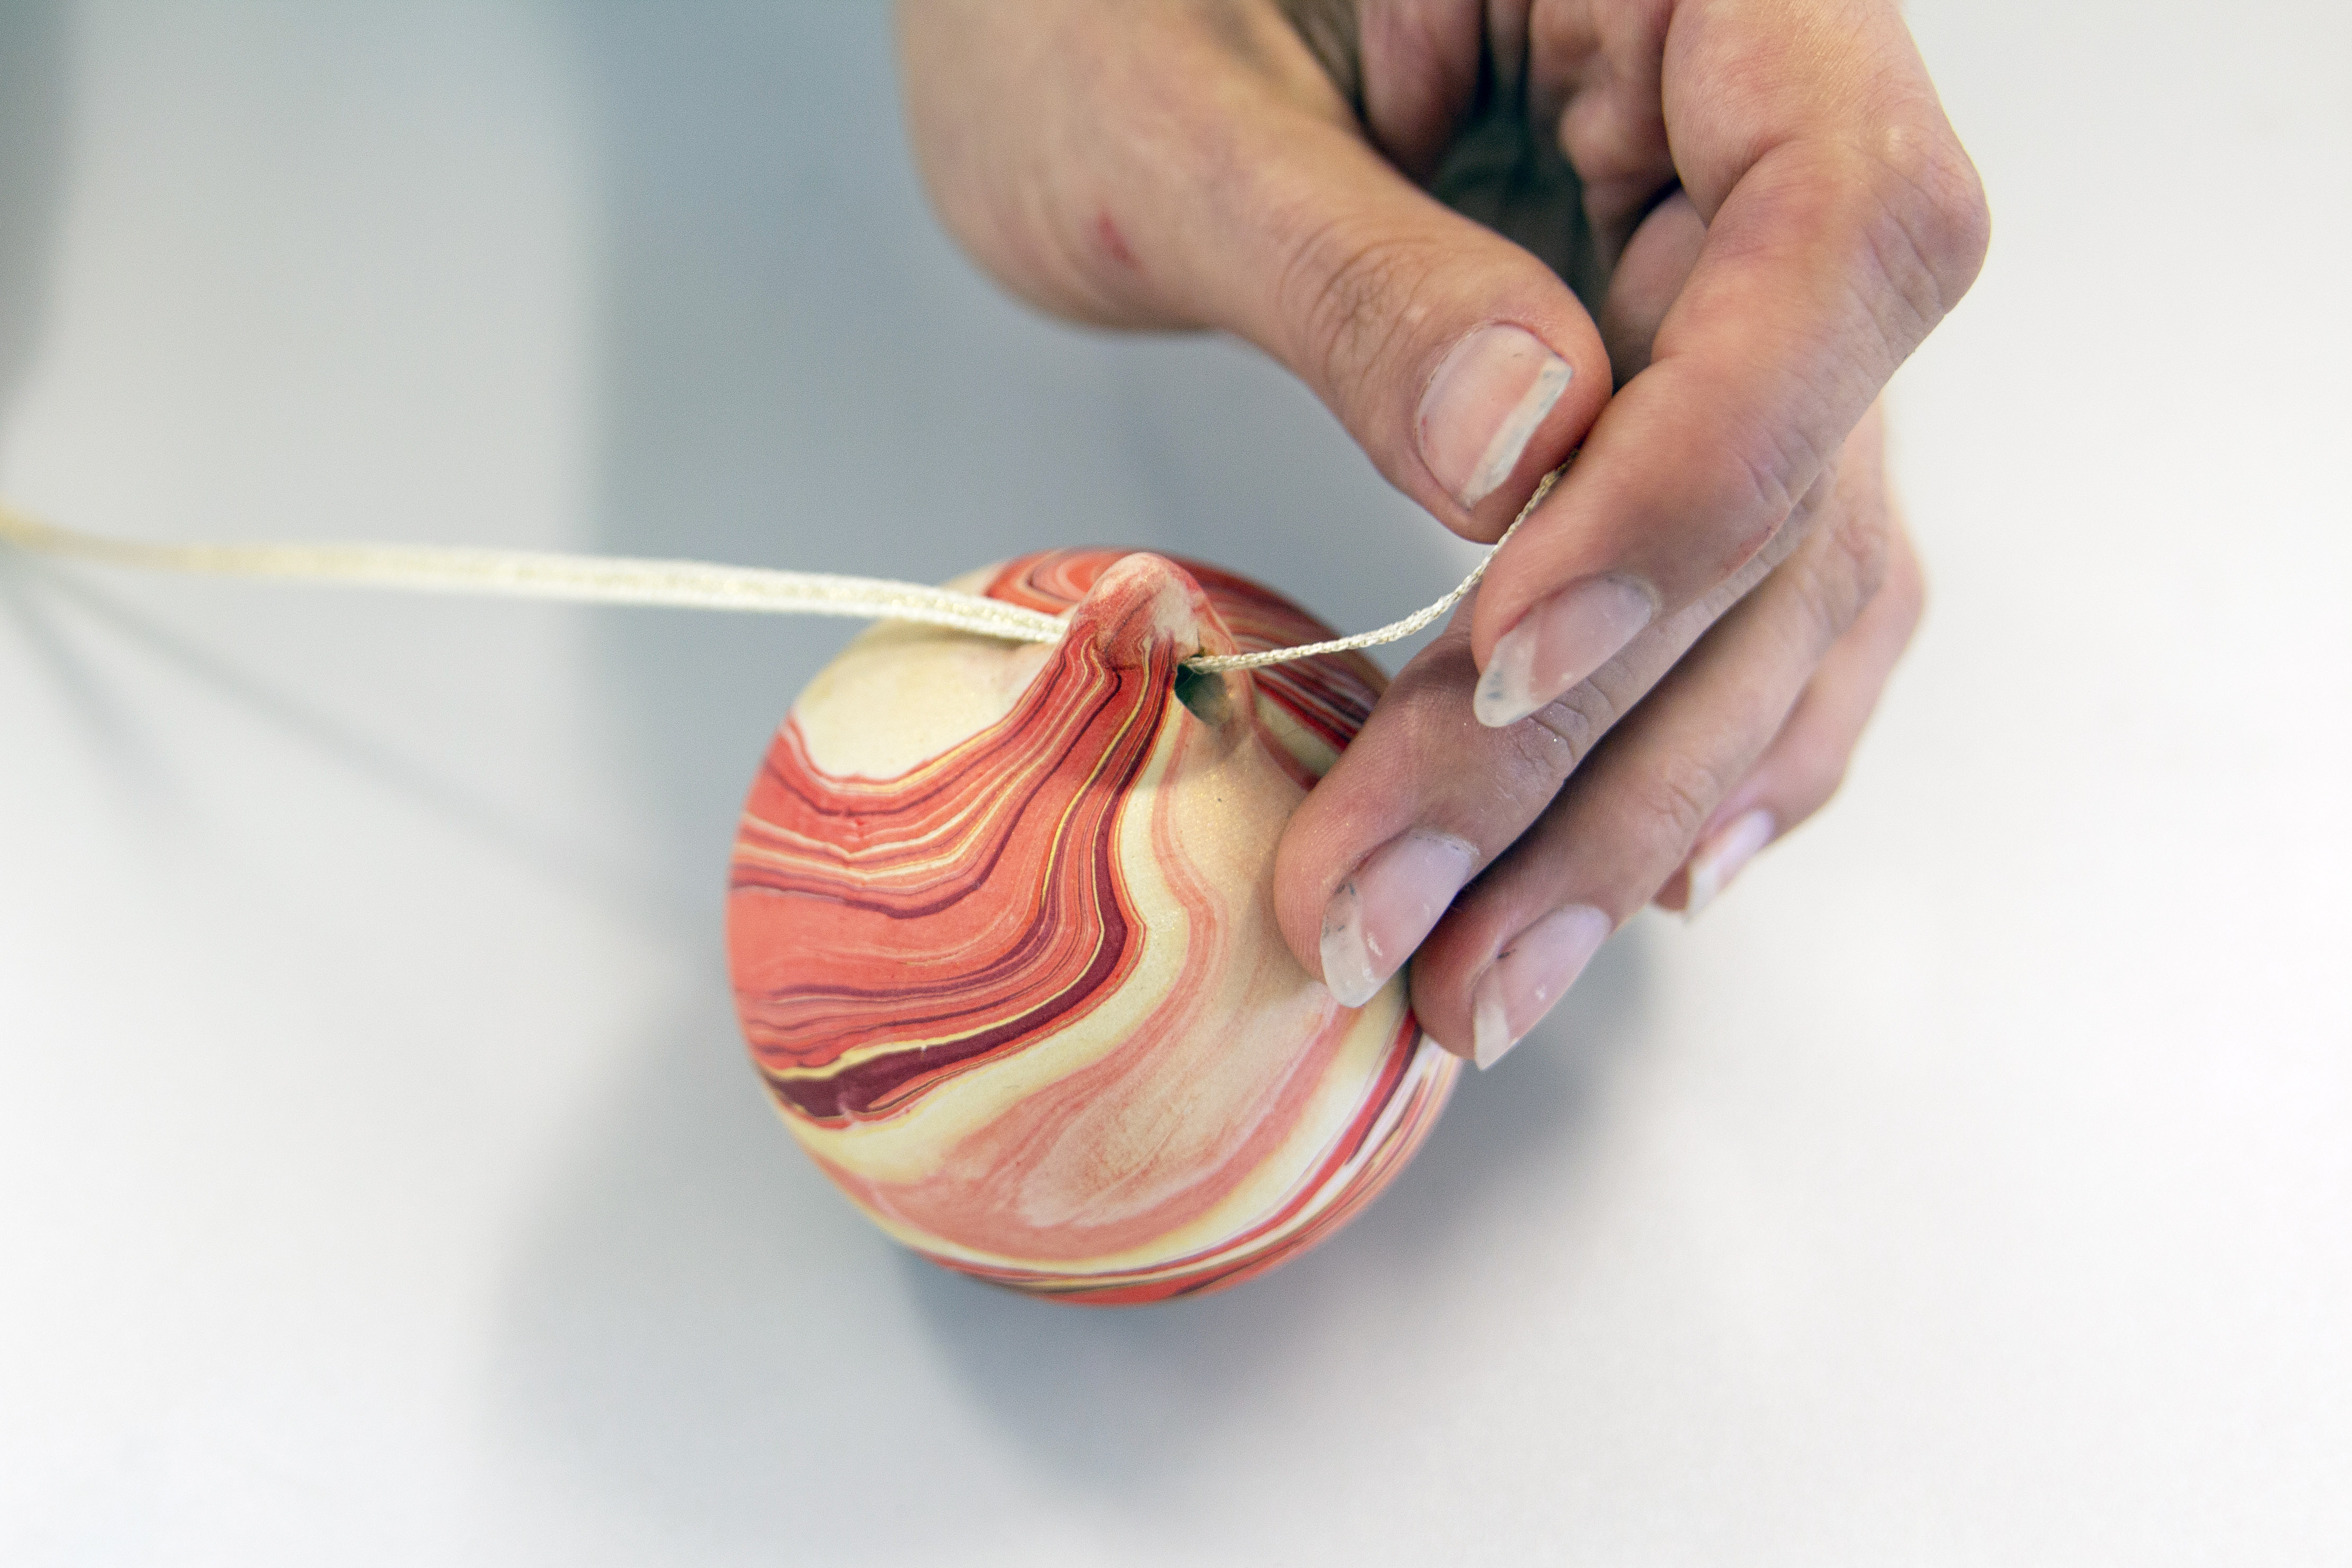
Hang to dry for 10 minutes, then cut off the thread and replace with your choice of ribbon.
What kind of paint do you use for glass baubles?
The best paint to use for decorating glass Christmas baubles is, like ceramic baubles, acrylic. Using acrylic craft paint is easy – just prepare a space to allow them to dry – hanging is best – for a neat finish.
Can you spray paint Christmas baubles?
Yes, you can spray paint Christmas baubles. The trick is to hang the baubles from twine or string (outside if possible) while you spray them to ensure a neat finish – and to apply a thin layer each time; this will ensure there are no drips or runs in the finish. A gloss or sparkling finish will give you the best look. Do not remove the baubles from their hanging space until fully dry.
How do you display special baubles?
Place special, handmade baubles in pride of place on the Christmas tree, preferably at eye level so that you and your guests can really appreciate the work that has gone into them. You could also attach special baubles to your Christmas wreath ideas or Christmas garlands using wire.
If you're worried the baubles falling and getting damaged then play it safe and display special baubles on a platter as a Christmas table centerpiece or display them on a coffee table. You could also use them to style up special gifts to give to loved ones.
Sign up to the Homes & Gardens newsletter
Design expertise in your inbox – from inspiring decorating ideas and beautiful celebrity homes to practical gardening advice and shopping round-ups.

Pippa is a contributor to Homes & Gardens. A graduate of Art History and formerly Style Editor at Period Living, she is passionate about architecture, creating decorating content, interior styling and writing about craft and historic homes. She enjoys searching out beautiful images and the latest trends to share with the Homes & Gardens audience. A keen gardener, when she’s not writing, you’ll find her growing flowers on her yard for styling projects.
-
 You won’t believe these chic coastal backyard finds are from ALDI – and everything’s under $50
Hampton's style on an ALDI budget
By Charlotte Olby
-
 How to weed a garden quickly – professional gardeners reveal the five-minute weeding jobs to do now and get your yard summer-ready
Short on time? These time-efficient tasks will keep on top of problem plants
By Thomas Rutter