How to clean a blender – keep it hygienic and make it last
It’s a hard-working kitchen appliance, so find out how to clean a blender with our guide

Sarah Warwick
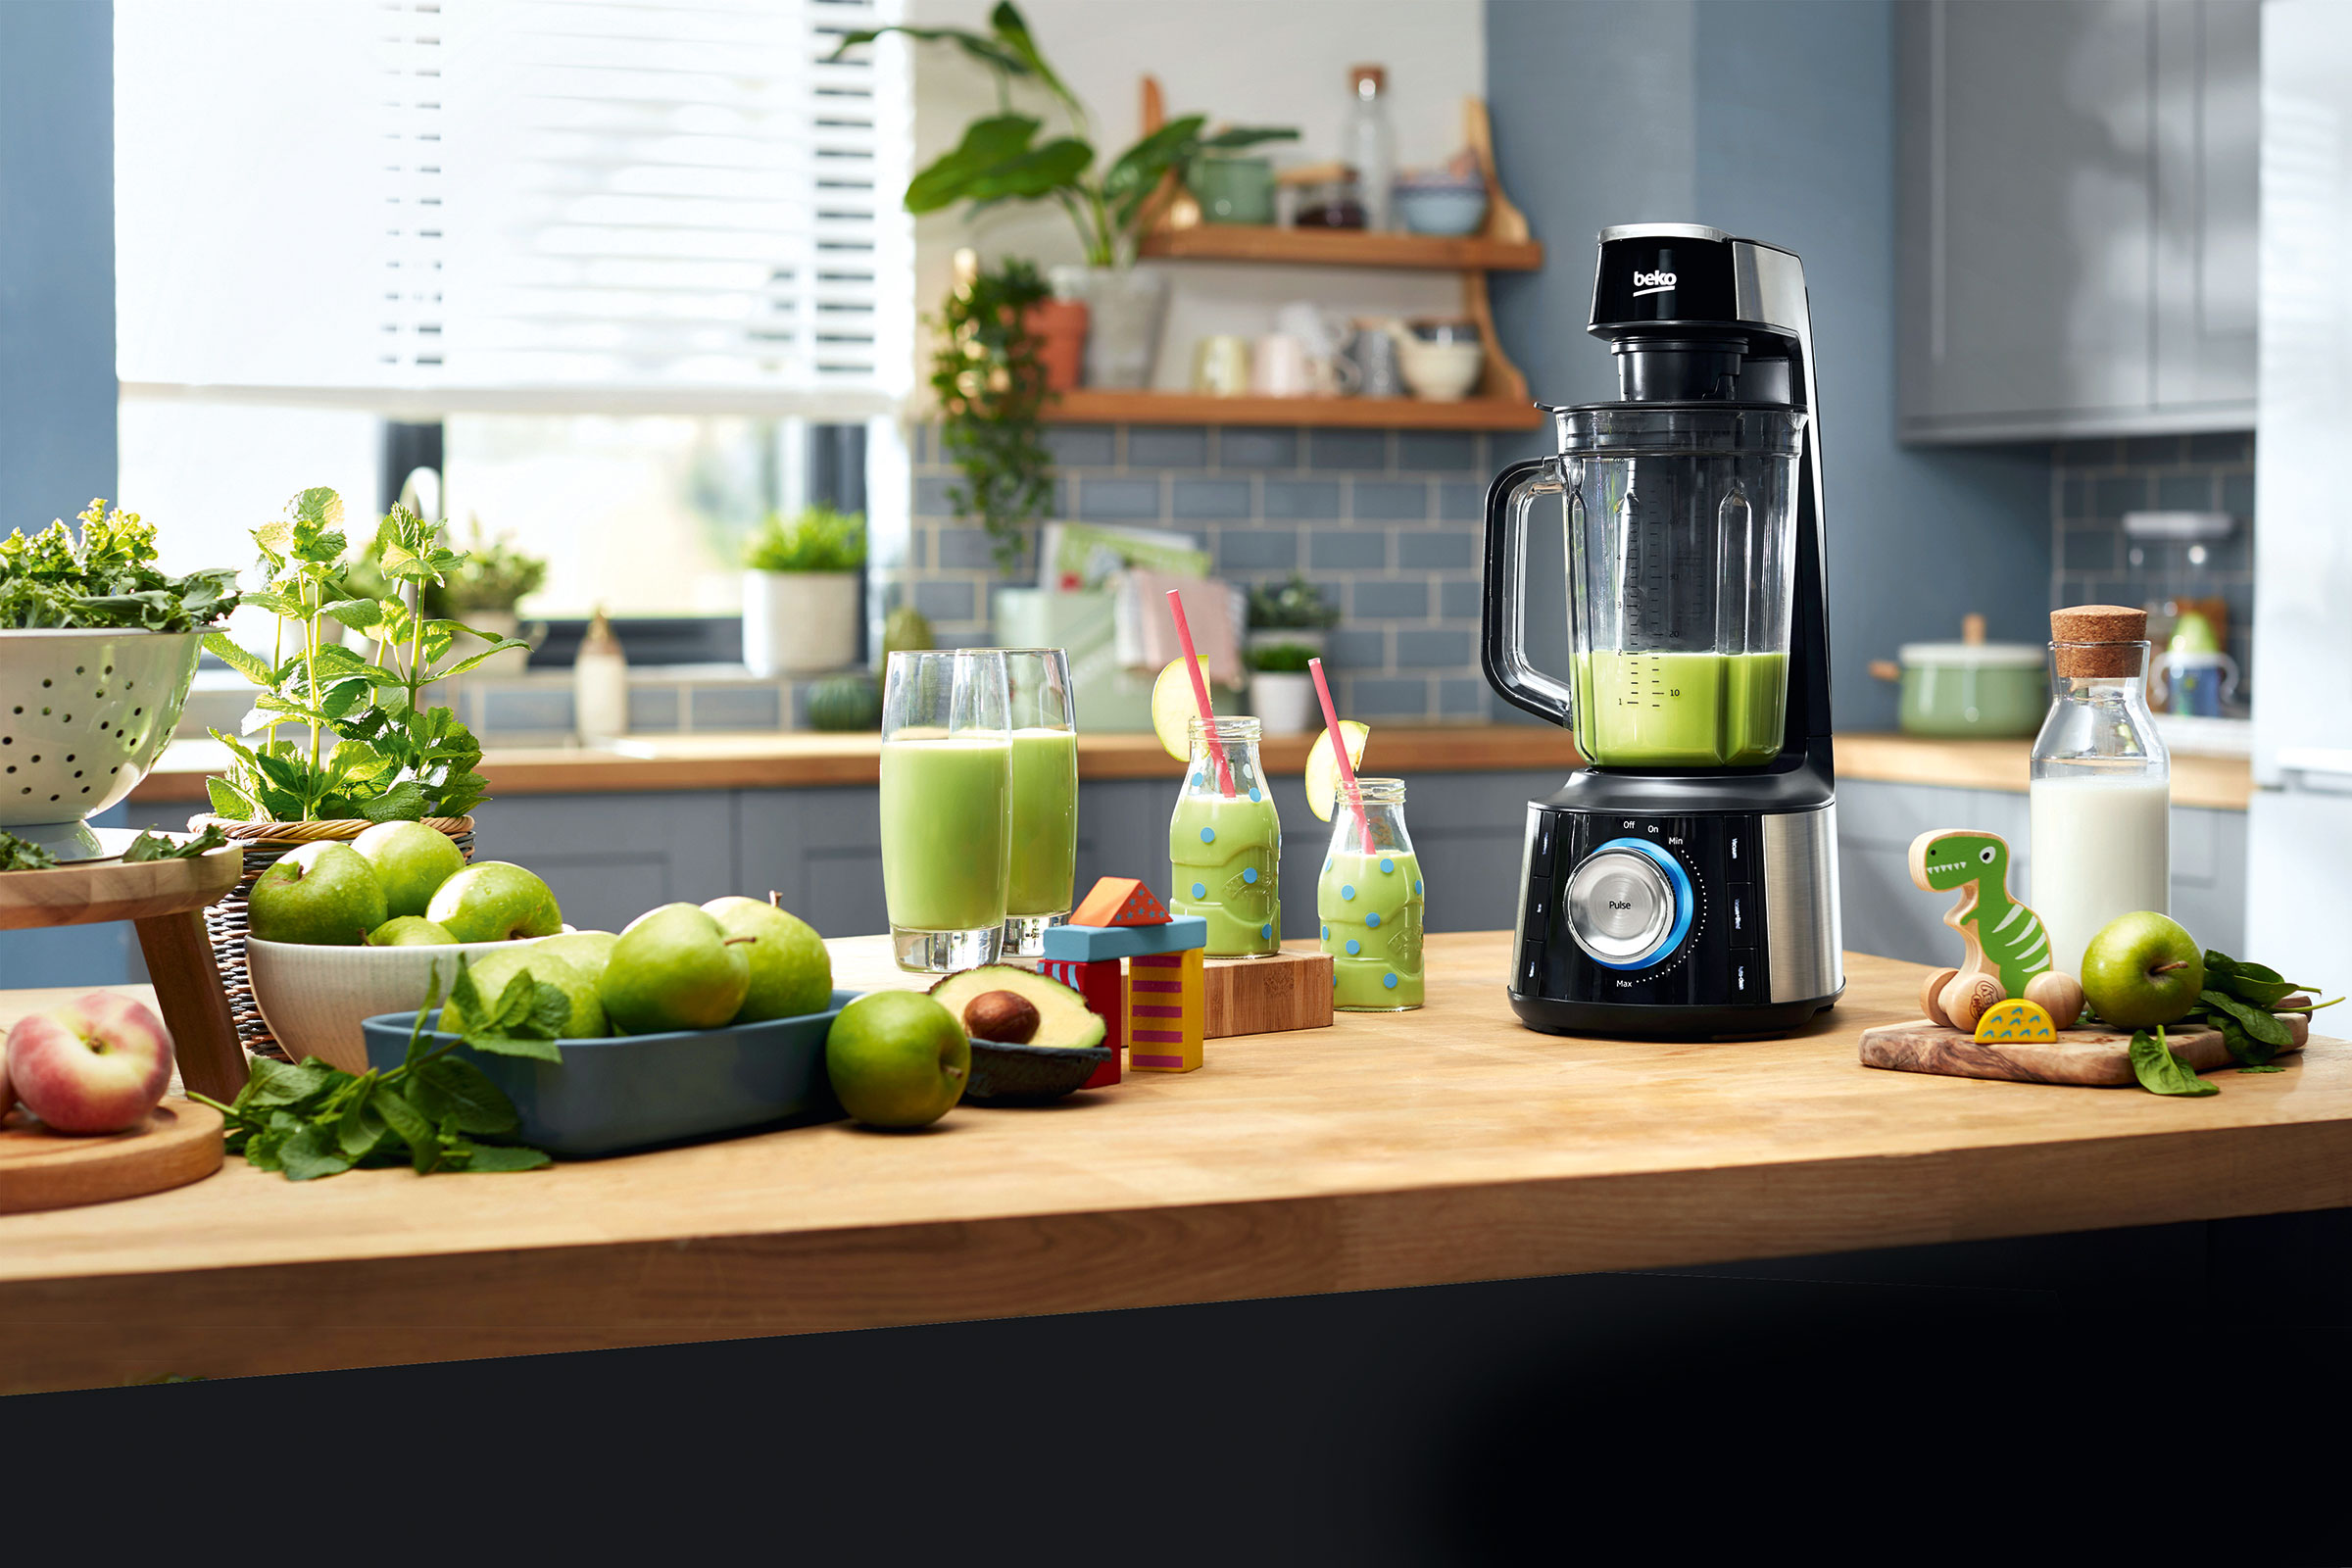
Knowing how to clean a blender so it’s always ready to use, remains hygienic, and lasts is essential whether you’re already an owner or contemplating investing in one of these appliances.
And, as with all cleaning tasks, being sure about the steps necessary will save time and effort. The good news is that the best blenders often feature some components that can go into the dishwasher to make life easier. But even if yours includes parts you can clean this way, it’s still essential to be sure of the steps of this vital kitchen cleaning job.
Our guide has all the details you need on how to clean a blender so you can continue turning out delicious soups, smoothies, and more, and make quick work of a range of kitchen tasks.
How to clean a blender
Generally, before cleaning a blender you’ll need to break it down first. If yours does have some dishwasher-safe parts, be aware that it can take up a lot of space in the basket, especially if you blend every day. Daily dishwasher use at high temperatures (above 176ºF/80ºC) can damage the blender jug, or rather etch the surface which will eventually take on a cloudy appearance.
There’s another reason why you might not want to clean a blender in the dishwasher. ‘If the blades can be cleaned in the dishwasher, you’ll need to remove them as soon as the cycle is finished to prevent steam blunting or corroding the metal,’ says Lucy Searle, global editor in chief of Homes & Gardens.
There is another way to clean a blender that only takes 30 seconds and doesn’t require taking the blender apart while it’s still dripping with pulverised ingredients. Better yet, it works with any blender. The details are below, along with the method for deep cleaning a blender and advice on dealing with stained or smelly blender jars.
How to self-clean a blender
The easiest way to clean a blender is known as the self-cleaning method – and this method works on and can be adapted for portable blenders, too.
All you need to do is simply add a couple of cups full of warm (not boiling) water and a small amount of liquid detergent to the jug. Put on the lid and turn the blender on. Use the pulse setting a couple of times (if the blender has one), or just dial it up to full power and blend the food debris away.
The cyclone action will ensure soapy water reaches all the hard-to-access parts under and around the blade.
Empty, rinse under the tap, and leave on the drainer to air dry, or dry with a lint-free cloth for extra shininess.
How to clean an immersion blender
Immersion blenders can usually be separated so that the blade can be cleaned in the sink or dishwasher, with the body usually only needing a quick wipe-over. However, if you work carefully, you can clean an immersion blender by dipping the blade attachment into a bowl of warm soapy water and turning the blender on, then rinsing afterward.
If debris is stuck, separate the blade attachment from the body and put the blade into warm, soapy water to soak first – then try the cleaning method above again.
How to deep clean a blender
Deep cleaning a blender at least twice a year is recommended, but this very much depends on use.
While the self-cleaning method is excellent for day-to-day cleaning and will help prevent the build-up of food in unwanted places, it is important to undertake a more thorough clean periodically. Liquids can seep into joints, especially around the blade and lid seal, causing a gradual buildup of bacteria.
Most blenders have detachable cutter blades/cutter units that make the process a little easier. Be extremely careful when handling the blade unit. Read the instruction book to find out if some or all (non-electric) parts are dishwasher friendly – and at what temperature. If your blender isn’t dishwasher friendly, and many are not, it’s just a case of washing each part in warm soapy water. Leave to soak if there are any stubborn areas.
It’s important not to use abrasive cleaning pads, like Brillo pads for example, or granular cleaning agents, which can scratch the surface of any plastic parts.
The motor body is generally only suitable for cleaning with a damp, soapy cloth – do be sure to unplug it before cleaning. Use a grease-obliterating product, like Elbow Grease, if there is an oily buildup on the unit’s surface but spray it onto your cloth, sparingly, rather than directly on the unit, to prevent moisture from getting inside the electrics.
How to clean a blender if you have hard water
If you follow the steps above and notice the jug still isn’t as sparkling clean as you’d like, the issue could be hard water-related. Blender jugs are prone to limescale buildup in a similar way to shower screens, so if you live in a hard water area you might notice a filmy residue, even after cleaning.
To solve the problem, all you need to do is add one more step to the self-cleaning process: throw in a coarsely chopped lemon, rind and all, at the same time as the liquid detergent and get blending. Empty, refill with plain water, blend once more to rinse and leave to dry.
The acidic juice will power away the limescale, leaving a visibly clean blender. This extra ingredient only needs to be included once or twice a month, depending on how frequently you use your blender and water hardness levels.
How to clean a stained blender
Foods like tomato, Indian spices, and beetroot can take their toll on any blender but especially those with plastic jugs. Cloudiness can also be an issue, often caused by oily food residue.
So, to clean a stained blender, first, try the lemon trick above. If there are still stubborn stains, it’s time to add muscle power. A blender jug is one of the things you can clean with baking soda.
Unplug the base and remove the jug, then mix a 50/50 paste of baking soda and water. Take a long-handled brush or toothbrush and coat the interior of your jug with the paste. Leave it for an hour or so (it shouldn’t be allowed to dry), and then rinse off. Finally, put the jug back onto the base and plug it in. Pour in a couple of cups of warm water and add a cup of white wine vinegar before whizzing for 30 seconds or so. This final step will cut through any lingering residue and should leave you with a box-fresh blender jug.
How to clean a blender that smells
Ever lifted the lid on a supposedly clean blender only to be met by a pungent odor? One cause of this is storing your blender with the lid on, especially if it is still a little damp when you stash it away. Leaving the lid off or ajar when not in use will prevent trapped air inside from getting stale and smelly.
But certain foods, like garlic or onion, can also be problematic, even if the jug is left unlidded.
To clean a blender that smells, again, baking soda will save the day. This time patience is your friend. Sit the blender jug in the sink and fill it almost to the top with warm water. Add one cup of baking soda and leave to soak overnight with the lid off, before washing normally. A squirt of lemon juice in the overnight mix will leave the jug smelling extra fresh.
Is it safe to wash a blender?
It is safe to wash various parts of a blender but, of course, as with all electrical appliances, you should never submerge the base of the blender, which houses the motor, in water nor put it into a dishwasher.
The parts of a blender you can clean include the jar and its lid, the gasket seal, and the blades. Meanwhile, the base can be wiped down with a damp cloth.
‘The blender blades aren’t detachable in every model and if that’s the case, you’ll need to wash the blender jar with them in situ,’ says Lucy Searle, global editor in chief of Homes & Gardens. ‘Always be careful when cleaning blades, but pay particular attention to avoid the sharp edges if they are fixed in the jar.’
Always check the manufacturer’s instructions to be sure that any of the parts of your blender are dishwasher-proof, but bear in mind that hand washing can still be preferable to avoid etching the jar and to keep the blades in optimum condition.
How often should a blender be cleaned?
A blender should be cleaned properly after every use for good hygiene in the kitchen. A quick rinse won’t be sufficient to get rid of the food residue on which bacteria can thrive.
Although you can use the blender cleaning hack of adding a couple of cups of warm water and some dish soap and running the blender for a speedy clean, a deep clean requires you to tackle the jar and its lid, the blades, the gasket, and the base.
‘The gasket, which is the rubber seal at the base of the blender, has been found to be one of the prime spots in the kitchen to harbor germs, so be sure to include it in your cleaning routine,’ says Lucy Searle, global editor in chief of Homes & Gardens.
Check your blender’s manual – or look online if you don’t have it to hand – to be sure of which parts are removable and what the options are for cleaning each part.
Sign up to the Homes & Gardens newsletter
Design expertise in your inbox – from inspiring decorating ideas and beautiful celebrity homes to practical gardening advice and shopping round-ups.
Linda graduated from university with a First in Journalism, Film and Broadcasting. Her career began on a trade title for the kitchen and bathroom industry, and she has worked for Homes & Gardens, and sister-brands Livingetc, Country Homes & Interiors and Ideal Home, since 2006, covering interiors topics, though kitchens and bathrooms are her specialism.
- Sarah WarwickContributing Editor
-
 Grace Kelly's former living room set the blueprint for quiet luxury – you can explore her NYC penthouse (listed for $3.25 million)
A unit in the storied Manhattan House, where Grace Kelly, Benny Goodman, and Shirley Jackson have lived, has hit the market – it's a masterclass in neutrals
By Hannah Ziegler Published
-
 I'm 5ft2 and this telescopic scrubber safely and easily banished mold and grime in even the hardest-to-reach areas of my bathroom in less than 15 minutes
My bathroom has never looked better thanks to this handy $16 two-in-one tool from Joseph Joseph
By Ottilie Blackhall Published
-
 How to clean a stand mixer – 5 simple steps to streak-free shine
Wondering how to clean a stand mixer? We've condensed the process into 5 simple steps. Here is everything you need to know...
By Millie Fender Published
-
 How to clean a juicer – 5 tips to make juicing clean and easy
Including advice for centrifugal and cold press juicers, here is how to clean a juicer
By Millie Fender Last updated
-
 How to clean a coffee maker – and why you shouldn't use vinegar
This is when and how to clean a coffee maker for the best-tasting brews, and why vinegar can damage your machine
By Ruth Doherty Last updated
-
 Using white vinegar in laundry – to deodorize and brighten clothes quickly
Thinking of using white vinegar in laundry? This simple ingredient will leave you with soft, odorless clothes, instantly
By Megan Slack Published
-
 How to clean a stainless steel sink – 5 steps to a streak-free shine
Discover how to clean a stainless steel sink so it sparkles like it’s brand new
By Sarah Warwick Published
-
 How to clean a microwave – easy ways to get it spotless with vinegar, lemon and more
Discover the experts’ advice on how to clean a microwave and rid it of debris, splashes, and lingering odors
By Sarah Warwick Last updated
-
 How to clean a washing machine – and maximize its lifespan
Learning how to clean a washing machine will ensure it delivers its best results and lasts for longer, too
By Lucy Searle Last updated
-
 How to clean an oven – an expert guide
Cleaning an oven needn't require chemicals – it's a job that can be tackled with baking soda, lemon juice and even steam. Here, we take you through all the easiest methods
By Ginevra Benedetti Published